Overview
This article walks through creating a Form in the Decisions Platform.
- In a Project, go into any Designer Folder and click CREATE FORM from the Global Action Bar to go directly to the Form Designer. A Form can also be created using the Show Form step in the Flow Designer and clicking PICK OR CREATE FORM on the Properties panel.
- From the Favorites section, name and describe the Form and select Create.
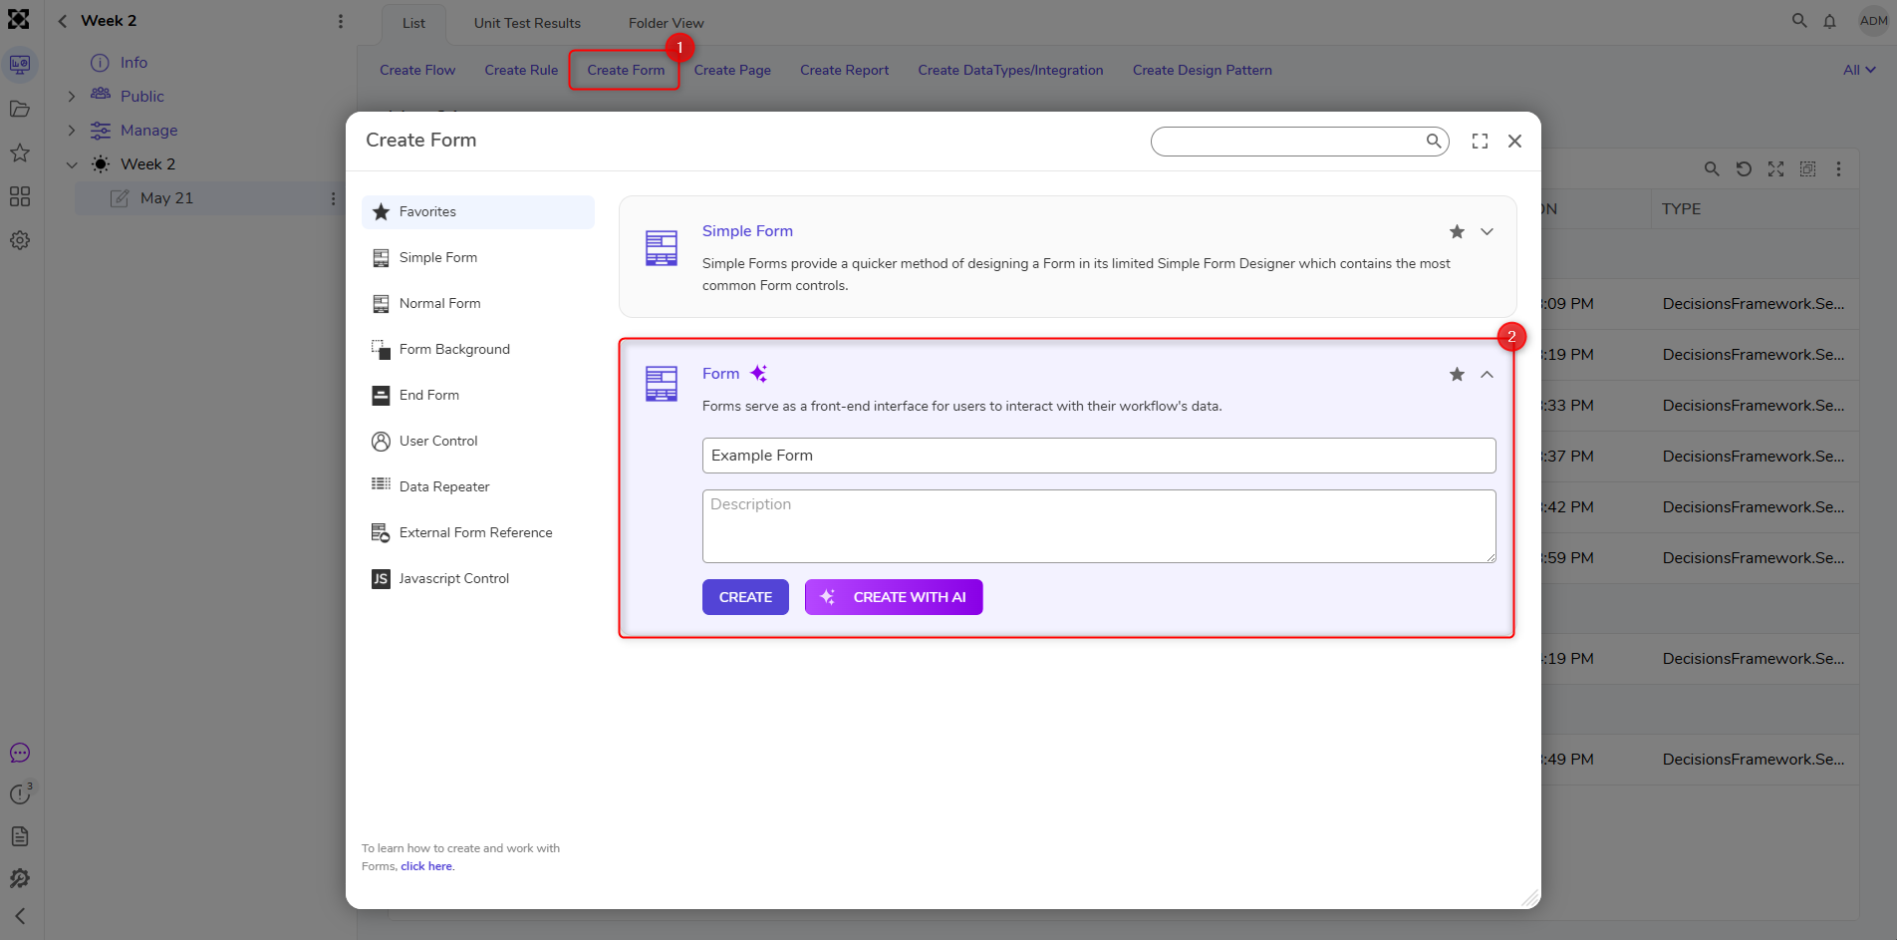
- Various Form templates are also available under the Normal Form section. See the table below for further details.
Form Type Description Form Creates a blank Form Approval Form [template] A Form containing two Buttons: Approve and Deny Mobile Form [template] A Form that creates a user interface designed for interaction from mobile devices
Mobile Form (iPhone) [template] A Form that creates a user interface designed for interaction from iPhone devices
Section Form [template] A Form containing a HeaderContainer control that may be expanded once clicked on 4 Column Form [template] A Form containing 4 Columns upon creation
- Various Form templates are also available under the Normal Form section. See the table below for further details.
- In the Form Designer, the Toolbox panel contains all the Form Controls that can be added to the Form workspace. Click and drag a Form control and place it on the Form.
- When adding a control to the Form workspace, enter a name for the control and press Enter to set the name.
- Form Controls can be resized using the resize handles on the edges or corners. Resizing into objects is not allowed and will cancel the resize.
- The Form can be resized and configured to display a different layout. The default layout for the Form is the Flex Layout which adjusts component positioning and size based on content and screen size.
- After the Form has been configured. Click Save to save changes to the Form and close the Form Designer.
Feature Changes
| Description | Version | Release | Developer Task |
|---|---|---|---|
| Rearranged the property menu. Properties are now ordered by importance. | 9.5 | November 2024 | [DT-042237] |
| Add Description box to Create Element Gallery | 9.8 | March 2025 | [DT-034200] |
| Drag to Resize Form and Page Controls | 9.8 | March 2025 | [DT-043335] |
| Default Form Layout changed to Flex Layout | 9.15 | September 2025 | [DT-044829] |