Overview
Welcome to the Decisions installation guide! This article will demonstrate how to install the Decisions platform on an App Server or a PC. Decisions requires a database connection to operate, this guide uses Microsoft SQL Server as this is the standard database connection type with the platform.
Installing Decisions
- Once the pre-requisites for a Decisions installation have been met, download the desired Decisions version from our Version Releases page.
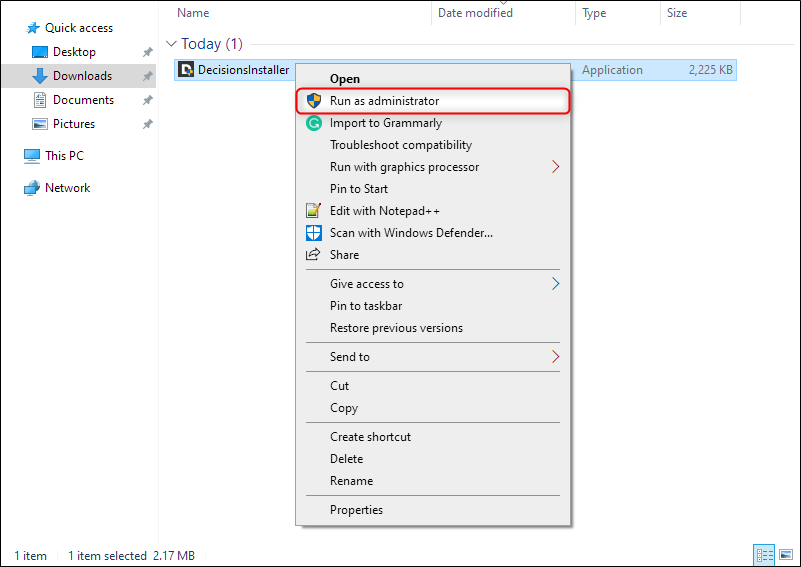
- Once the download is complete, locate the DecisionsInstaller application and right-click to Run as administrator.
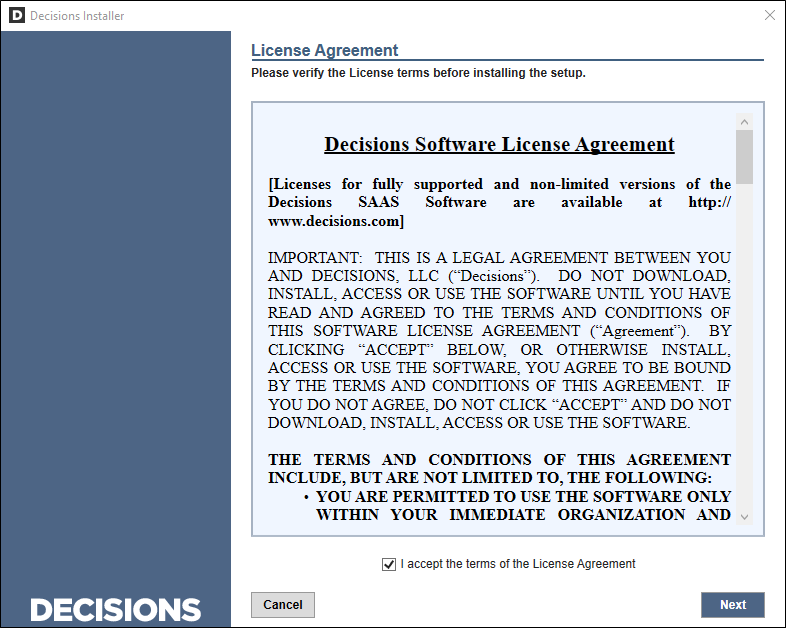
- Read the Decisions Software License Agreement, then check the box acknowledging the acceptance of these terms.
- In the Select Installation Type section, there are several options to define what kind of Decisions environment this will be. For this example, and most commonly for personal development, a Personal Server is selected. The table below offers a description of each installation type.
Standard Server This is the most common type of server installation and can be used in production (live) or non-production (development) settings. This server type should be used if the desired function is to log into the environment from other machines, which allows others to access the server. Personal Server This server type is strictly a local installation. Use this server type to build and test Flows, Forms, Rules, Reports, and Pages that do need to be published. This server type restricts other machines from accessing the environment. Failover (HA) Server This server type is identical to the Standard Server except that it is not live until it is triggered. Use this type to install a failover server that will be available but will not run jobs or events on startup. Designer Repository This server type stores entities and assists with managing version builds and releases. It does not run live applications. 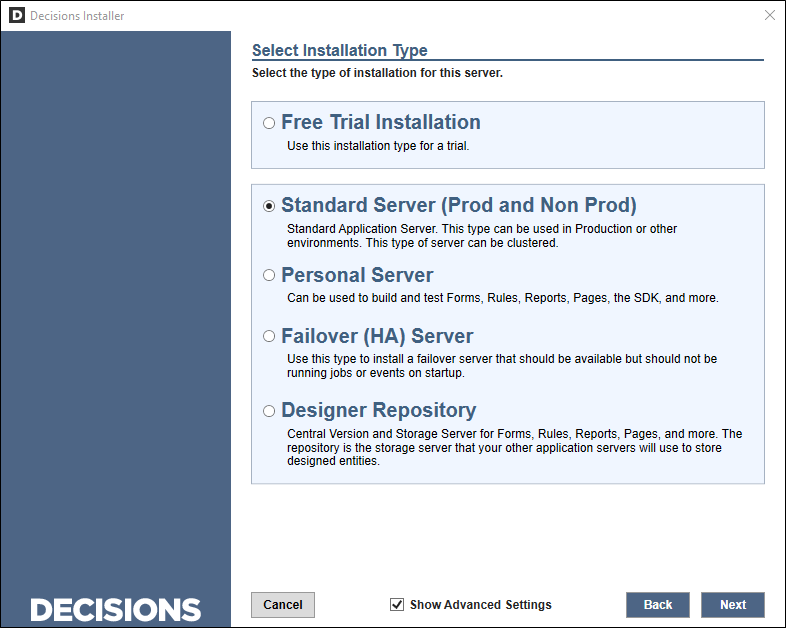
- This example enables the Show Advanced Settings button, which adds additional sections and configuration options for the installation. The screenshot below shows the following sections and configurations for installation without advanced settings on the left, or with advanced settings on the right.
.png)
The table below provides some descriptions of the advanced settings on the page shown in the screenshot above.
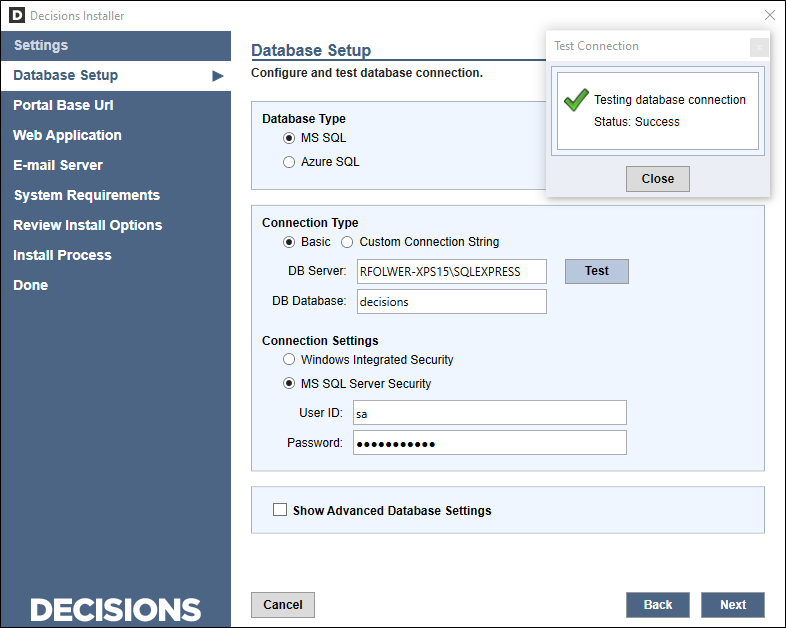
Use Settings File Enables a field that allows the selection of a 'saved settings' file from a previous installation. Install Emergency Password Reset Tool Installs a command prompt tool that is used for resetting the user password in Decisions. Change Default System Administrator, Username and Password Offers an option to change the default Decisions account to something other than admin@decisions.com with the 'admin' password. Reveals a text box for the desired email and password, with a password confirmation box. Change Destination Folder for Installation Decisions is installed to C:\Program Files\Decisions by default. This allows for the installation location to be changed. Pick Alternate Source Allows for the selection of an alternate source for the installation files via URL or file directory. Install Extra Icons Installs the image library of icons available, which can be used as icons for items posted to the Service Catalog or to represent published Flows. Images are installed to C:\Program Files\Decisions\Images by default. Show the Service Settings Enabling this setting makes it possible to customize the username and password under which the Service Host Manager will run. Allow Dynamic Resource Loading (Local Module) Allows the system to store and load sources from local modules. Run Service Host Manager Watcher after Installation Recommended so that Host Manager Watcher will run after the installation is complete. This is the service that can start and stop Service Host Manager if needed, as well as catching unexpected stops and attempting a restart automatically. Skip DB Connection Testing - Not Recommended Skips the database connection test at the end of the installation wizard. This is not recommended. Dynamic Compression (IIS) Check Disabled - Not Recommended Disables the installer from checking for IIS Compression. This is not recommended. - This example uses a Microsoft SQL Server (MS SQL) database connection to complete the installation. If the database name that is entered does not exist, Decisions will attempt to create it in MS SQL.
- In the Database Setup section, select the option to use MS SQL.
- In the Connection Type section, select Basic and enter the corresponding database server and name.
- In the Connection Settings section, select the option for MS SQL Server Security and enter the appropriate username and password. Windows Integrated Security is an option as well, but the user to run the service must be defined with the Show Service Settings in the advanced settings section.
- Select the Test button back in the Connection Type section to confirm that the database connection is successful based on the credentials provided. Connection Security TypeTo learn more about the difference between Windows Integrated Security and MS SQL Security, please visit our SQL Server Database Permissions article.
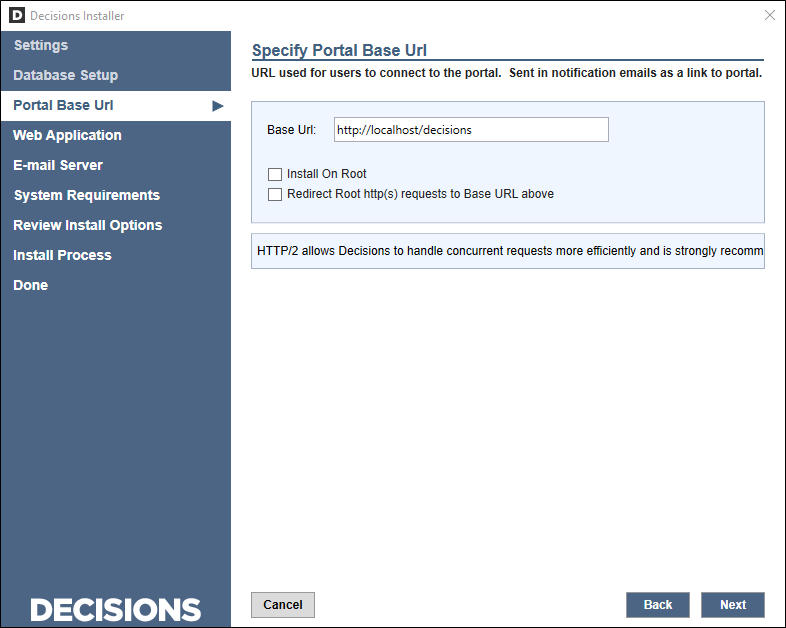
- A local Decisions install will default to http://localhost/decisions as the base URL for the environment, but this can be changed in the Base URL box.
- The Install On Root option removed the /decisions portion of the web address and will instead be standalone. More information on this option can be found in our Install On Root article.
- The Redirect Root http(s) requests to Base URL checkbox allows all requests for the root host to be redirected to the base URL. For this example, the default base URL is used and neither checkbox is selected.
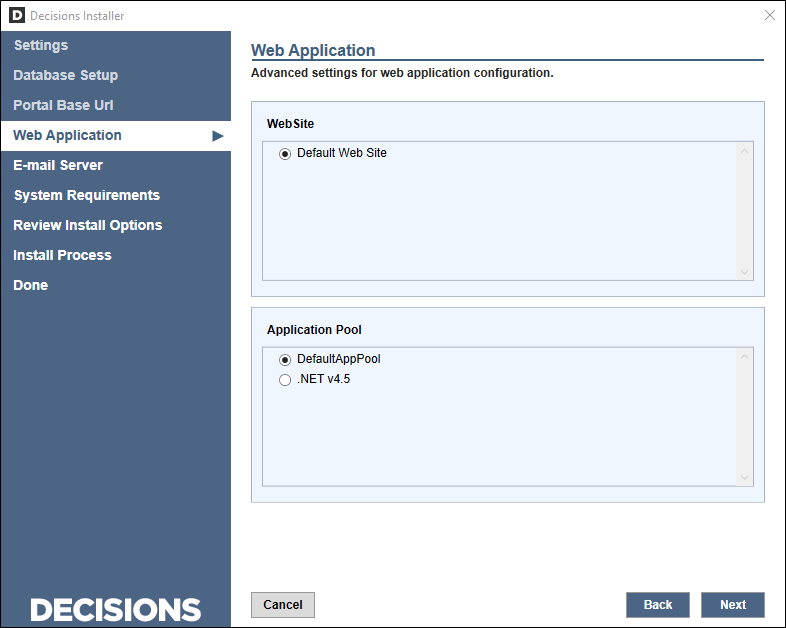
- The Web Application section is a bi-product of the advanced settings. The Decisions Rule and Workflow Engine Web Application communicates with the application server exclusively through this service layer. The Default Web Site and DefaultAppPool appear selected by default, these settings can remain.
- There are several default features of Decisions that require access to a mail server in order to send/receive email.
SMTP Direct Server is selected by default if the intent is for Decisions to connect with an SMTP server on the local machine, or to configure the connection later. SMTP Server offers configuration boxes for server address, authentication requirement, TLS/SSL use, implicit SSL use, and SSL port. In addition, an email address box is provided to test the connection. 
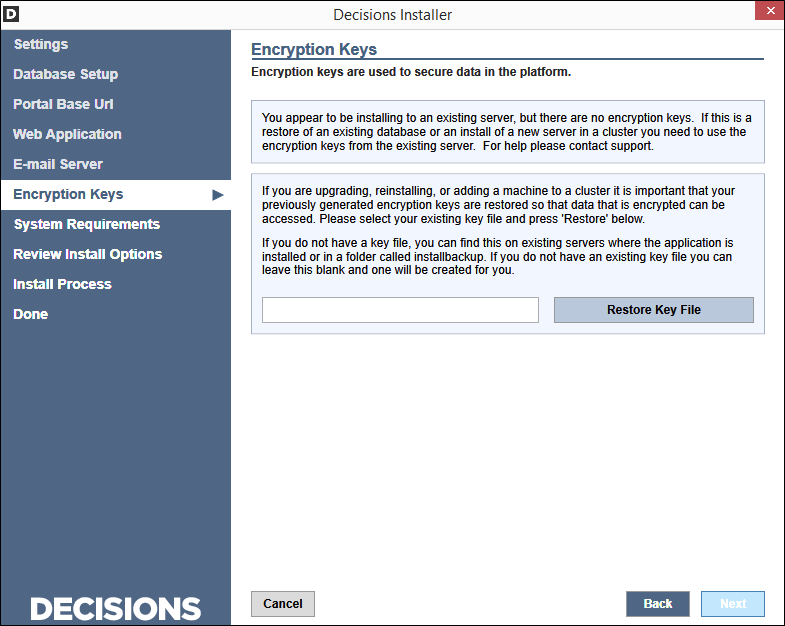
- If the database that was entered in the Database Setup section already exists, the Decisions Installer will ask for a key file to be uploaded and restored.
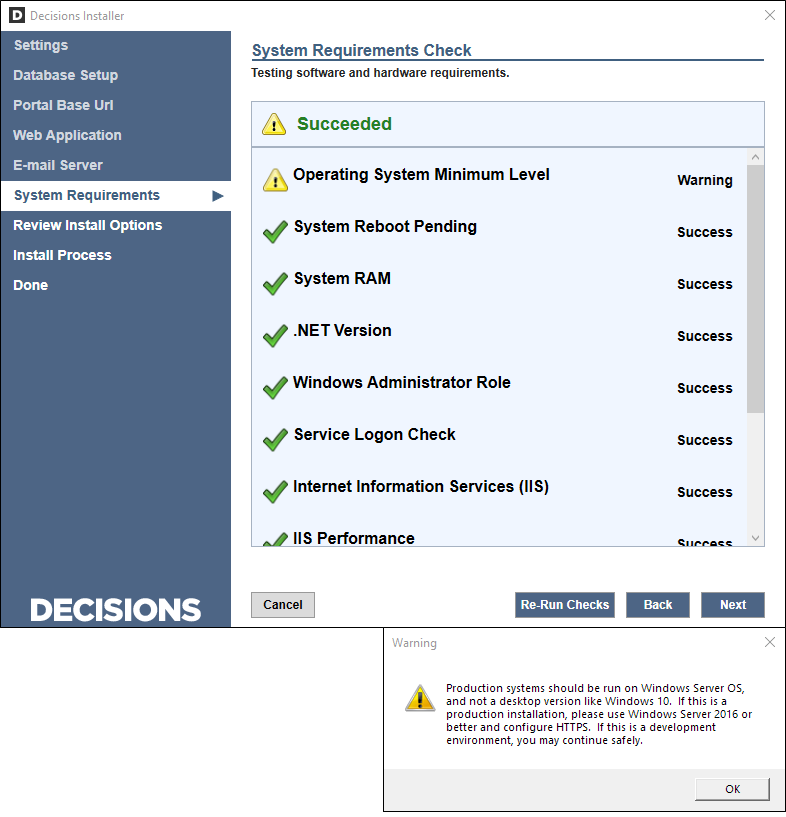
- The System Requirements Check section will run a check to see if all the necessary requirements for Decisions are configured. This check will often show a warning for Skype, as this can sometimes interfere with Decisions performance.
- An operating system warning may appear just as a reminder that Windows Server OS is better suited for production environments.
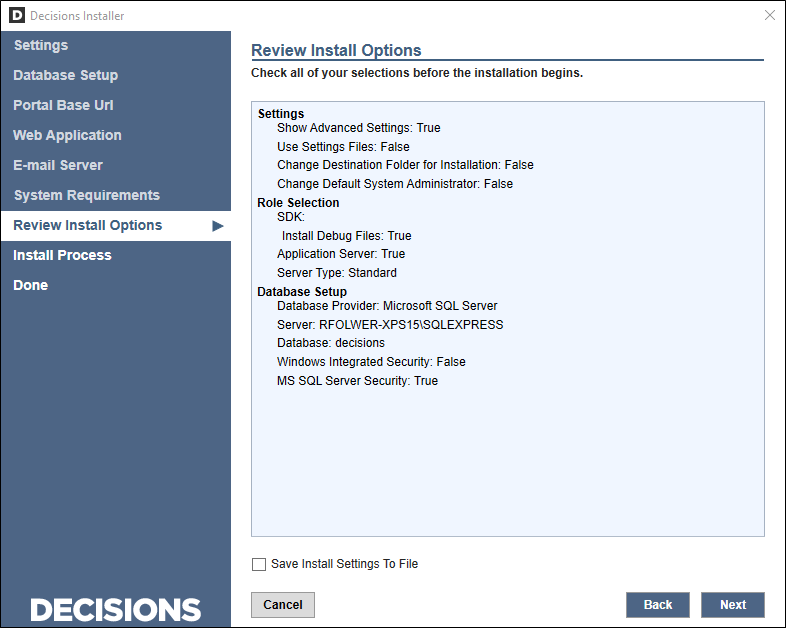
- The Review Install Options section offers an overview of the selections made during the setup before the actual installation of Decisions begins.
- The Save Install Settings To File checkbox is available to save these settings so that they can be referenced in another install, as shown above as one of the advanced settings options. This can also be useful as a precautionary for reinstallation or recovery of a Decisions environment.
- The Install Process section will show a loading indicator for the installation, as well as Show/Hide Details buttons with a report of the ongoing configuration to install the product. The installer will automatically download, register, and configure any required third-party services or utilities.
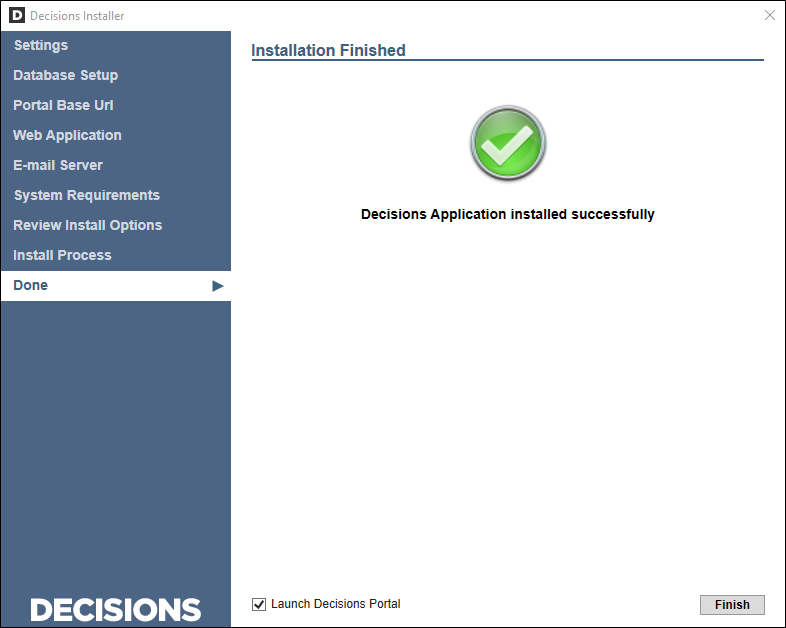
- Once the installation is complete, the installer will show a success window with a checkbox that allows Decisions to be launched when Finish is selected.
- When Decisions launches, enter the username and password created during the installation (admin@decisions.com/admin by default). If Decisions was installed to the local machine, then localhost/decisions should appear in the address bar. If Decisions was installed to another address, then the IP address/decisions would appear in the address bar.Decisions Portal In HTMLFor access to the Decisions Portal in HTML, the port configured in the settings for SignalR must be opened, and the next port after that.
Updating the License
Upon the first login to the Decisions environment, one issue will appear in the bottom-left corner to inform the user of license expiration. The Decisions Support team can provide the appropriate license for the corresponding server type. For more information on how to obtain and apply for a license key, please visit our Licensing A Server article.