Overview
This feature creates an environment for highly managed Projects in Decisions. The Designer Repository allows teams to manage changes that are made to projects more efficiently, and commit, revert, or rollback changes to a project as needed.
This environment is secured by user credentials when attempting to alter the Project, offering a full range of control over who has access. Moreover, this feature uses Decisions Permissions semantics that only allows desirable users to participate in the Project.
The Repository is an excellent feature when using multiple environments or looking for shared work storage and management space. This document will cover how to enable the Designer Repository Server on a new Decisions installation. The Designer Repository does not currently support clustering or multi-tenancy.
Installation
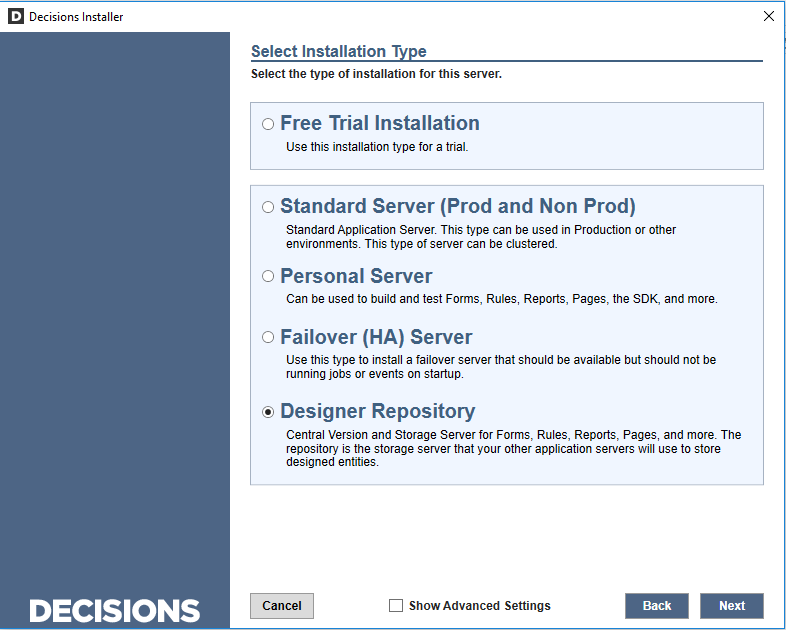
Locate the DecisionsInstaller.exe in the PC File Explorer and run the application as an Administrator. When the Installer prompts to select an Installation Type, choose the Designer Repository option and click 'Next'. When the License Agreement appears, please read the agreement and proceed with the installation.

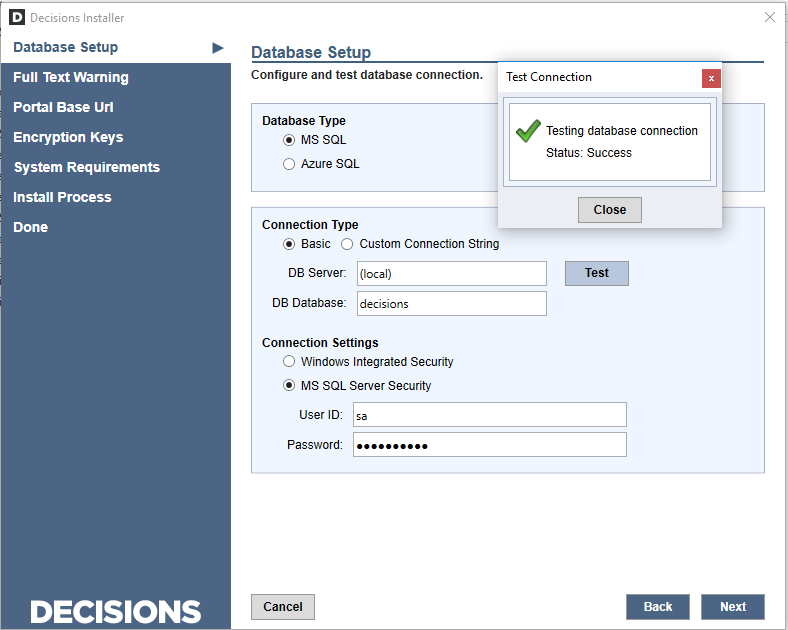
When the Database Setup section appears, configure the appropriate parameters to establish a Database connection. The platform is typically installed using the MS SQL Database Type, with a Basic configuration of the appropriate Database Name and Server, using the MS SQL Server Security credentials. Use the 'Test' button to check the connection before proceeding.

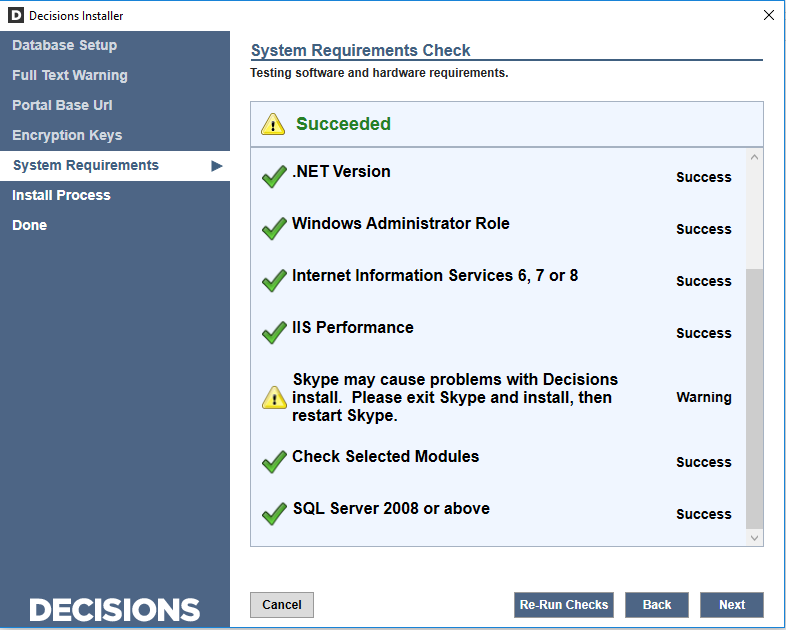
Proceed through the rest of the sections as normal, leaving them set as their default configuration. The System Requirements check will test the software and hardware requirements before proceeding.

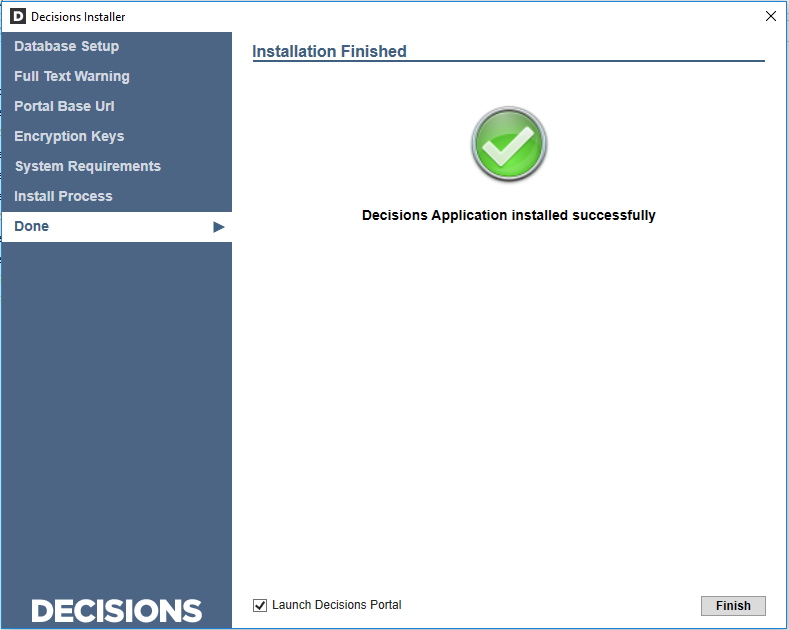
Once the System Requirements have passed, the Installer will begin setting up the Decisions environment. When the installation completes, select the box to Launch Decisions Portal and then click 'Finish' to launch the environment.
