Overview
With a Repository Server, Projects can now be worked in an environment that is connected to it. There are many features and functions of utilizing a Repository Server that will be highlighted in this article.
Example
This example will walk through creating a Project and learning what can be achieved via the Repository. The Designer Repository Folder will show a Dashboard created of existing Projects.
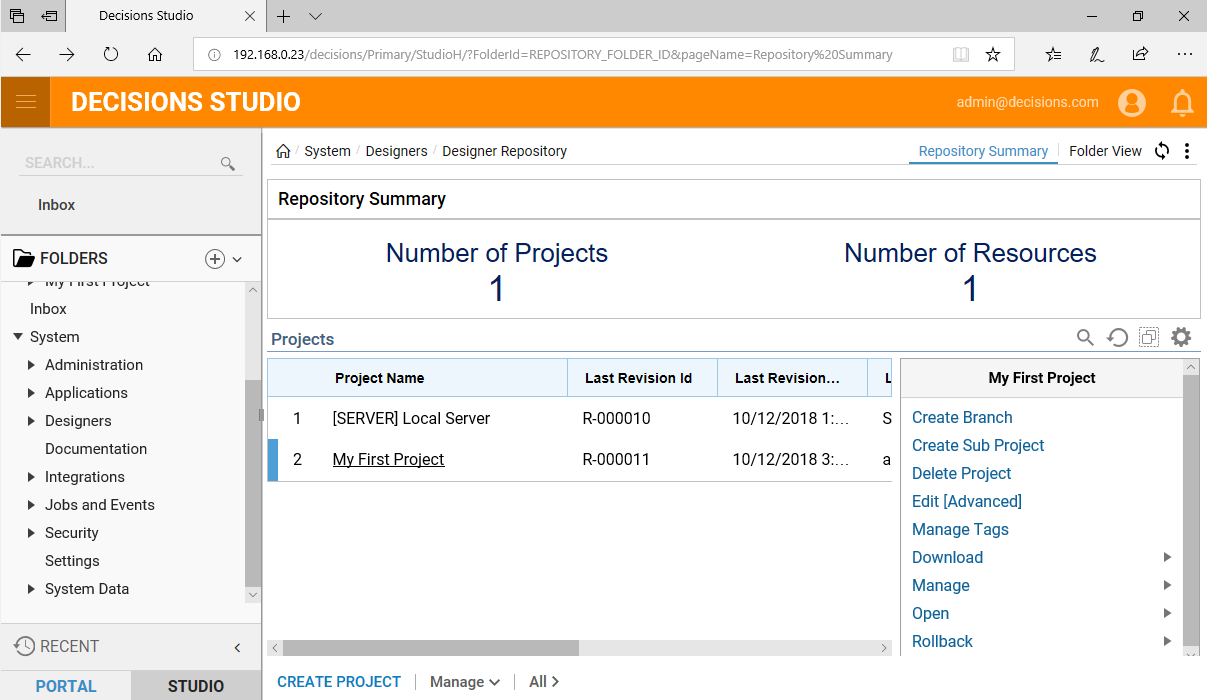
- From the Designer Studio, navigate to the Designer Repository Folder and select CREATE PROJECT.
- Provide a Project Name, Description URL, and a Description, then click CREATE. The Description URL must be in a typical web address format.
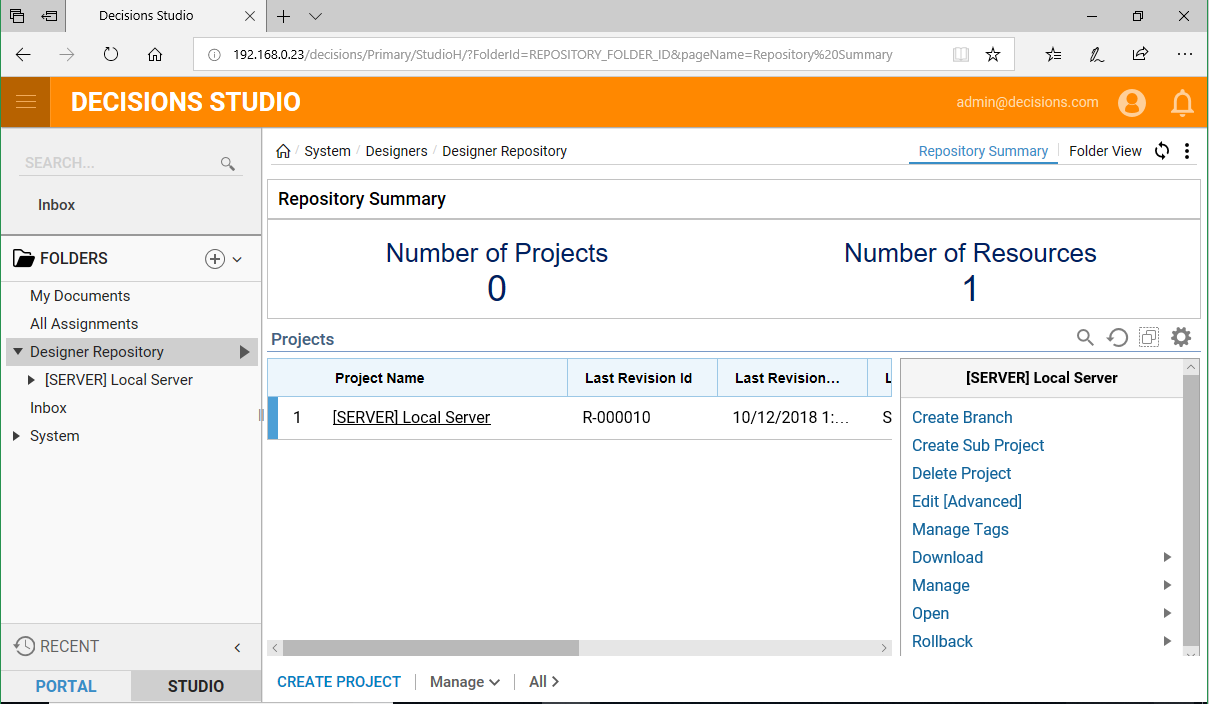
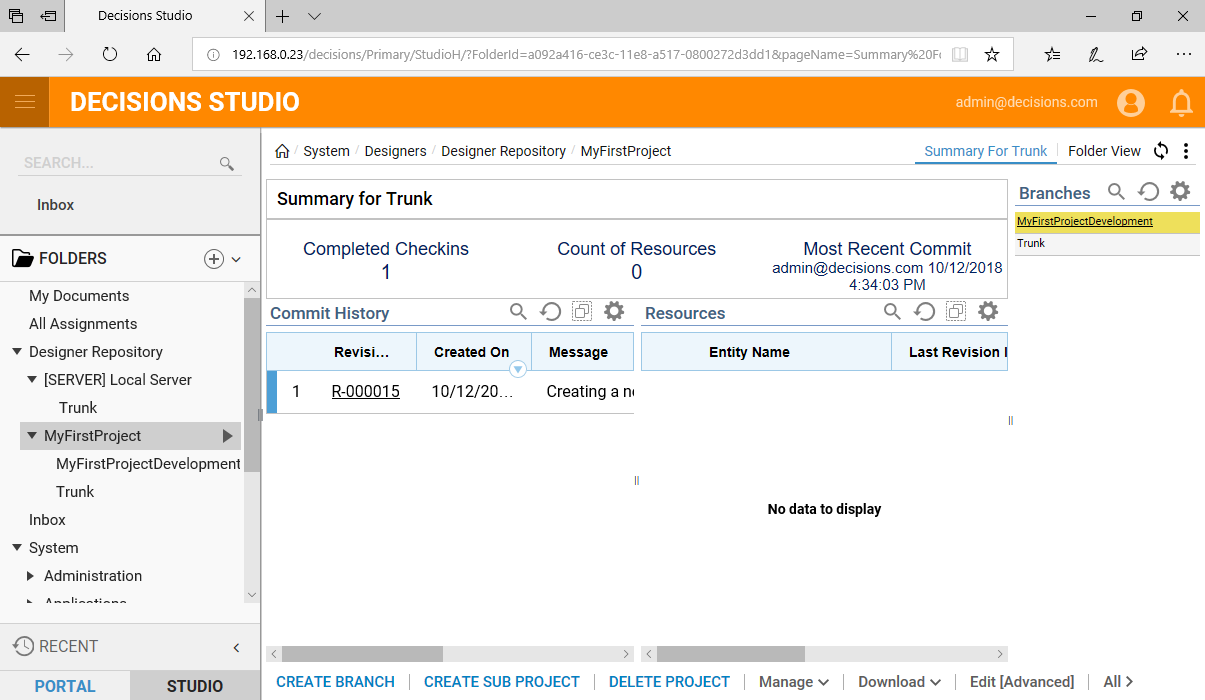
- Open the Project and view the Project Dashboard.
- Notice the Options for the selected Project on the right-hand panel: Create Branch, Create Sub Project, Delete, Download, Manage, Open, and Rollback.
Create Branch
To create a new Branch:
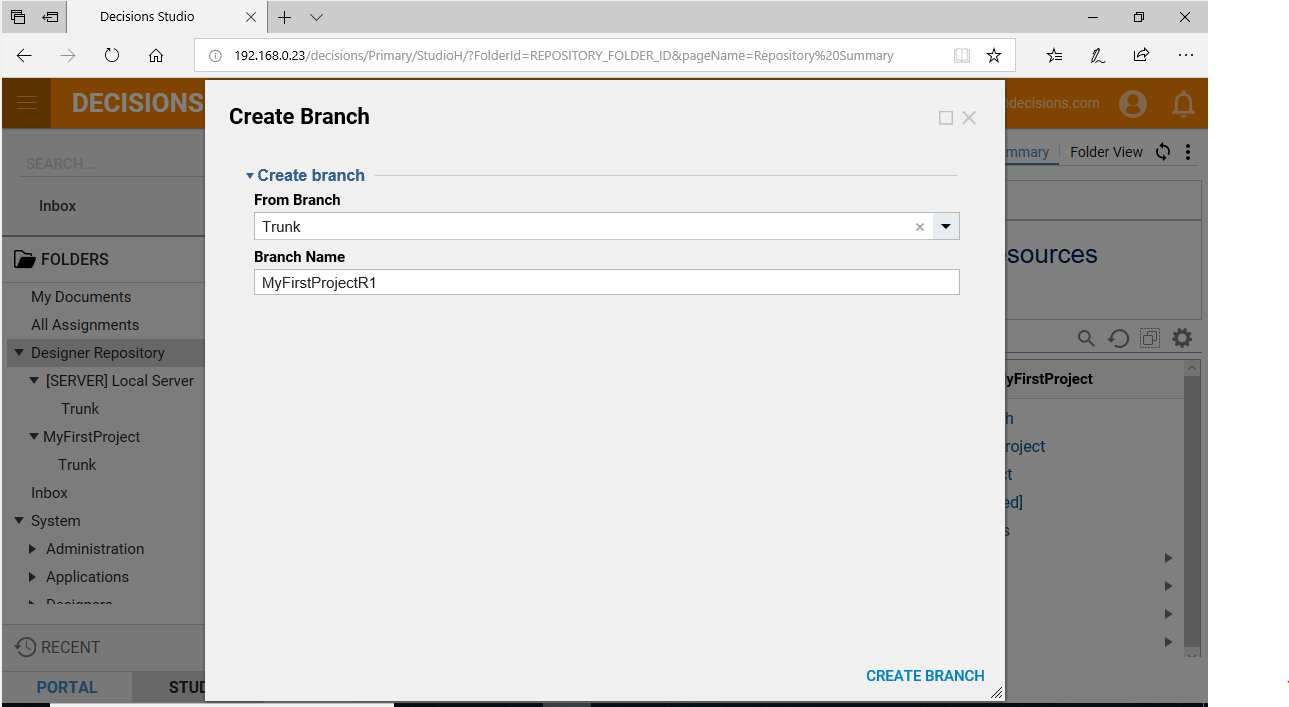
- From the Project Folder, click the CREATE BRANCH button in the bottom Action Bar.
- Select an option from the Branch drop down menu.
- Define the Branch Name, then click CREATE BRANCH.
Change Branches
Branches can be easily changed from the Repository Dashboard on the App Server. To do so:
- Navigate to System > Designers > Repository.The Repository Dashboard shows all module names available, along with which Branch the user is currently in under Branch Name.

- Right-click the module that contains the Branch being switched to.
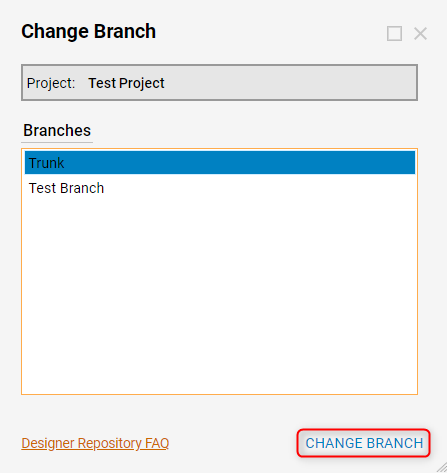
- Select Change Branch.
- Select the desired Branch.
- Click CHANGE BRANCH.

Create Sub Project
Creating Sub Projects under the main Project is useful when specific components of one Project may need to be used in another. Create a Global Project which hosts the Entities that can be shared and then have linked corresponding Sub Projects to it which will have access to the shared Entities.
To create a Sub Project:
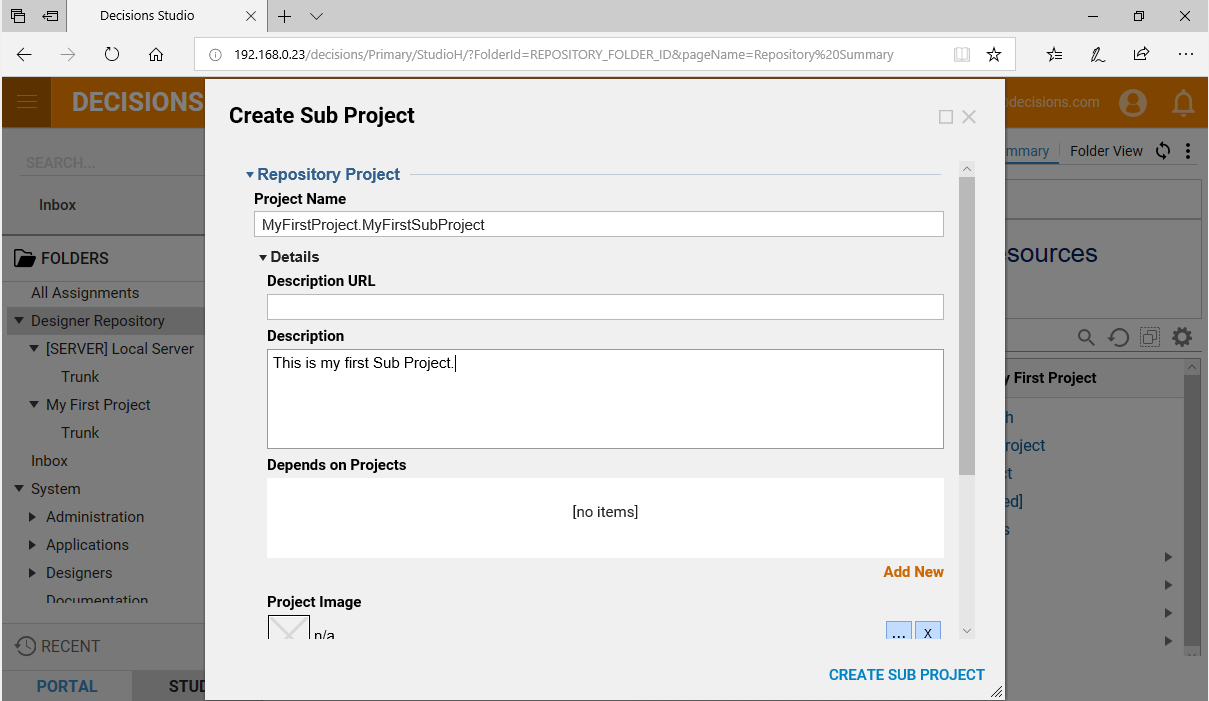
- Select the CREATE SUB PROJECT option from the right-side panel.
- Give the Project a Name and Description.
- Select CREATE SUB PROJECT.
Delete
Any Project can be deleted. To do so:
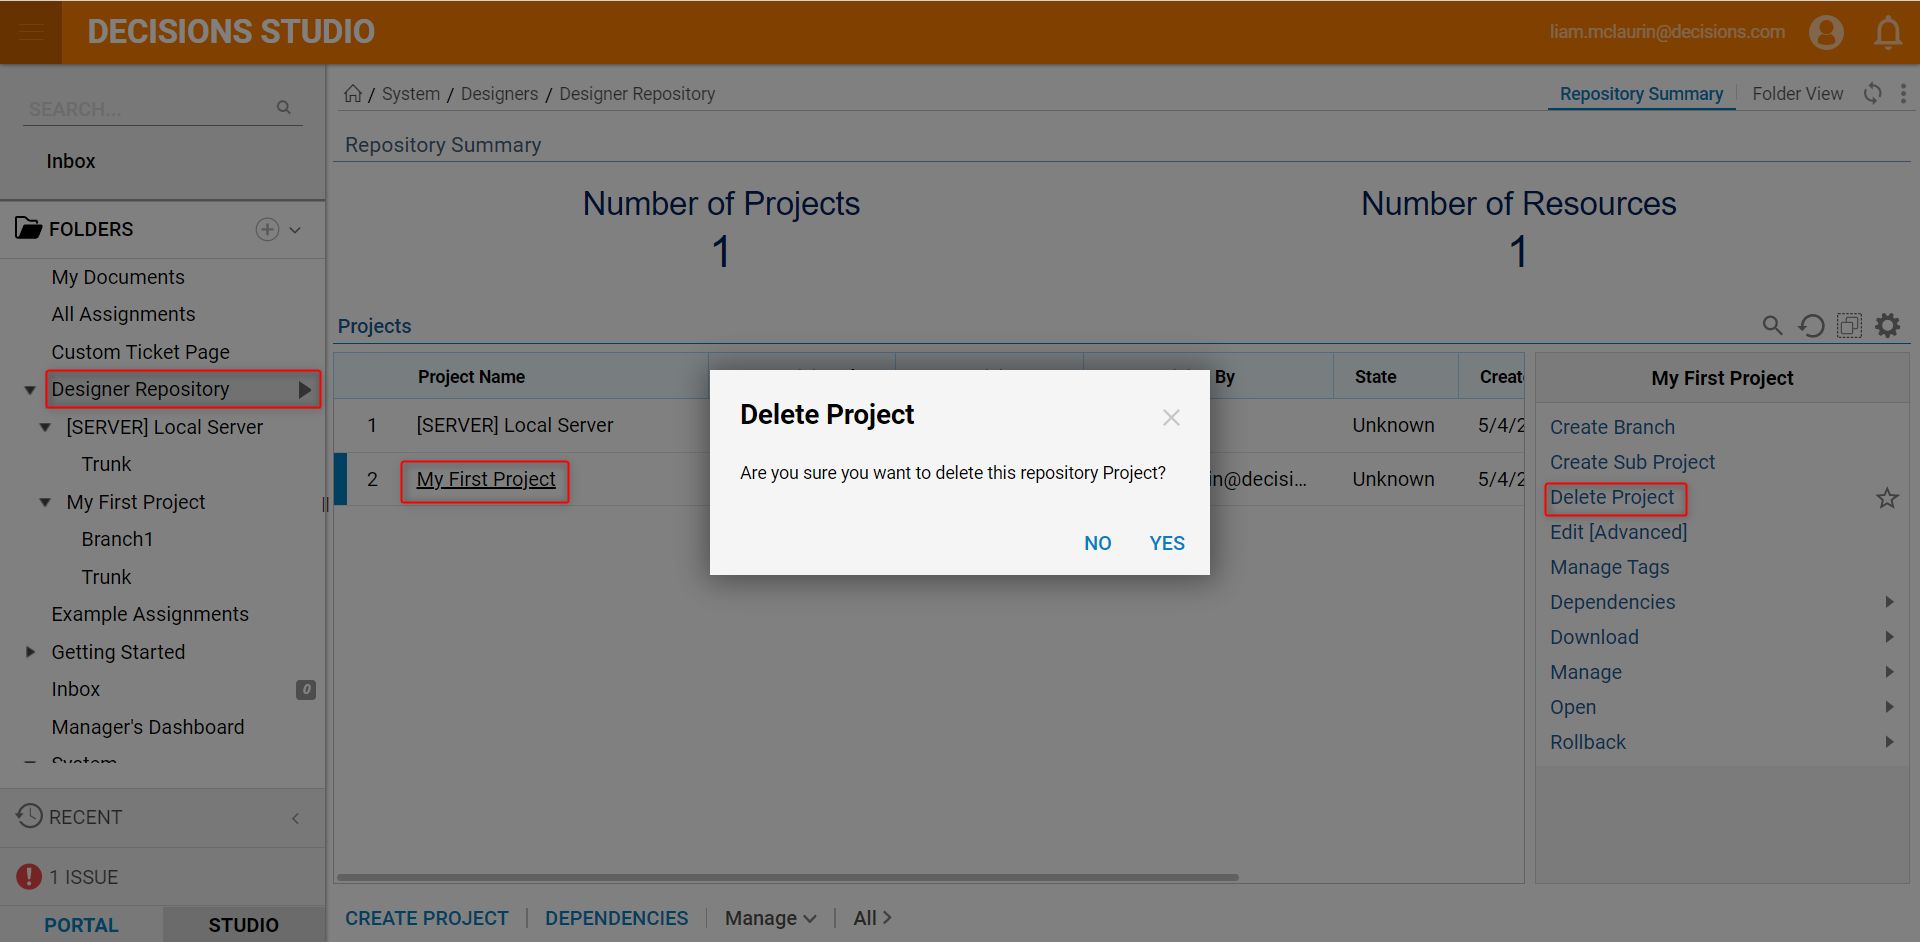
- Select the Project from the Designer Repository.
- Select the Delete Project option from the right-side panel.
- Click YES to delete the Project.
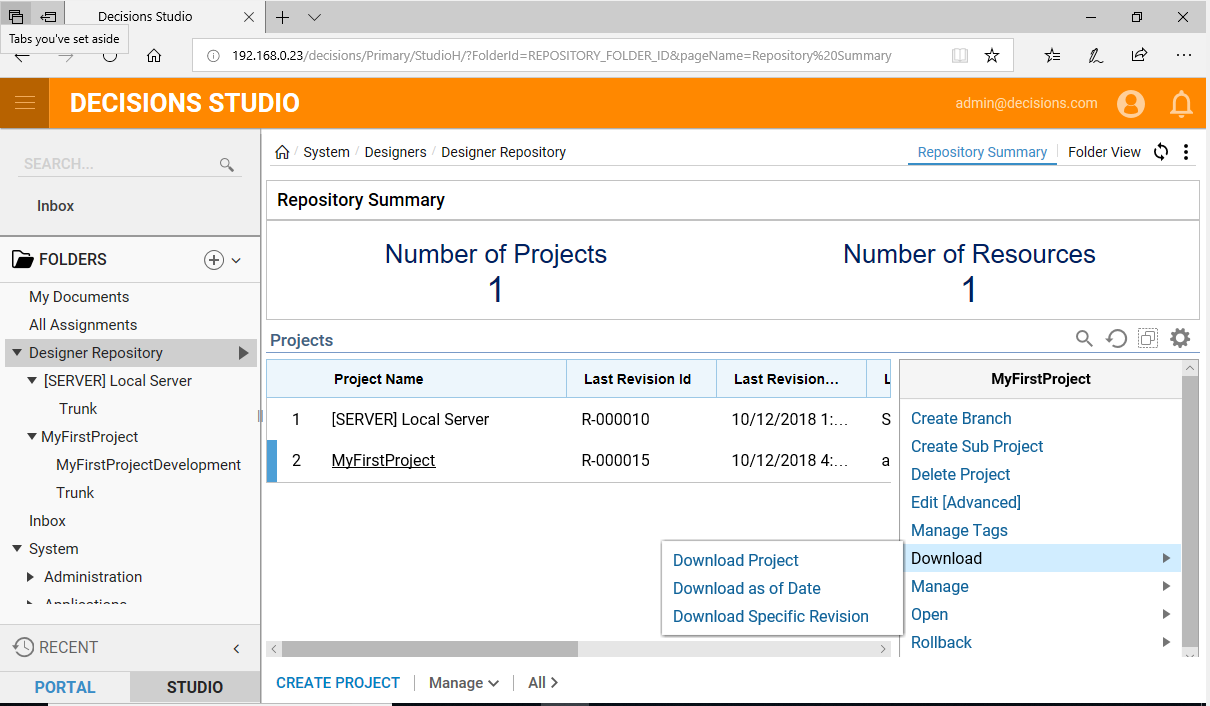
Download
Users can download a Project to store it for later use or as a backup copy to restore back to.
- Select the Download option from the right-hand side panel.
- Select the desired Project to download.
- Click OK.
- Click Download.
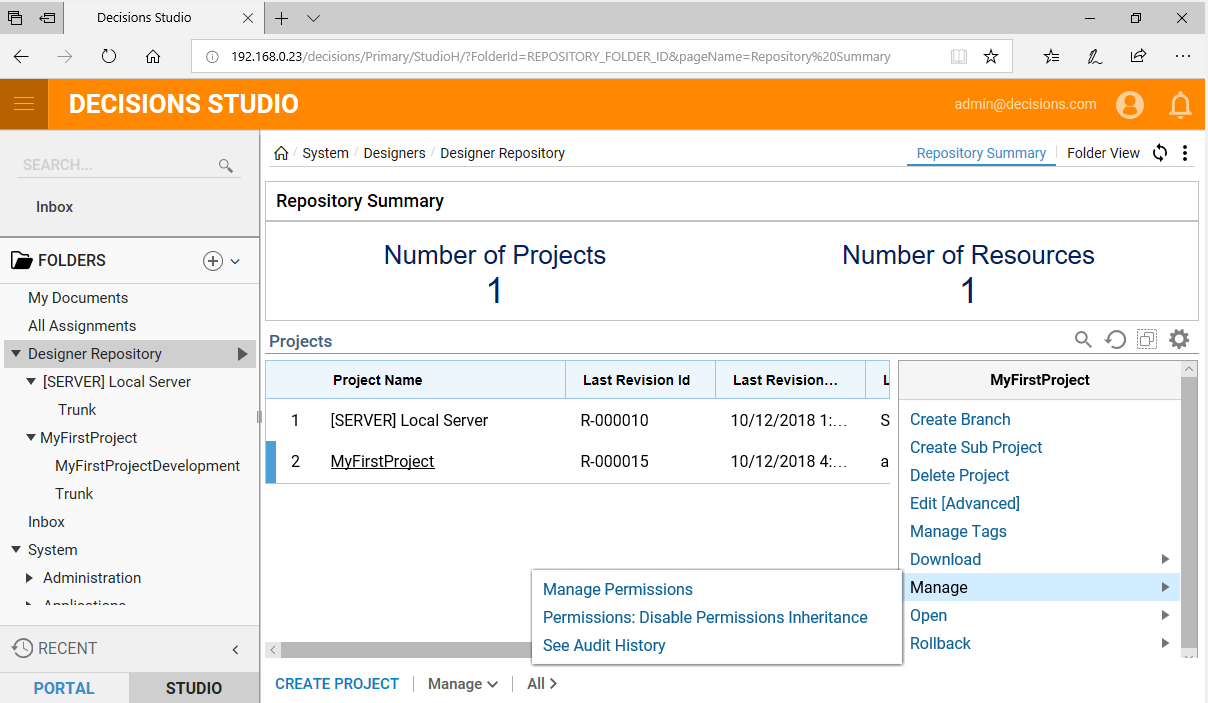
Manage
Under the Manage options, configurations are available to manage the Permissions related to the Project. Different User groups can be given access to a Project here or have access revoked. The Permissions Inheritance or See Audit History of the Project options are also available.
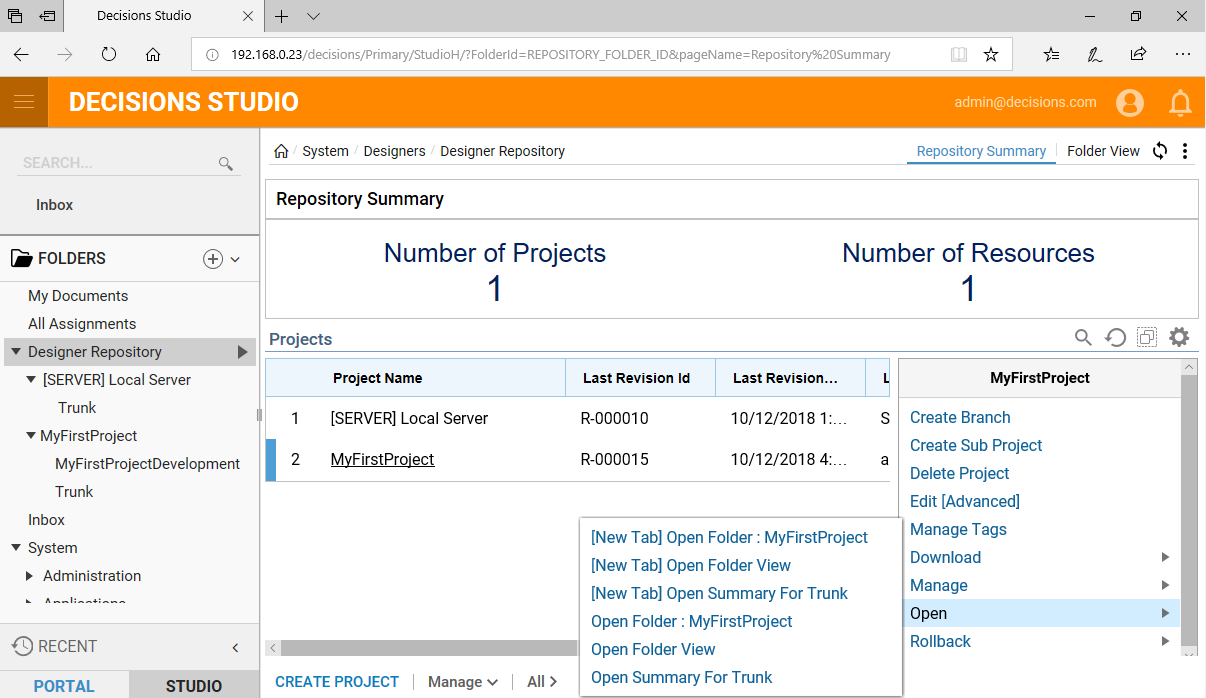
Open
Under the Open options, there are a few different ways to open & view the Project:
- Open the Folder View.
- Open the Project Folder itself.
- Or Open Summary For Trunk.
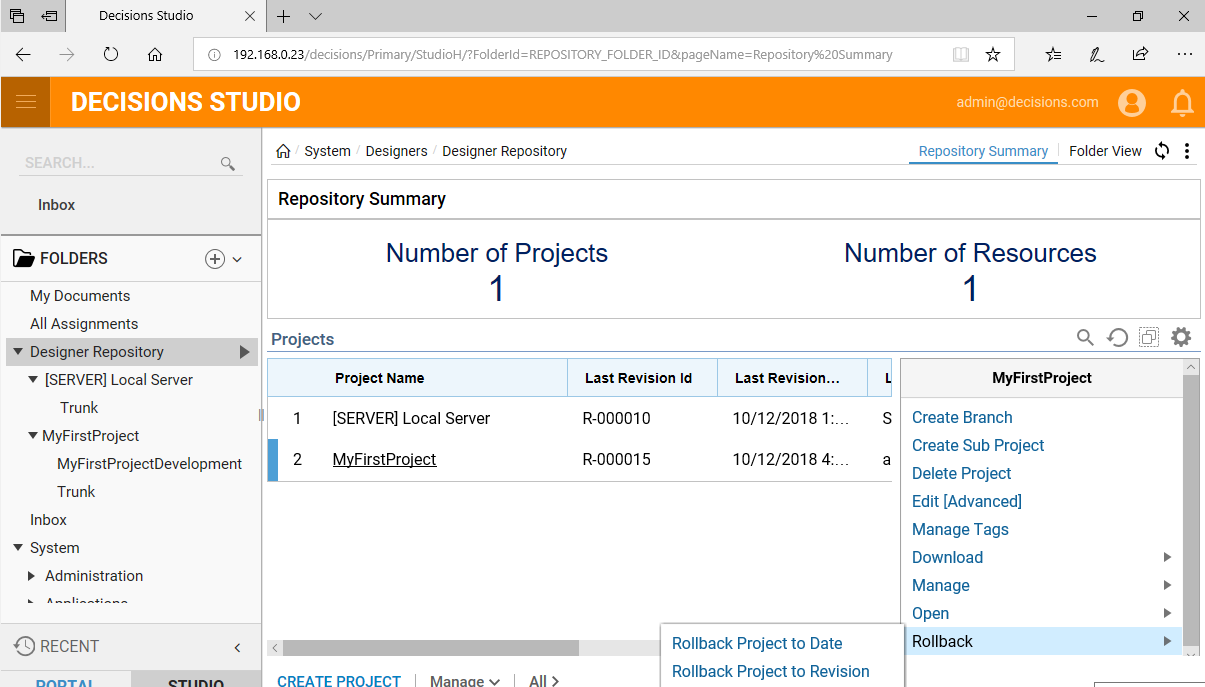
Rollback
Another action available is the Rollback action. From here there are two choices:
- Rollback to a specific Revision (version) of the Project.
- Rollback to whatever state the Project was at during a given moment in time.
Every time there is a change to the Project, a new Revision (state of the Project) is created, meaning the user can Rollback at any time to the desirable past state.
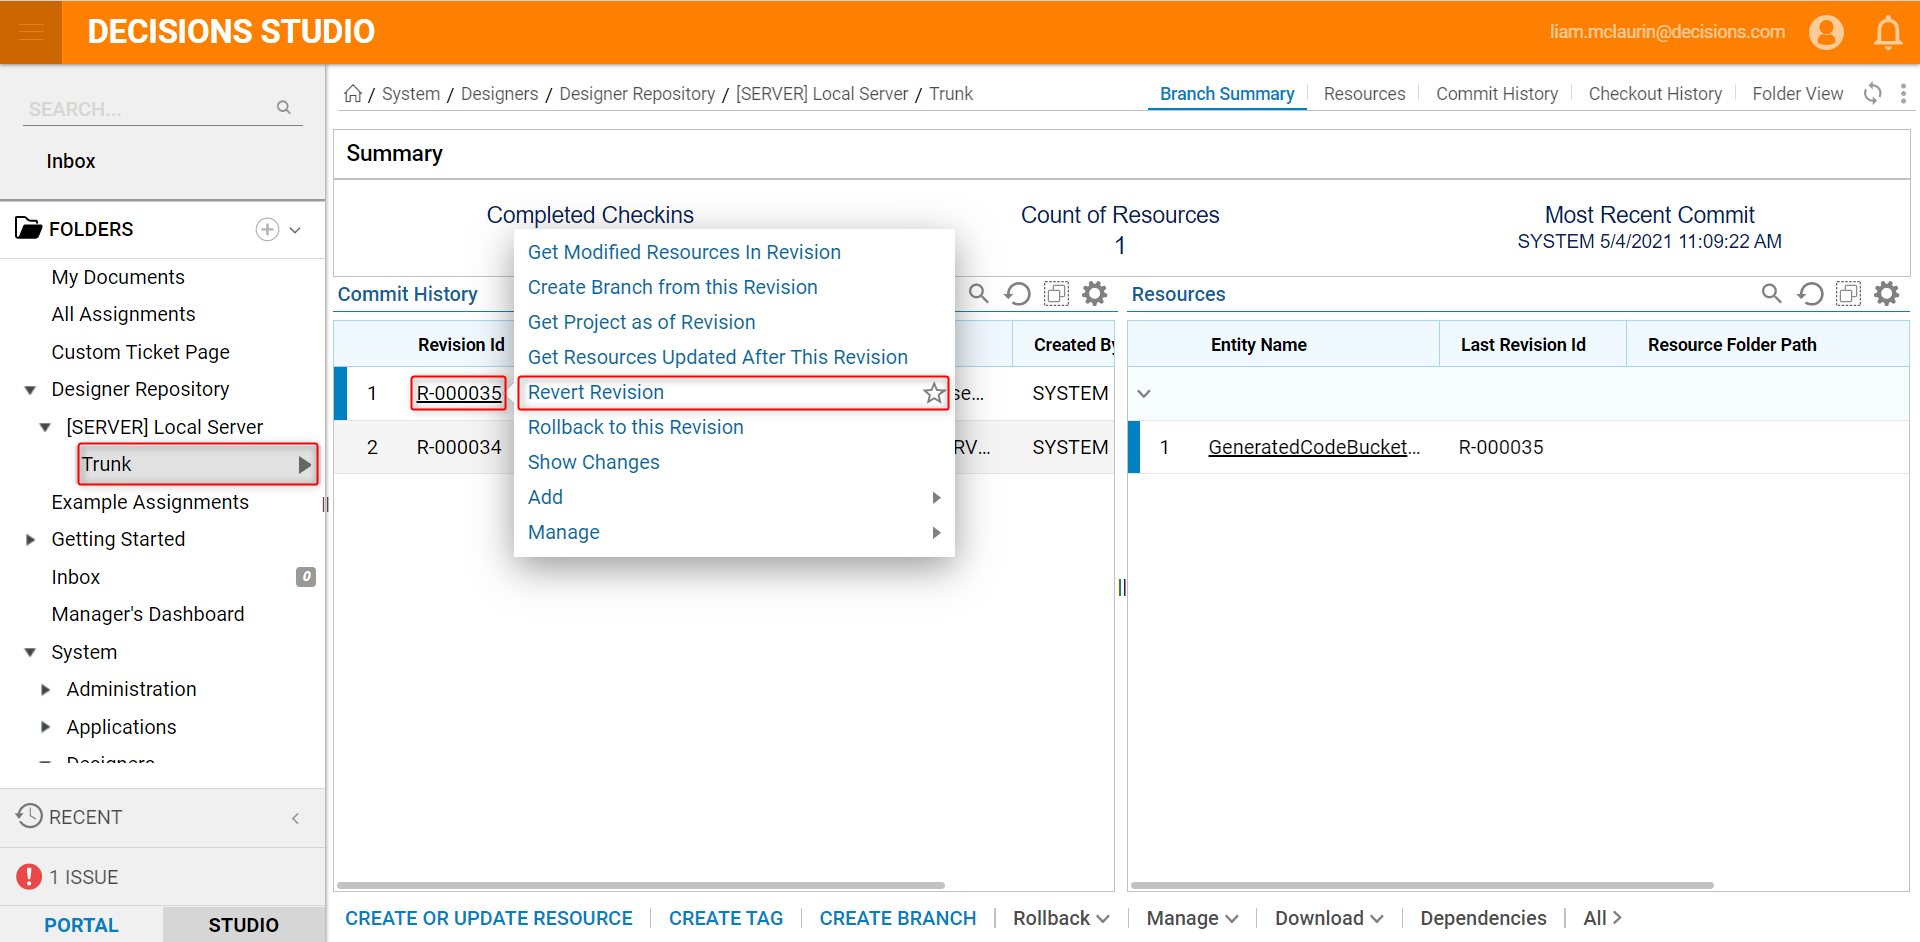
Revert Revision
The Revert Revision Action allows a user to mark all changes made by a revision as if it didn't happen. Any .decObj files uploaded as part of that check-in are skipped when determining what the latest copy of a resource is. Also, any resources marked as deleted by that revision have that deletion mark ignored.
- The Revert Revision Action can be found under Local Server > Trunk.
- Select the Revision Id and then Revert Revision.
Permissions
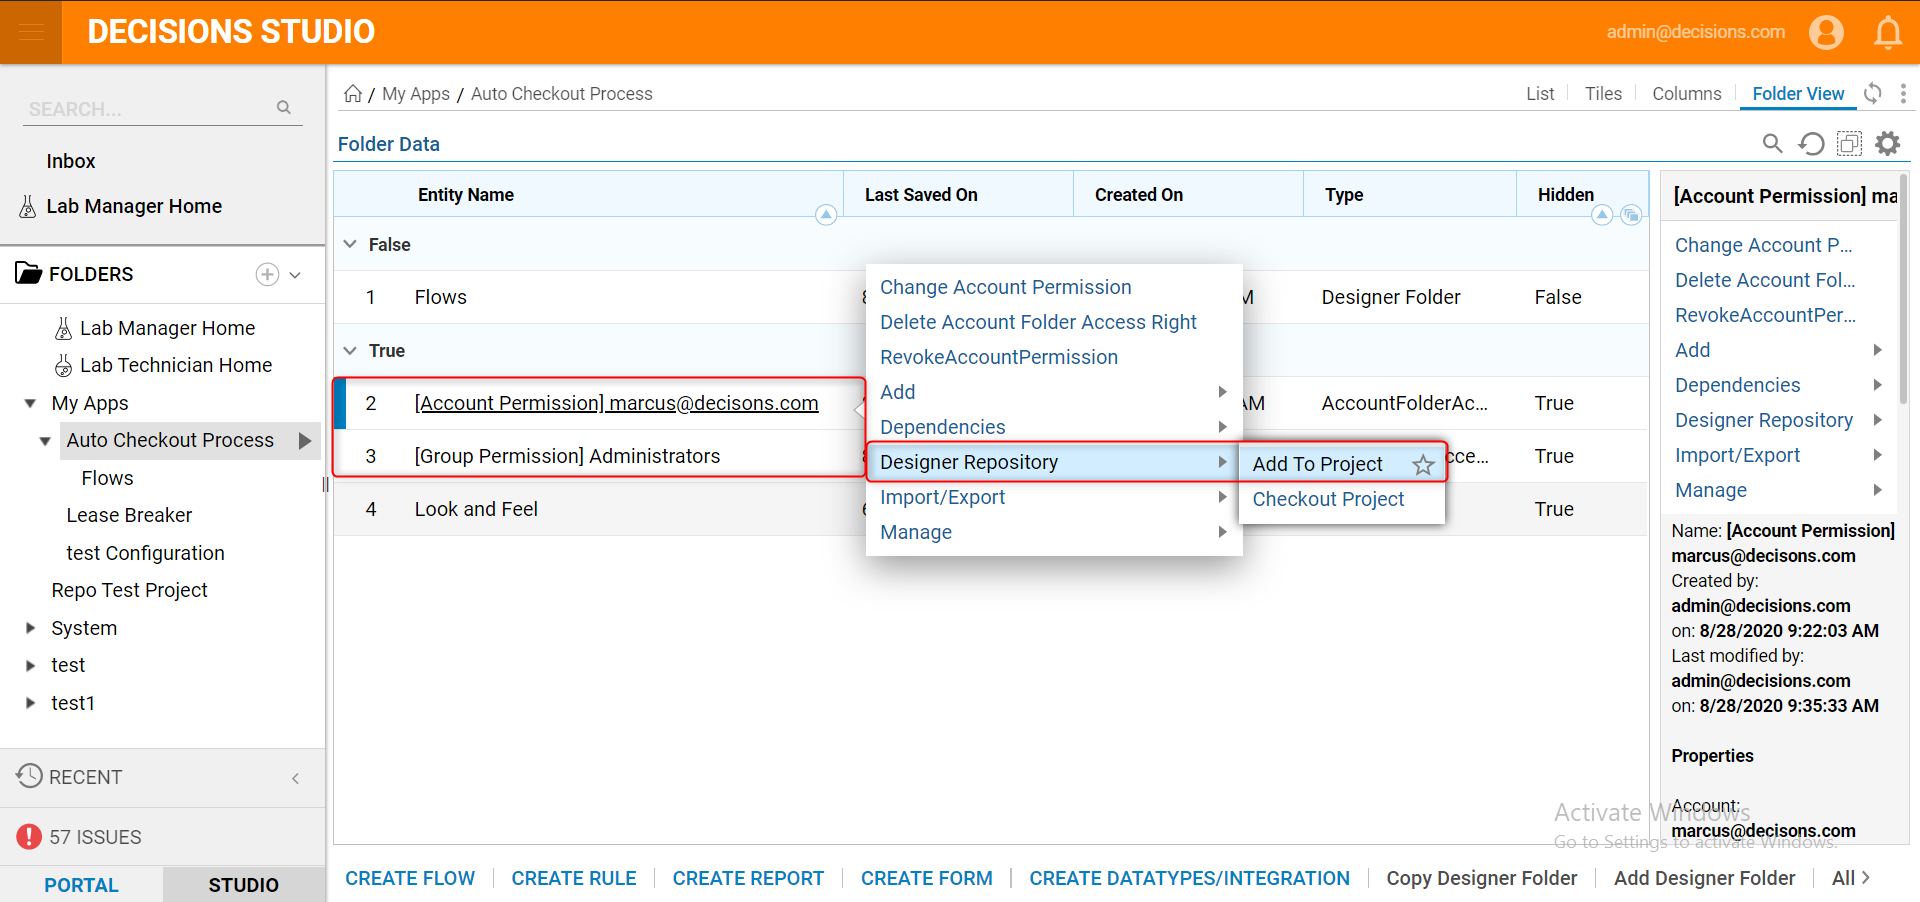
The Permissions that are set on the Folders in a Project are hidden items, which are not added to Projects by default. In order to add these Permissions to the Project
- Navigate to the Folder View of the Folder with the desired Permissions.
- Then, navigate to the Settings icon in the top-right corner.
- Select Change by Change Report, and select All Folder Items (with Hidden).
.png)
After finding the necessary permissions in the Folder Data list, right-click on the Entity and select Designer Repository > Add to Project.