Overview
In order to provide the ability to sign into a Decisions in a Multi-Tenant environment using SSO (Single Sign On), users may set up the OKTA/SAML Module on the InstanceDefaultSetupPrototype. The following document demonstrates how to properly set up this Module properly for use in a Multi-Tenant environment.
Prerequisites
The following document requires that the user has a Multi-Tenant environment setup with a linked Administrative Account and is part of a multi-part series.
To configure a Multi-Tenant environment, please start from About Multi-Tenancy article and proceed with the rest of the series, starting at Multi-Tenant Setup.
To configure a Multi-Tenant environment, please start from About Multi-Tenancy article and proceed with the rest of the series, starting at Multi-Tenant Setup.
Installation
To setup OKTA/SAML Module on a Multi-Tenant Instance:
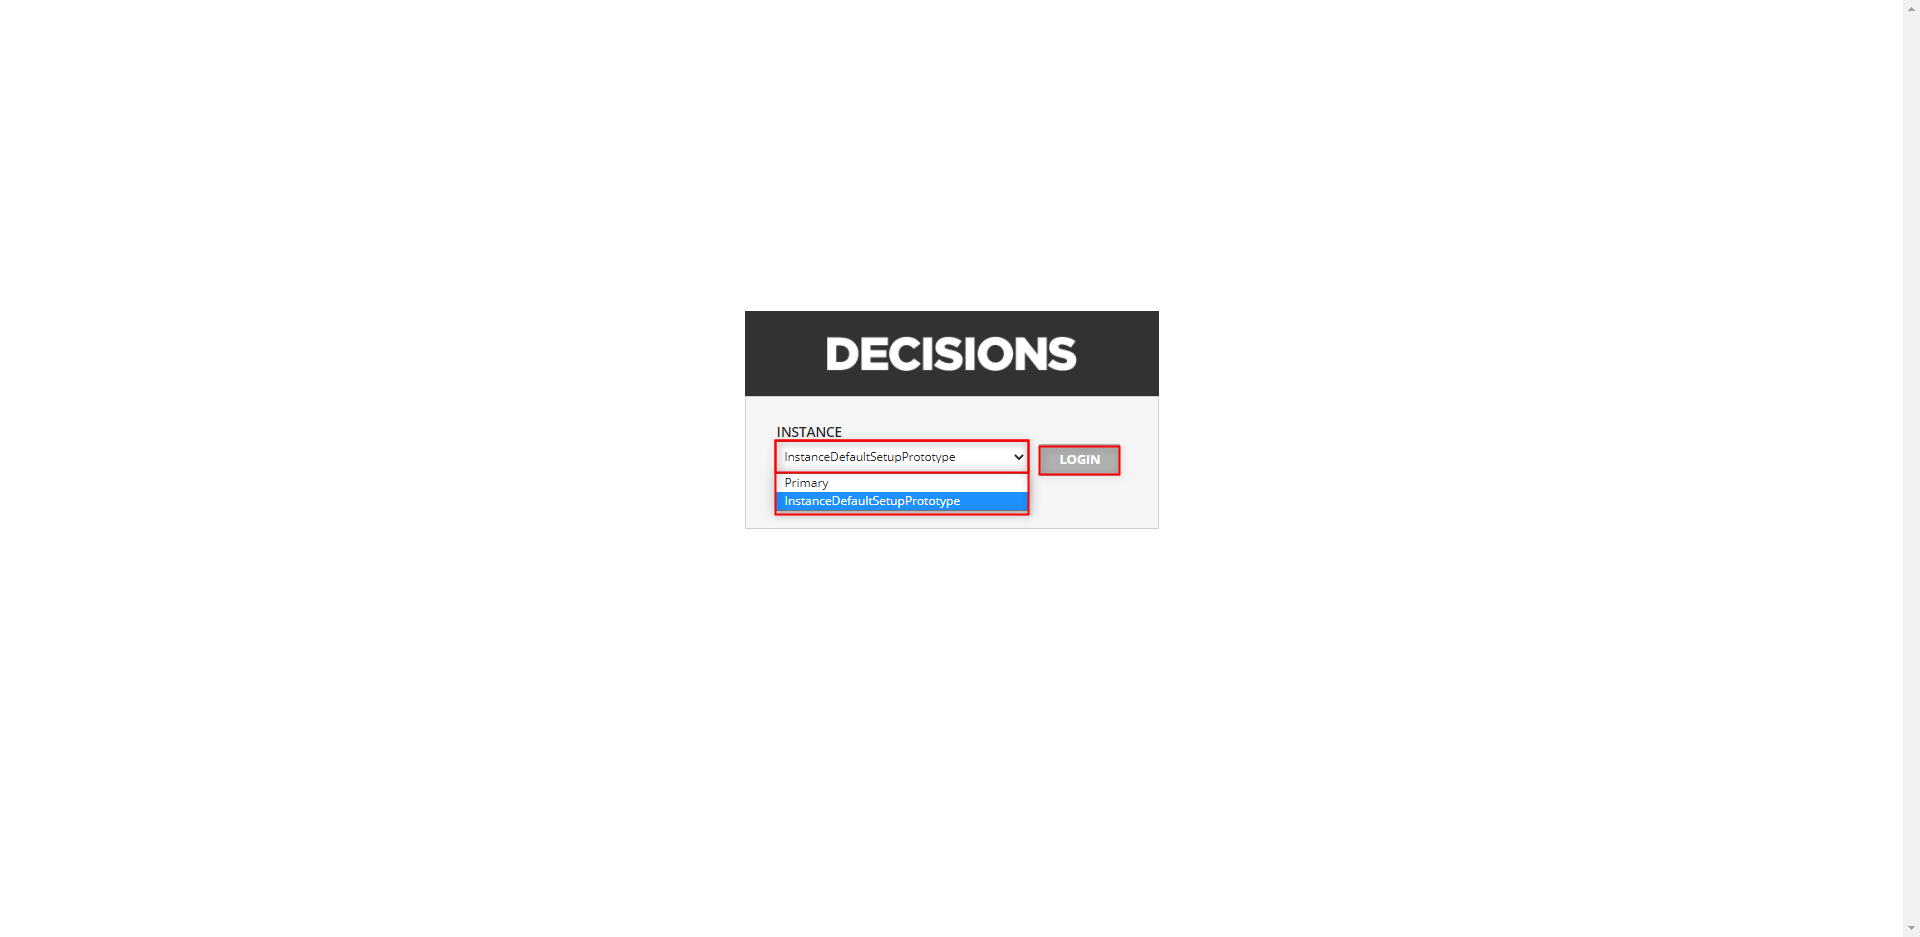
- Login into the InstanceDefaultSetupPrototype with its associated administrative Account.
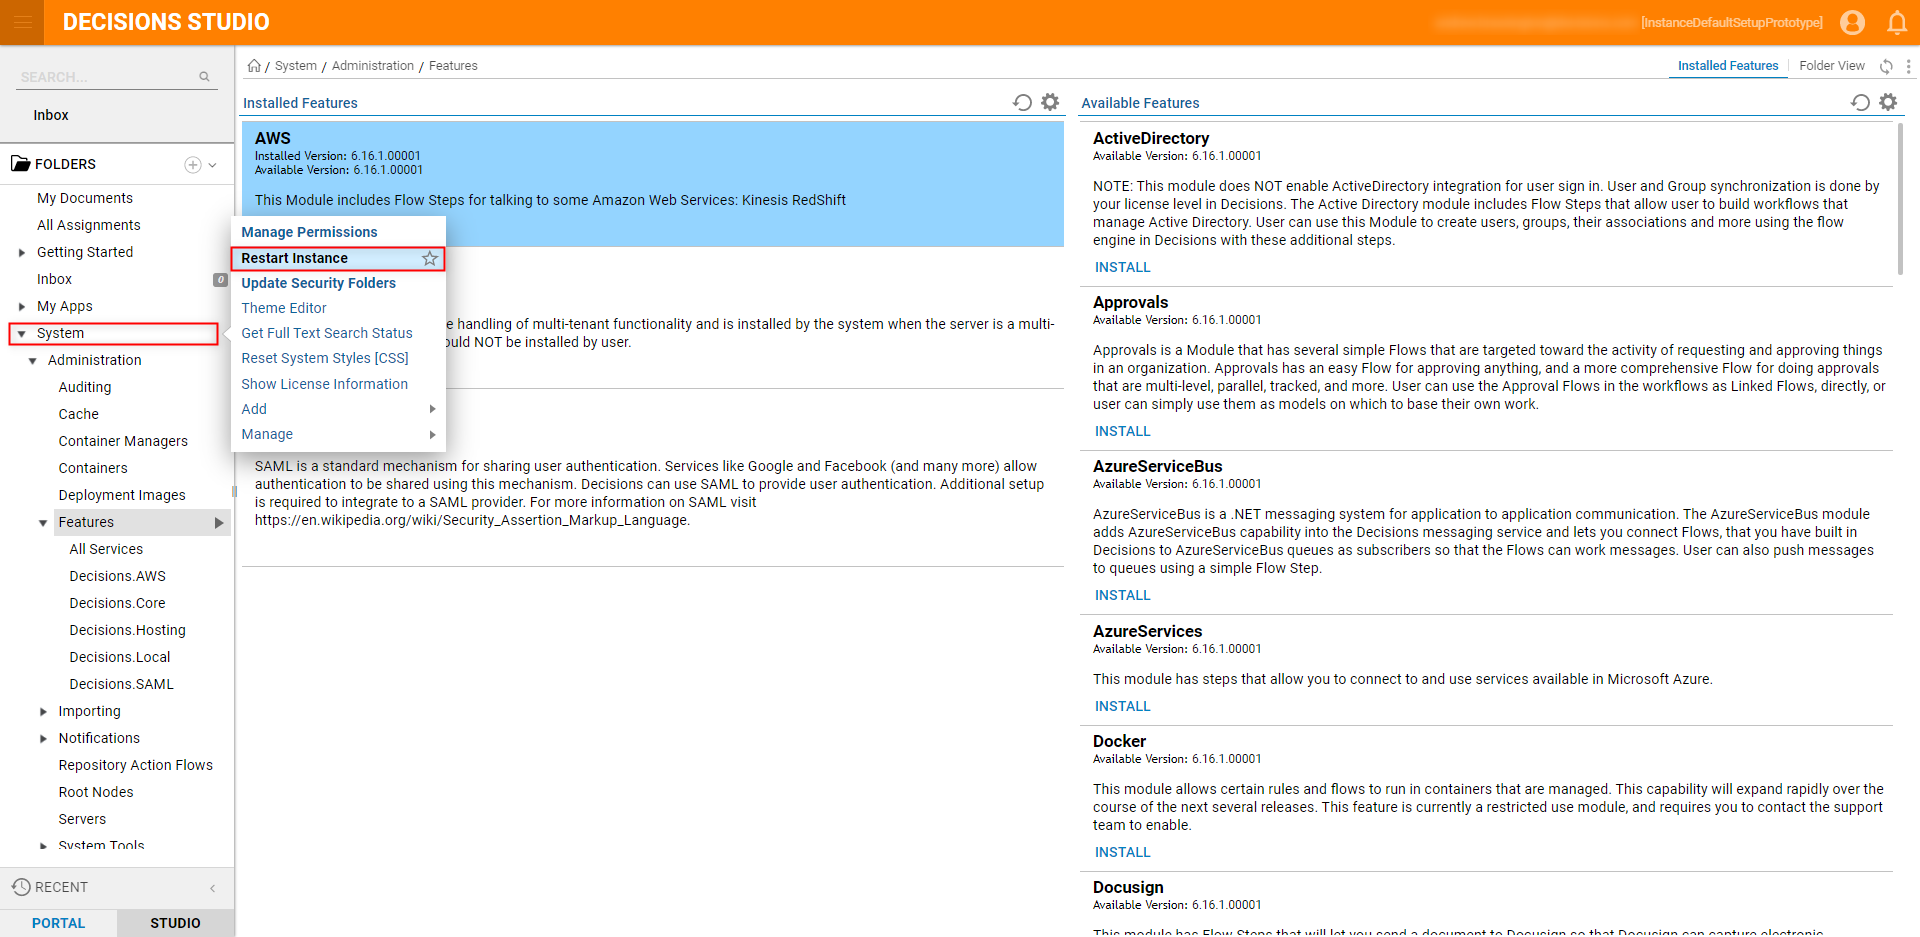
- From the Decisions Studio, navigate to System > Administration > Features.
- Locate SAML from the Available Features list, click INSTALL, and confirm the installation by clicking YES.
.png)
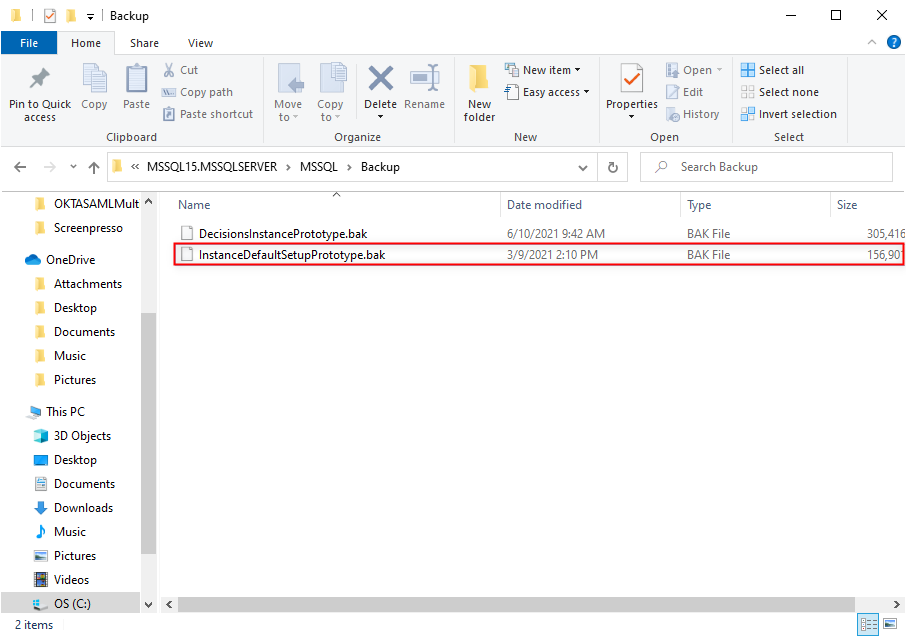
- After the Module installs, on the File System, navigate to C:\Program Files\Microsoft SQL Server\MSSQL[VERSIONNUMBER].MSSQLSERVER\MSSQLL\Backup and delete the InstanceDefaultSetupPrototype.bak file. Additional Info on BackupsIf the user wishes to save current settings, the Backup file may be moved to a separate location and used as a restoration instead of deleted.
Navigate back to the Decisions Studio on the Prototype Instance. Then, right-click the System Folder, select Restart Instance. then RESTART.
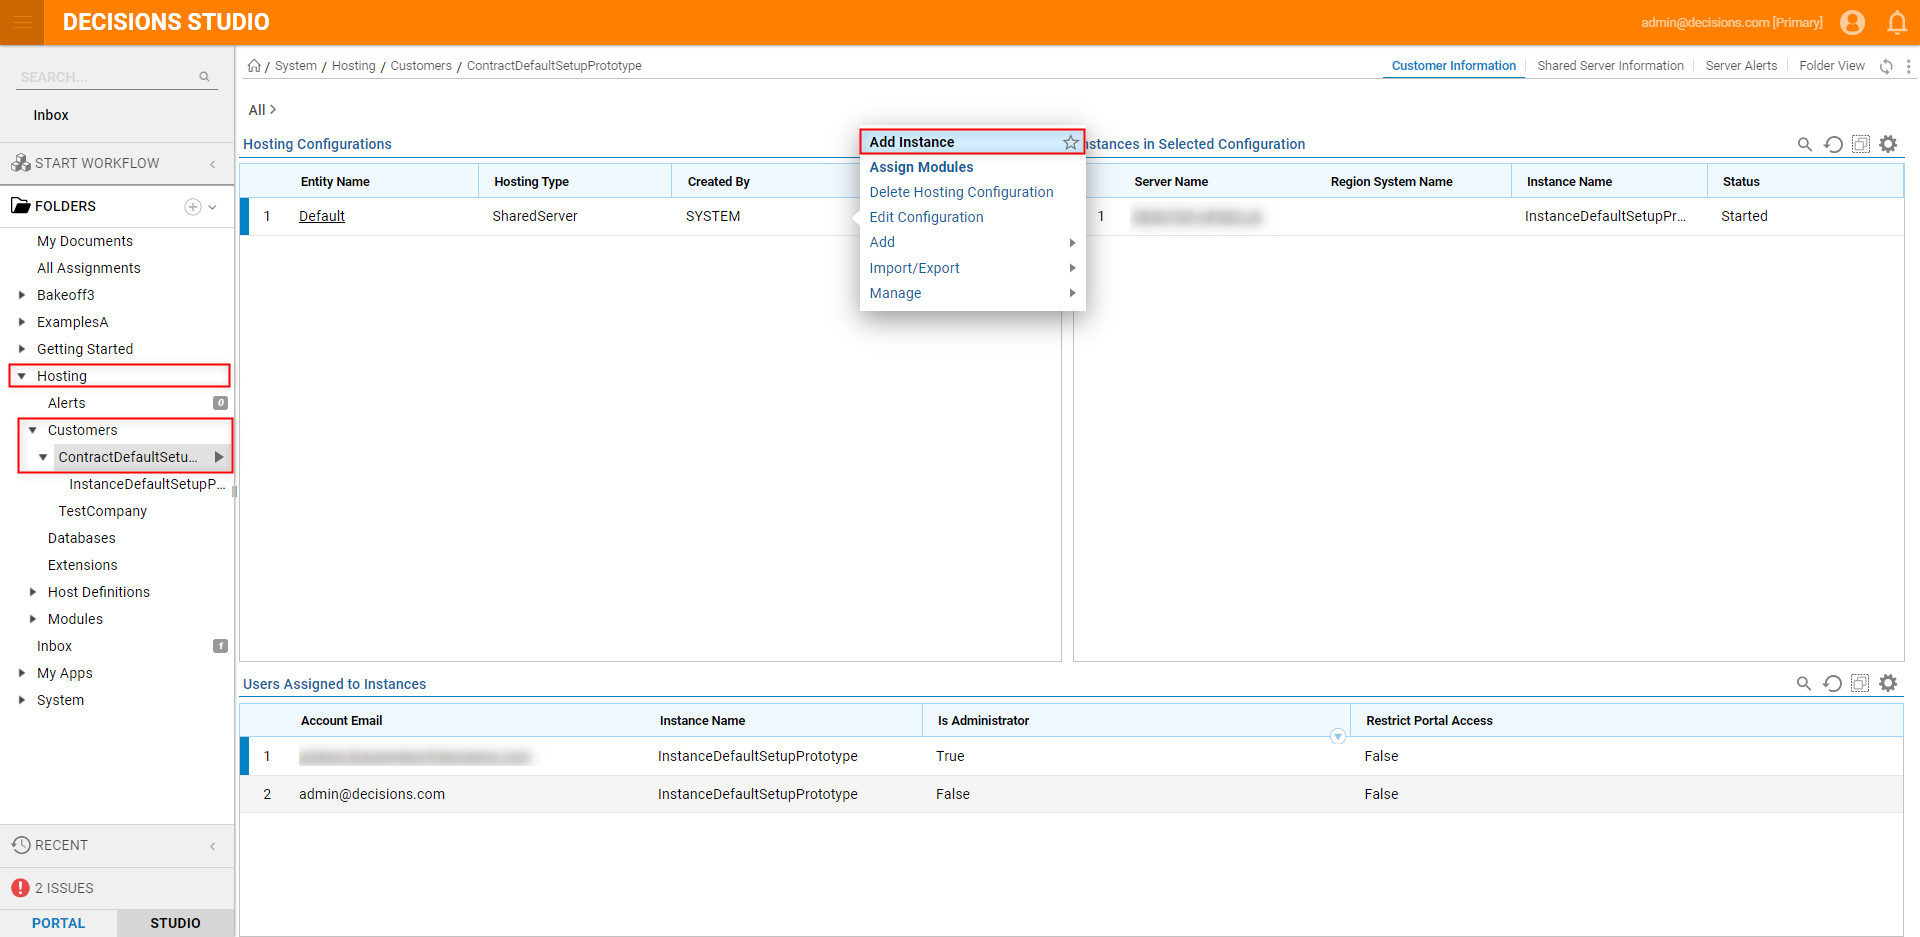
Navigate back to Hosting > Customers > ContractDefaultSetupPrototype on the Primary Instance. Right-click the Default Hosting Configuration and select Add Instance.
From the Add Instance screen, define the Instance, then click ADD INSTANCE.
Additional Information on Add InstanceFor more information on adding an Instance to a Multi-Tenant environment, see Adding an Instance in Multi-Tenancy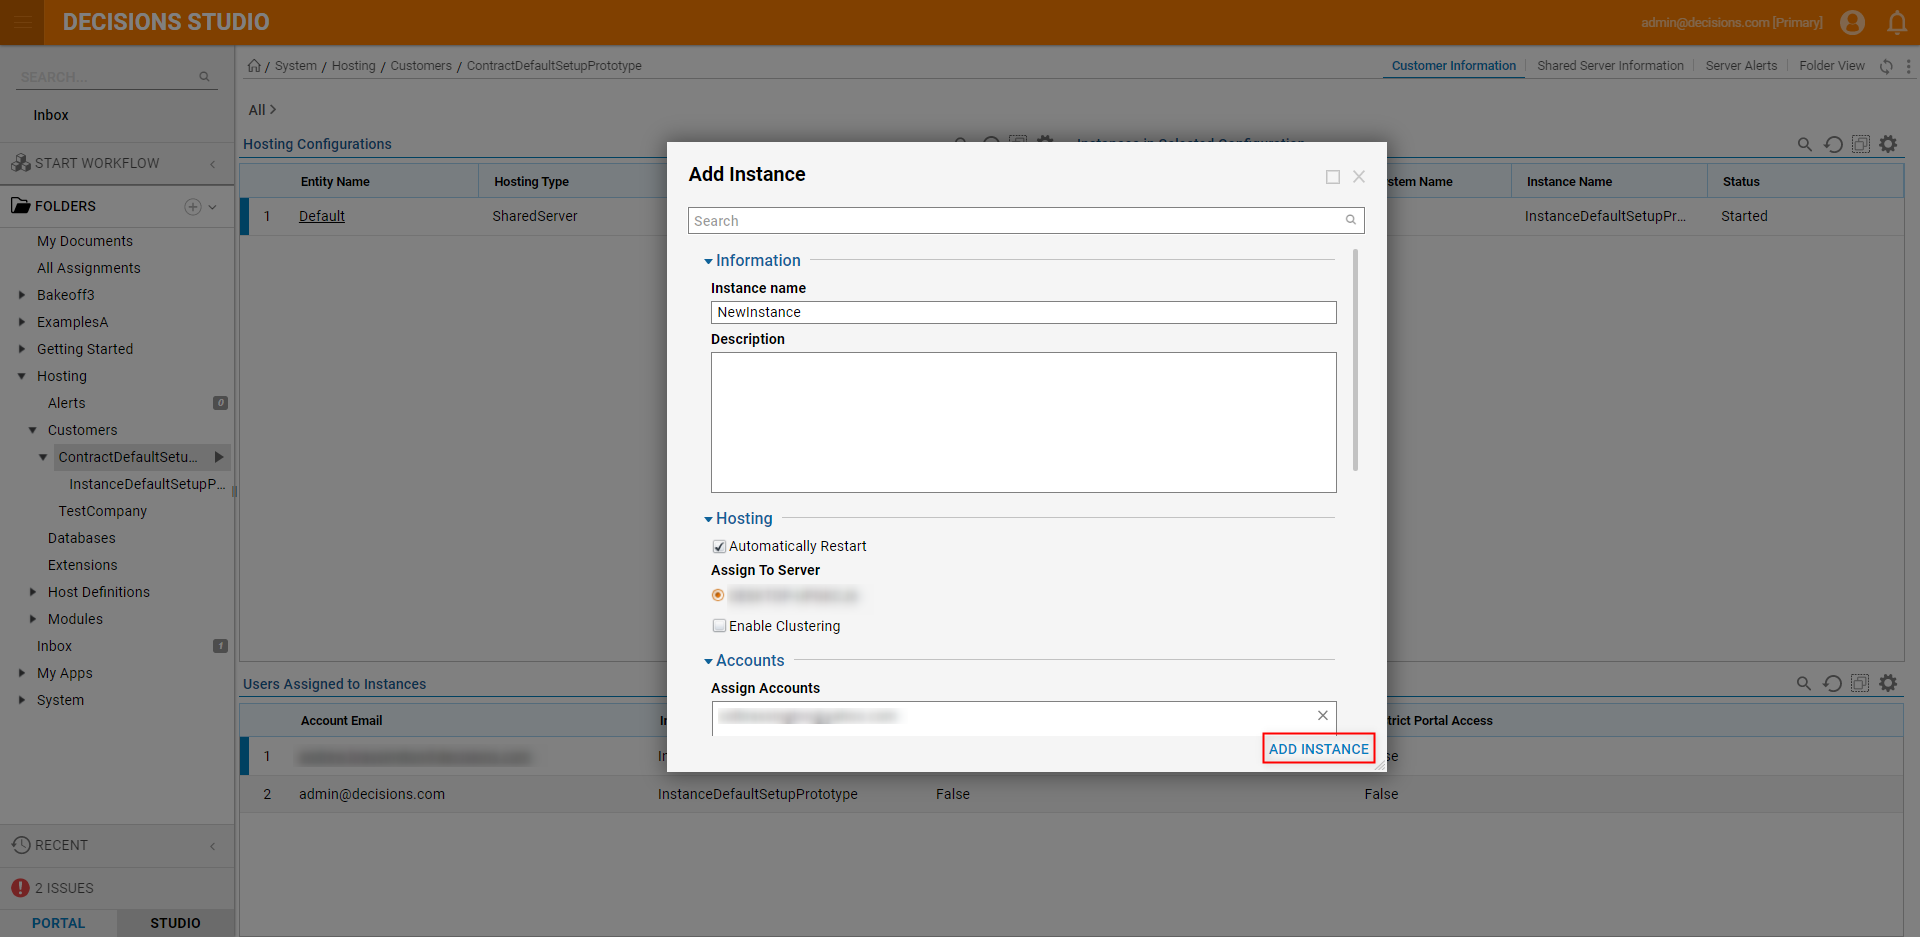
- Right-click the newly added Instance and select Control Instance > Start.
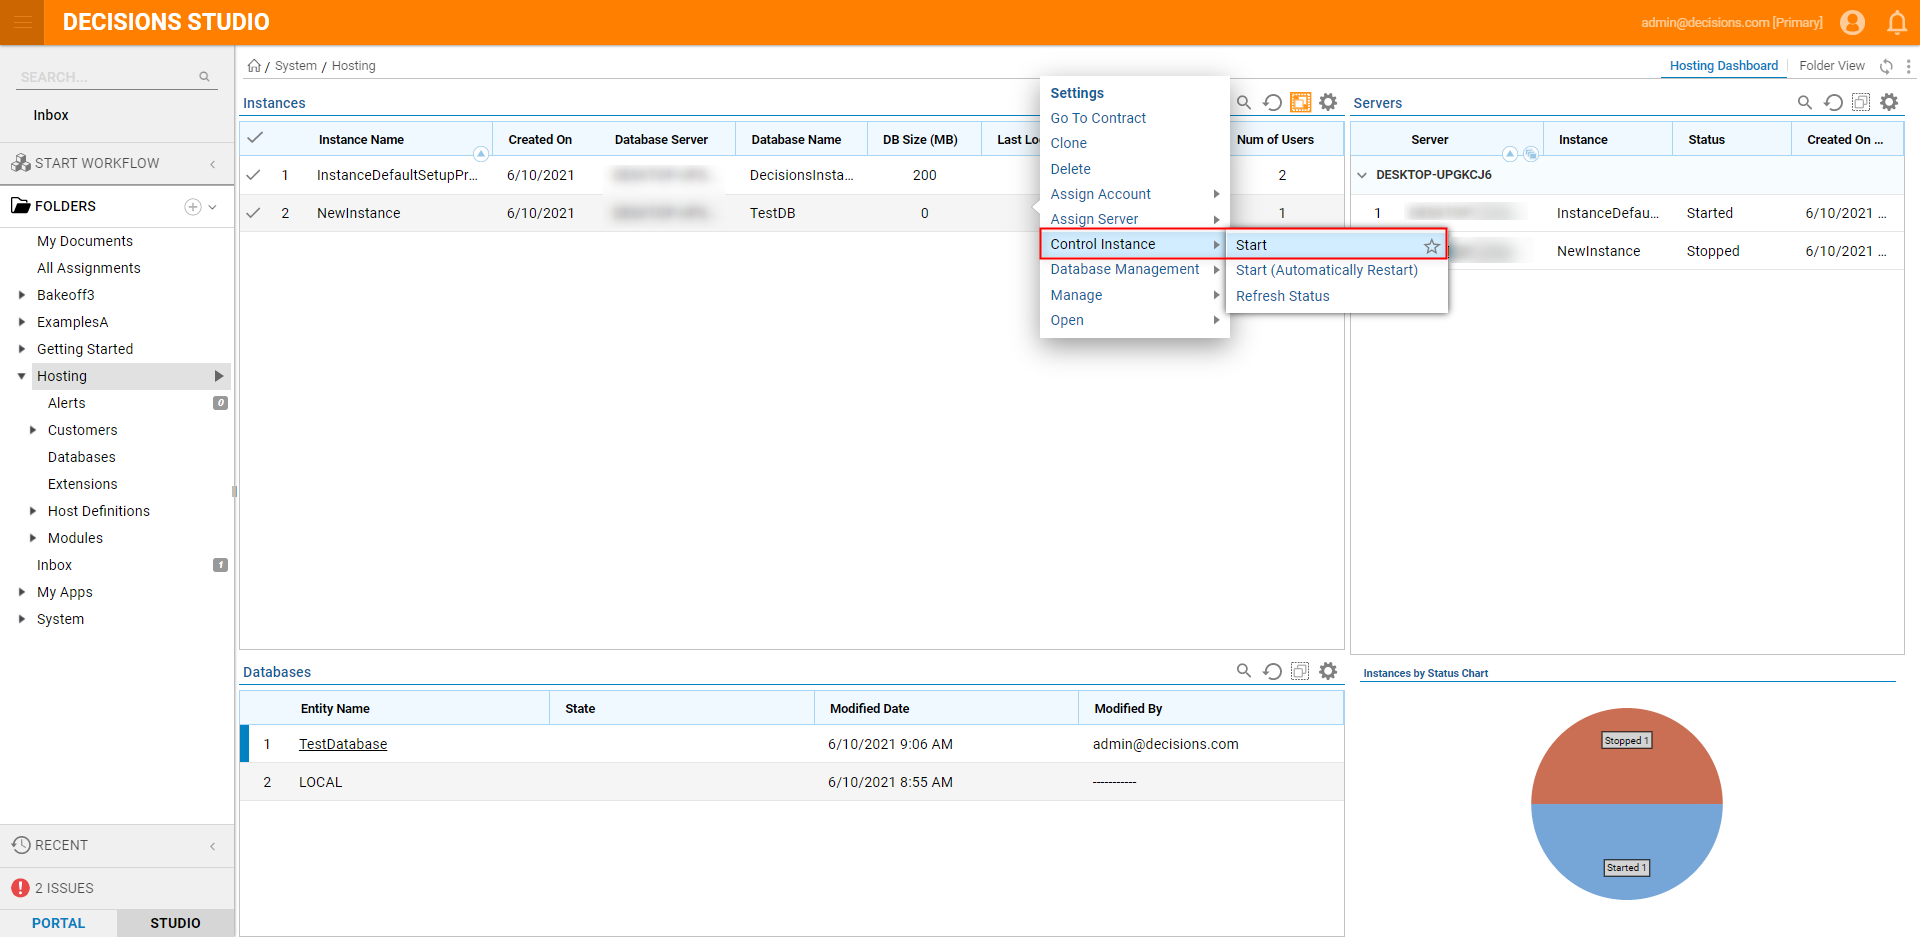
- Once the Instance's status changes to Started, login to the Account affiliated with the Instance. Then, navigate to System > Administration > Features to verify that the Instance has the SAML Module preinstalled.
.png)