Overview
By utilizing Email steps in Decisions, Designers may use a WorkFlow to send an email to the desired recipient with their desired configurations. The Send Email step allows the user to designate the To and From email addresses, as well as a Subject and Body. Additionally, the Send Email step allows the user to add attachments to the email. The Send Email step can be found in the Steps > Favorite Steps section or in the Steps > Communication > Email category.
Email Attachment Size Limits
Attachments sent using the Send Email step will have size limits that are not specific to the platform and are defined by the SMTP server.
The following example requires proper SMTP configuration to successfully send an Email. For more information regarding SMTP configuration, see Modifying an Application Servers SMTP Settings documentation.
Example
The example Flow will send an email composed of a few static variables. In most circumstances, emails are generated from dynamic variables, such as when sending emails to a list of recipients.
- Begin by navigating to a Designer Folder and selecting the CREATE FLOW button from the bottom Action Panel.
- In the resulting Create Flow window, select and name the default Flow [Sending Email Flow].
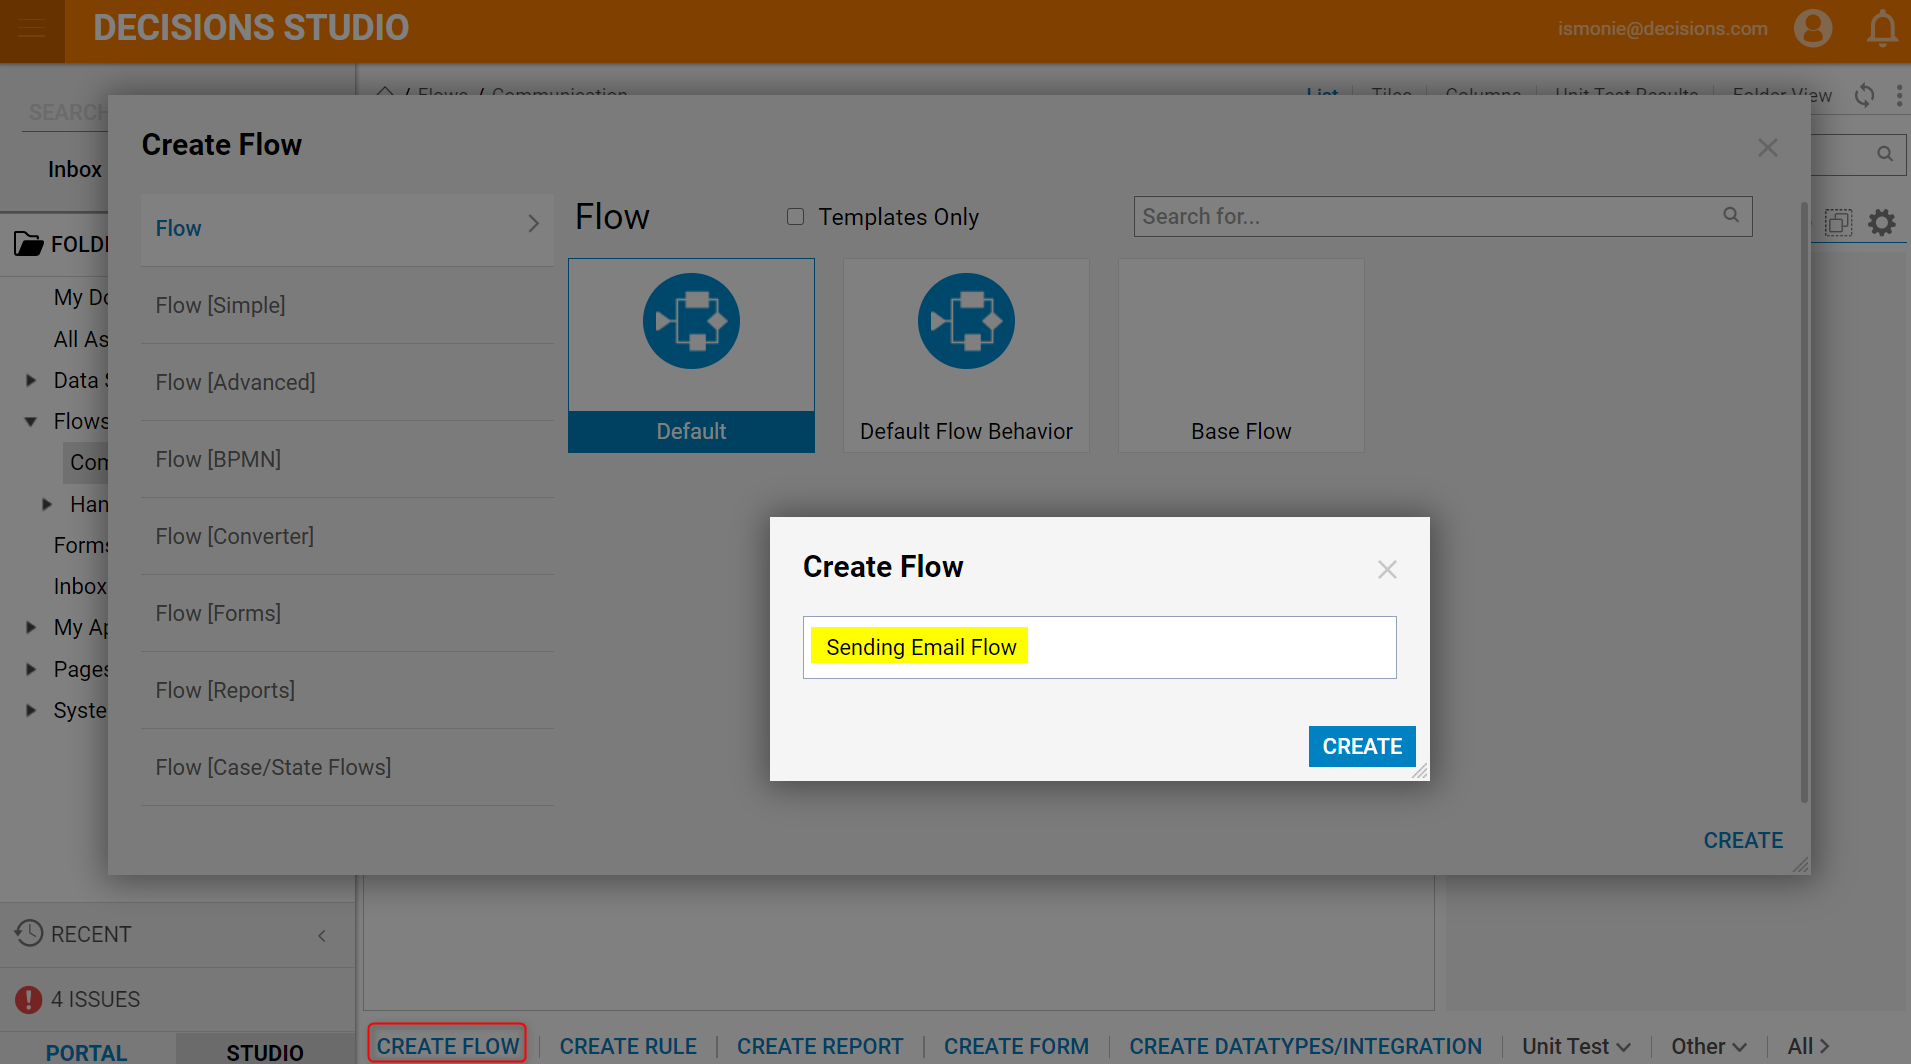
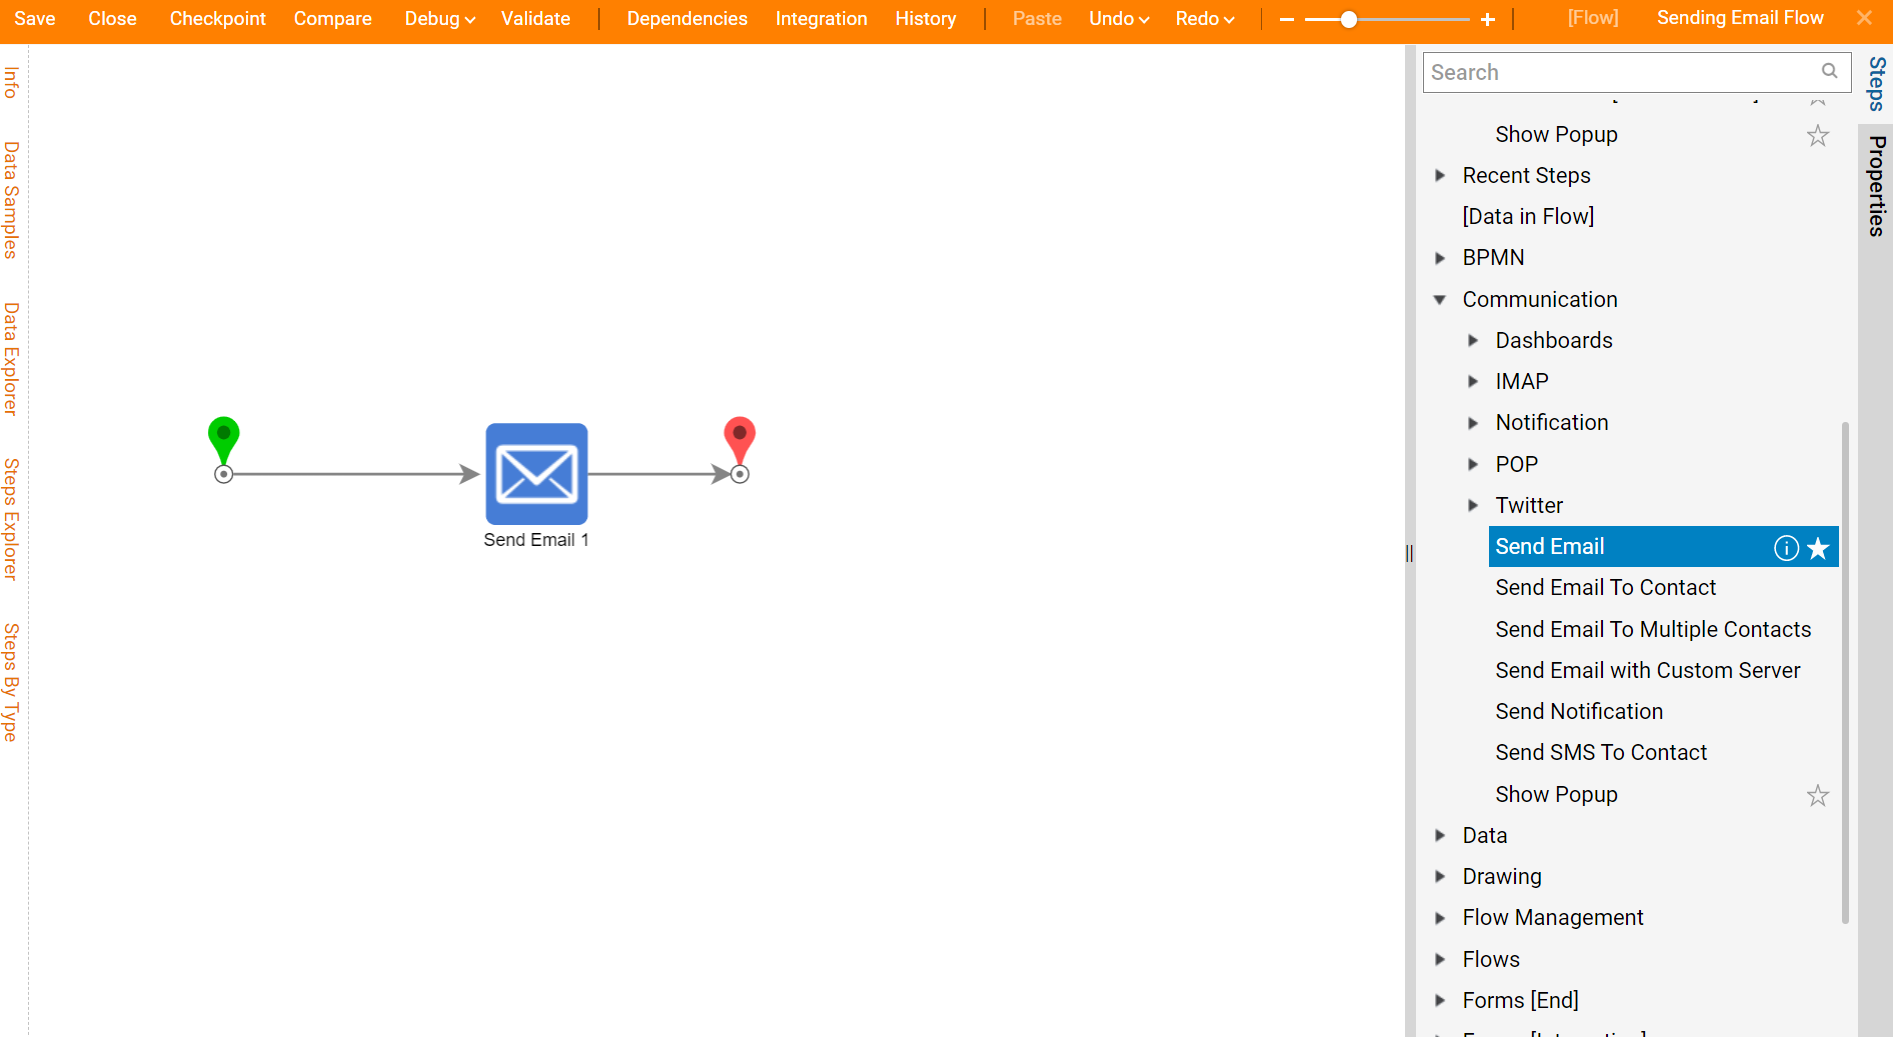
- In the Flow Designer, navigate to the Steps [Catalog] > Communication category and select a Send Email step and add it to the workspace.
- Connect the Send Email step to the Start and End steps.
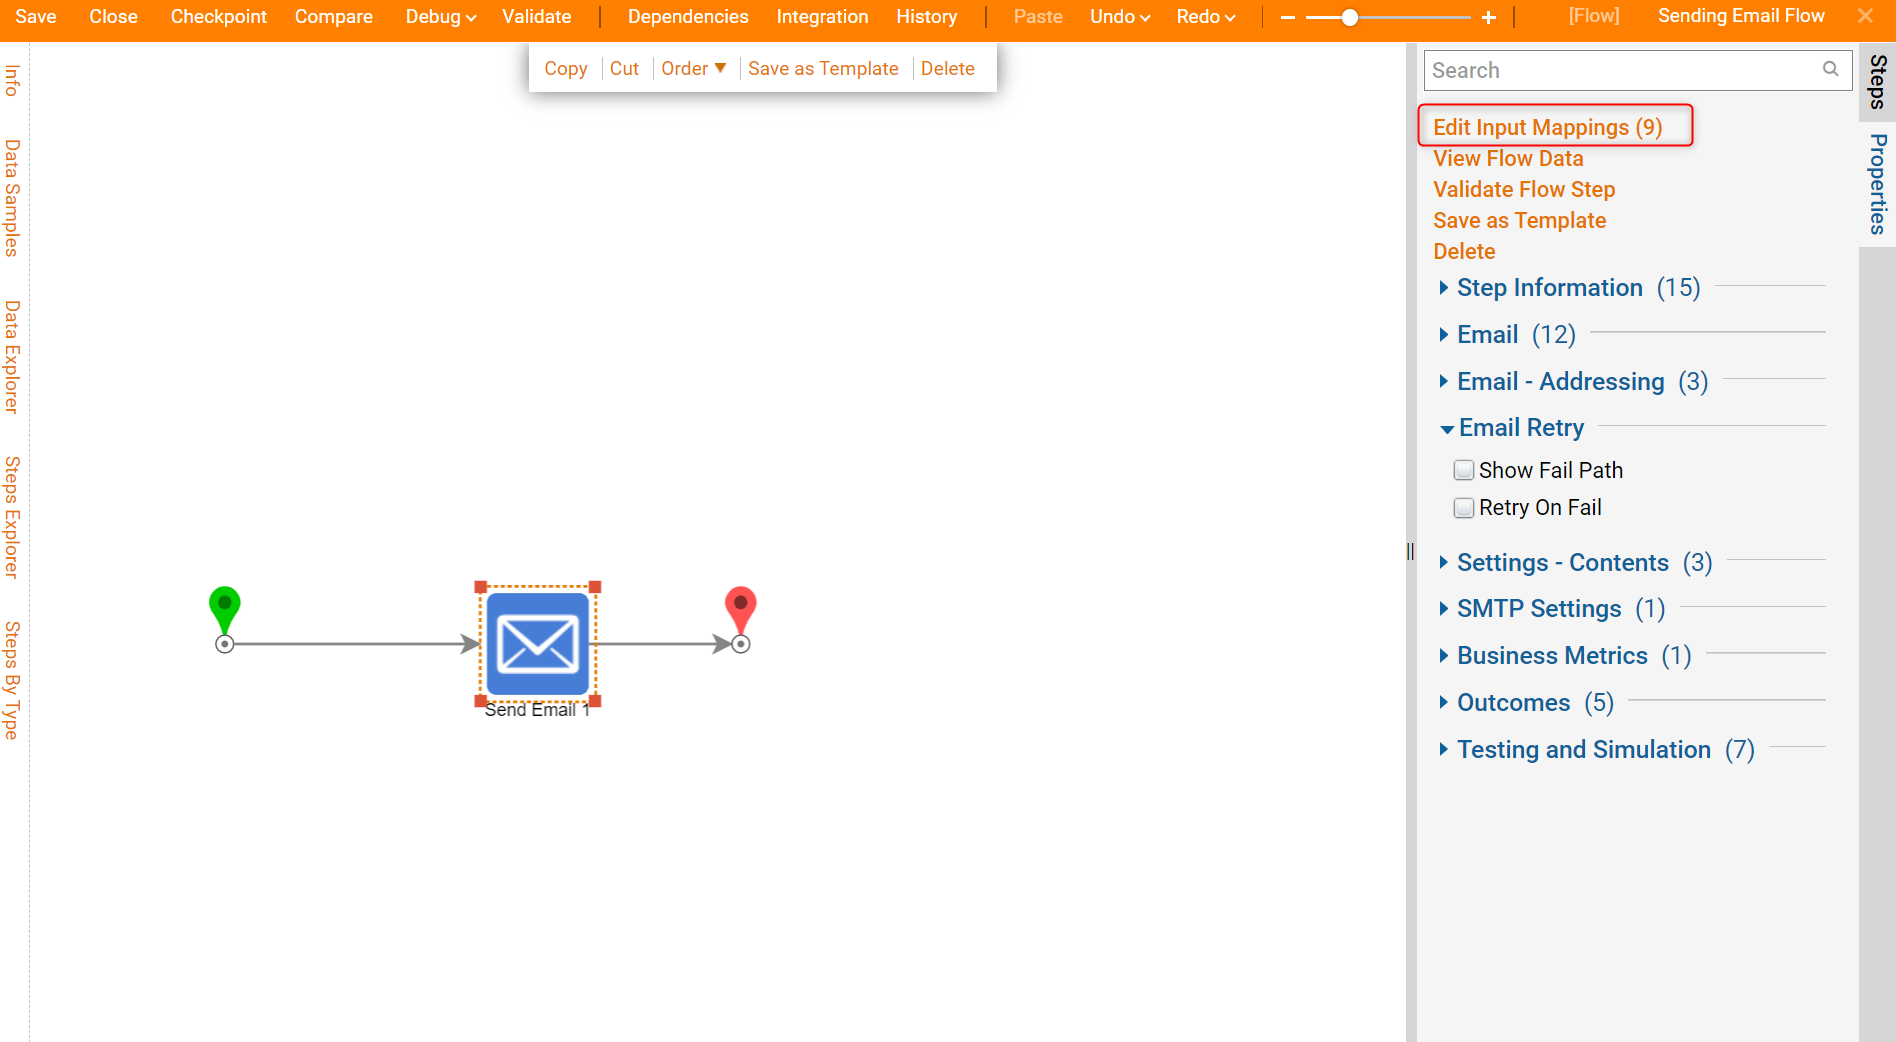
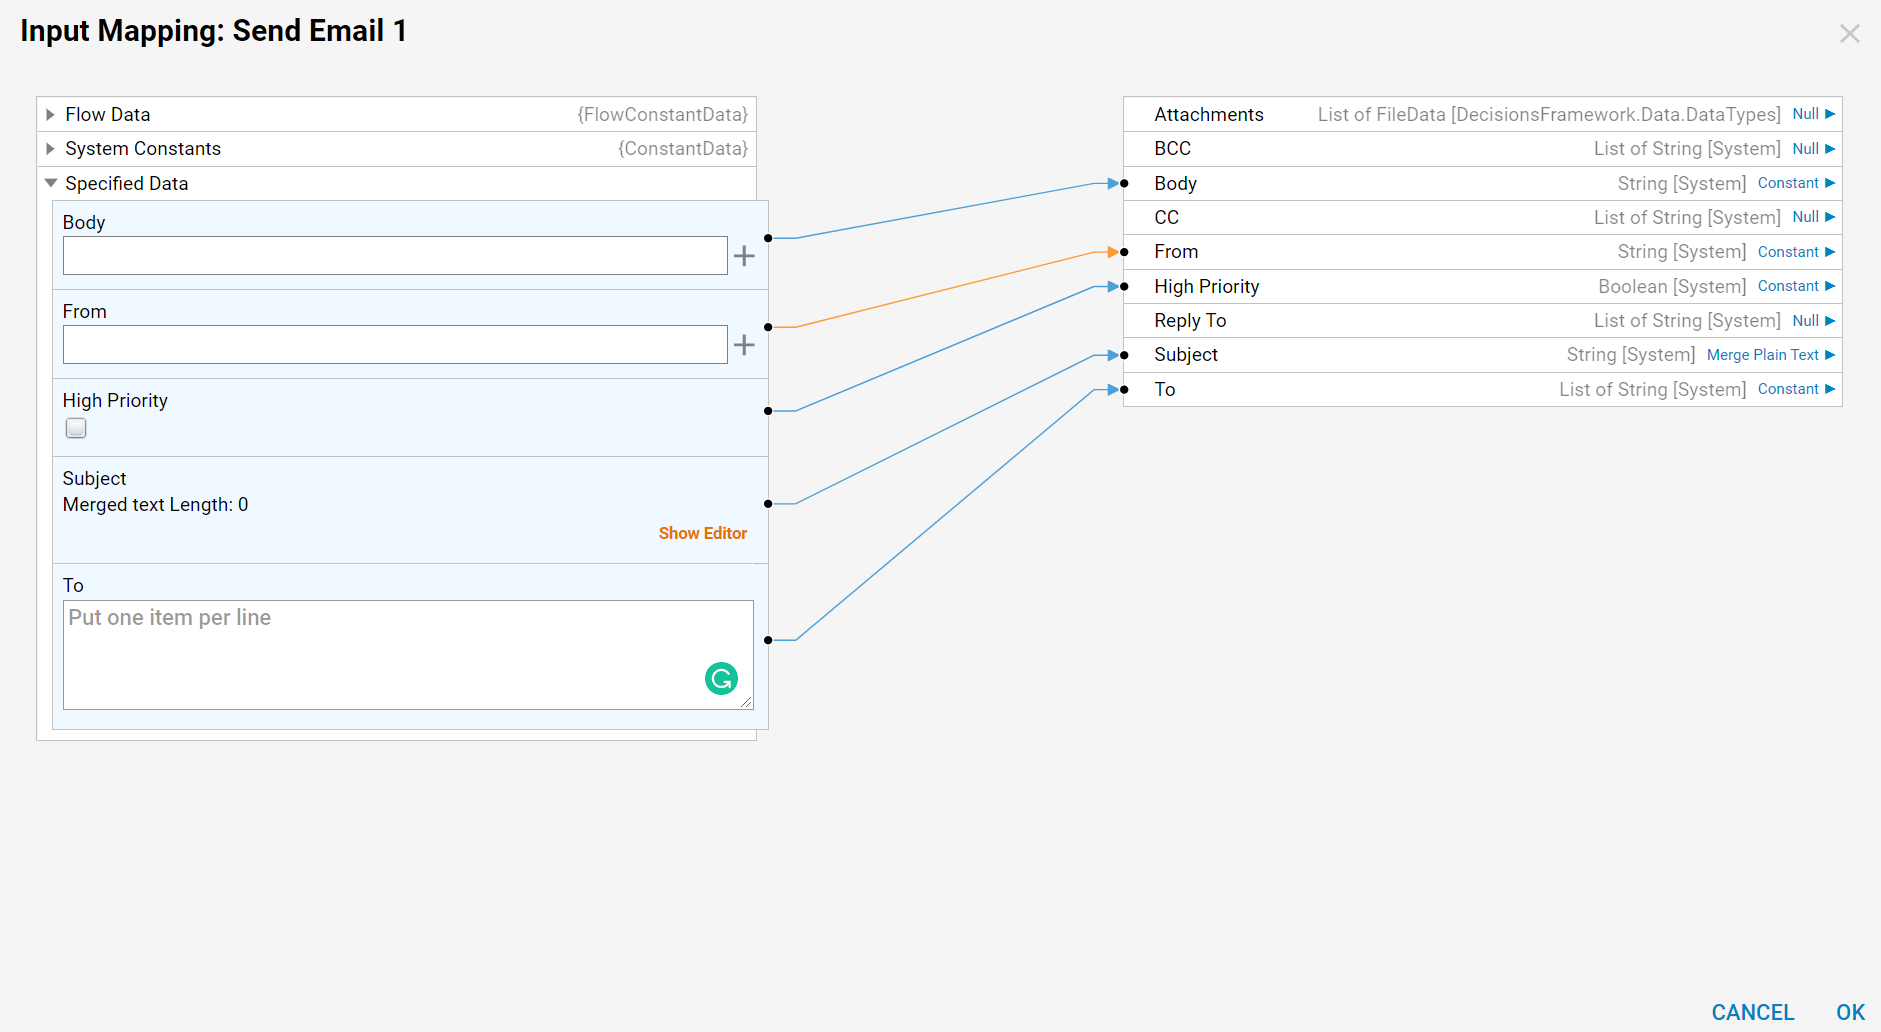
- While there are several ways to configure the Send Email step, one option is to use the Mapping Editor to fill in the required input values including From, To, and Subject.
- Select the Send Email step, and click the Edit Input Mappings link on the Actions side panel.
- All mapping inputs are set to mapping type Constant by default. The From input can remain Constant; enter an email address in the value field. Repeat the process for the To field. To send an email to more than one recipient, set the input mapping to Constant and ensure that there is only one email present for each line (e.g. enter the email and toggle enter and input another email address). Please navigate to the Email and SMTP article, if necessary, for more information on the distinction between UserID and From input values.
- For the Subject input, change the input mapping type from Constant to Merge Plain Text.
- Then select the Show Editor button.
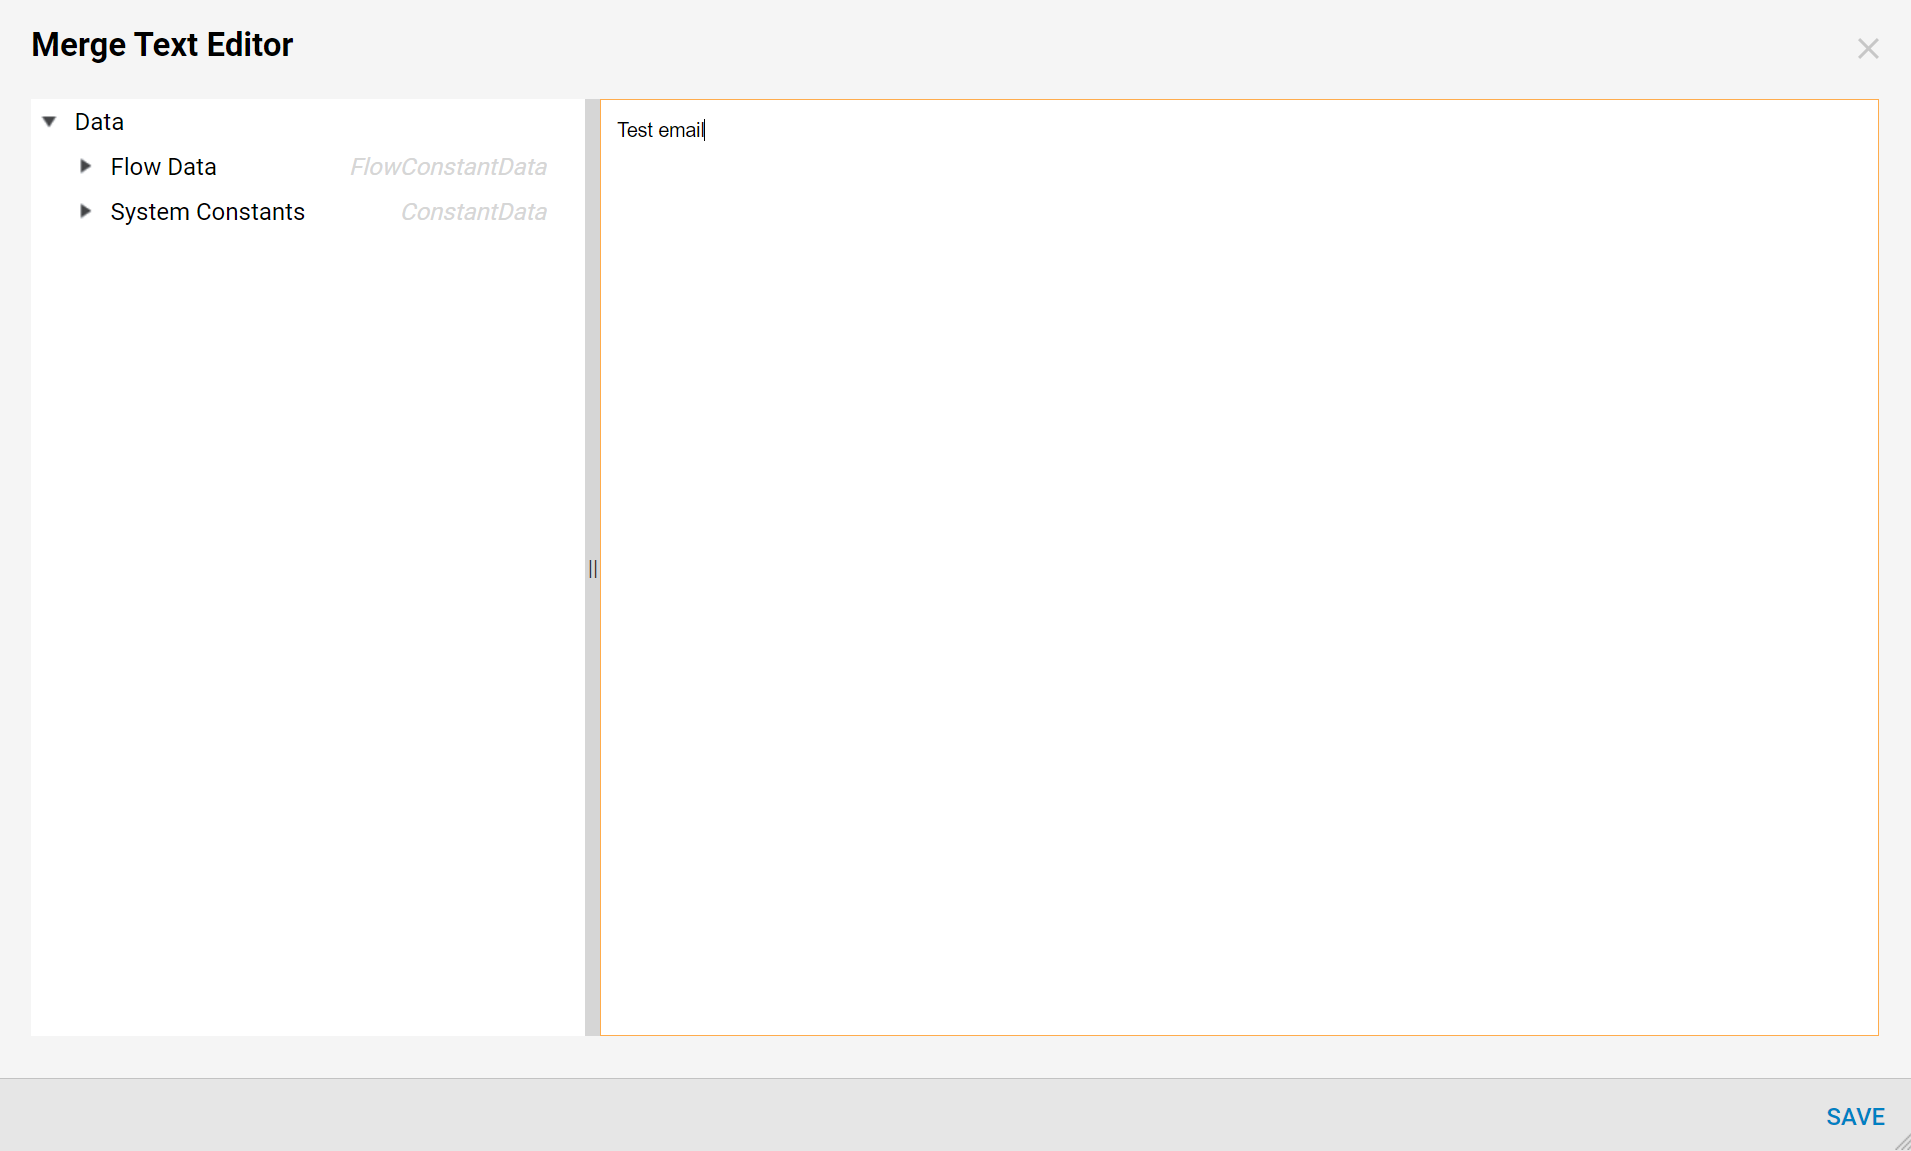
- In the Merge Text Editor, enter the text for the email Subject then select SAVE.
- To further customize an email, go to Settings - Contents in the Properties panel.
- Here a user can select an Email Template, HTML documents that define the look and feel of Emails sent from a Flow, and their Email Content Type.
- Users can also toggle the Clean Up HTML and Send Raw HTML booleans.Send Raw HTML and Clean Up HTML
The Send Email step usually modifies HTML text to send images as resources. The Send Raw HTML option prevents this modification to the HTML body. The Clean Up HTML function corrects any errors in the HTML script.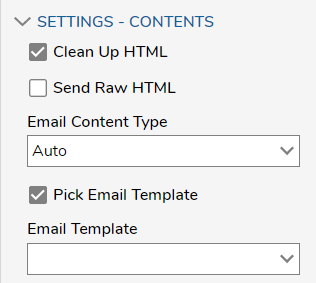
Debug
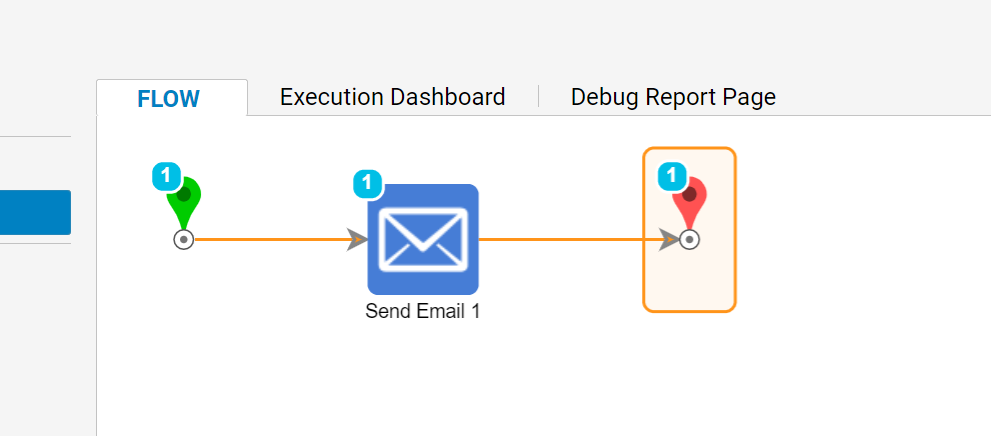
- Save the Flow and click Debug to run the Debugger.
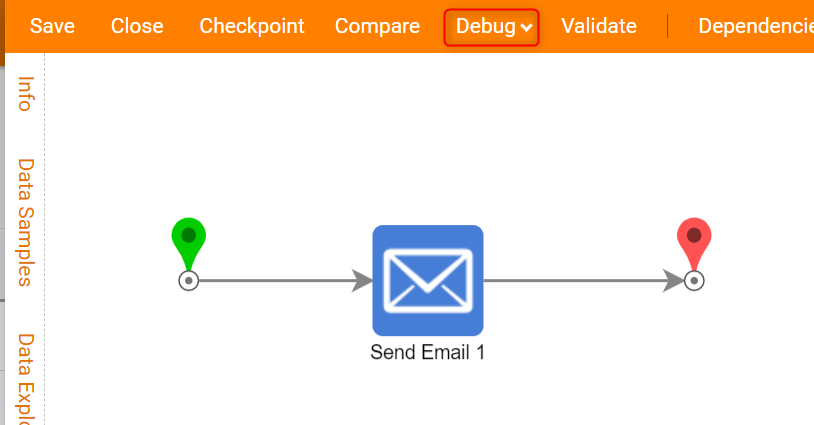
- Click the Diagram tab to see that the Flow was run successfully.
