Overview
In ordered to provide users with access to specific Flows, Forms, Rules, etc. designers may expose them in the End User Portal by housing them within a Flow. In turn, designers may then expose these Flows in one of two ways. These ways include:
- Publishing a Flow to the Workflow Catalog
- Setting a Flow as a User Action
The following document demonstrates how to set up and utilize each of these methods to allow for easy user access via the Portal.
About Folder & Portal Permissions.
Example A: Creating the Flow
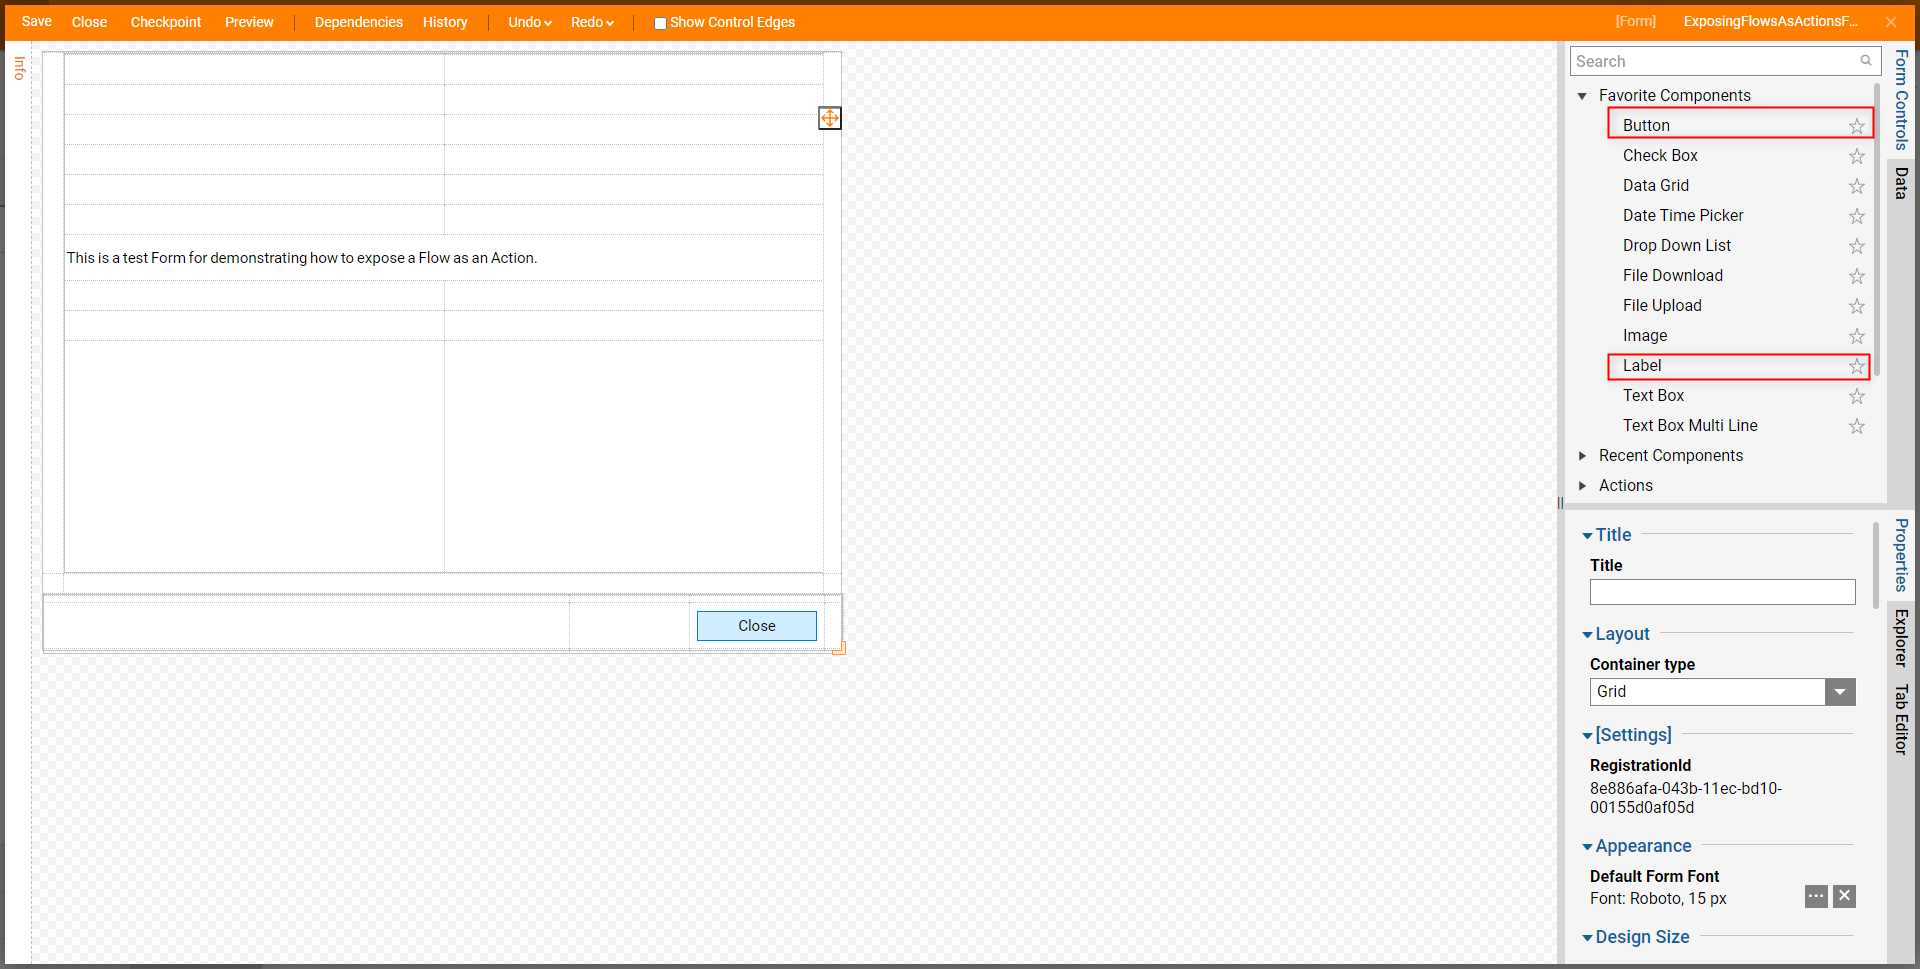
- From the Decisions Studio, locate a Designer Folder, select CREATE FLOW from the Global Action Bar, then CREATE a new Flow.
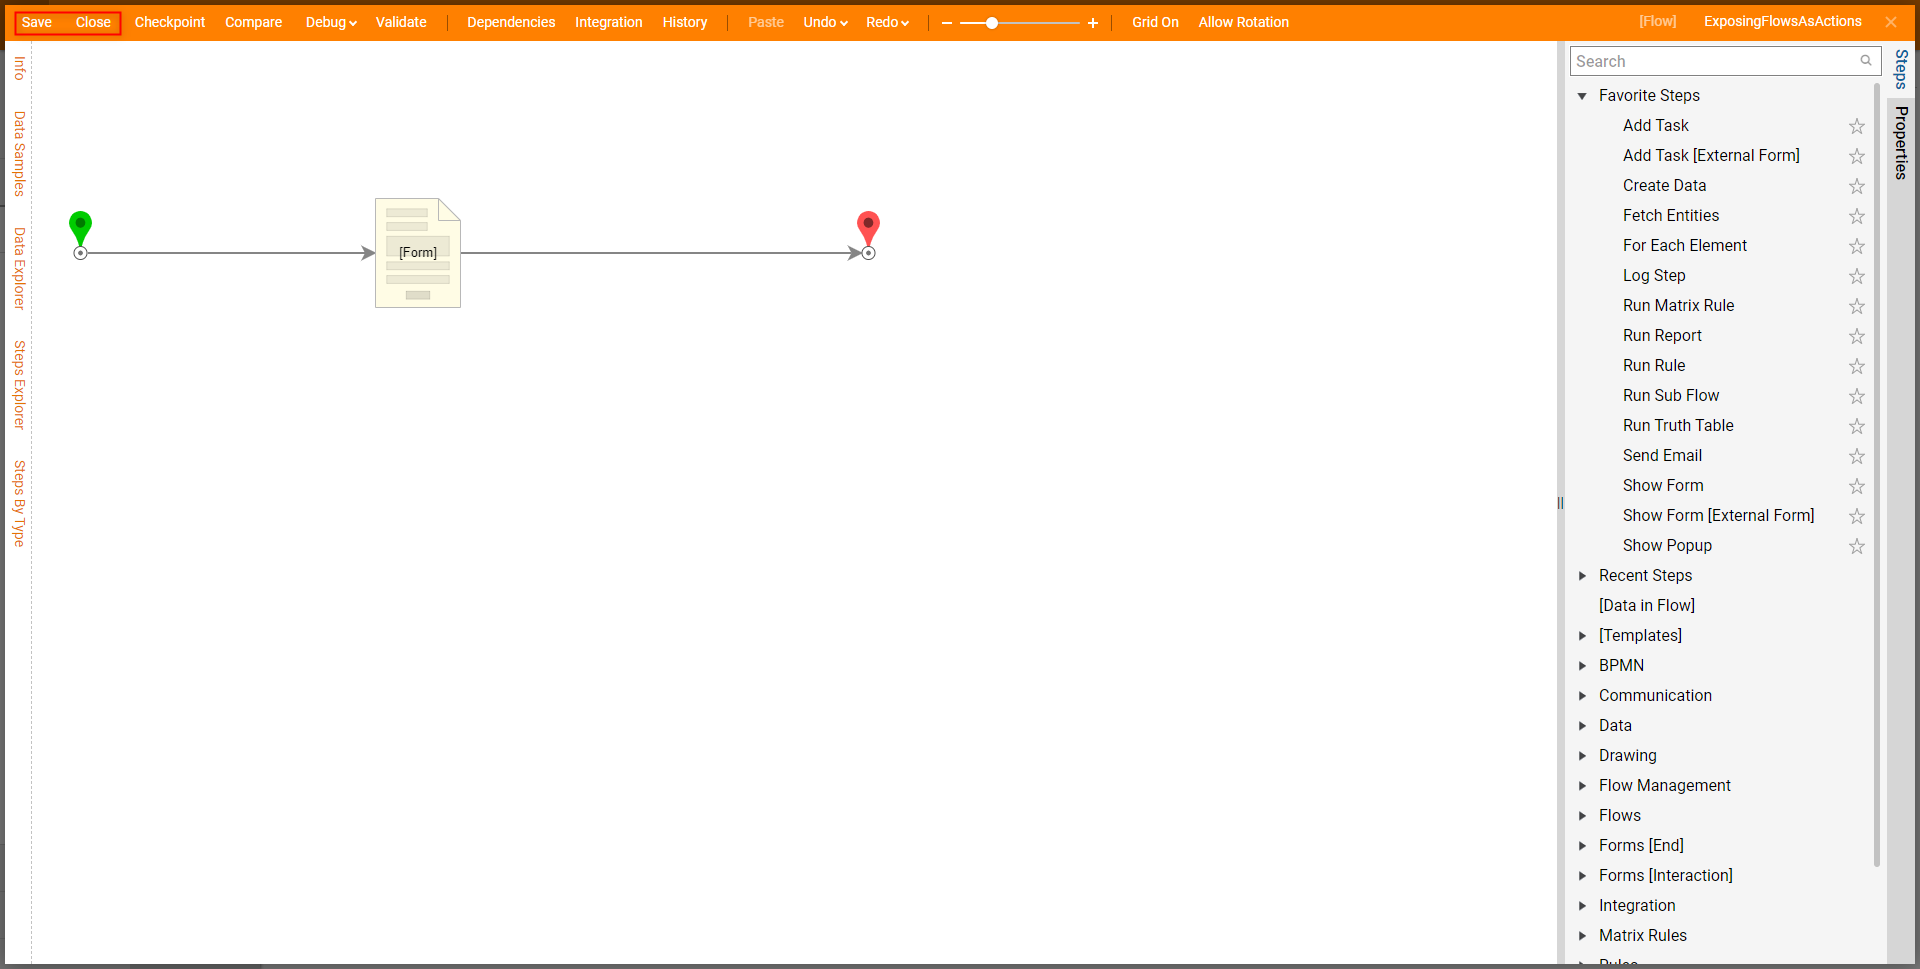
- From the Flow Designer, attach a Show Form step from Steps > Favorite Steps to the Start step.
- Select the Show Form step to access its Properties. Then, click Pick or Create Form and PICK the desired preconfigured Form. Note on Pick or Create FormThe Form selected via the PICK OR CREATE action will act as the exposed Action in the User Portal. If a Form has not previously been designed for this purpose, select CREATE instead and make a new one. For more information on Forms and how to design them, see Create a Form.
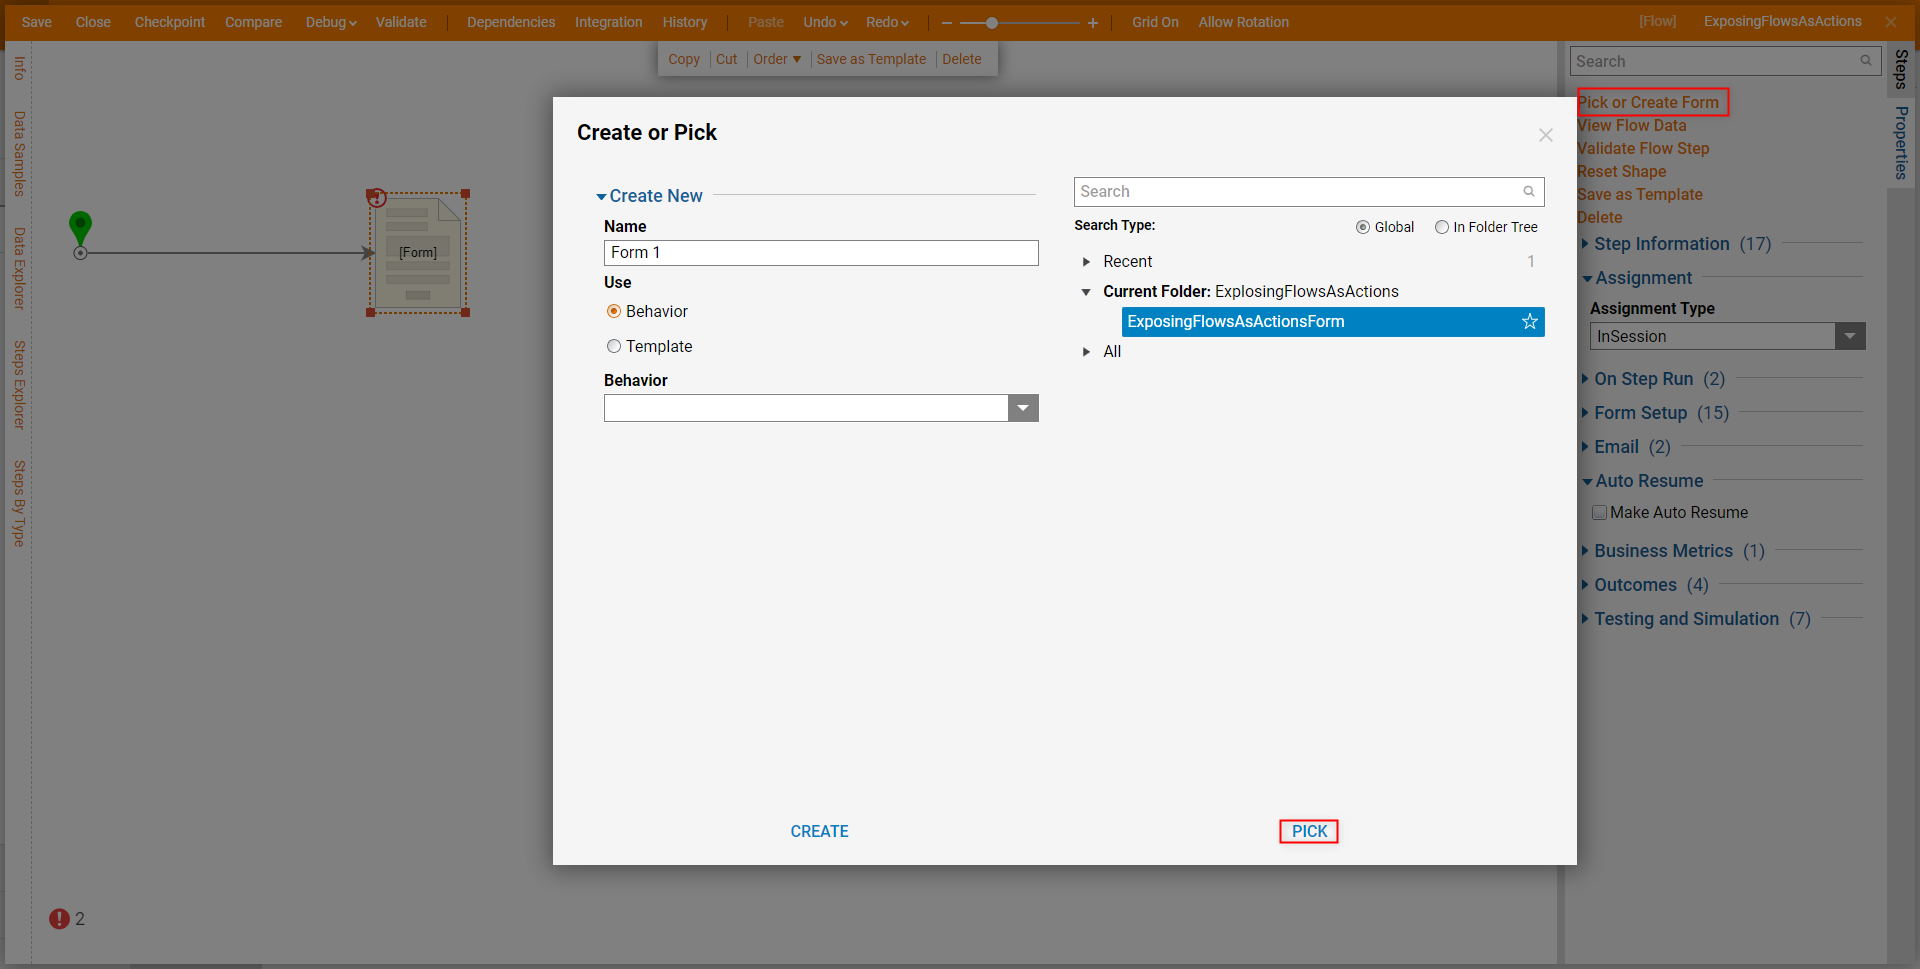
After selecting the desired Form, connect the Outcome path of the Form to the End step. Then Save the Flow, and then Close the Flow Designer.
Example B: Publishing to Workflow Catalog
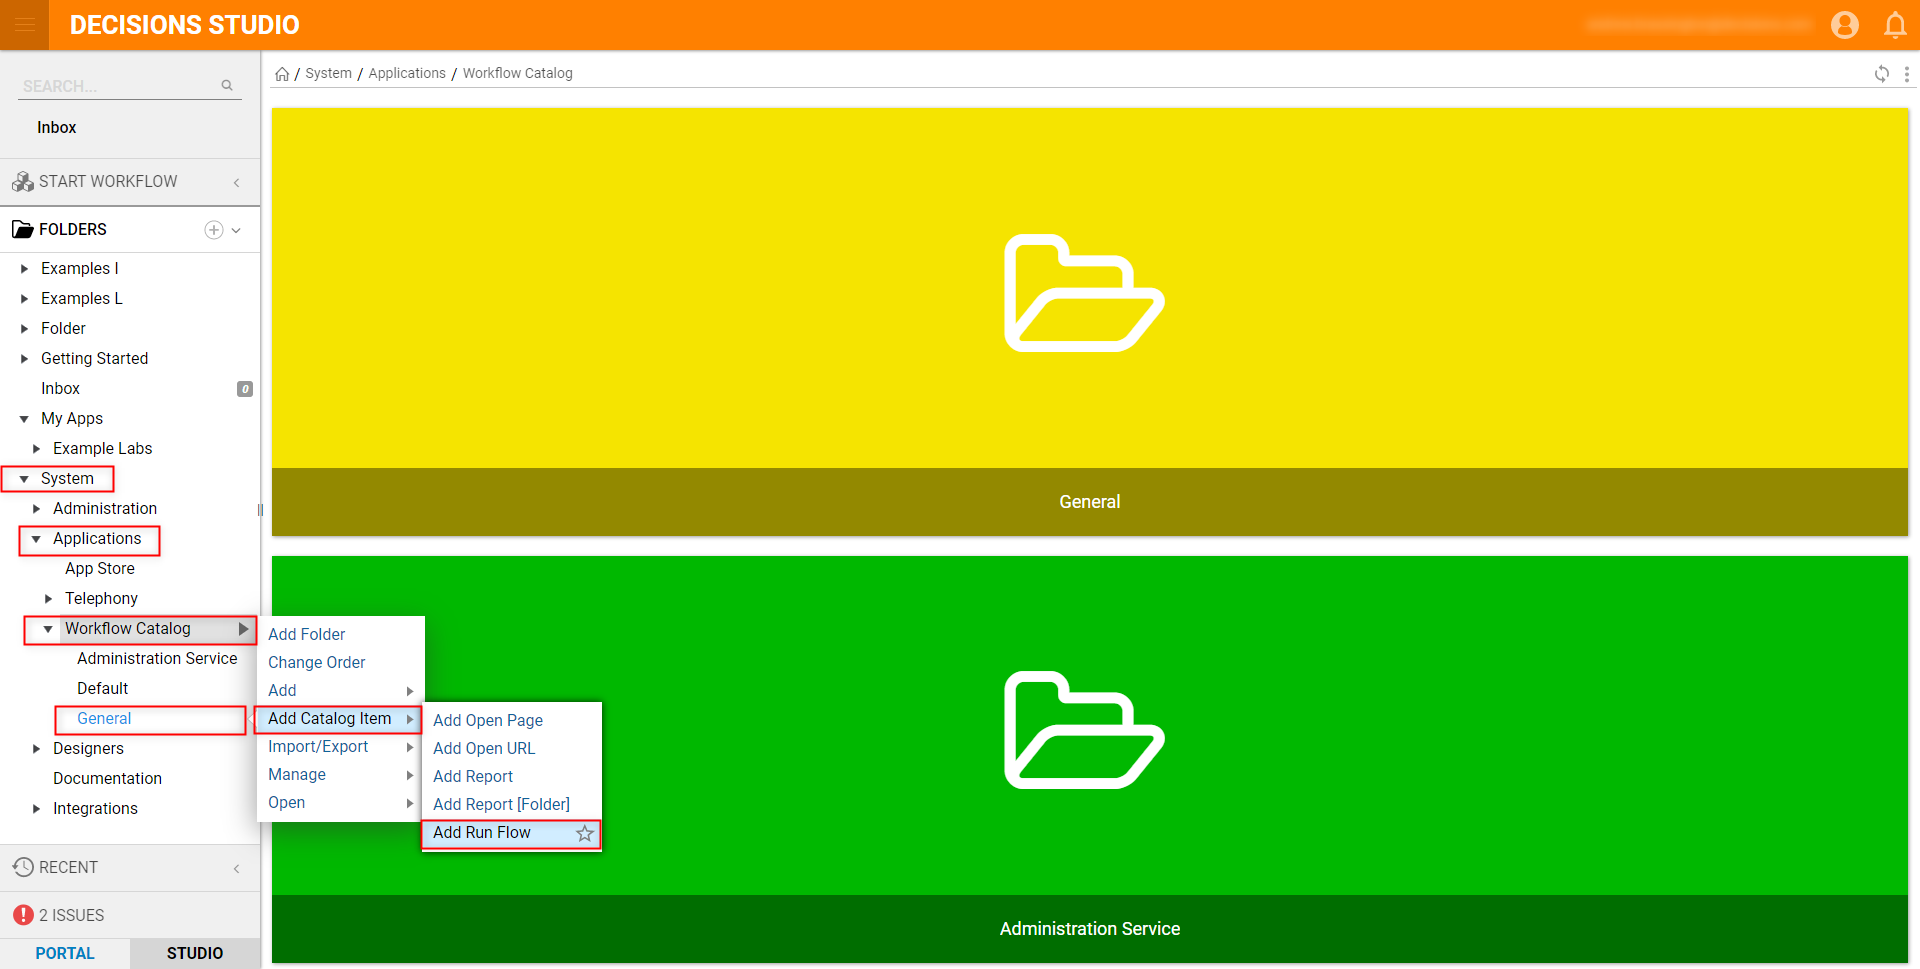
- After designing the Flow, from the Decisions Studio, navigate to and expand System > Applications > Workflow Catalog.
- Right-click the Folder for the desired category (in this case General), then select Add Catalog Item > Add Run Flow.
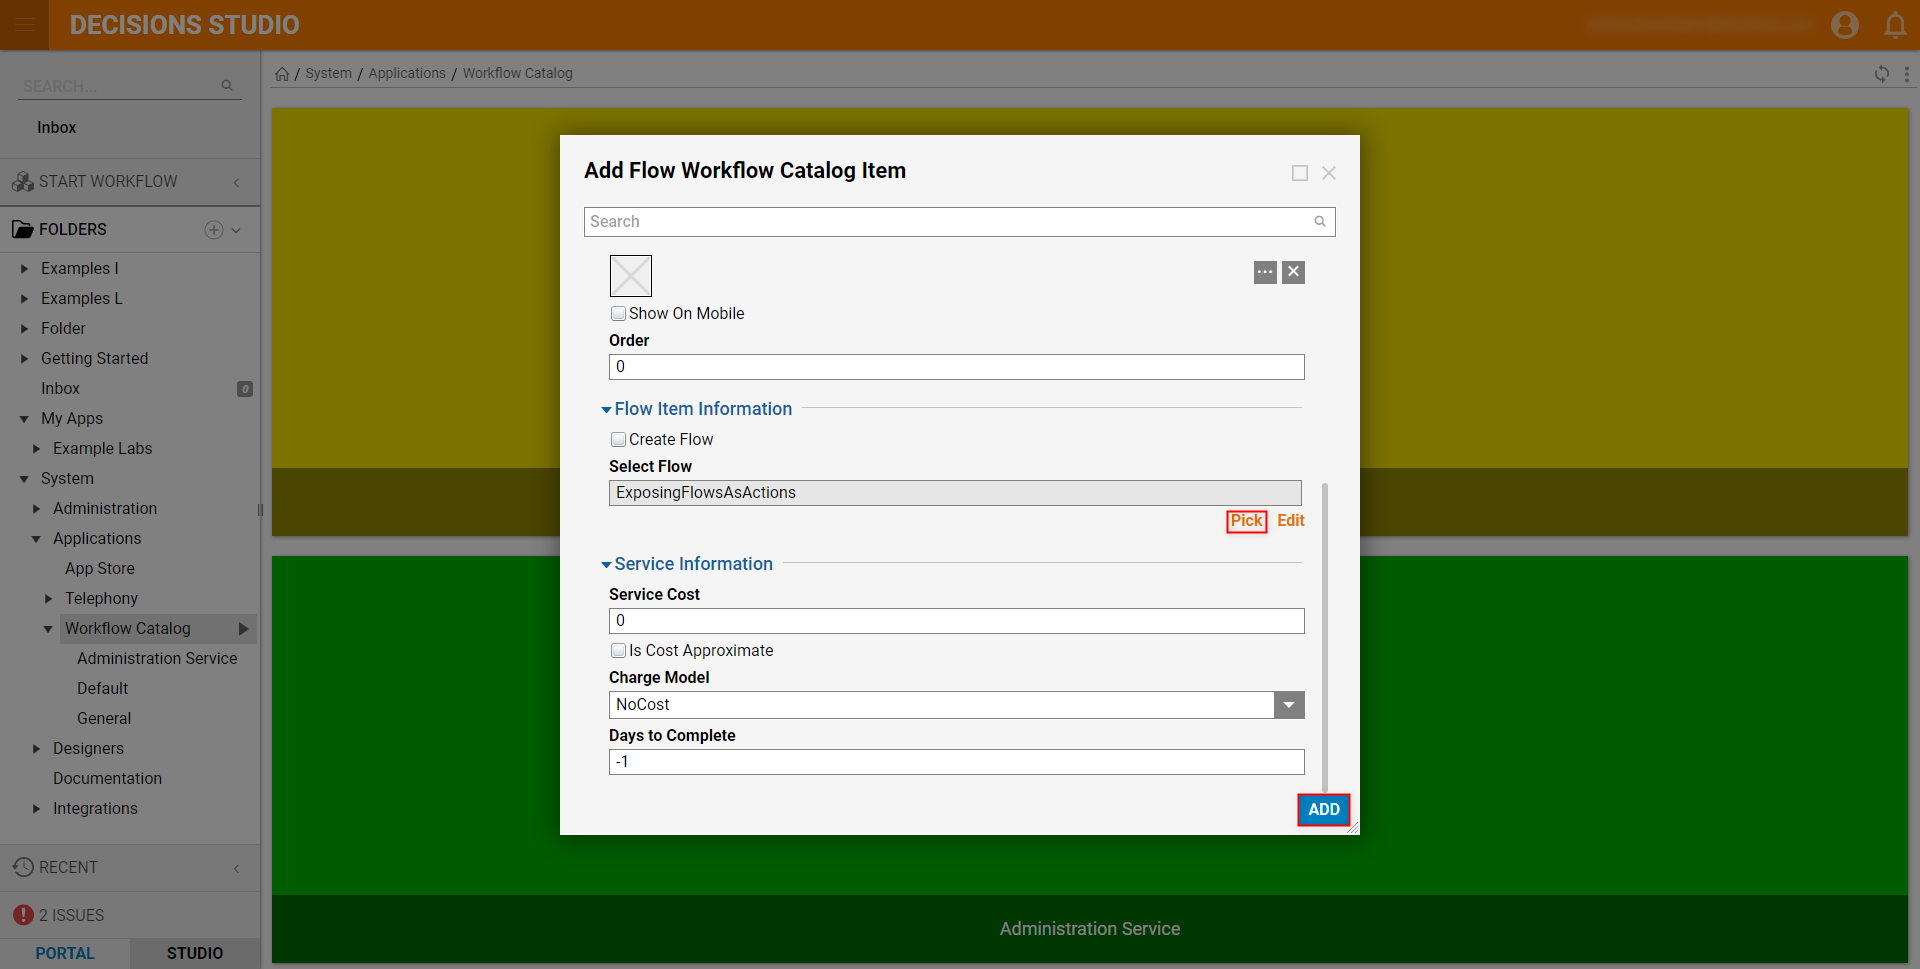
- From the Add Flow Workflow Catalog Catalog Item window, provide a Name. Then, under Flow Item Information > Select Flow, Pick the desired Flow, then click ADD.
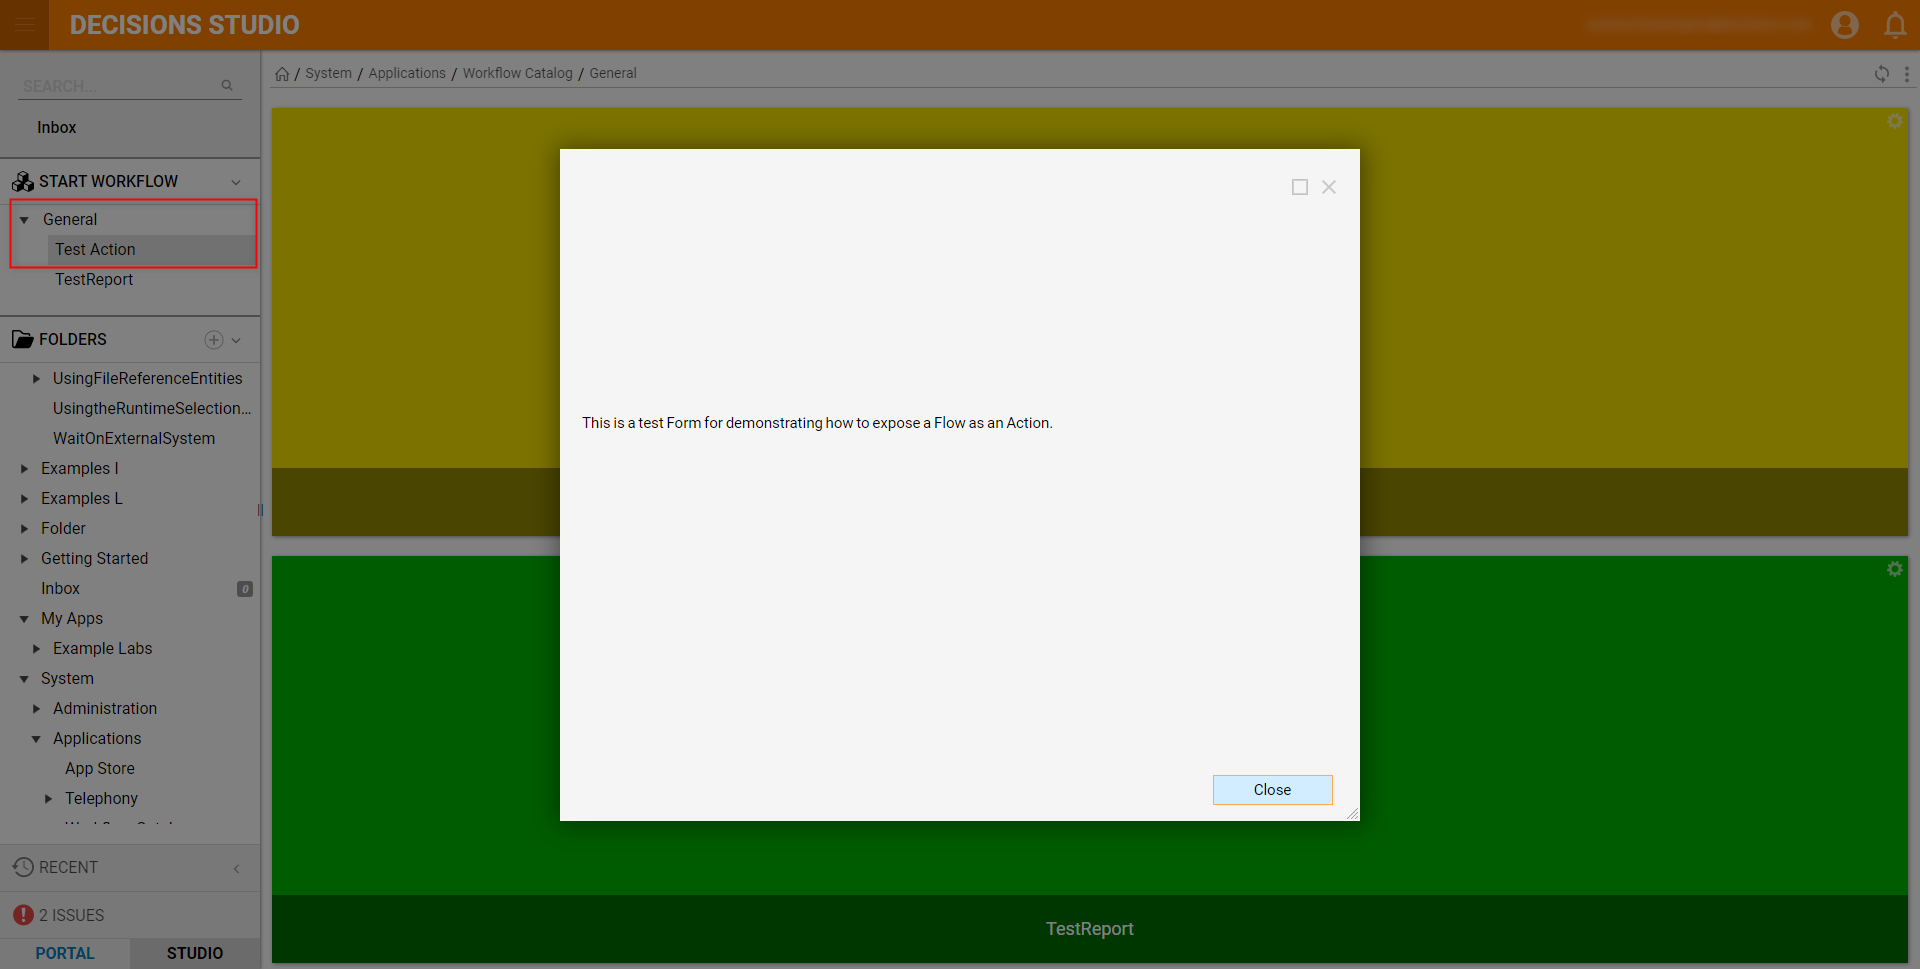
After adding the Workflow, in the top left of the Folder Tree, navigate to START WORKFLOW > General, and then click the newly added Flow. Verify that the Flow properly runs, then Close the Form.
Alternate Catalog Access MethodAlternatively, while in the Workflow Catalog Folder, the newly added Flow can be used as an Action by selecting the Button of the category it belongs to and then the Button of the Action itself.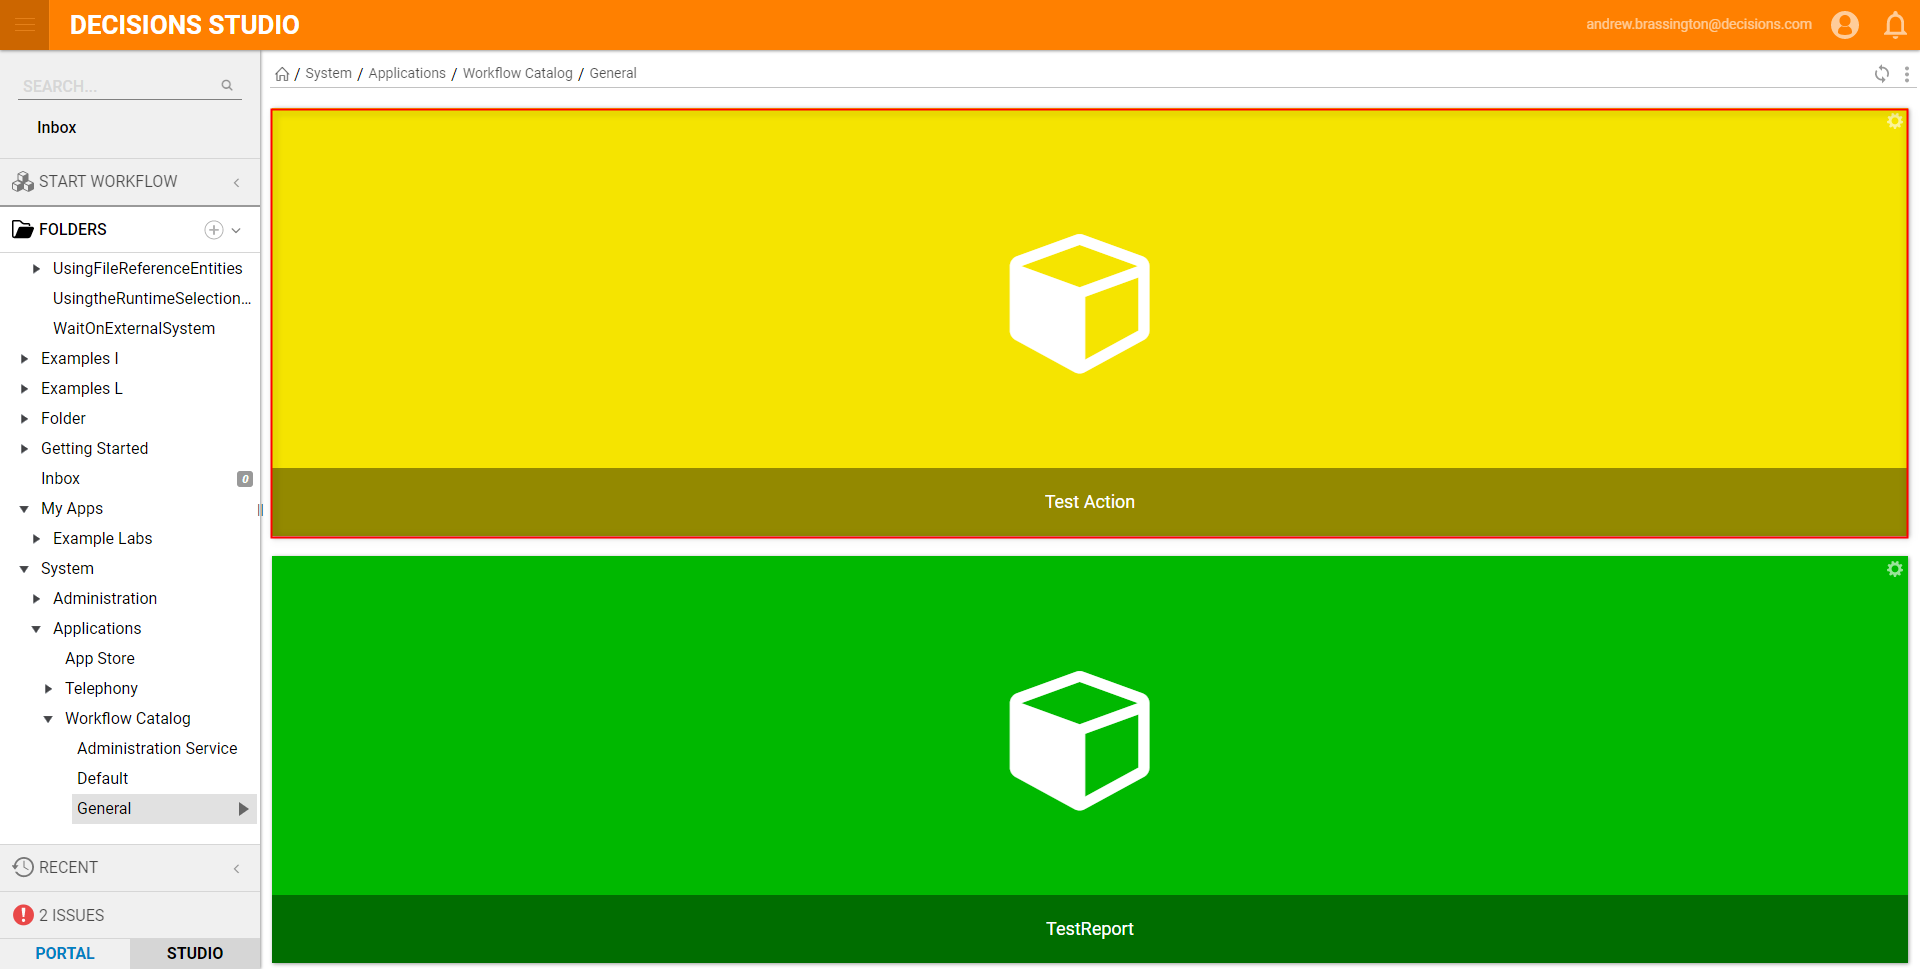
Example C: Adding as an Action On a Folder
Another method of exposing a Designer Element in the User Portal is to Add a Flow as an Action on a Folder. To do so:
- From the Decisions Studio, navigate to a Designer Folder.
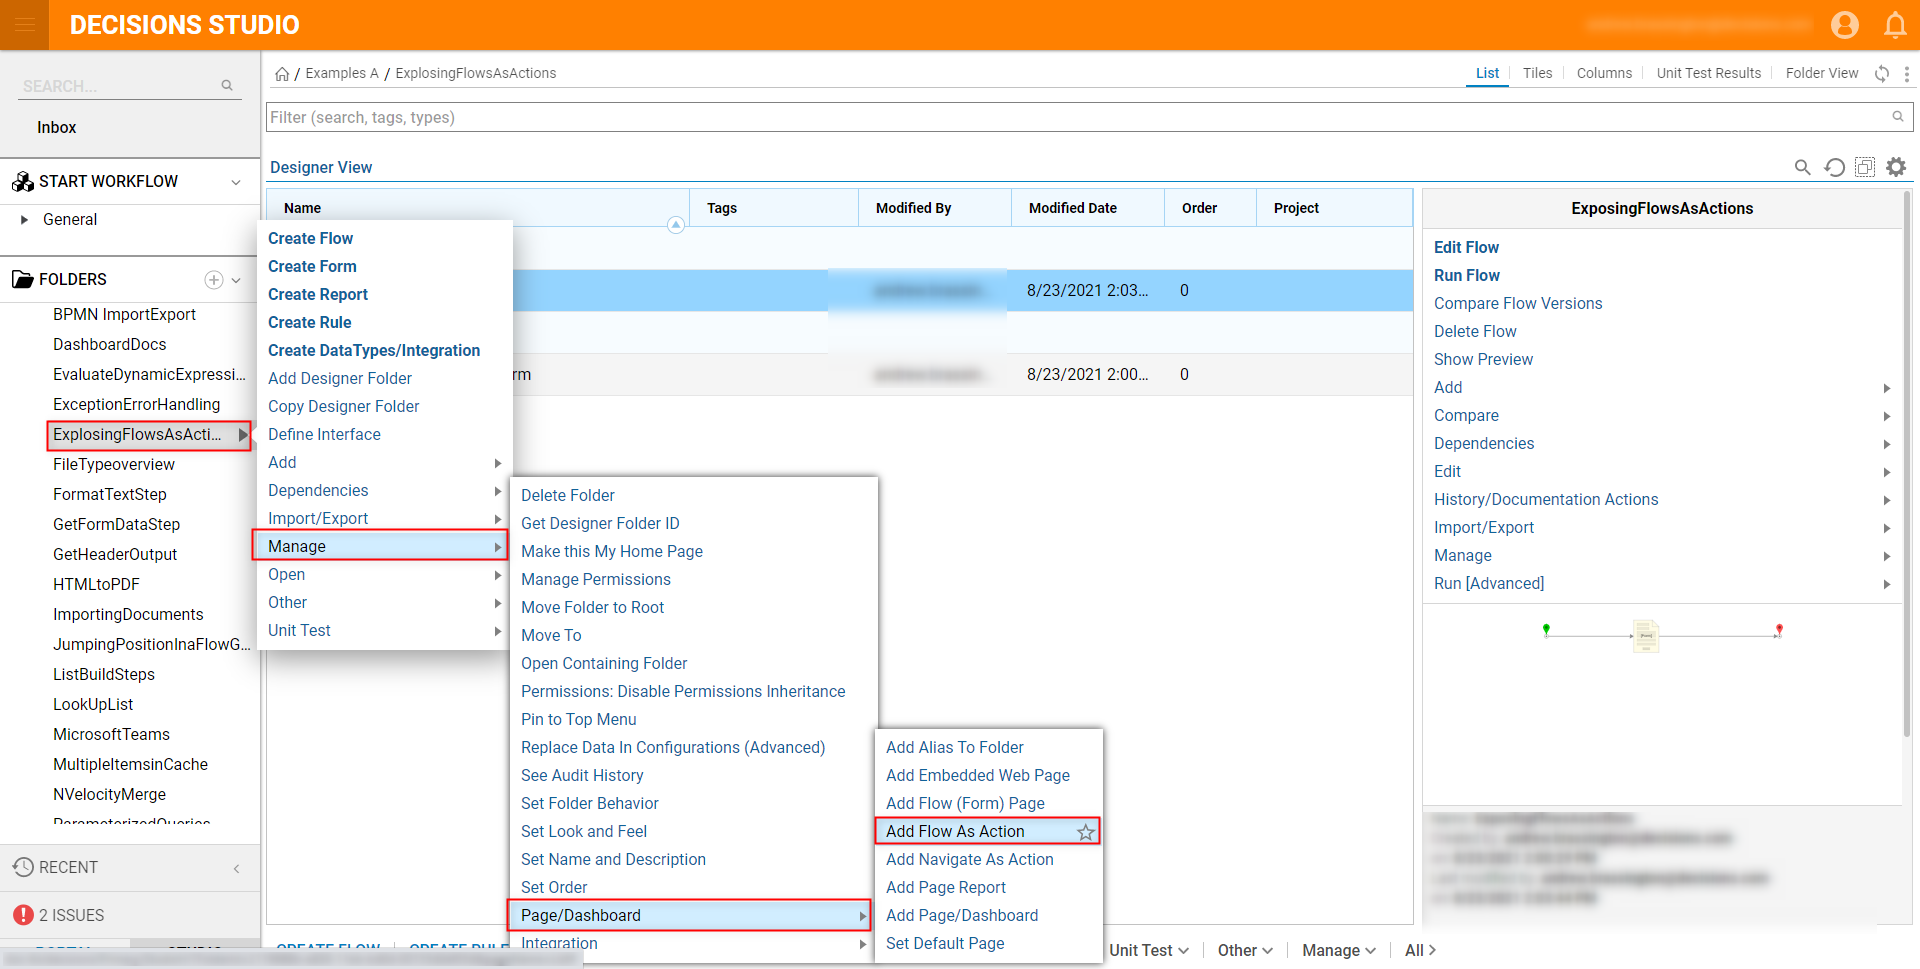
- Right-click the desired Folder and select Manage > Page/Dashboard > Add Flow As Action.
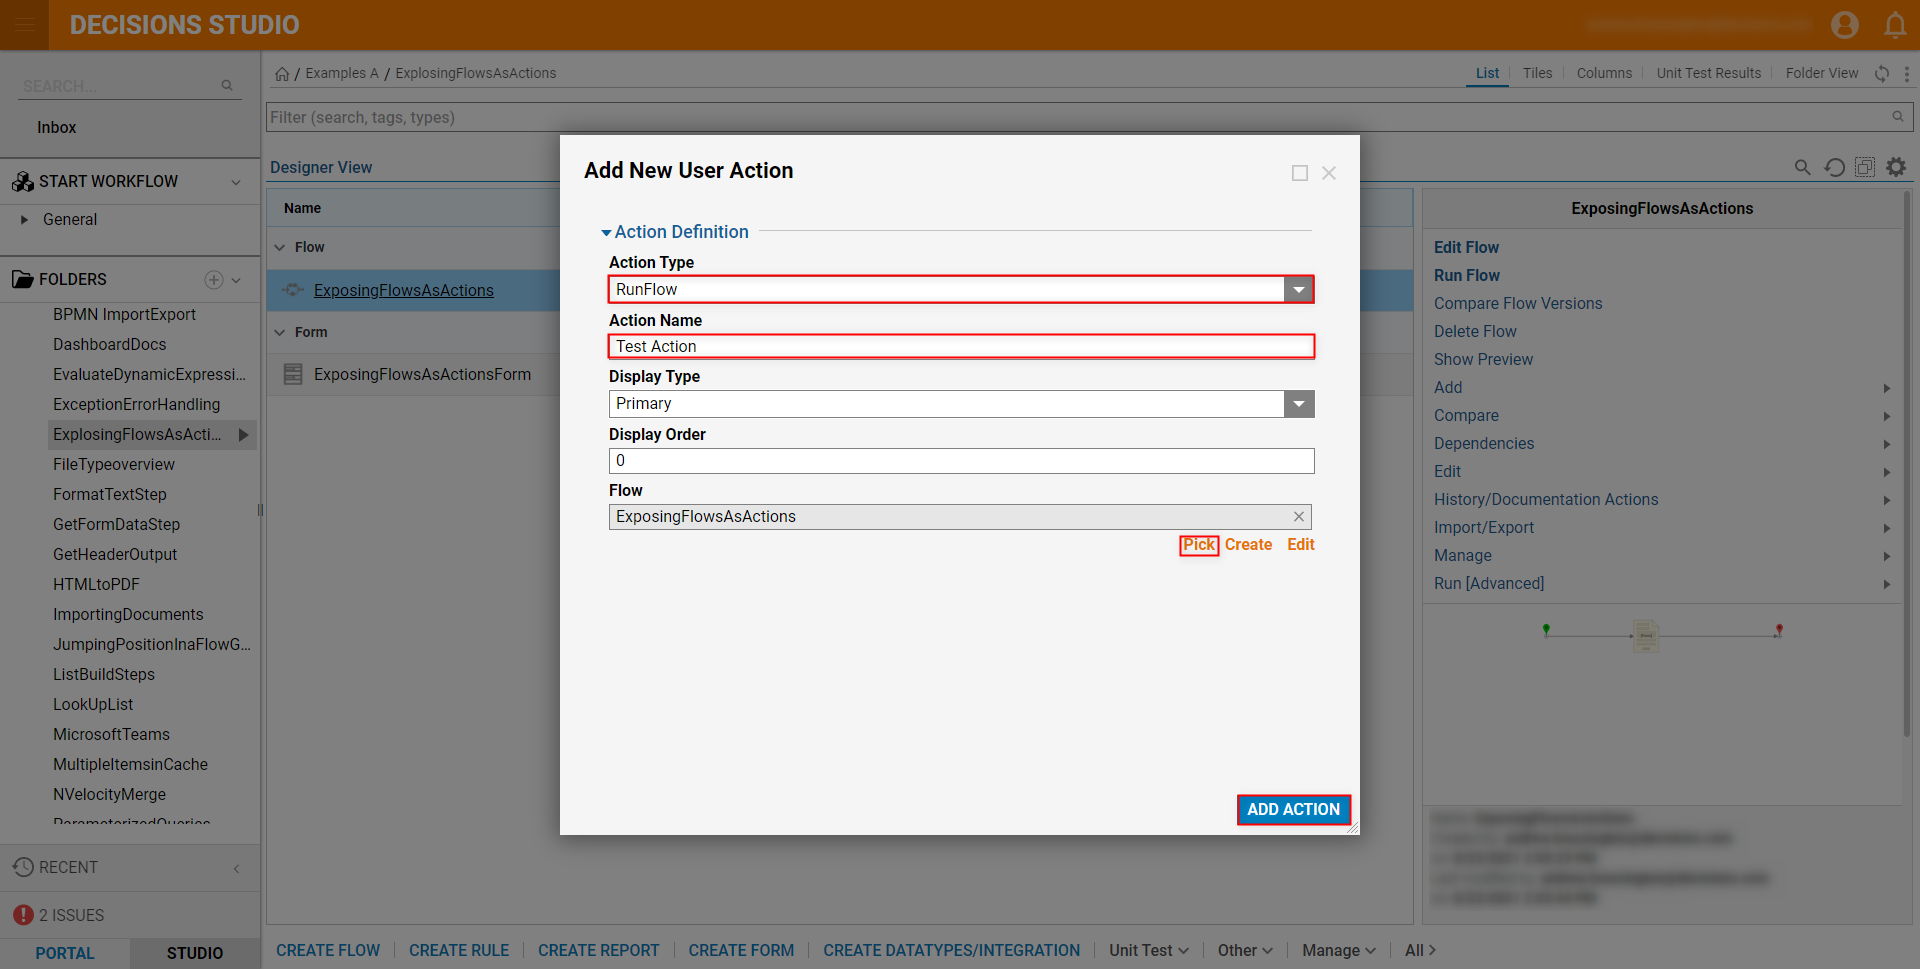
- From the Add New User Action window, leave Action Type set as RunFlow. Then provide an Action Name.
- Select PICK OR CREATE FLOW then Pick the previously created Flow, then click ADD ACTION.
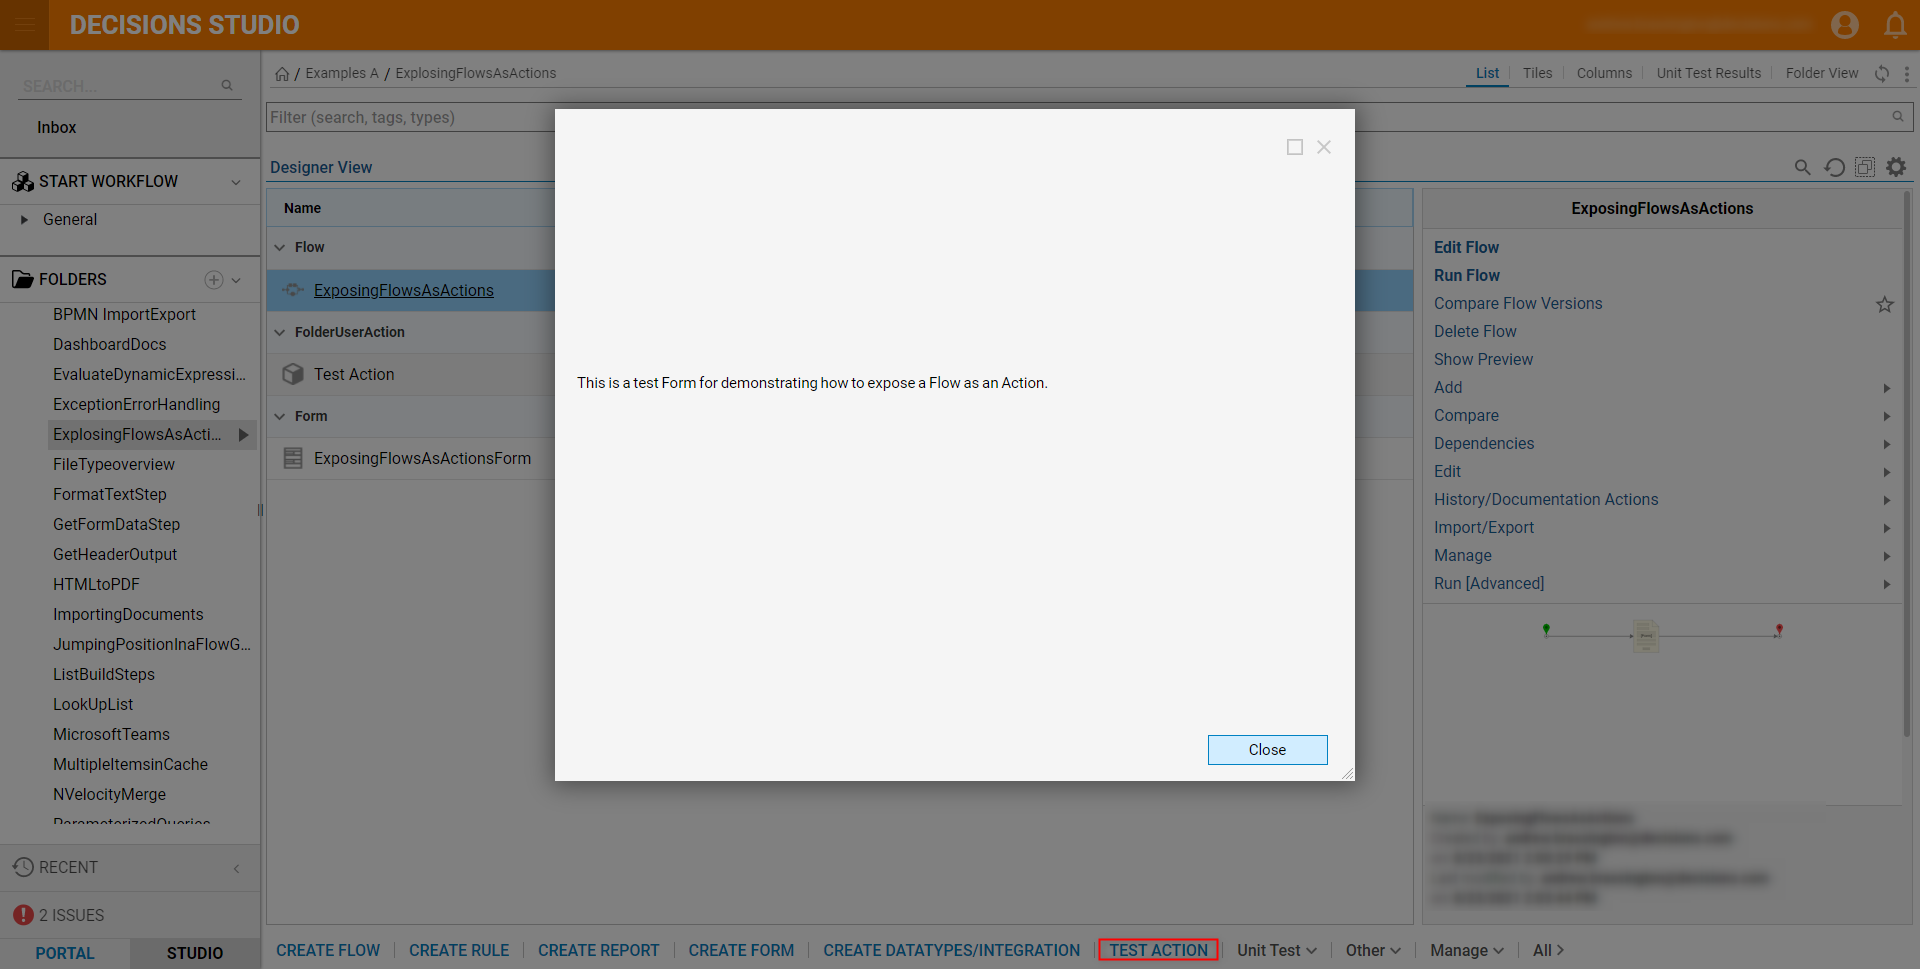
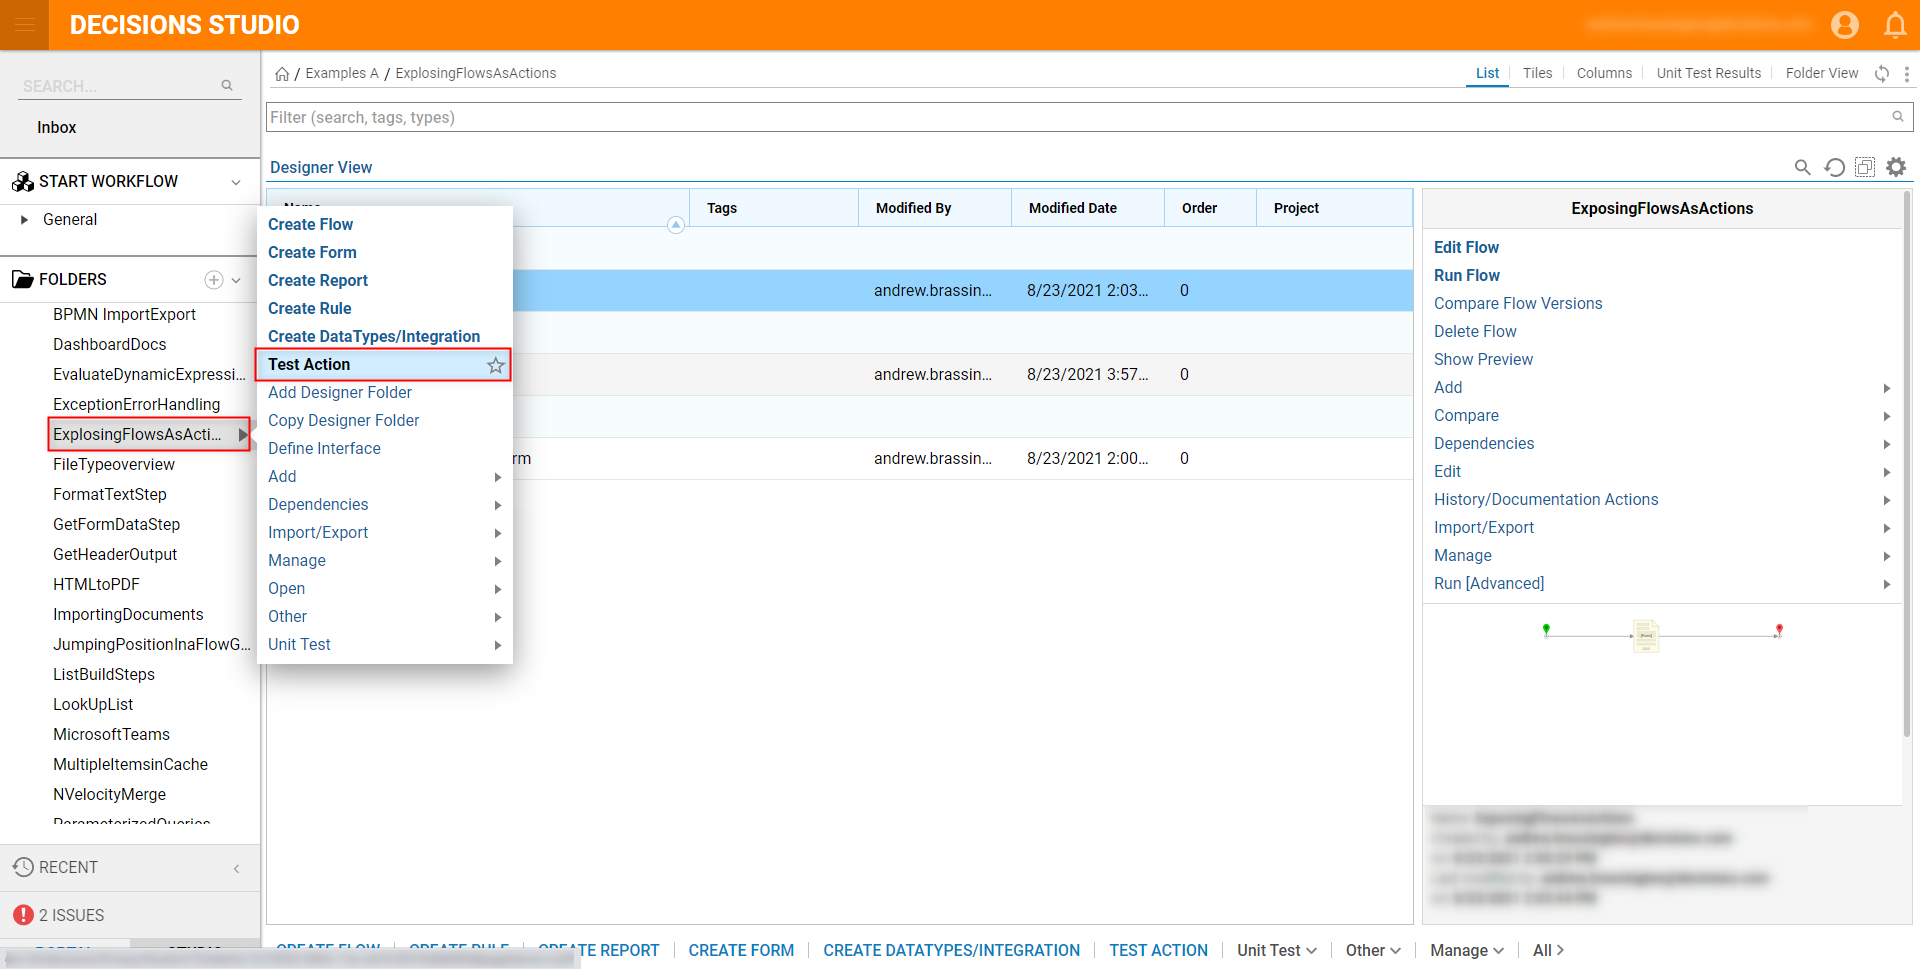
- After the Action is added, test it by locating the Action Button in the Global Action Bar; verify the Action can also be accessed by right-clicking the Folder and locating the Action.
