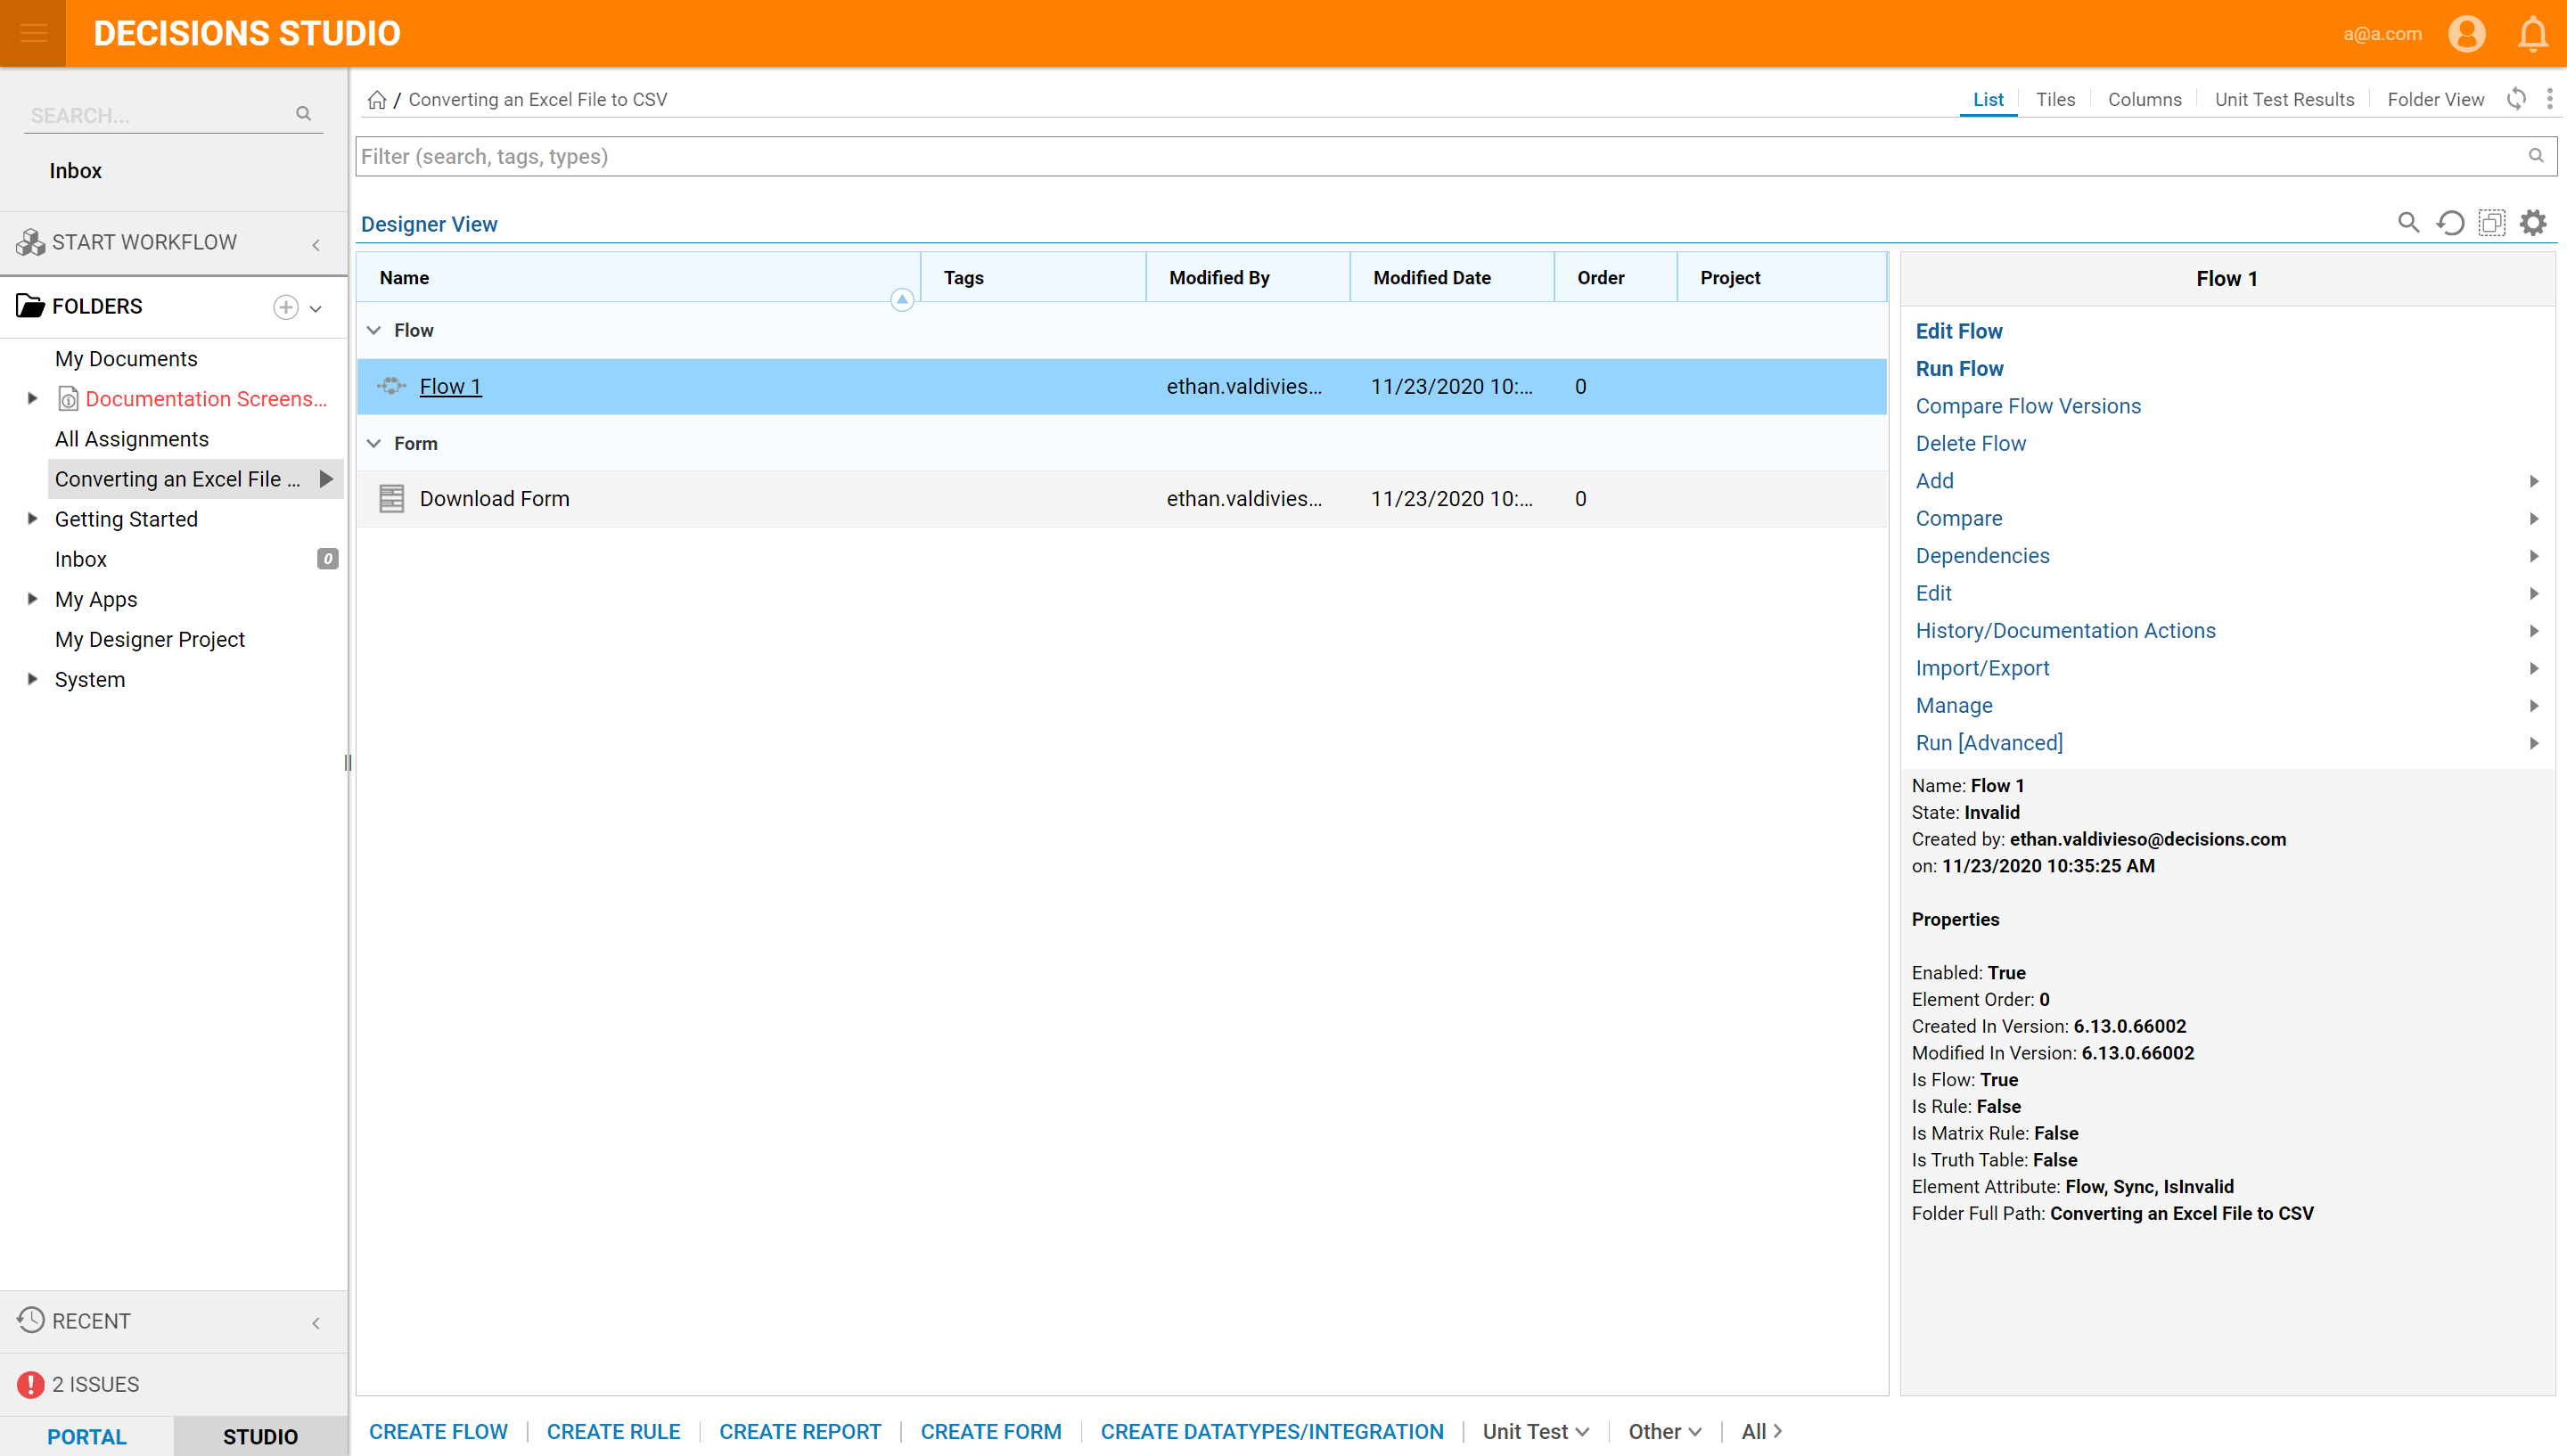
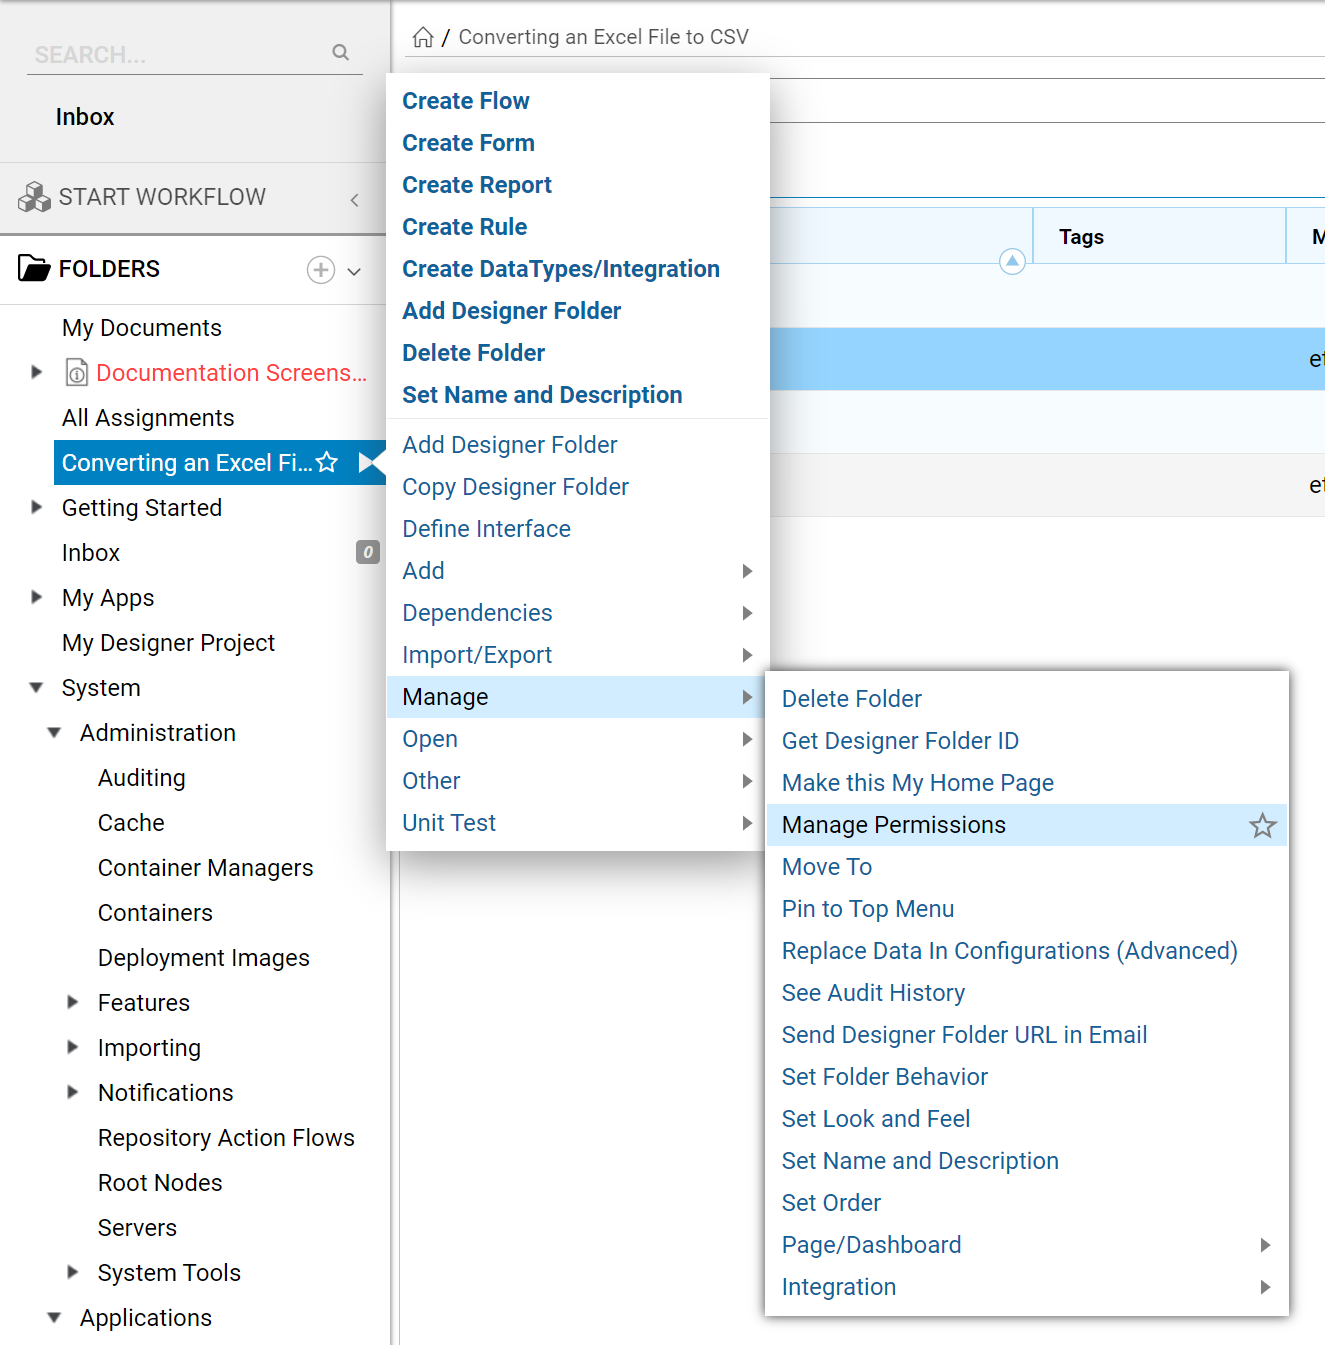
Control access to a flow or report service in the Workflow Catalog by managing the permissions of the entity to which the service refers. To secure a flow or report service, navigate to the folder where the flow or report resides and, in its Actions menu, select Manage > Manage Permissions.
Example
All of the services in the Workflow Catalog can be secured by selecting the Workflow Catalog folder and, in the Actions menu, selecting Manage > Manage Permissions.
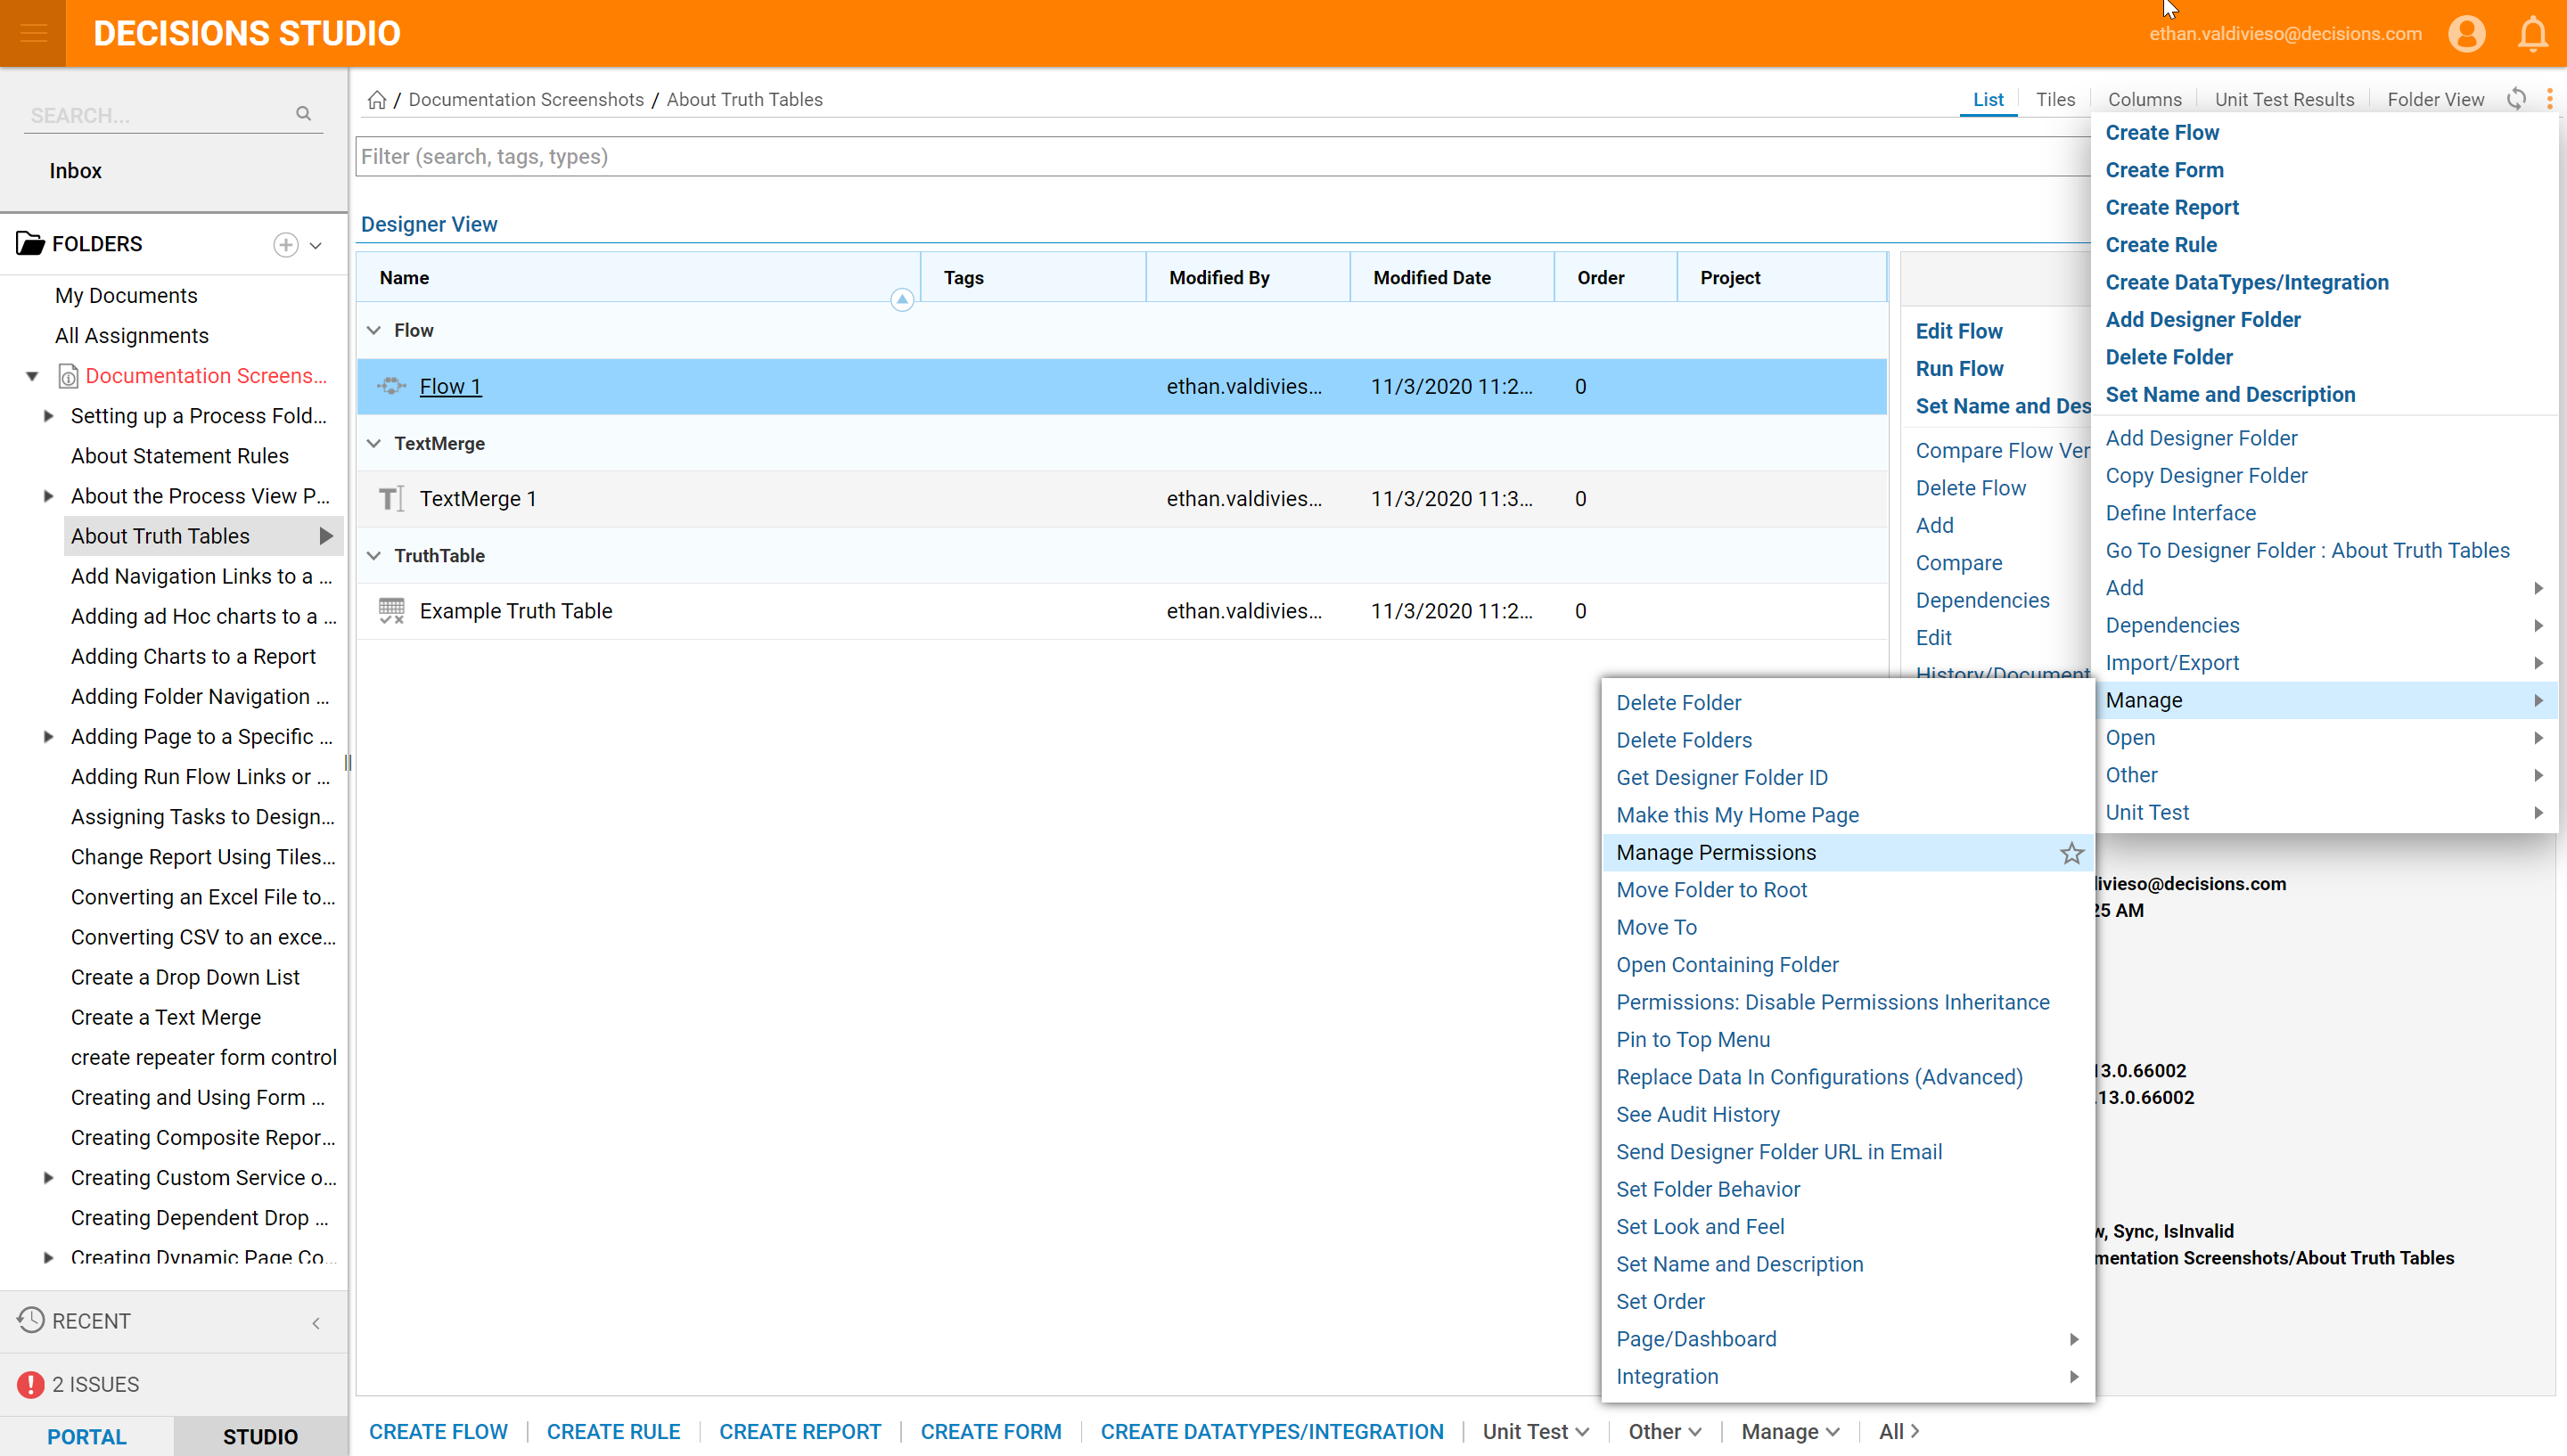
In the resulting Manage Folder Permissions pop-up, accounts and groups can be added, allowing us to define their permissions to use or access the services in the Workflow Catalog. To secure individual services, we will have to manage the permissions of the entities referred to by those services.
For our example:
- Register a new flow in the service catalog.
- Log in as a@a.com who does not have permission to access the flow.
- Log in as an administrator and grant the user a@a.com permission to use the new flow by updating permissions in the flow's project folder.
- Log in as a@a.com who does have permission to access the flow in the service catalog.
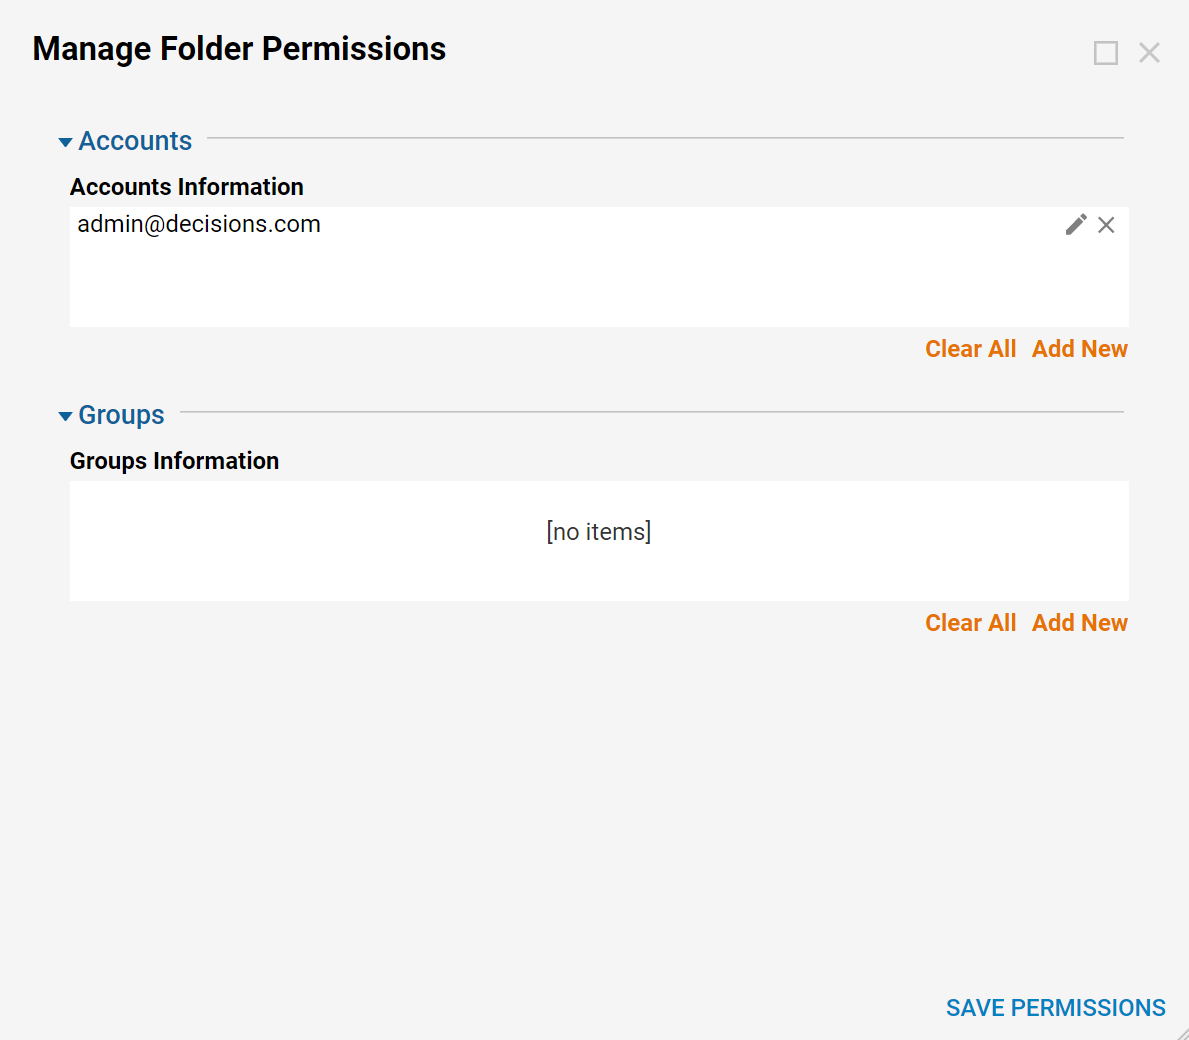
To begin, we navigate to the General category of our service catalog at Workflow Catalog > General. In the Actions menu, we will select Add Catalog Item > Add Run Flow.
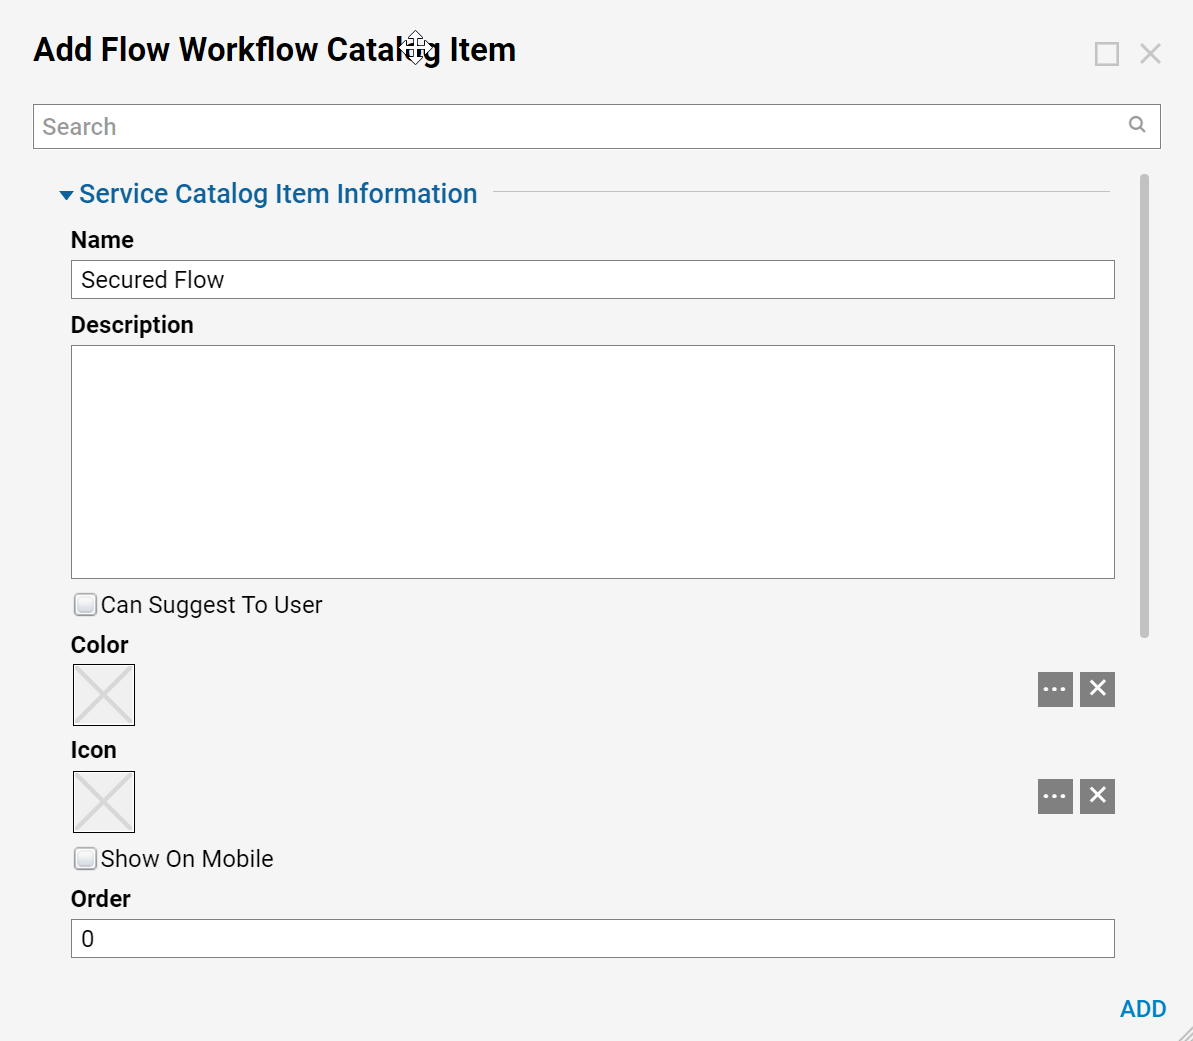
In the resulting Add Flow Service Catalog Item pop-up, we will define the parameters for our new flow service. In the Name field, we will enter the flow item's name. In the Select Flow drop-down list, we will select the previously created flow, [Flow] 1, and then we will click the OK button.
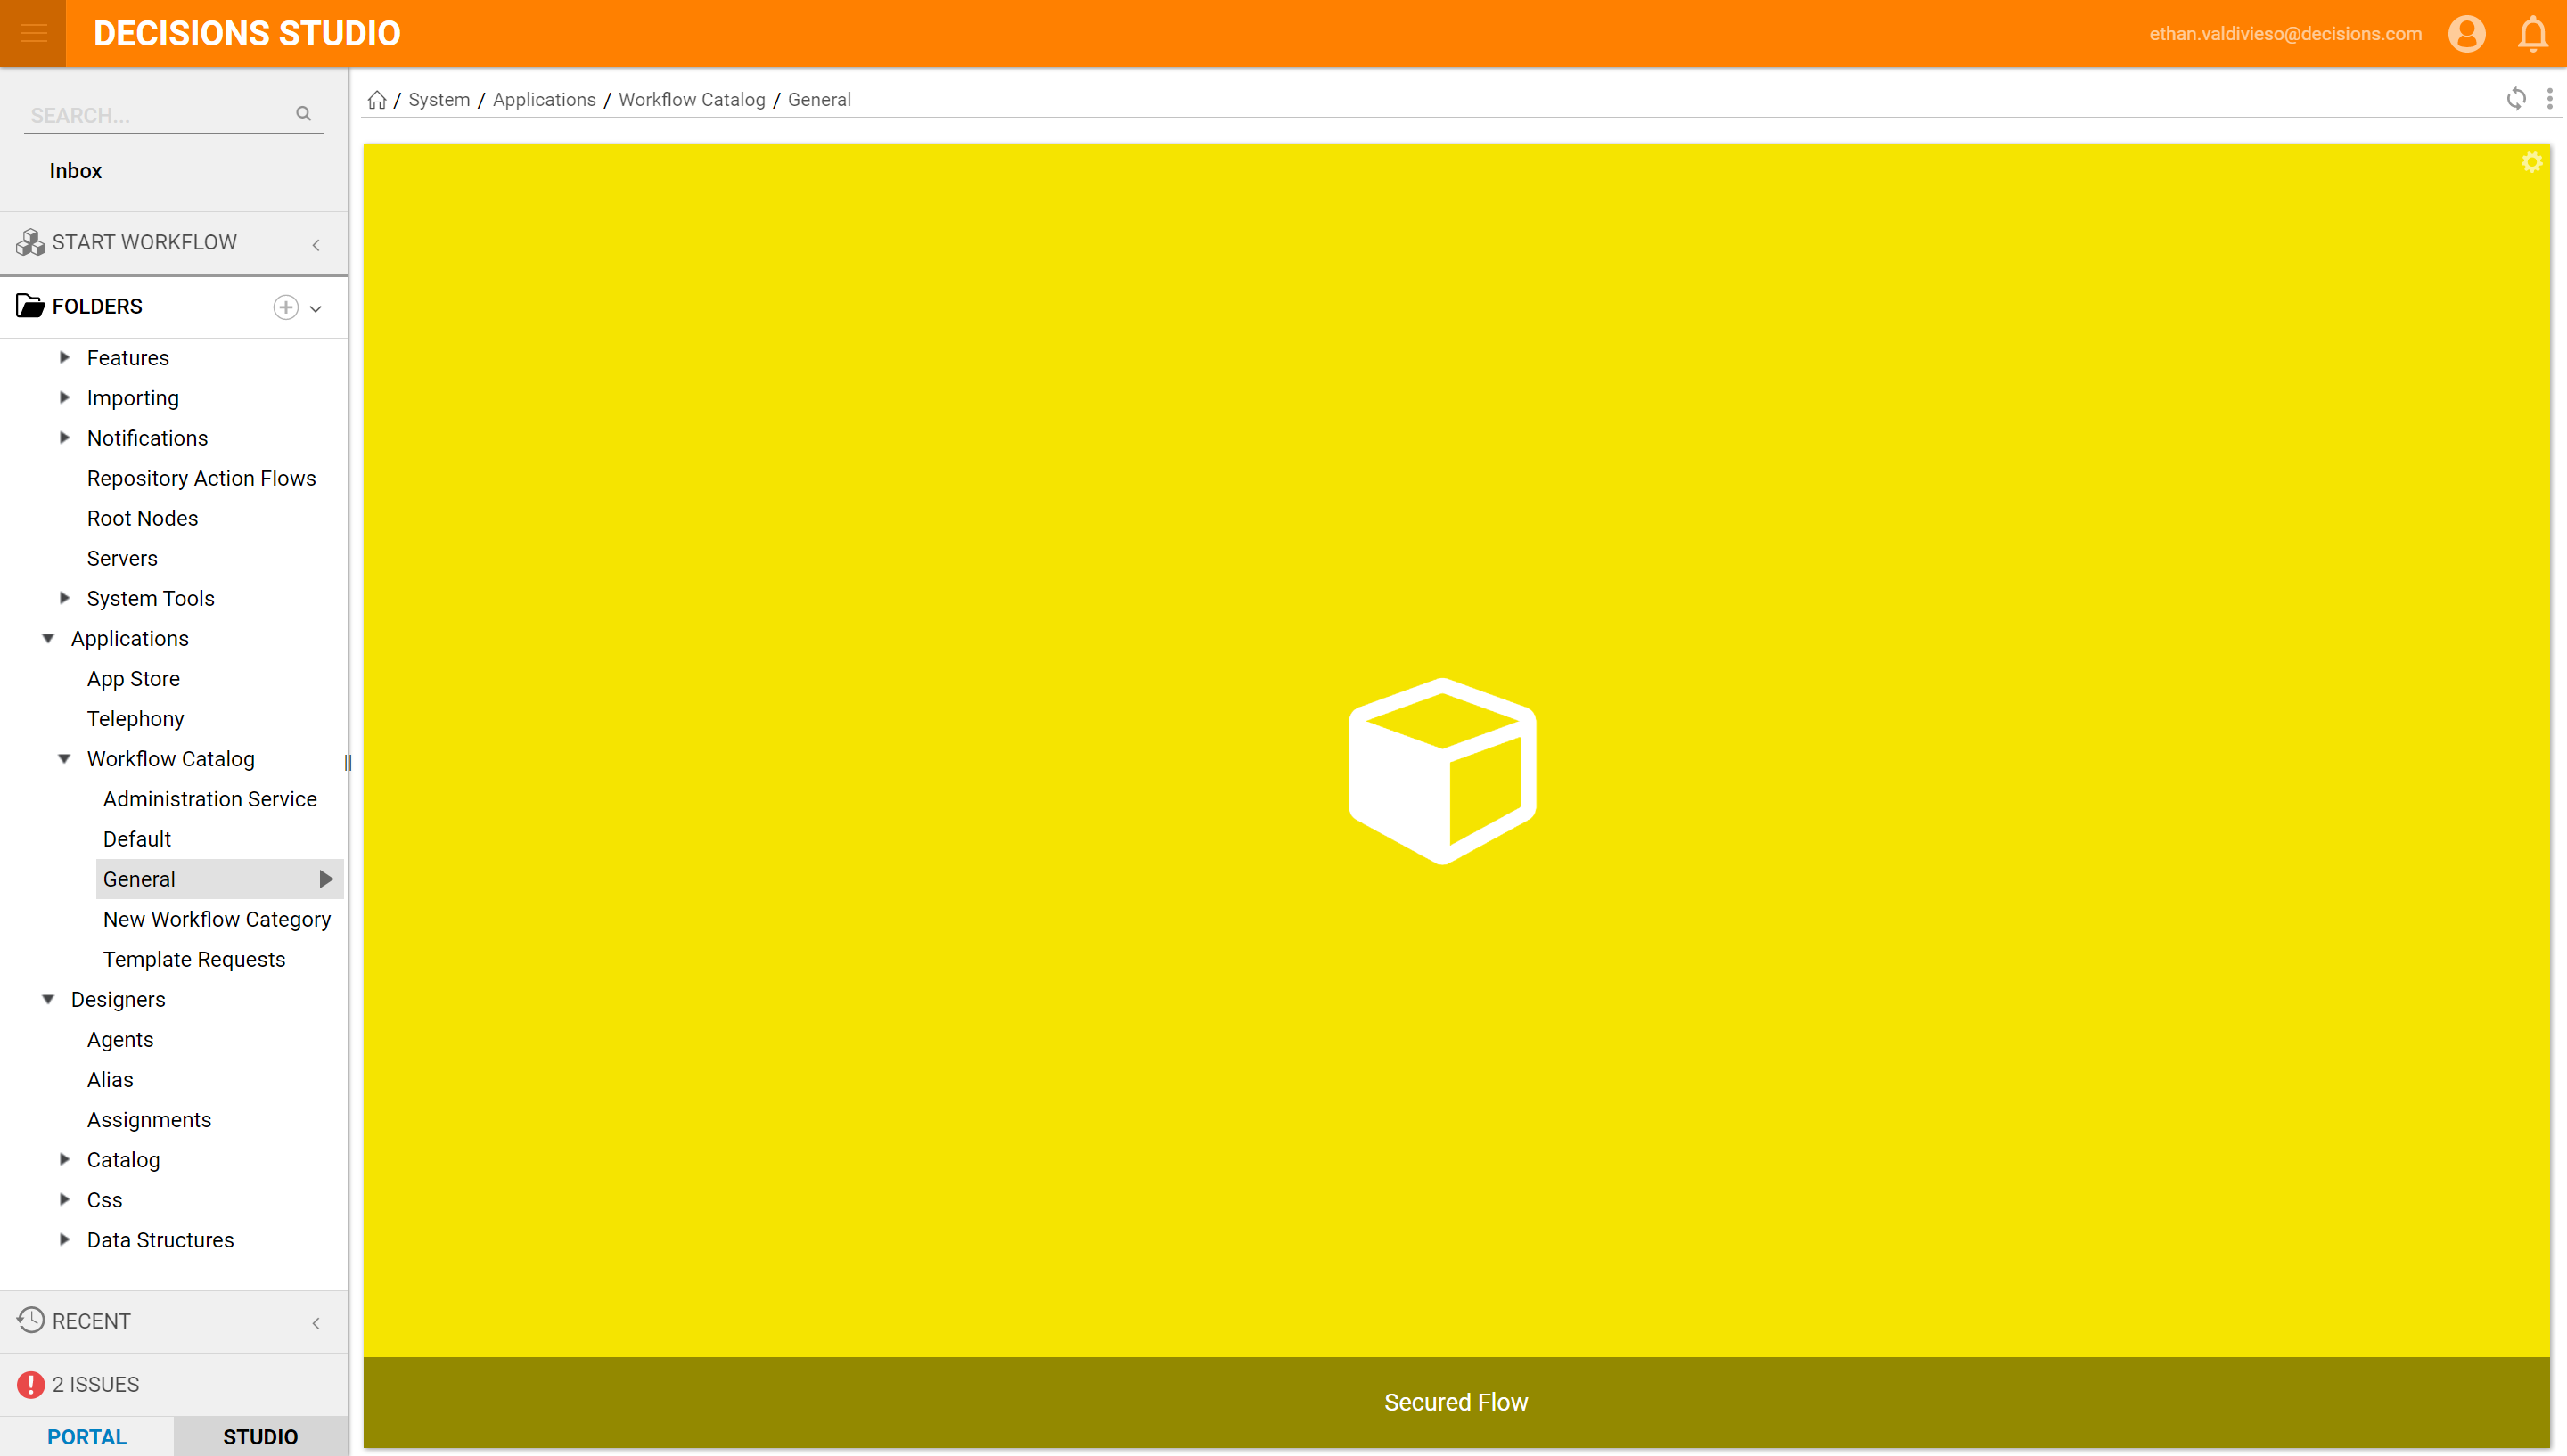
As the Administrator, we automatically have permission to see and use our new flow service.
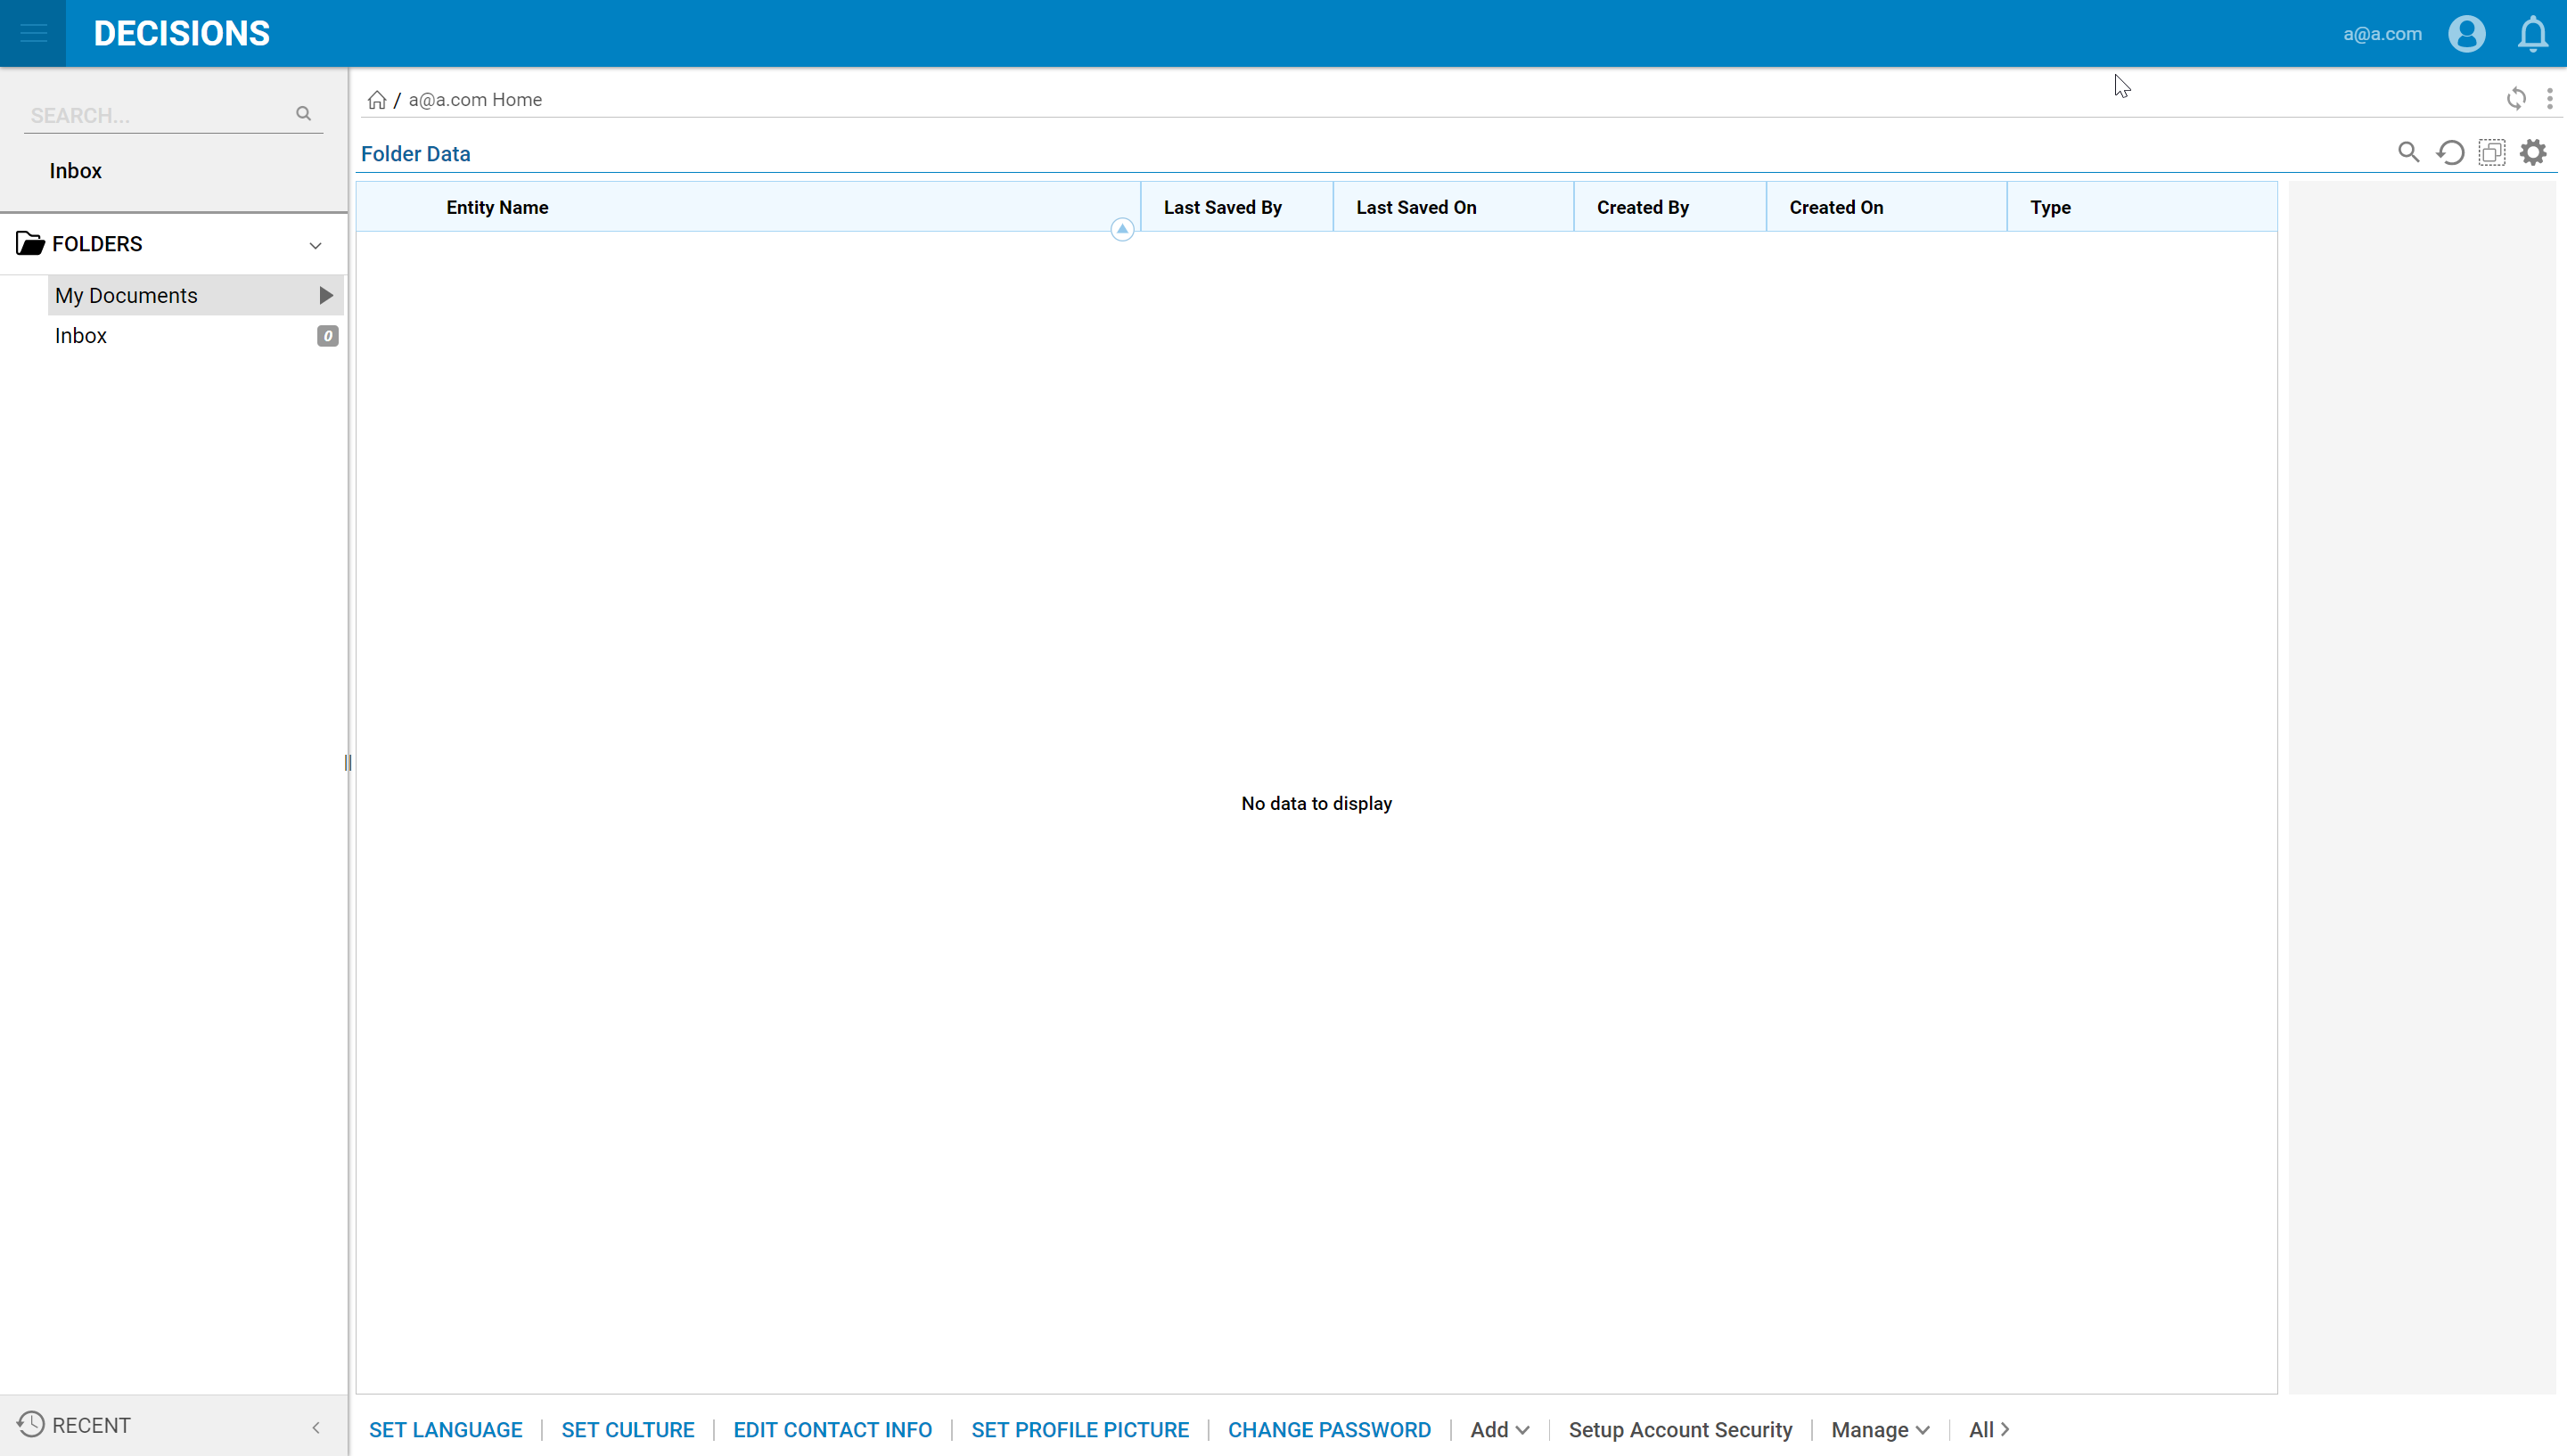
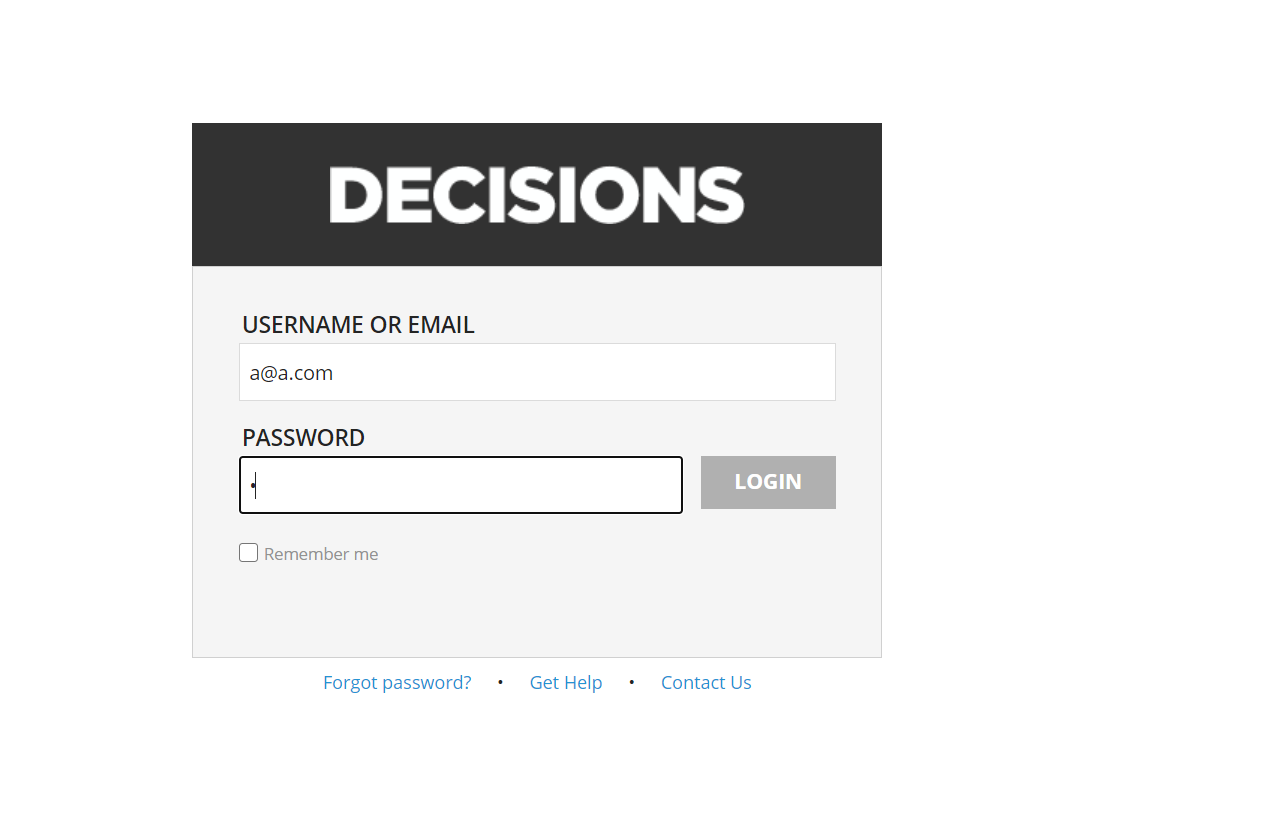
To see whether the user a@a.com has permission to use our service, we can log out and log back in asa@a.com.
.png)
When we navigate to the Service Catalog folder, we can see that our new flow service -secured flow - does not appear.
To fix this, we will log out and log back in as admin@decisions.com.
To authorize a@a.com to use our new flow service, we will navigate to the Designer Project folder where Flow 1 resides. In the Actions menu, we will select Manage > Manage Permissions.
In the resulting Manage Folder Permissions pop-up, we will click the Add New link.
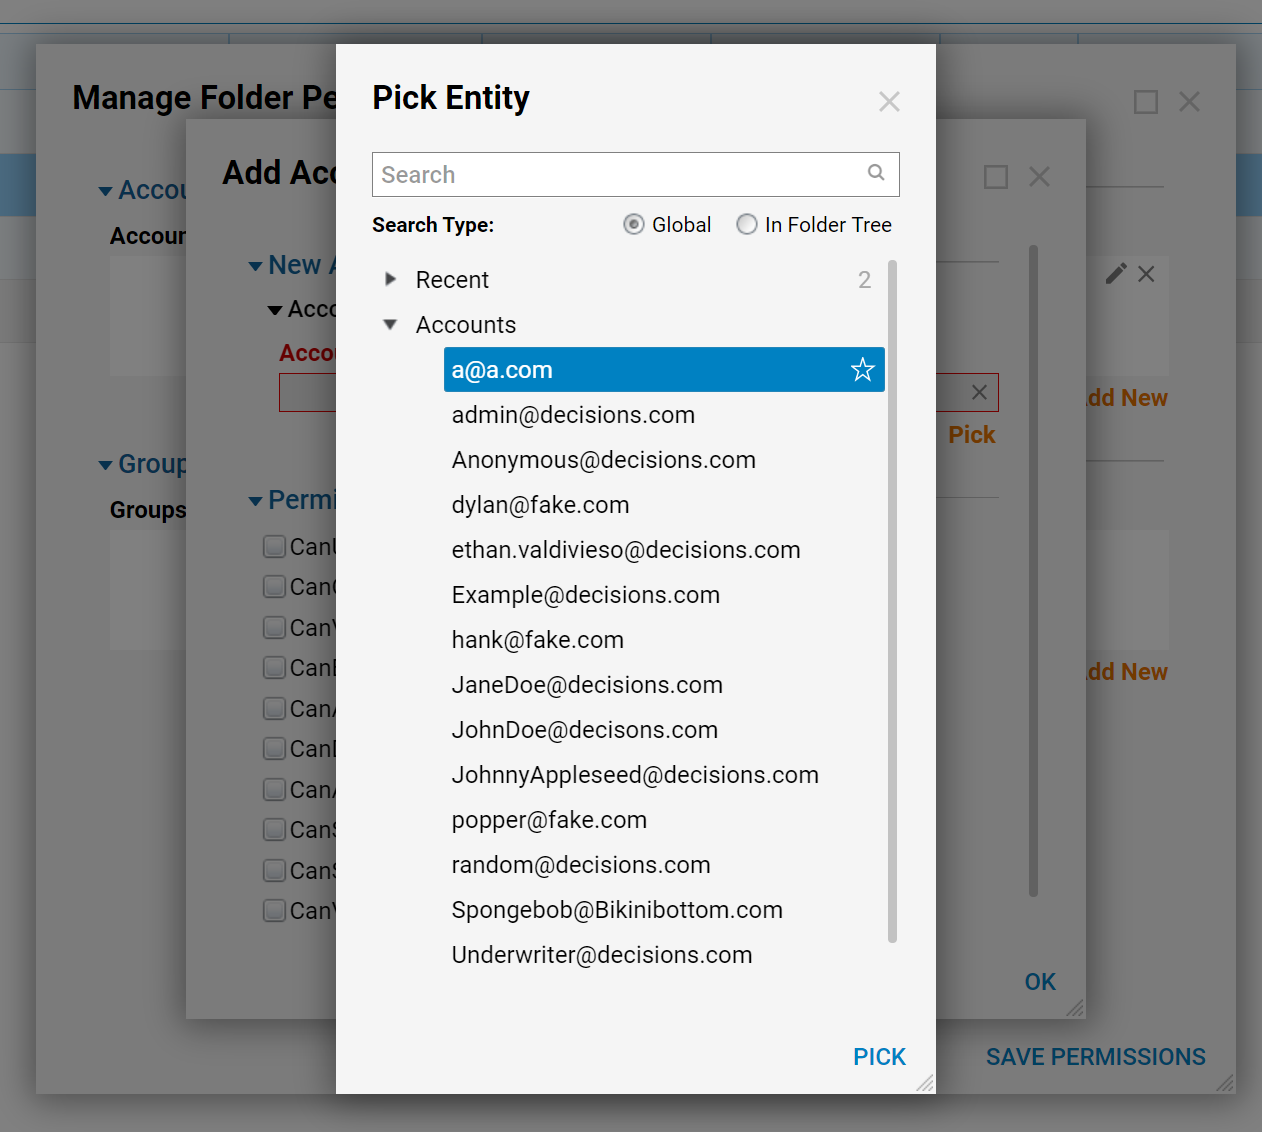
In the resulting Edit Object pop-up, under the heading New Account Permission > Account, we will click the Account selector. In the resulting Select Account pop-up, we will select a@a.com and click OK.
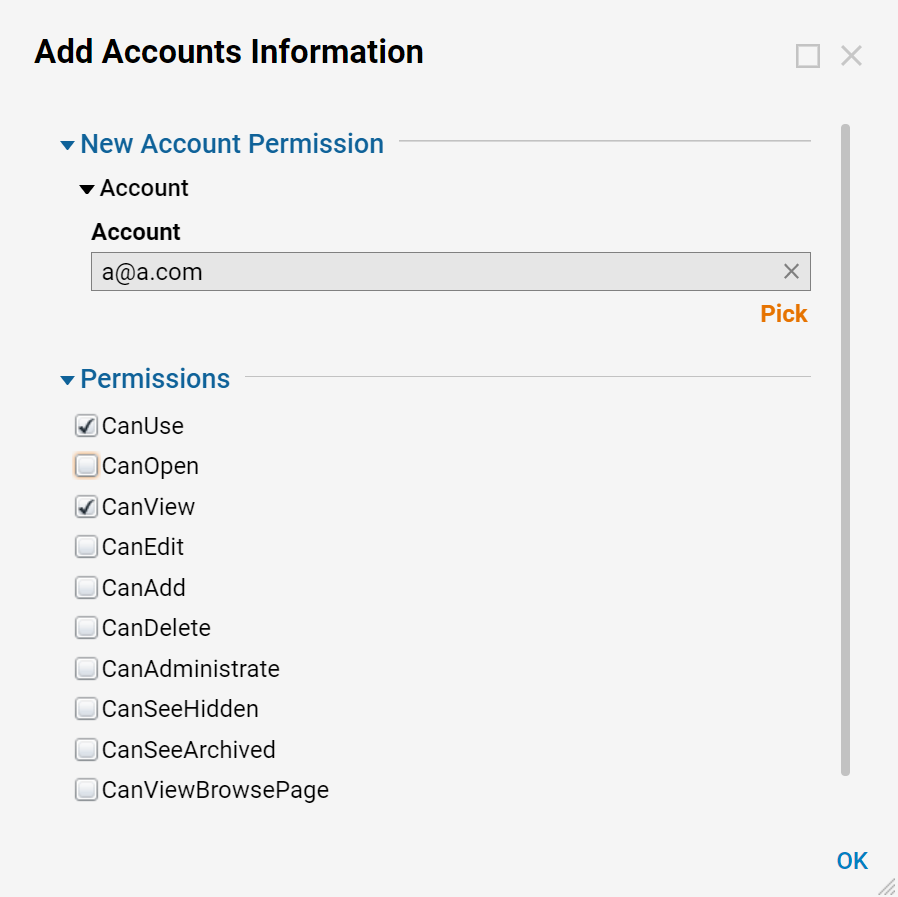
Because we only want to grant a@a.com permission to use and view our new flow service, we will select the CanUse and CanView checkbox, and leave the other checkboxes cleared. Each checkbox is associated with increased permissions which can be combined as needed. To save these permissions for a@a.com, we will click Save.
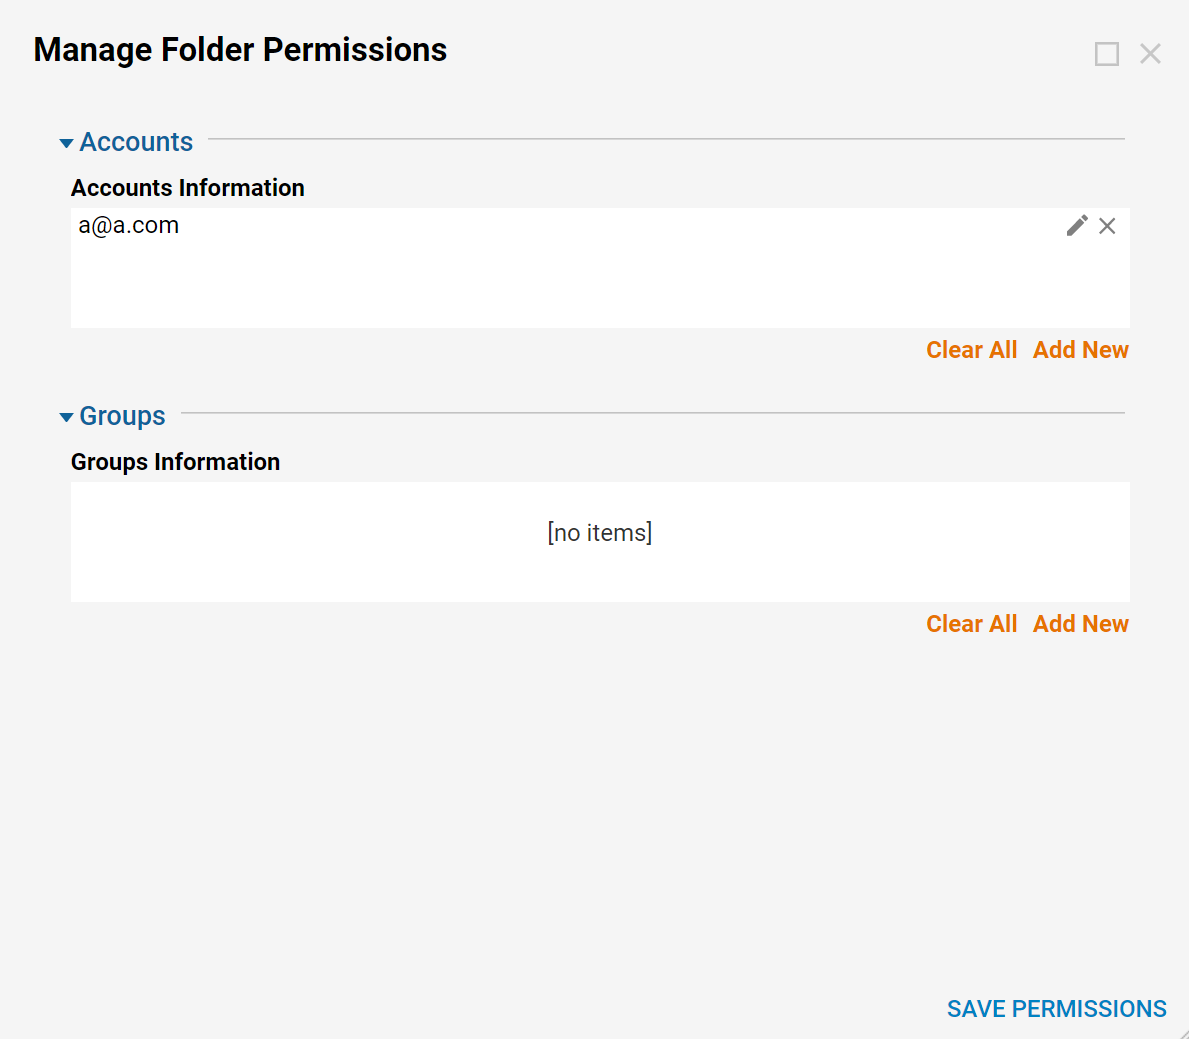
This completes our changes to the permissions structure for our Designer Project folder, so we will click OK.
To see a@a.com's permissions in action, we will log out and log back in asa@a.com.
Now, when we navigate to Service Catalog, we will see that the secured flow service is visible and can be run by a@a.com.
