Overview
To aid in the efficiency of organization within a Decisions-based environment, the Portal provides options for Self Registration. By enabling Self Registration, users are able to create their own Account and log in to the environment without the aid of an Admin Account.
After the feature is enabled by an Admin, a new Register button is added to the Portal Login screen. Additionally, the Portal can be configured to require a self-registering user to confirm their Email Address before granting them access to the environment. The following document demonstrates how to enable the Self Registration, as well as how to Register a newly self registered Account.
Enabling Self Registration
To enable Self Registration:
- Navigate to System > Settings > Portal Settings.
- Under REGISTRATION SETTINGS, toggle the Allow Self Registered Users and Registered Users Must Confirm checkboxes.
- Click SAVE.

- A self-registered user has limited access to portal functionality and is a member of the most-restrictive All Users group by default.
Self Registration
After enabling Self Registration, to Register a new user:
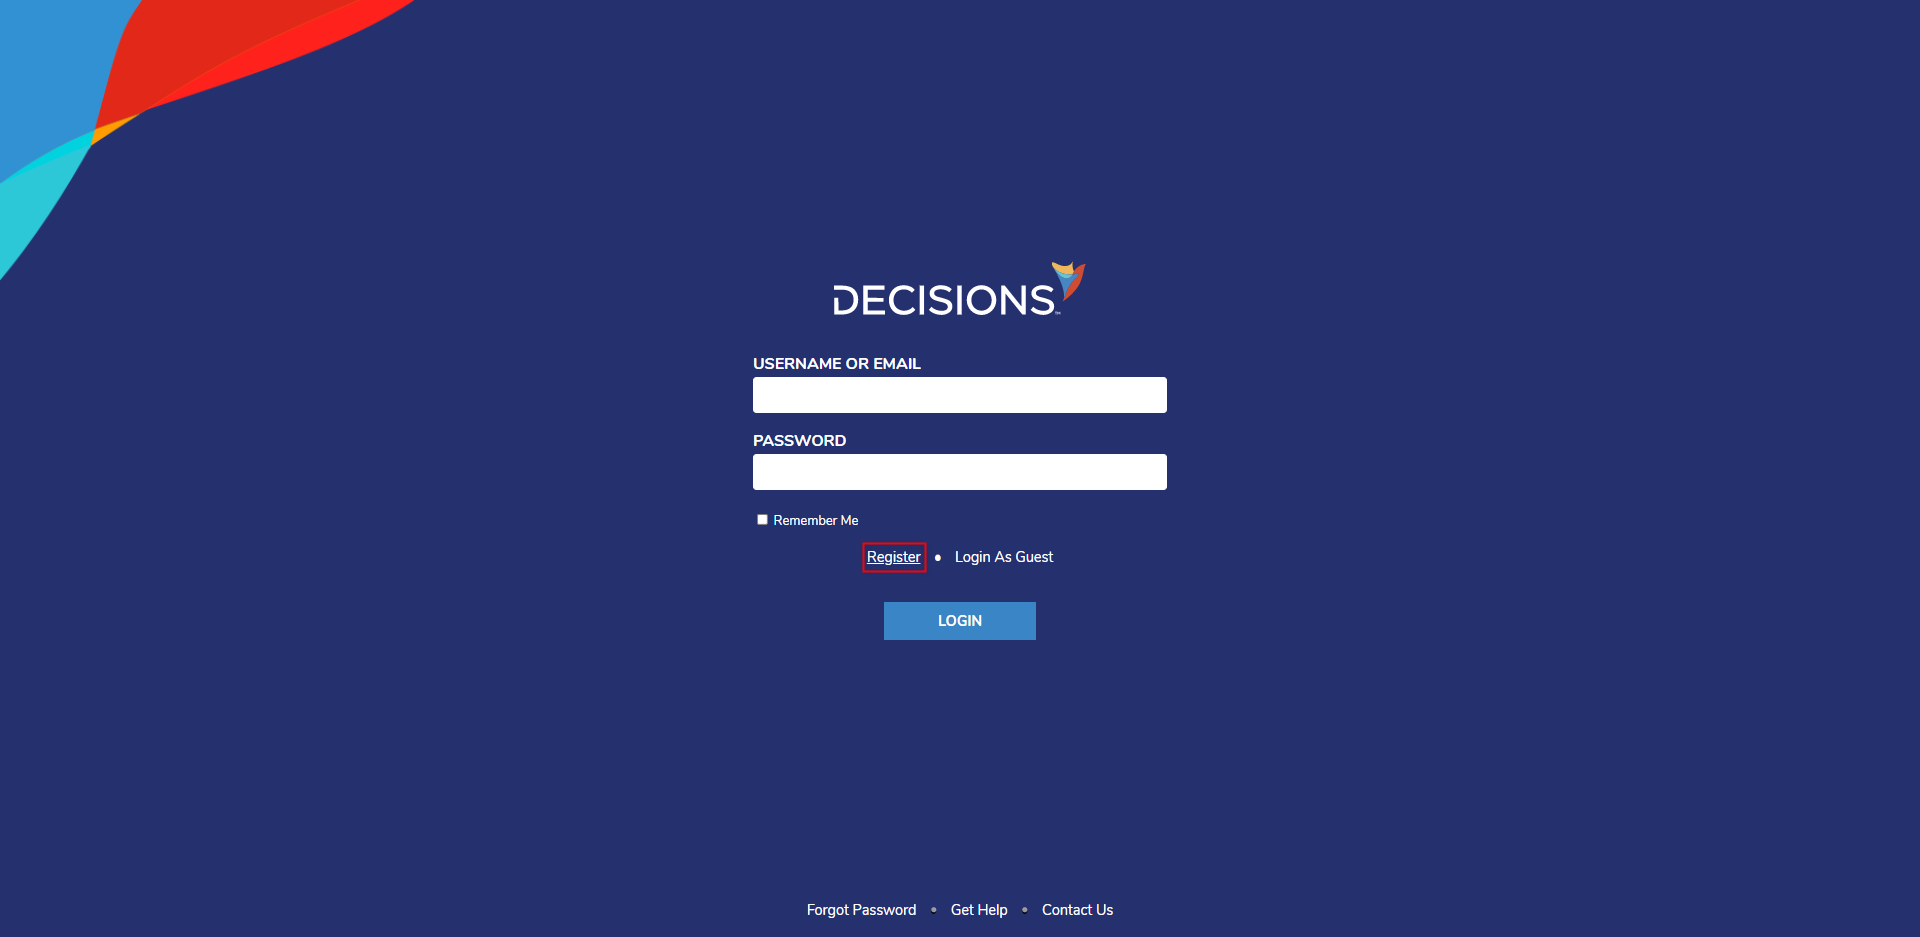
- From the Portal Login screen, select the Register link.

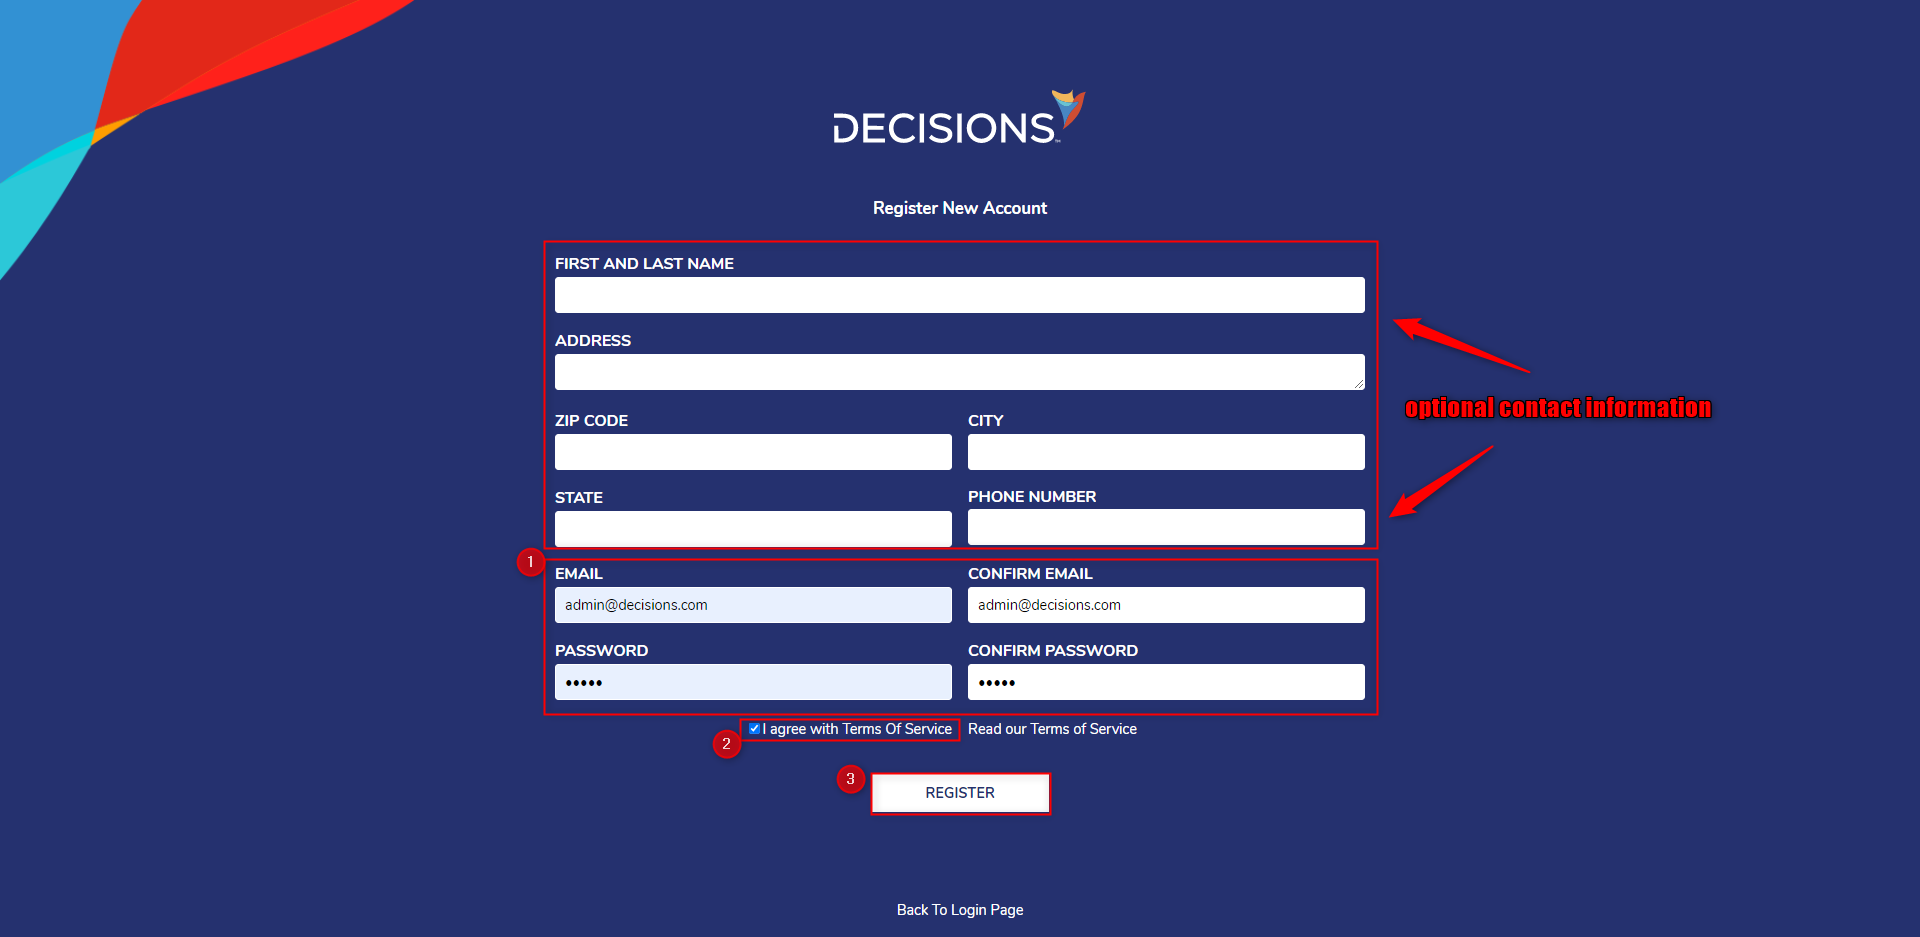
- From the Register New Account screen, provide the required EMAIL and PASSWORD fields; if desired provide optional contact information.
- Check the I agree with Terms Of Service box, then click REGISTER. Self Registered User PermissionsUpon Self Registration, a new Account will be created under the All Users Group by default; this Group is the most restrictive default user Group and provides limited Permissions for Portal functionality and access to users within it.

- Navigate to the Email Inbox of the newly registered user and follow the confirmation link in the Account Confirmation Email, to the Portal.Change Default MessageTo modify the contents of the Account Confirmation Email, modify the Send Email step in the Account Confirmation Email Flow found under System > Shared Designer Defaults.
Alternately, the Flow can be accessed via the REGISTRATION SETTINGS category of the Portal Settings..png)