Breaking changes can also be viewed by using the Upgrade Validator Accelerator. It is recommended to use the scanner before upgrading. The scanner only shows breaking changes for v9.0 and above.
- Database and file system - make a note of the DB Server and DB Name
- Settings.xml - found at C:\Program Files\Decisions\Decisions Server
- Keys.dat - found at C:\Program Files\Decisions\FileStorage\Primary\Settings
- FileStorage folder - found at C:\Program Files\Decisions\
Overview
Throughout the course of a major version release (for example, v9), additional minor releases (such as v9.2 or v9.1.3) are periodically released to address the need for new features, bug fixes, and security and stability issues within the platform.
In such instances, Decisions Installations of a matching major version can be updated using DecisionsServerInstaller.exe.
- IIS-hosted: Turn OFF the Decisions Services on all the Nodes. To do so, run
iisreset/stopfrom the Command Prompt/PowerShell as Administrator. - Self-hosted: Turn OFF the Decisions Services on all the Nodes. To do so, Stop the Decisions Services from the Windows Services.
- Follow the given Steps, and upgrade the nodes one after the other. Ensure to upgrade the second node only after the first node's upgrade is completed and the service is running.
Prerequisites
- Pre-existing major version installation.
- When running a Self-Hosted environment, IIS (Internet Information Systems) must be stopped via the Stop action; this prevents potential Port conflicts in the update process.
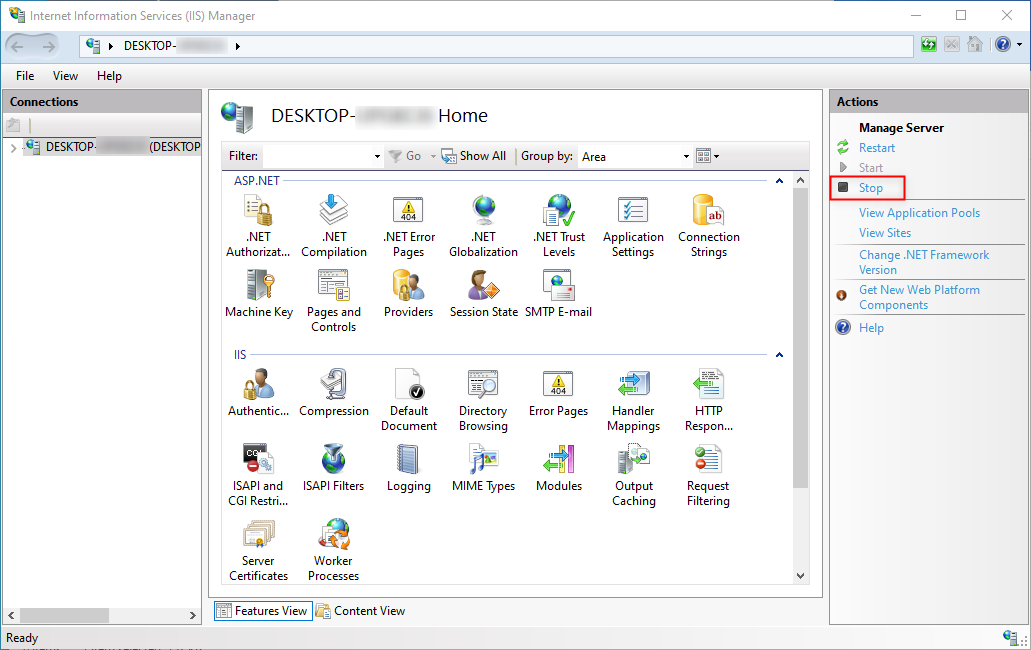
Example
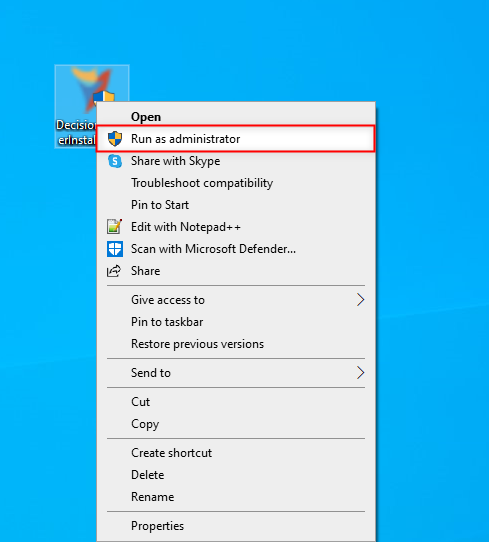
- From the local file system, right-click DecisionsServerInstaller.exe and select Run as administrator.
- From the Decisions Installer, click UPDATE. If desired, check the Change Settings on the Update box.
.png)
- Read and agree to the License Agreement by checking the I accept terms of the License Agreement box, then click Next.
- Overwrite the configurations from the Settings window to the File Storage screen as desired (per Installation Guide), or leave the previously utilized configurations and click through each window via the Next button.
Note that these screens will only appear if Change Settings on Update were previously enabled.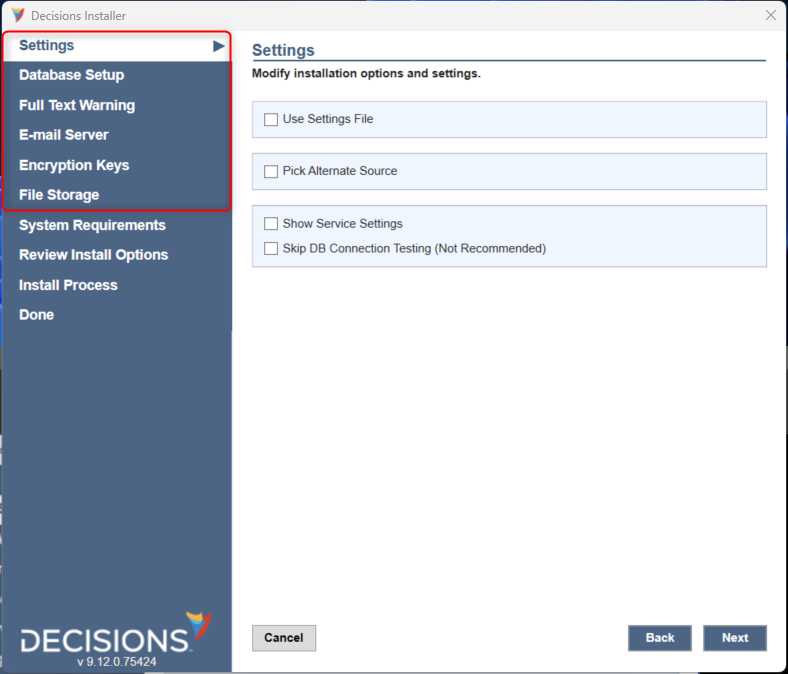
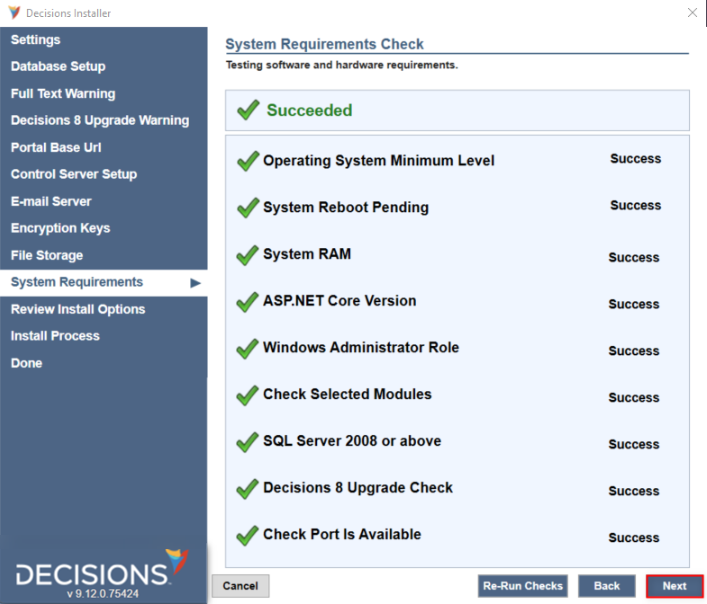
- Review and correct any System Requirements before proceeding with the Next.
- Review the settings and summary on Review Install Options. Then, click Next.
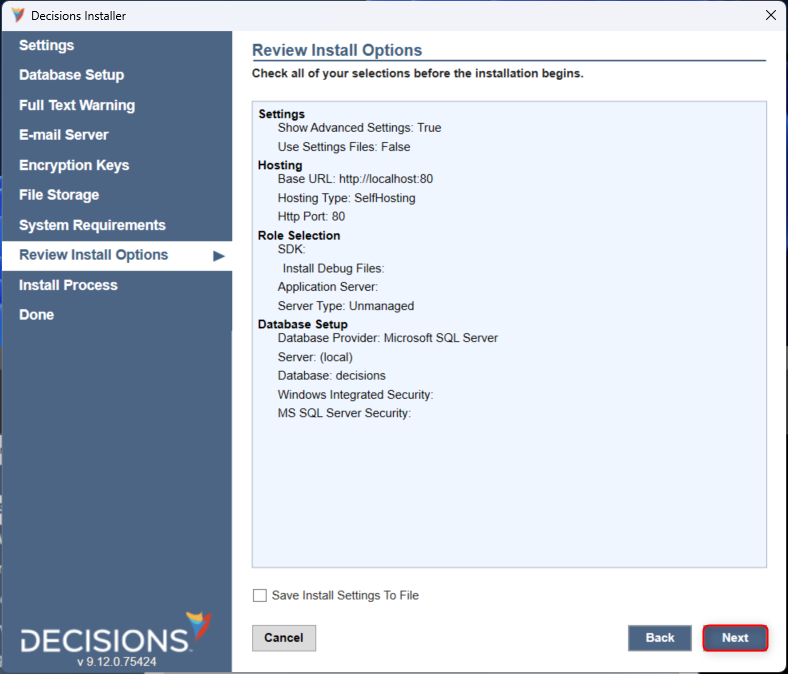
- The Installer will download and install the most recent Minor Version of the currently installed major version; click Show Details to view the progress of the update process.
To stop the upgrade, click Cancel, then exit the Installer. - Once the minor version update concludes, click Finish to exit the Installer.
If desired, enable Launch Decisions Portal to open the login screen after clicking Finish.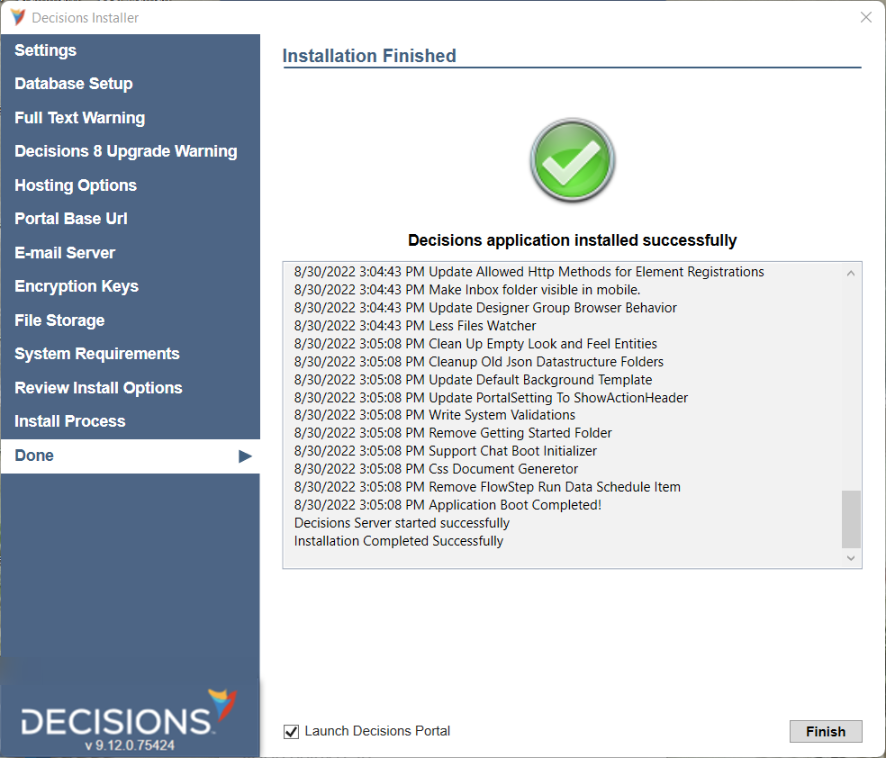
Multi-Tenancy Update
Updates must be applied to both the Control and its subsequent Tenant Instance(s) if updating a Multi-Tenancy. This method varies depending upon the method in which the Tenants were added to the environment.
Troubleshooting
v9.4
When v9.4 is installed and a higher version's installer is opened, clicking the Edit Settings button will product an error. The Edit Settings button will only work if the installer and the installed version are the same.