Overview
Simple Flows offer users a simplistic way of creating Flows using Simple Flow Steps for quick process creation.
Simple Step Configuration
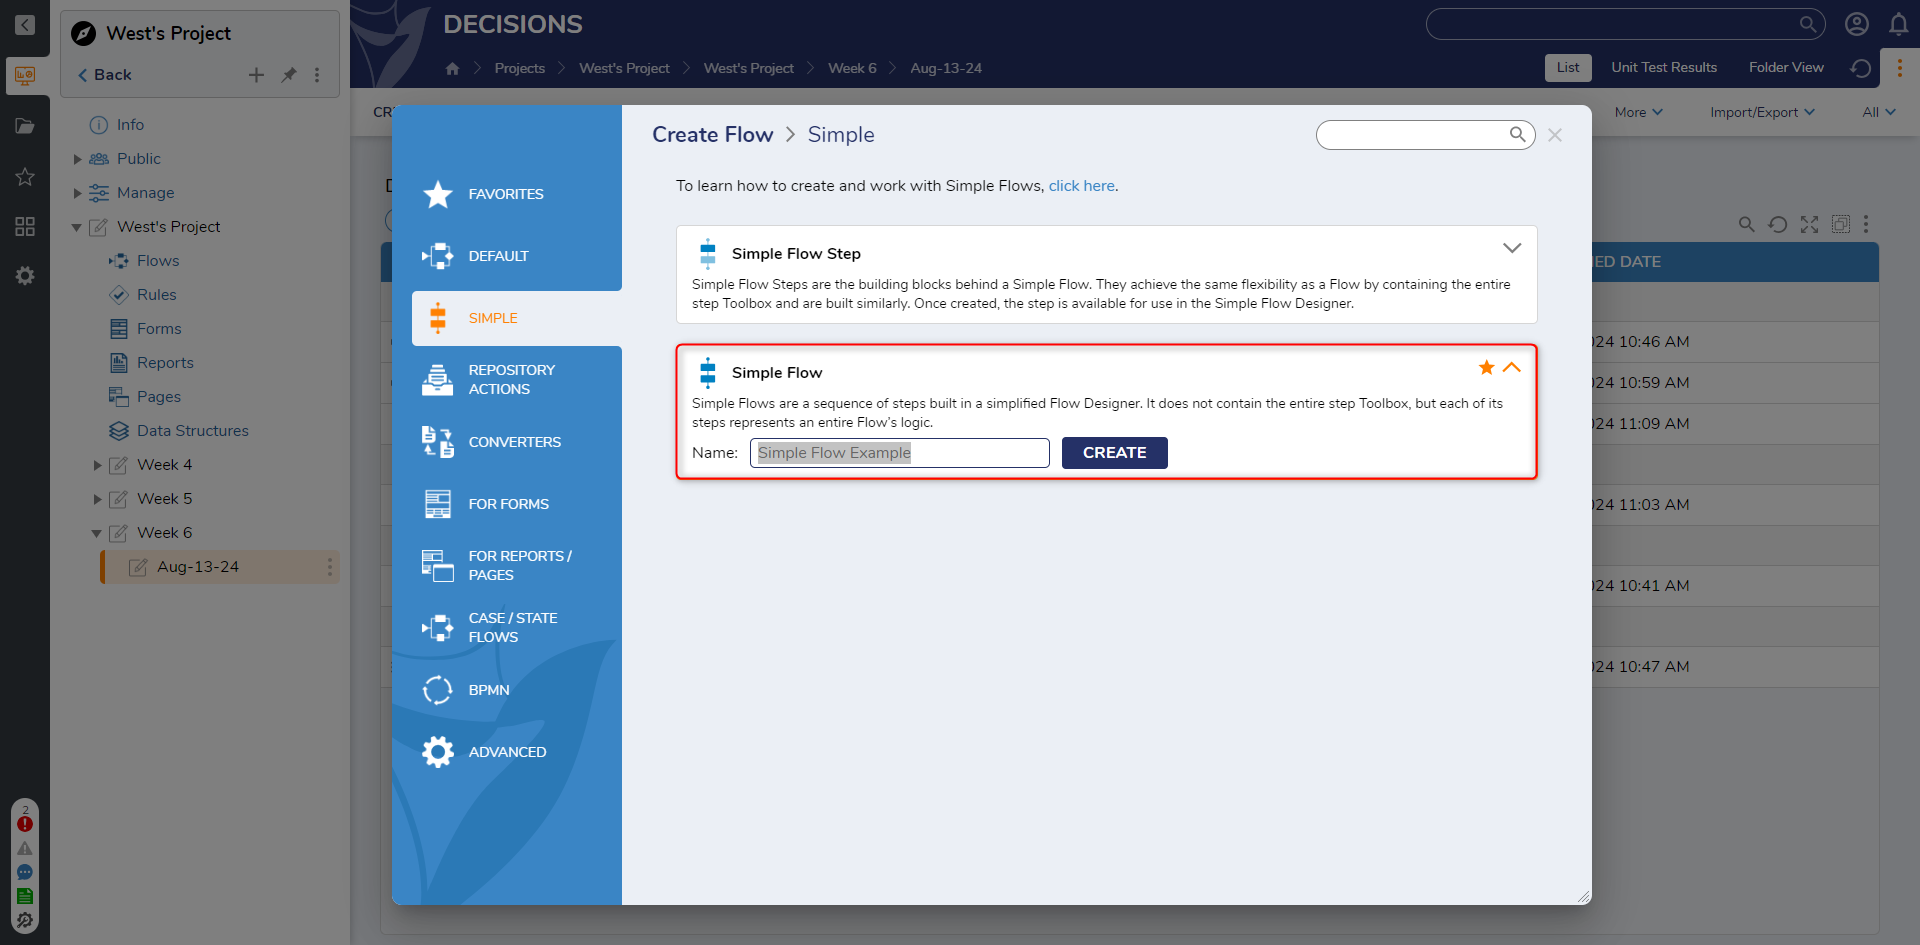
In a Designer Project, click CREATE FLOW, select Simple, and click Simple Flow Step. Provide a Name and click CREATE.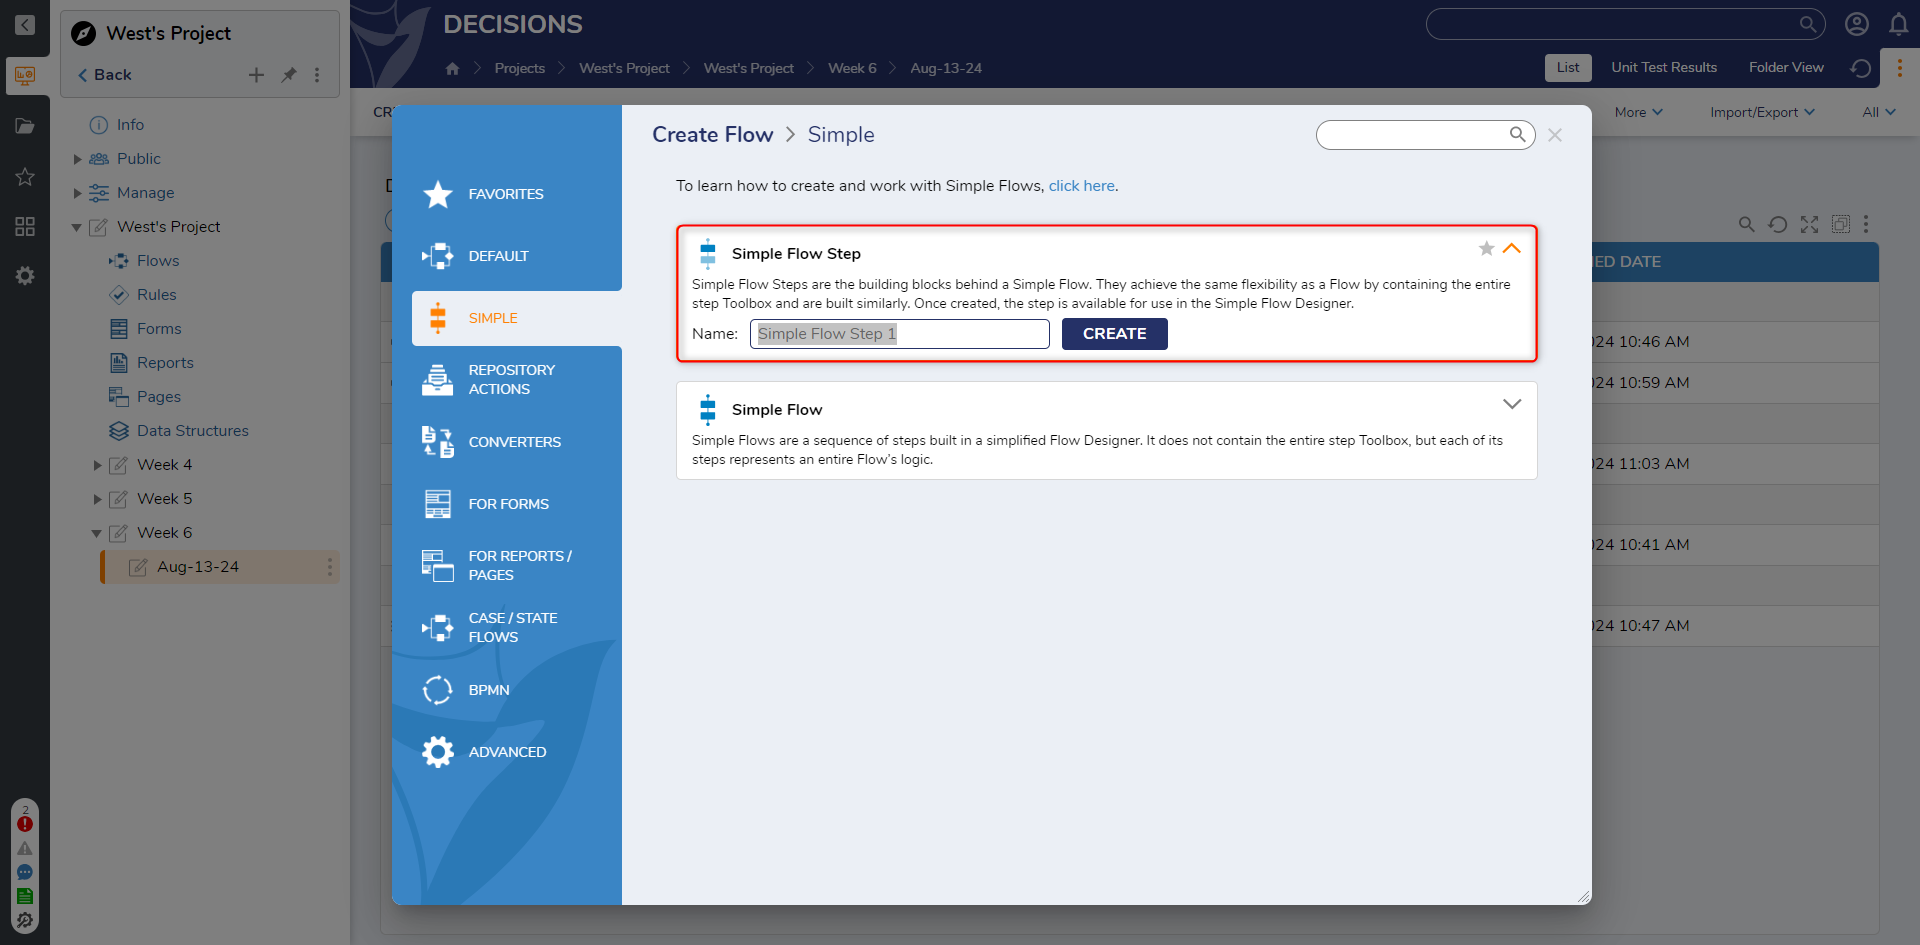
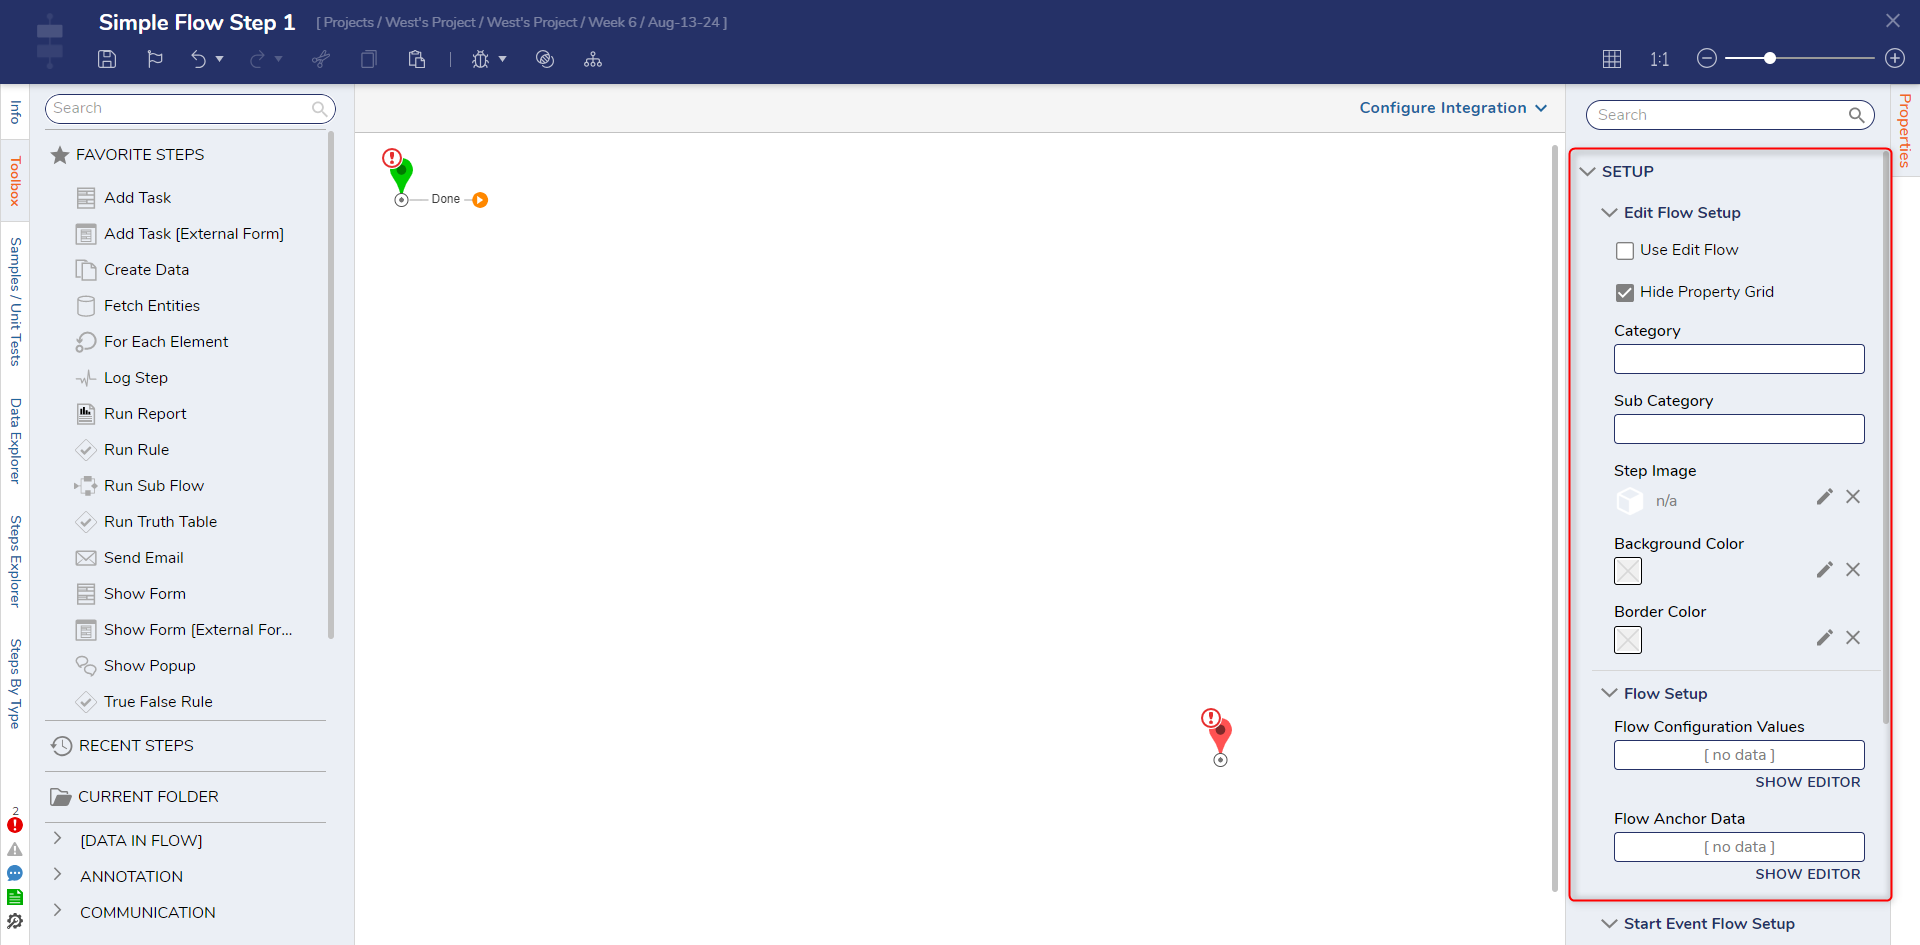
The Properties panel has two categories; SETUP and FLOW. The SETUP contains properties unique to the Simple Step Designer, while the FLOW category comprises the same settings as a regular Flow Designer.
| Setting Name | Description |
|---|---|
| Edit Flow Setup | |
| Use Edit Flow | This provides a Flow where the user can configure the Flow Configure values |
| Hide Property Grid | Allows the user to determine whether the Property Grid is displayed |
| Category | Allows the user to specify the category the step will be under |
| Sub Category | Allows the user to specify the sub-category the step will be under |
| Step Image | Users can add an image that will represent the step |
| Background | Specifies the background color of the step |
| Border Color | Specifies the border color of the step |
| Flow Setup | |
| Flow Configuration Values | Values that a user can edit when using the step in the Simple Flow Designer. These are properties that would configure a Step. |
| Flow Anchor Data | Data that is passed as an Input to this Flow. In a Regular Flow, this is the input Step that in on the Start Step. |
| Start Event Flow Setup | |
| Use Startup Flow | Allows a user to configure a startup Flow |
Flow Configuration Values and Flow Anchor Data can be found in the Data Explorer after being added to their respective sections in the Properties tab. These variables can be used throughout the Flow.
Use Edit Flow Option
Check the Use Edit Flow checkbox and click EDIT FLOW.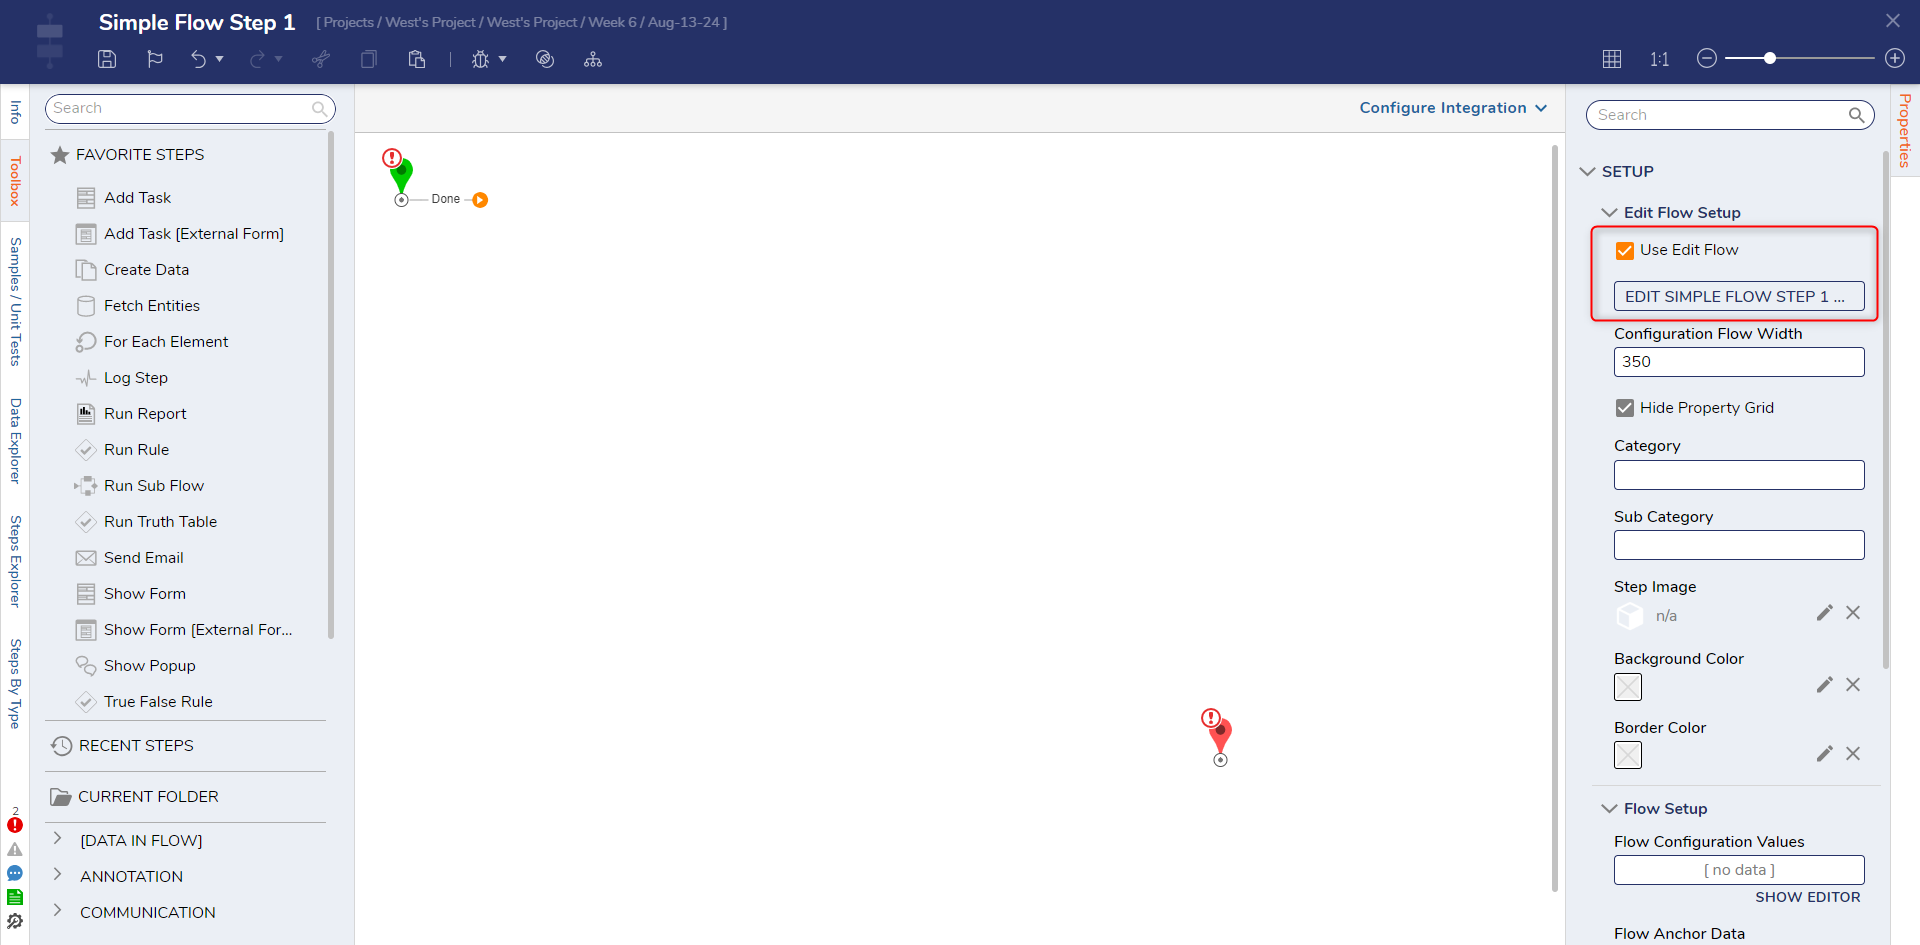
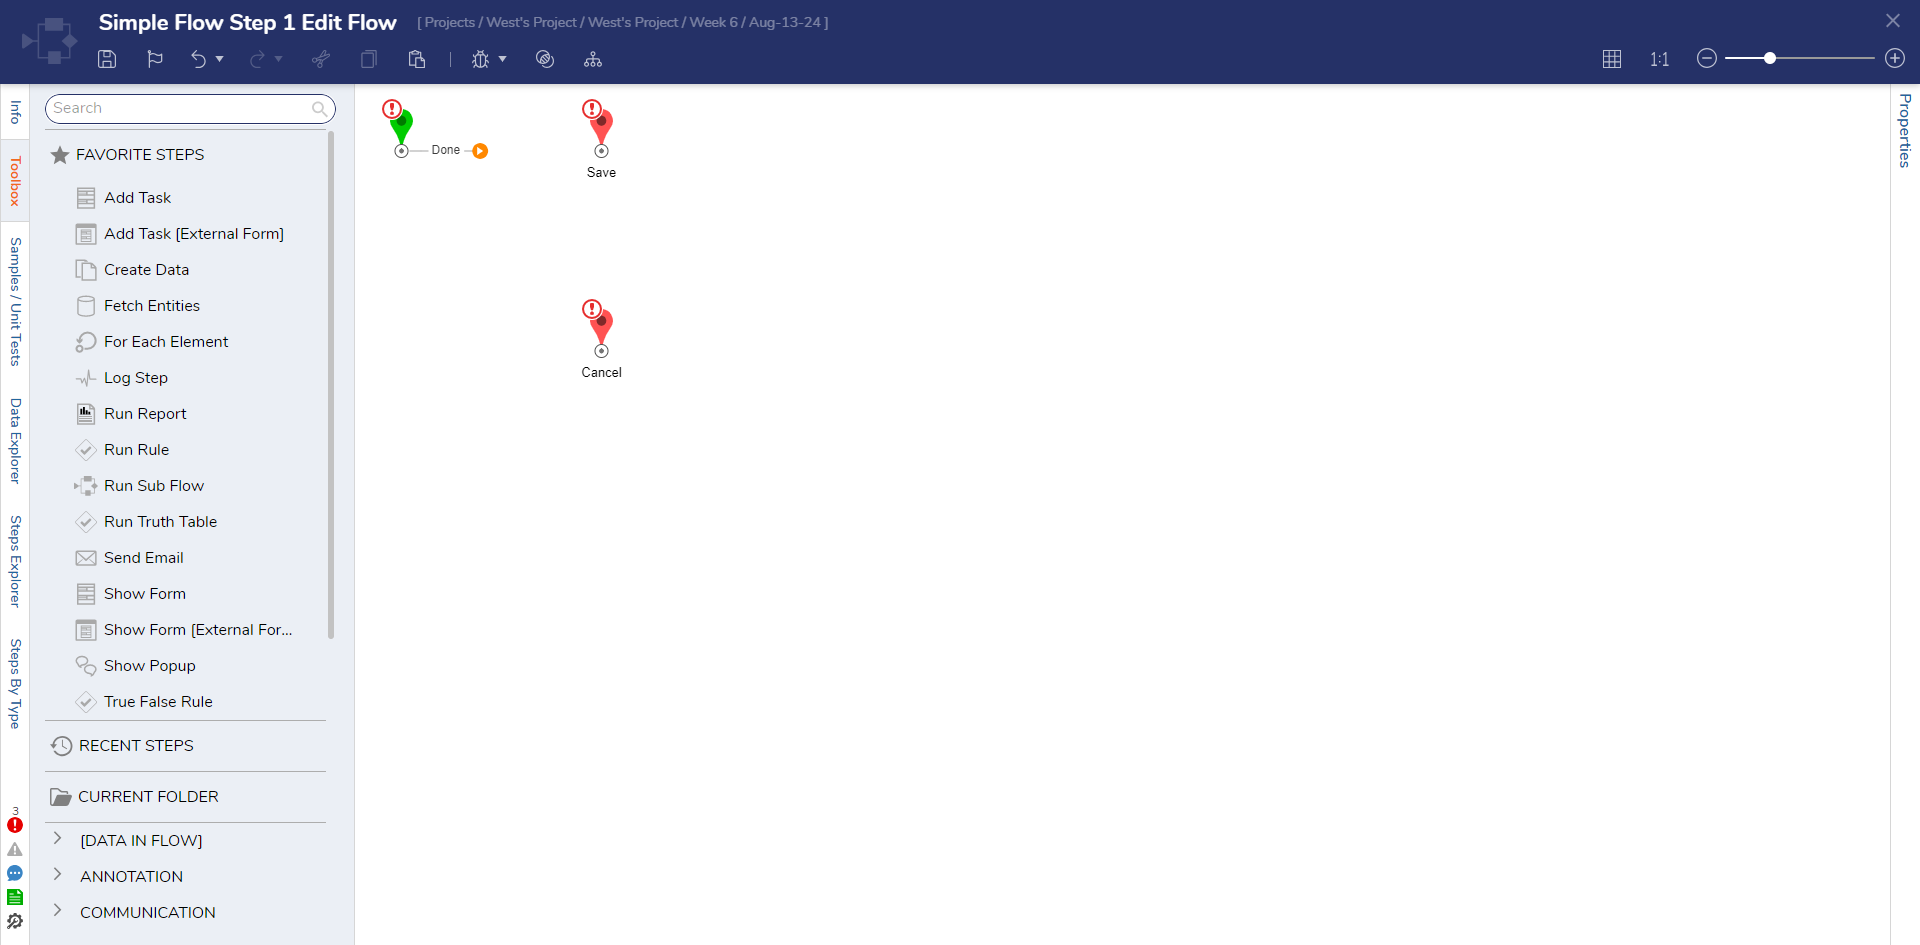
This Flow allows users to edit the Flow Configuration values. The following steps will be displayed: Start, Save, and Cancel. This Flow does not require a Save step as the data is automatically saved to the configured values on the Save End step.
Creating a Simple Flow
- Navigate to a Designer project and click CREATE FLOW. Click SIMPLE, select Simple Flow, provide a Name, then click CREATE.
- If a Simple Flow step has any Anchor Data attached to it, the input needs to be added for that step to appear in the Quick Add panel. This can be done by selecting the Start step and clicking SHOW EDITOR on the Properties panel.
Additionally, in the Properties panel under Layout, there is a setting called Constrained Layout. When this is set to False, the Flow will immediately save and re-load, and the Constrained Layout setting will no longer be available to change. When the Simple Flow is in Unconstrained Mode, the End step can be removed; the End step can be re-added from the Quick Add Gallery. In Unconstrained Mode, designers can control the outcome paths of Simple Flow steps,The Input datatype must match the Flow Anchor Data datatype.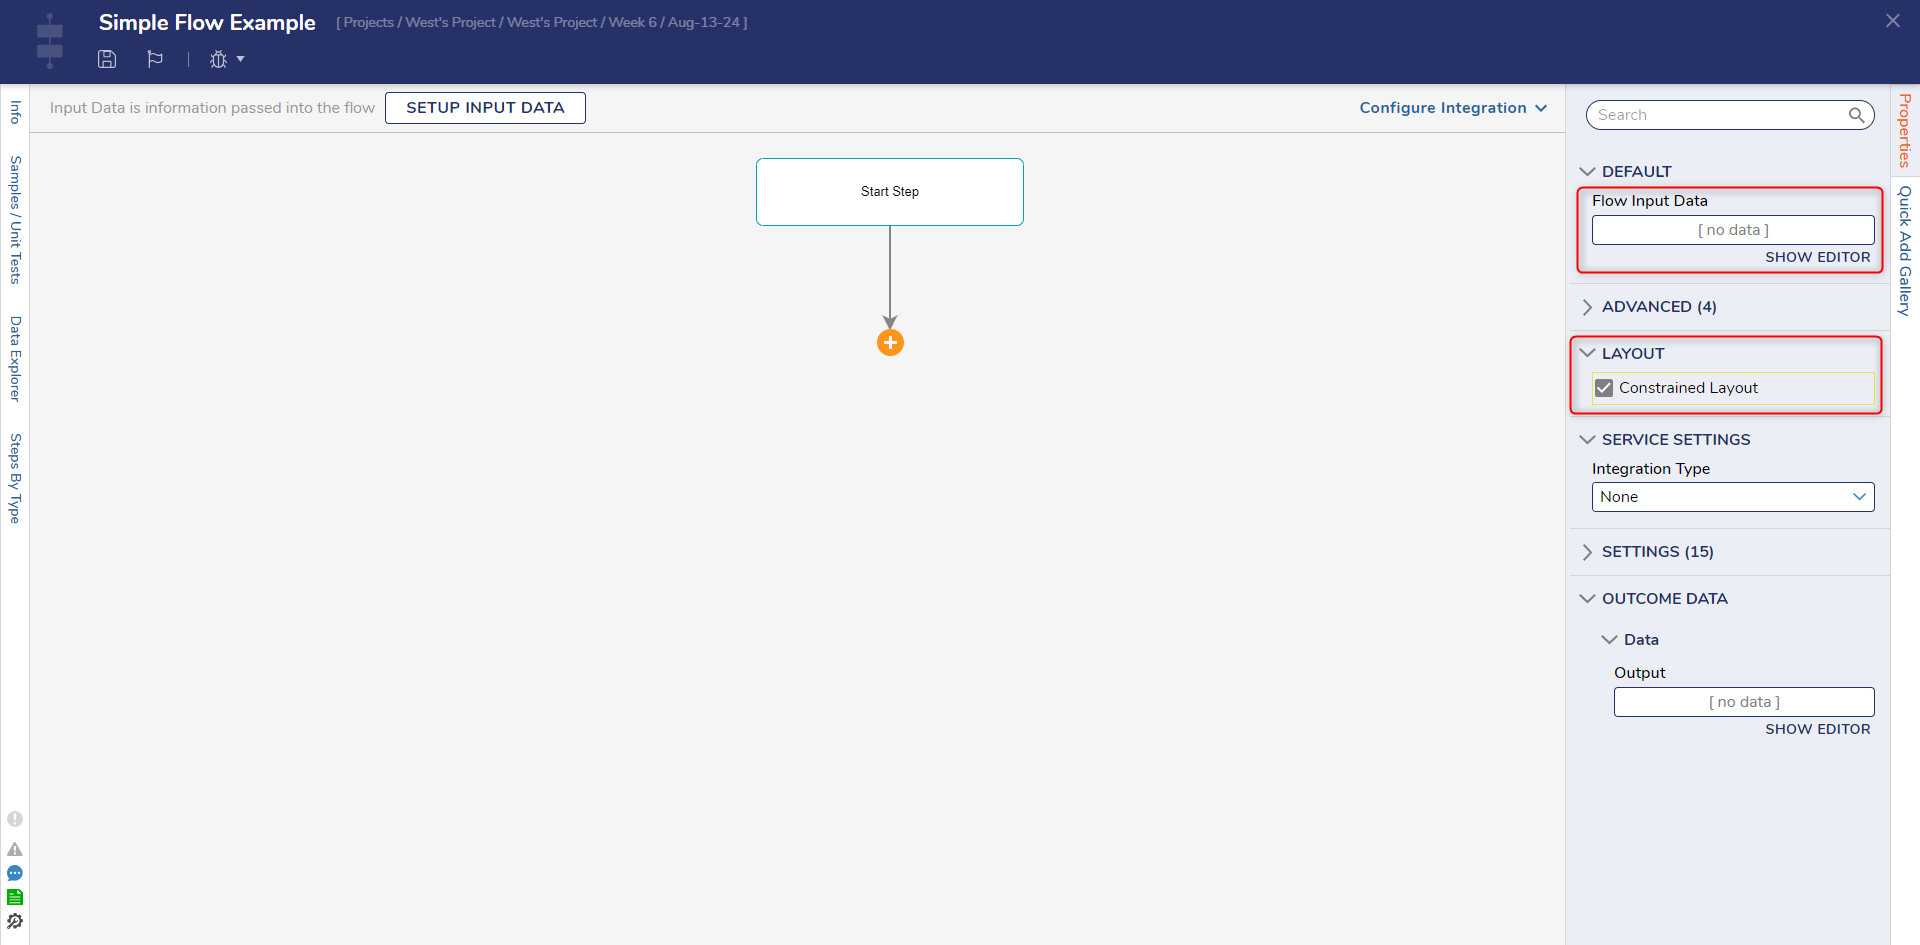
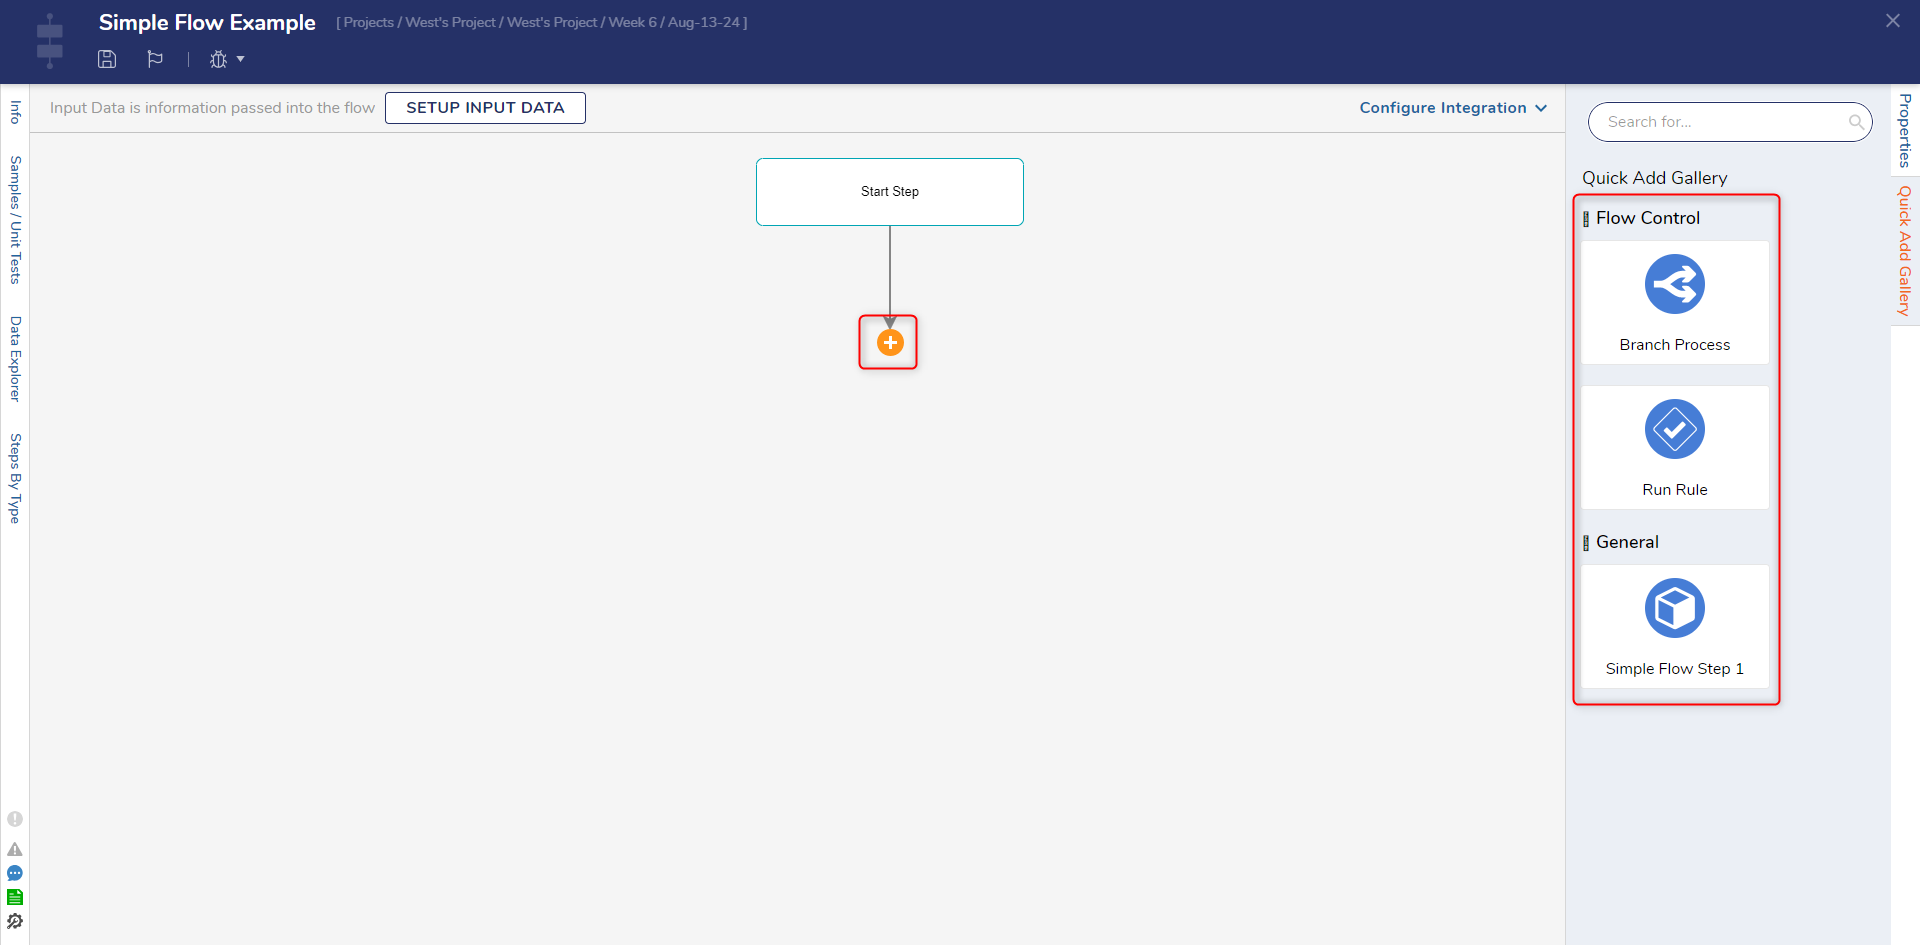
- Click the plus sign below the Start step to add steps.By default, there are two steps in the Simple Flow Designer: the Branch Process step and the Run Rule step.
For further information on Flows, visit the Decisions Forum.