Administrators have the option to enhance the open-source database offerings and broaden their data management capabilities by integrating their SQL-based Decisions environment with a MySQL Database.
The following document demonstrates how to properly install MySQL and integrate it with a pre-existing Decisions Installation.
Upgrading from v6 to v8?
Please review Upgrading Decisions (v6 to v8) for IMPORTANT CONSIDERATIONS.
Upgrading to v8.15 and higher?
In MySQL connector versions 8.0.32 and lower, there was a dependency on the Google.Protobuf.dll. However, starting from Decisions version 8.15, it is included in the platform by default. Attempting to upgrade to version 8.15 or higher while using older MySQL connector versions can result in a failed upgrade.
To ensure a smooth upgrade to version 8.15 or later, it is recommended to delete the Google.Protobuf.dll file from the
To ensure a smooth upgrade to version 8.15 or later, it is recommended to delete the Google.Protobuf.dll file from the
C:\Program Files\Decisions\Decisions Server\Instances\Control\CustomReferences folder before initiating the upgrade process.MySQL Install
- Install MySQL.
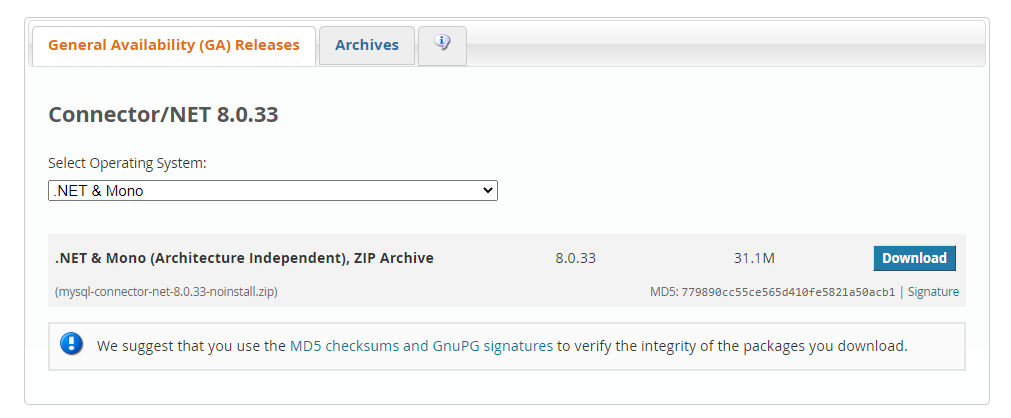
- Via the MySQL Product Archives, select a Product Version 8.0.33 or later from the respective drop-down. Then, select .NET & Mono under Operating System, and Download the resulting ZIP Archive.
- Extract and open the downloaded .zip file (ex: "mysql-connector-net-8.0.33-noinstall"). Open folder
net7.0. CopyMySql.Data.dll. Refer to the following table to copy the .dll file from the .Net version.Decisions Version Copy the .dll from 8.0 - 8.8 net6.0 8.9 + net7.0 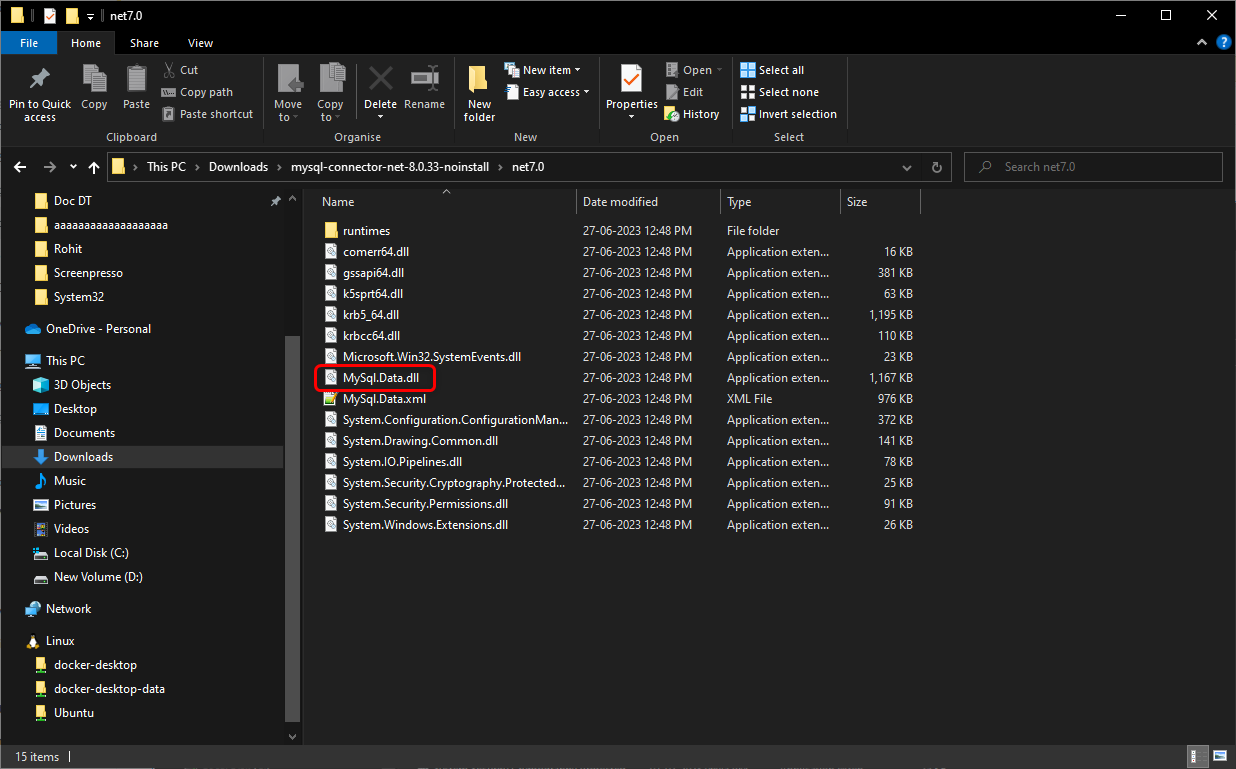
- Paste the .dll file at
C:\Program Files\Decisions\Decisions Server\Instances\Control\CustomReferences\.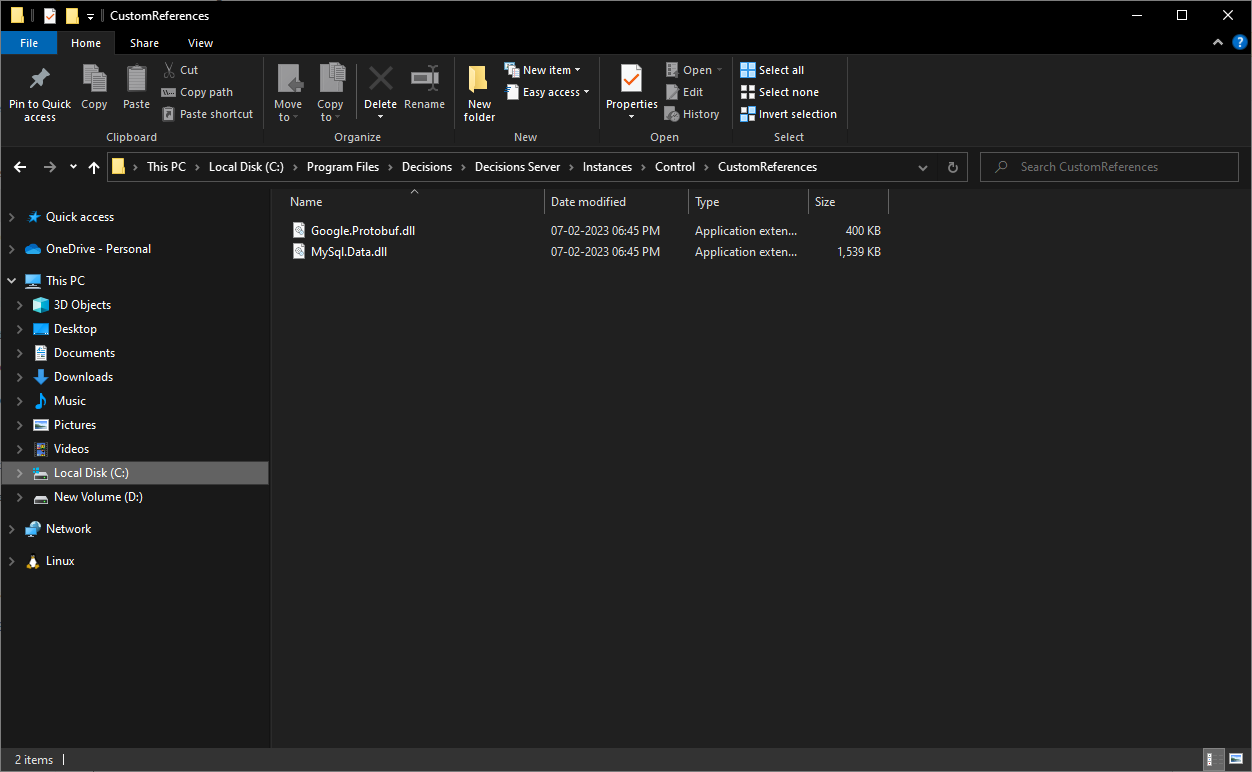
- Restart the Decisions Server (or IIS App Pool).
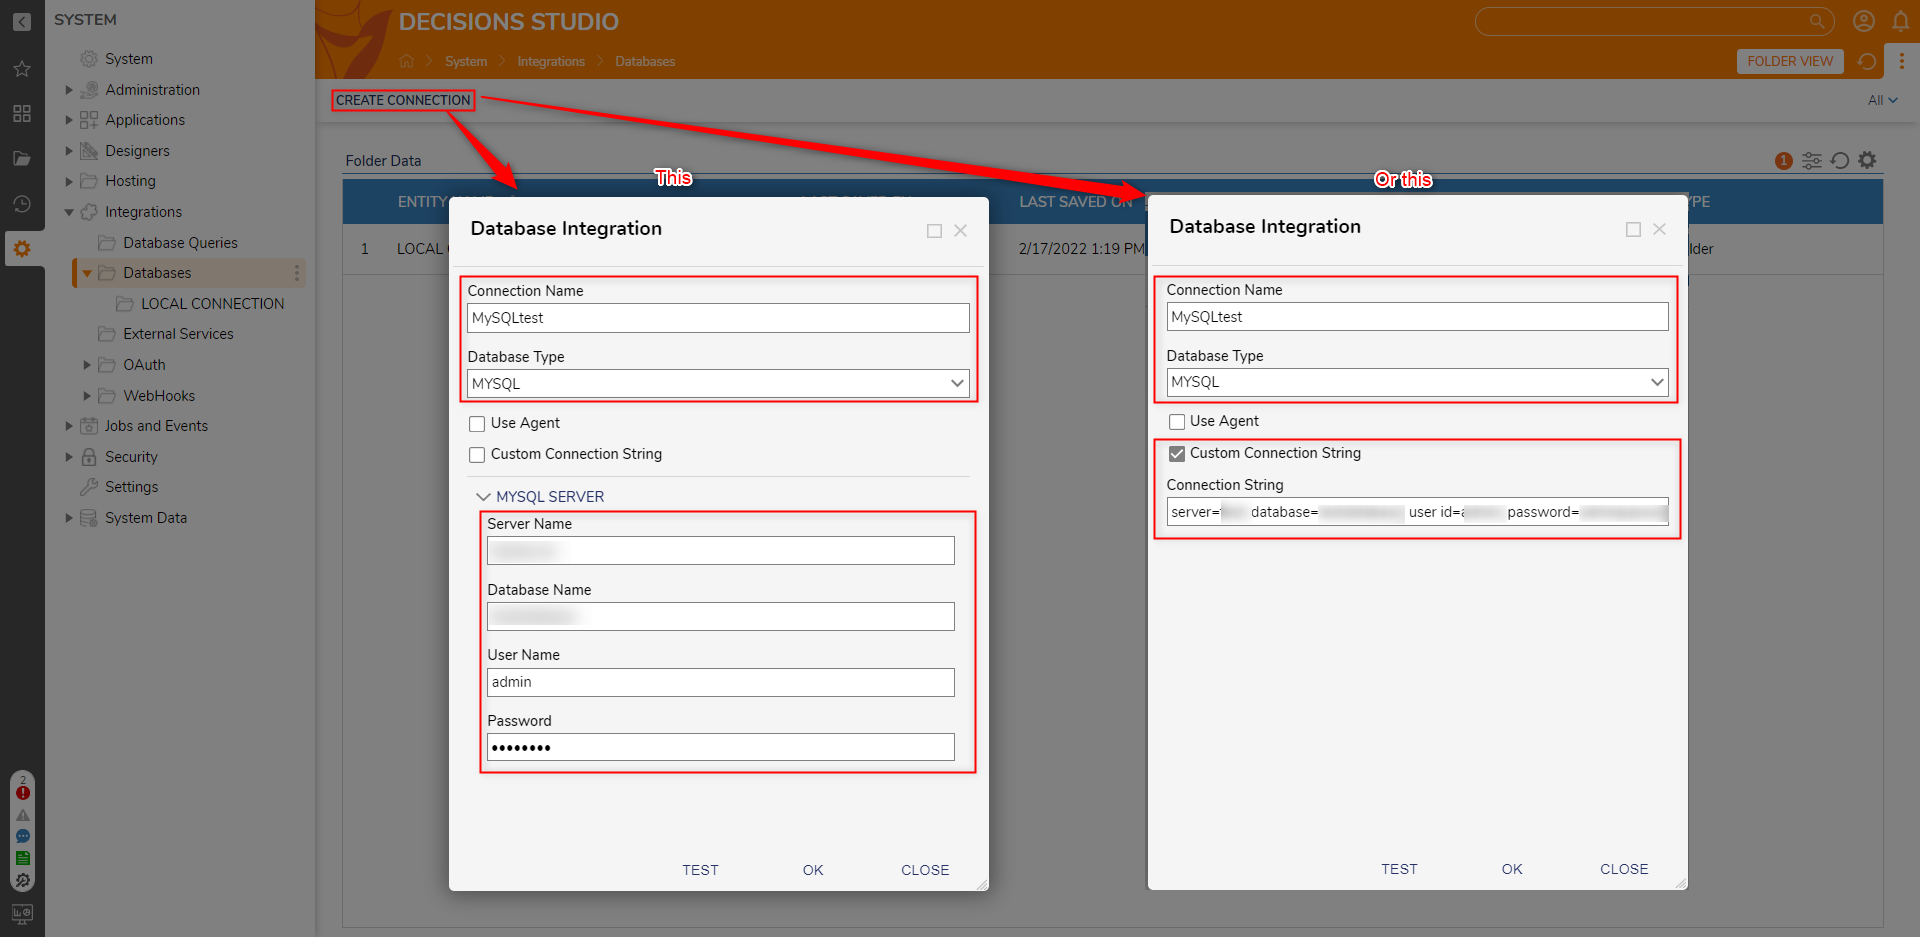
- Upon reconnection to the Studio, navigate to System > Integrations > Databases. Then, click CREATE CONNECTION.
- In the Database Integration window, specify a Connection Name (ex: "MySQLtest") and set the Database Type to MYSQL. Then configure the MYSQL SERVER settings, or define a Custom Connection String.
- Click TEST to confirm successful connectivity, then click OK.
- Once the database has been integrated, search and view its contents via the Query Editor.
For further information on Installation, visit the Decisions Forum.