Overview
This tutorial demonstrates how to Write a File to the Client Machine using an Agent. To learn what an Agent is and how to set it up, please refer to Setting Up an Agent.
Example
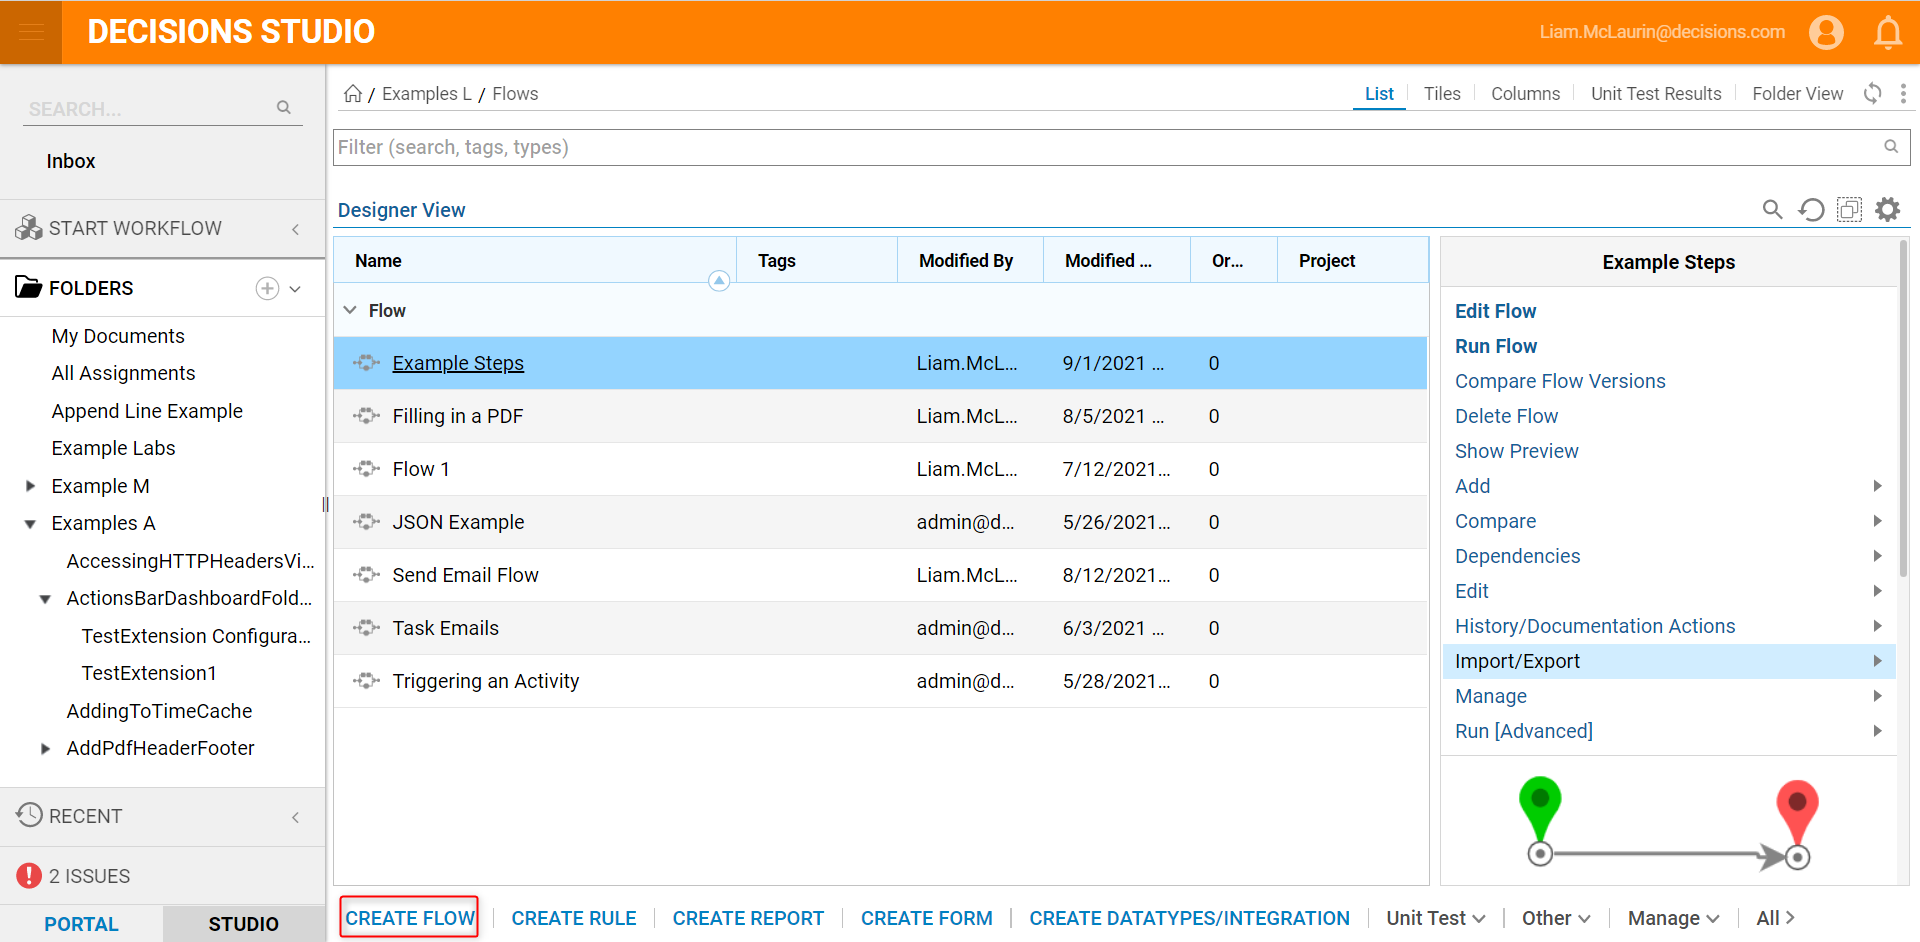
- Begin in the Designer Folder and select CREATE FLOW on the Folder Actions Panel.
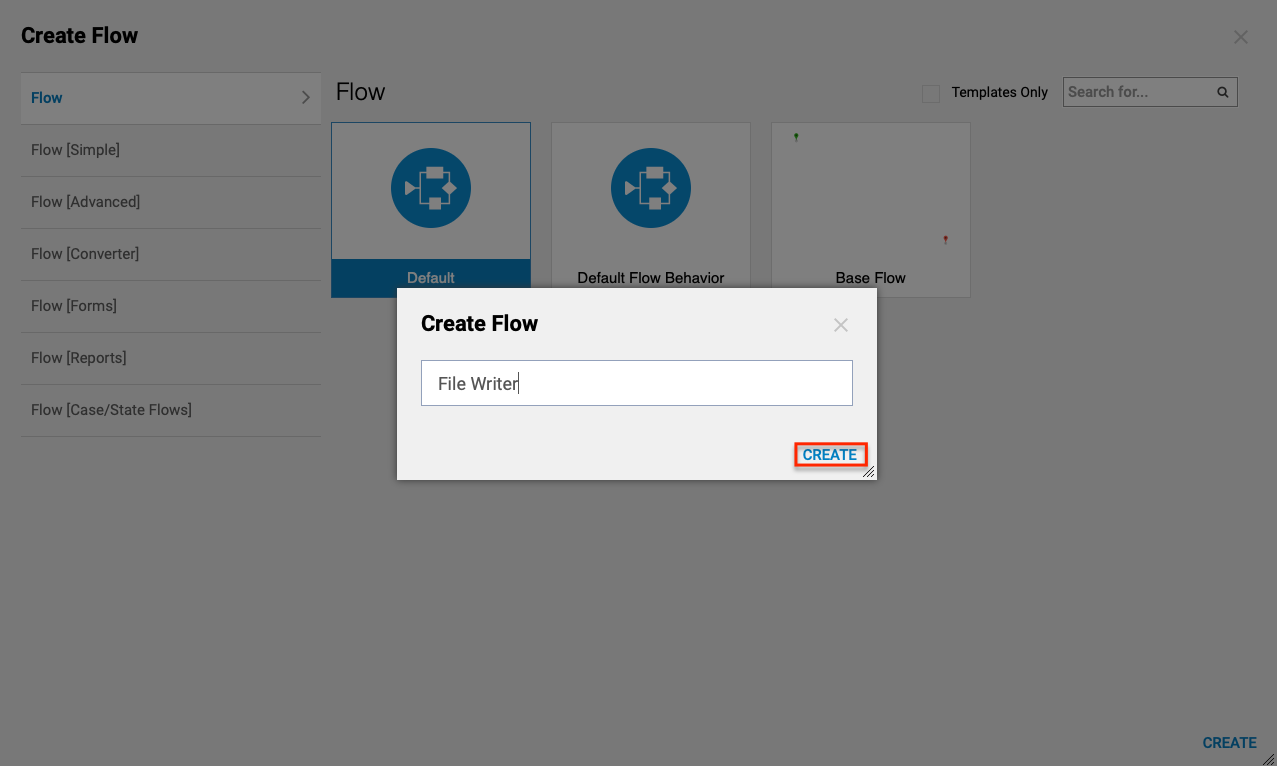
- Name the Flow and select CREATE to proceed to the Flow designer.
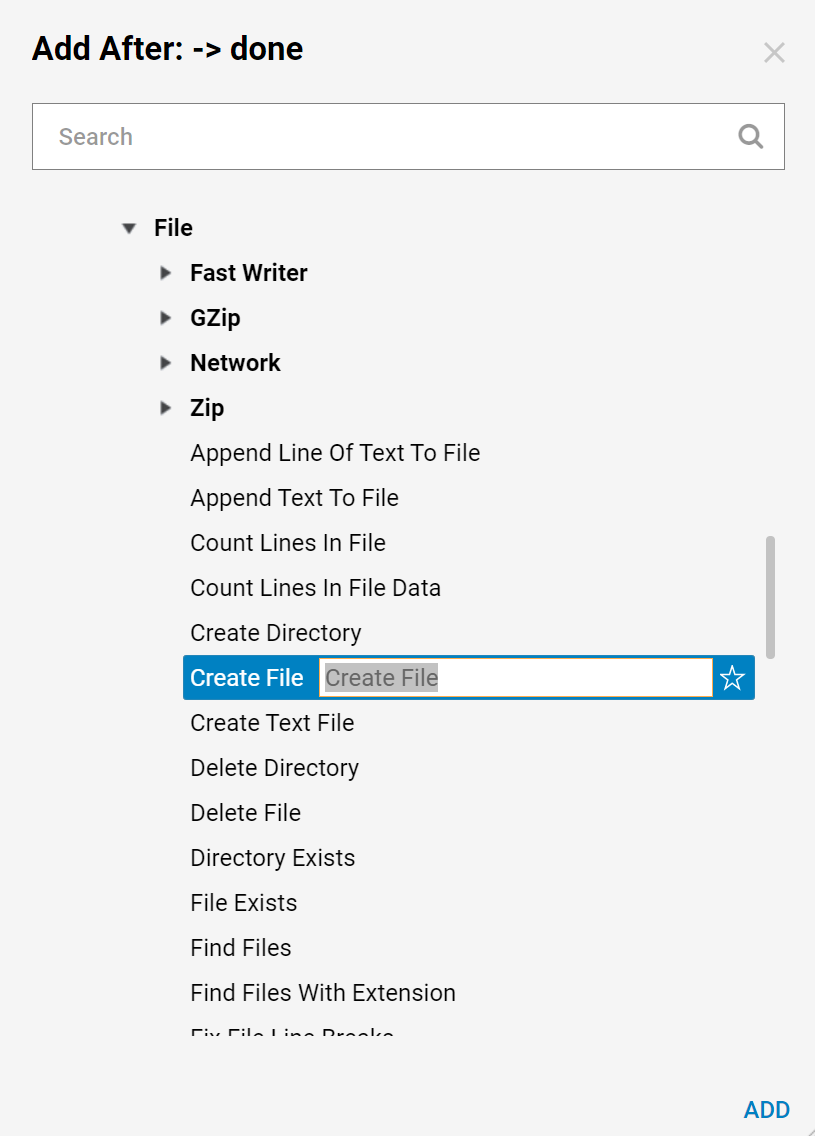
- In the Flow Designer add a Create File step from the Integrations > All Integrations > File category.
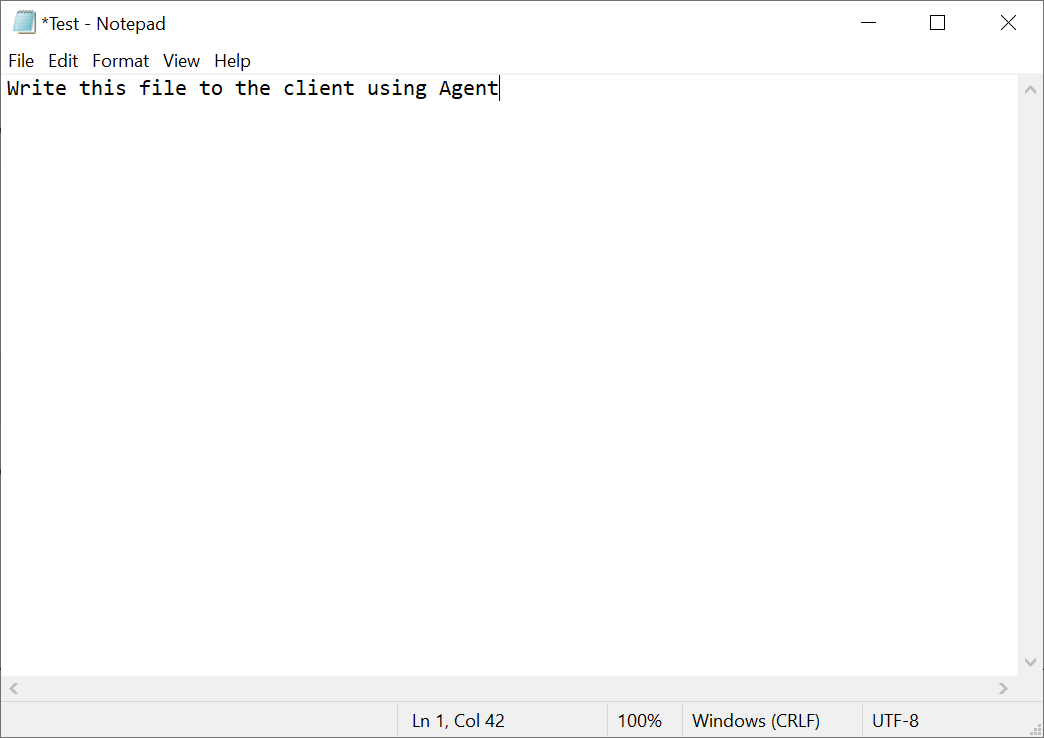
- In this example, a .txt file (Test.txt) is used to write to the client machine using an Agent.
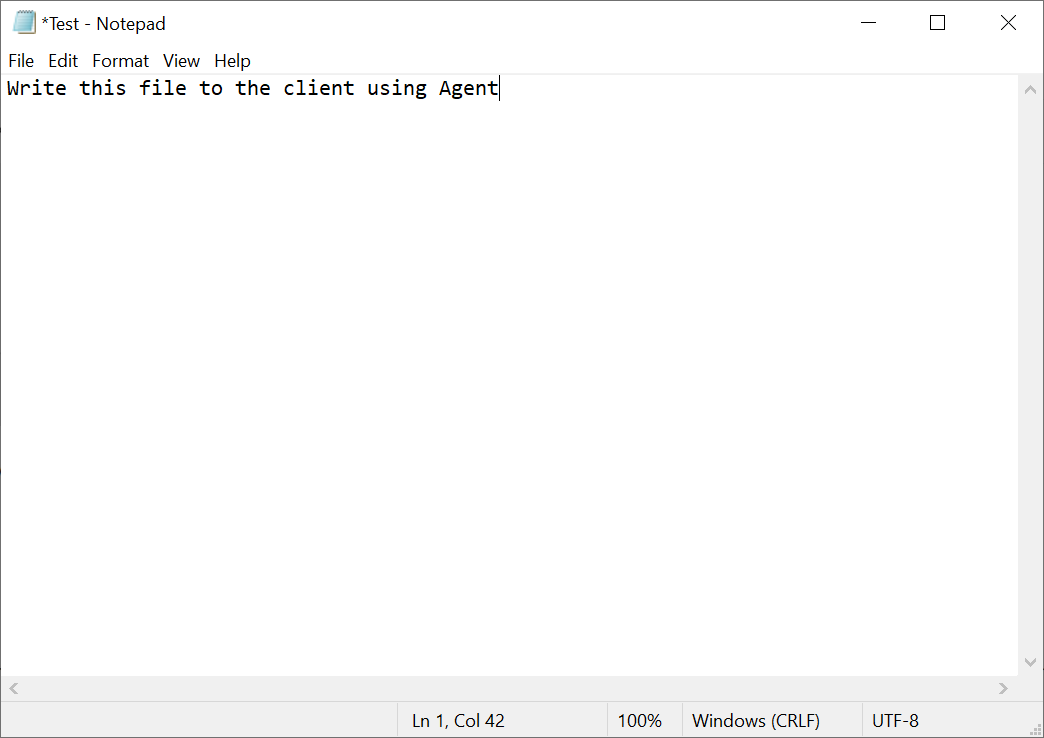
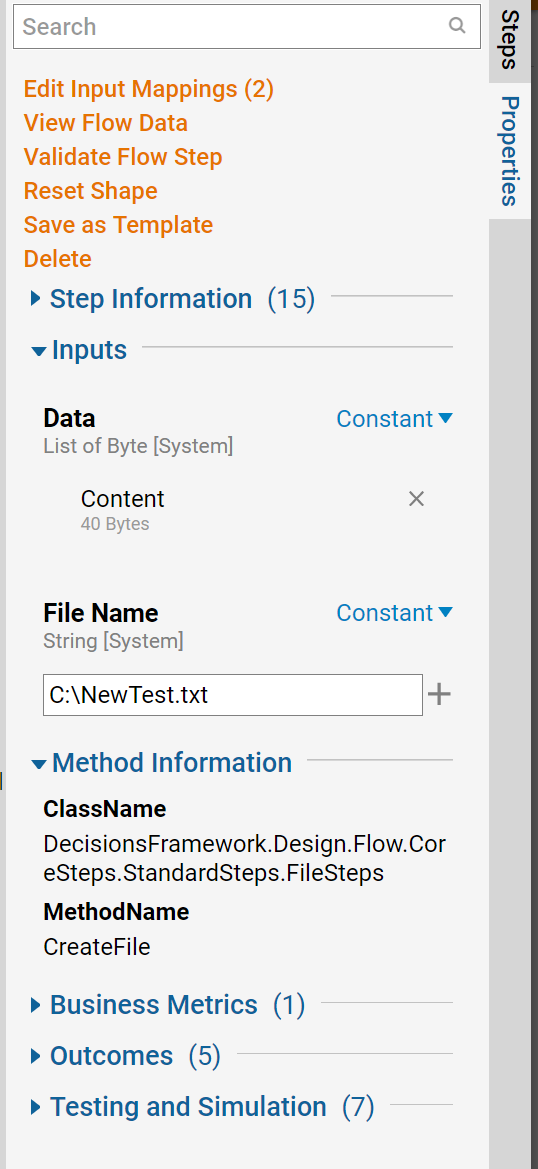
- For data Input into the Create File step, use the Constant Mapping Type and drag and drop the file into the Value box.
- For the File Name Input use the Constant Mapping Type. In the Value field, provide a full path to determine where to create a file on the Client Machine, as well as the File Name.
- Next, connect the outcome from the Create File step to the End step in the Flow.
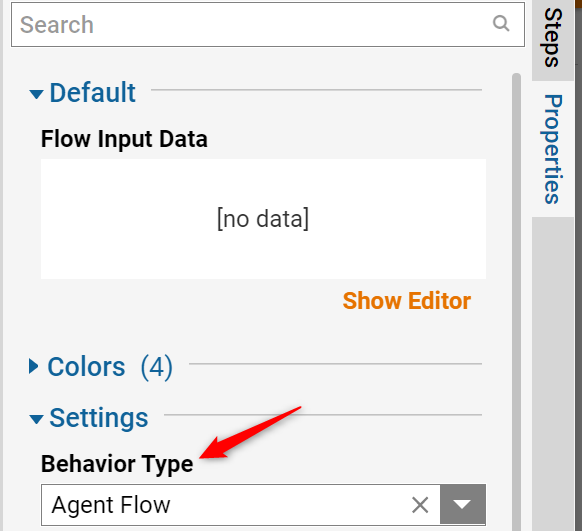
- Finally, in the Flow Settings change the Behavior Type to Agent Flow.
- This completes the Flow. Now save the Flow and close Flow Designer.
- Back in the Designer Folder, select CREATE FLOW on the Folder Actions Panel.
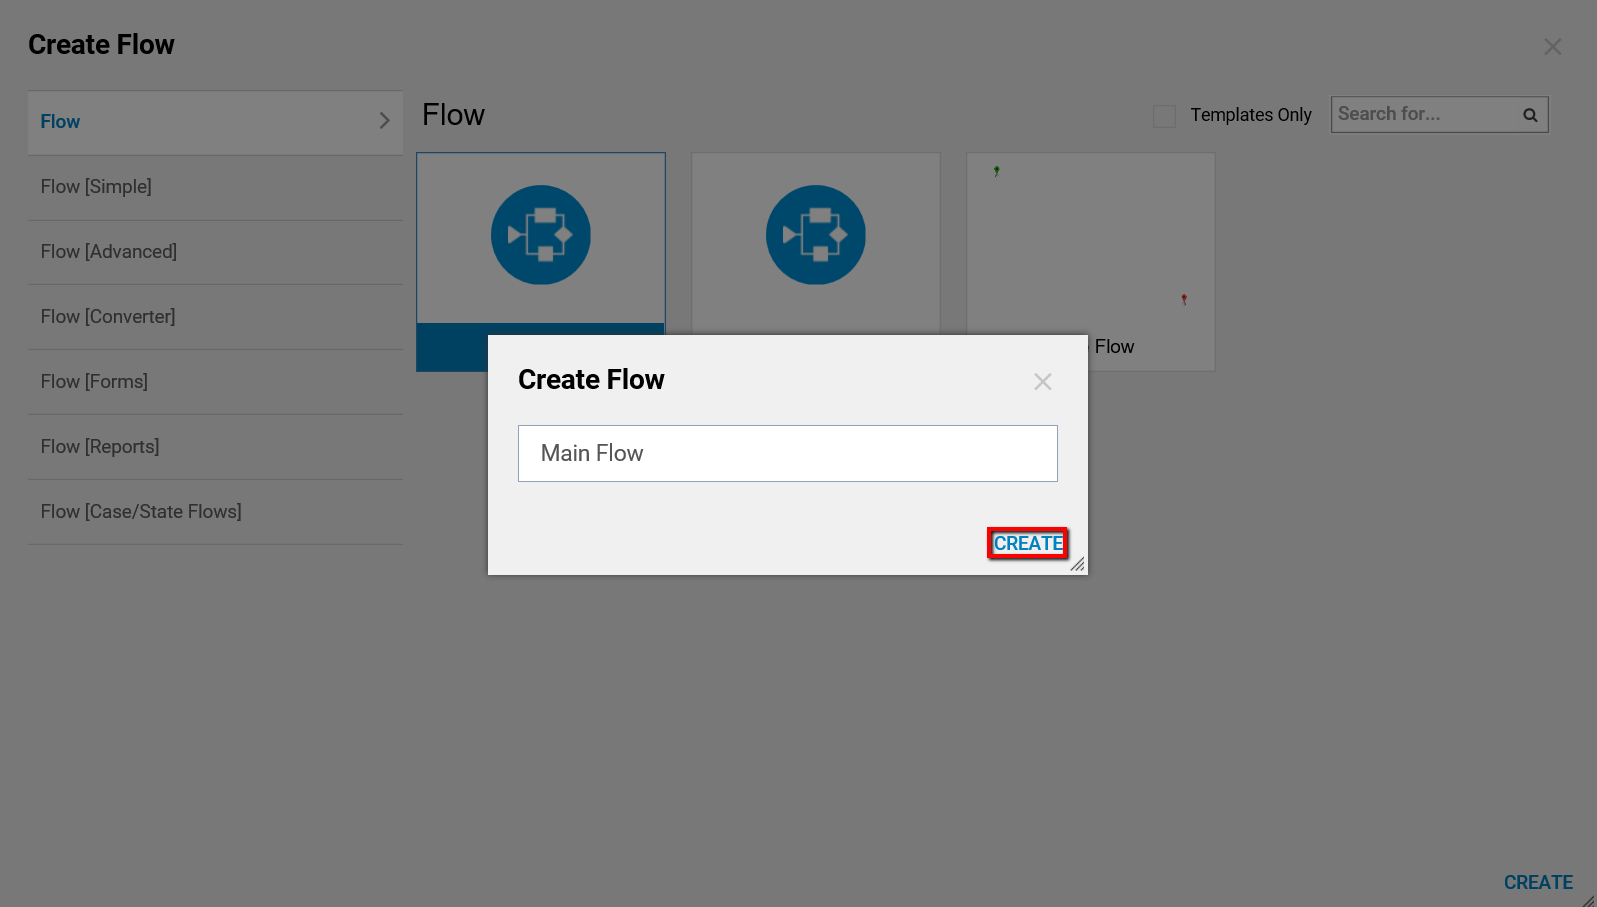
- Name the Flow and select CREATE to proceed to the Flow Designer.
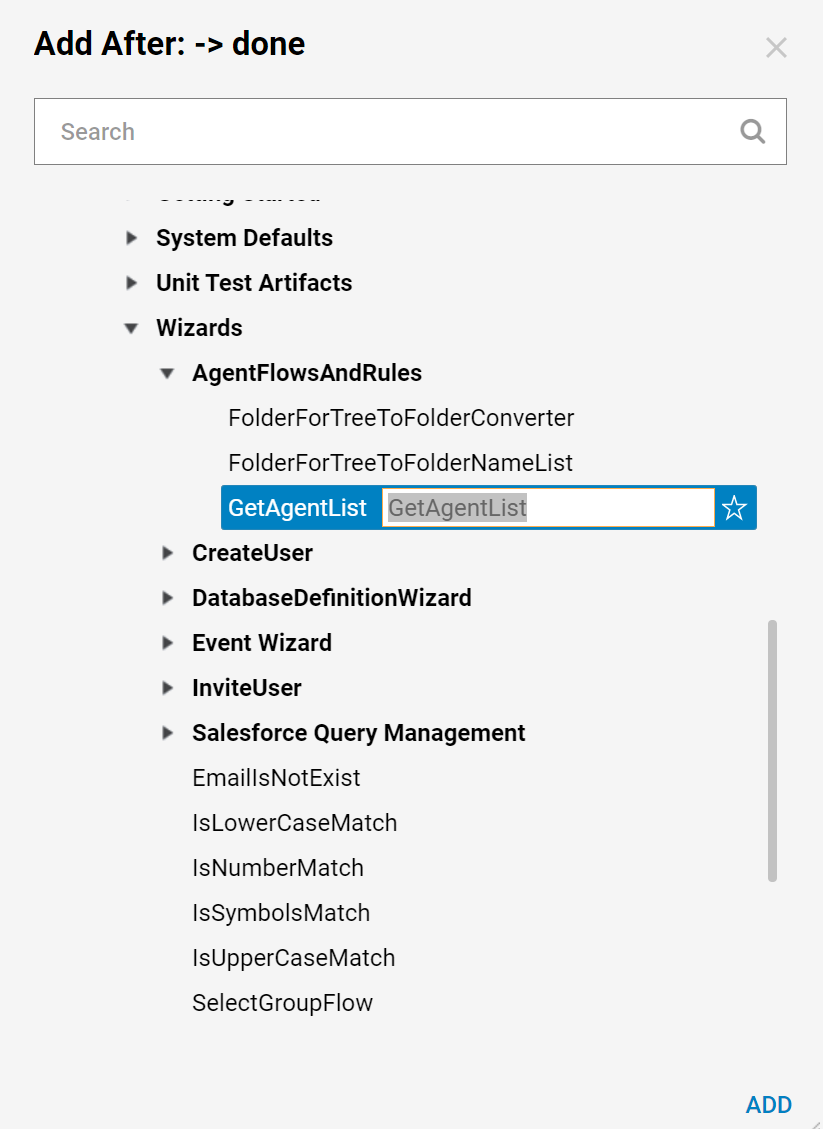
- In the Flow Designer, add a GetAgentList step from the Flows, Rules, Forms and Reports > Flows > Wizards > AgentFlowsAndRules category.
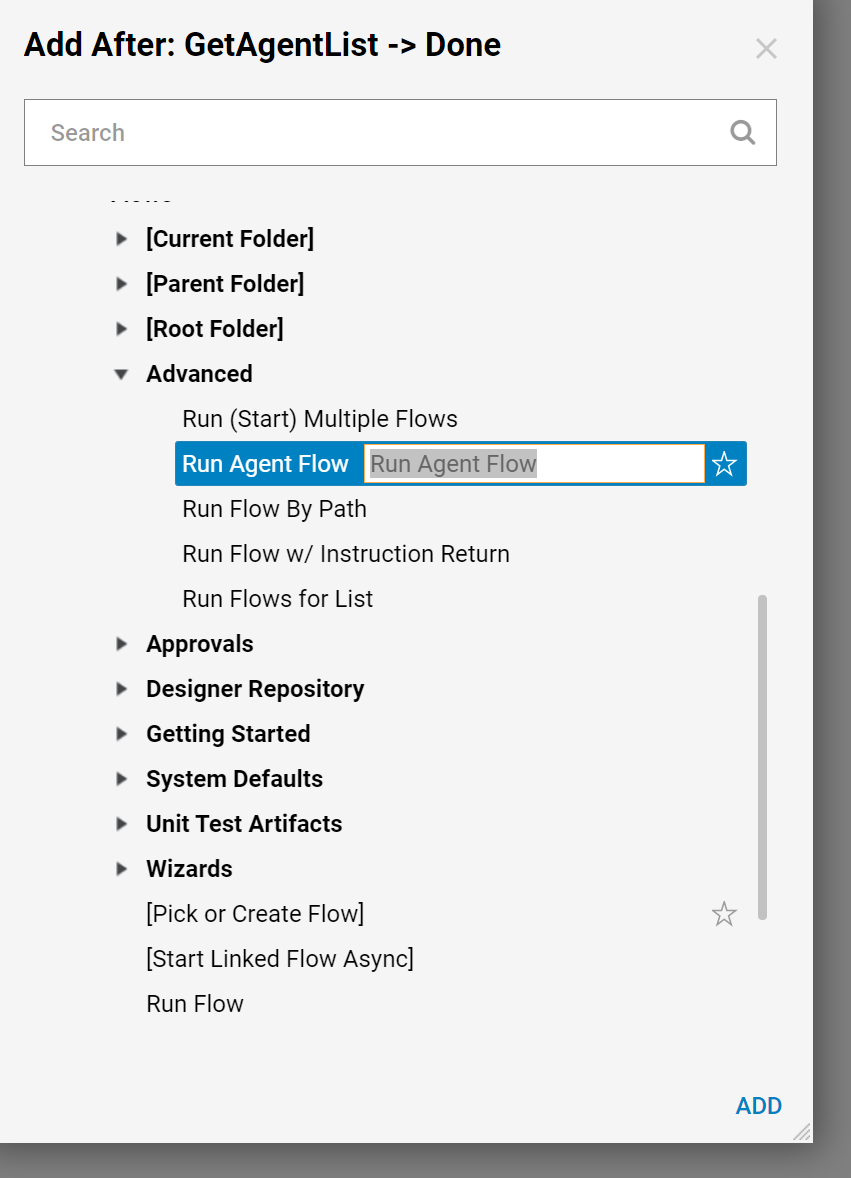
- Then, on the outcome from the GetAgentList step, add a Run Agent Flow step from the Flows, Rules, Forms and Reports > Flows > Advanced category.
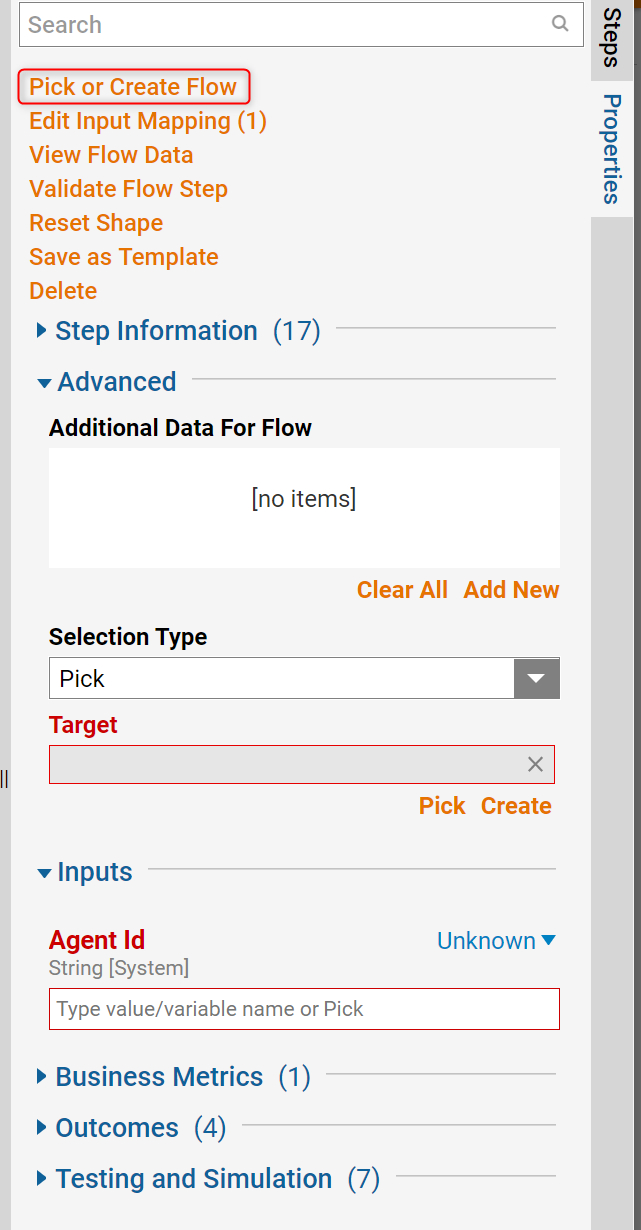
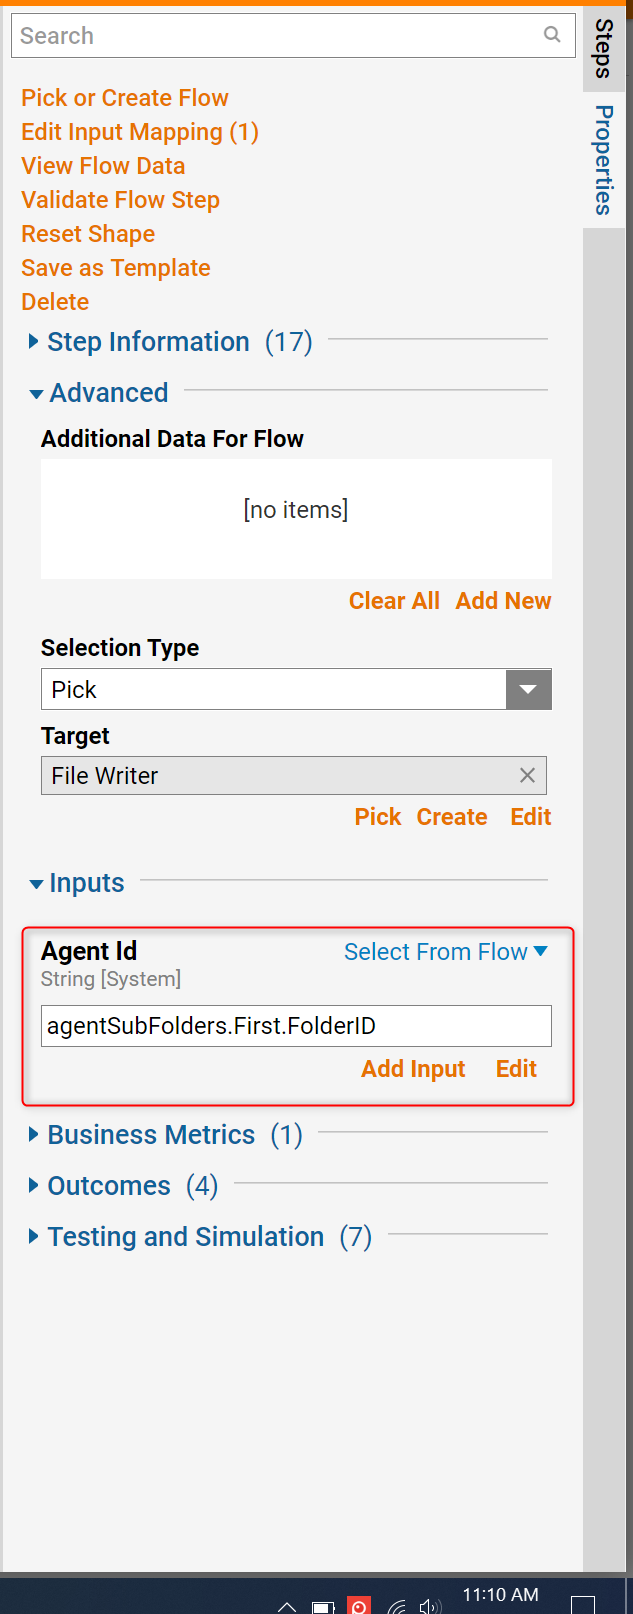
- Set up a Run Agent Flow step. In the Edit Step: Run Agent Flow and select Pick Or Create Flow from the editor.
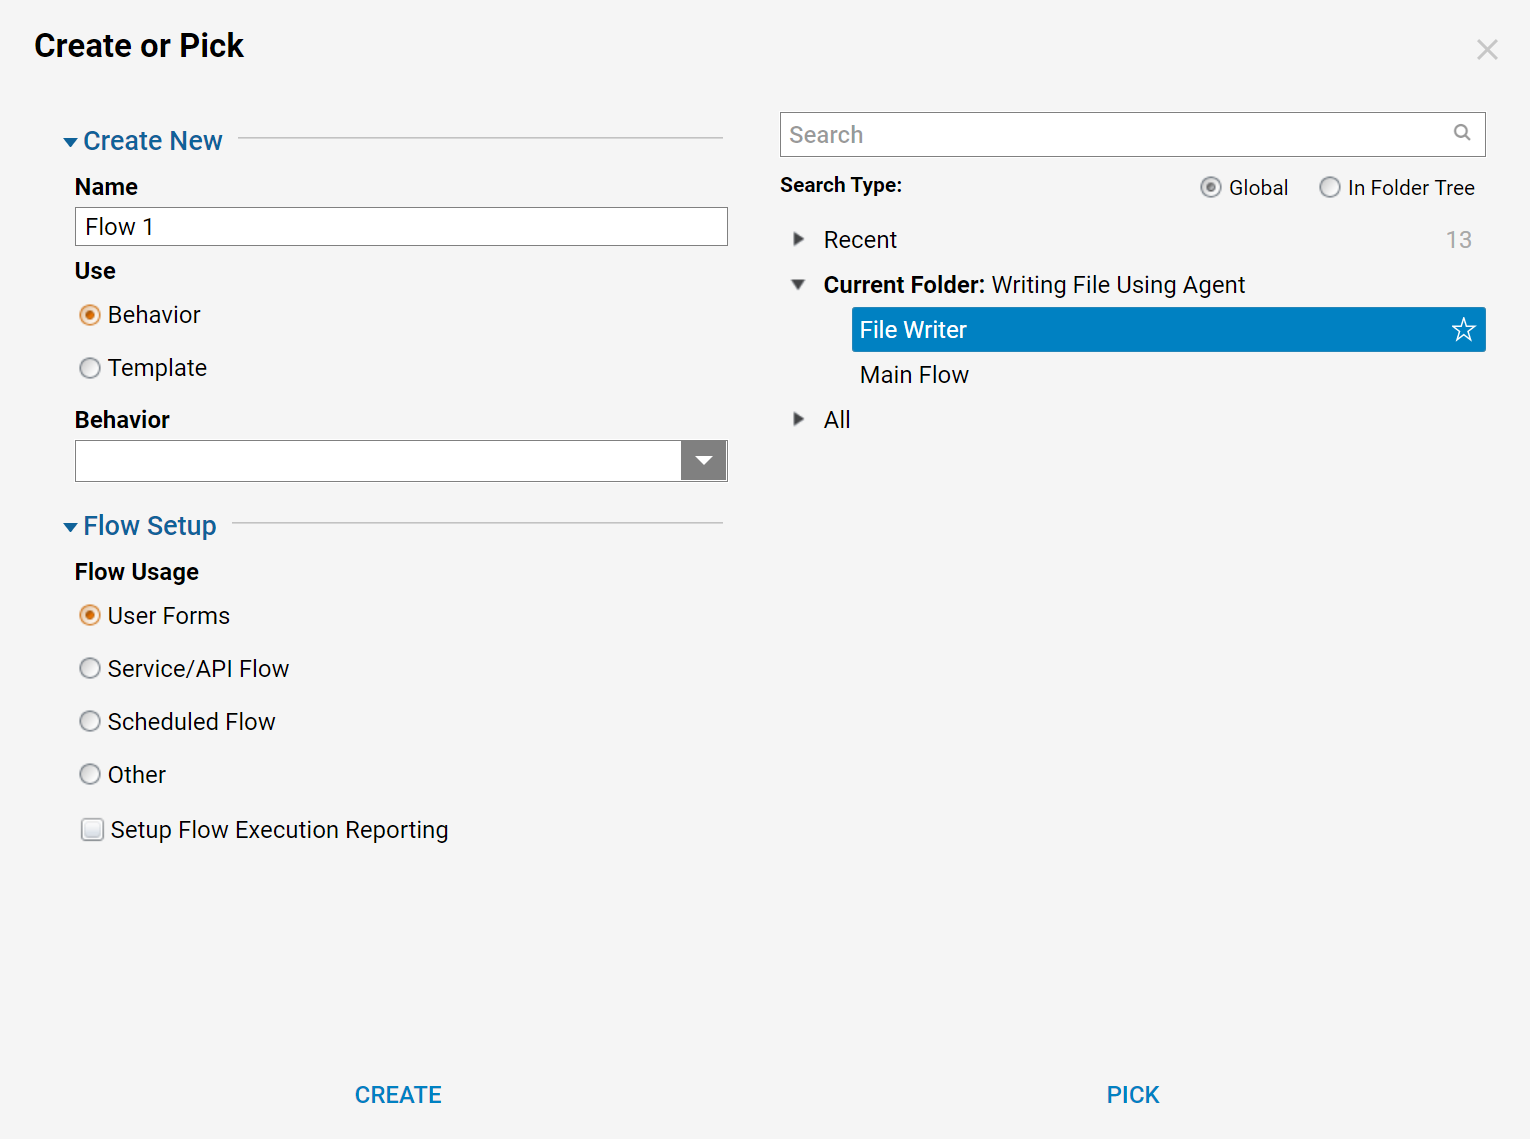
- On the right side, pick the previously created Flow.
- In this example select Write File Flow and select PICK.
- Use the Select Value Mapping Type for Agent Id Input.
- Navigate to and expand Agent Sub Folders and GetAgentList step.
- Expand First and then select FolderID.
- Connect the outcome from Run Agent Flow to the End step in the Flow.
- This completes the Main Flow. Save the Flow and close the Flow Designer.

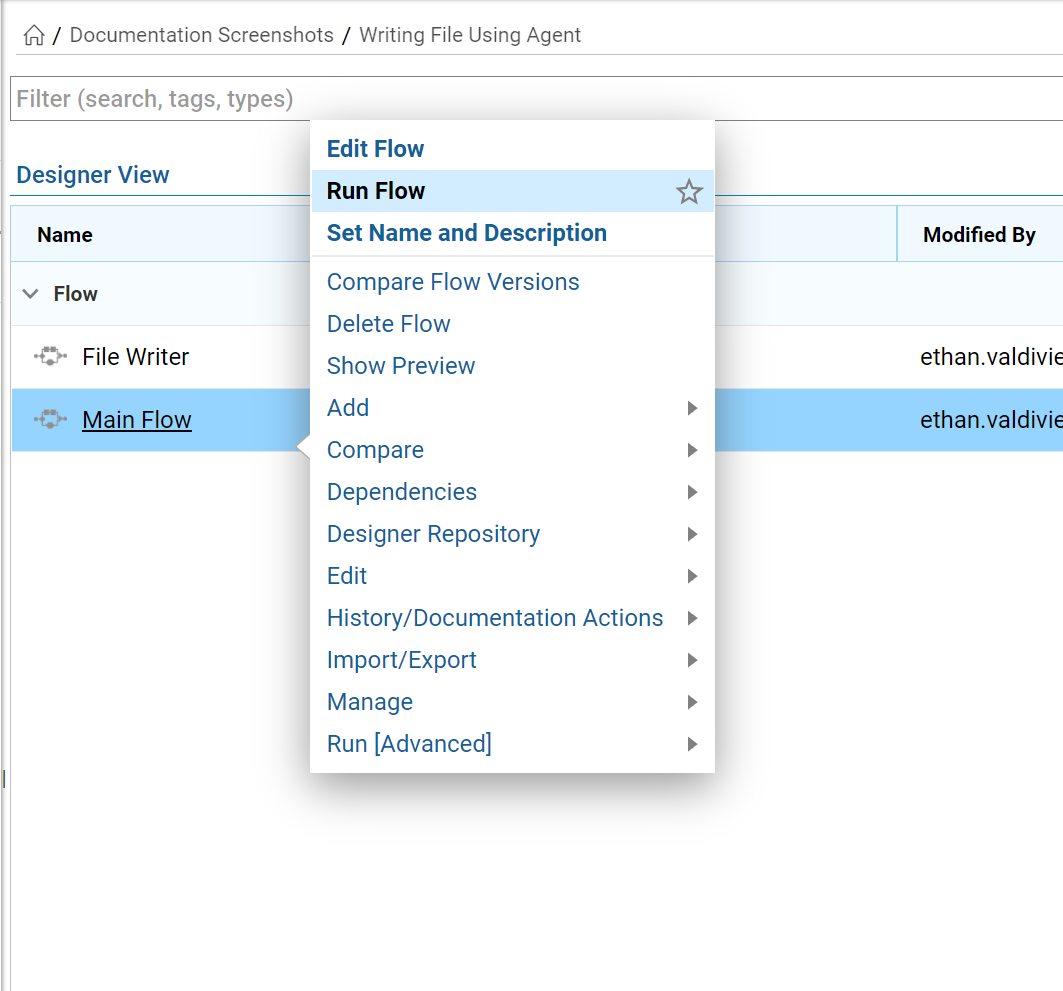
- Back in the Designer Folder, locate the thumbnail for the Main Flow and click Action > Run Flow on the thumbnail’s menu.
- The Flow runs silently with no User Interactions.
- Switching to the Client Machine will display the text file created in the location defined in the Write File Flow.
