Overview
Database Entities represent External Databases that can be integrated with a Flow. To add a Database within the Portal, navigate to System > Integrations > Databases, click the Create Connection button, and supply the necessary details. Once a Database is introduced, components to query, insert, or update data to or from the Database within the Flow Designer can be used. They are found under Integration > Integration Database > [Database Name] > [Table Name].
Example
Setting Up Integration
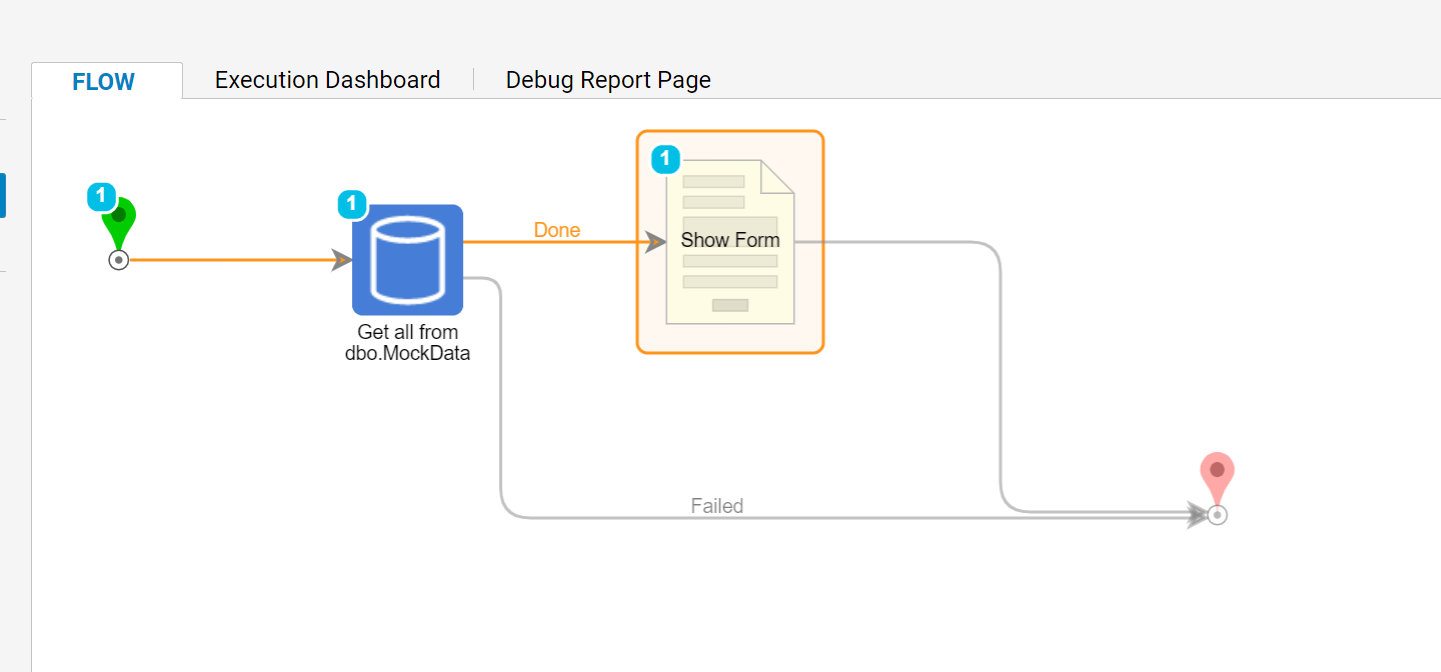
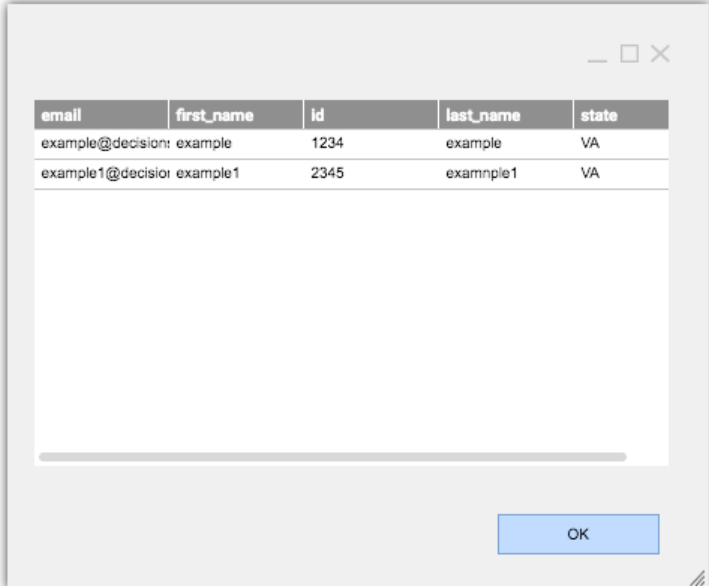
This example Flow will access a local Database called Basic, retrieve all of the records from the table MockData, and display them in a data grid Form.
- Begin in the Portal by navigating to the Folder System > Integrations > Databases.
- Click the Create Connection button.

- In the resulting Database Integration pop-up, define the details of the Connection.
- Give this Connection the same name as the Database to integrate - "Basic."
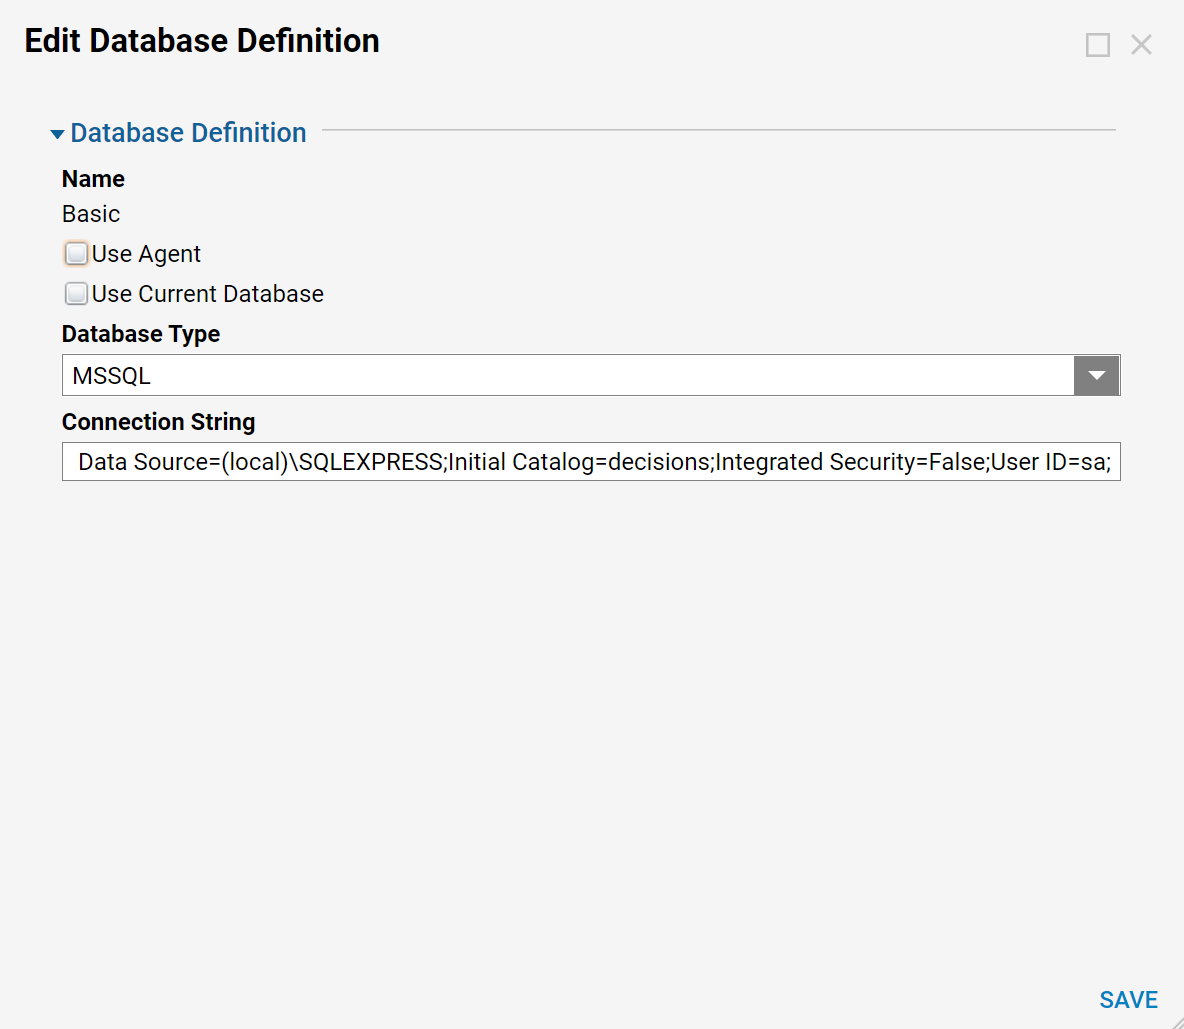
- Click the Test Connection button to see if the Database can be connected with these details.
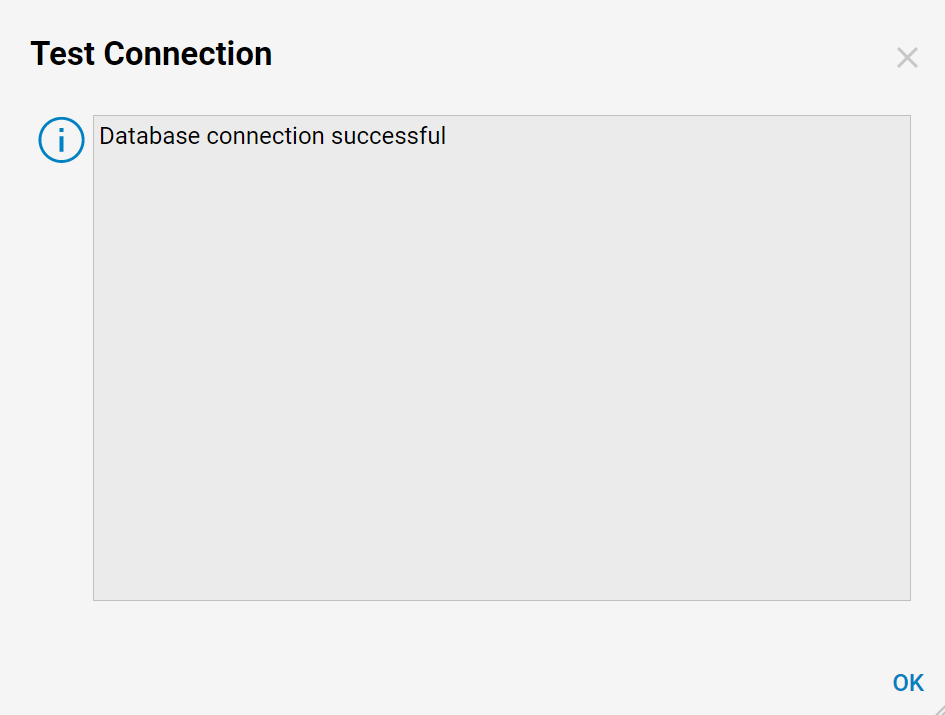
- If the platform can connect to the Database, a message appears in the upper-left corner of the pop-up. Click OK to continue.
- Navigate to a Designer Folder.
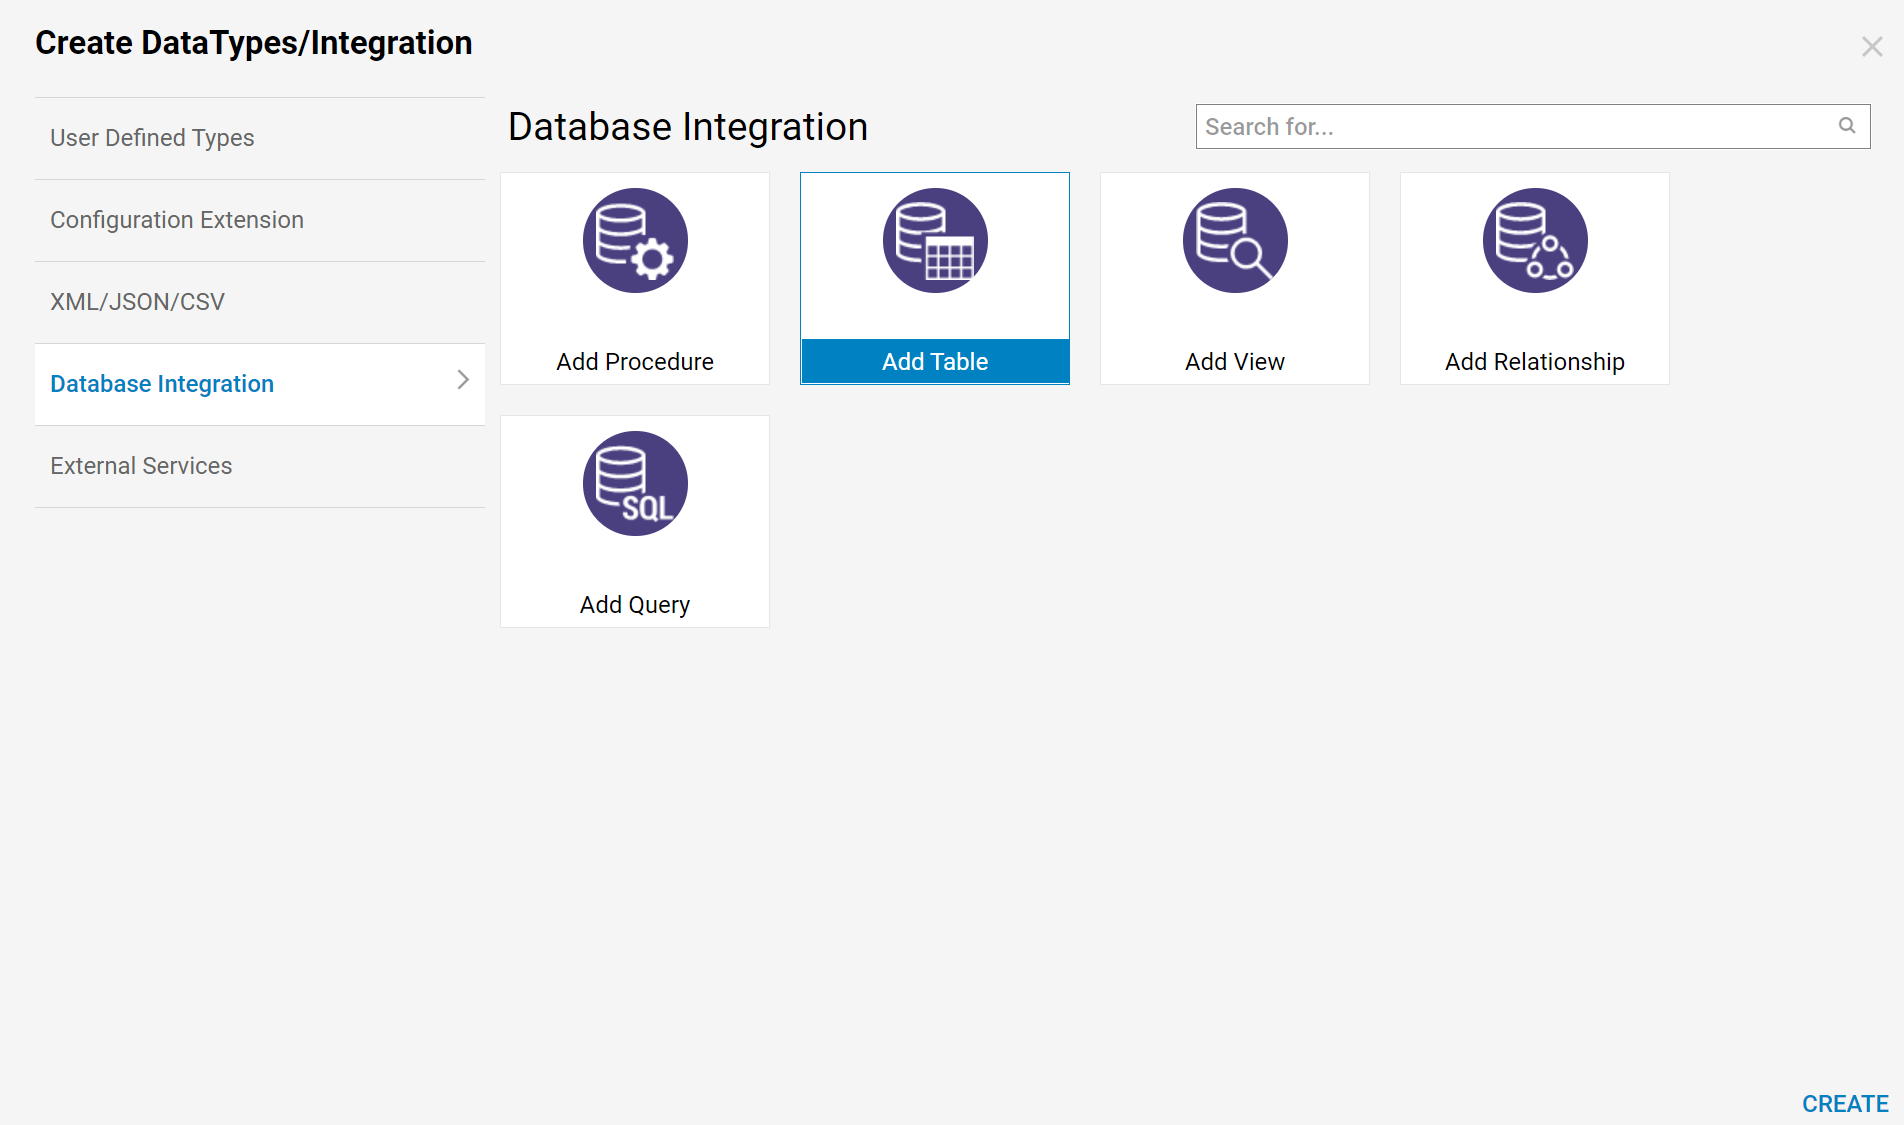
- Select Datatypes/Integrations > Database Integration > Add Table
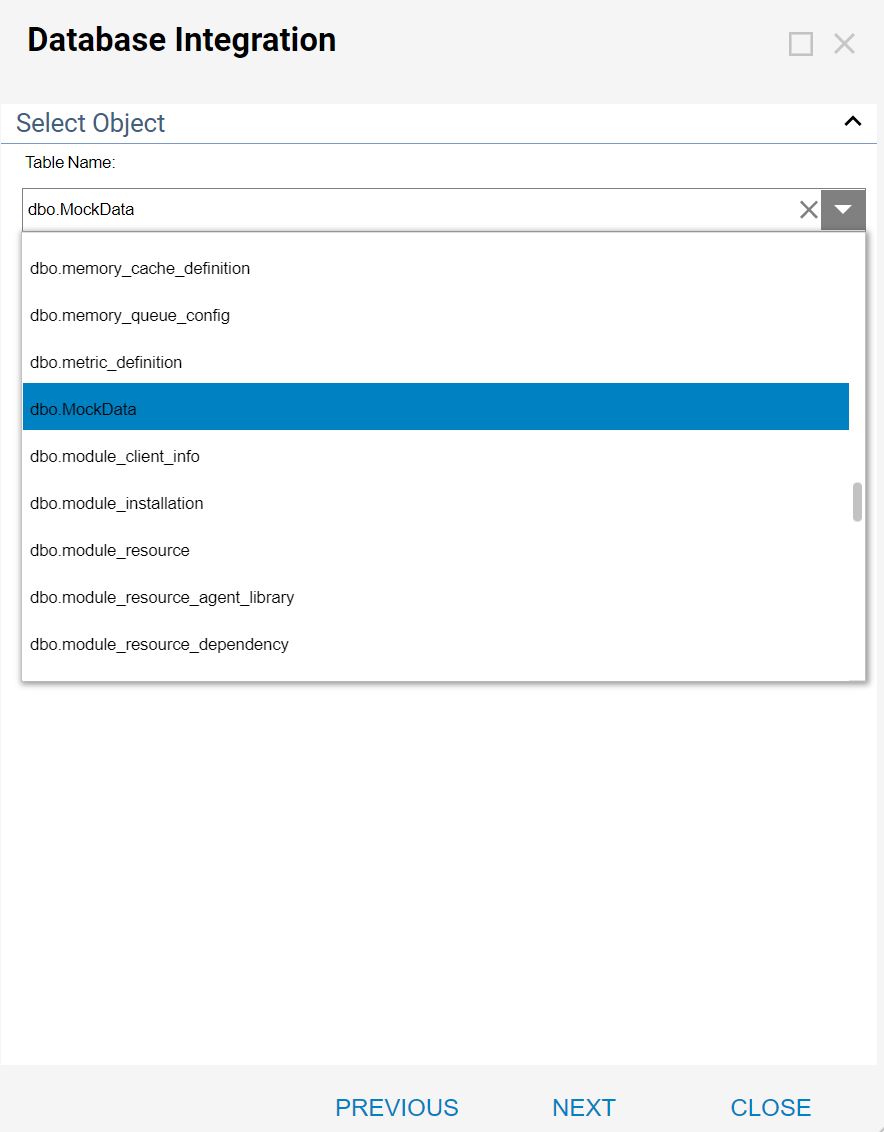
- In the resulting pop-up, select the desired Table. In this case, choose dbo.MOCK_DATA.
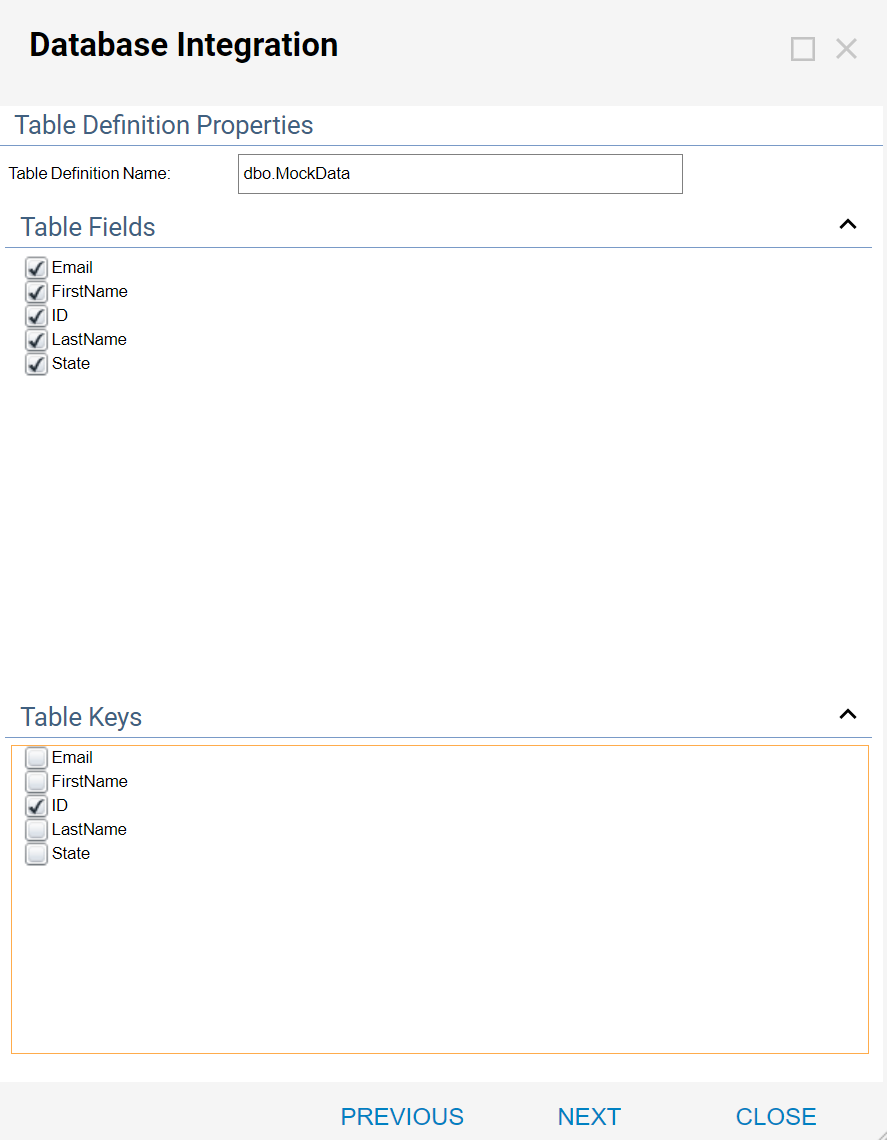
- By default, all Fields and all Components are enabled to generate for each selected table. To specify only certain Fields, click on the Browse button in Fields and deselect the undesired fields.
- Additionally, to specify only certain components to generate, scroll right and deselect the undesired components.
- Select which field to use as the Table Key.
- Click Next. This screen provides the option to Define Flow Steps.
- All are selected by default.
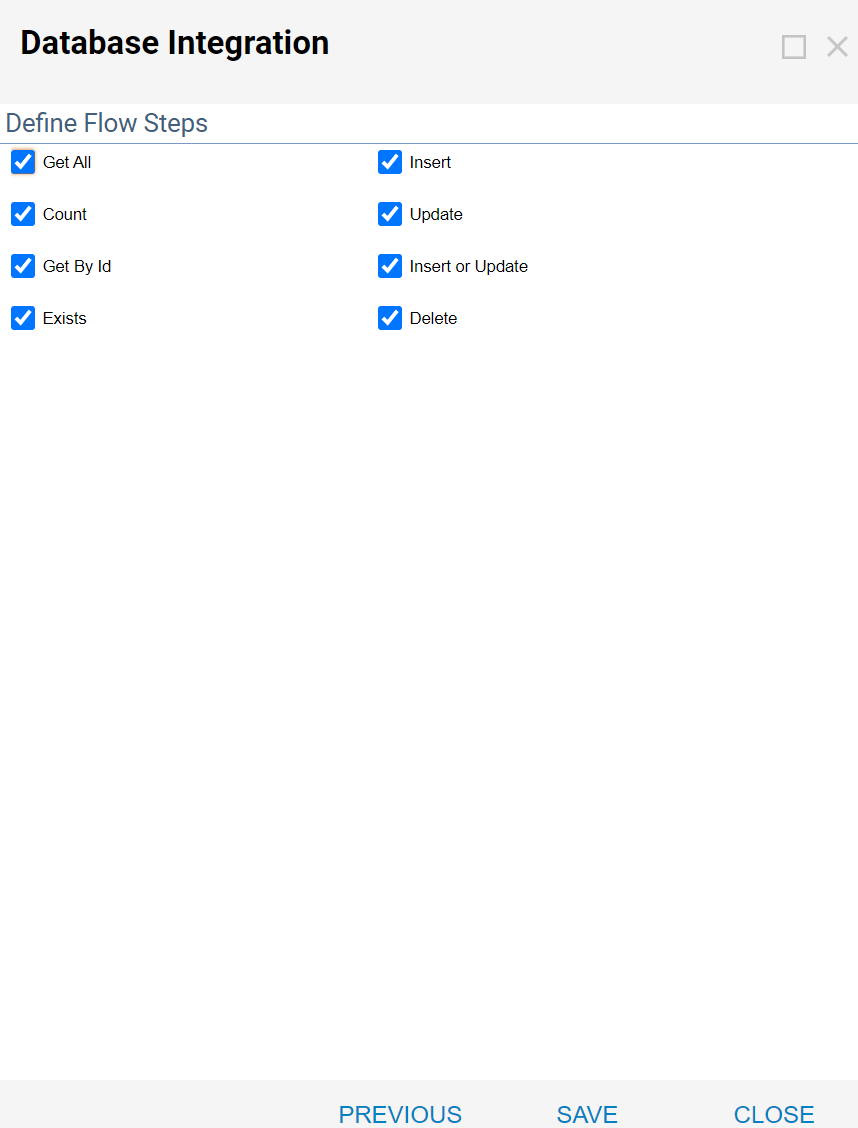
- Click Save.
- This Basic Database Entity is complete and ready to be integrated into the example Flow.

Creating the Flow
- Begin building this example Flow in a Designer Folder by clicking the CREATE FLOW button.
- In the resulting pop-up, name the example Flow "External DB Flow" and click OK to create it.
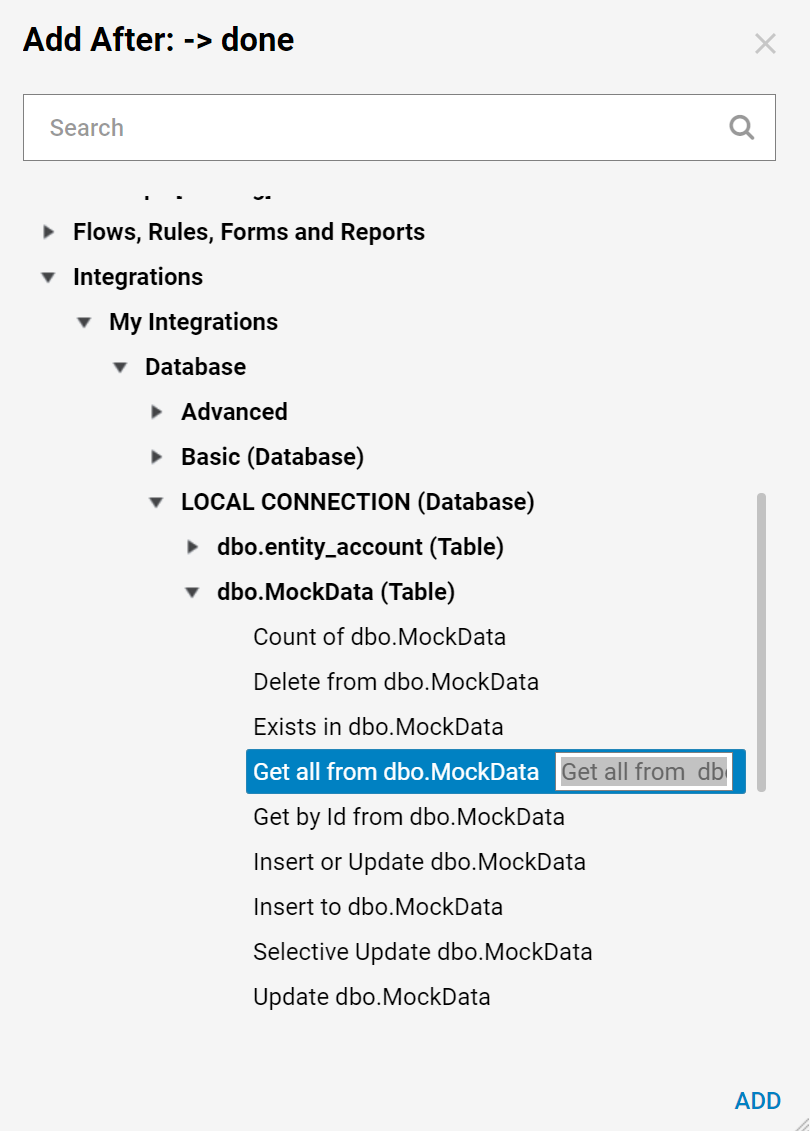
- Retrieve all records from the MOCK_DATA table.
- This is done using the component Get all from dbo.MOCK_DATA.
- Find this component in the Steps panel, under the category Integration > Database > Basic (Database) > dbo.MOCK_DATA (Table).
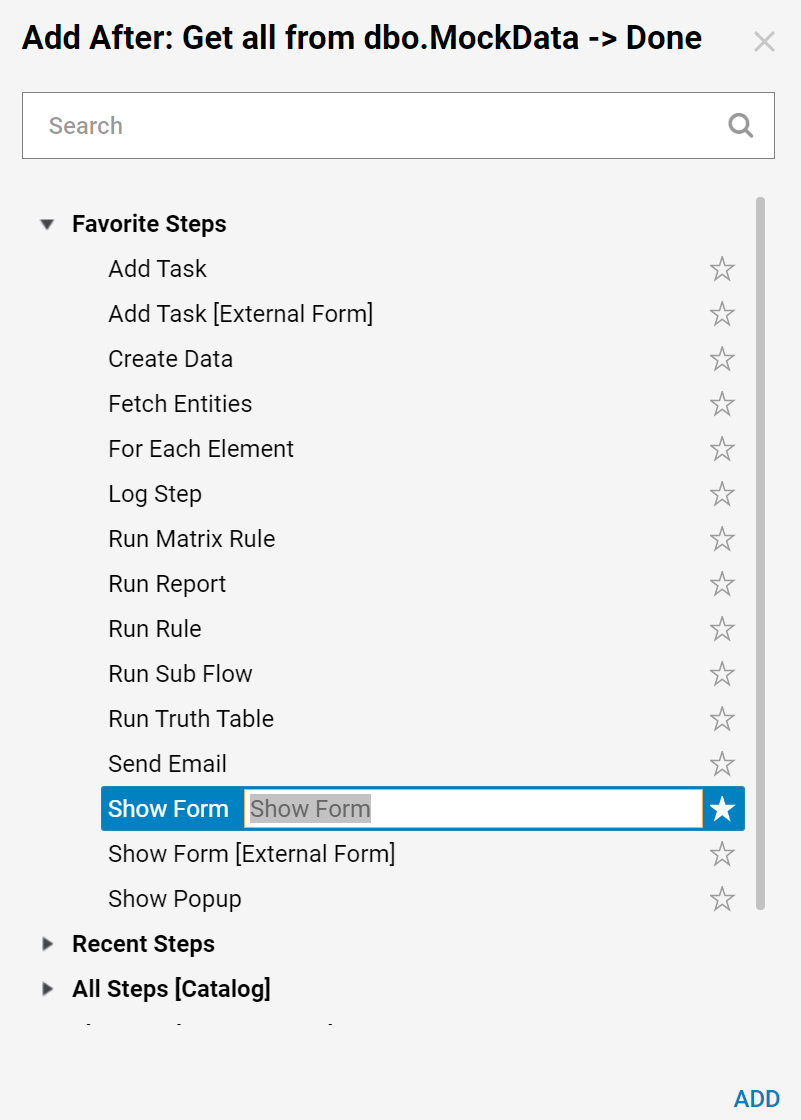
- Add a Form in which records from the MOCK_DATA table will be displayed. From the Steps tab, expand Forms [Interaction], and drag and drop the [Pick or Create Form]component into the workspace.
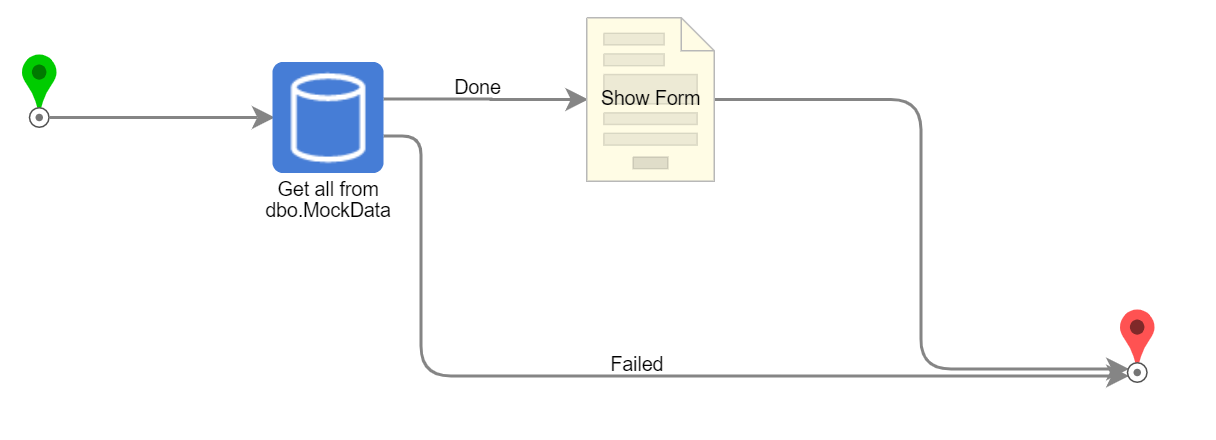
- Connect each step's outcomes as follows:
- Build the Form. From the Form Properties panel, click on Pick or Create Form.
- Name the Form DisplayMockData and click OK.
- Make sure the Form has at least one outcome, such as an OK button.
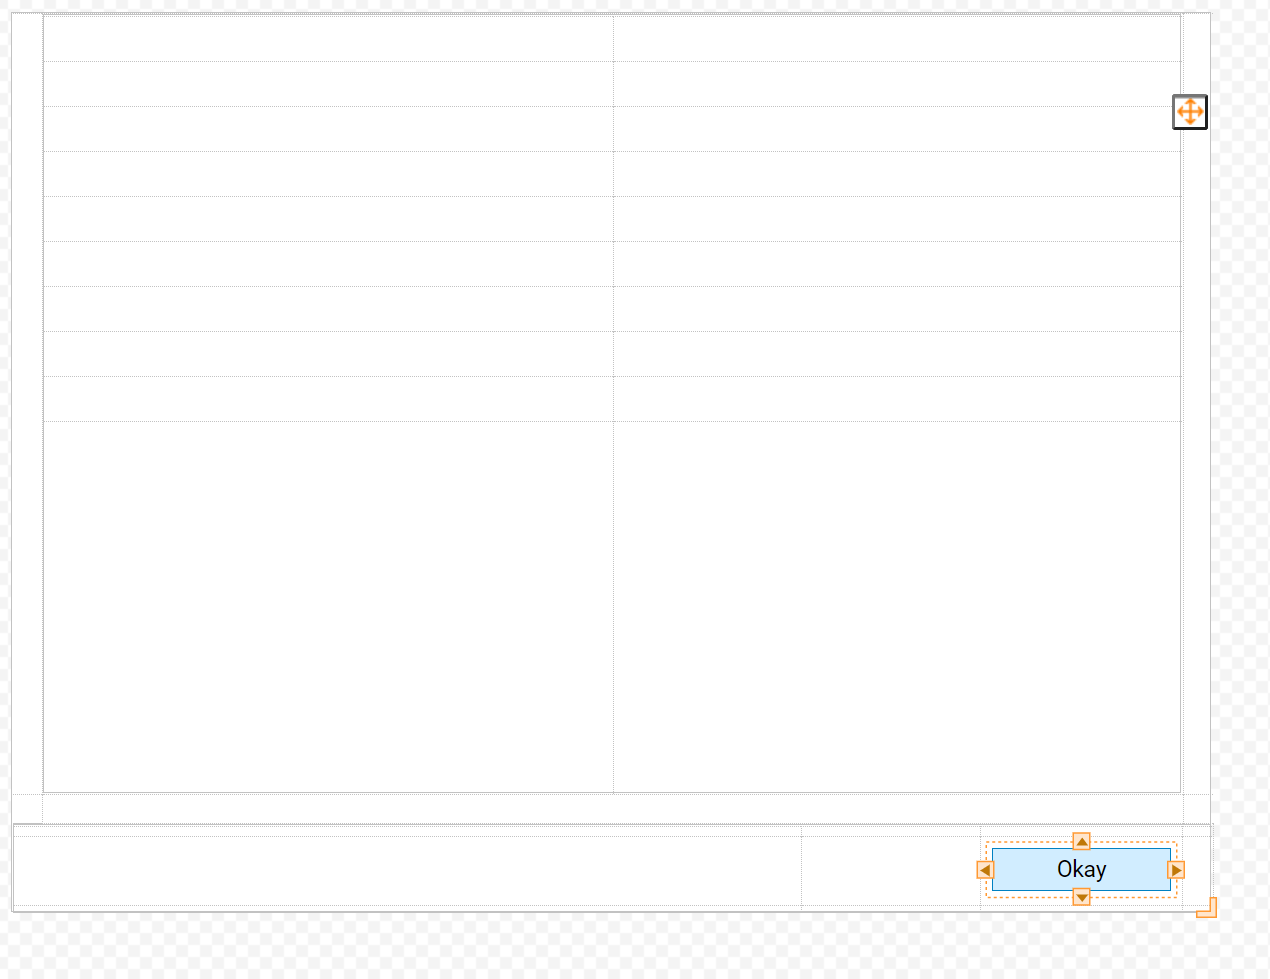
- Expand the Data > Data Grid category in the Form Toolbox and drag a Data Grid component into the workspace.
- In the properties for the data grid, configure the Input Data > Type as the data type of the Mock Data table, since that is the Type Output by the Get all from dbo.MOCK_DATA step. Note:Users can right-click the Form in the Flow and browse the data upstream of the Form; this is a way to check Data Type.
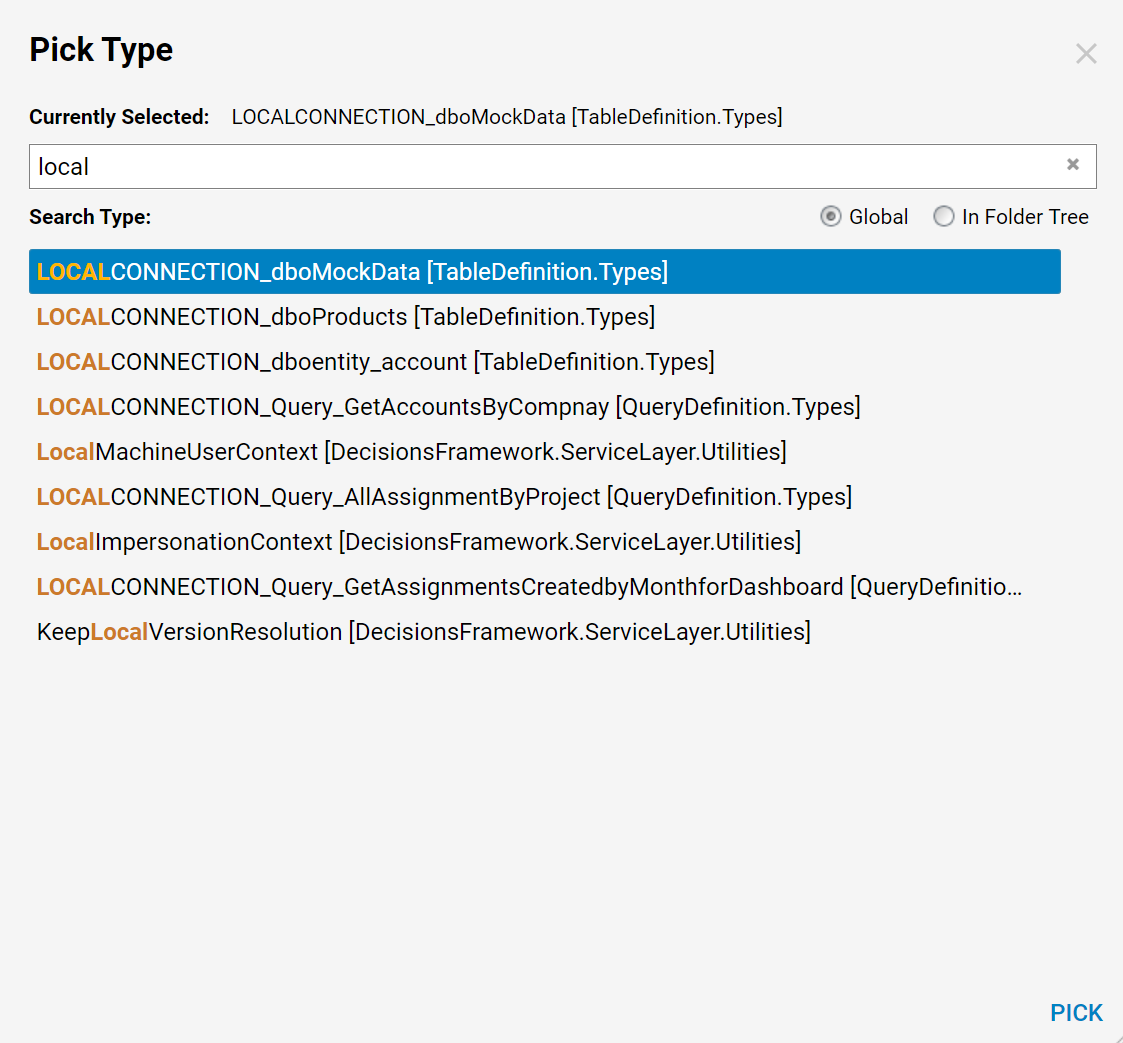
- In the Input Data > Data Name field for the grid, enter MockData. Save and Close the Form.
- In order for the Form to display the records collected by Get all from dbo_Product, its Inputs must be mapped to the Get all from dbo_Product step's Outputs.
- Click on the Form and, in the Properties pop up, click the link Edit Input Mapping.
- To map Get all from dbo.MOCK_DATA's Output collection of MOCK_DATA _Result objects, drag its anchor to the Form's sole Input Mock Data.

- This completes the mapping; click OK to close the Mapping Editor.
- Connect the Output path from the Form to the End step to complete the Flow.
Debugging
- Test the Flow clicking the Debug link at the top of the Flow Designer.
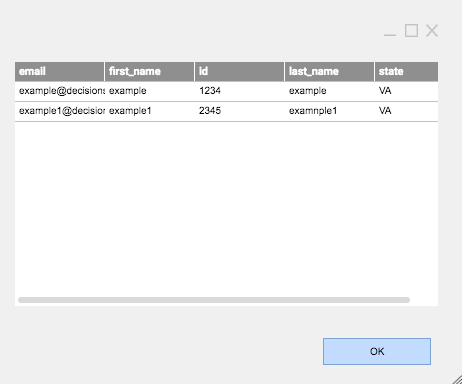
- When run, the Flow displays a Form grid containing all of the records in the Basic Database's MockData table.
