Learn how to Update a Database Valueusing an Agent in Decisions. This example demonstrates how to integrate with an external database using an Agent and will also demonstrate how to insert a new record into an already integrated database. For more information about how to Set up an Agent in Decisions see the following link: Setting up an Agent.
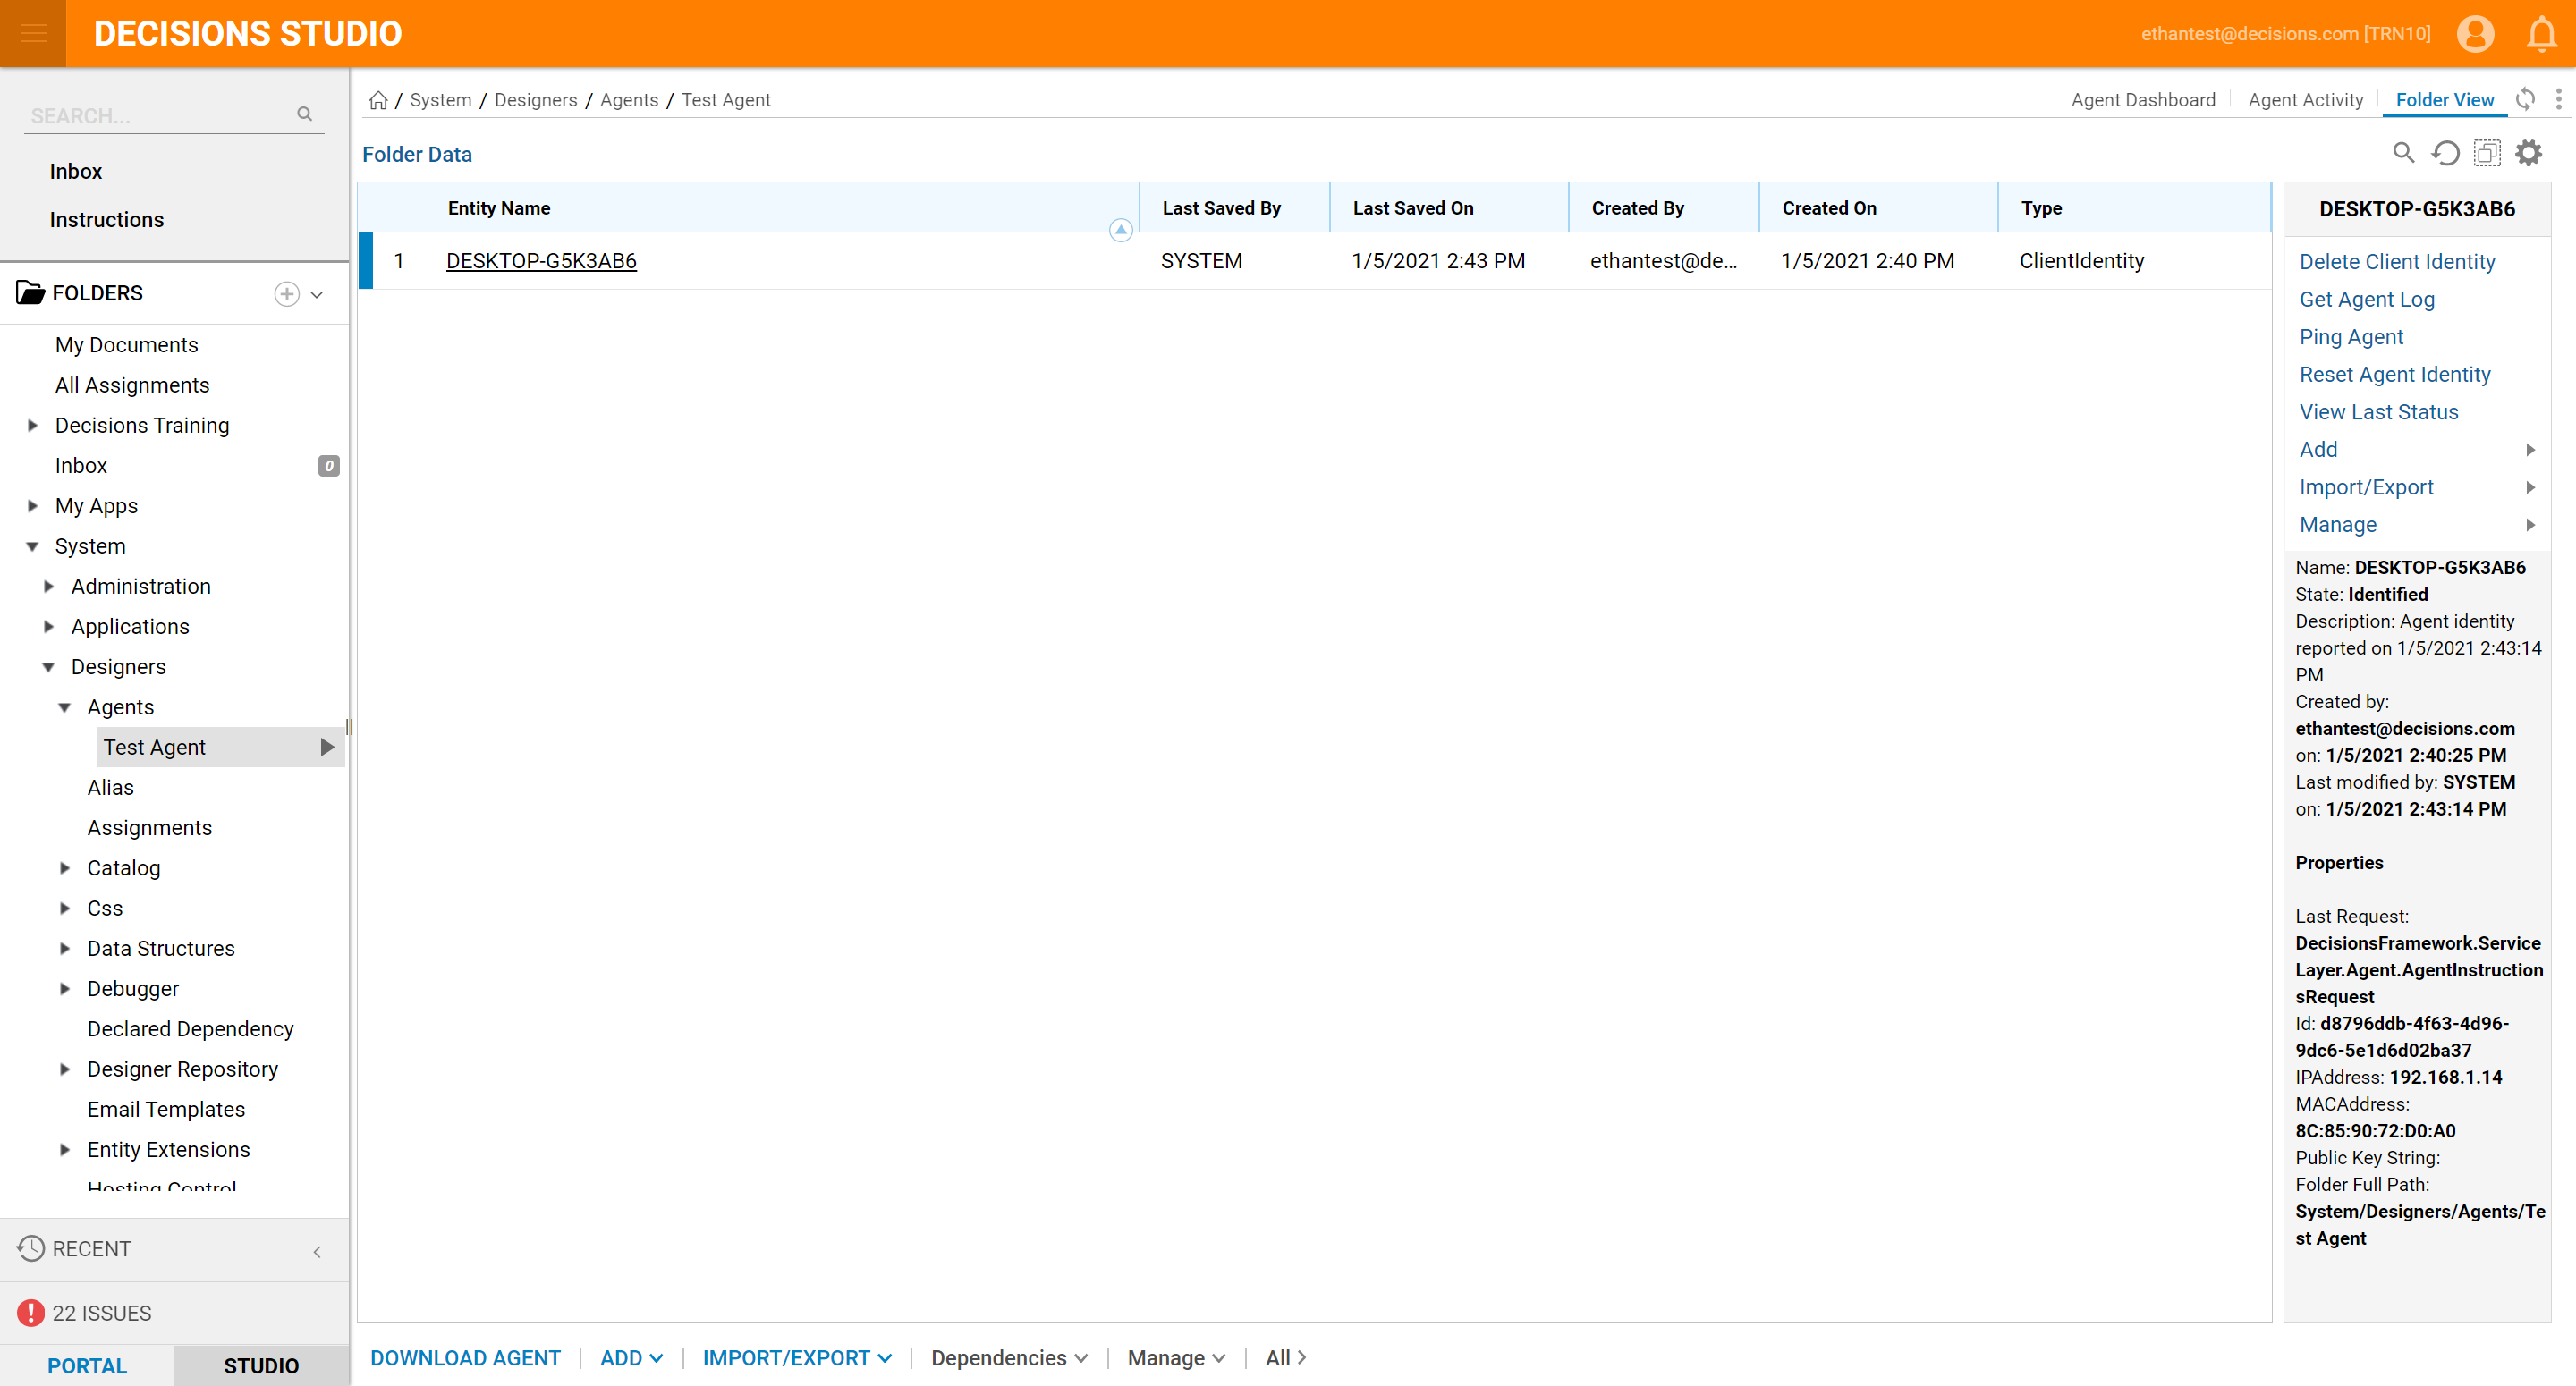
Below is an example of an Agent that has already been registered and set up in Decisions.
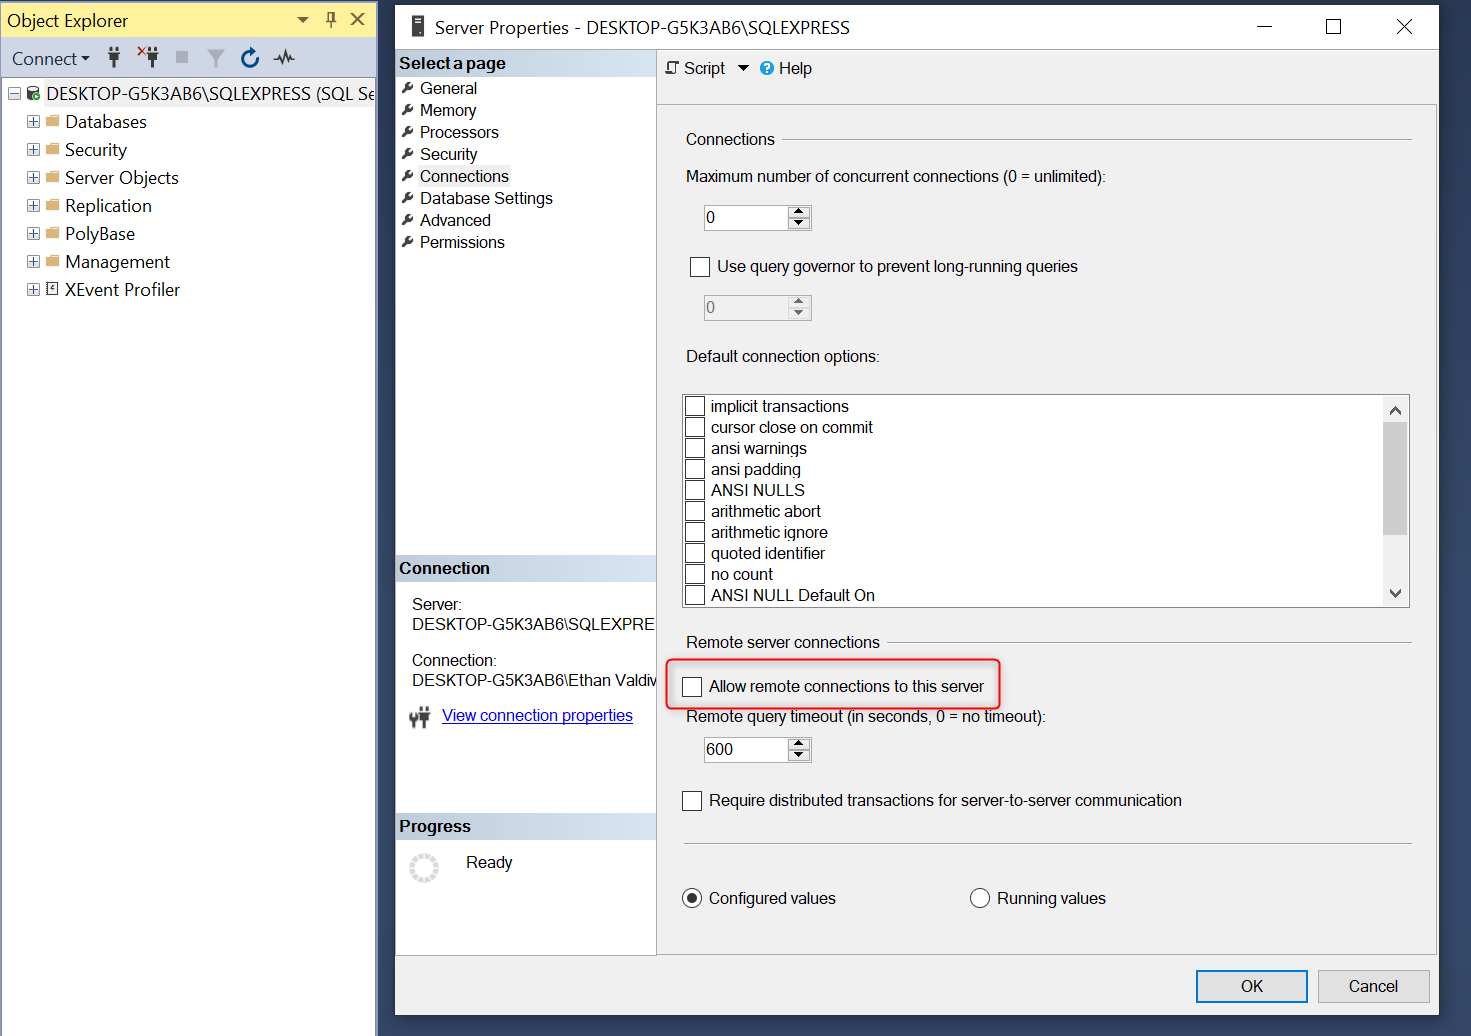
For this example remote connections are restricted to SQL Server on the client machine to ensure that our Decisions Server communicates with the database via the Agent.
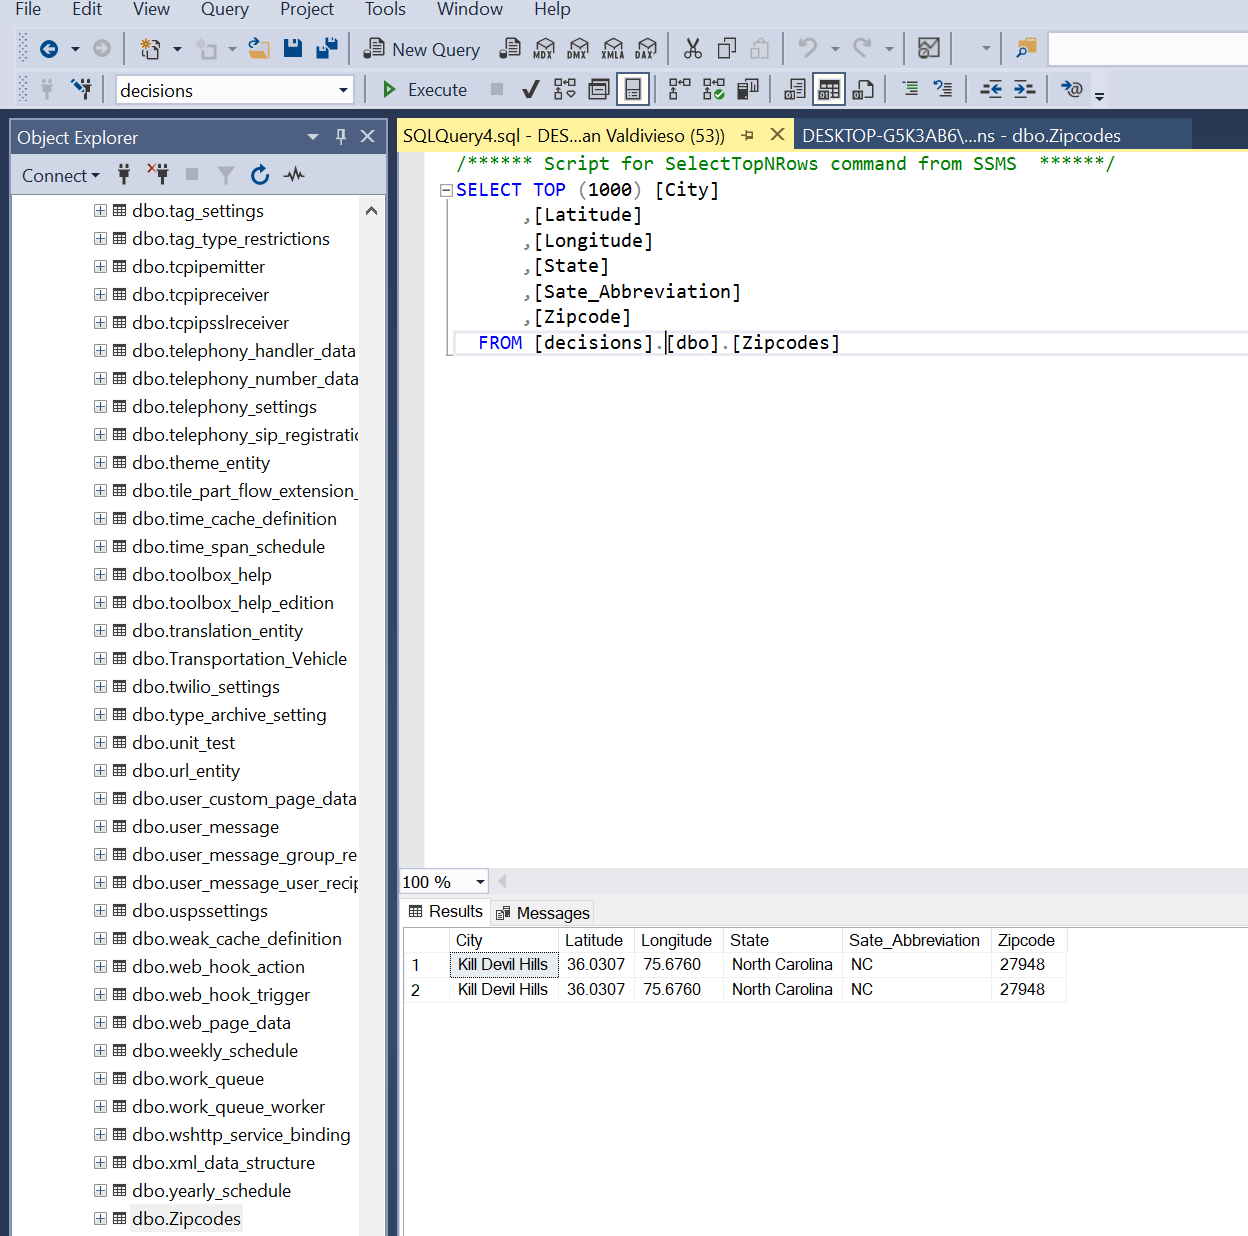
This example will connect with the Zipcodes table in the Decisions database on the client machine.
Begin by creating a connection to the database. In the Portal navigate to System > Integration > Databases and click Create Connection on Folder Actions Menu .
Next on the Database Integration editor, provide a Connection Name. Then, pick MSSQL Database Type and check Use Agent check-box. Next, pick the Agent from the drop down menu. In the Microsoft SQL Server section we provide the Server Name and Database Name.
- Note:Talk to the client SQL Server as it is installed on the local system because Agent is being used. .*Finally, uncheck Windows Authenticationcheck-box and provide credentials to the SQL Server.
To complete select Test to try the database connection.
If the connection is successful, Status: Success, select Ok to save the Database Integration.
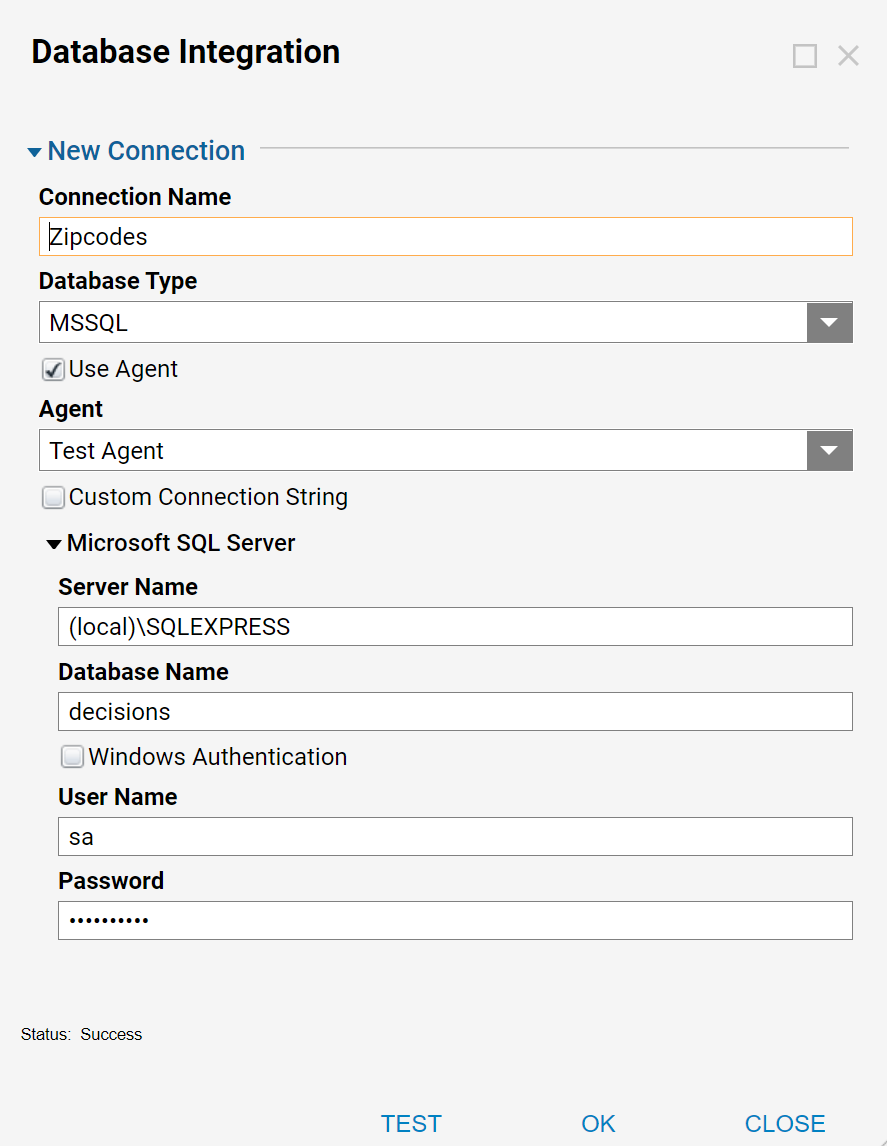
Now, the Decisions Server is ready to communicate with SQL Server on the client machine. In the Designer Folder on Start Designer View select Create Flow.
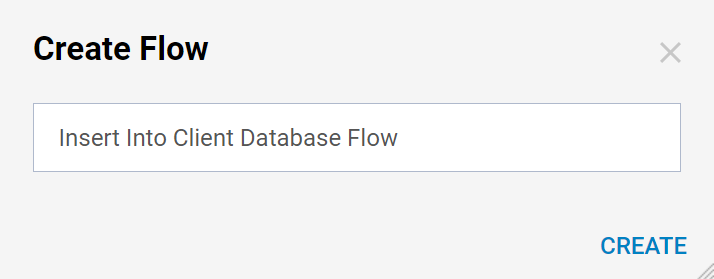
Name the Flow, and select Create to proceed to the Flow designer.
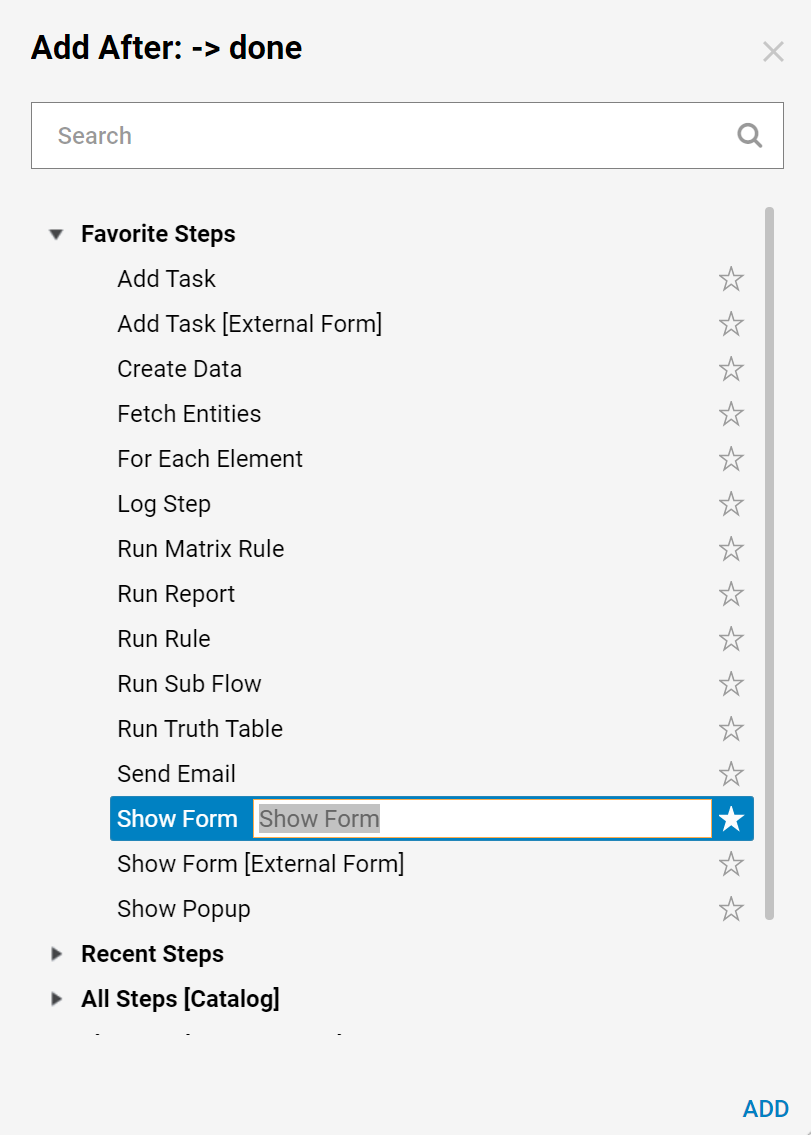
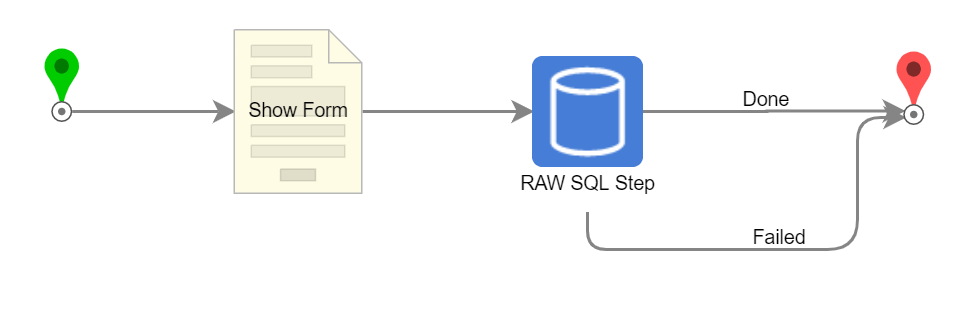
In the Flow Designer use a simple Form for User interactions. Add Show Form step from Favorite Steps category.
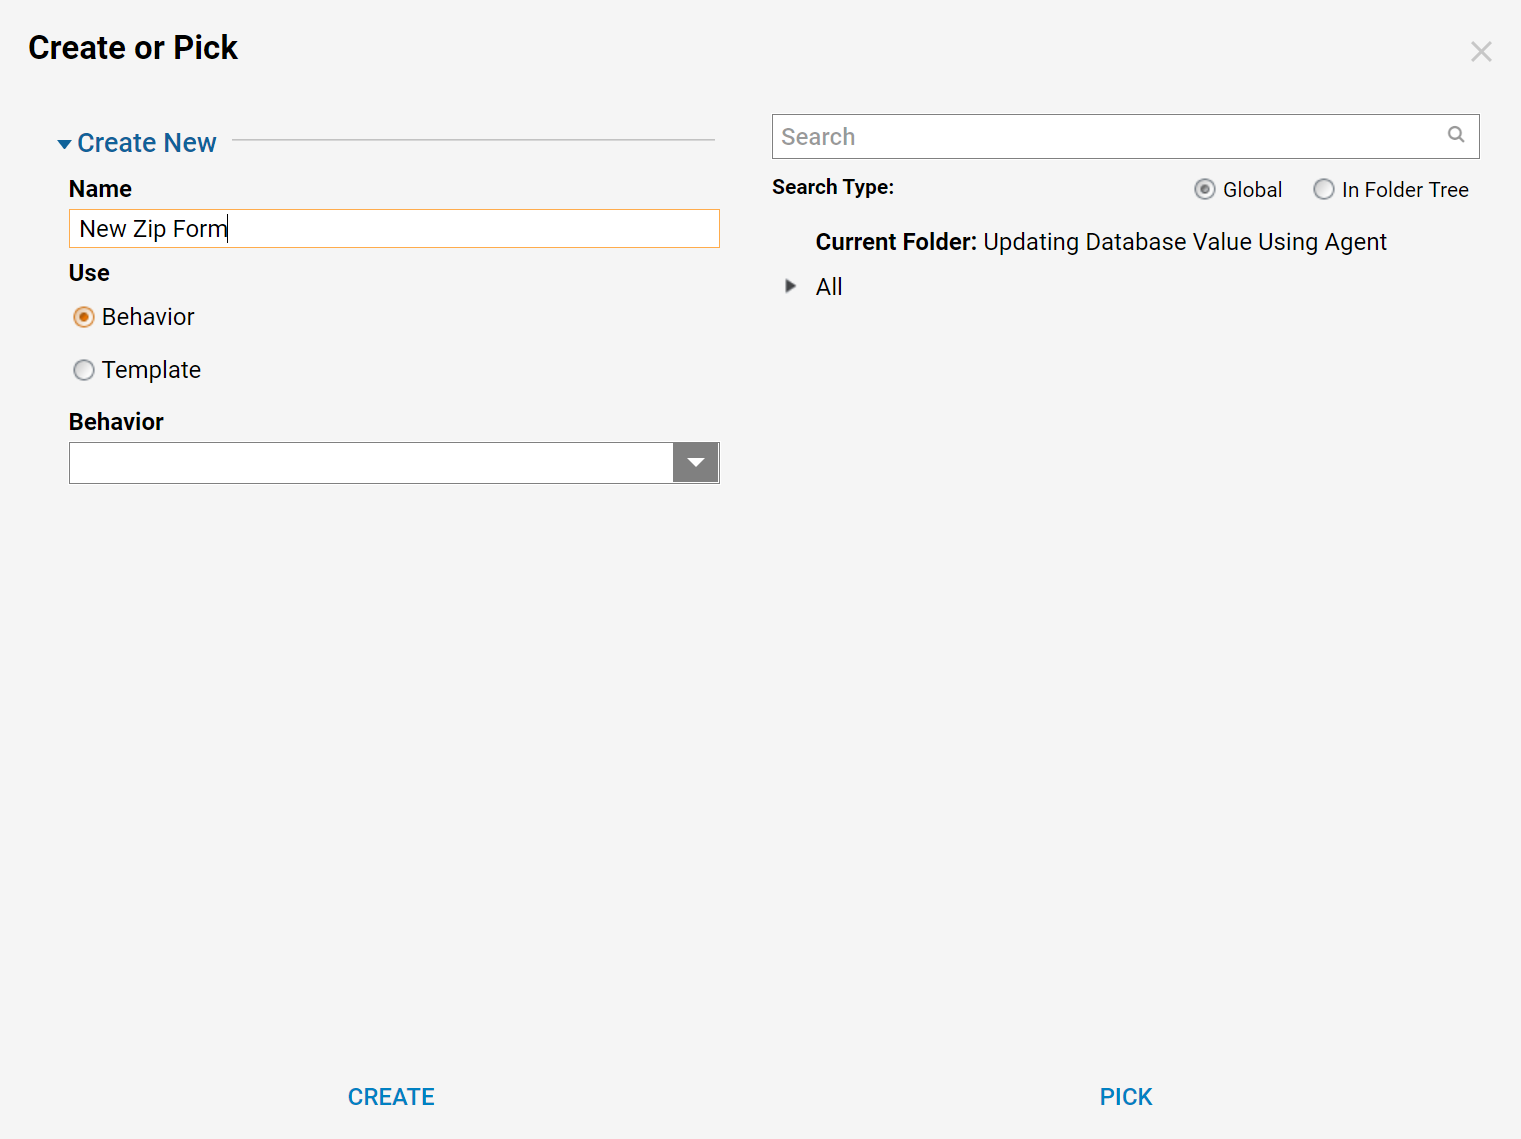
Then, Name the Form and select Create to proceed to the Form Designer.
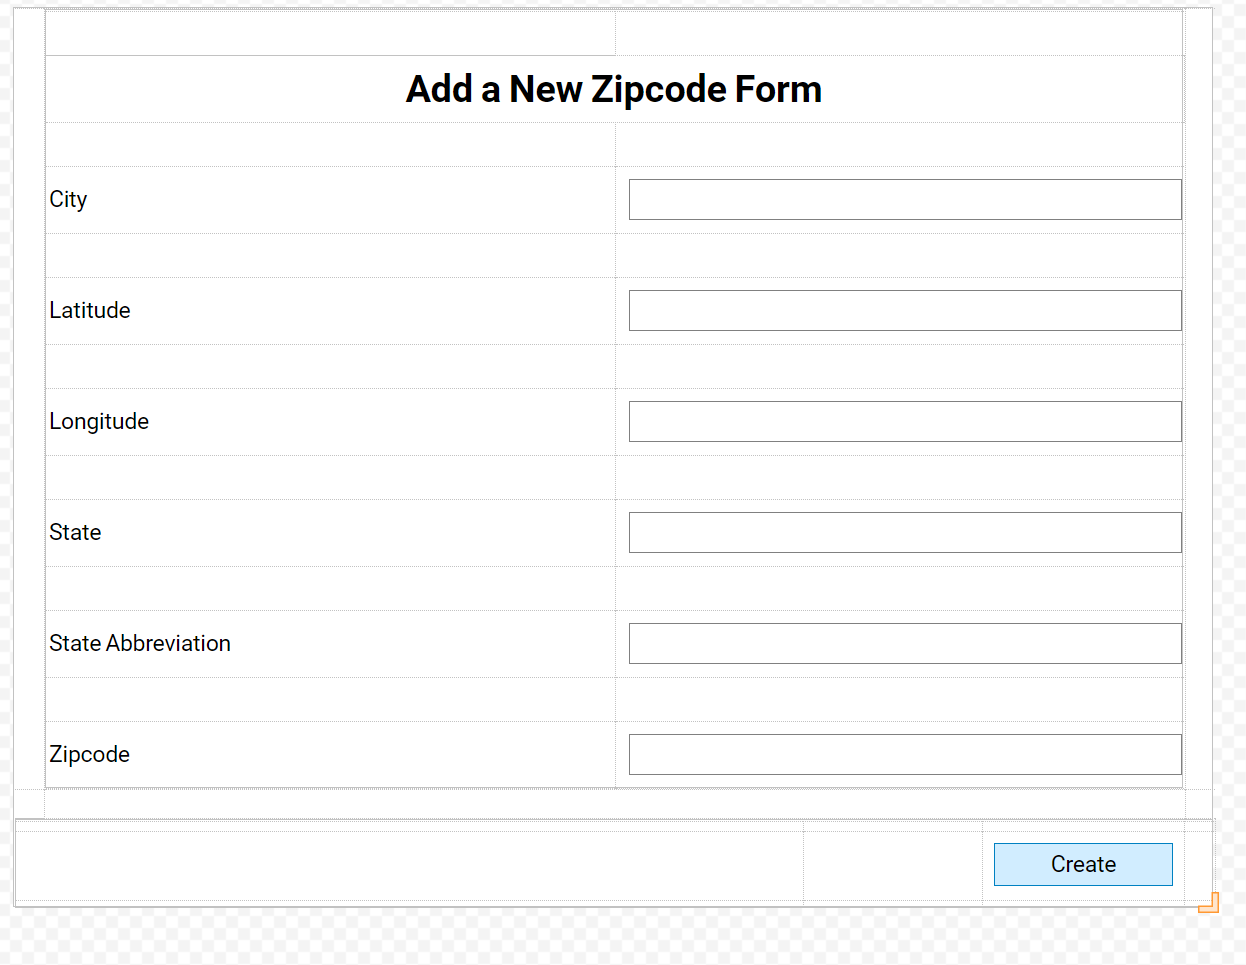
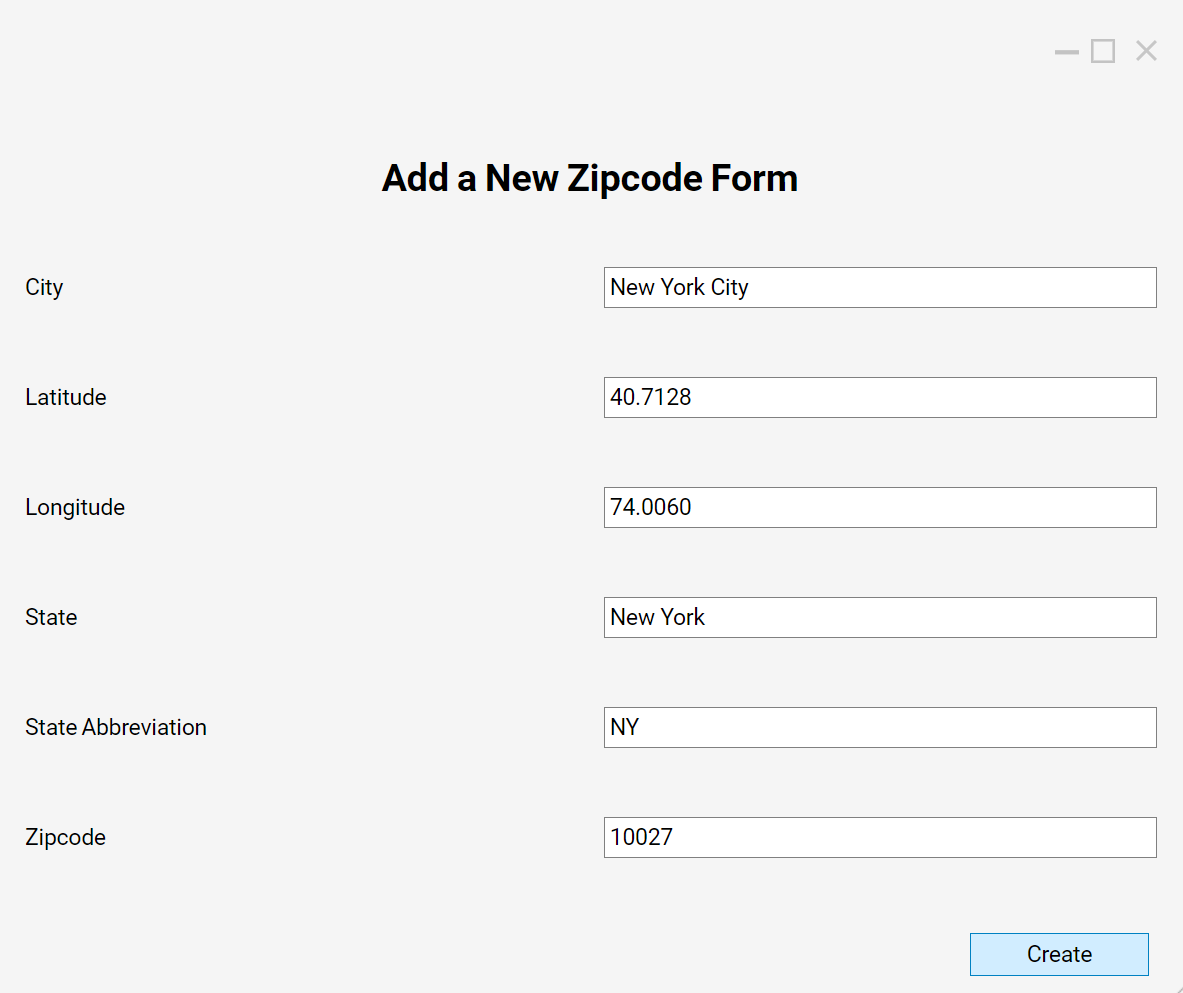
The Form is designed as follows: The form has a Text Box, Controls for user inputs and a Create Button control for User to be able to submit the Form. When finished, we can save the Form and close Form Designer.
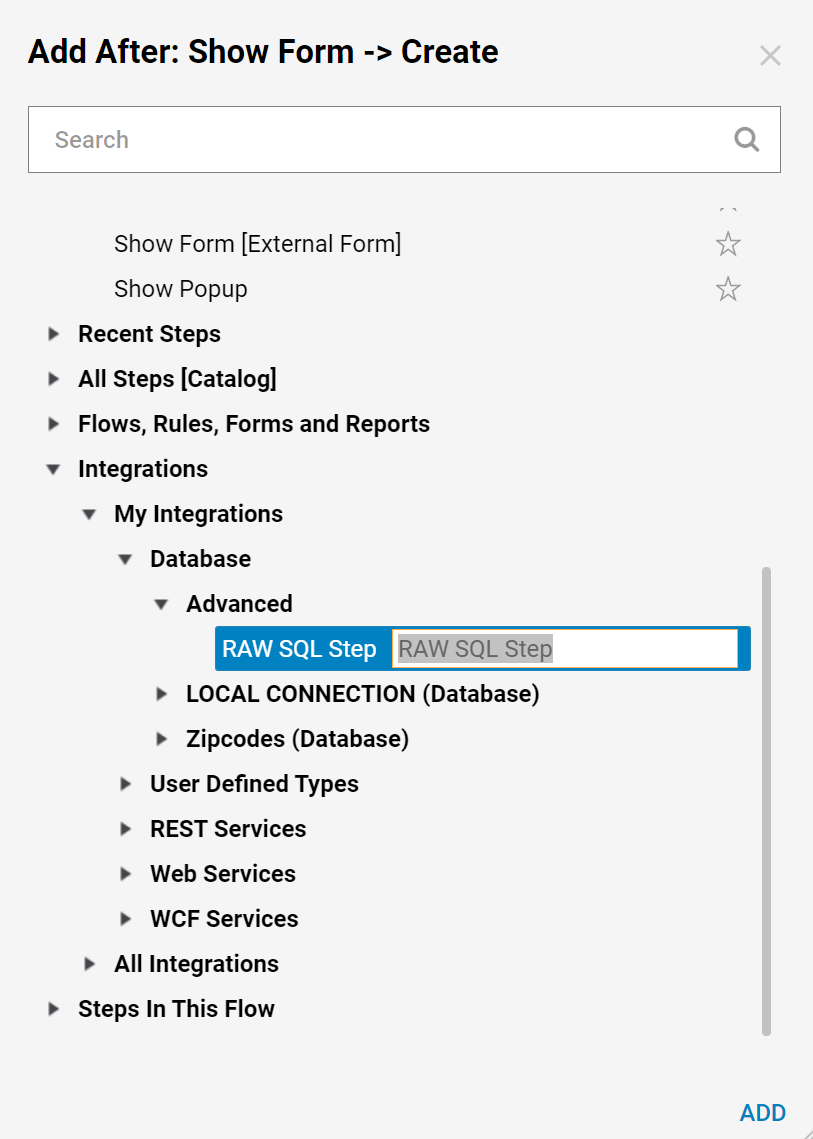
Next, on the outcome from our Show Form step in the Flow we add RAW SQL Step from Integrations > My Integrations > Database > Advanced category.
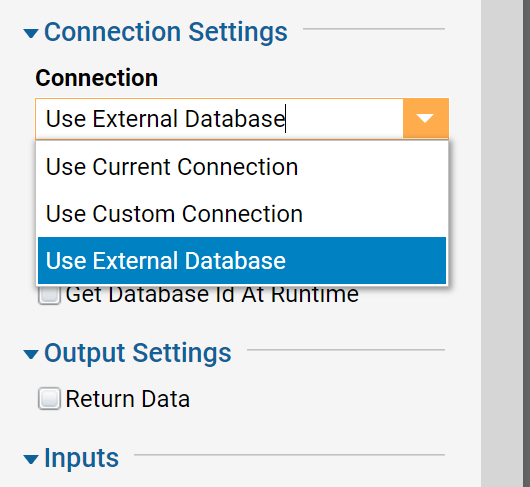
Next configure the RAW SQL Step as following. In the Connection Settings pick Use External Database from the Connection* drop down list.
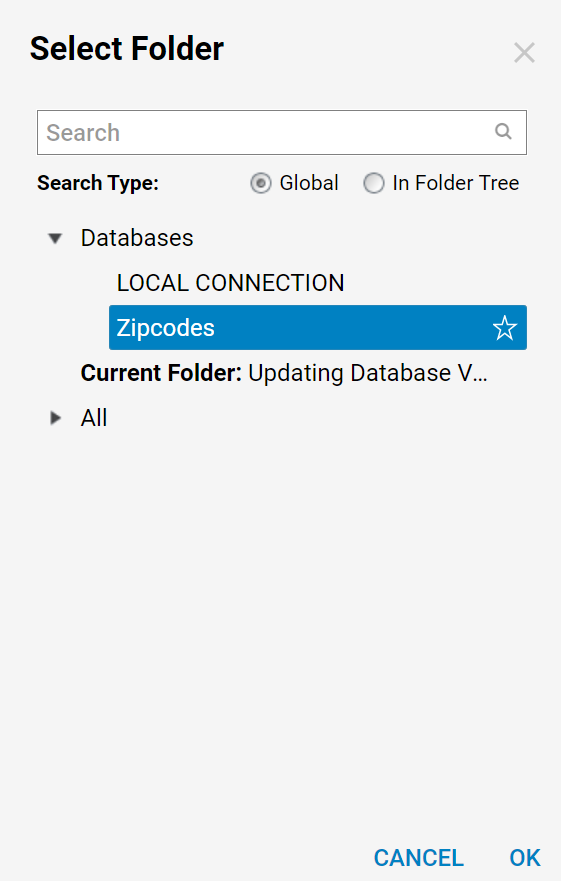
Next, using External Database picker we select the Database Connection that was created previously in this tutorial using Agent.
Then, in the Inputs section for SQL Command input choose Text Merge.Plain Mapping Type and select Show Editor. In Merge Text Editor define the SQL Command using Flow Data and insert Values. Select okay to complete and save the Merge Text Editor.
.png)
Finally, connect the Donepathway and the Failed pathway from the RAW SQL Step to the End Step in the Flow. This completes the Flow. Save and close in the Flow Designer.
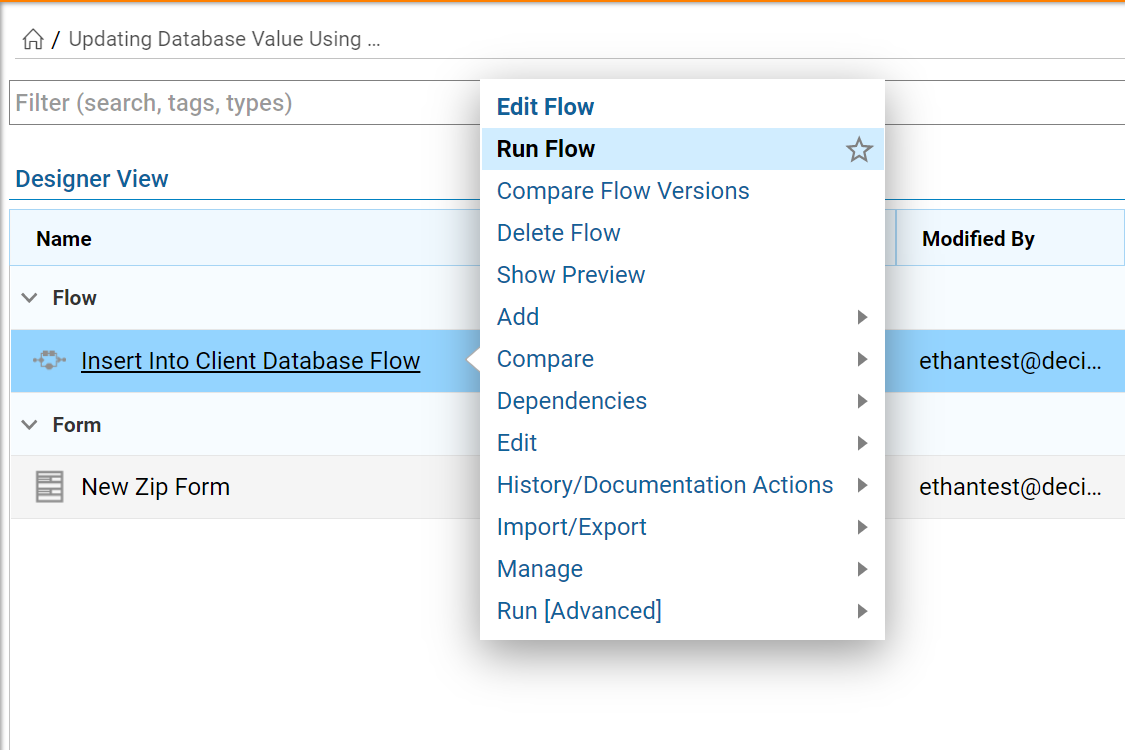
Back in the Designer Folder locate a thumbnail for the Flow and select Action > Run Flow from the thumbnail’s menu.
Fill out and the Form and select Create to continue.
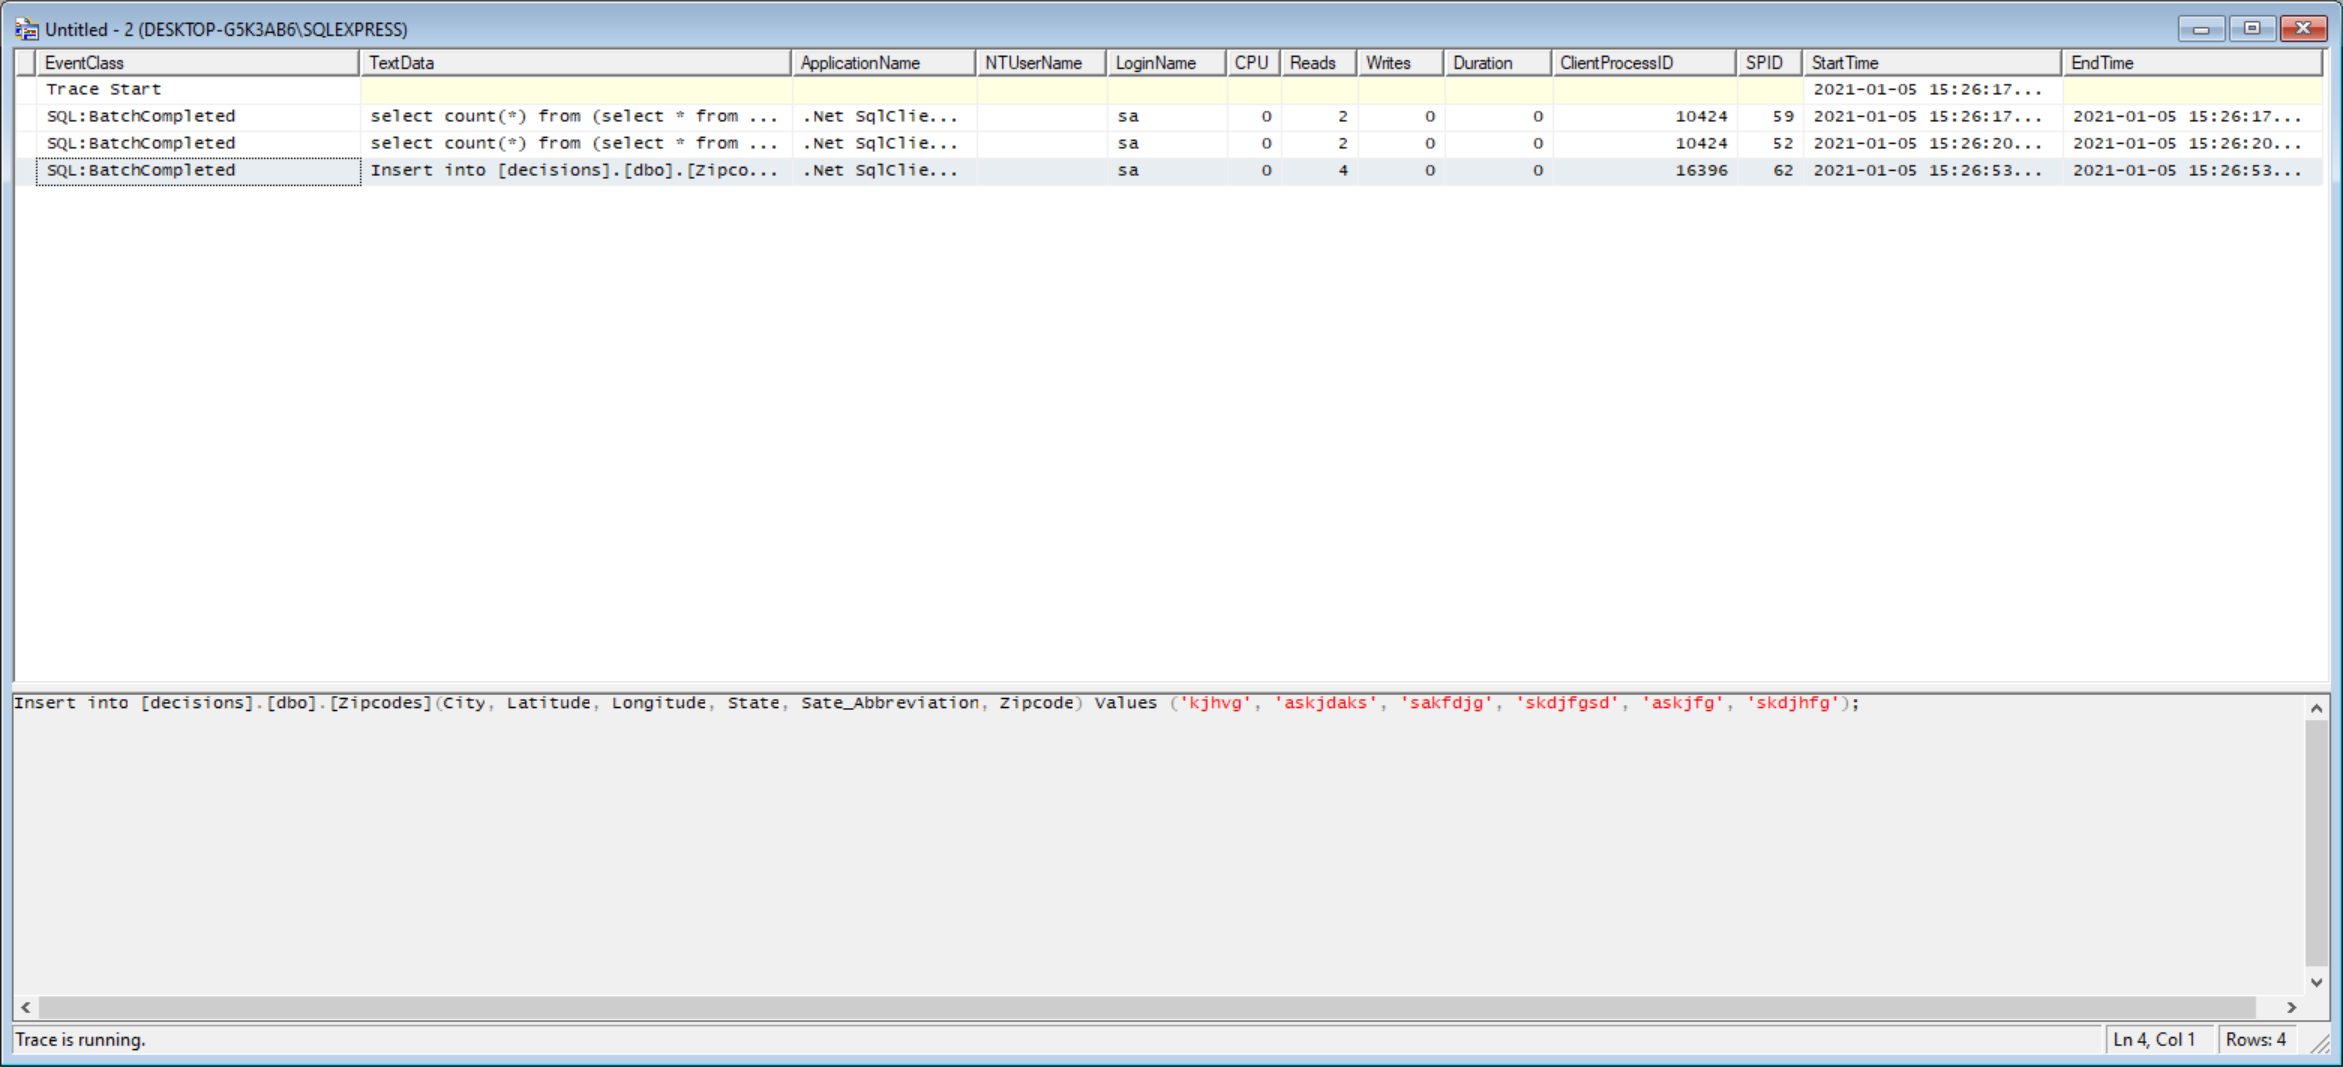
If the Flow executes to the end, then switch to the client machine, you can monitor the SQL Statement going through in SQL Profiler.
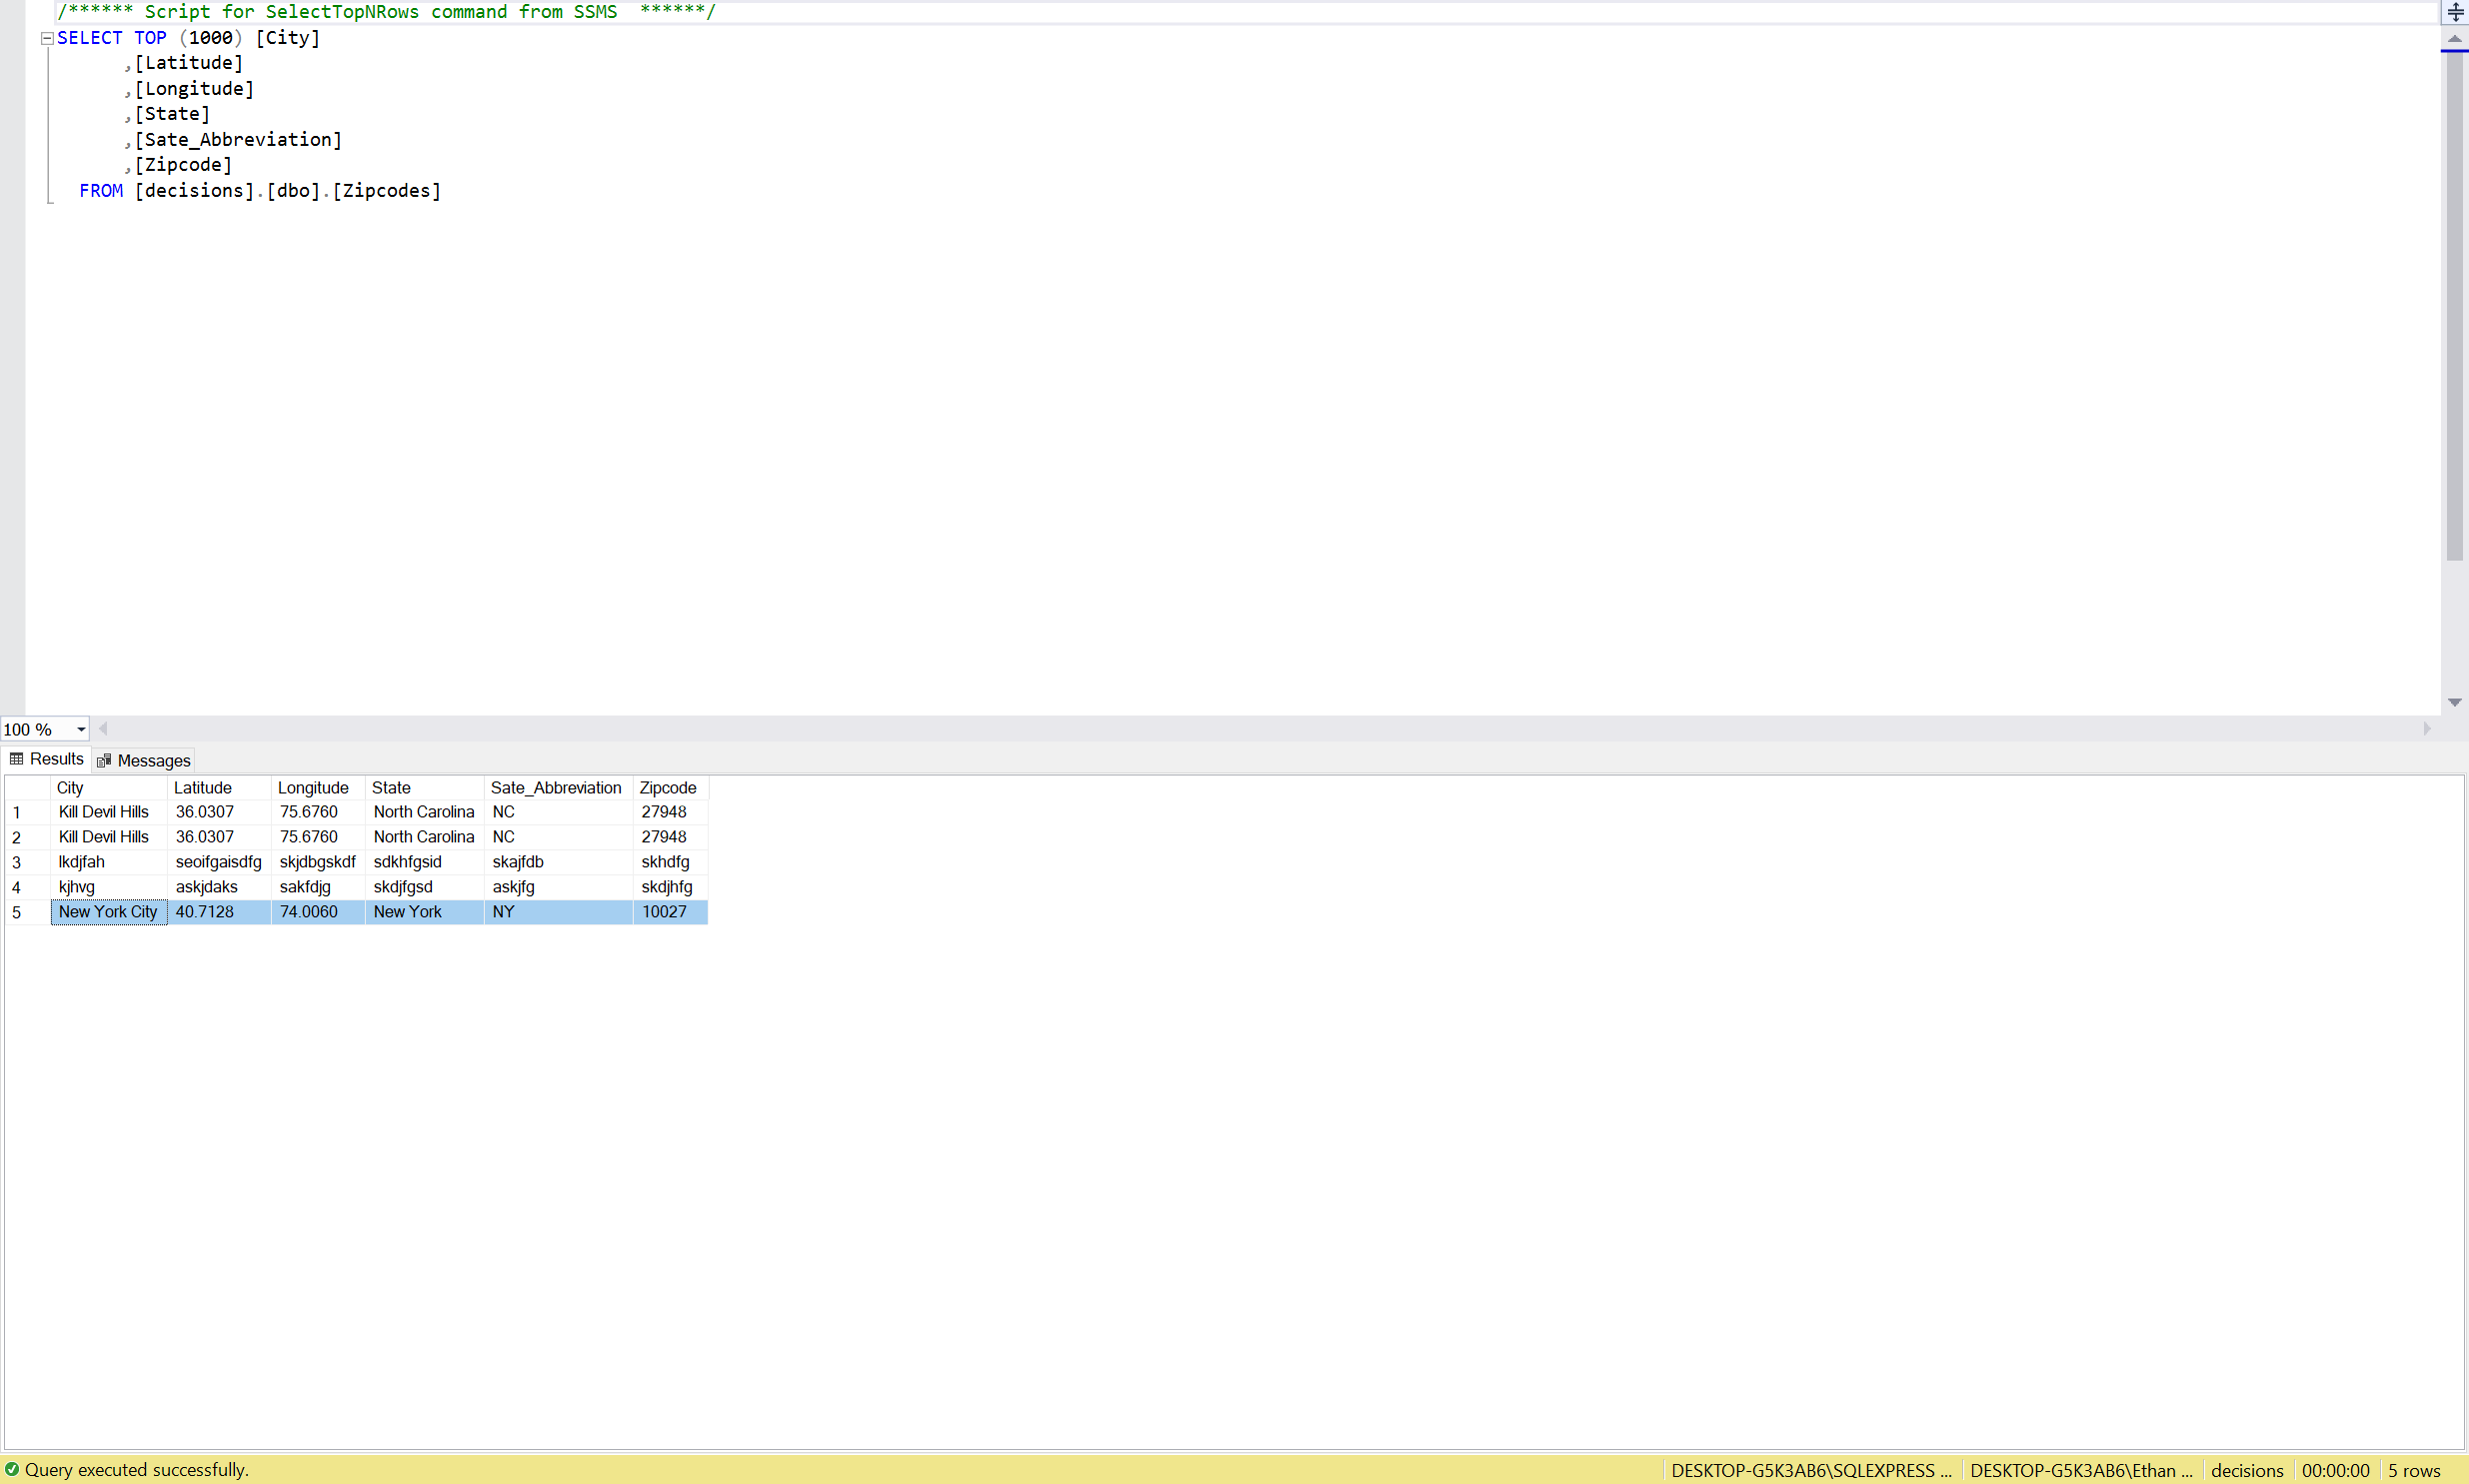
And the database table is updated with a new Record.