Overview
Files can be written from Decisions directly to the local file system using Flow steps. The Create Text File step saves a plain text file to the local system; this step will be used for the example. The Create Data step can also save complex file data to the local file system.
Example
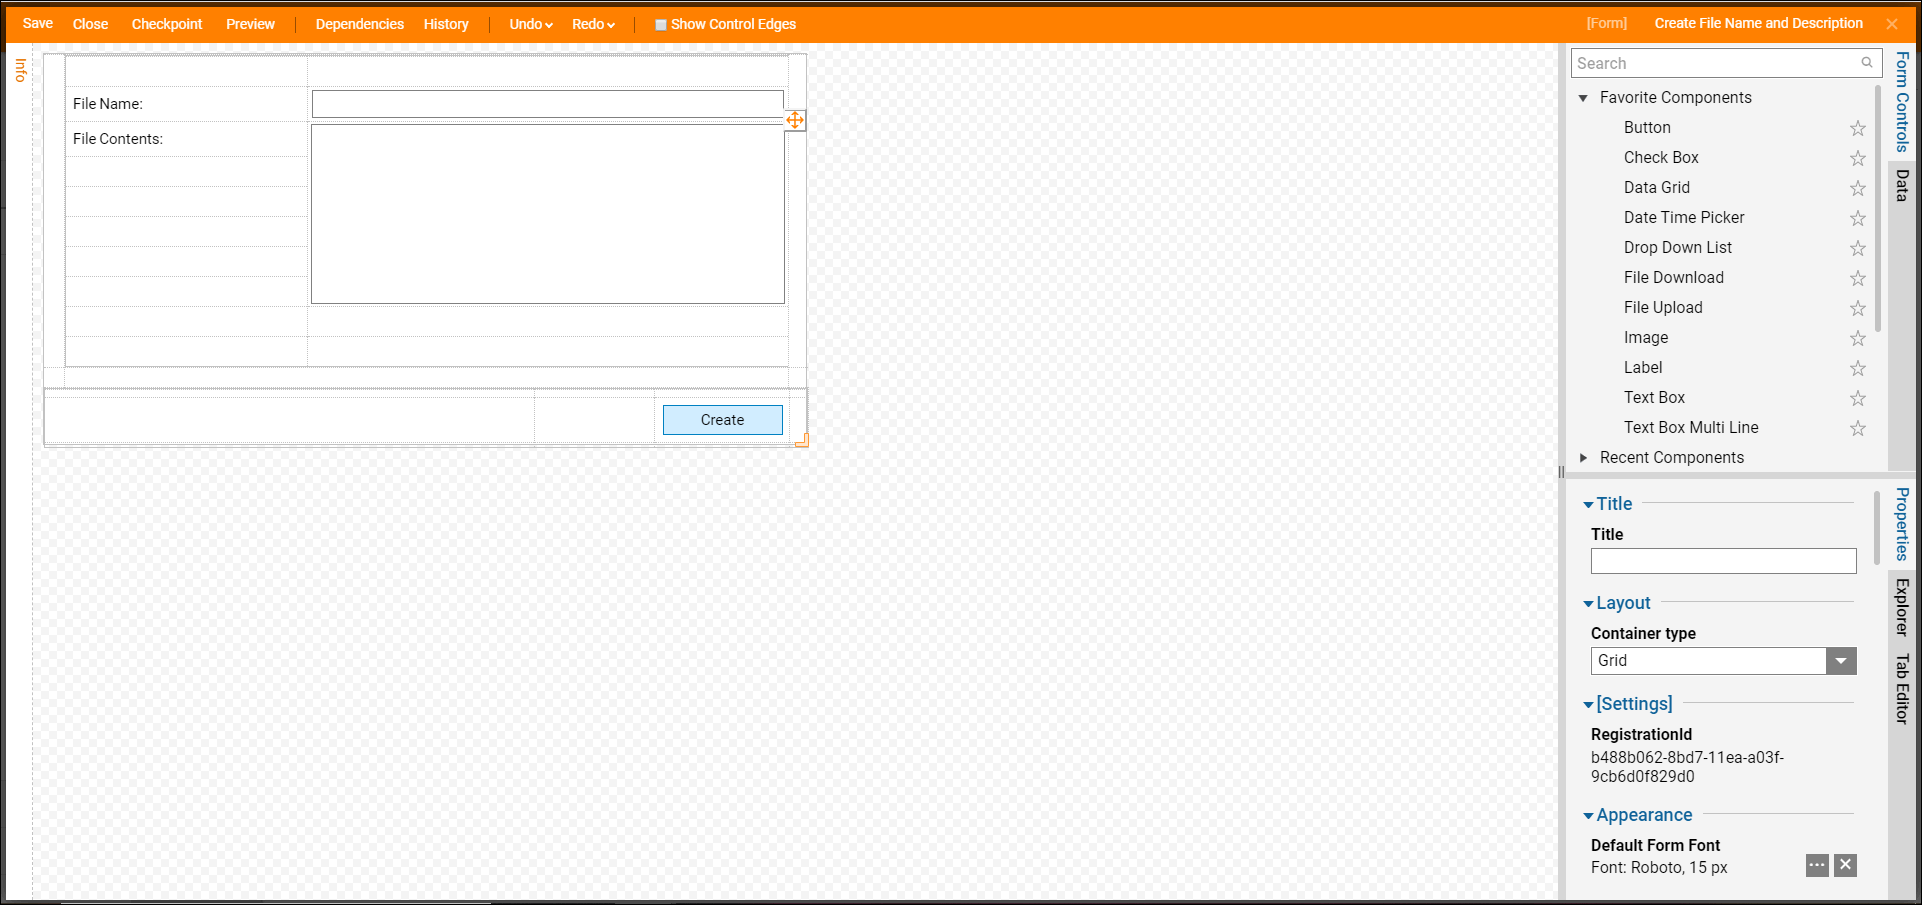
The example Flow will show a Form with two text fields: File Name and File Contents. When this Form is submitted, the Flow will create a file with the name configured for the File Name input. The data contained within the file will come from the File Contents field.
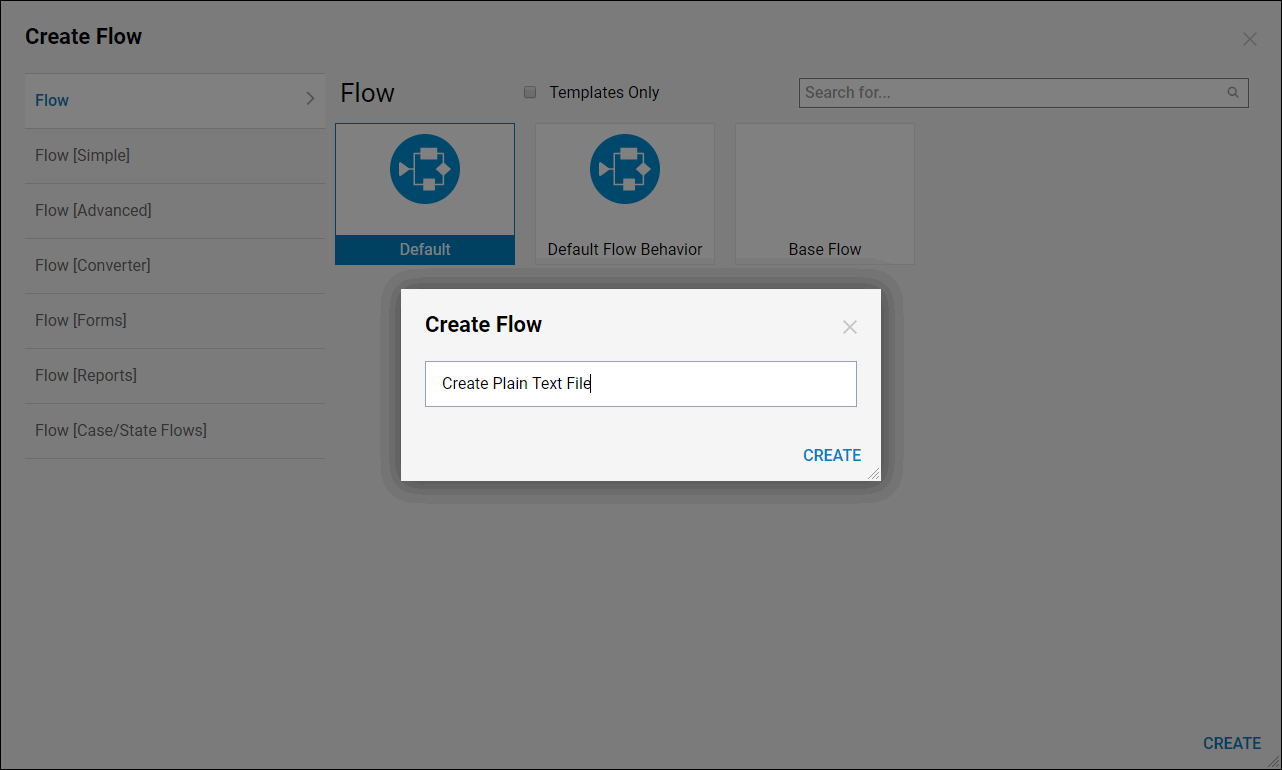
Begin in a Designer Folder, and select Create Flow in the bottom action panel. Select the default Flow template and CREATE. Name the Flow and CREATE again.
Once redirected to the Flow Designer, use the Steps tab to move a Show Form step from the Favorites Steps section into the workspace after the Start step. Connect the steps in sequence, then select the Show Form step to expose the properties for this step in the Properties tab.
Select Pick or Create Form and use the left side of the screen to name and create a new Form. Use a Text Box, Text Box Multi Line, Button, and two Labels to create a Form similar to the screenshot below.
Select the arrow at the end of the outcome path on the Show Form step, then use the step search to find a Create Text File step, or navigate to Integration > File in the Steps tab.
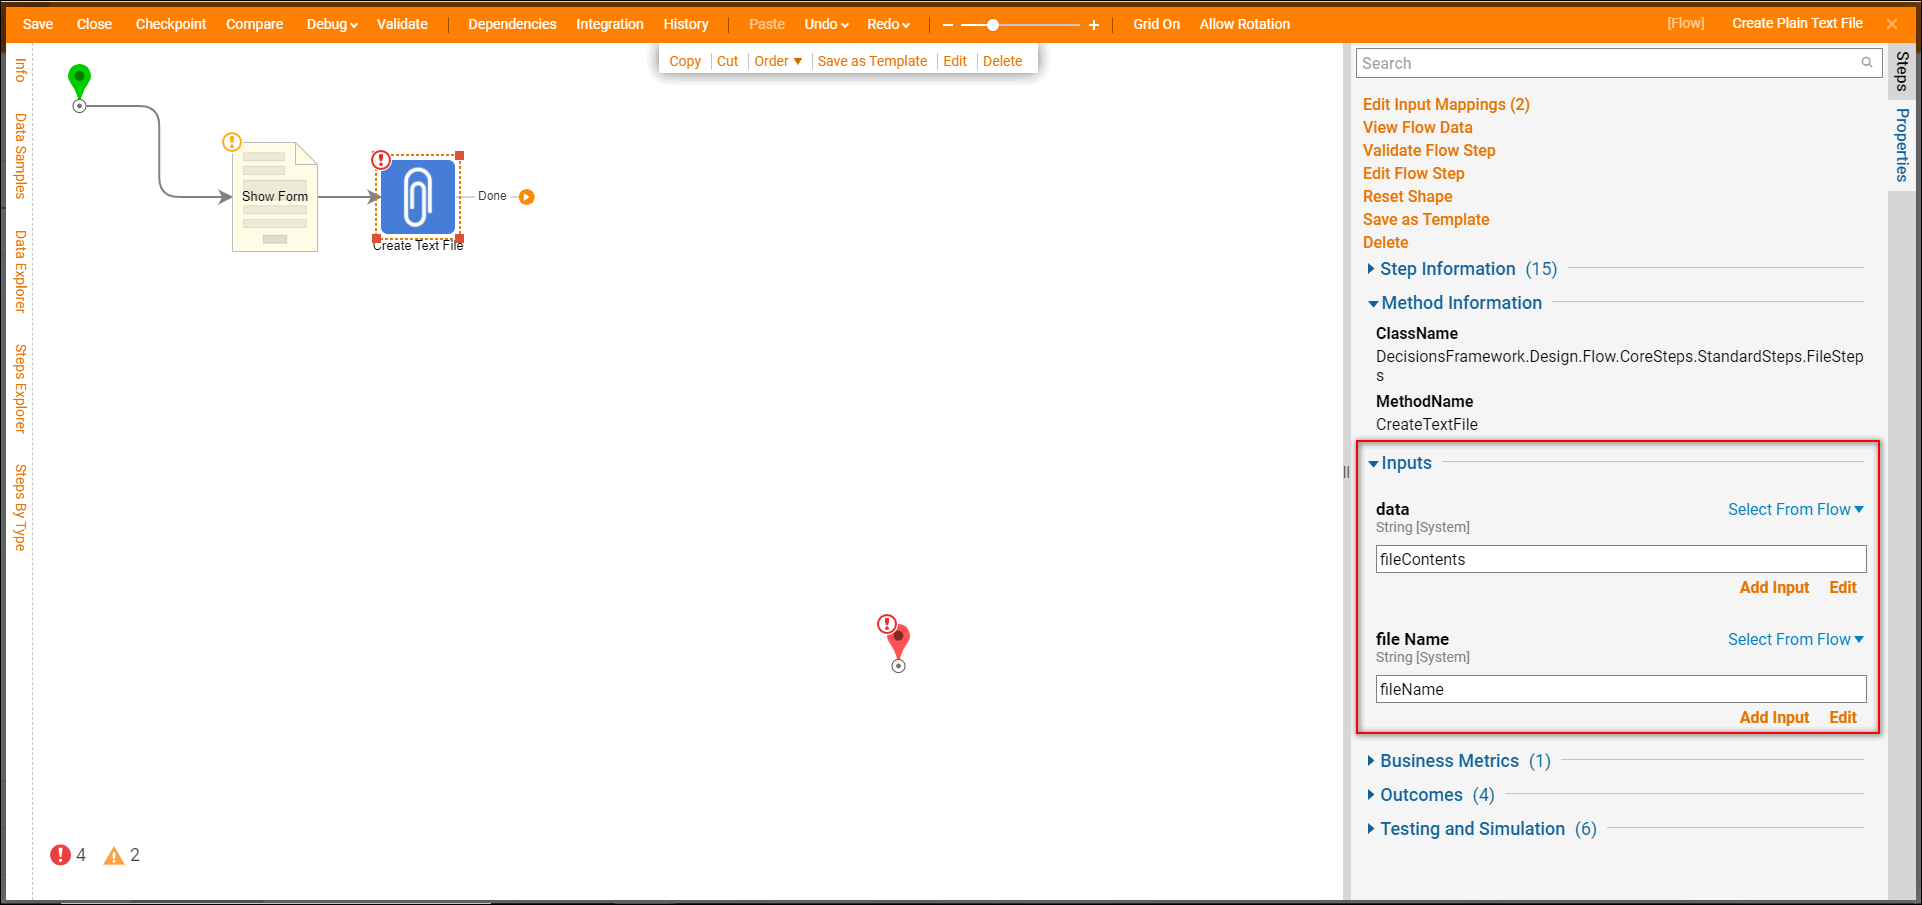
In order to create a file, the name and contents (data) must have a value. This example simply uses a string text. Both string outputs from the Form can be mapped to the file Name and data input of the Create Text File step, respectively. Select the step icon and navigate to the Inputs section of the properties, then use the Select From Flow option to map the values from the Form as inputs for this step.
Debug
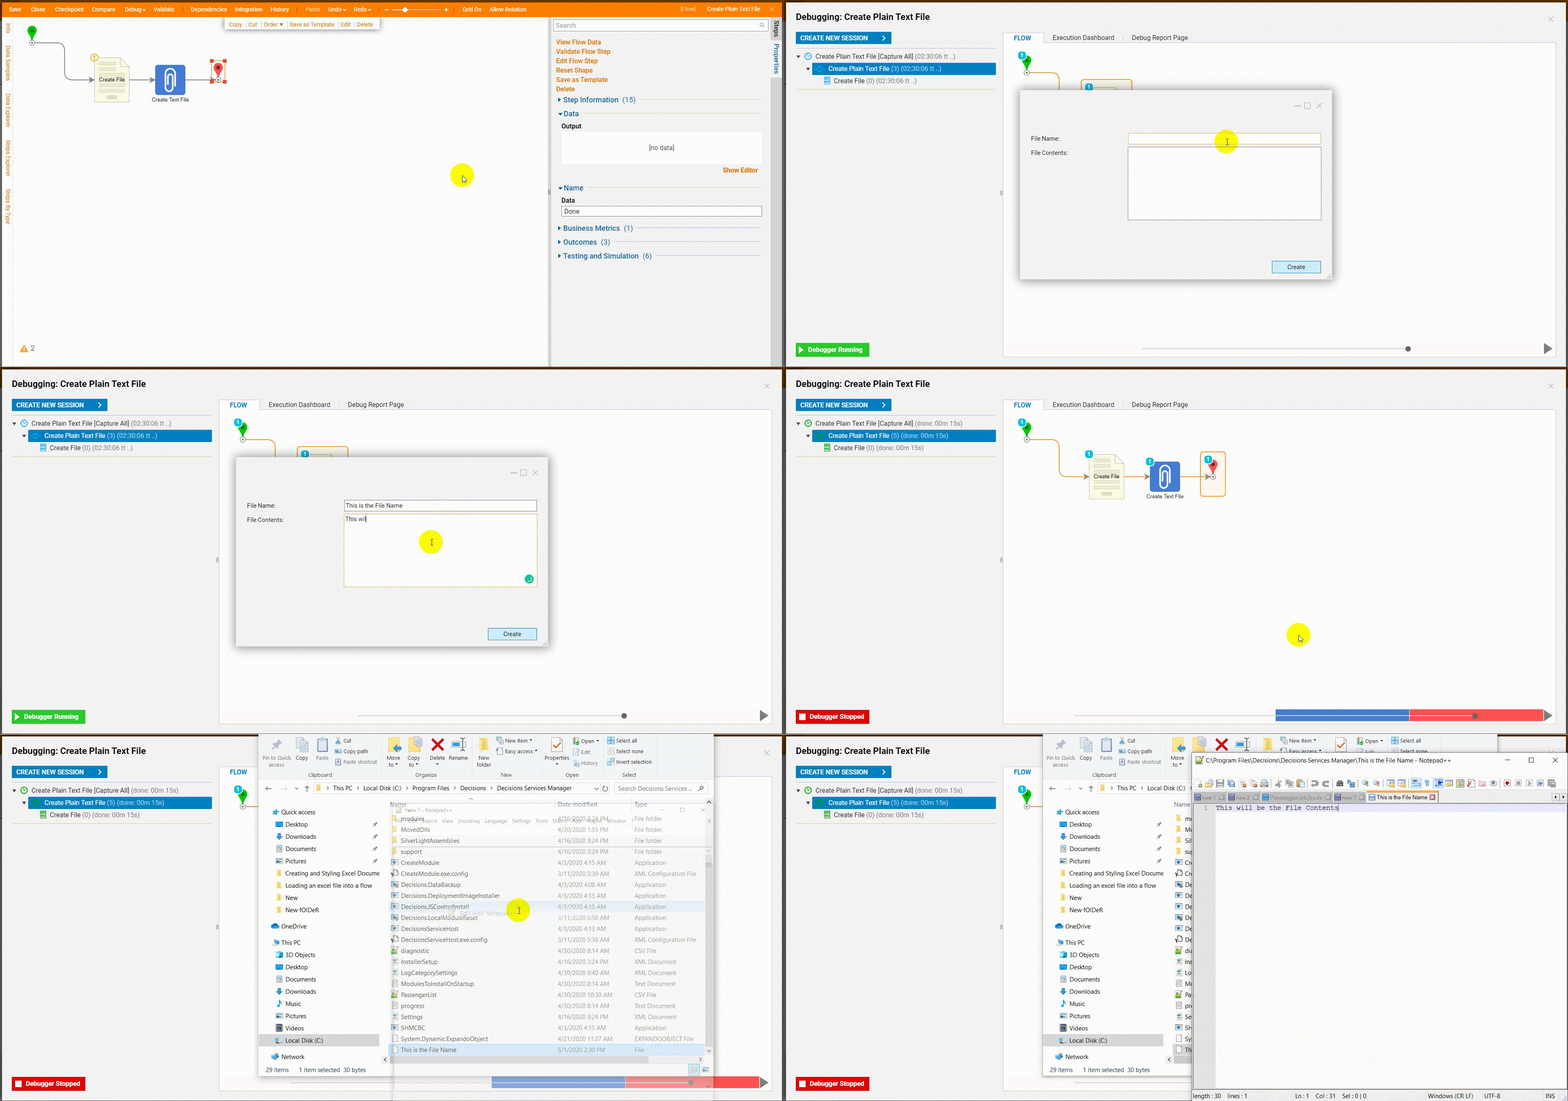
Select Debug at the top of the Flow Designer. The Form generates in the debugger, enter a file name and content and then, select Create.
By default, new files are saved in a default directory located at C:\Program Files\Decisions\Decisions Services Manager. The newly saved file can be opened and viewed from the PC file explorer and a text editor to confirm that the inputs from the Form and Flow wrote to the file itself.
Move File to a Different Location
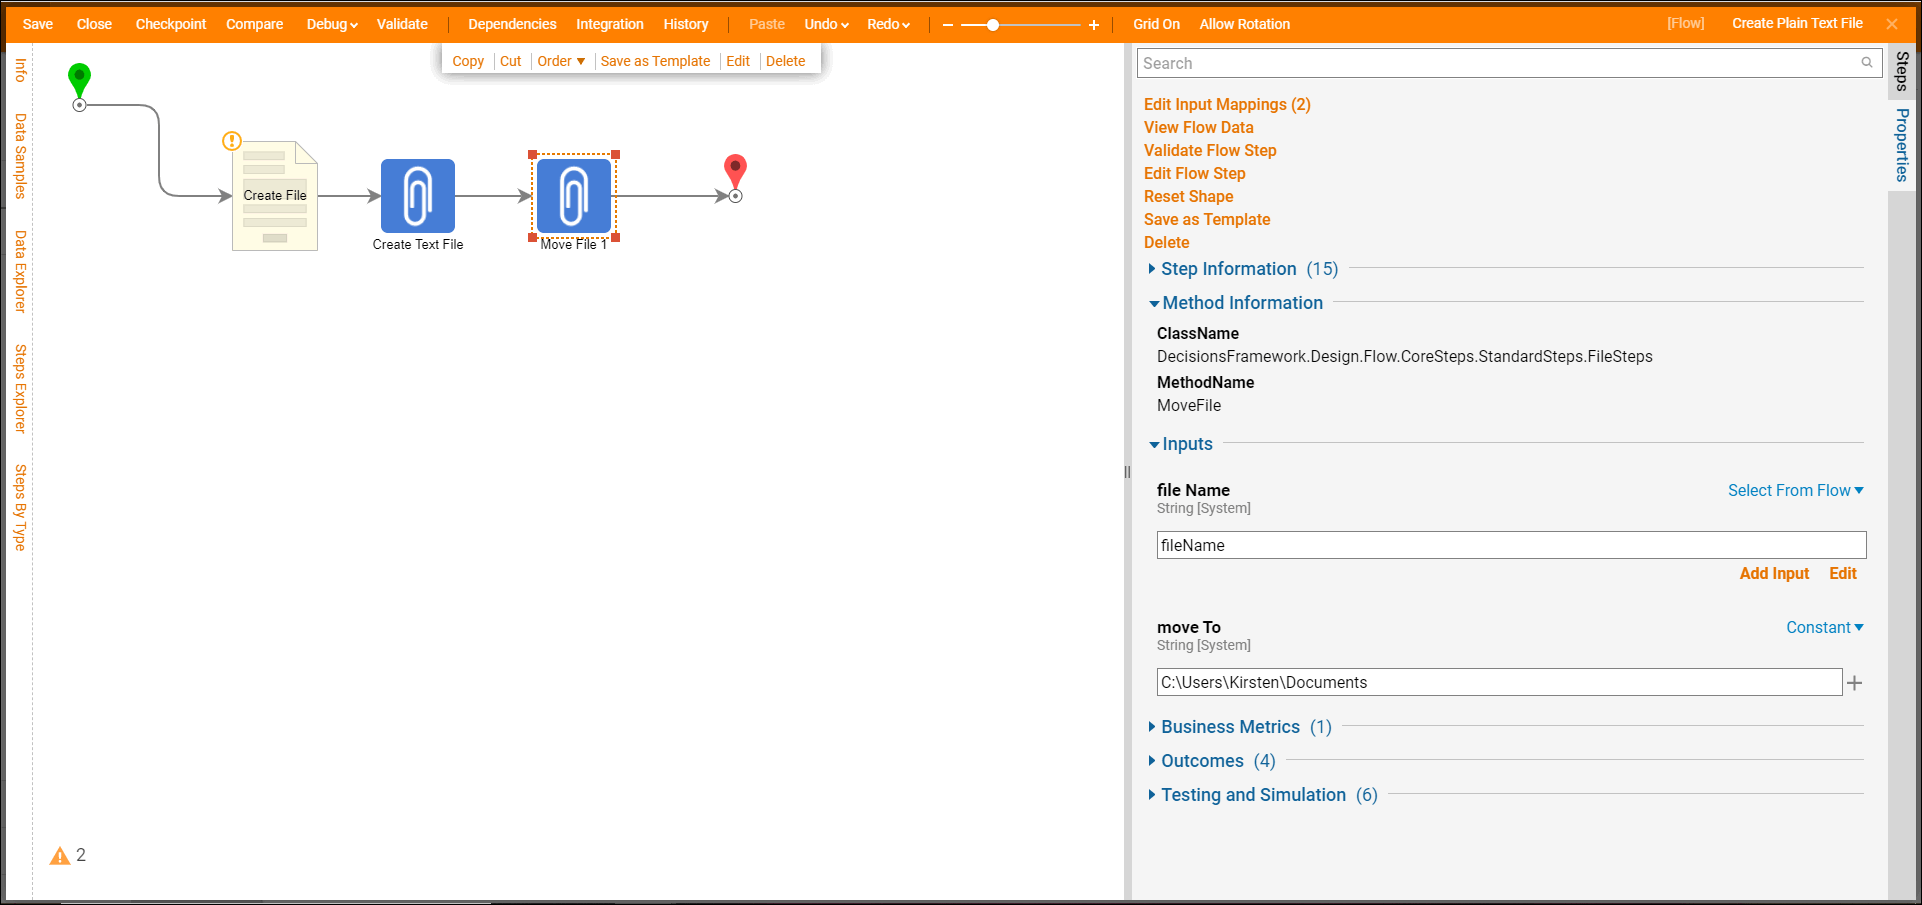
Use the Move File step between the Create Text File step and the End step to move the file to a different location after it has been created. The Move File step is located in the Integration > File category.
Select the Move File step icon and navigate to the Properties tab when the properties for this step appear. Use the Select From Flow mapping type and match the file Name output of the previous step to the file Name input for this step. Use the Constant mapping type for move To and enter the destination file path location. Debug the Flow and locate the file path in the PC file explorer to see the changes.
