Overview
This tutorial demonstrates how to use a Truth Table and simple Approval Chain to create ad hoc approval applications.
The Approval Module needs to be installed. To learn how to install a module, see Installing Modules In Decisions.
Example
In this example, a Truth Table will output an Approval Chain based on the input provided.
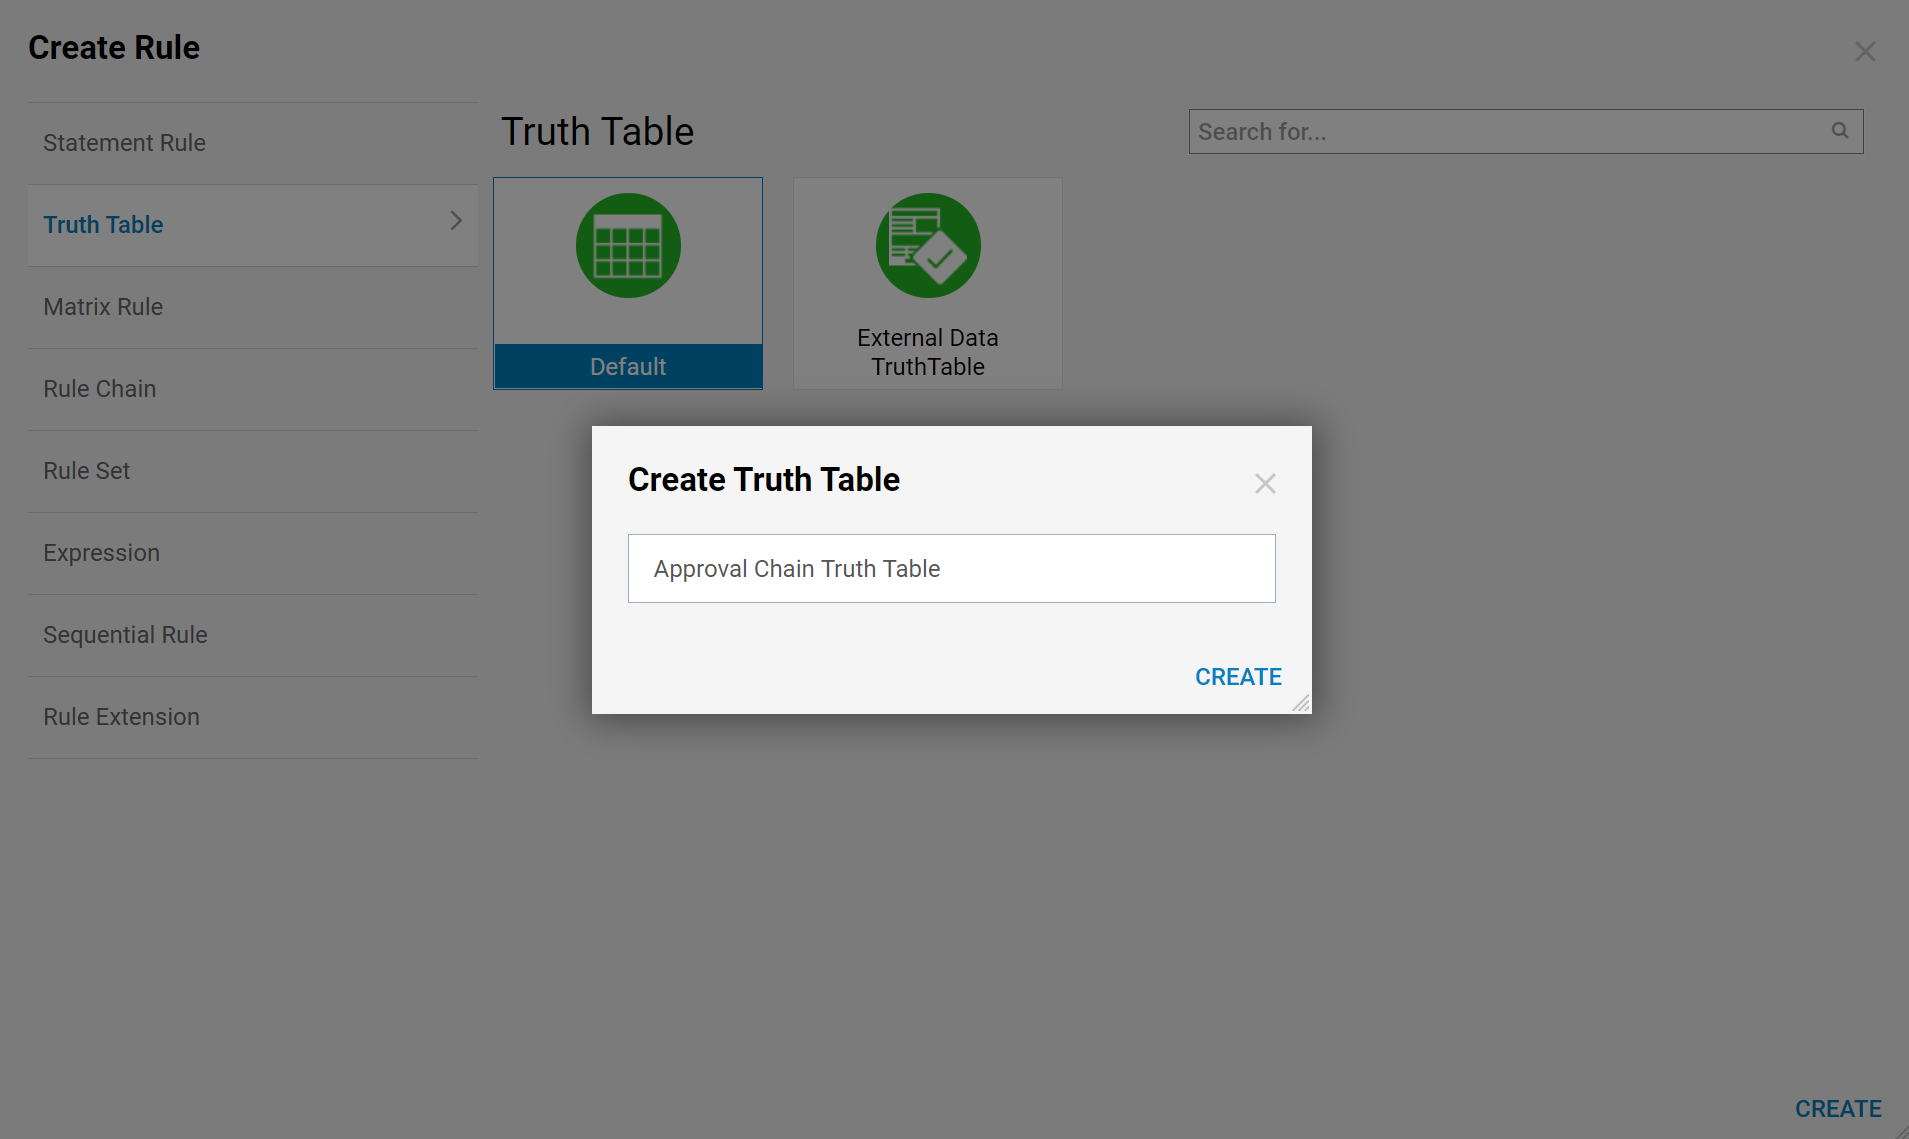
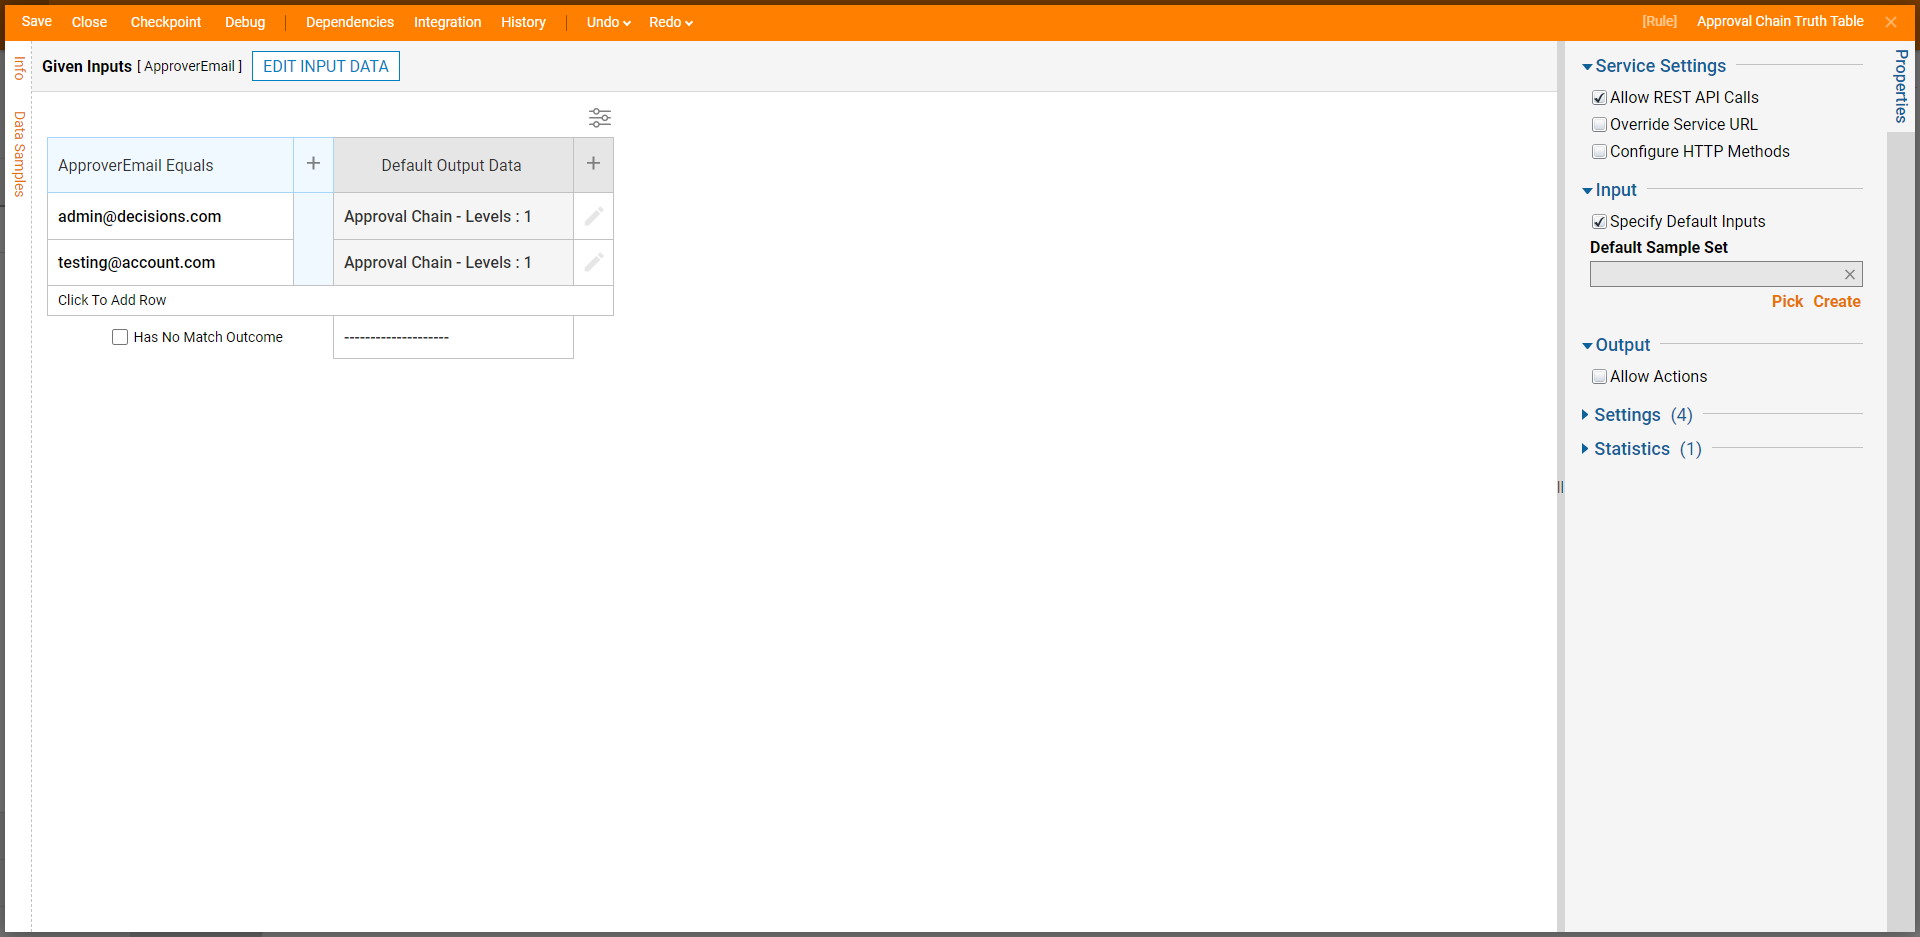
- In the Designer Project, click CREATE RULE. Select Truth Table and click CREATE. Name the Truth Table (Approval Chain Truth Table) and click CREATE.
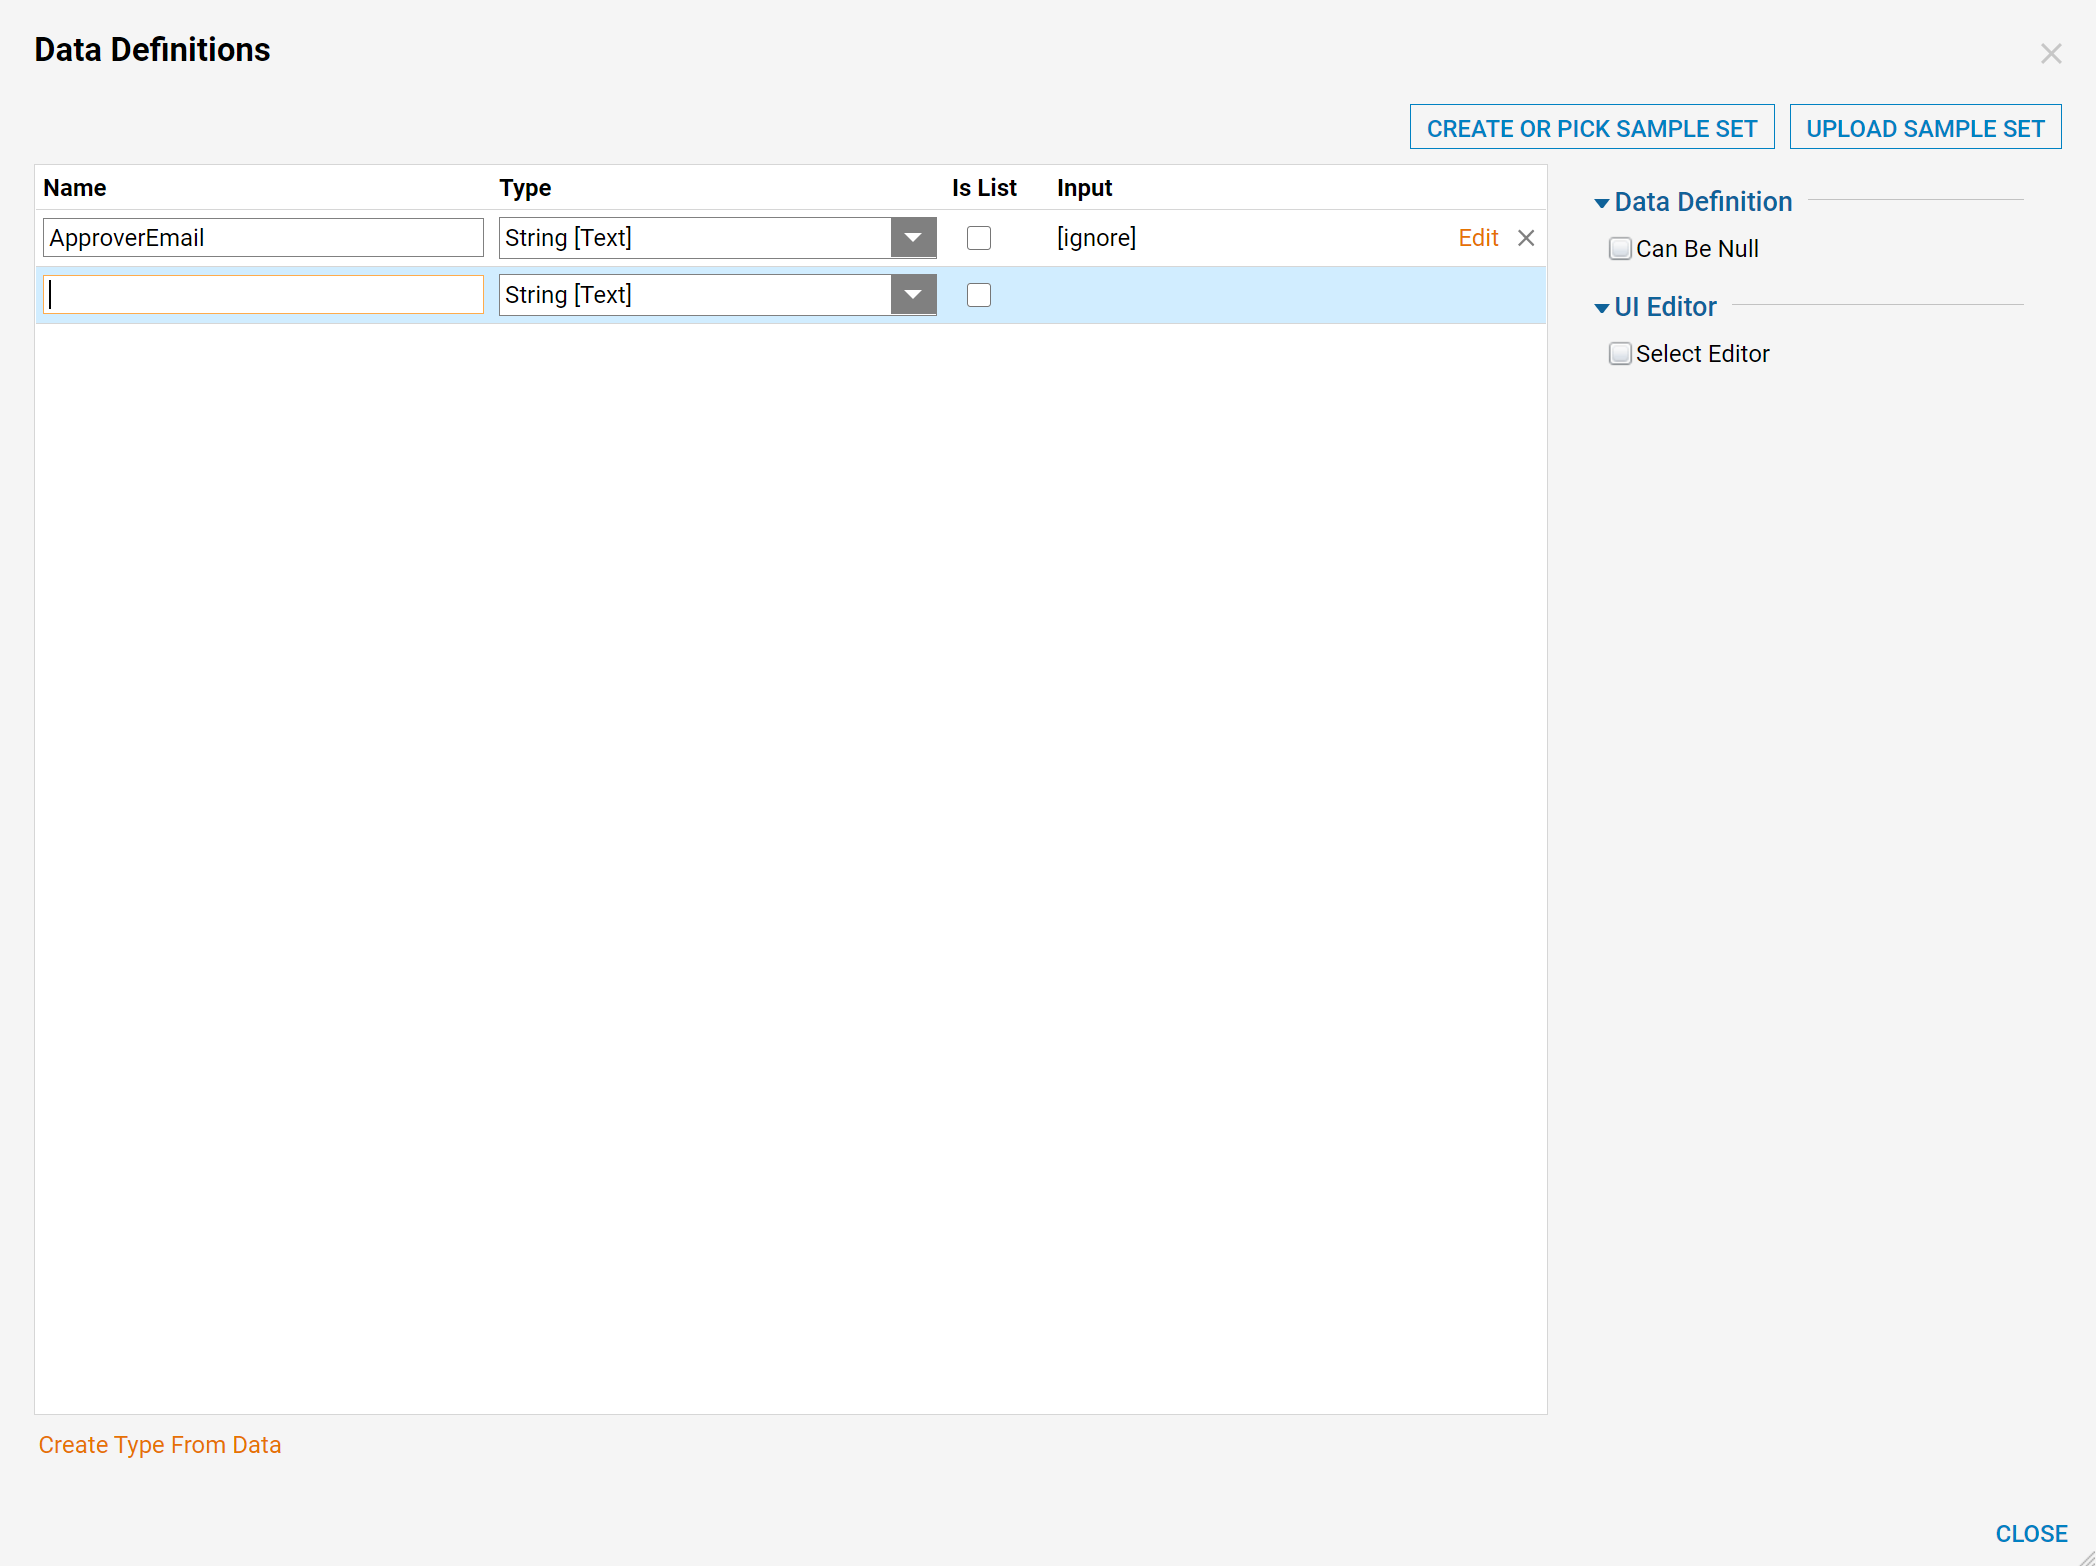
- Click SETUP INPUT DATA. In the Data Definitions window, Enter "ApproverEmail" under the Name field with a String [Text] Type. Click CLOSE to return to Rule Designer.
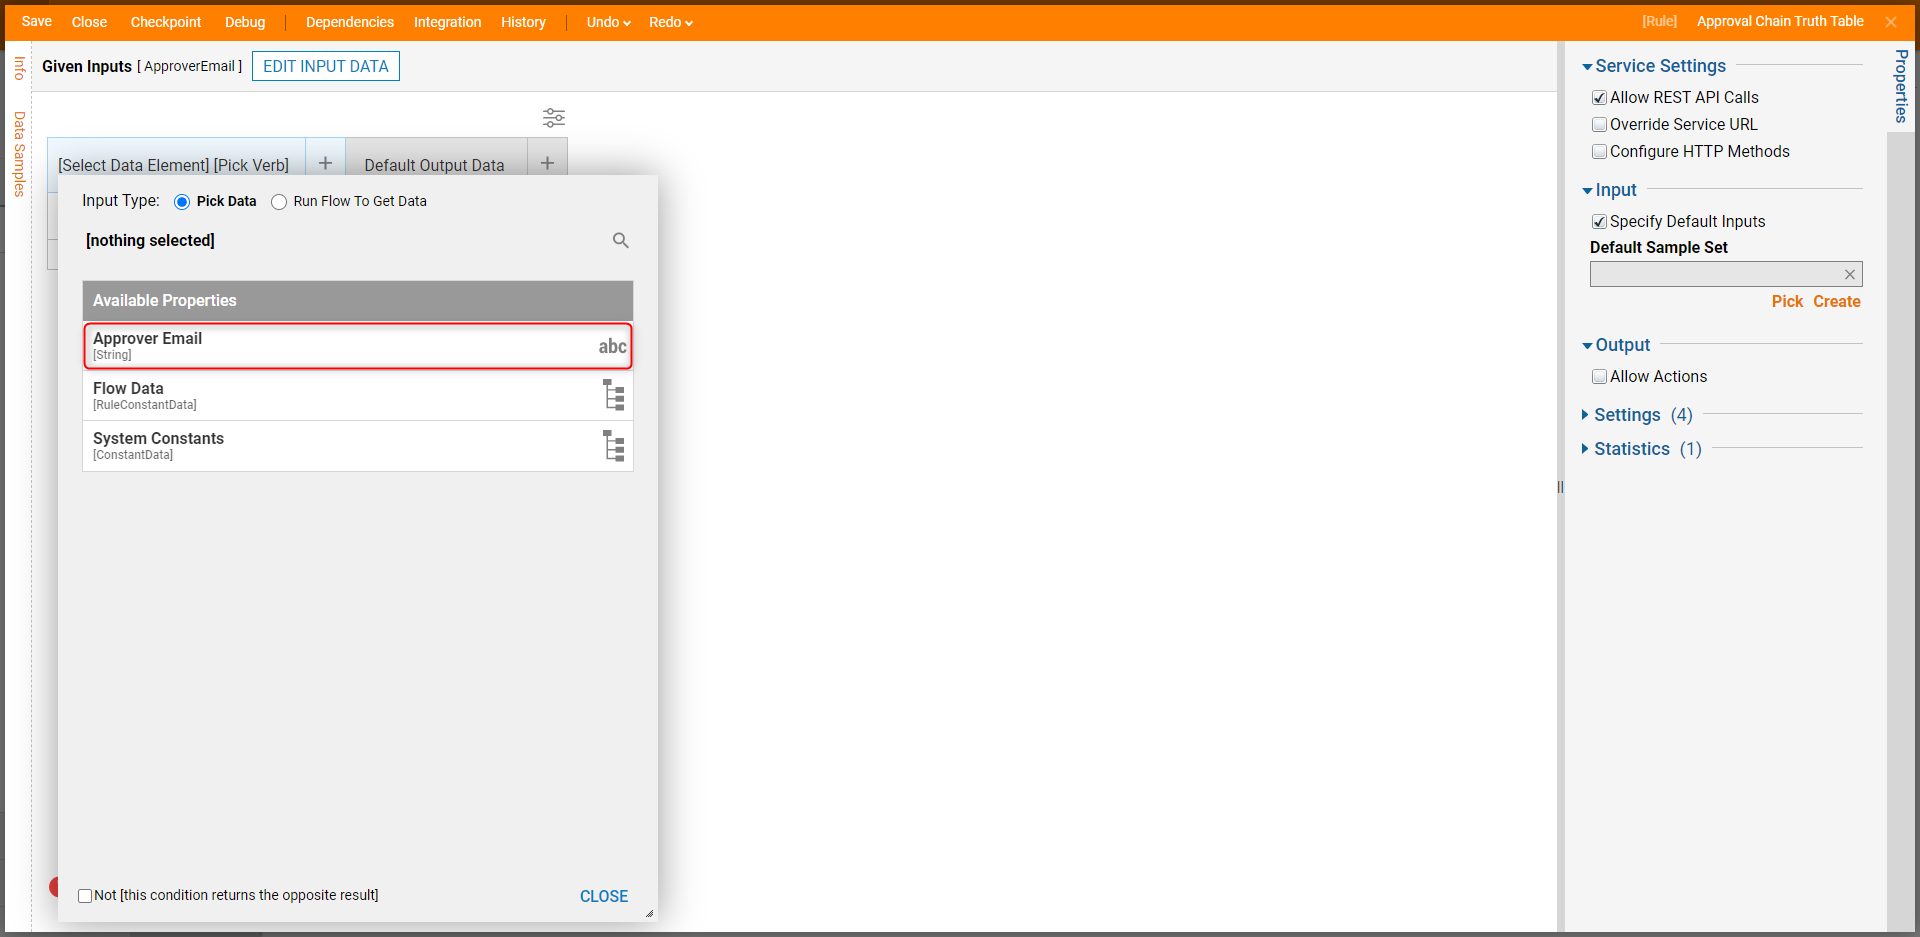
- Click [Select Data Element], select Approver Email, and click CLOSE.
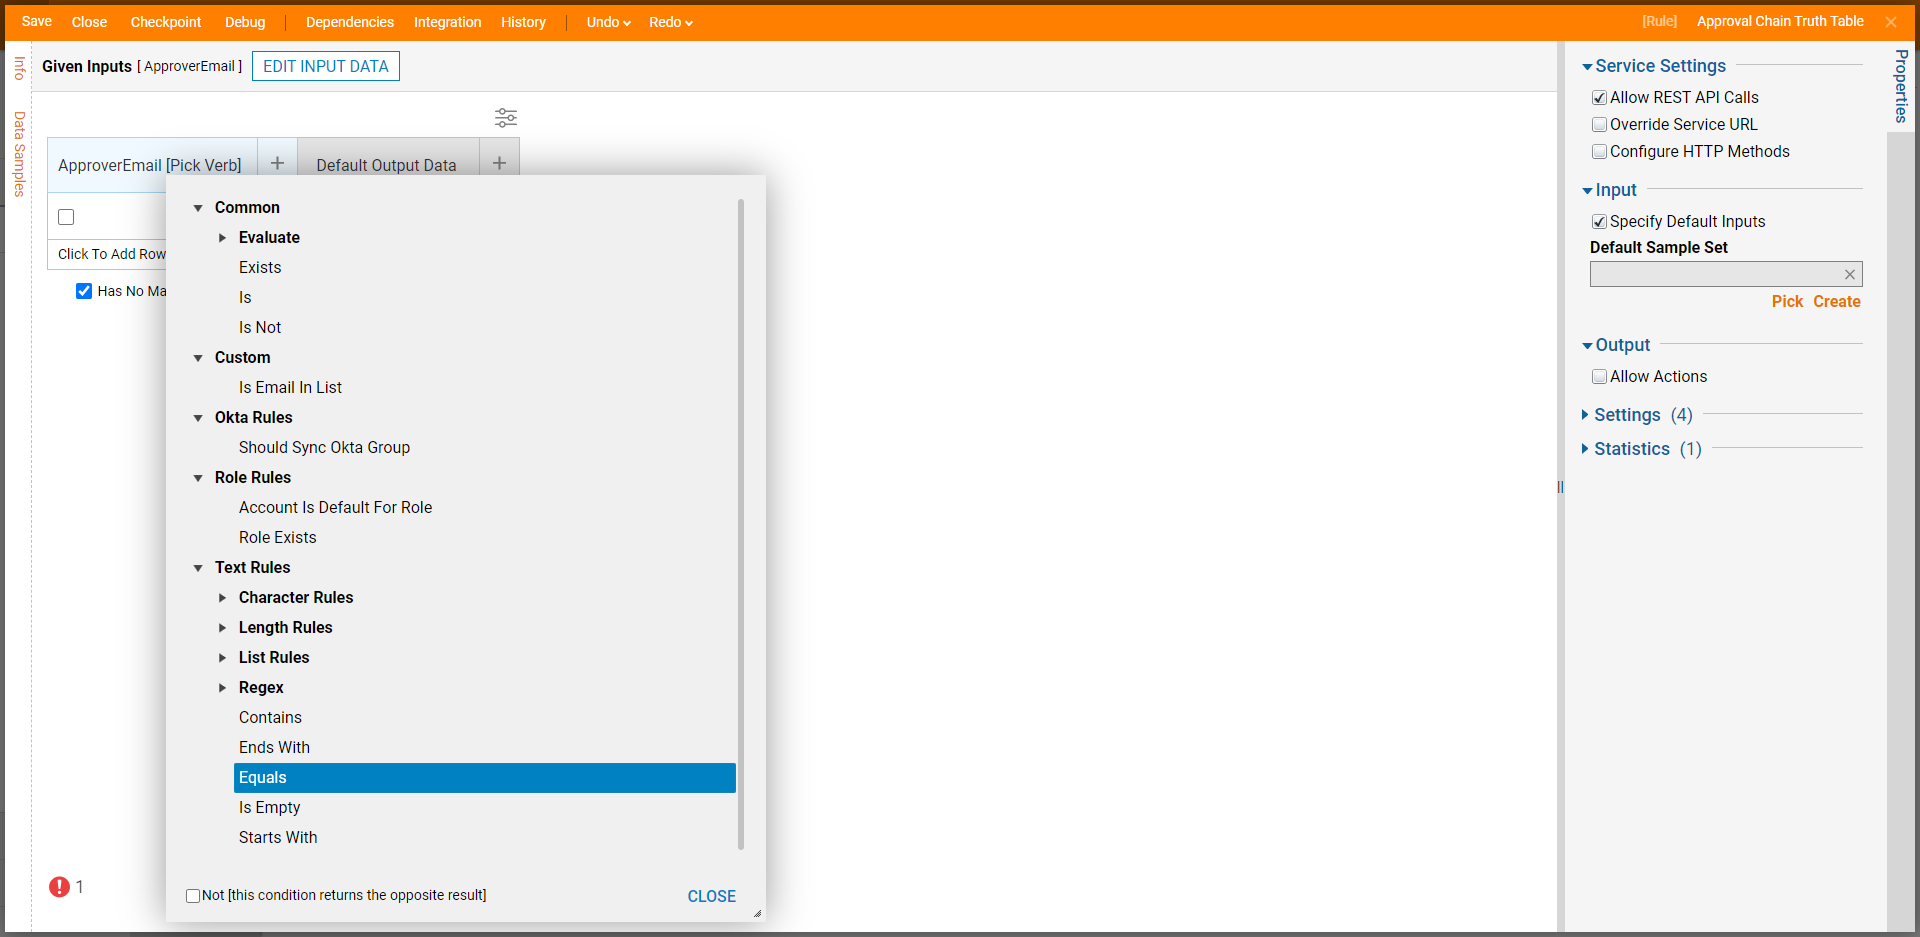
- On the [Pick Verb] window, select Equals from under the Text Rules category, and click CLOSE.
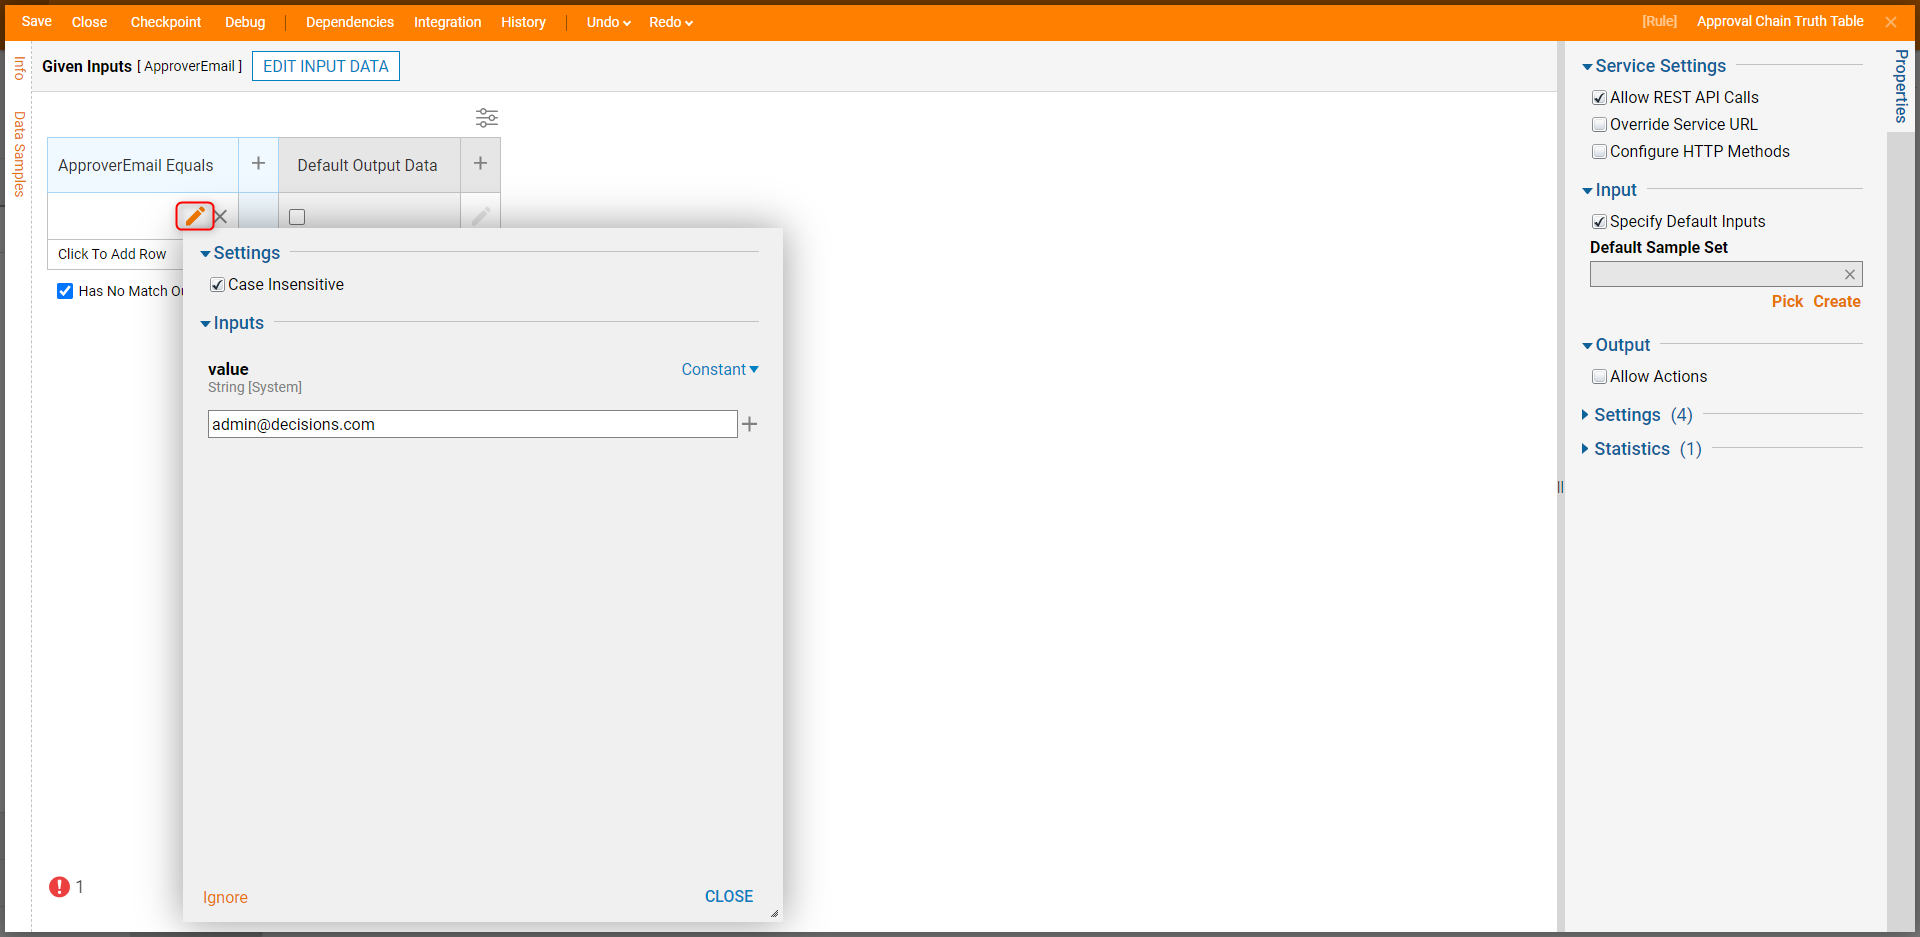
- Hover over the cell under the ApproverEmail Equals column and click the pencil icon. Enter an email account (admin@decisions.com) and click CLOSE.
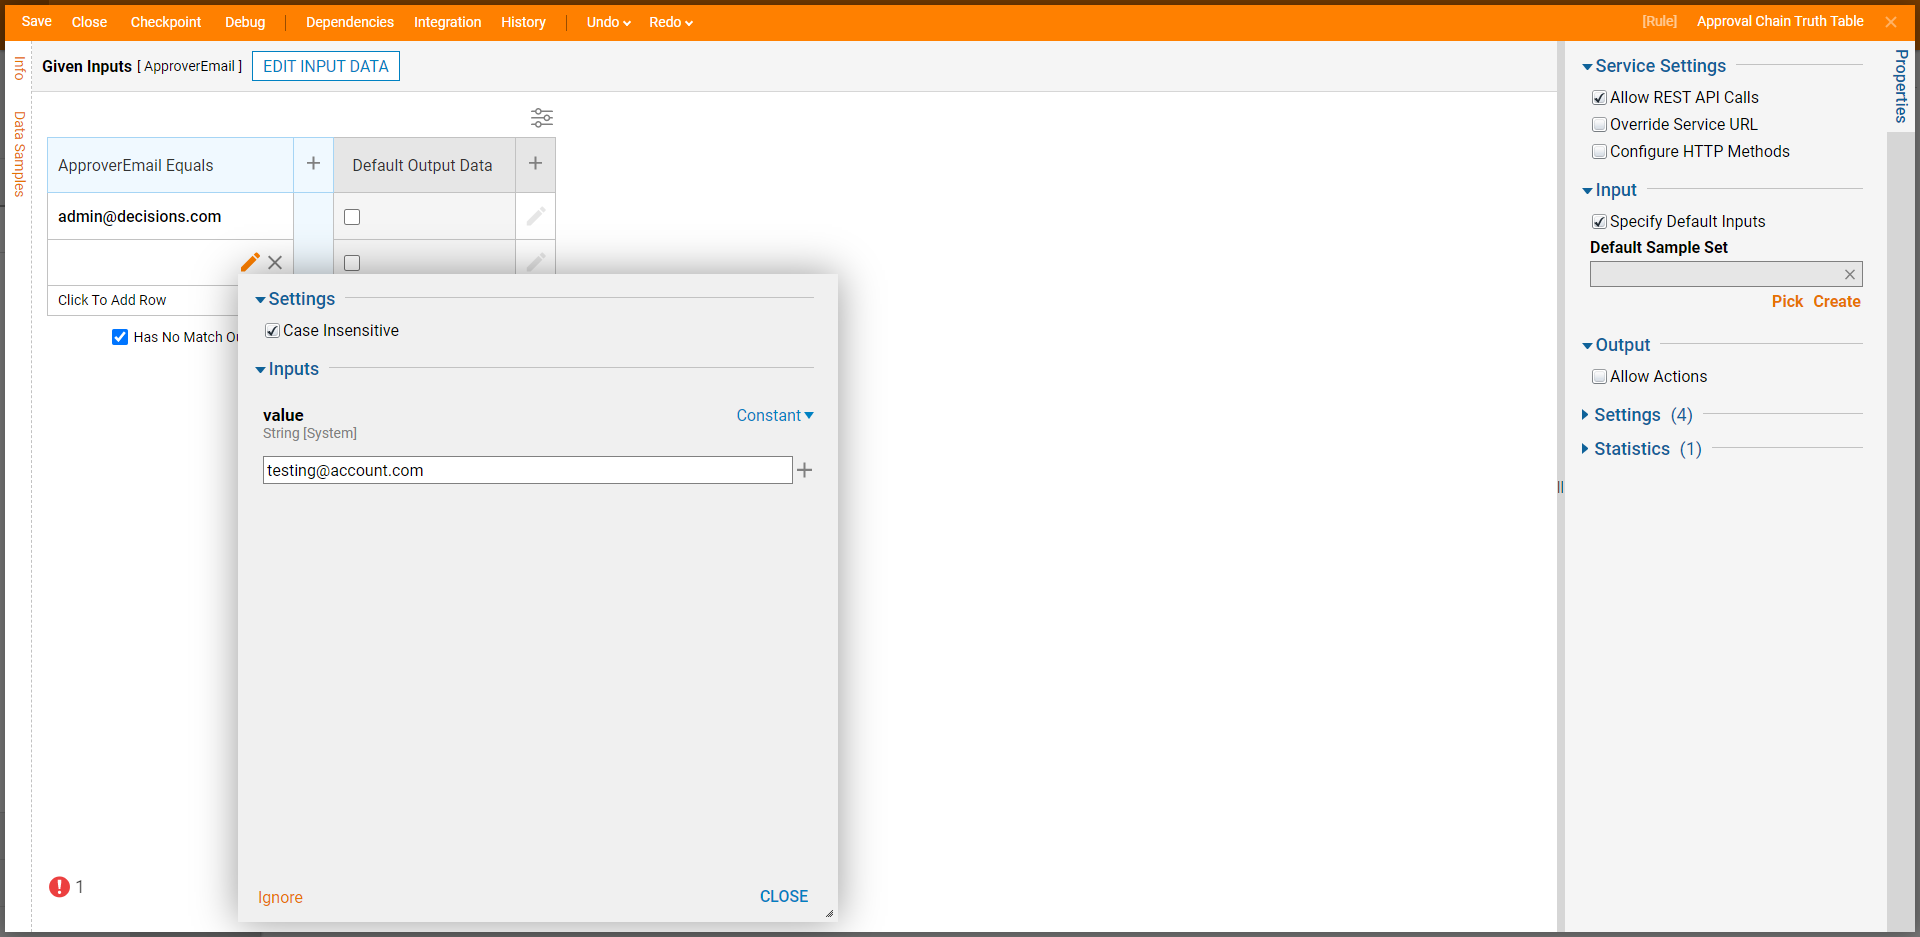
- Click Click To Add Row and enter another email account.
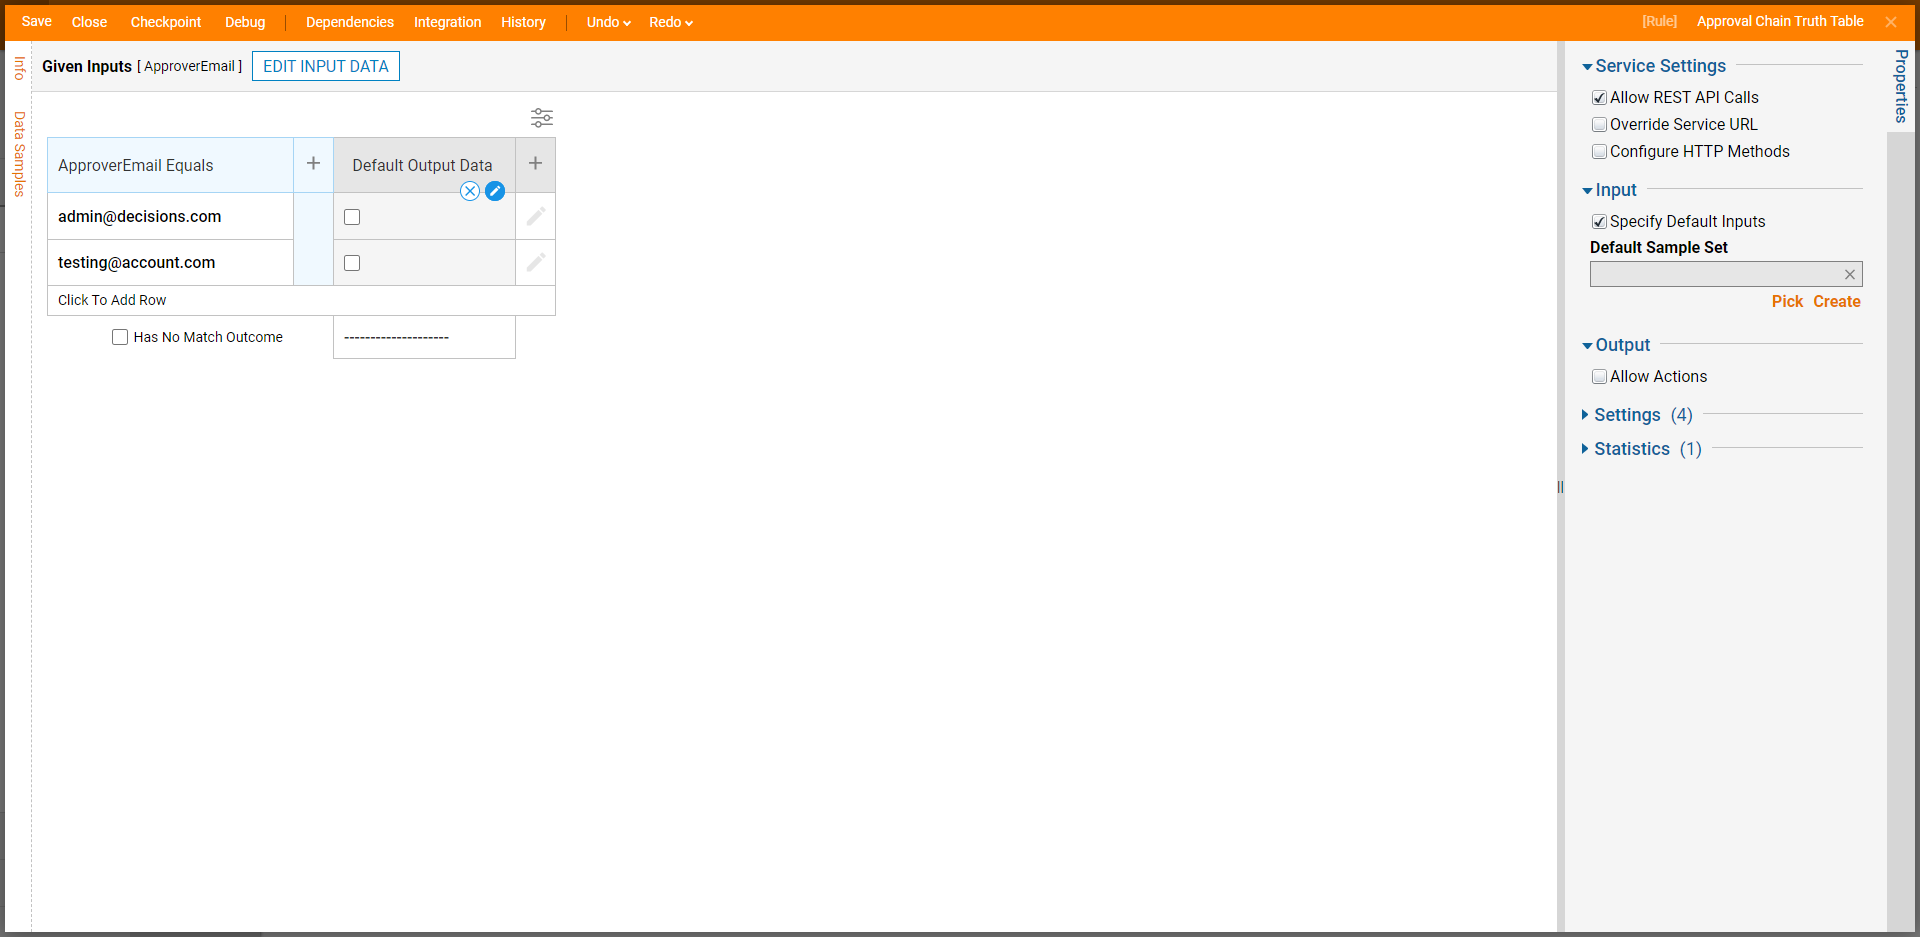
- Hover over the Default Output Data column and click the pencil icon.
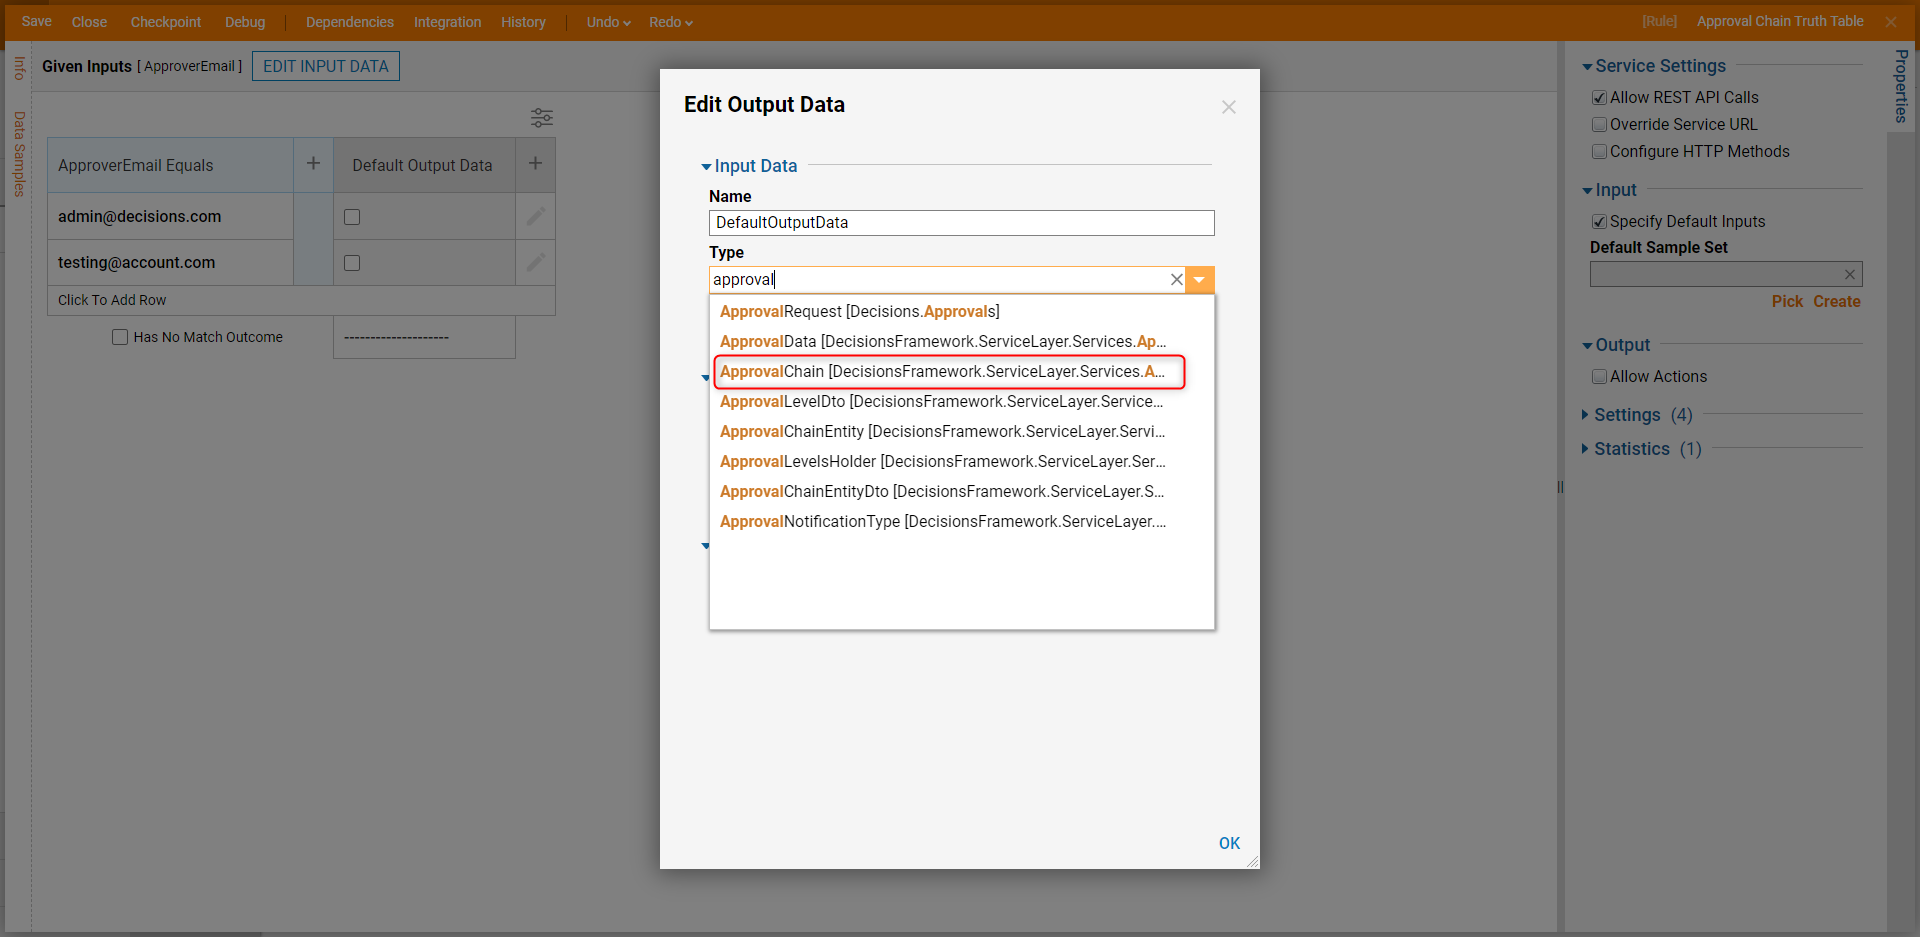
- In the Edit Output Data window, enter "approval" in the Type field and select ApprovalChain [DecisionsFrameWork.ServiceLayer.Services...]. Click OK.
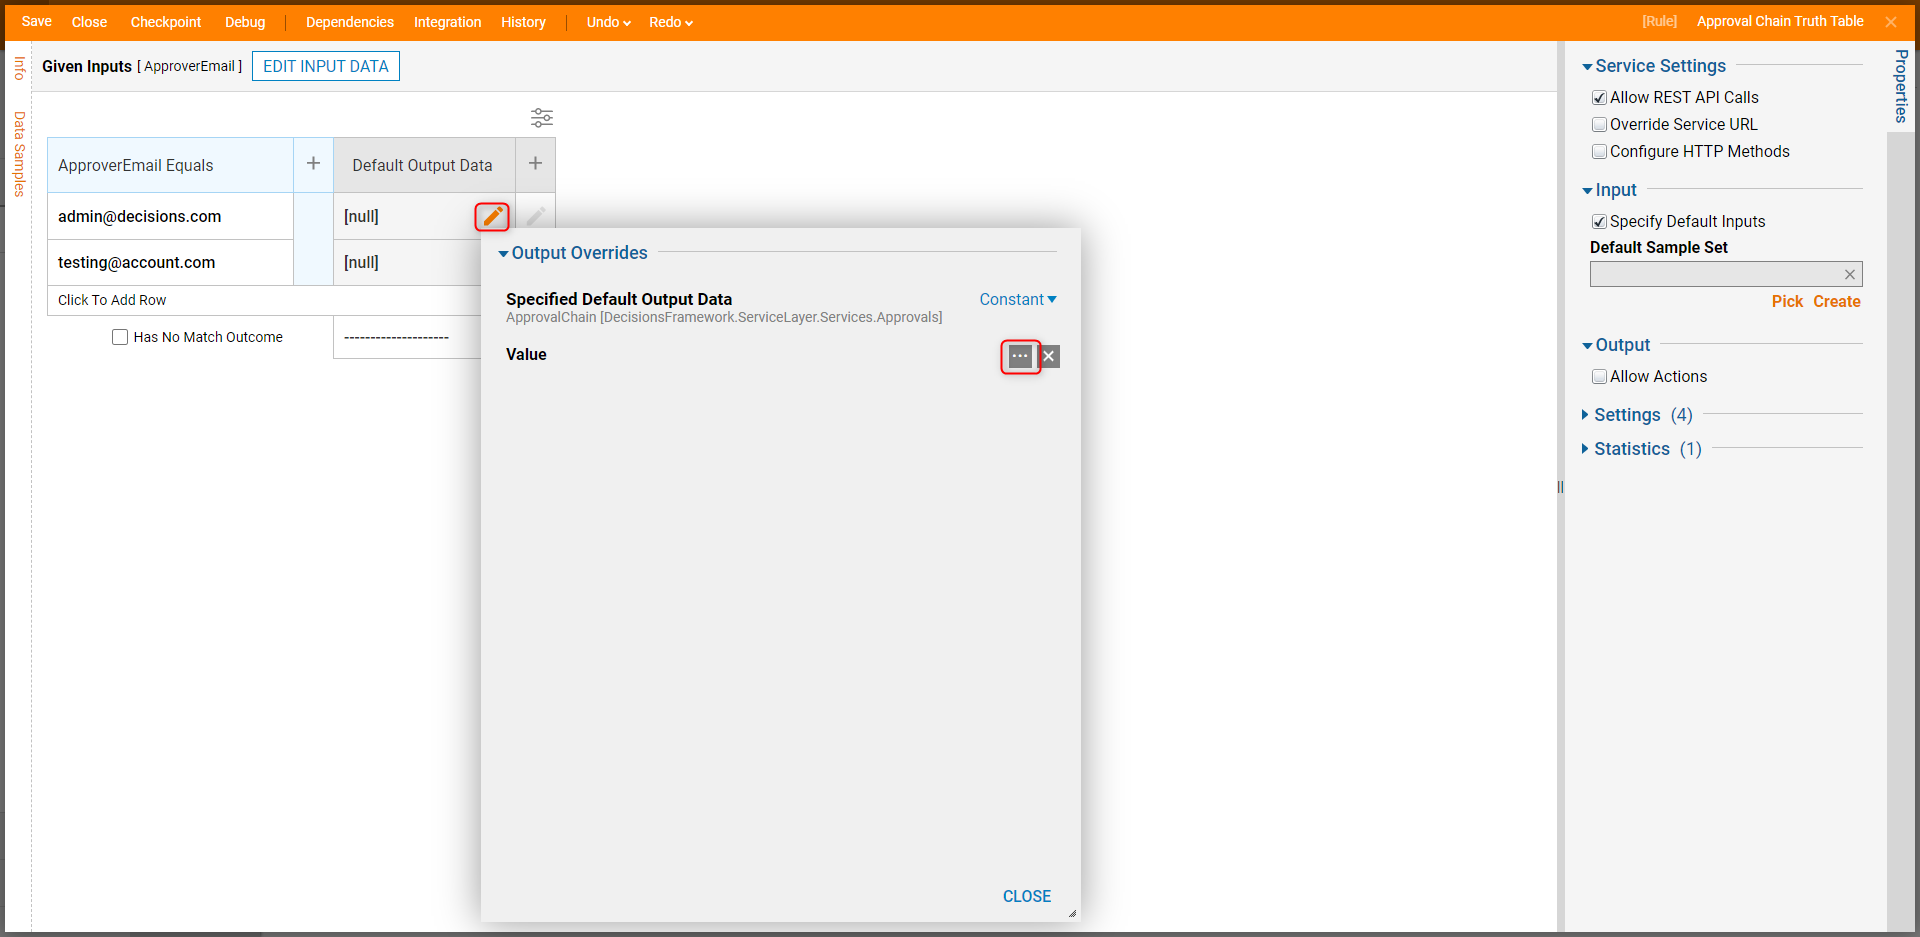
- Hover over the cell under Default Output Data, and click the pencil icon. Click the ellipses next to the Value field.
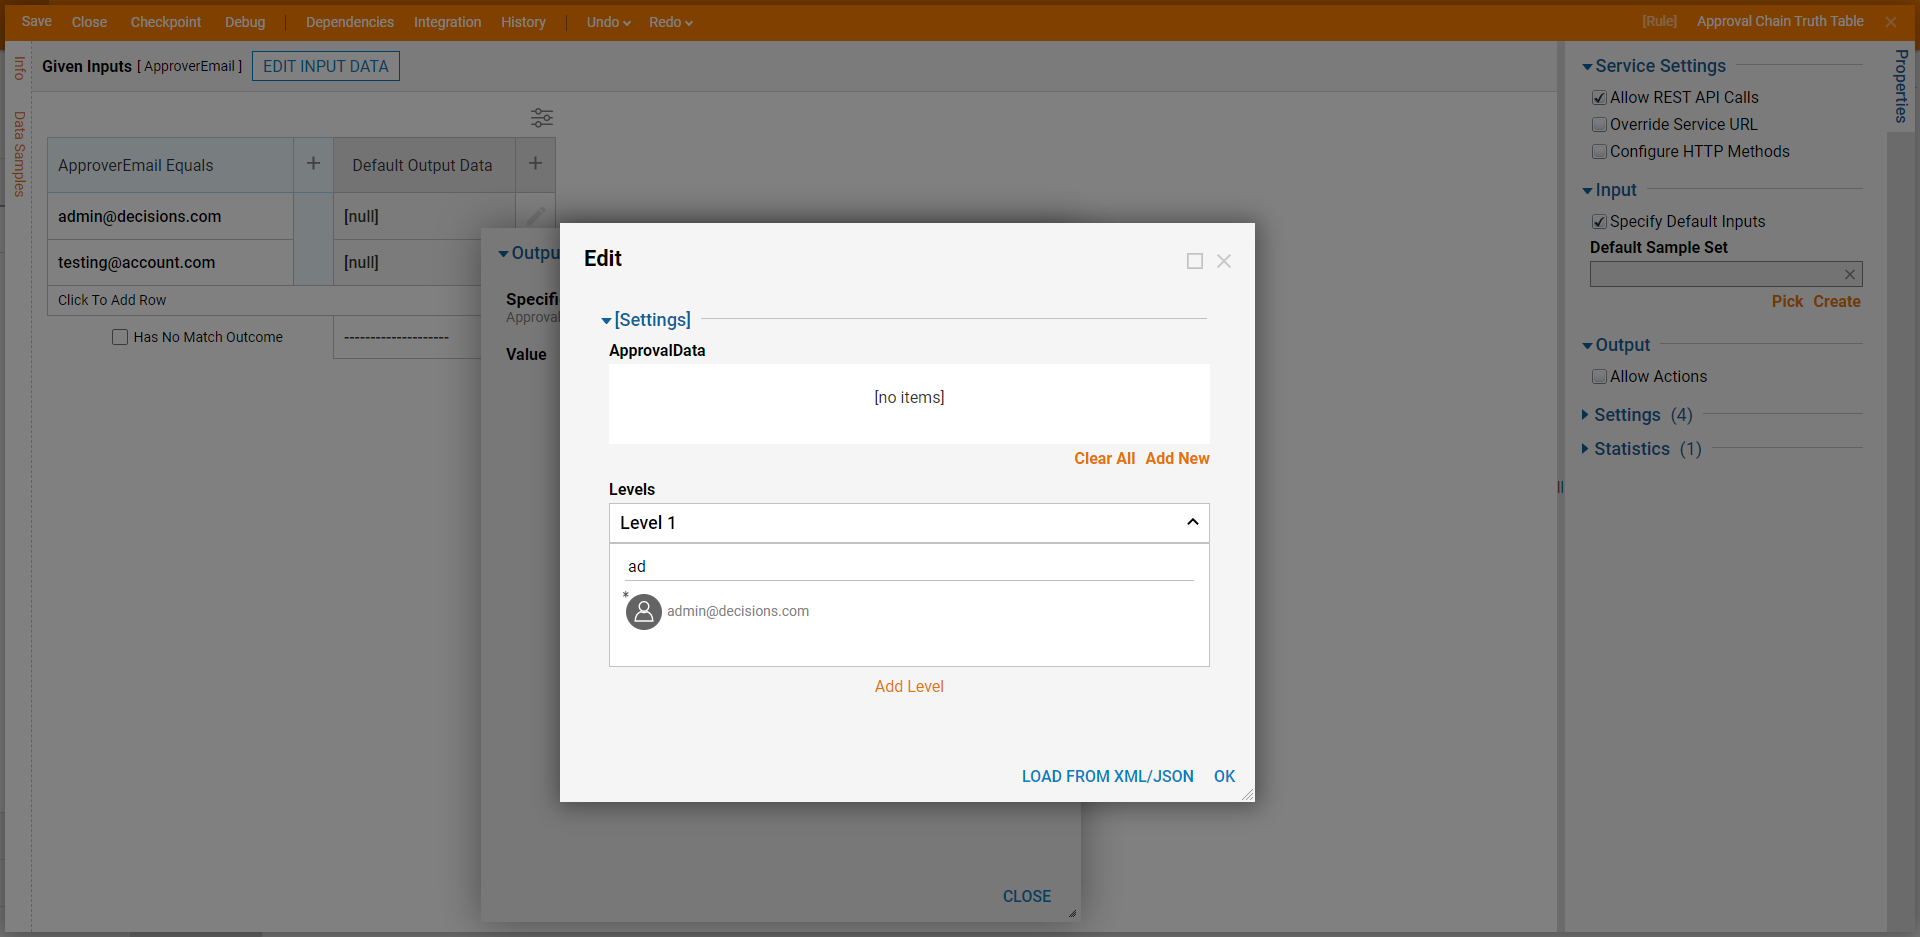
- Enter "admin@decisions.com" to the first level of approvers. Decisions will try to auto-complete the name based on accounts that exist within Decisions. When the account or group appears in the auto-complete, select it and click OK. Then, click CLOSE.
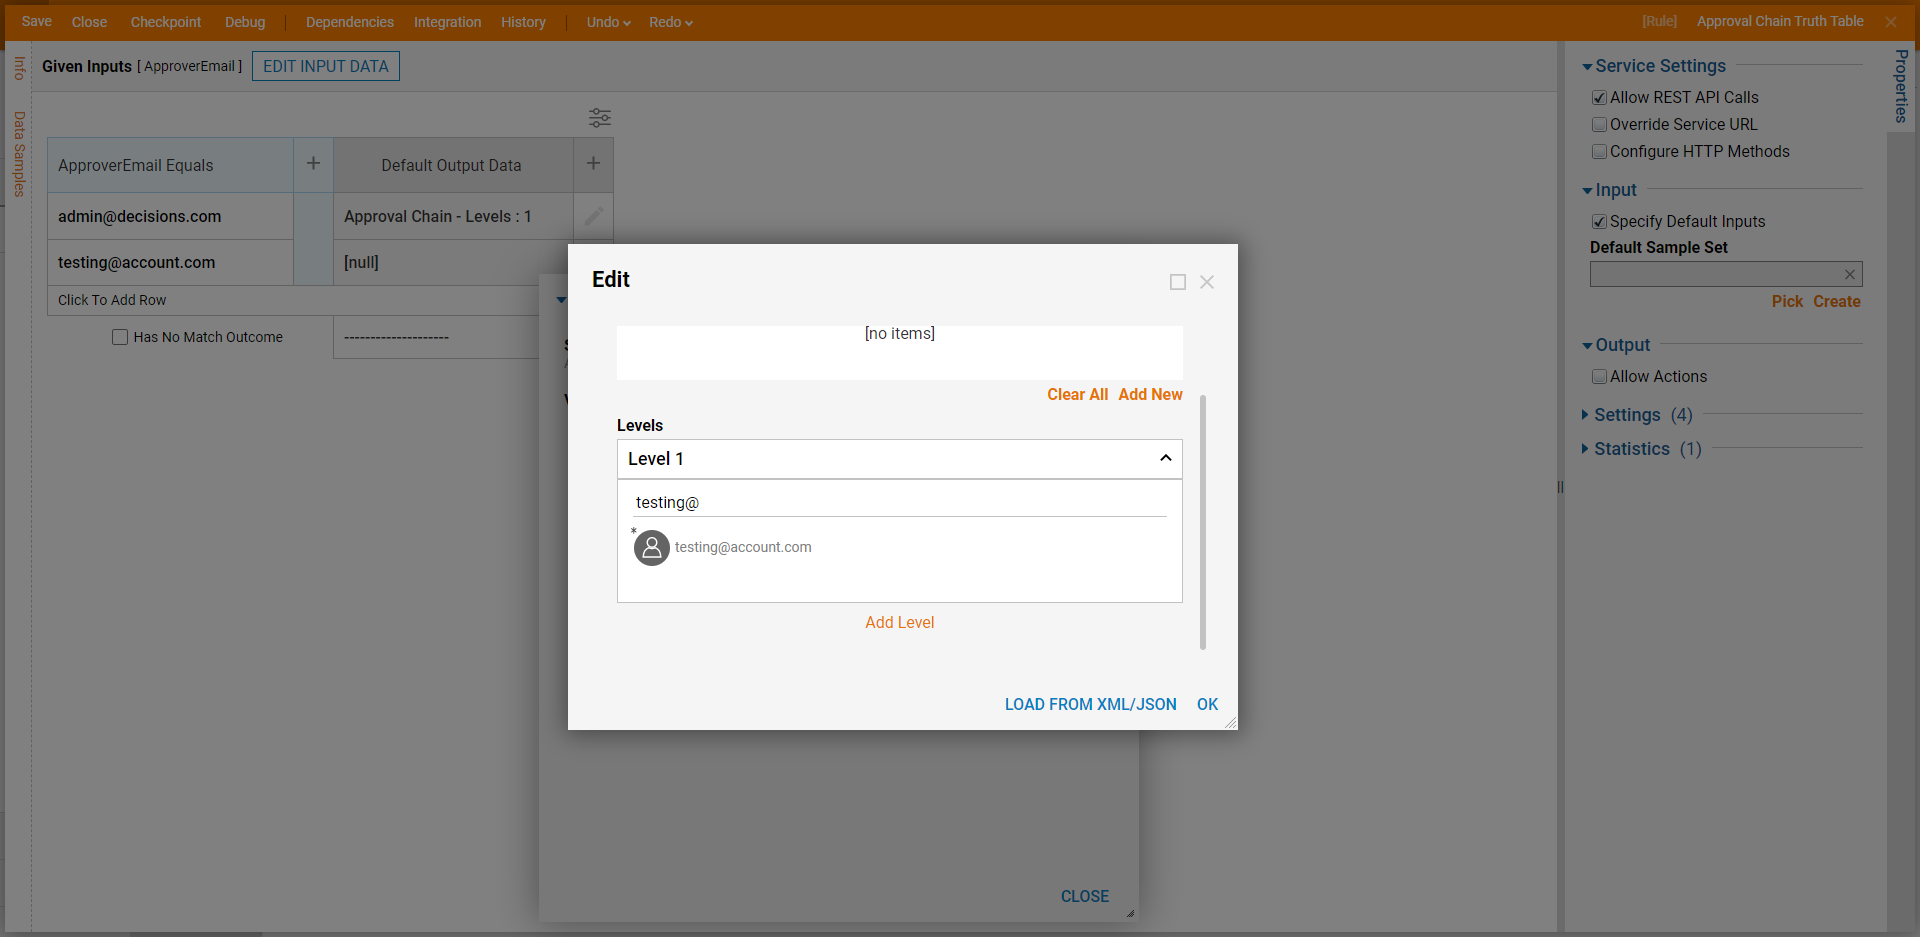
- Add a Constant Approval Chain for the second Approver email.
- Click Save to save changes and close the Rule Designer.
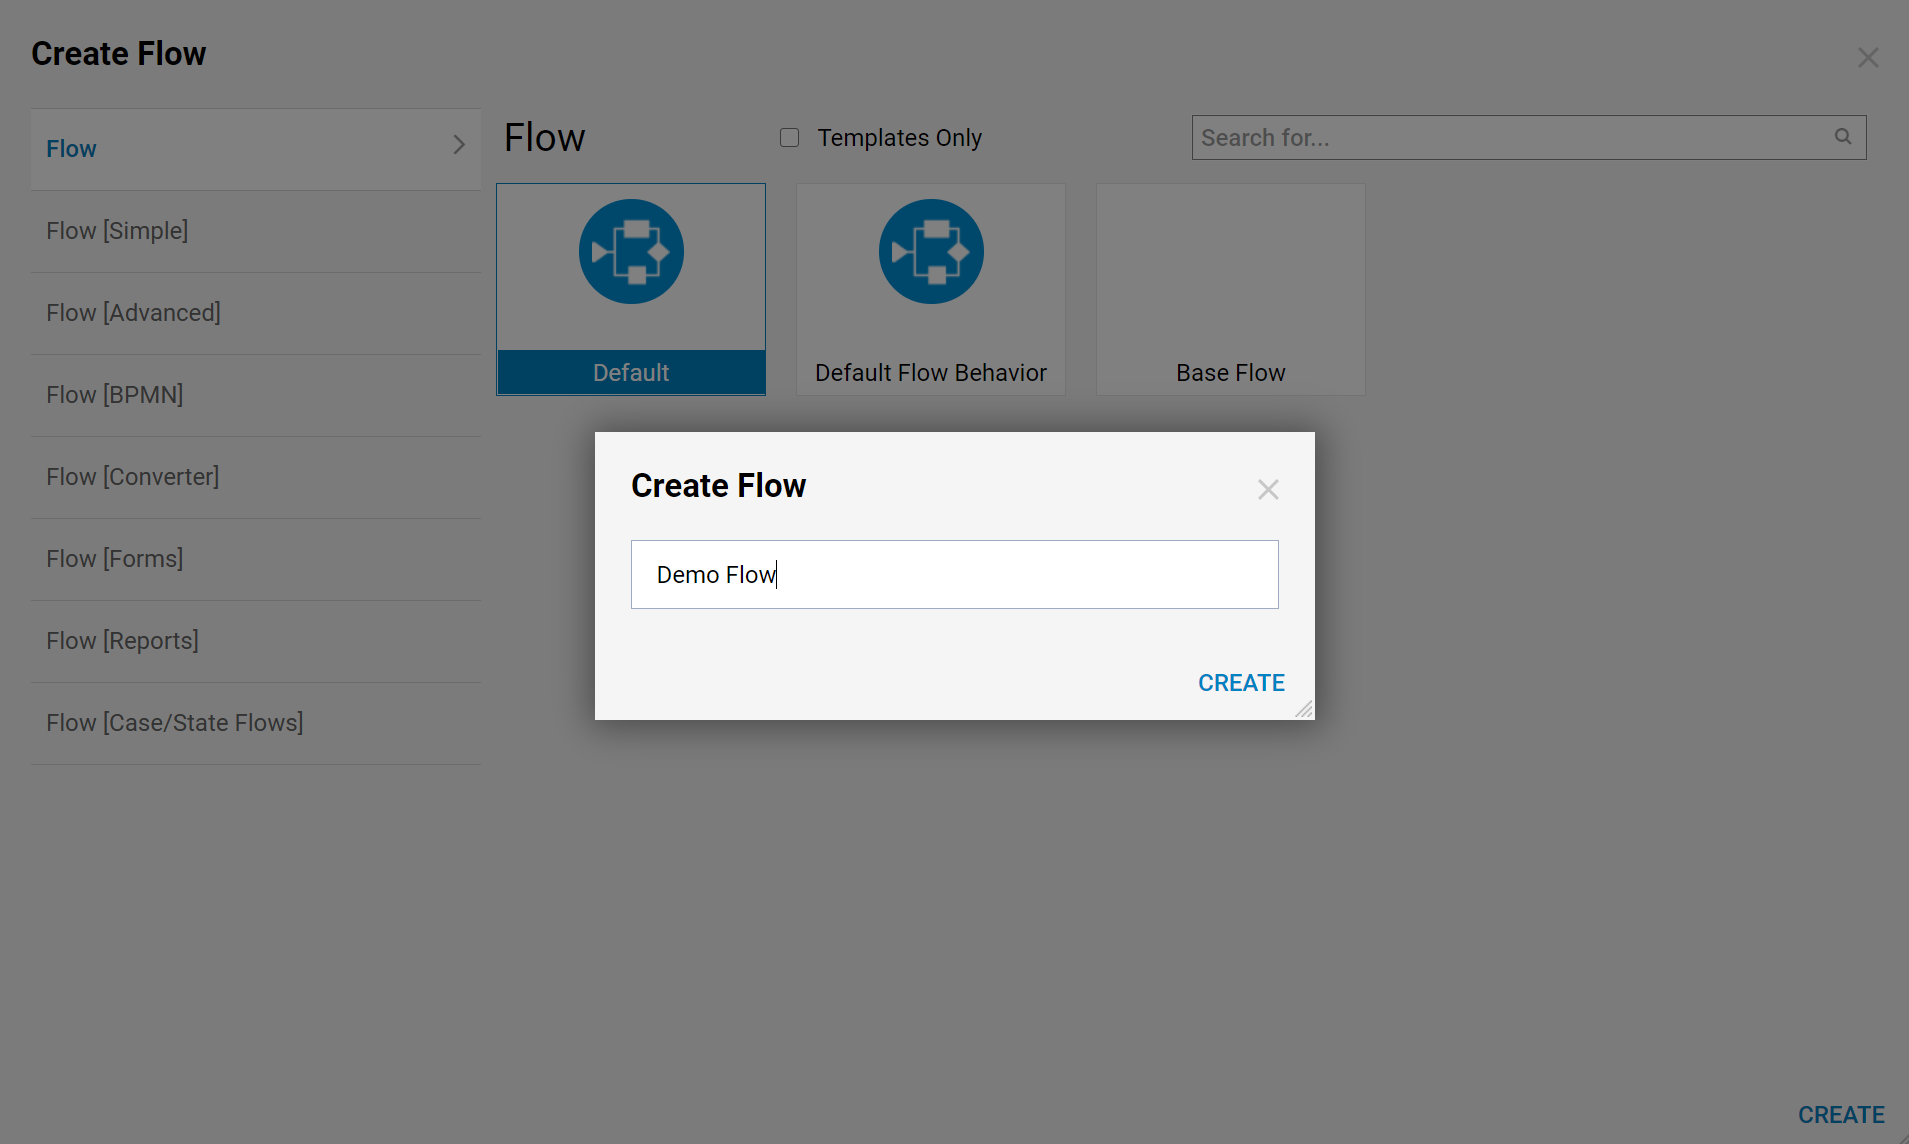
- In the Designer Project, click CREATE FLOW. Select Default and click CREATE. Name the Flow and click CREATE.
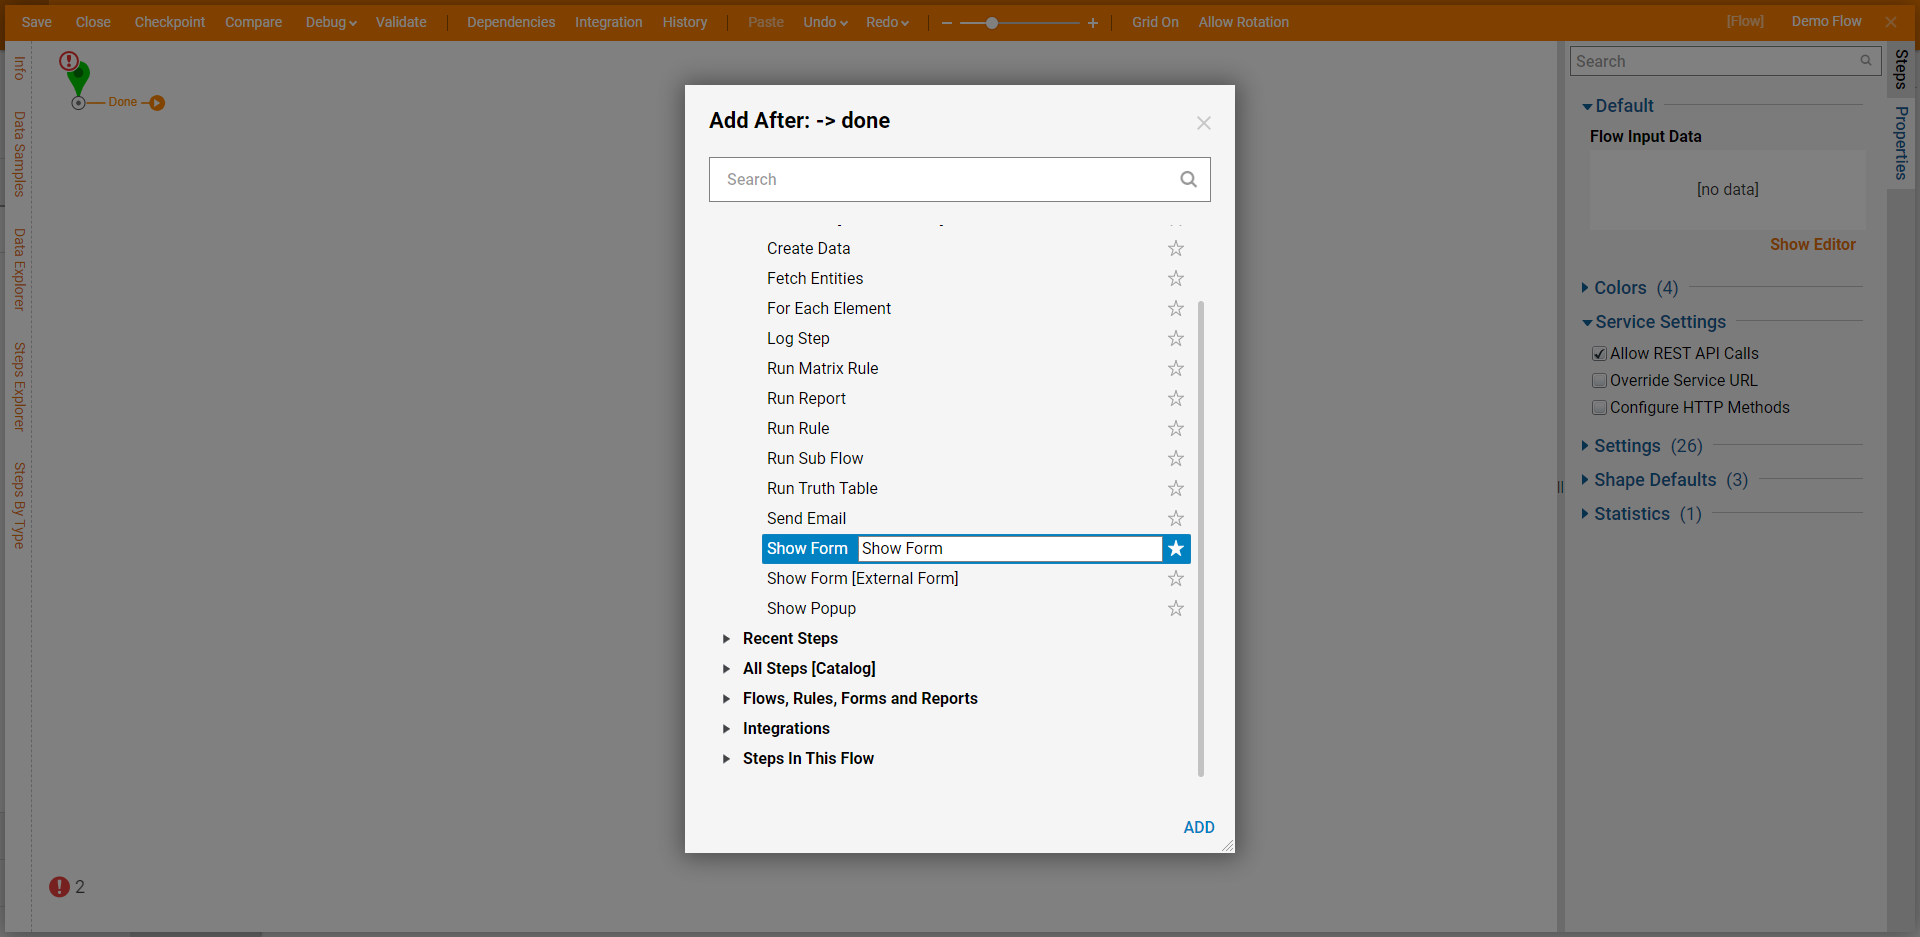
- Click the Done path on the Start step. Select the Show Form step and click ADD.
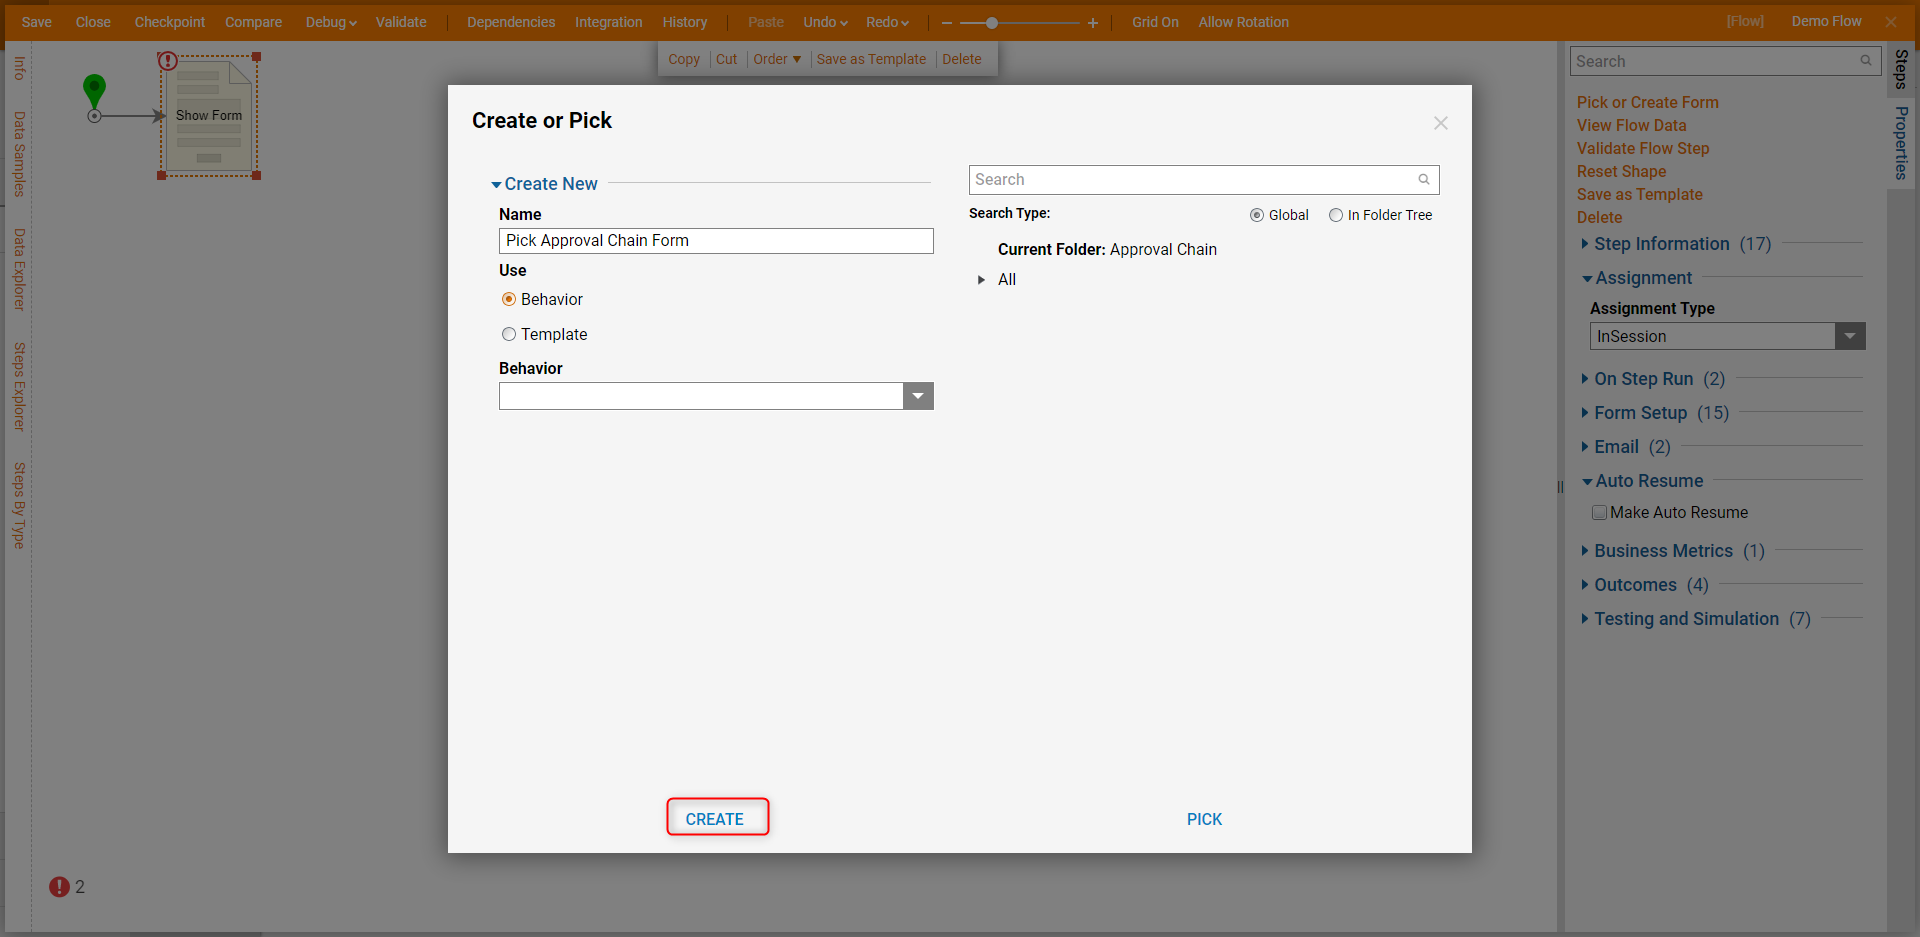
- Click Pick or Create Form on the Properties panel, enter a name for the Form and click CREATE.
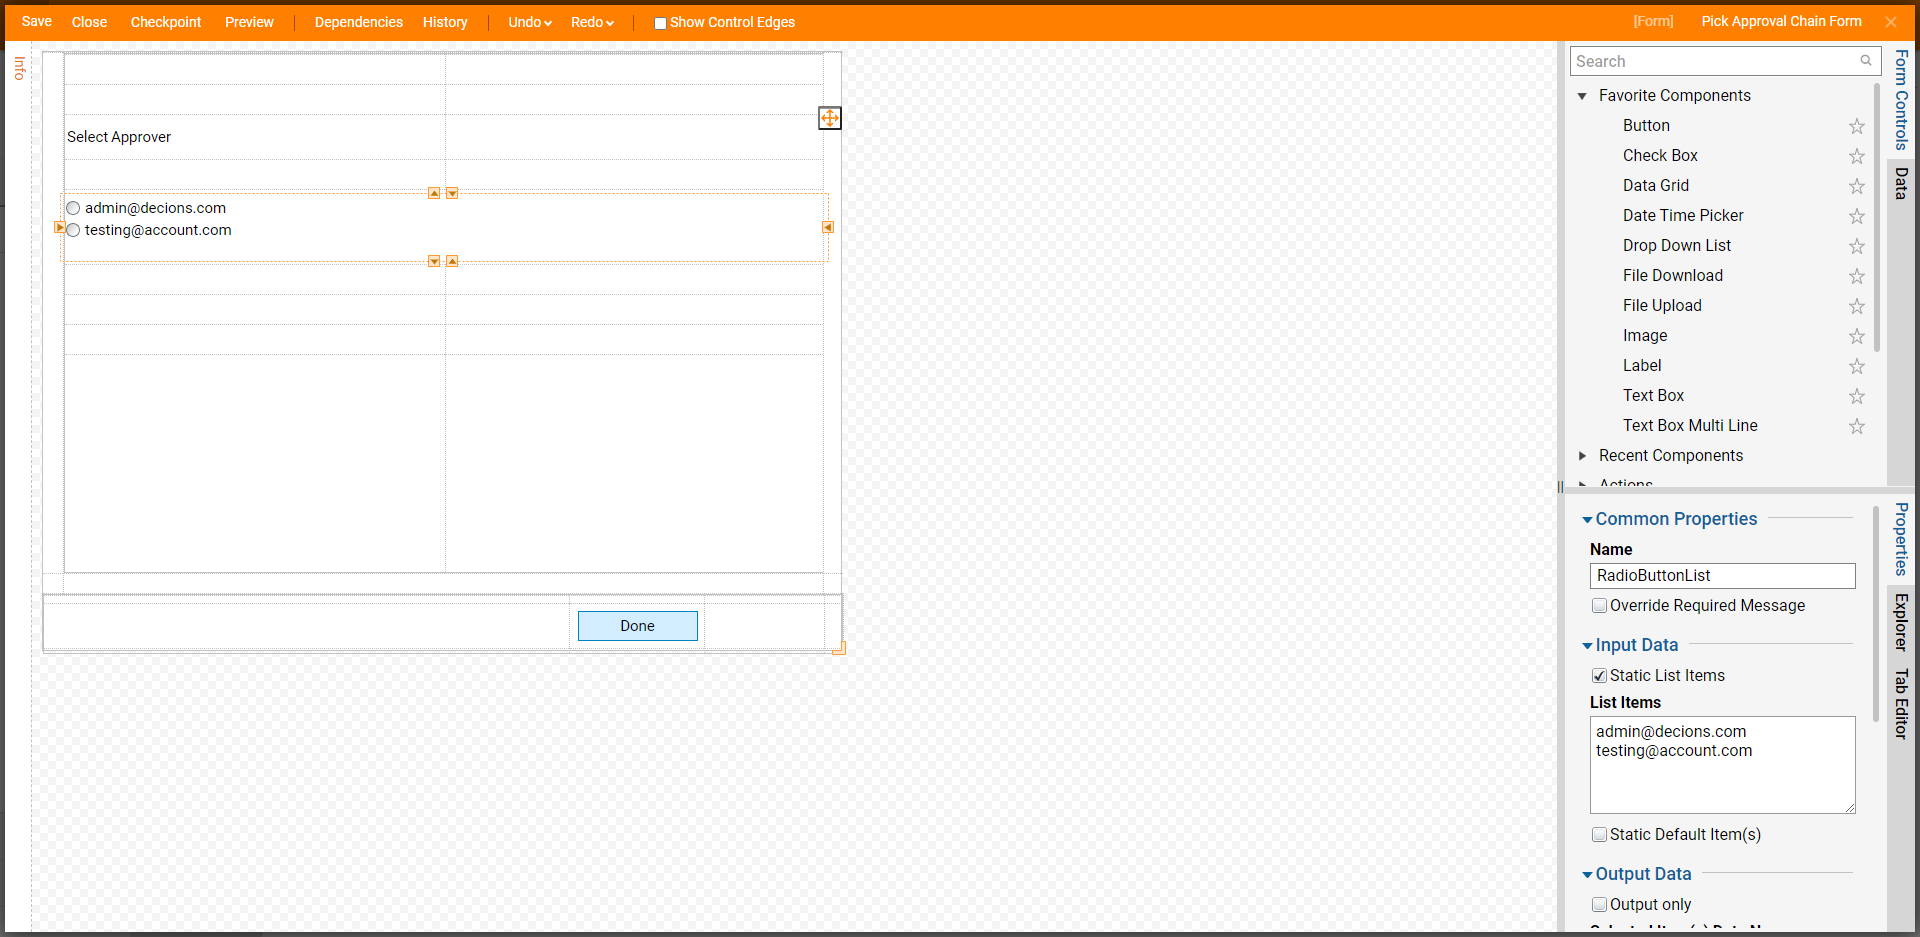
- Configure the Form with a Label, Radio Button List that represents the two options for the Truth Table, and a Button. Select the Radio Button component and enter "ApproverEmail" in the Selected Item(s) Data Name field. When finished designing the Form, save the Form and close the Form Designer.
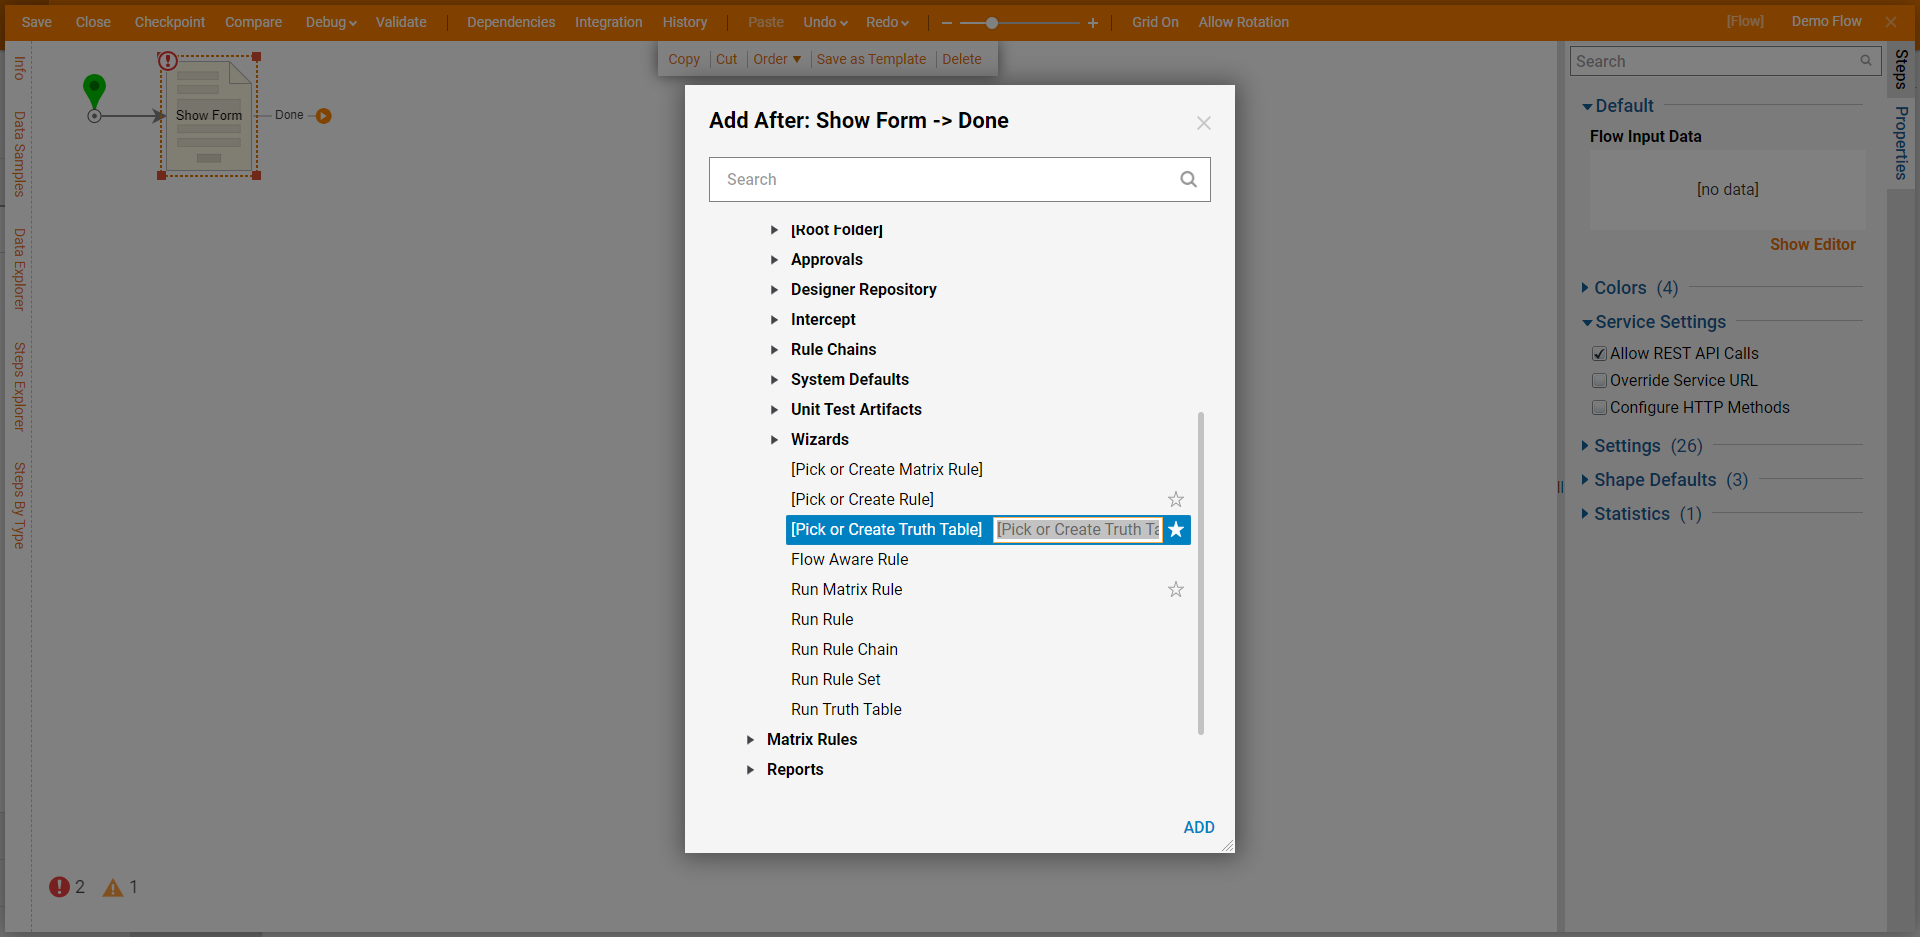
- Click the Done path on the Show Form. Navigate to Flows, Rules, Forms, and Reports > Rules and select [Pick or Create Truth Table]. Click ADD.
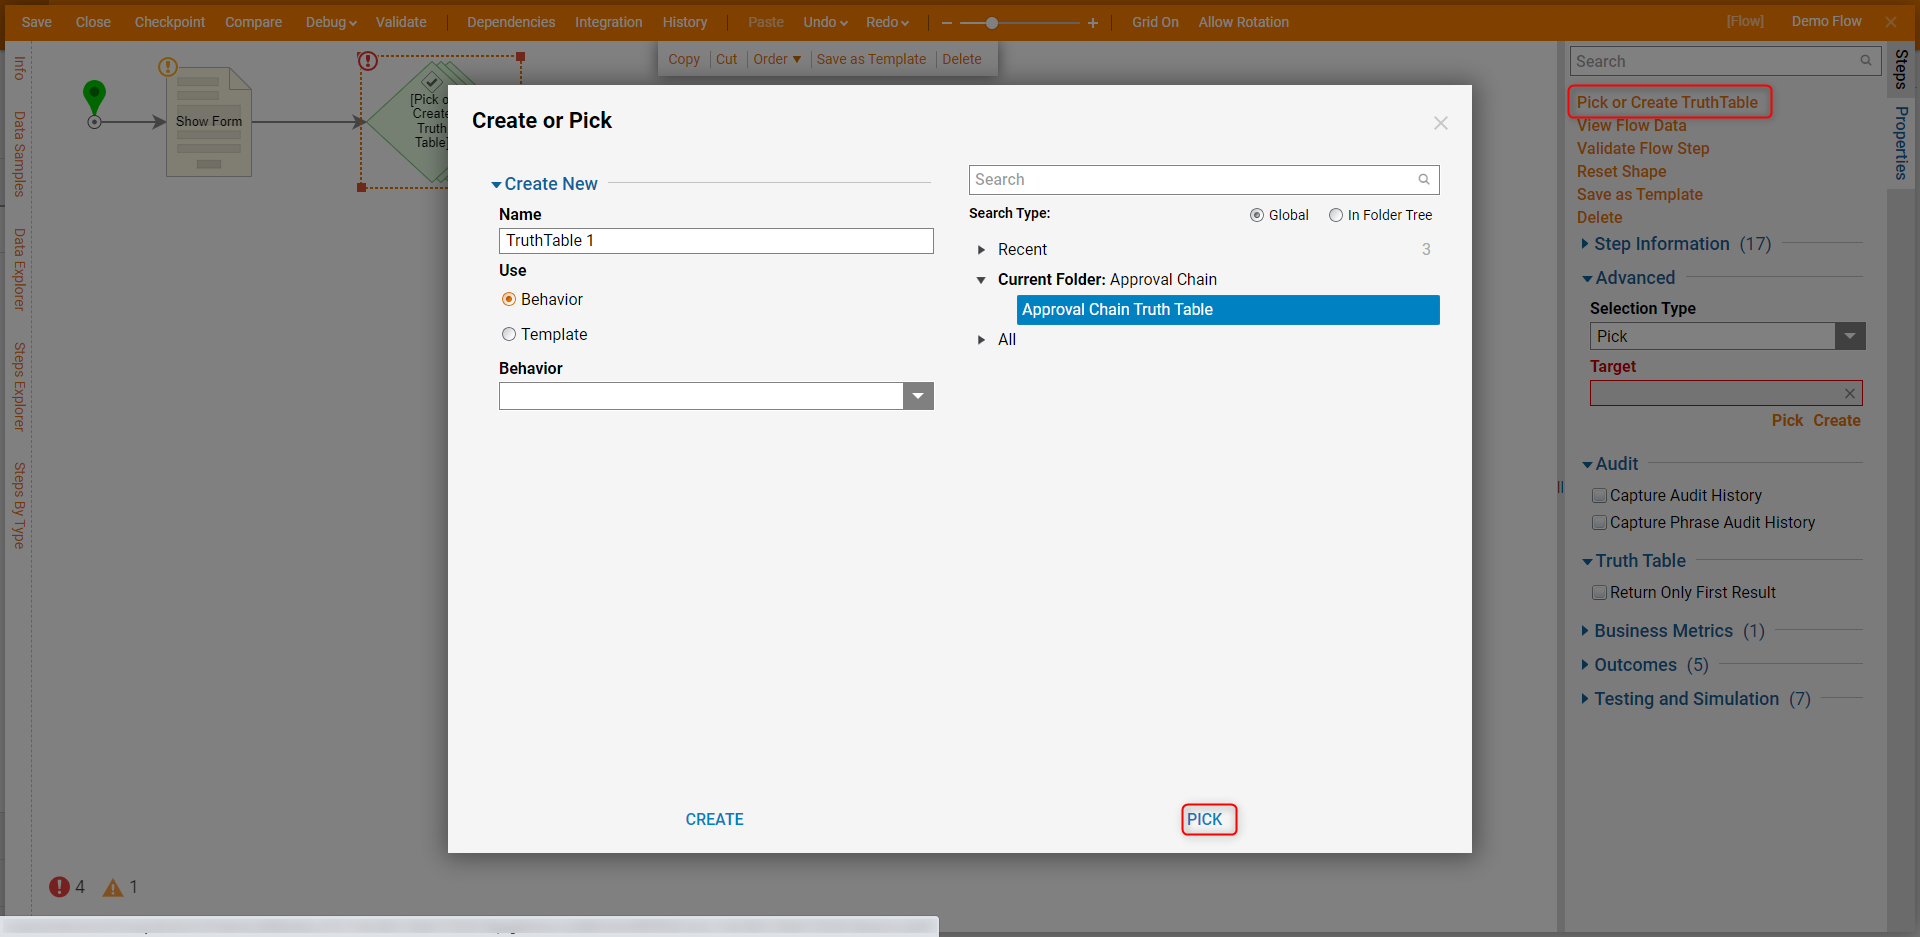
- Click Pick or Create TruthTable from the Properties panel. Select the Truth Table created and select PICK.
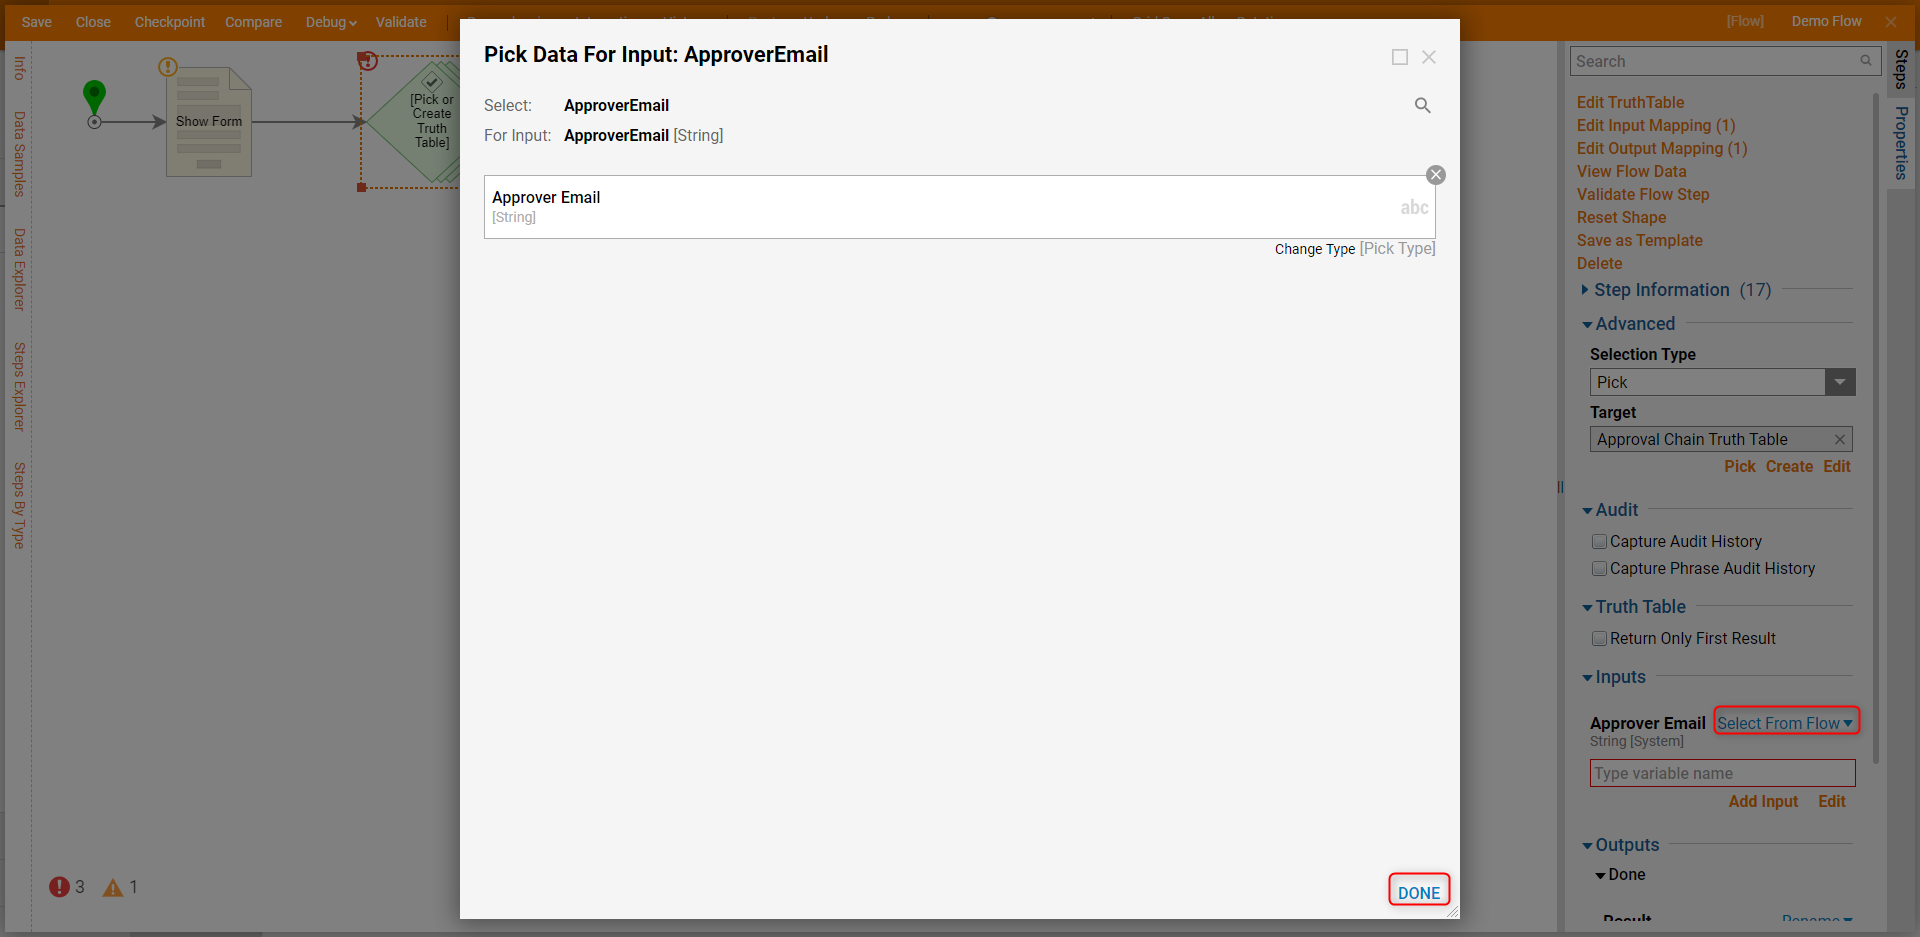
- Under the Inputs category on the Properties panel, select Unknown next to the Approver Email field and click Select From Flow. Select Approver Email and click DONE.
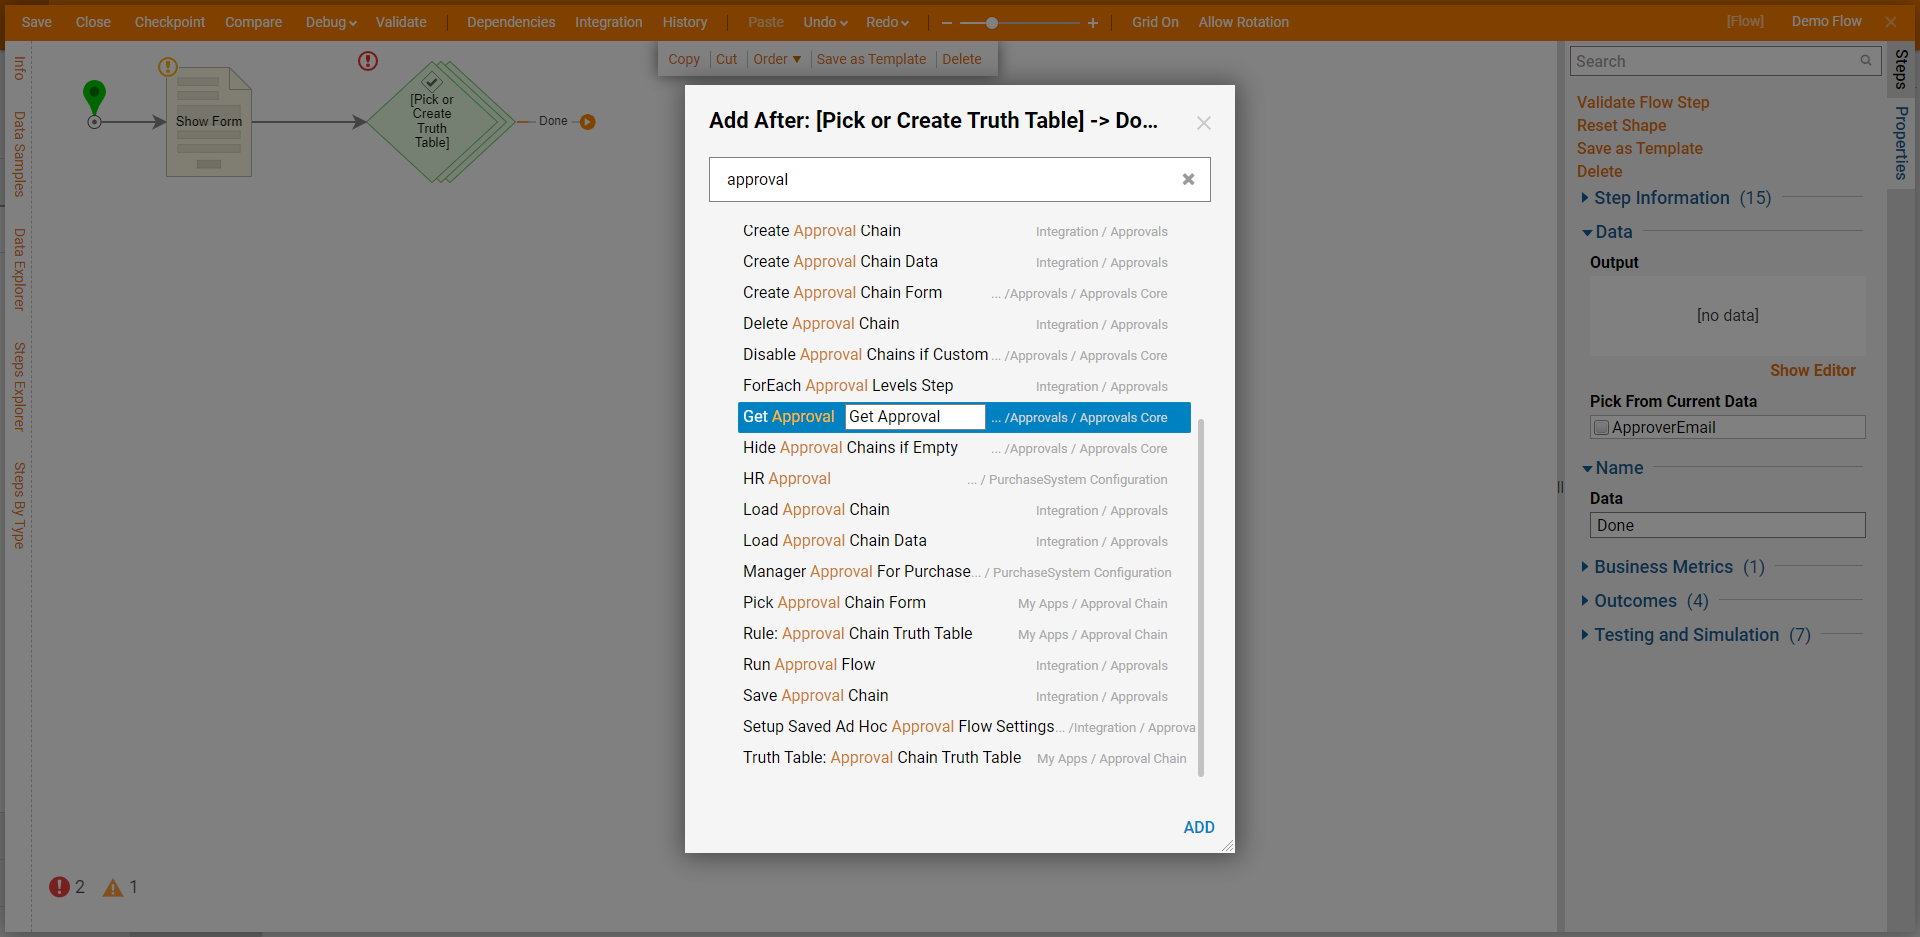
- Next, add the Get Approval step by entering "approval" in the search box.
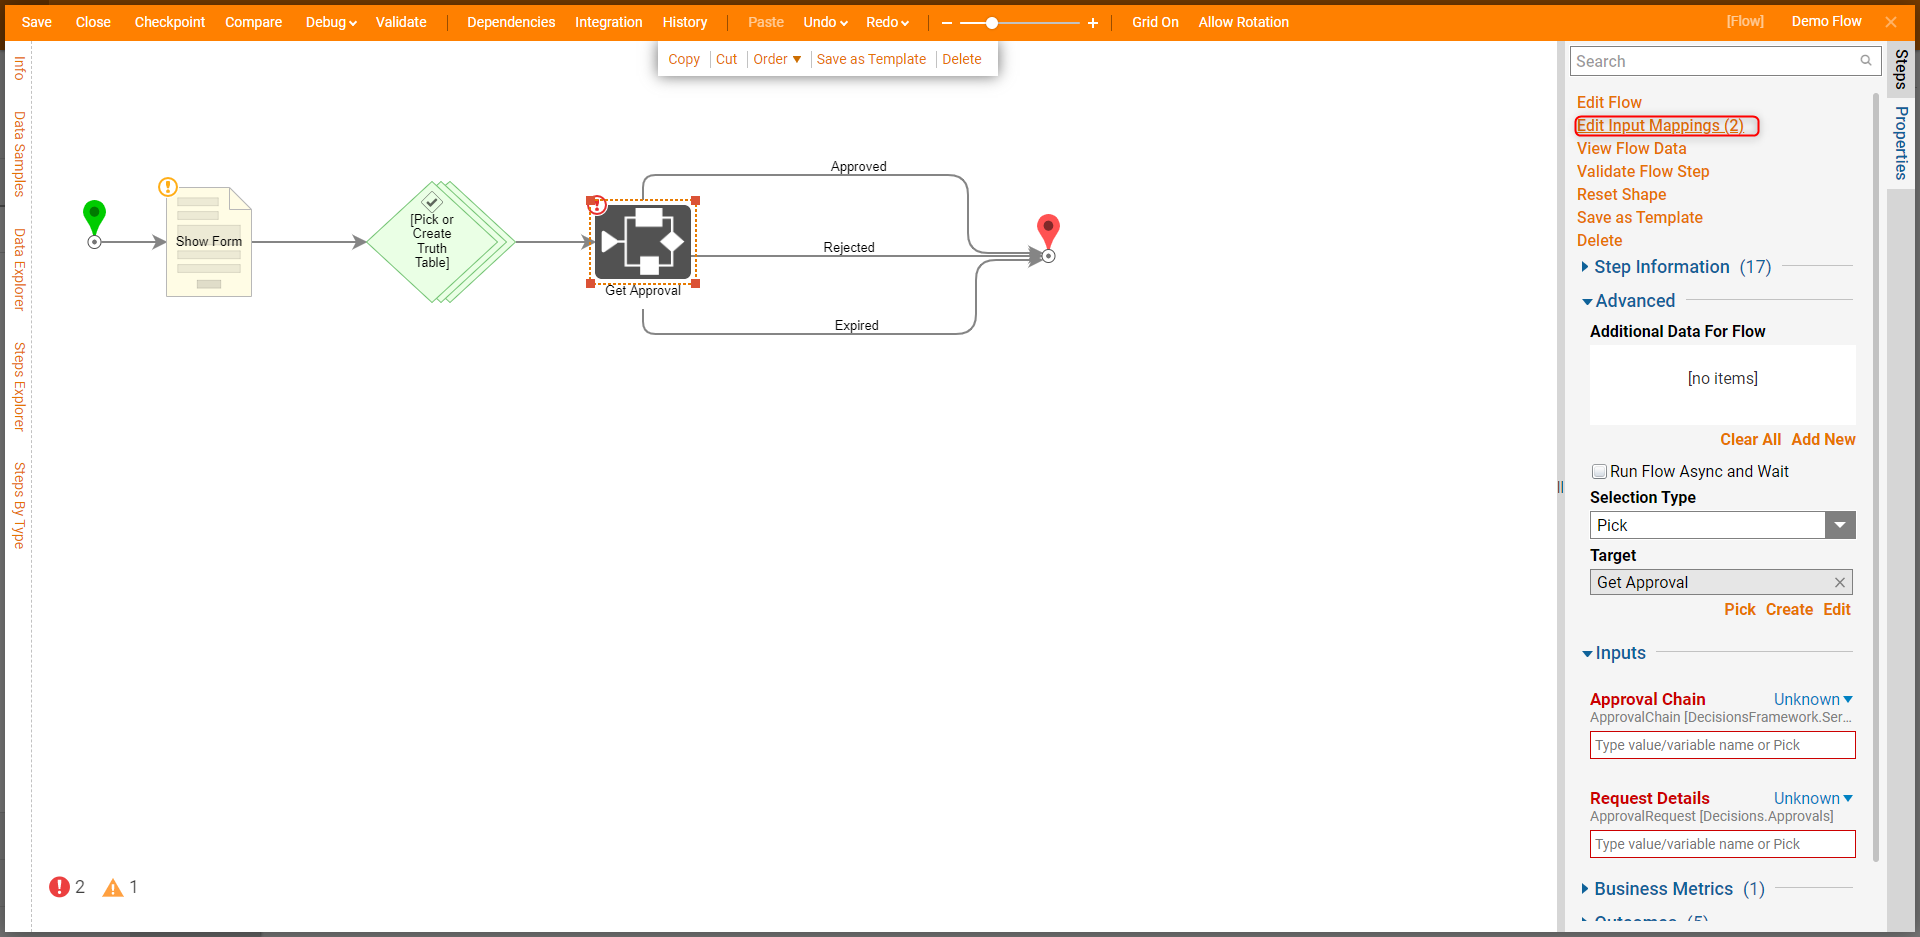
- Connect all outcomes from the Get Approval step to the End step in the Flow. Select Get Approval step on the workspace and select Edit Input Mappings.
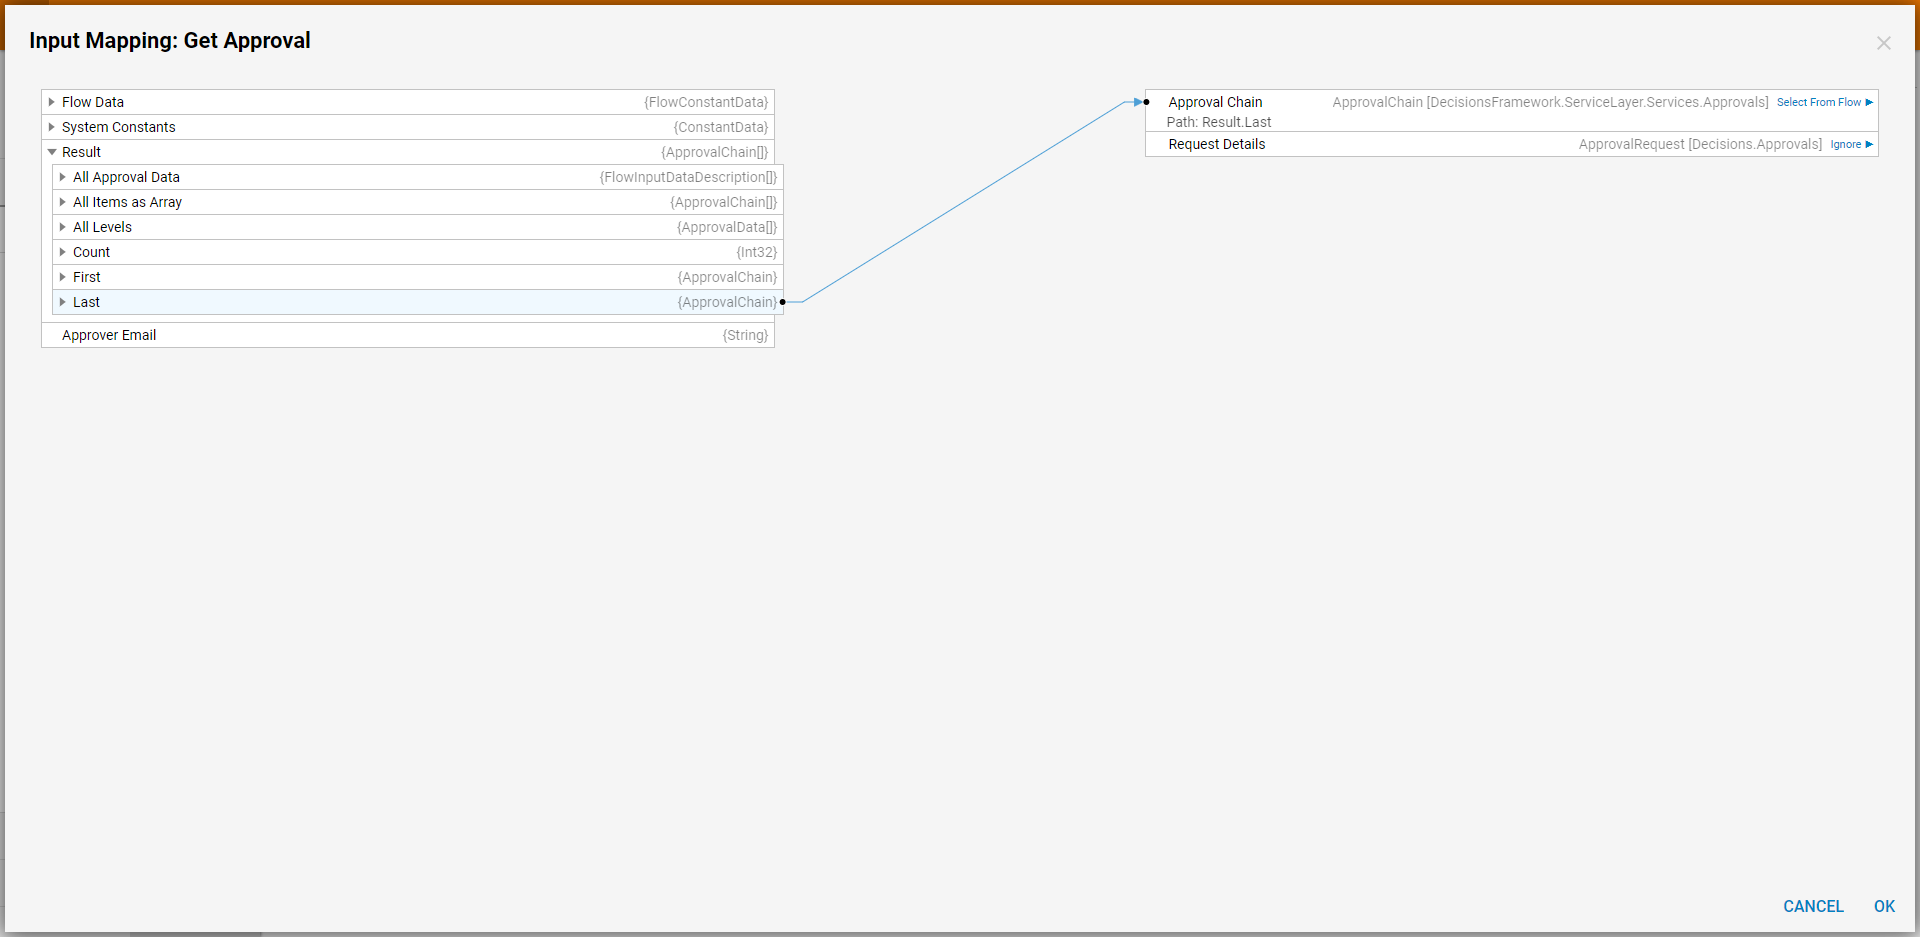
- In the Mapping Editor, connect Result from the Truth Table to the Approval Chain field. Select Ignore for all other inputs in the Get Approval step. Save and close Mapping Editor. Click Save to save changes to the Flow.
Debug
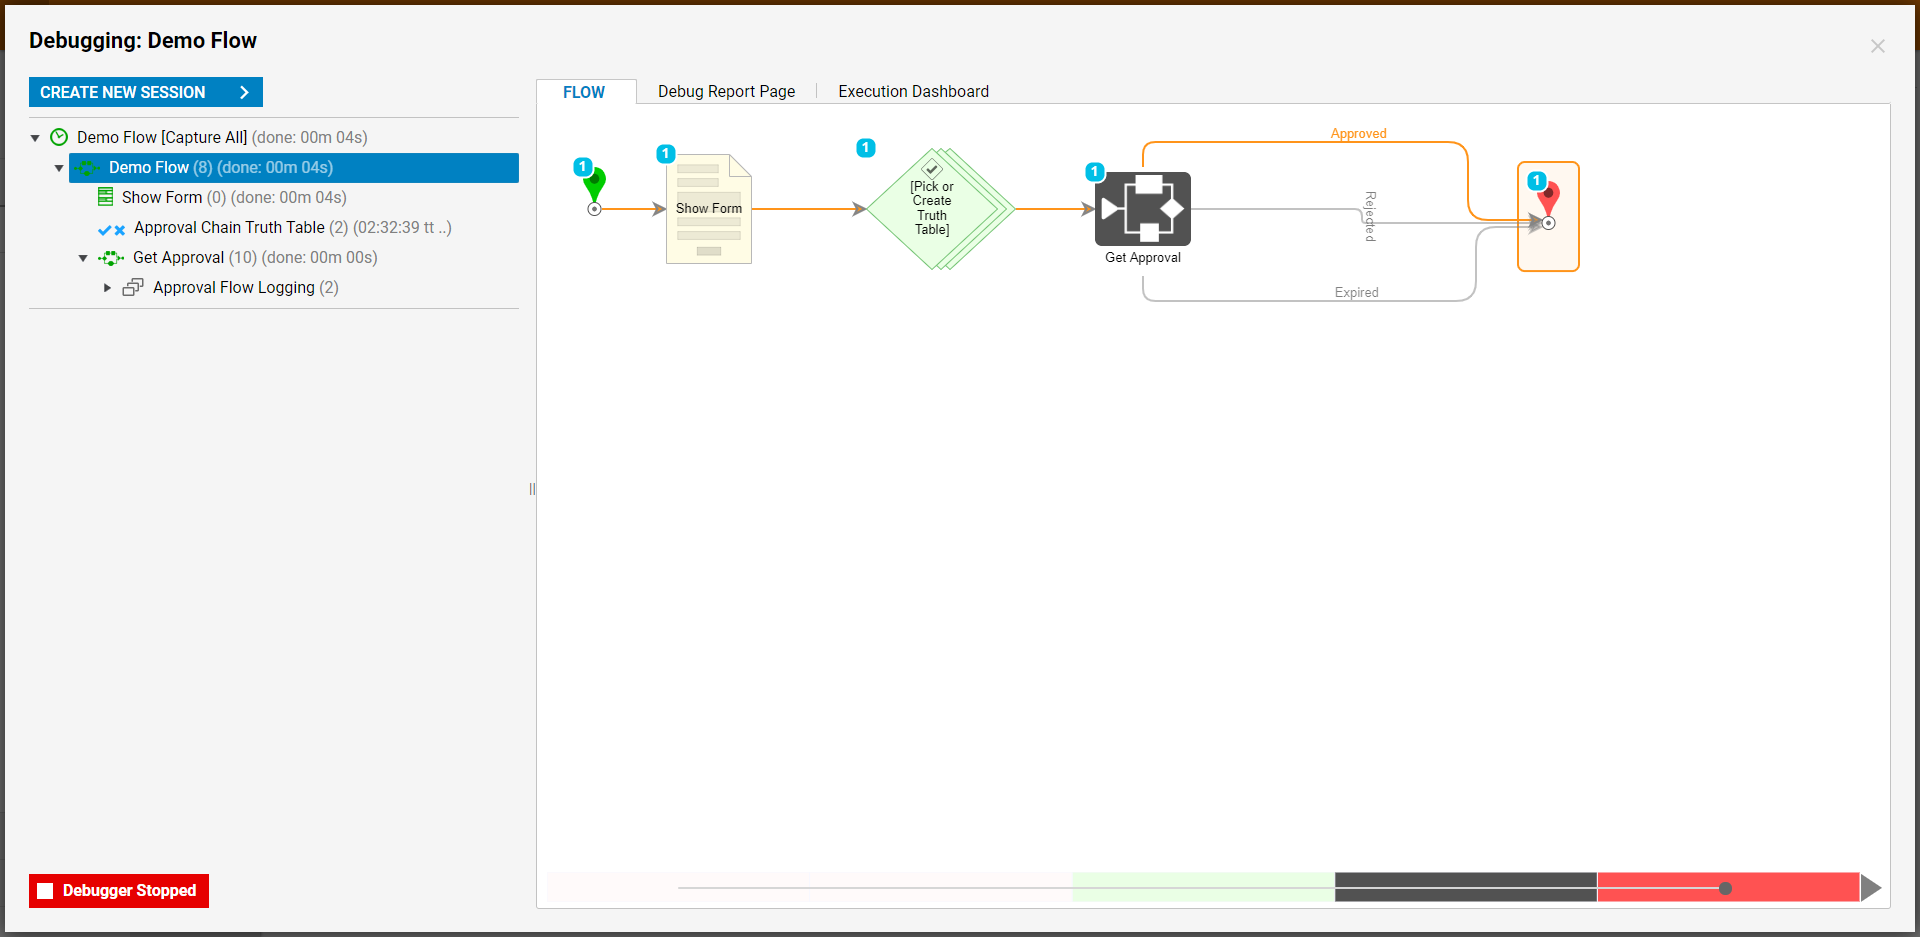
- Click Debug on the top action bar of the Flow Designer. Then, click FULL.
- This Flow is executed under an admin account. Select the admin Account on the Form and click DONE.
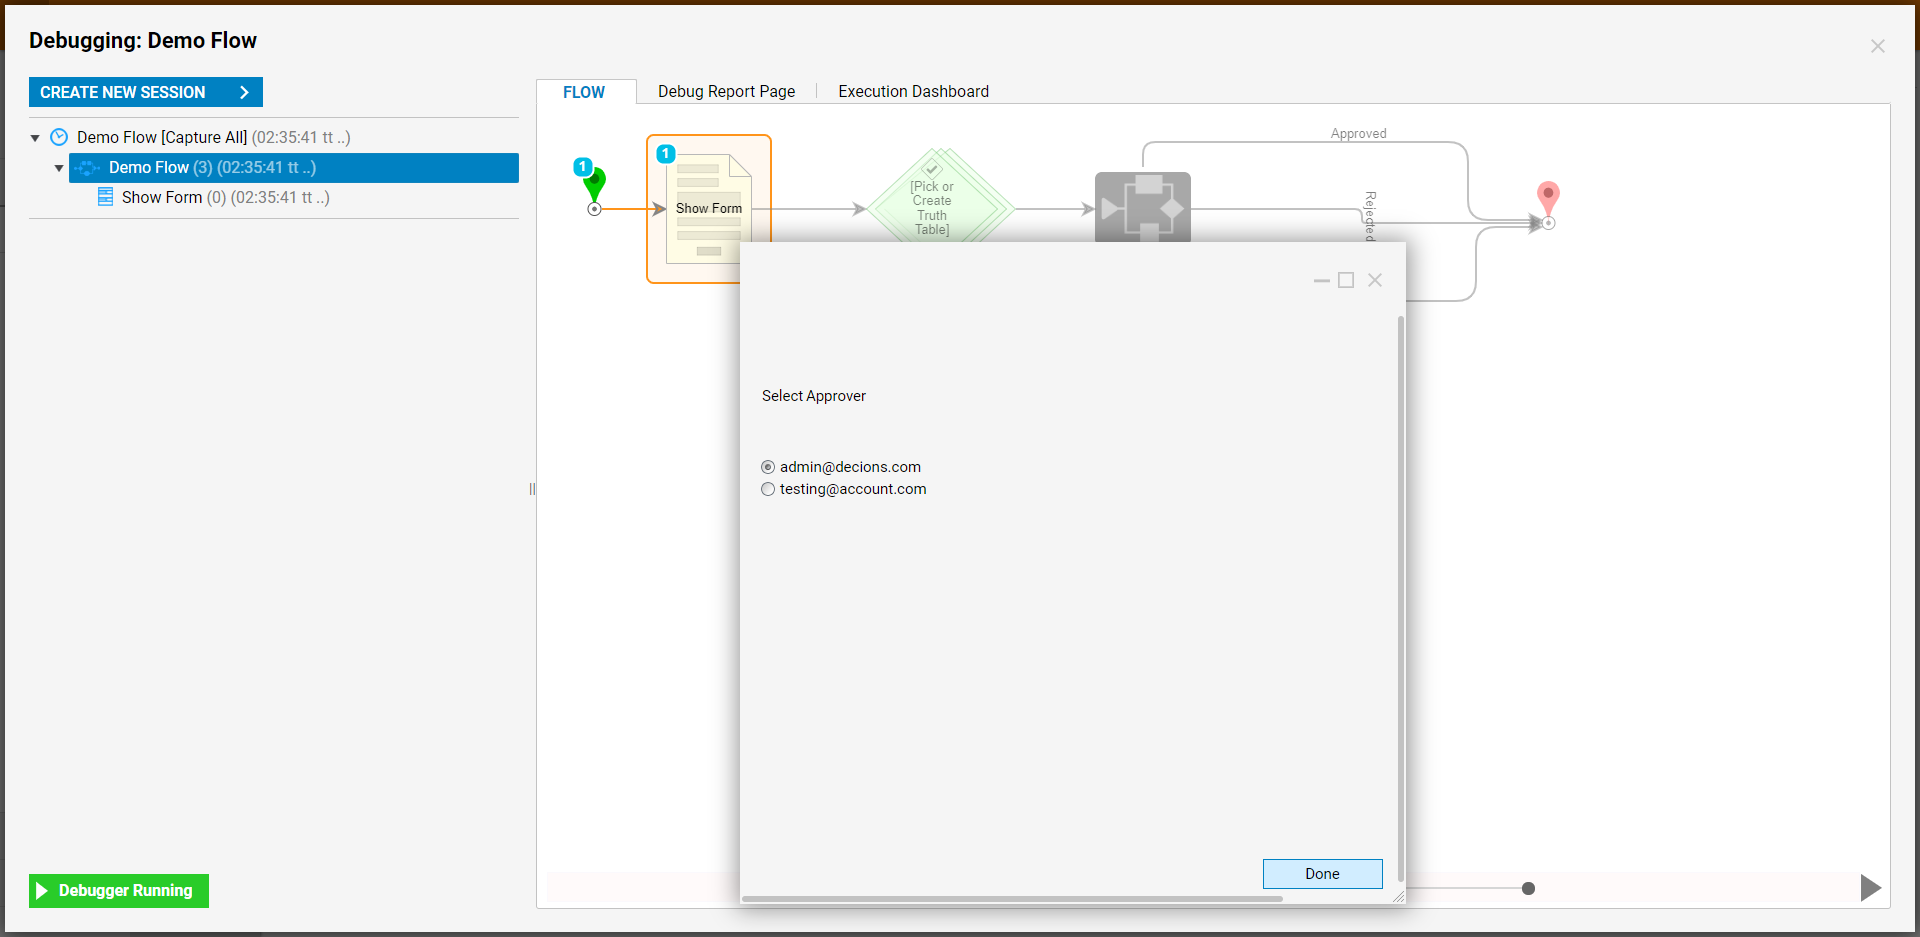 The Flow will execute following the Approved path.