Overview
The Active Directory Module allows users to interact with the Active Directory system using steps in a Flow.
Prerequisites
- The Active Directory Module has to be installed. To learn how to install a module, see Installing Modules.
- Set up of an Active Directory server is required. To learn more, see Integrating Active Directory with Decisions and Setting up Active Directory (AD) Server Authentication.
Example A
This example will demonstrate how to configure the Active Directory Module and use a Flow to find a user in the Active Directory.
- In a Designer Project, click CREATE FLOW. Choose the default Flow and select CREATE. Enter a name for the Flow and click CREATE.
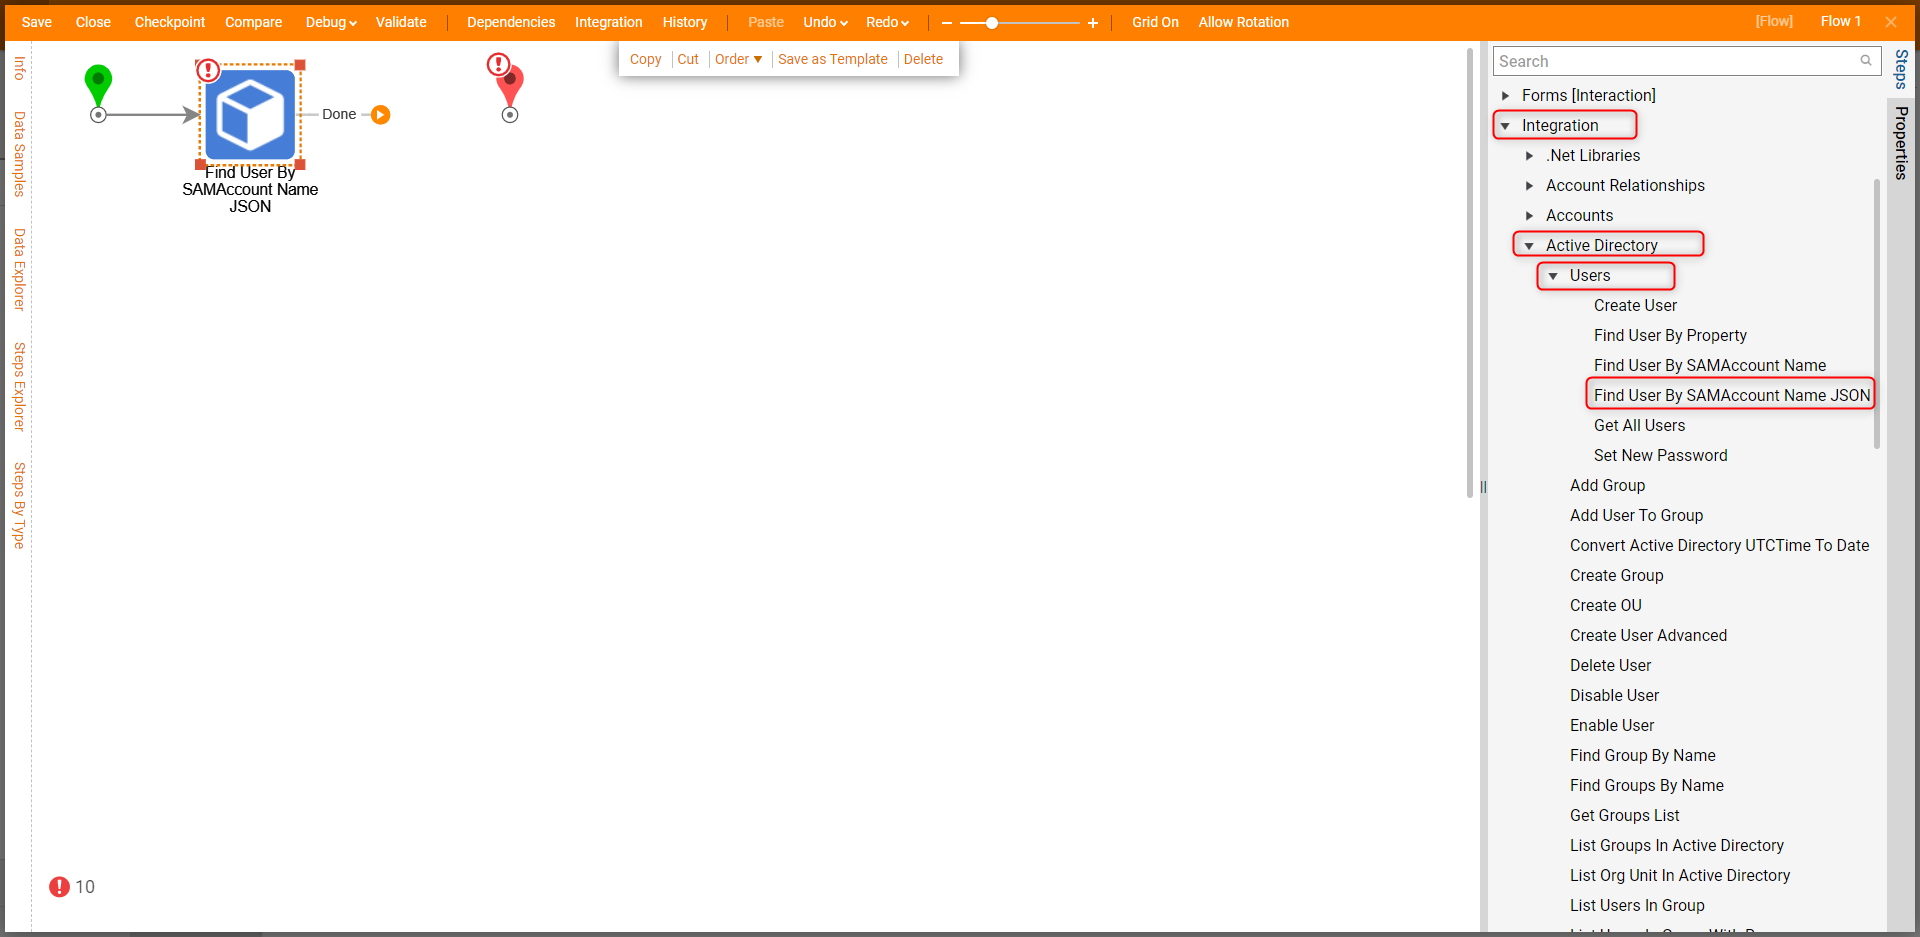
- In the Steps panel, navigate to Integration > Active Directory > Users. Click and drag the Find User by SAMAccount Name JSON step to the workspace.
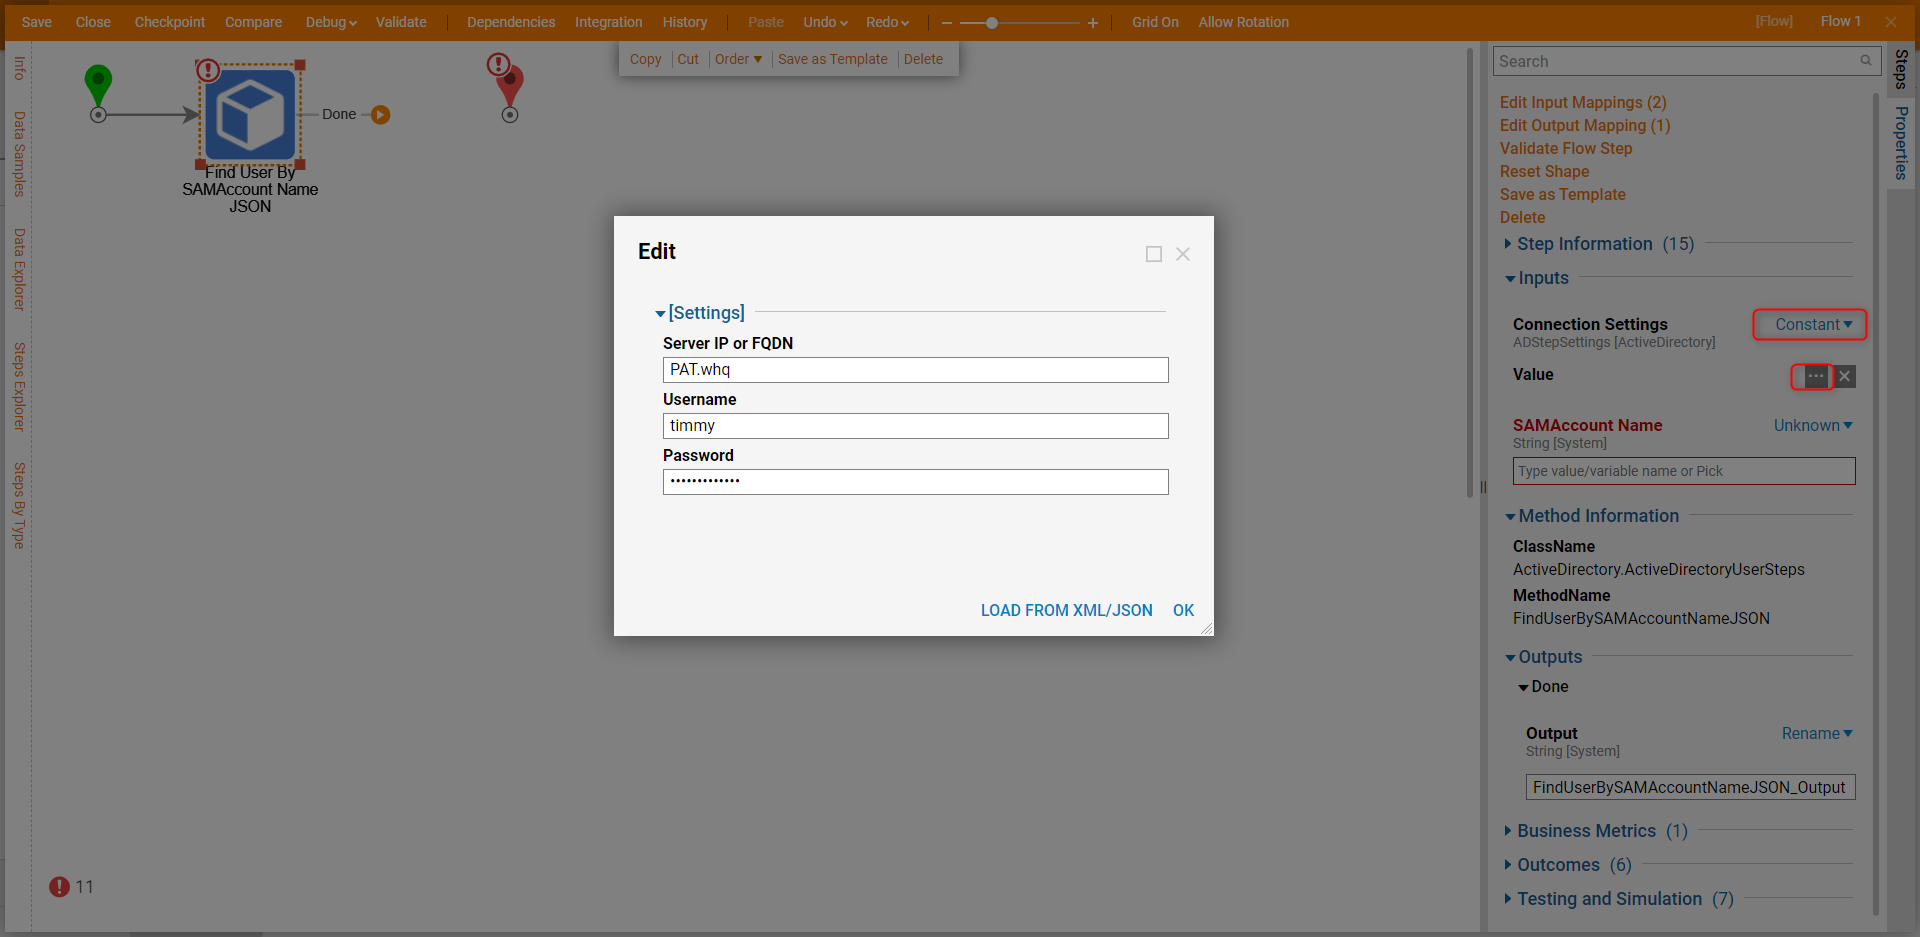
- With the step selected, select Unknown next to the Connection Settings field on the Properties panel and select Constant. Then, click the edit icon. On the Edit window, provide the Server IP or FQDN, Username, and Password for connecting to an Active Directory server and click OK.
- Select Unknown next to SAMAccount Name field and choose Constant. Enter a name in the field. Then, connect the Done path to the End step.
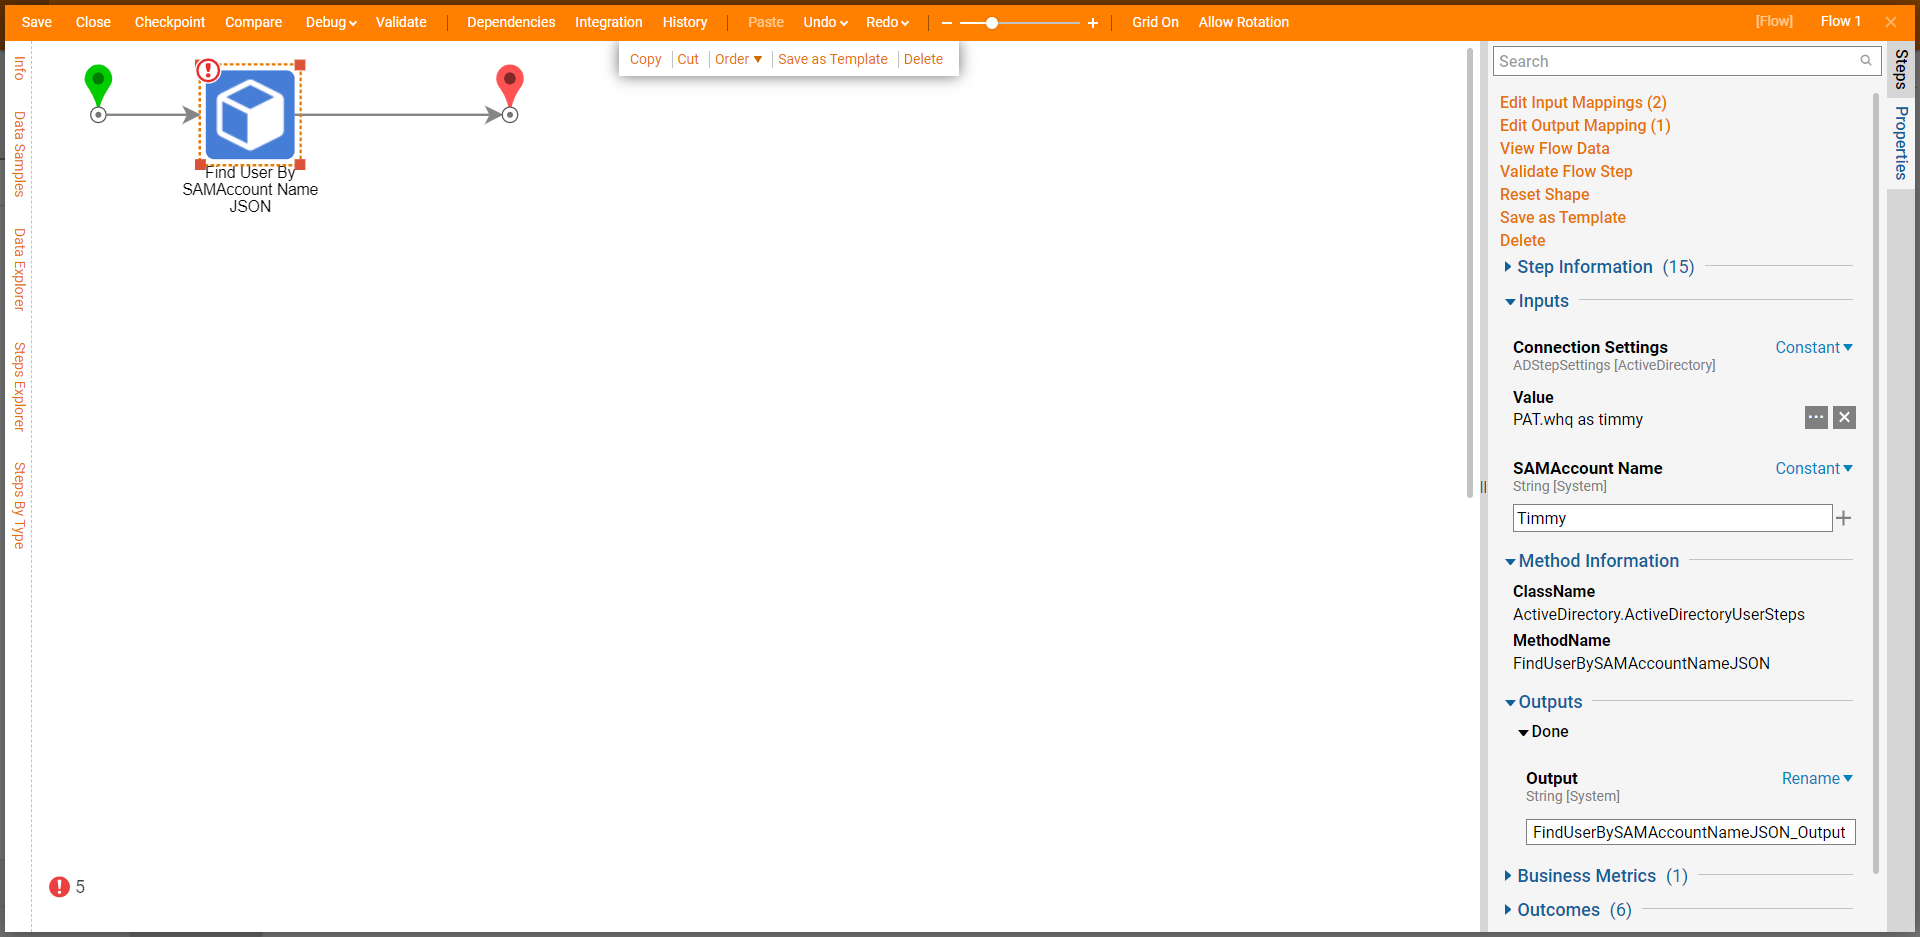
- Click Save to save changes to the Flow.
Debug A
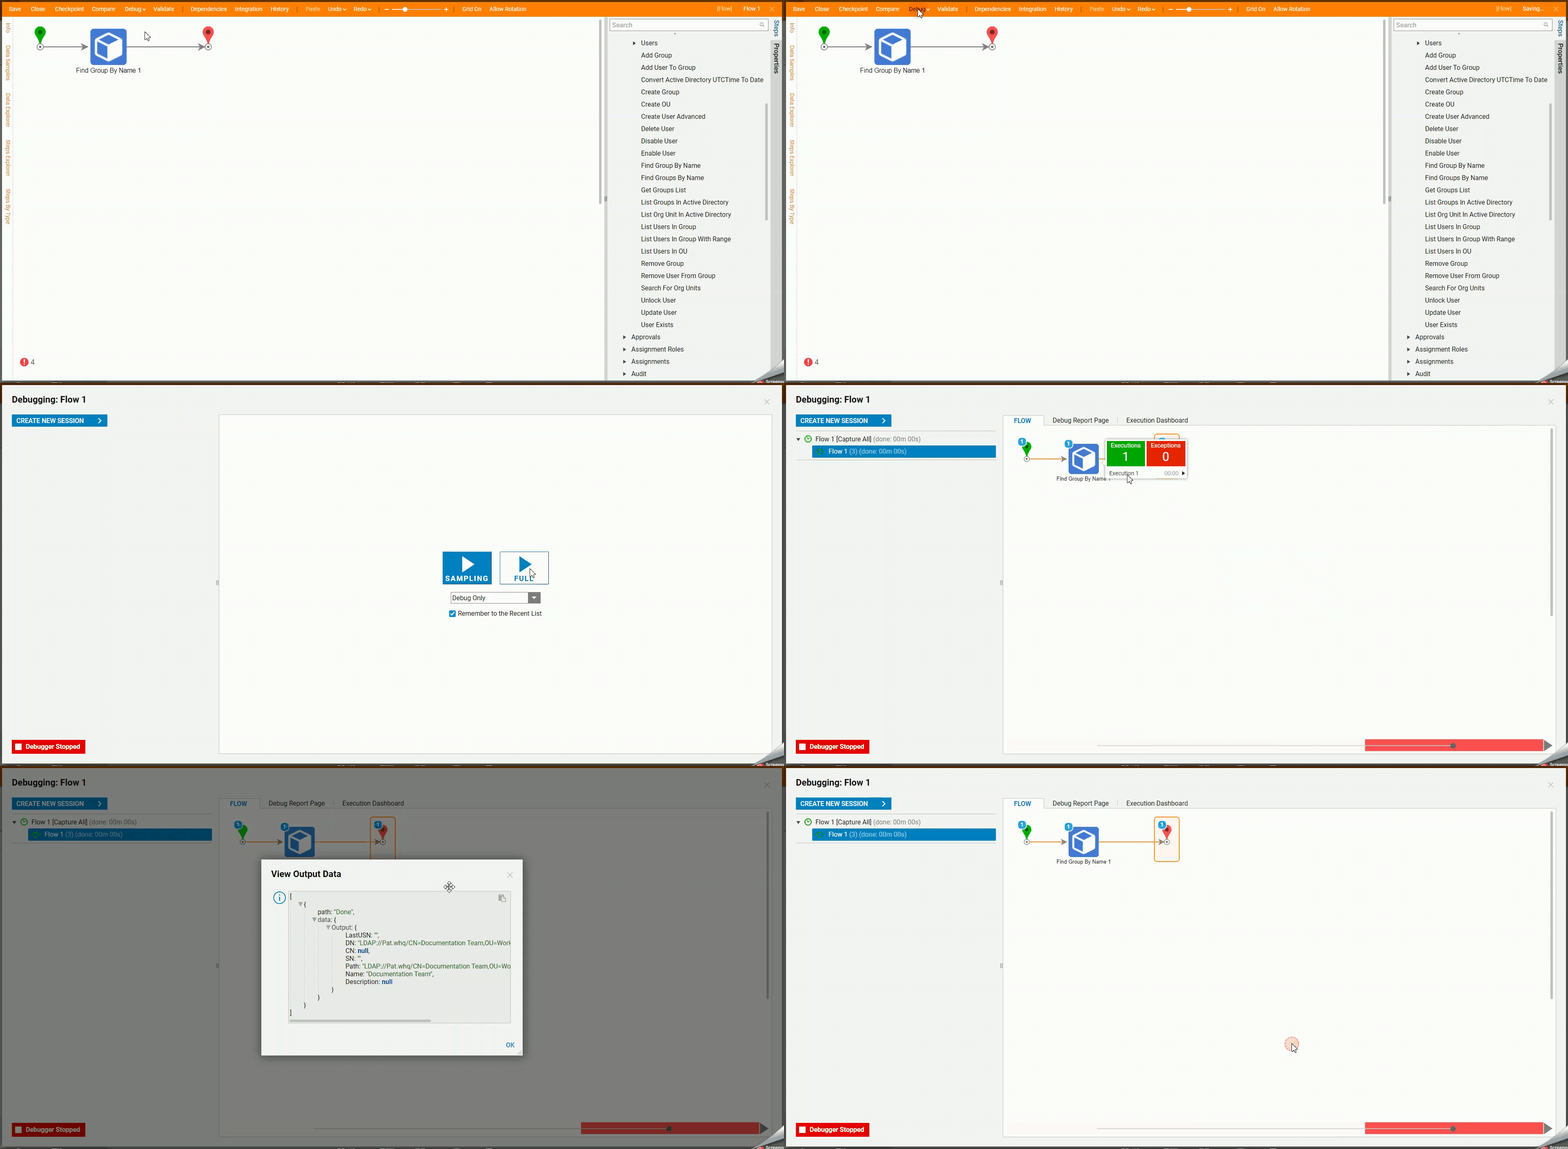
- Click Debug on the top action bar. Then, click START DEBUGGING.
- After the debugger runs, click the Find User By SAMAccount Name JSON step, select Execute 1, and click View Output Data.The output will display the user information in a JSON string.
.gif)
Example B
This example will display how to find a group in the Active Directory.
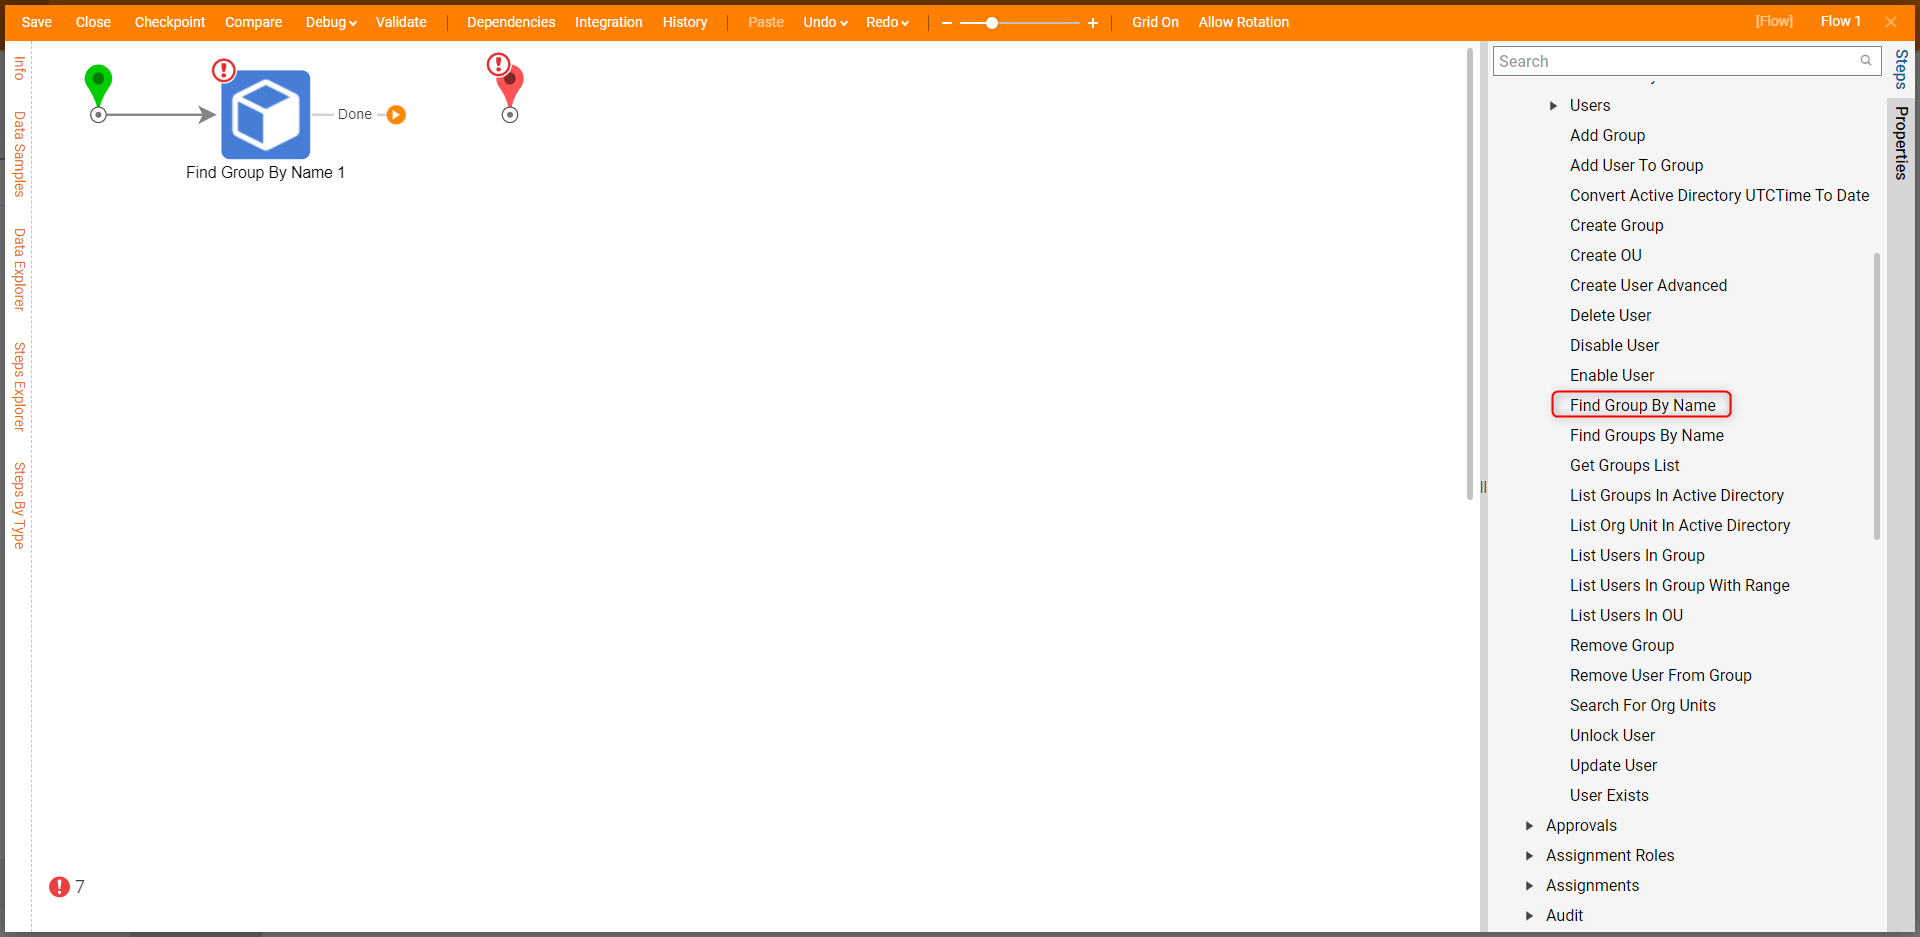
- In a Flow Designer, navigate to Integration > Active Directory. Add the Find Group By Name step to the workspace. The Find Groups By Name is similar to Find Group by Name and will return a list.
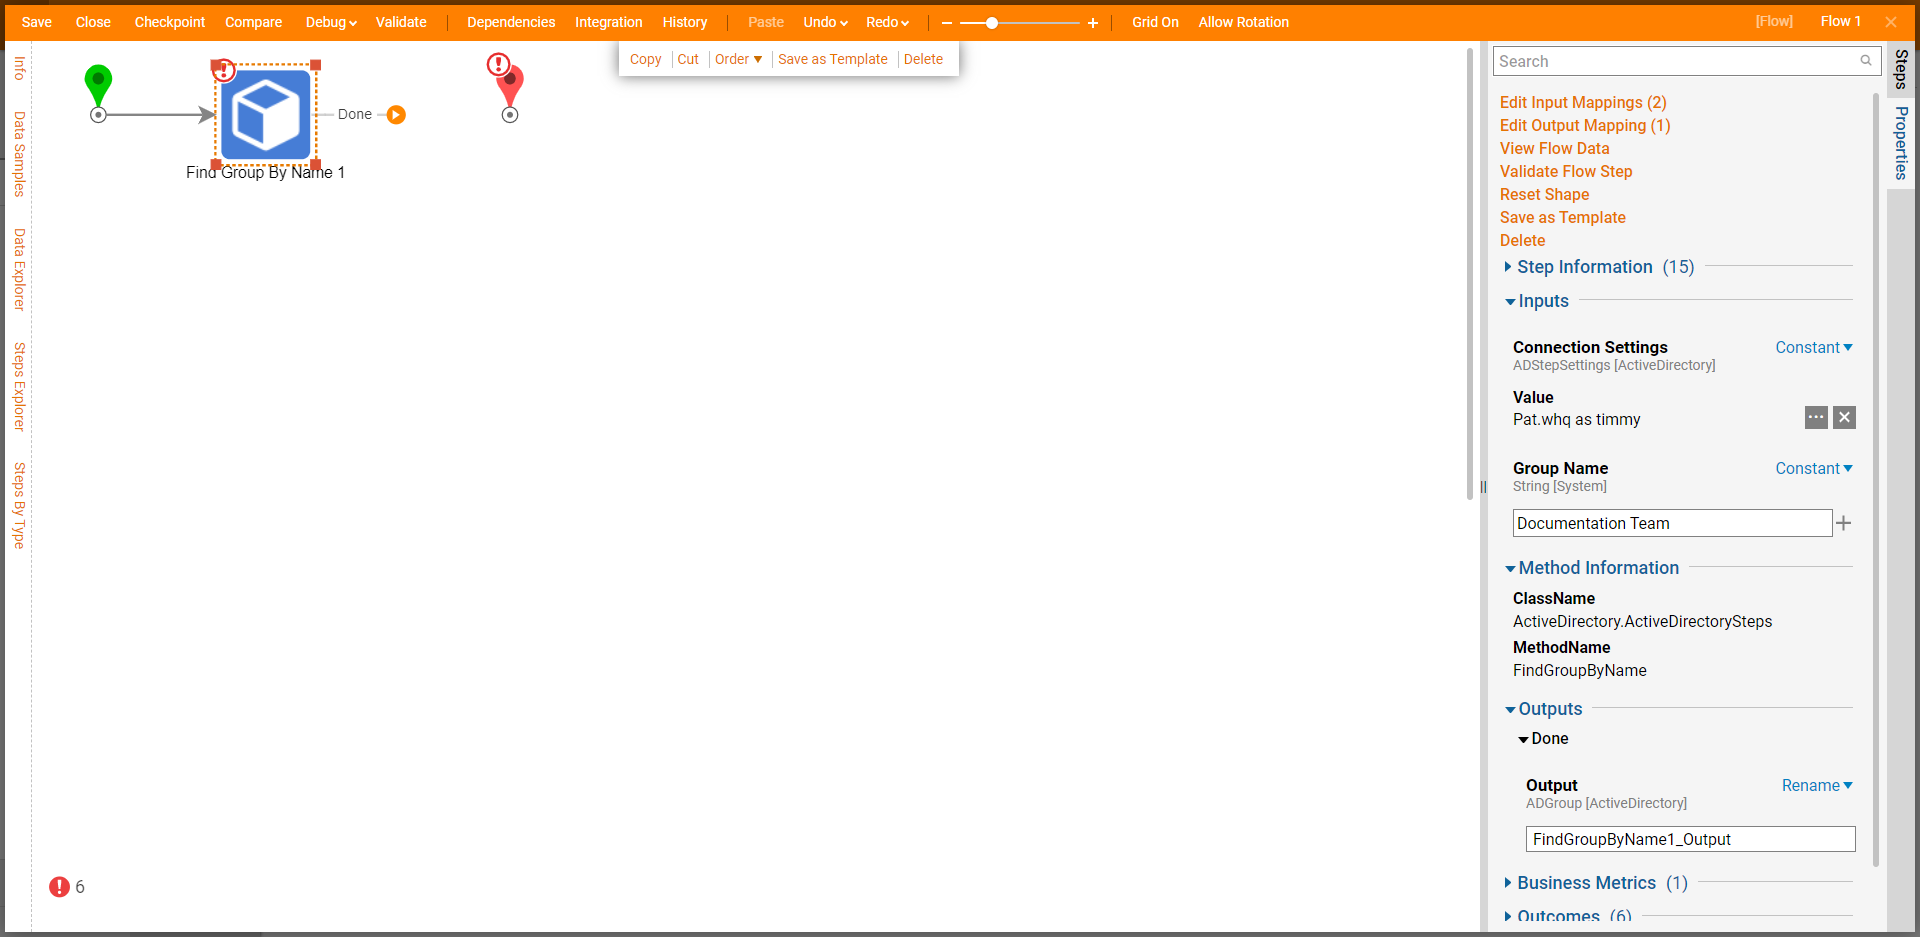
- Configure the Connection Settings and enter a name for the Group Name field.
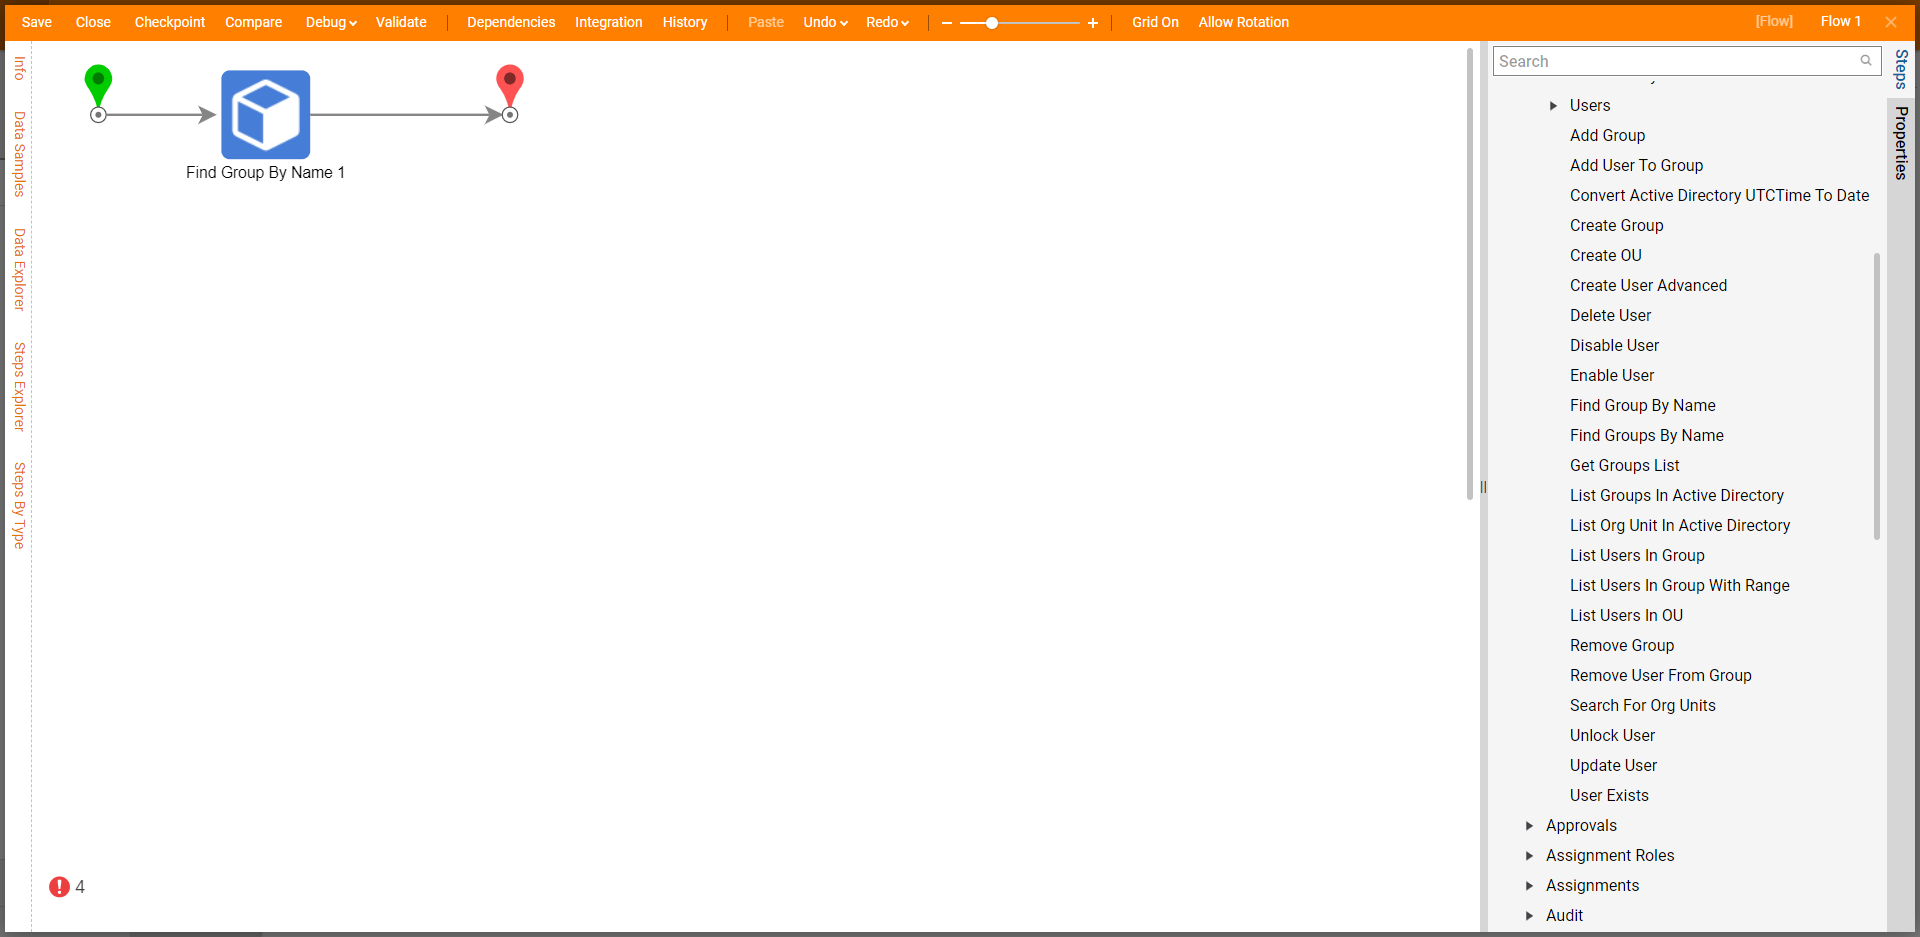
- Connect the Done path to the End step and click Save to save changes.
Debug B
- Click Debug on the top action bar and click FULL.
- After the debugger runs, click the Find Group by Name step, select Execute 1, and click View Output Data.The output will display the group information found in Active Directory.
