Overview
In a Report, Filters are used to make the Report easier to navigate and manage. A Flow can be created to set Report Filters. The following example will be used to coordinate the Runtime Editable Filters on a Report using a Page/Dashboard.
Example
- Begin in Designer Folder, select CREATE FLOW. Name the default Flow and select Create to proceed to the Flow Designer.
- In the Flow Designer, from the Steps > Favorite Steps section, add a Show Form step to the workspace and connect it to the Start step.
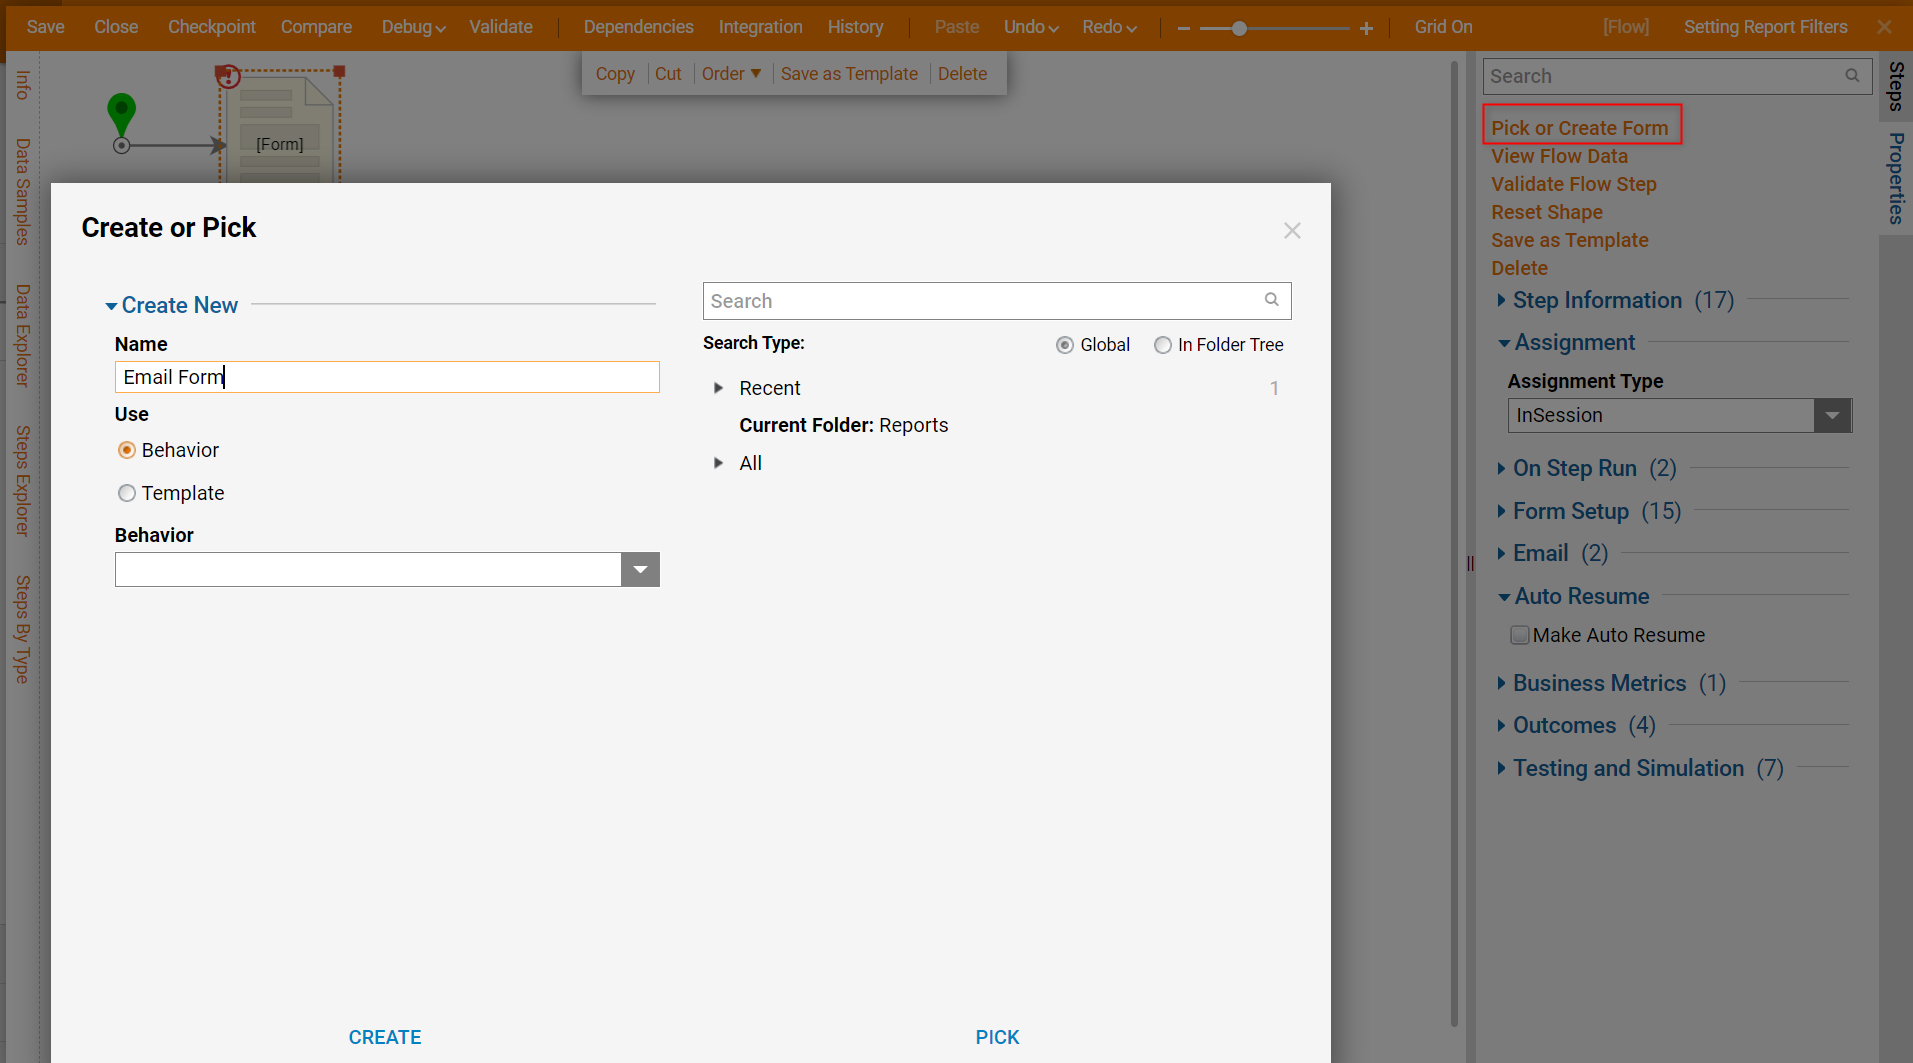
- Navigate to the Properties panel and select Pick or Create Form.
- In the Create or Pick window, under Create New name the Form and select CREATE.
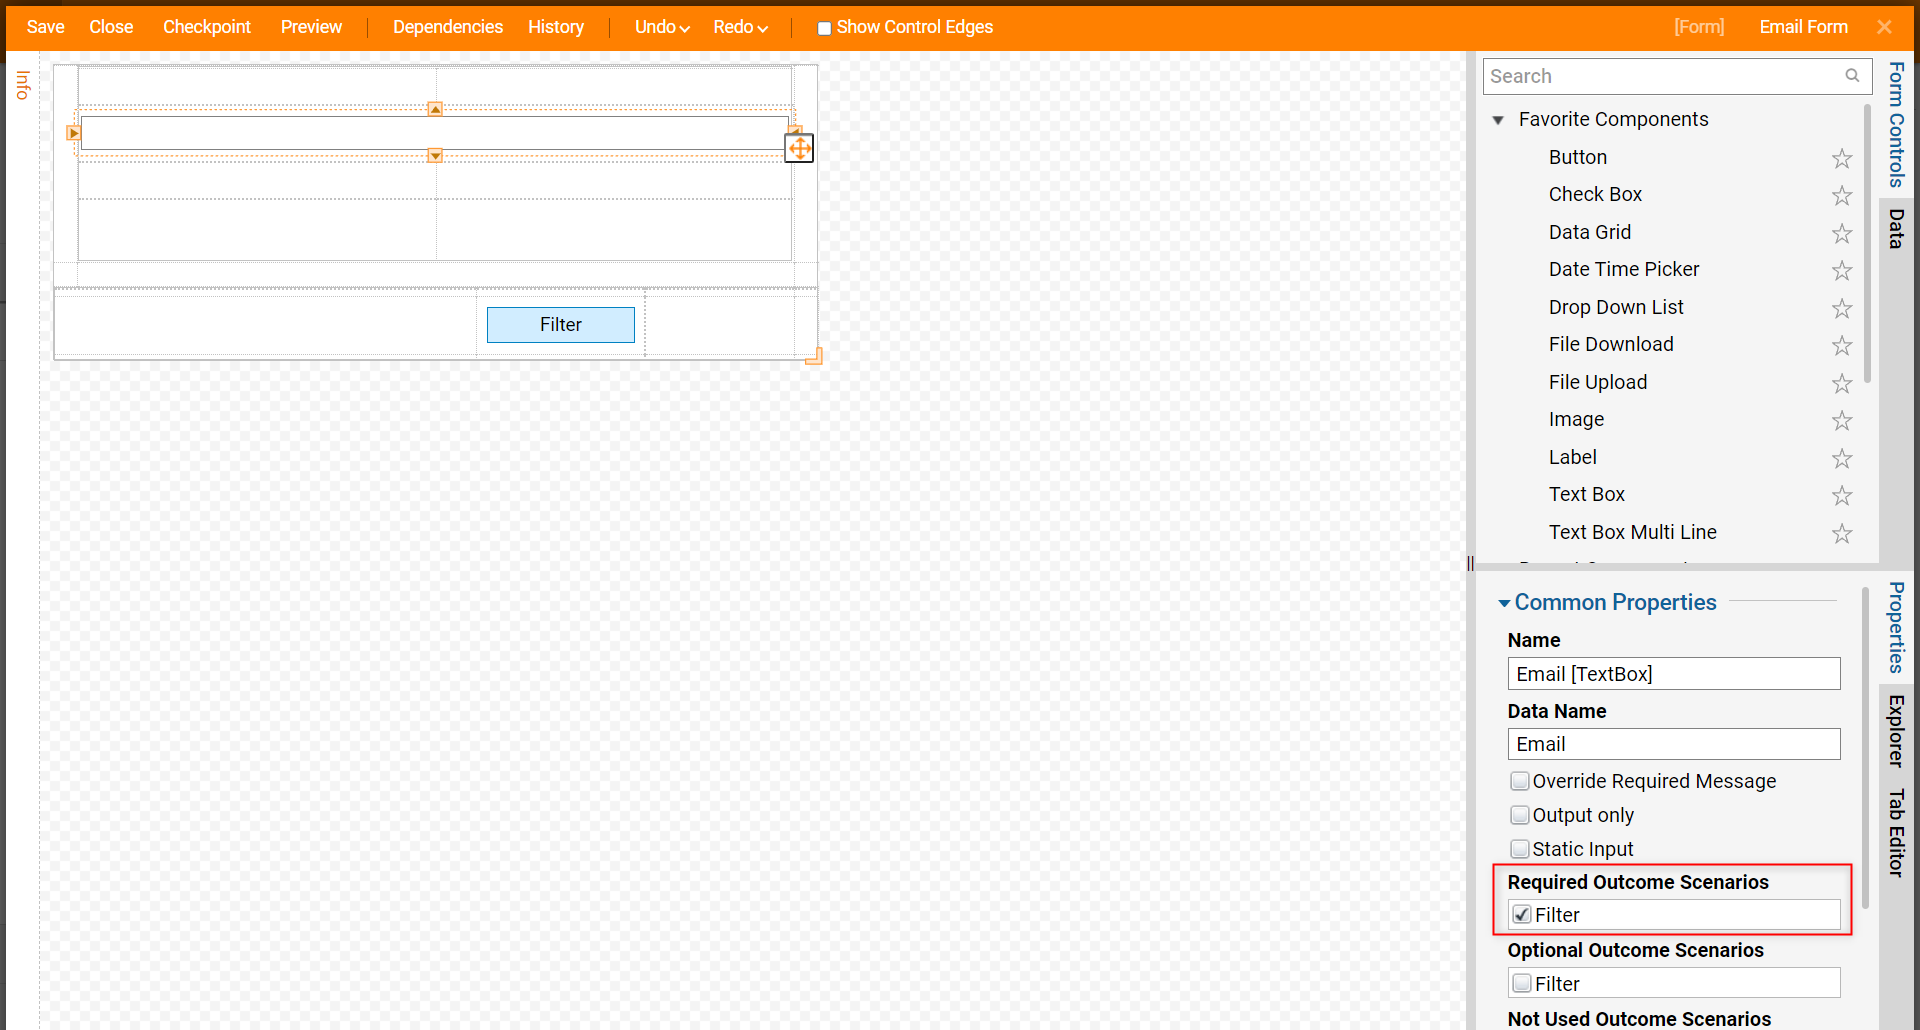
- In the Form Designer, add a Button component and name it Filter. Also, add a Text Box, name this component Email and select Required Outcome Scenario.
- Save and Close the Form.
- In the Flow Designer, set the Inputs > Email input mapping to Ignore.
- Next, from the Integrations > Reporting section, drag connect a Set Dashboard Report Parameters step to the Filter outcome.
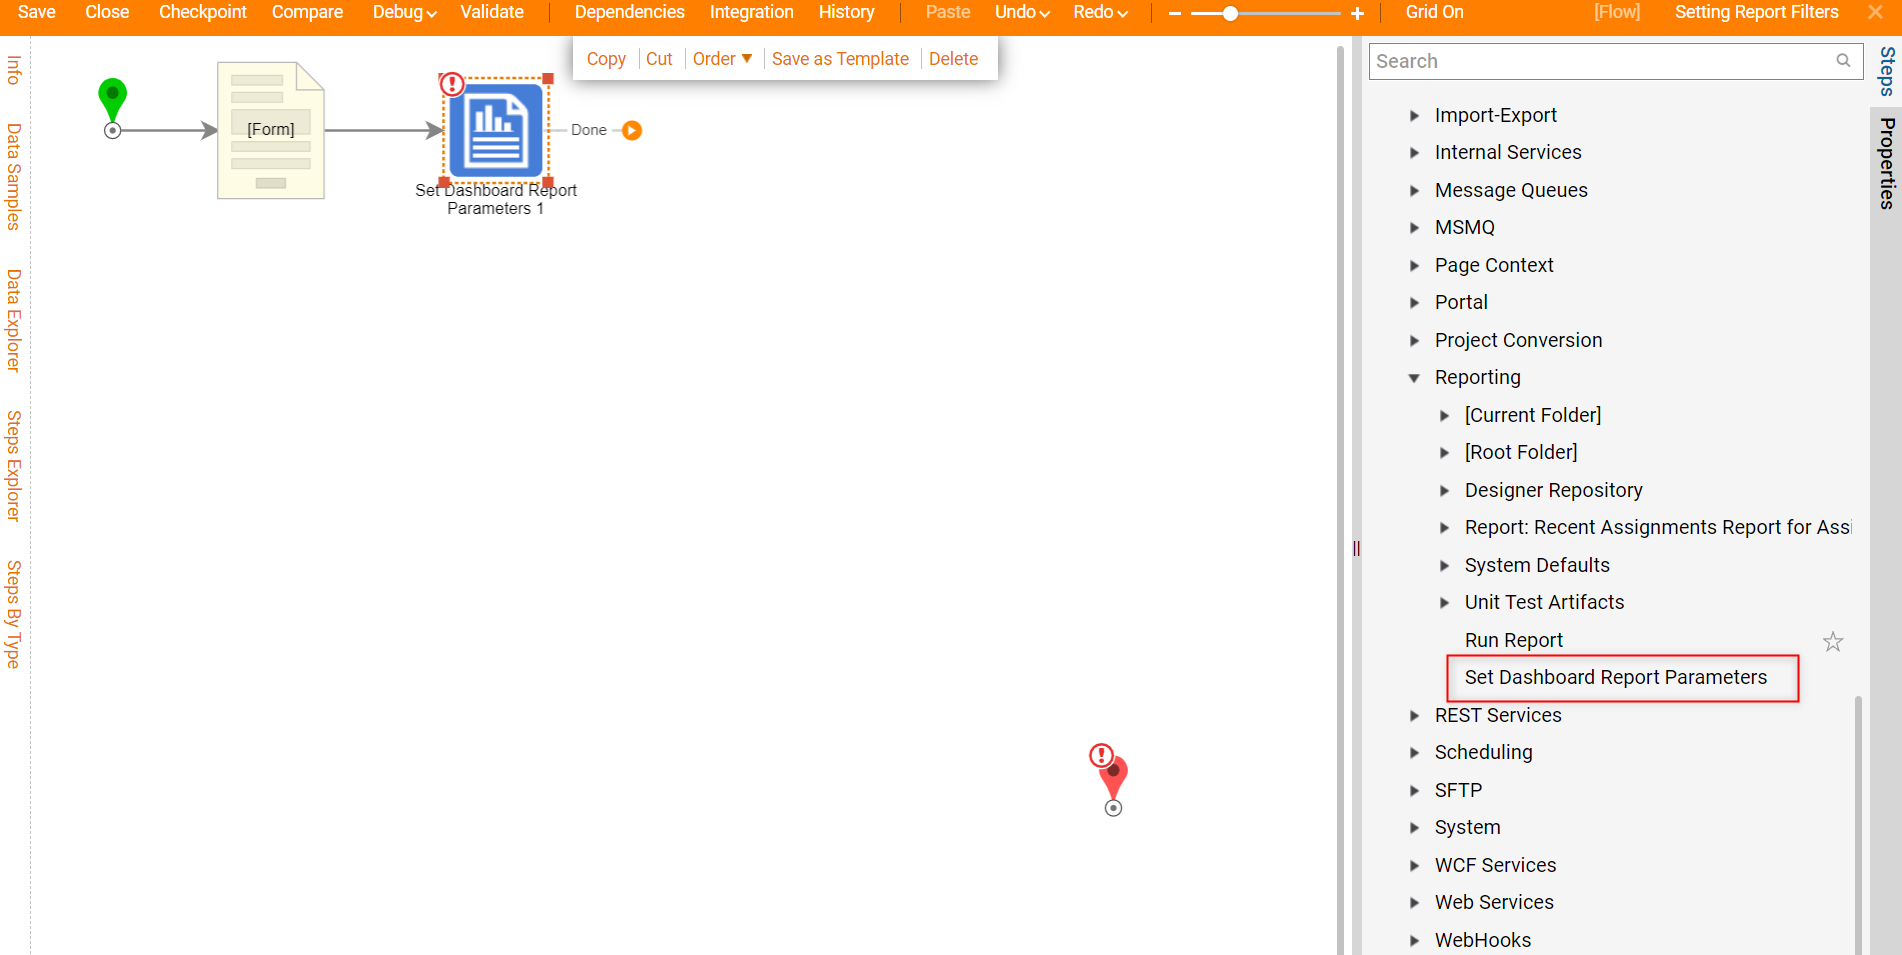
- With the Set Dashboard Report Parameters selected, navigate to the Properties panel.
- Under Data Definitions > Report Parameters and select Add New.
- Name the Report Parameter "Email Address Equals". Select OK to save.
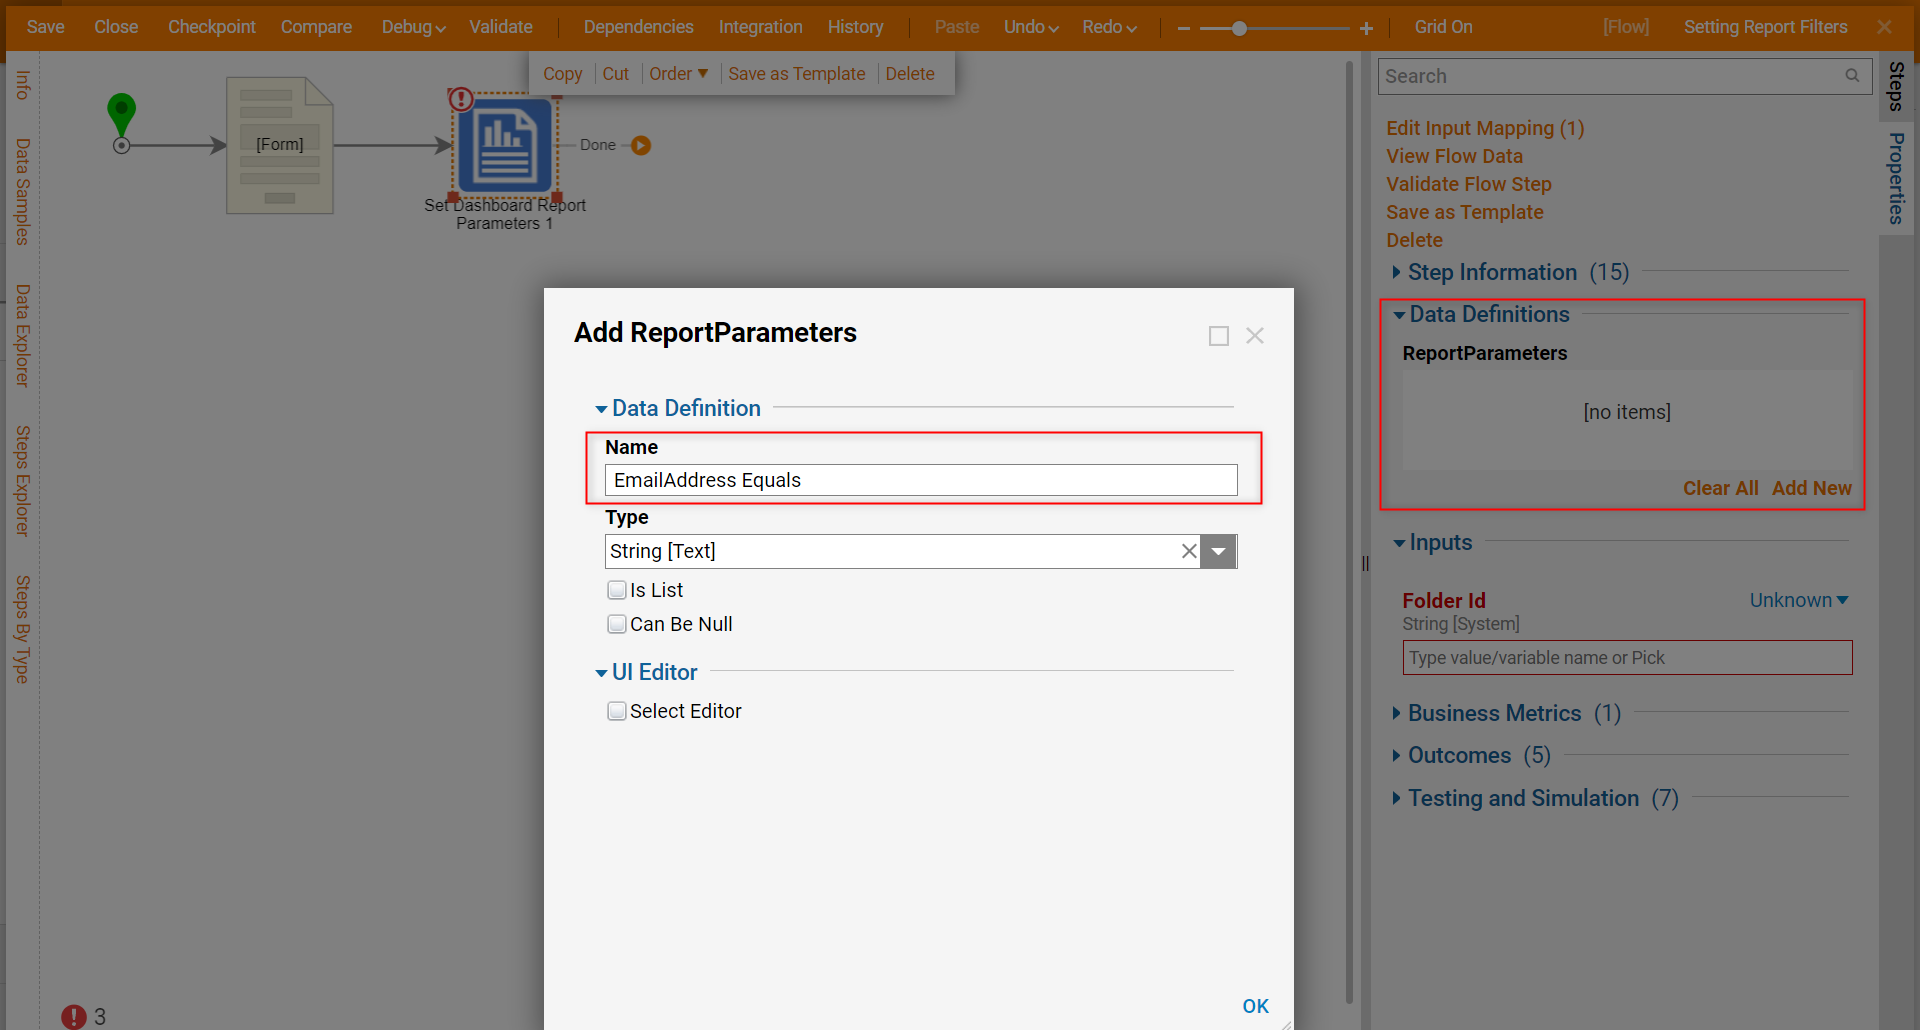
- Now in the Properties panel, there is an available input for Email Address Equals. Select Unknown then select Select From Flow, choose Email that is Output from the Show Form step.
- Save and close the Flow to navigate to a Designer Folder to retrieve the Folder Id of where the Dashboard will live.
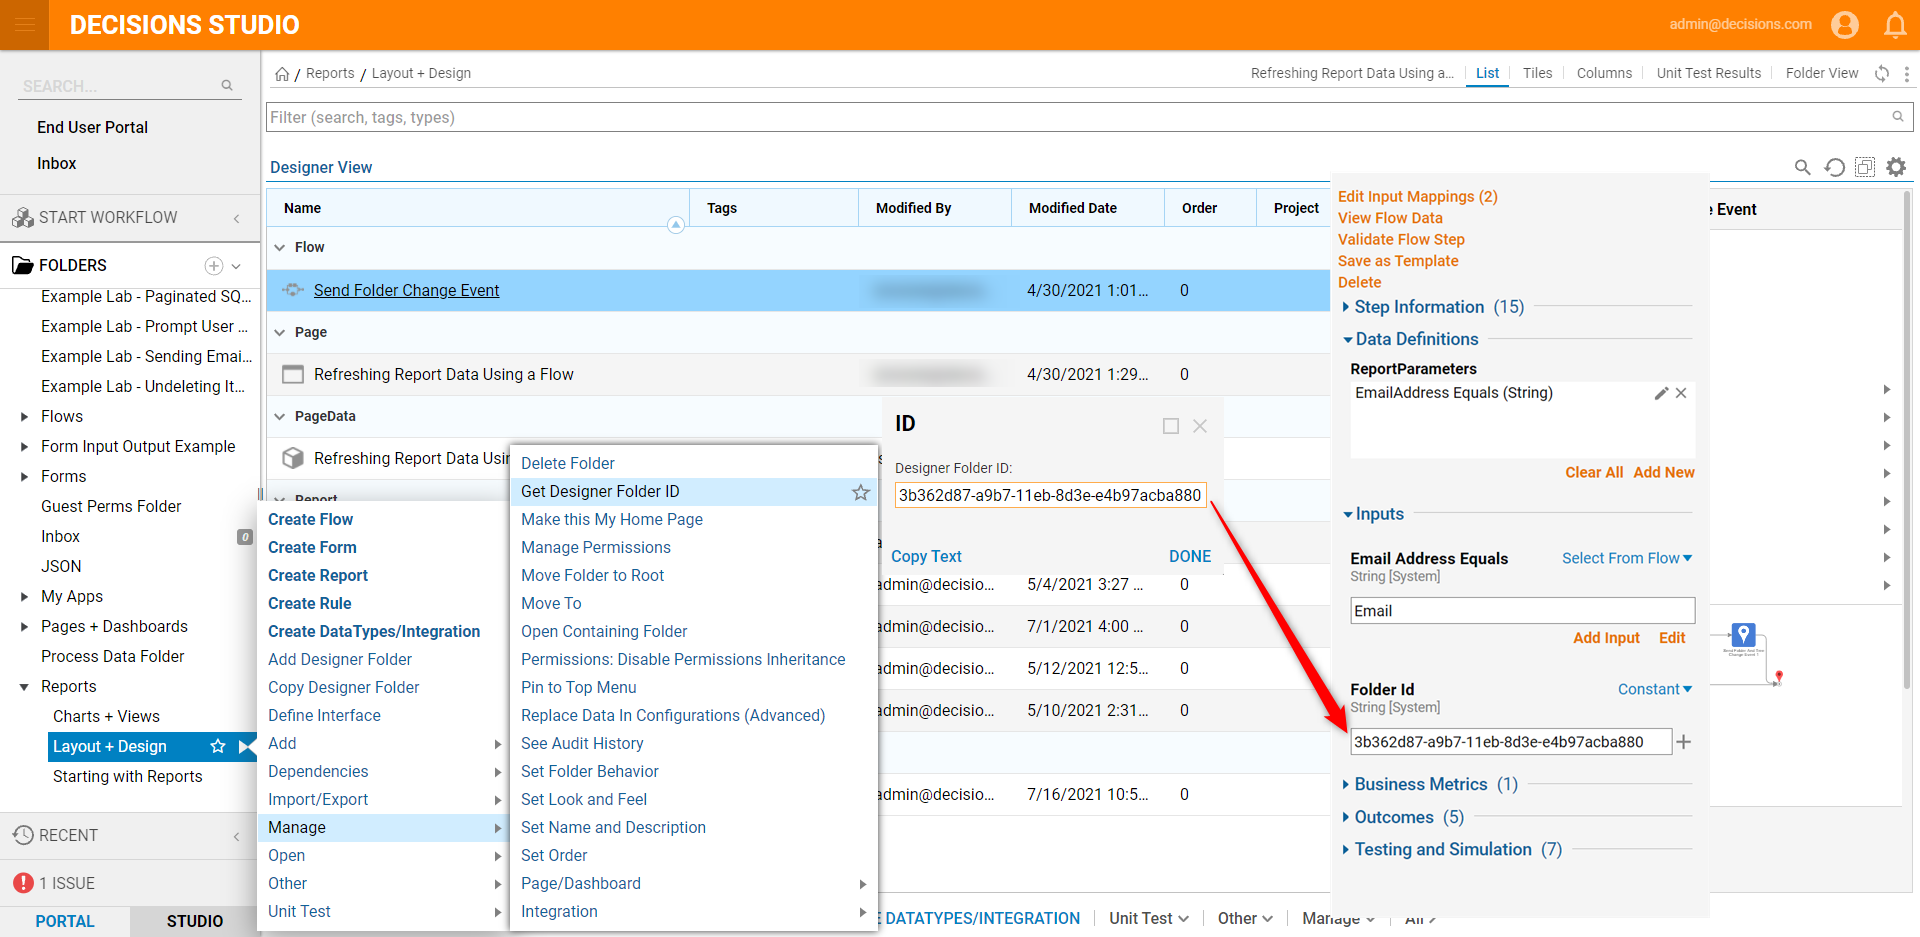
- Right-click on the Designer Folder and navigate to Manage > Get Designer Folder ID.
- Select Copy Text, then close.
- Reopen the Flow Designer, select the Set Dashboard Report Parameters step, and paste the Designer Folder ID into the Inputs > Folder Id value field with a Constant input mapping.
- Connect the step outcome to the End step, then save and close the Flow Designer.
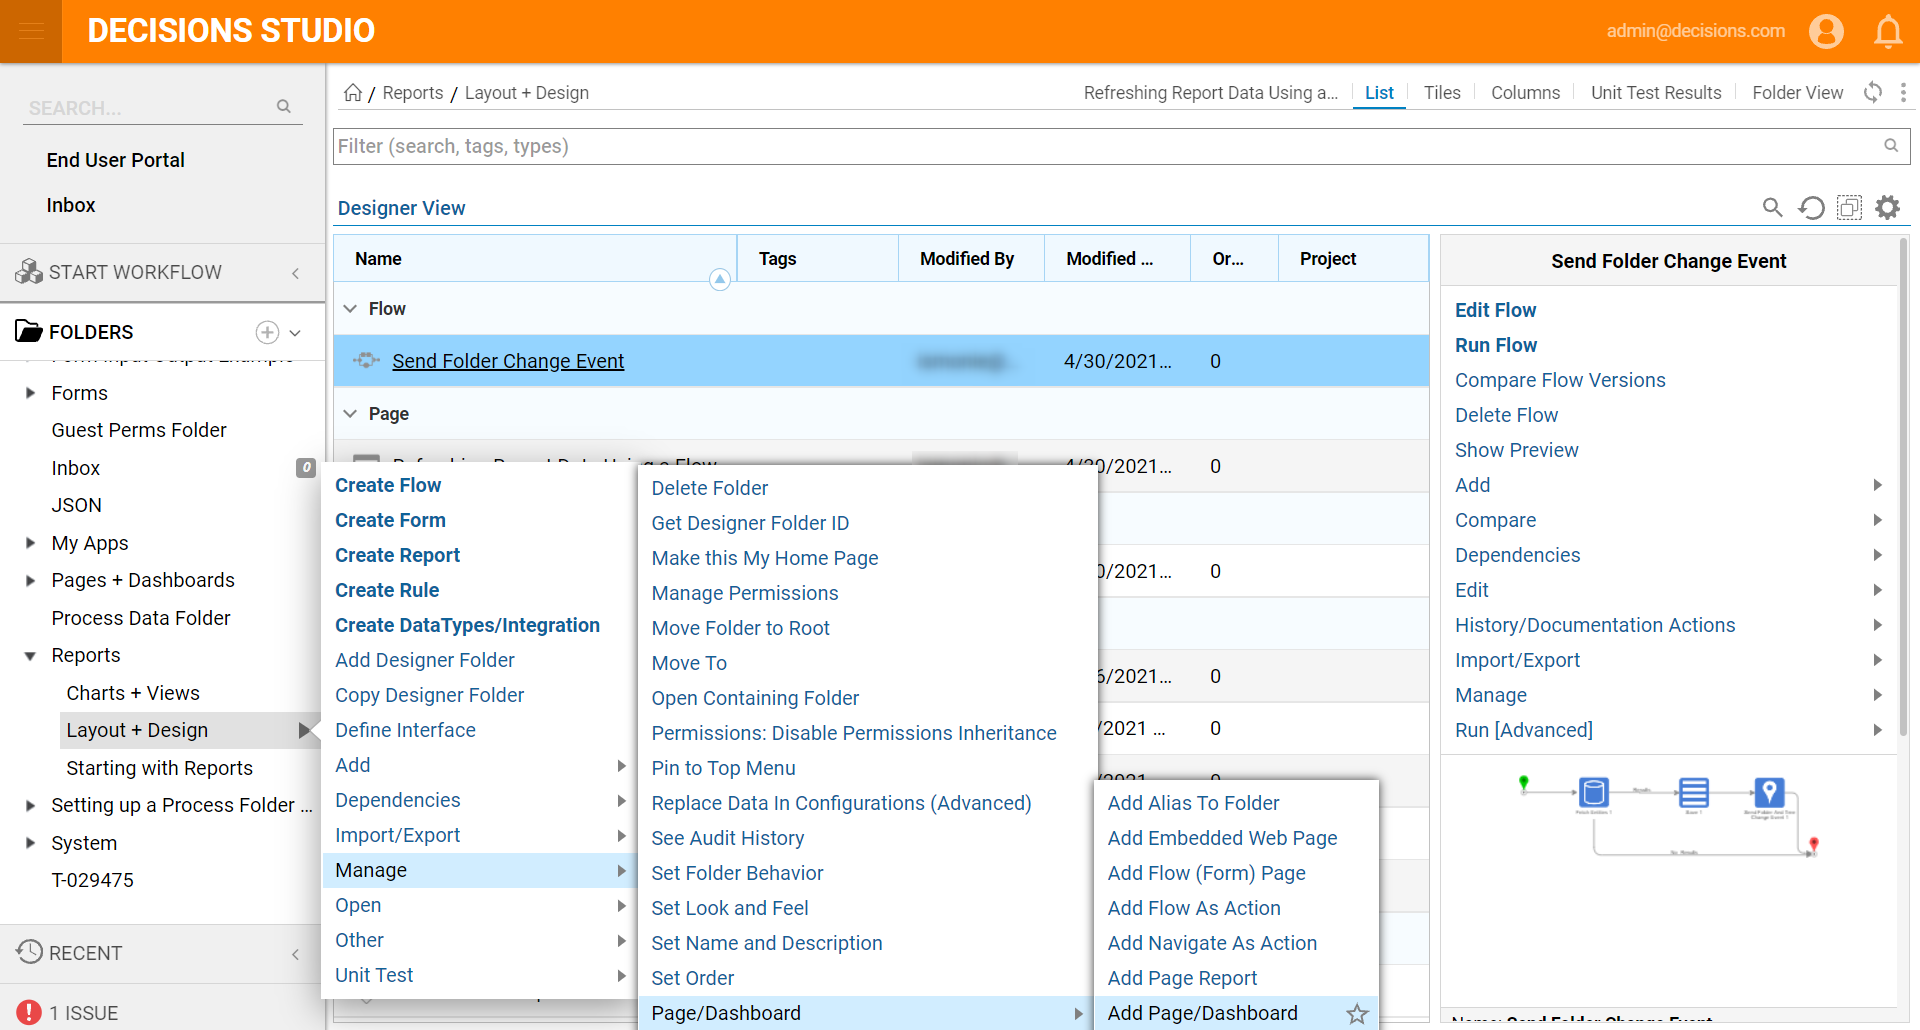
- Then, navigate back to the Designer Folder and right-click and locate Manage > Page > Add Page/Dashboard.
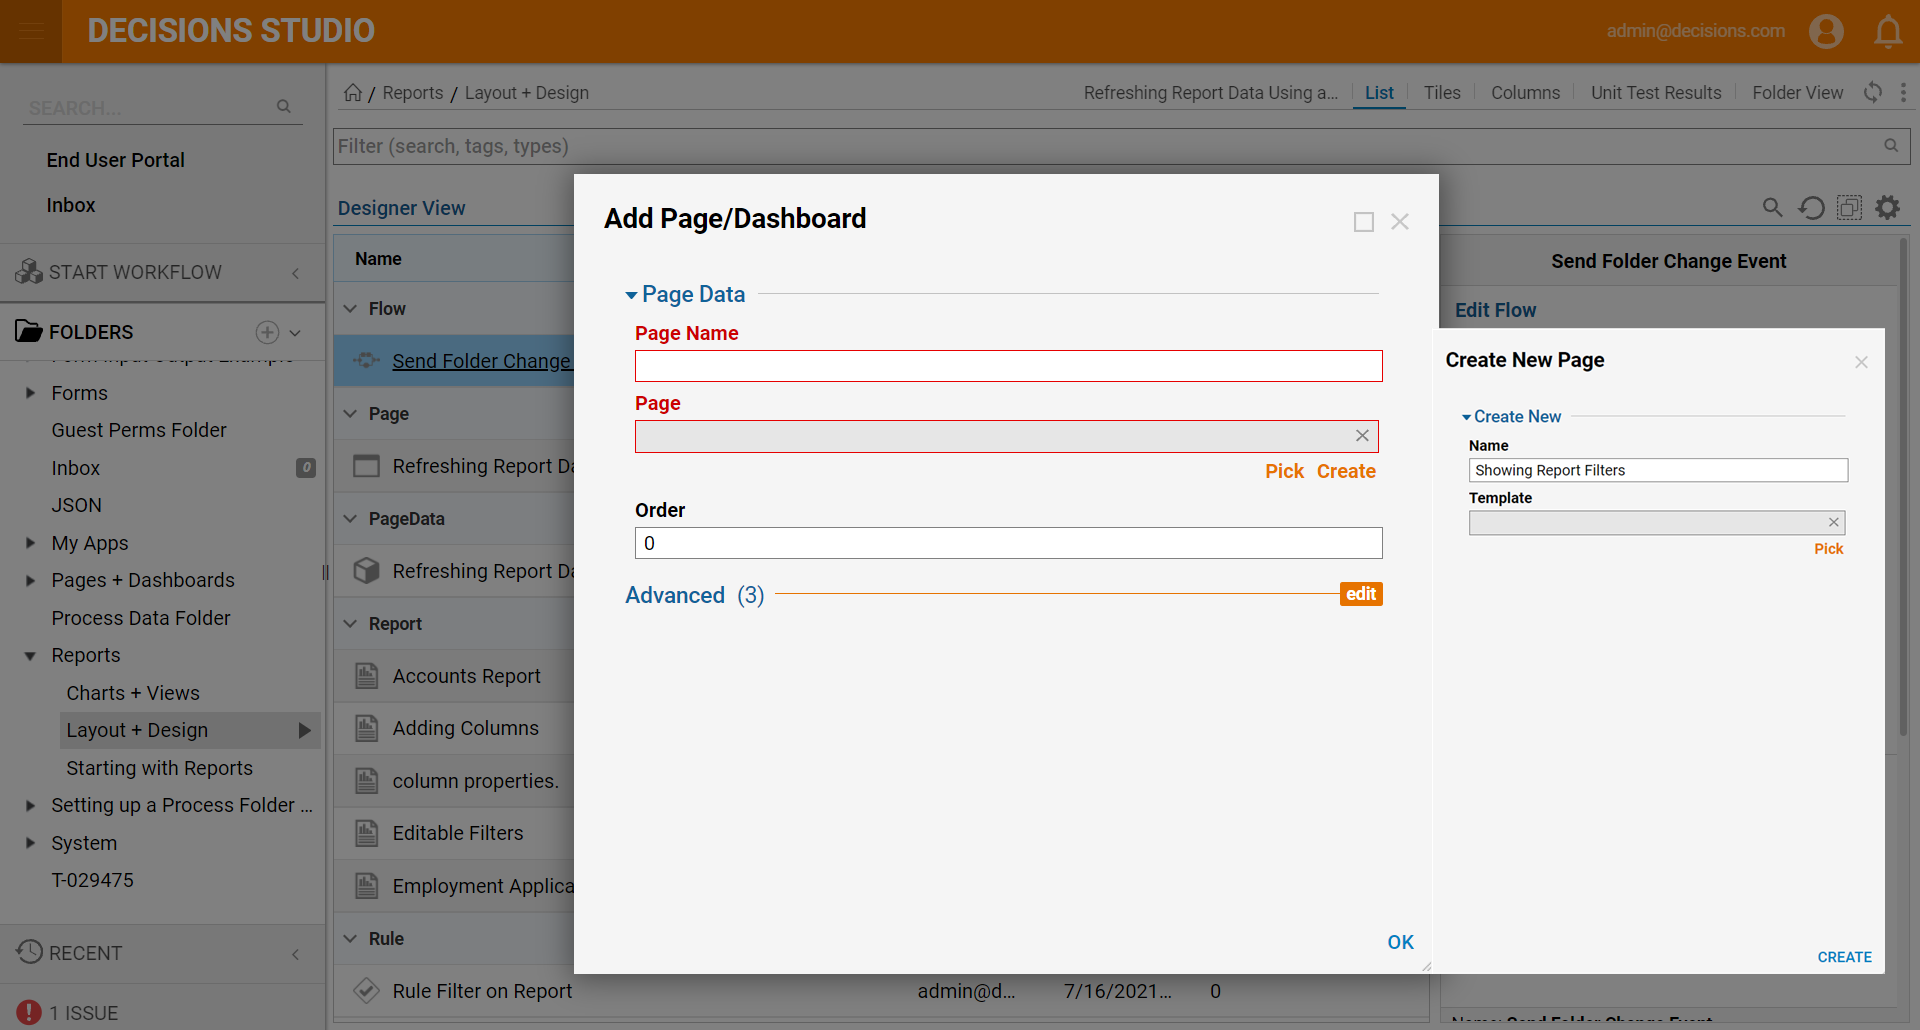
- Then, in the Add Page/Dashboard, click Create under Page Data > Page.
- In the Create New Page window, under Create New, name the Page and click CREATE to enter the Page Designer.
- In the Page Designer, add a Flow Run Part under the Flows category.
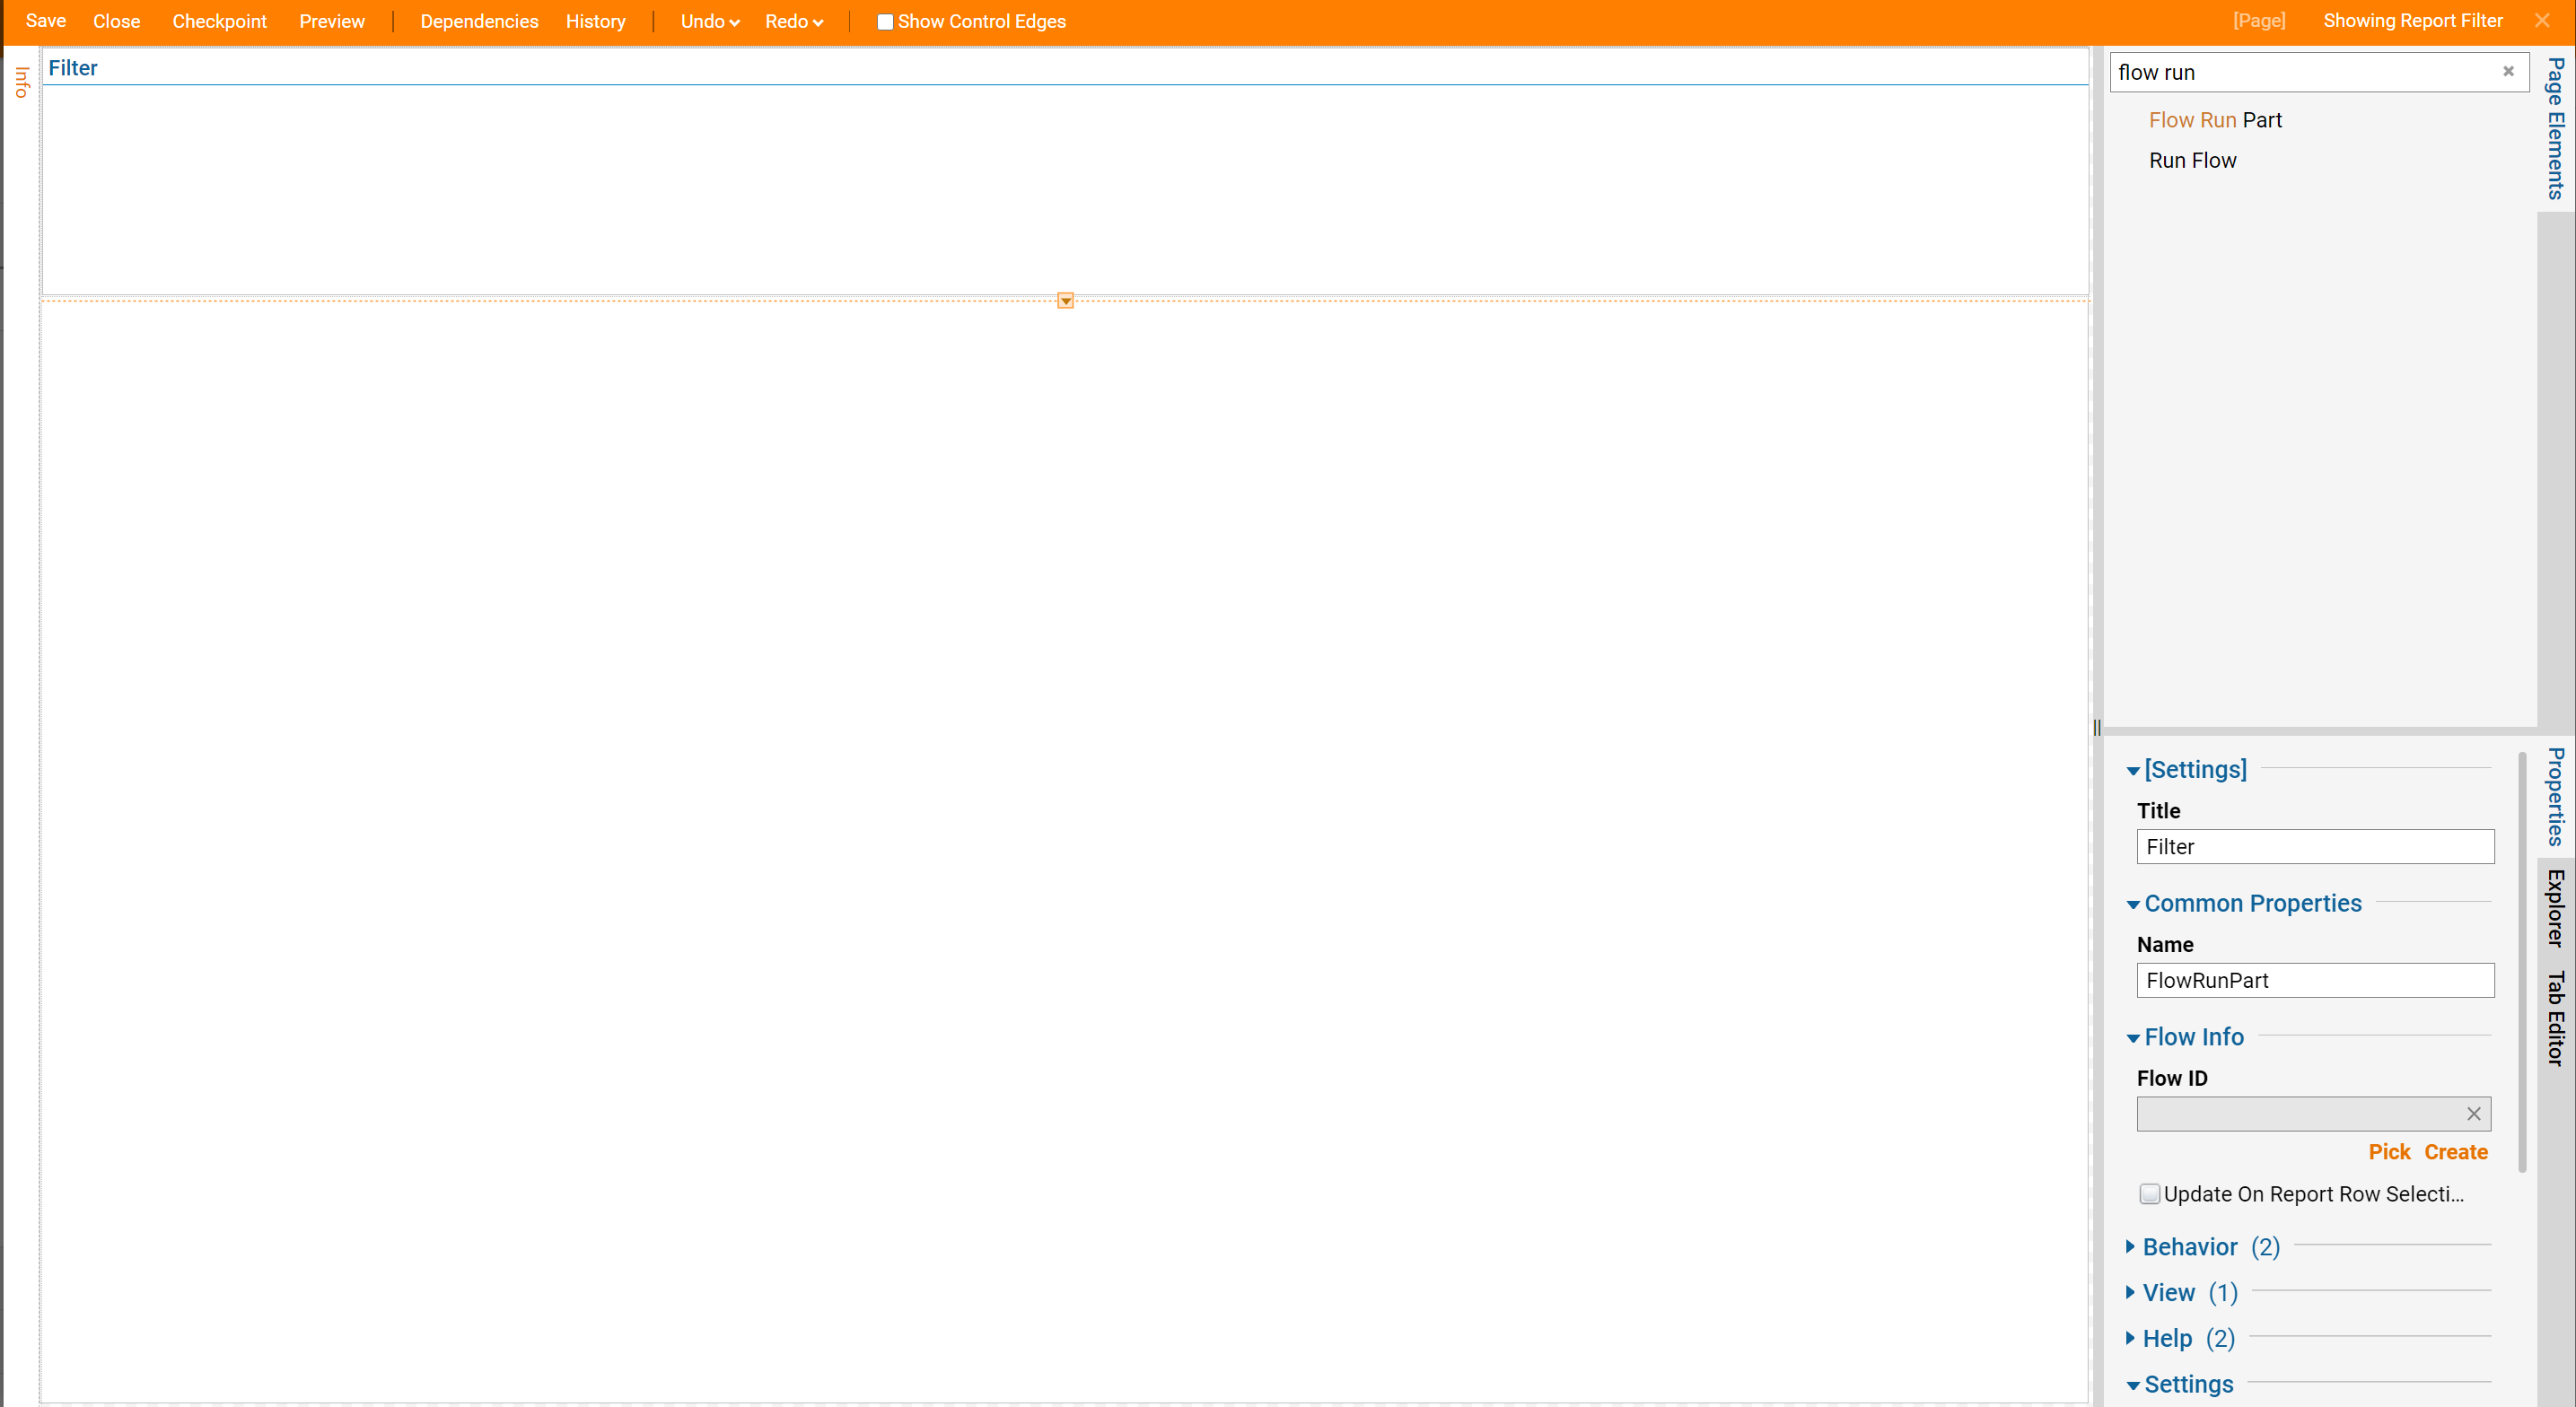
- With the Flow Run Part selected on the Page, navigate to the Properties panel. Under the Flow Info > Flow ID select Pick.
- Select the Flow that was created in the example and choose PICK.
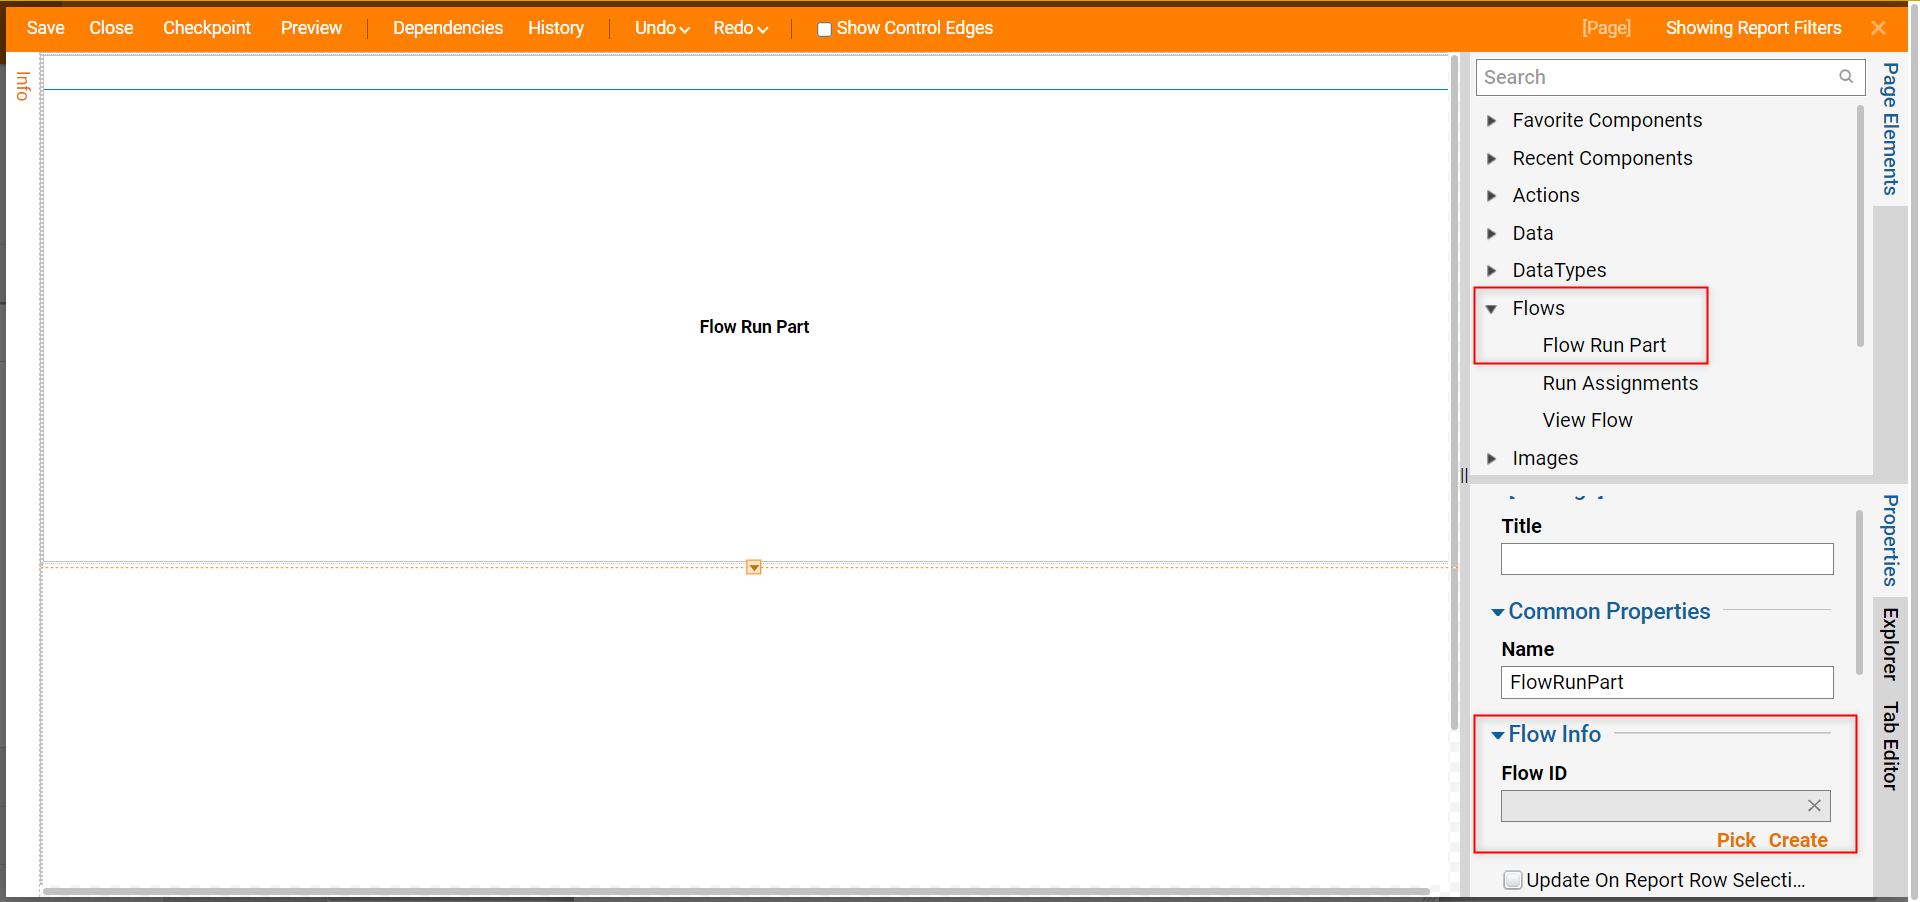
- In the Page Elements panel, add a Report Viewer from the Favorite Components to the Page as well.
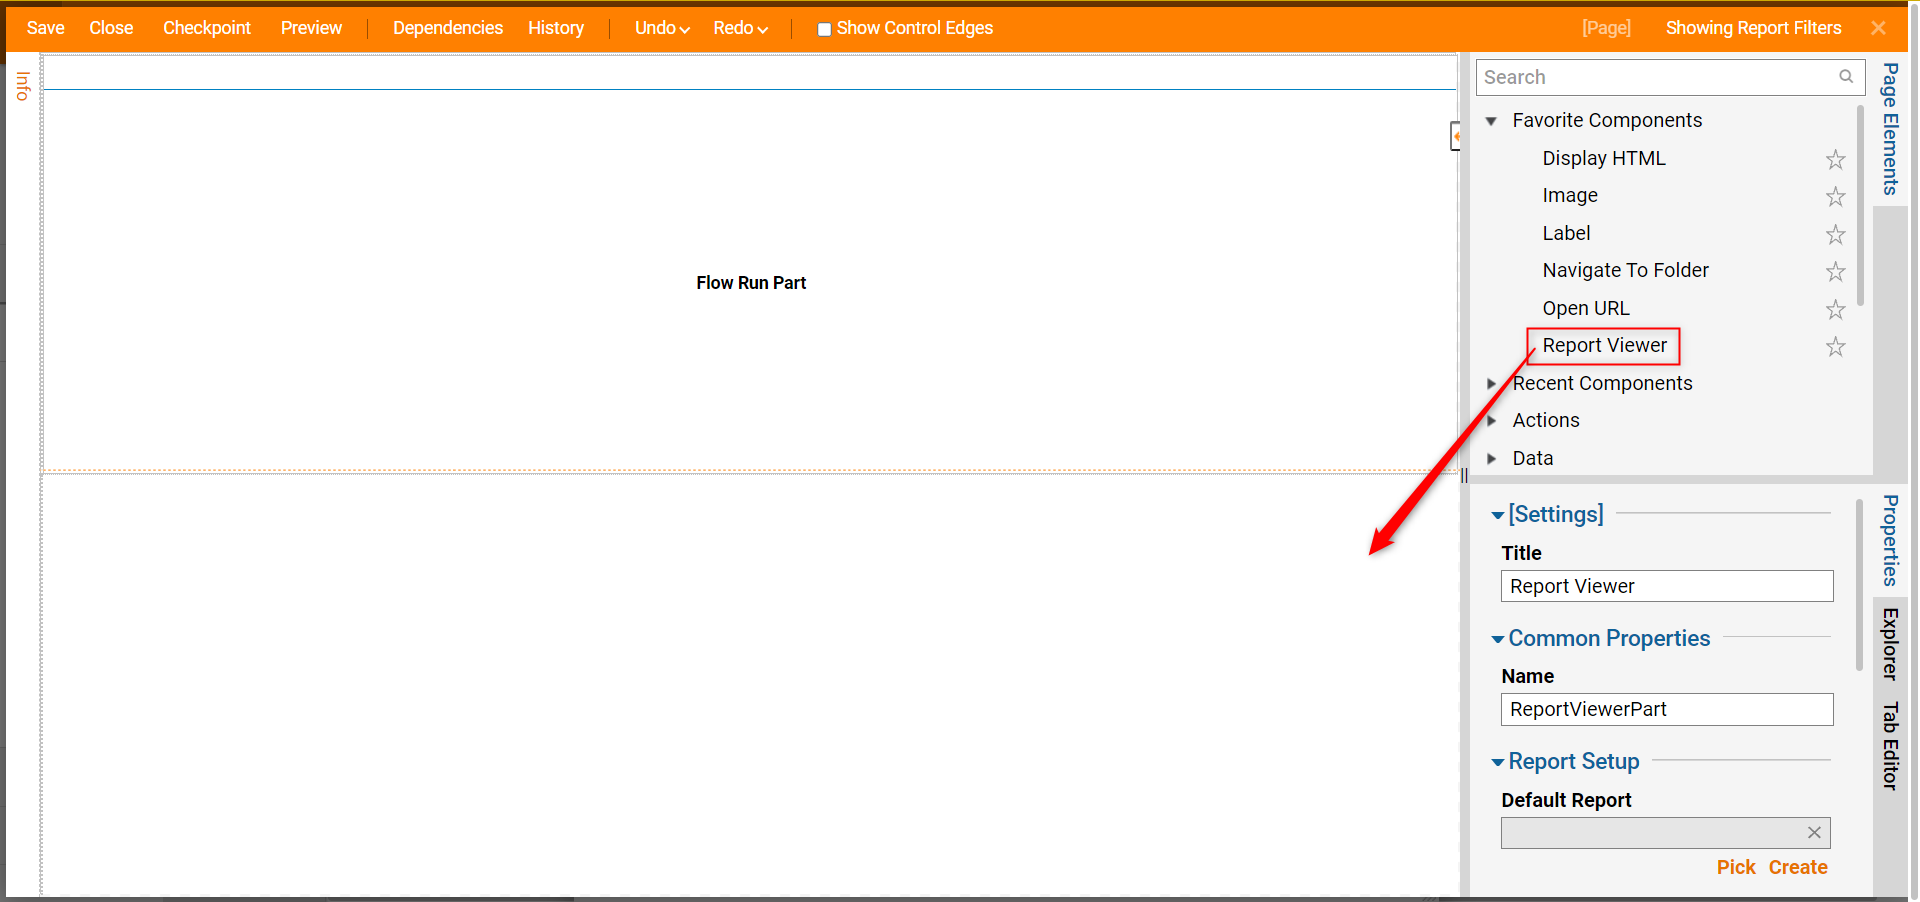
- With the Report Viewer selected on the Page, navigate to the Properties panel; under the Report Setup > Default Report select Create. Name the Report and select CREATE.
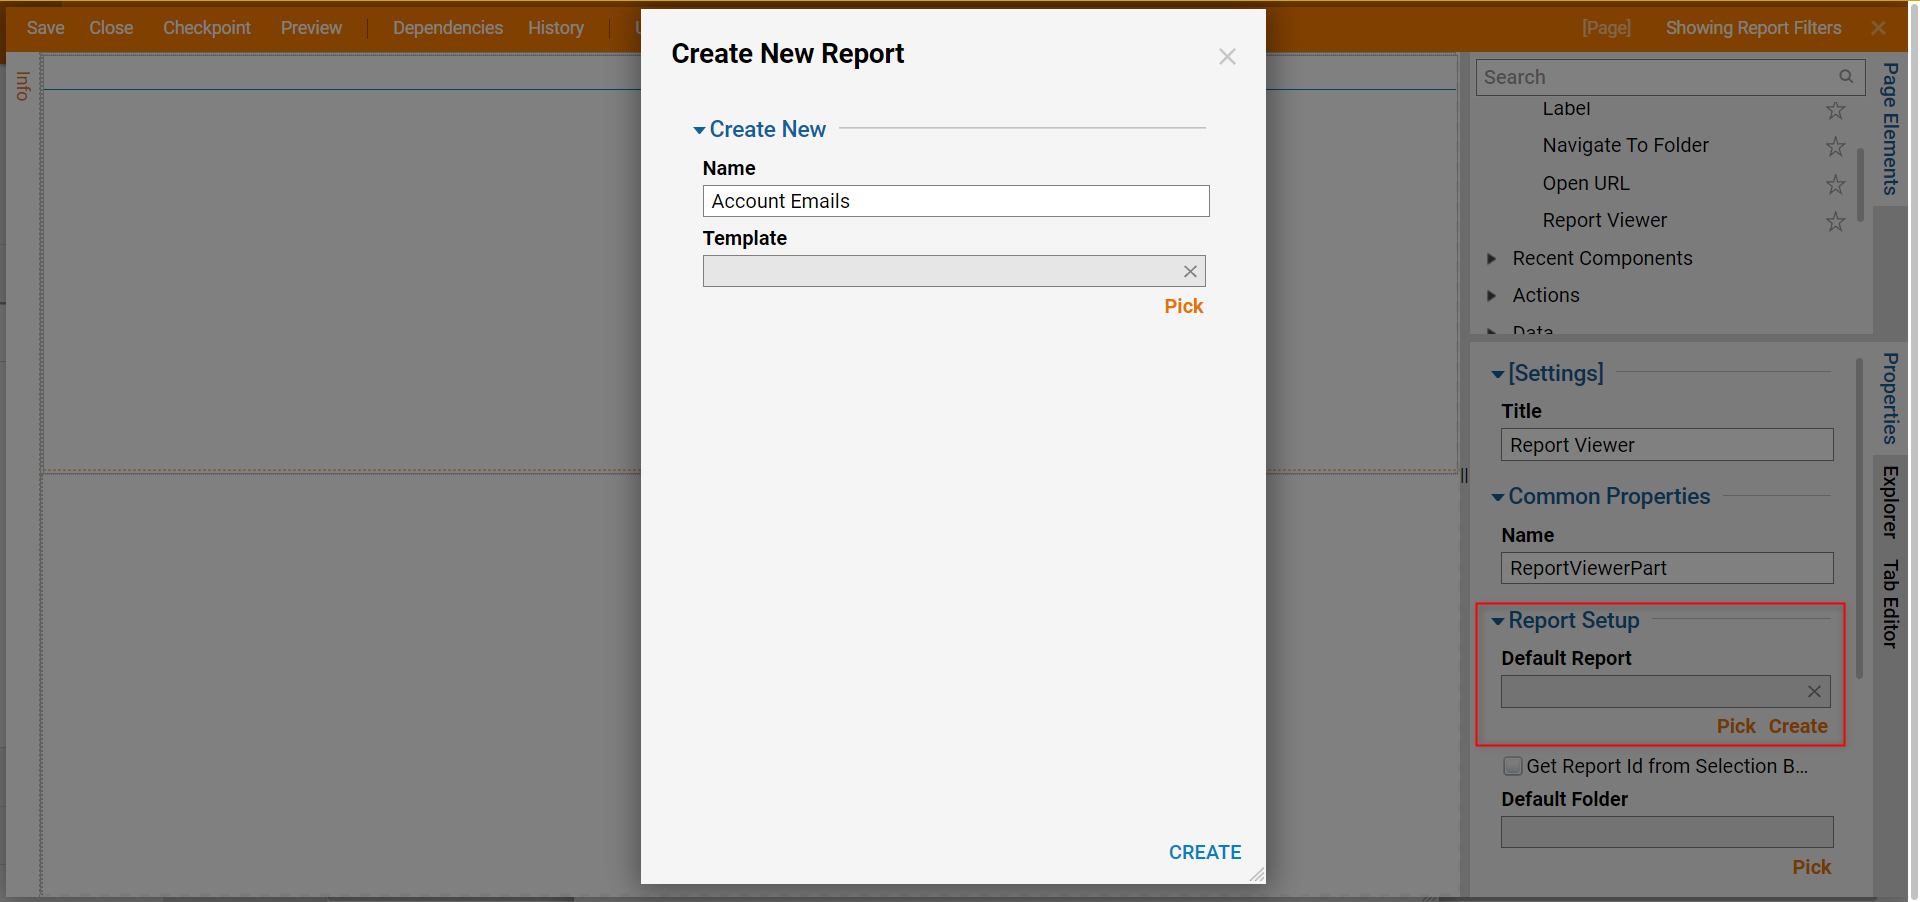
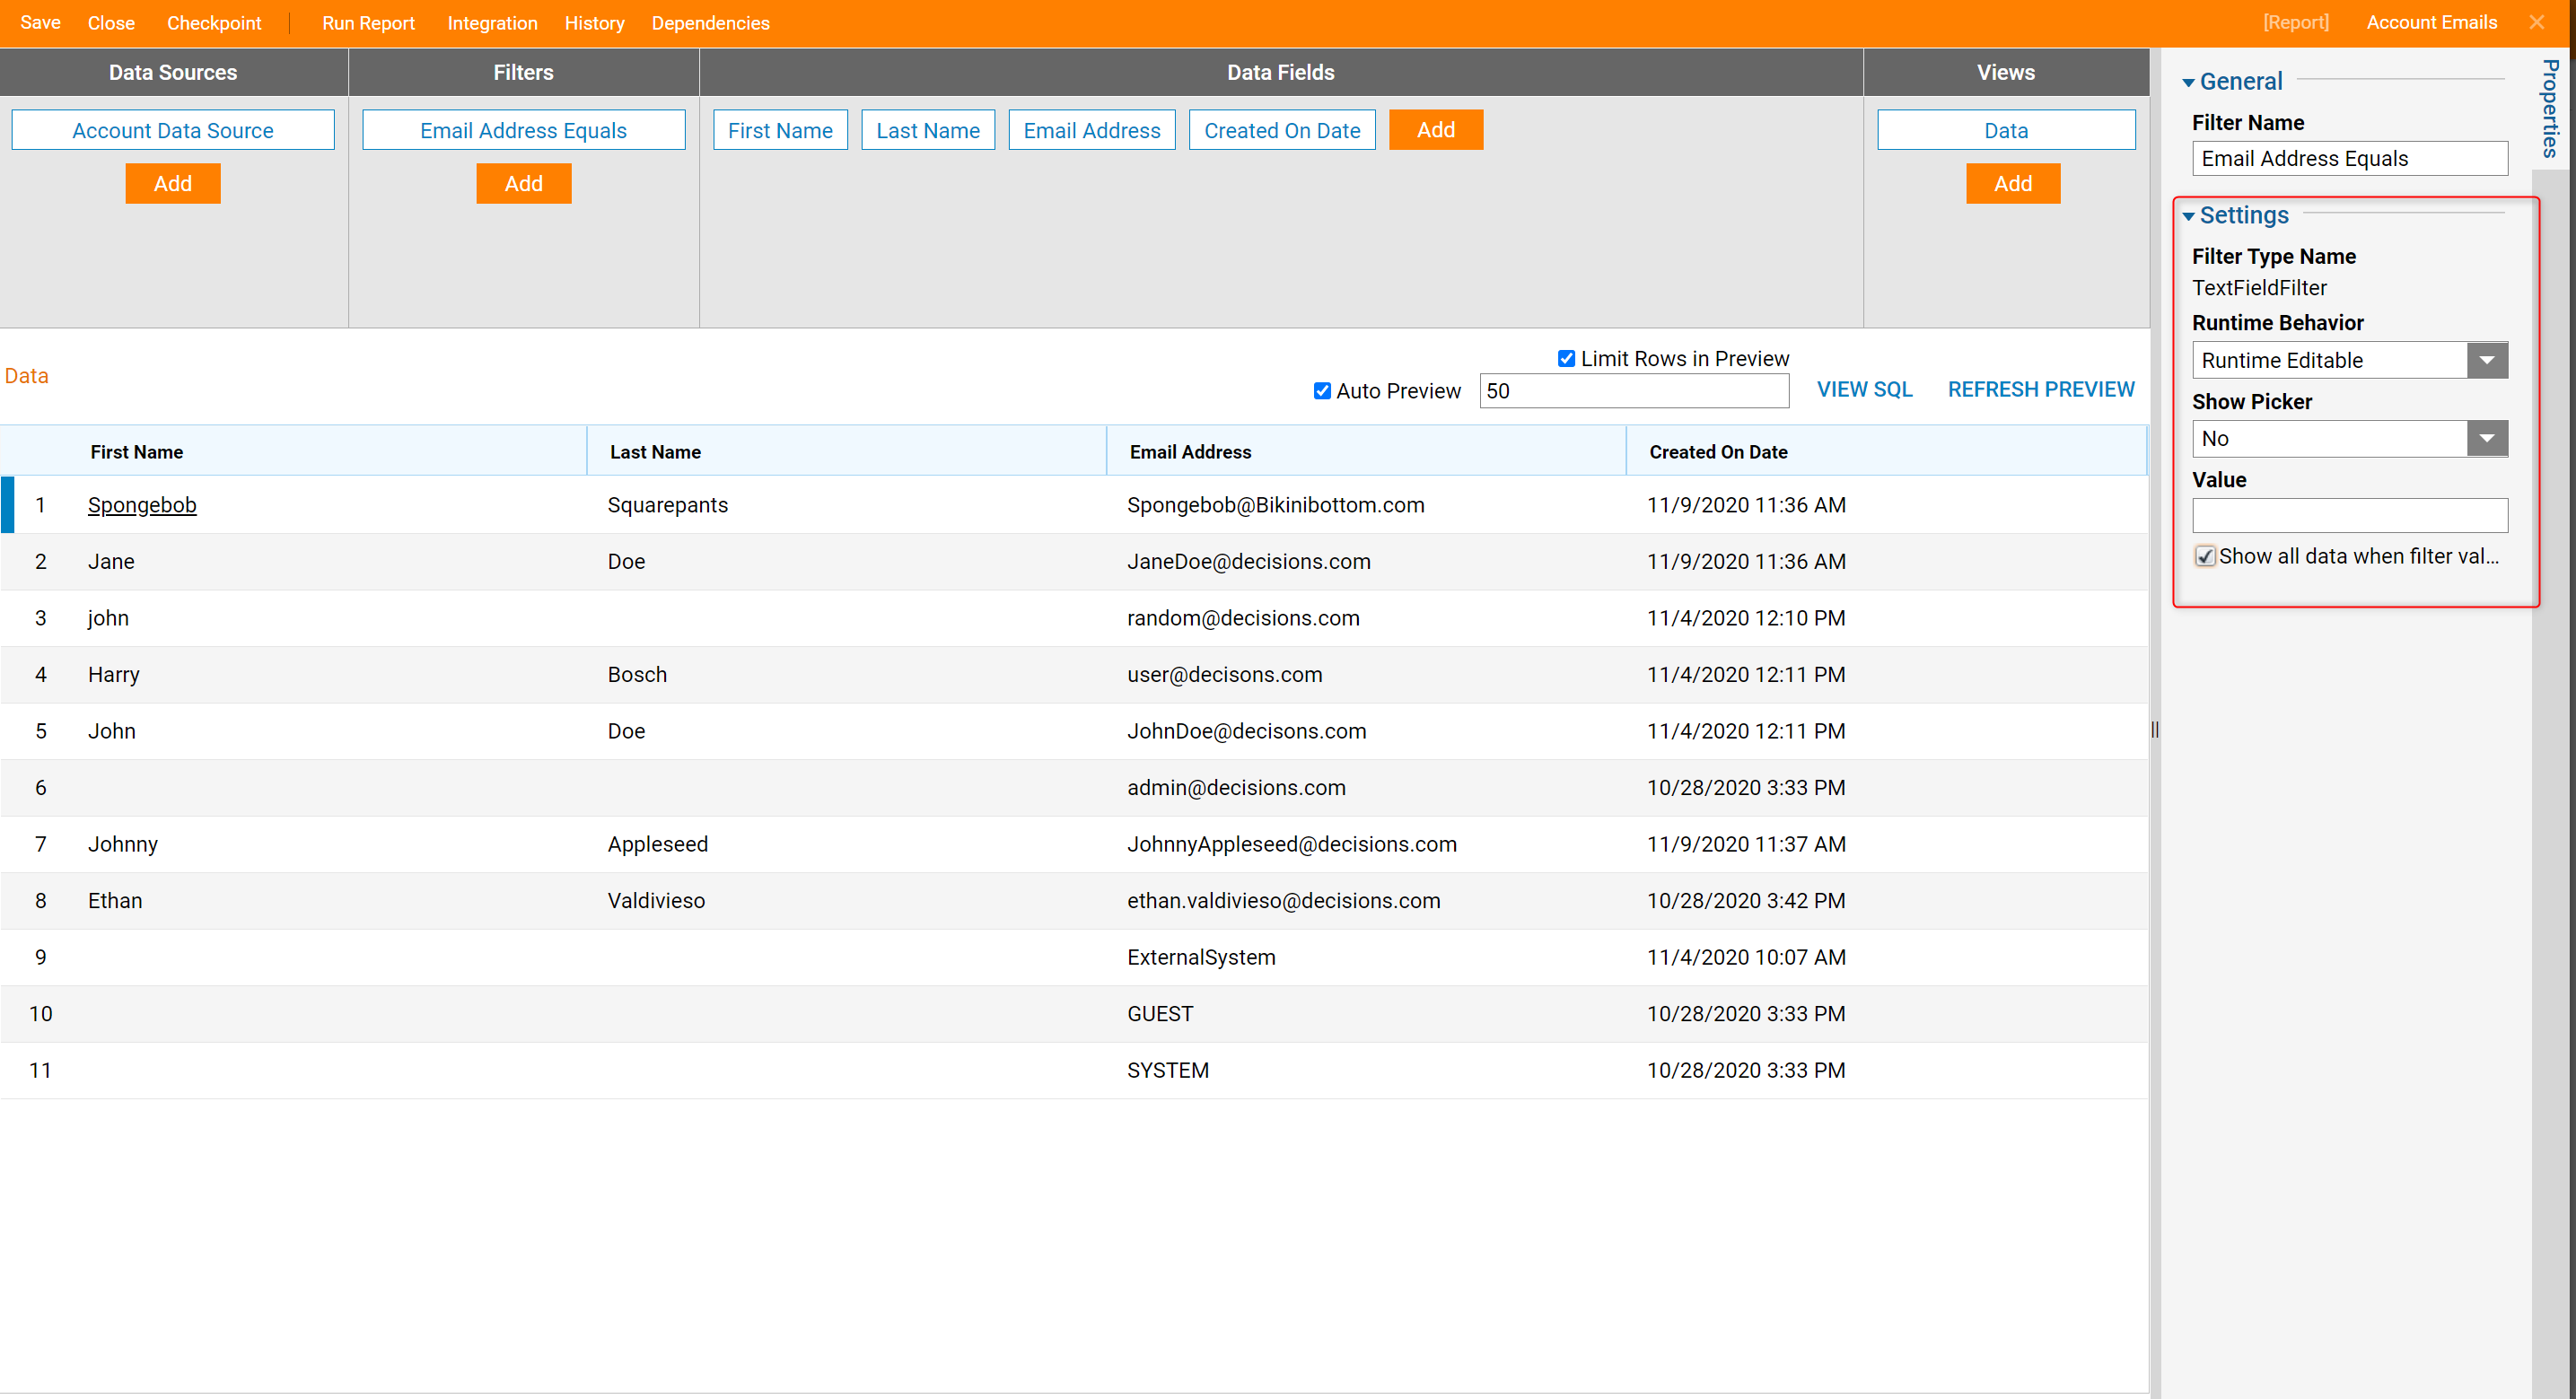
- In the Report Designer, add Data Sources > Account Data Source.
- In the Data Fields column, add First Name, Last Name, Email Address, Created On Date.
- In the Filters column, Add the Email Address Equals Field Filter.
- With the Field Filter selected set Runtime Editable option from the Runtime Behavior dropdown menu. Leave Value setting blank. This Value will be controlled with the Flow.
- Save and close the Report. Save and close the Page.
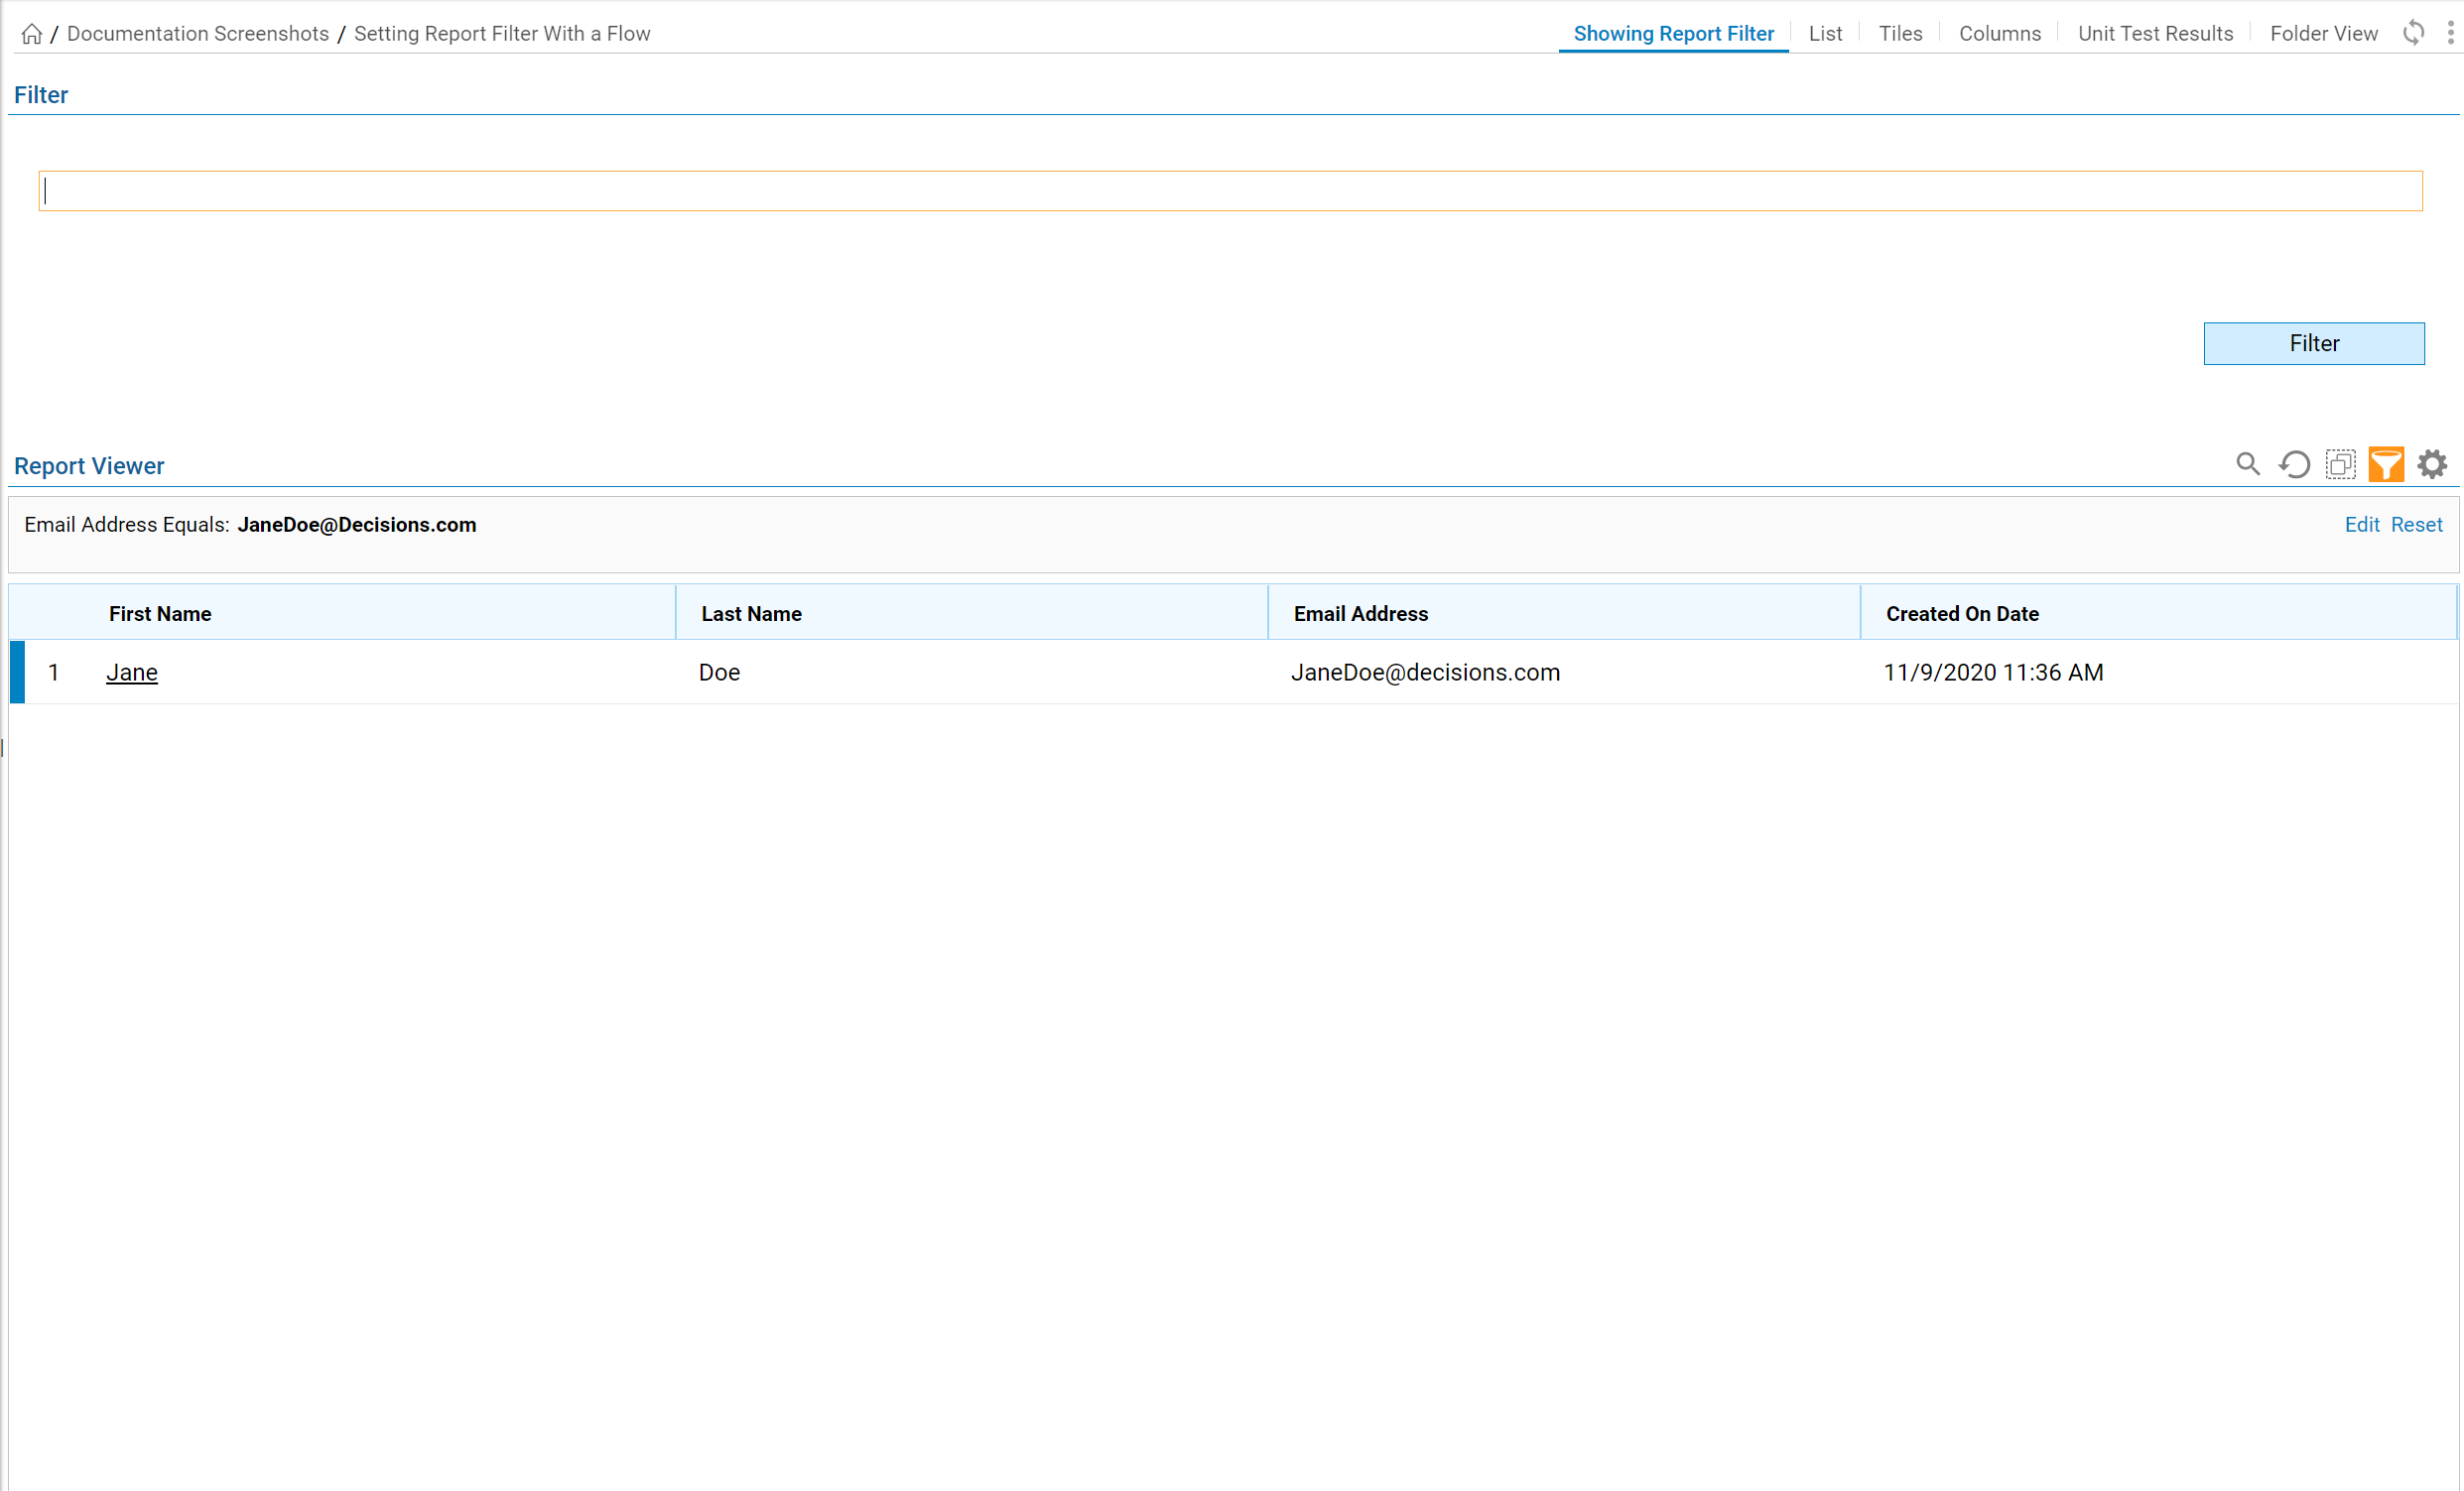
- In the Designer Folder, in the top-right view panel choose the view of the page just created. This will show the page that has the Flow Run Part and Report Viewer.
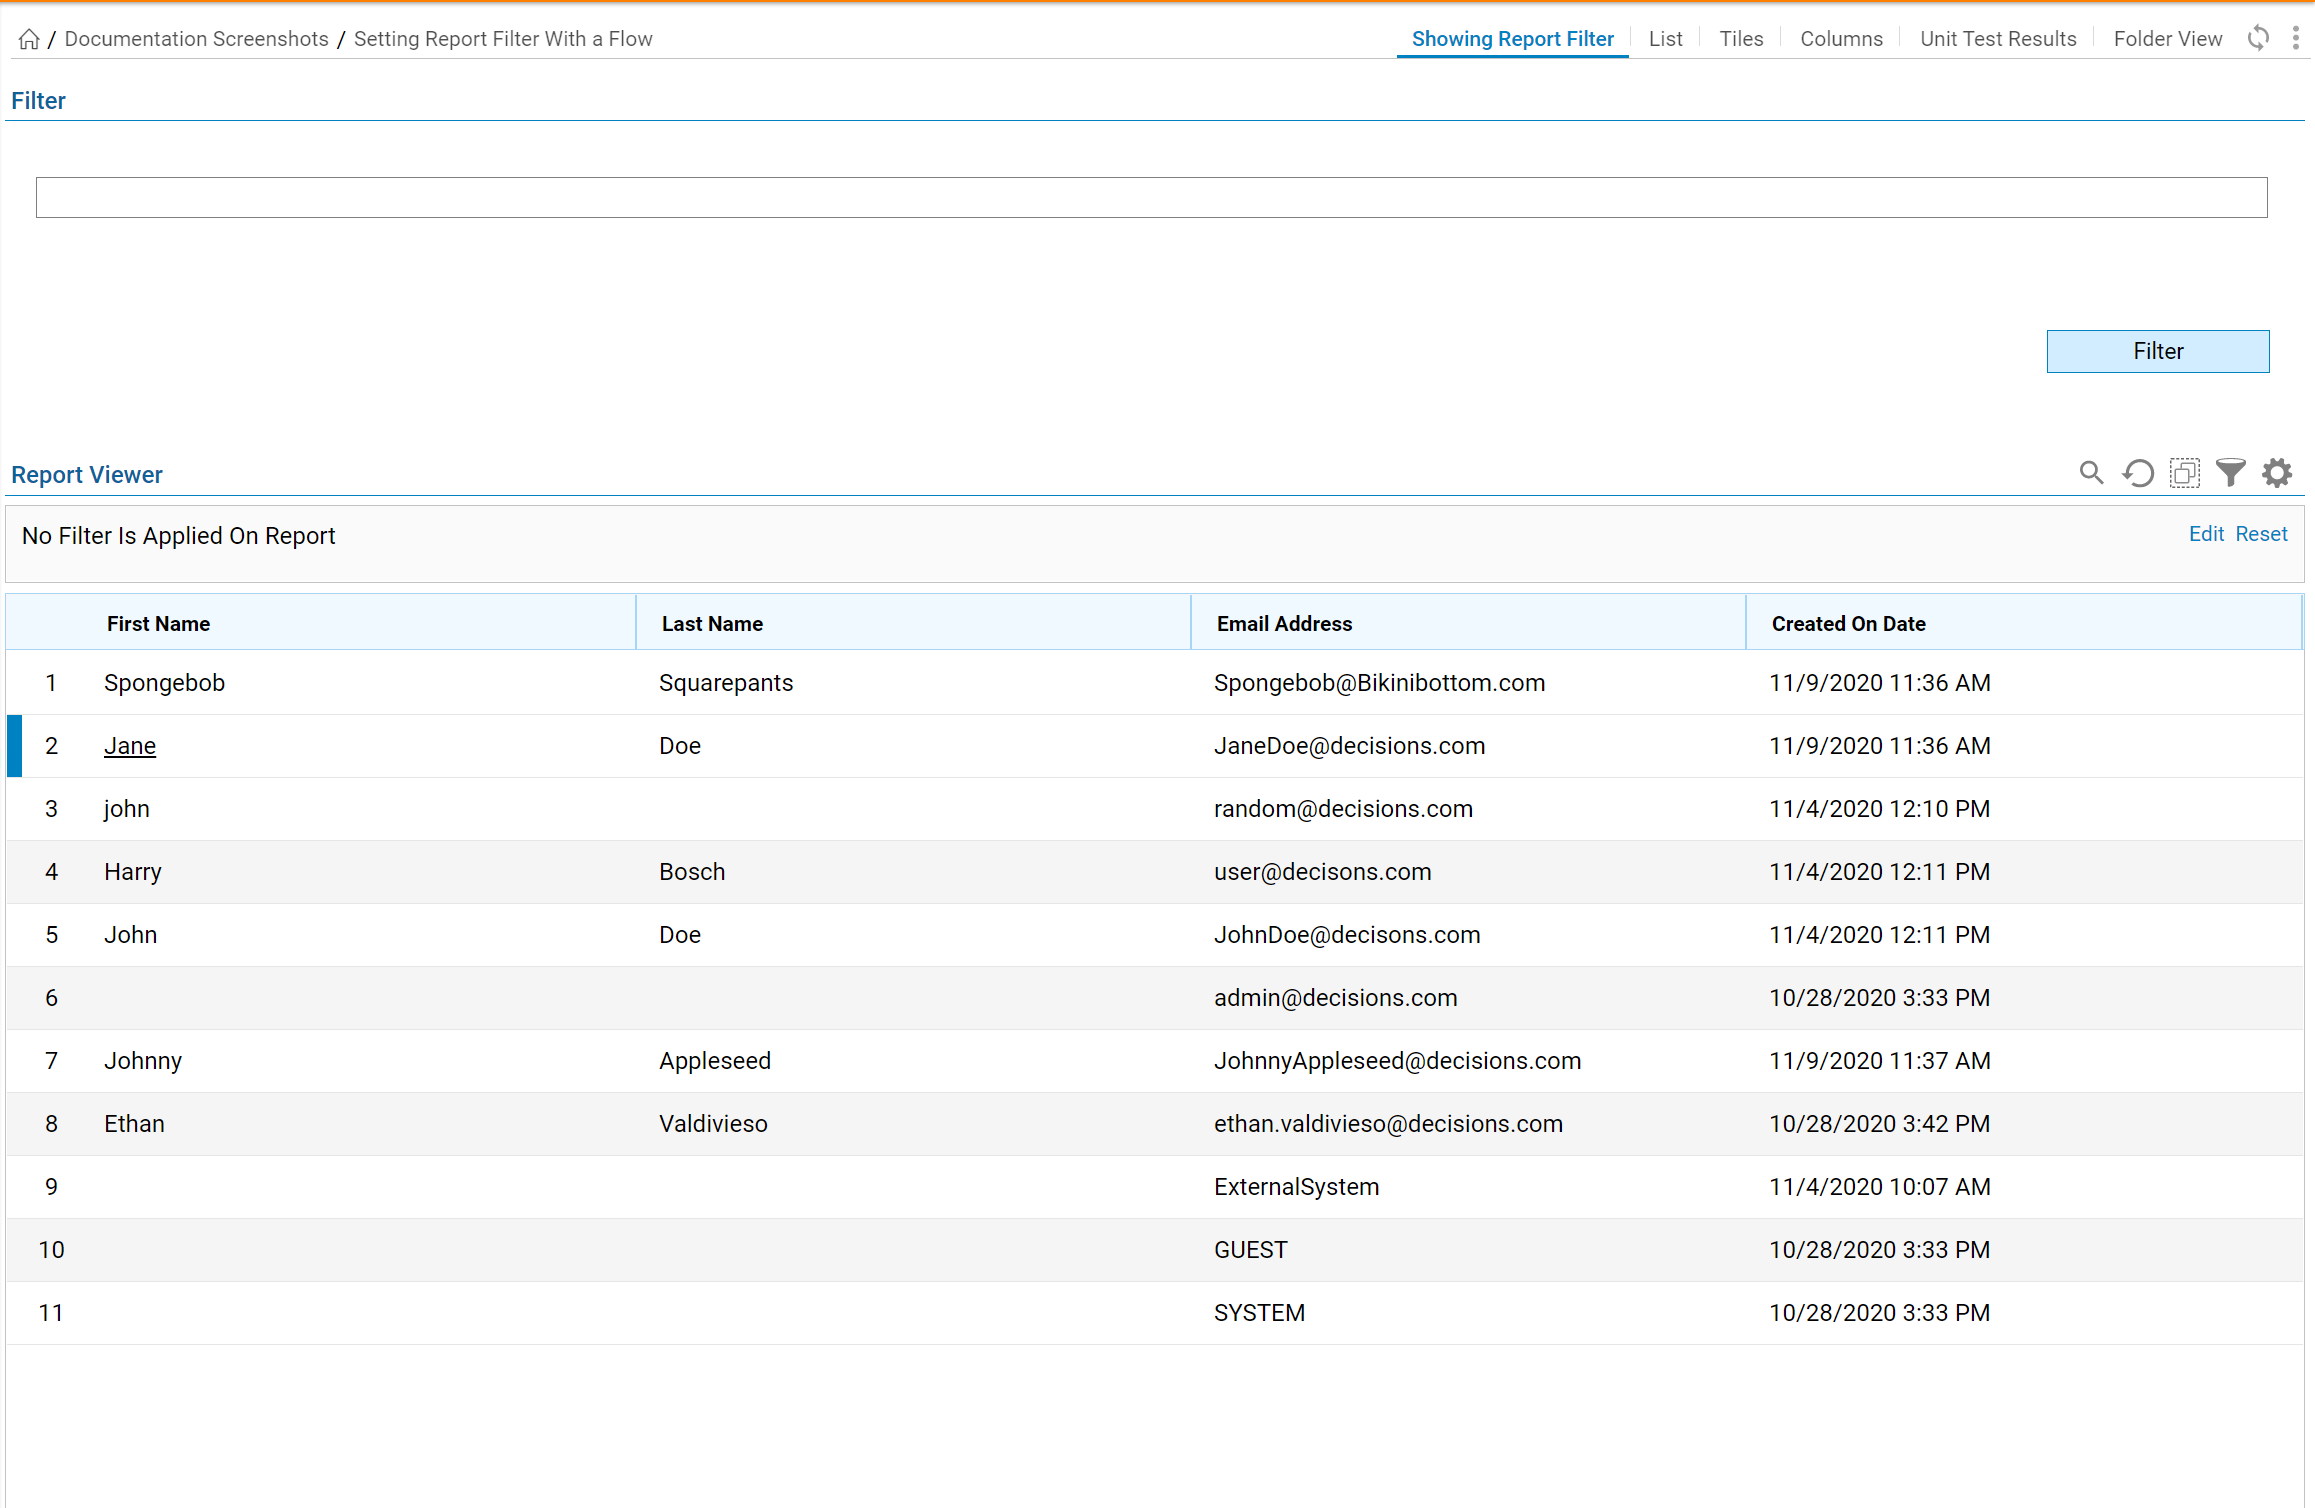
- Type an email in the Flow Run Part, select Filter.
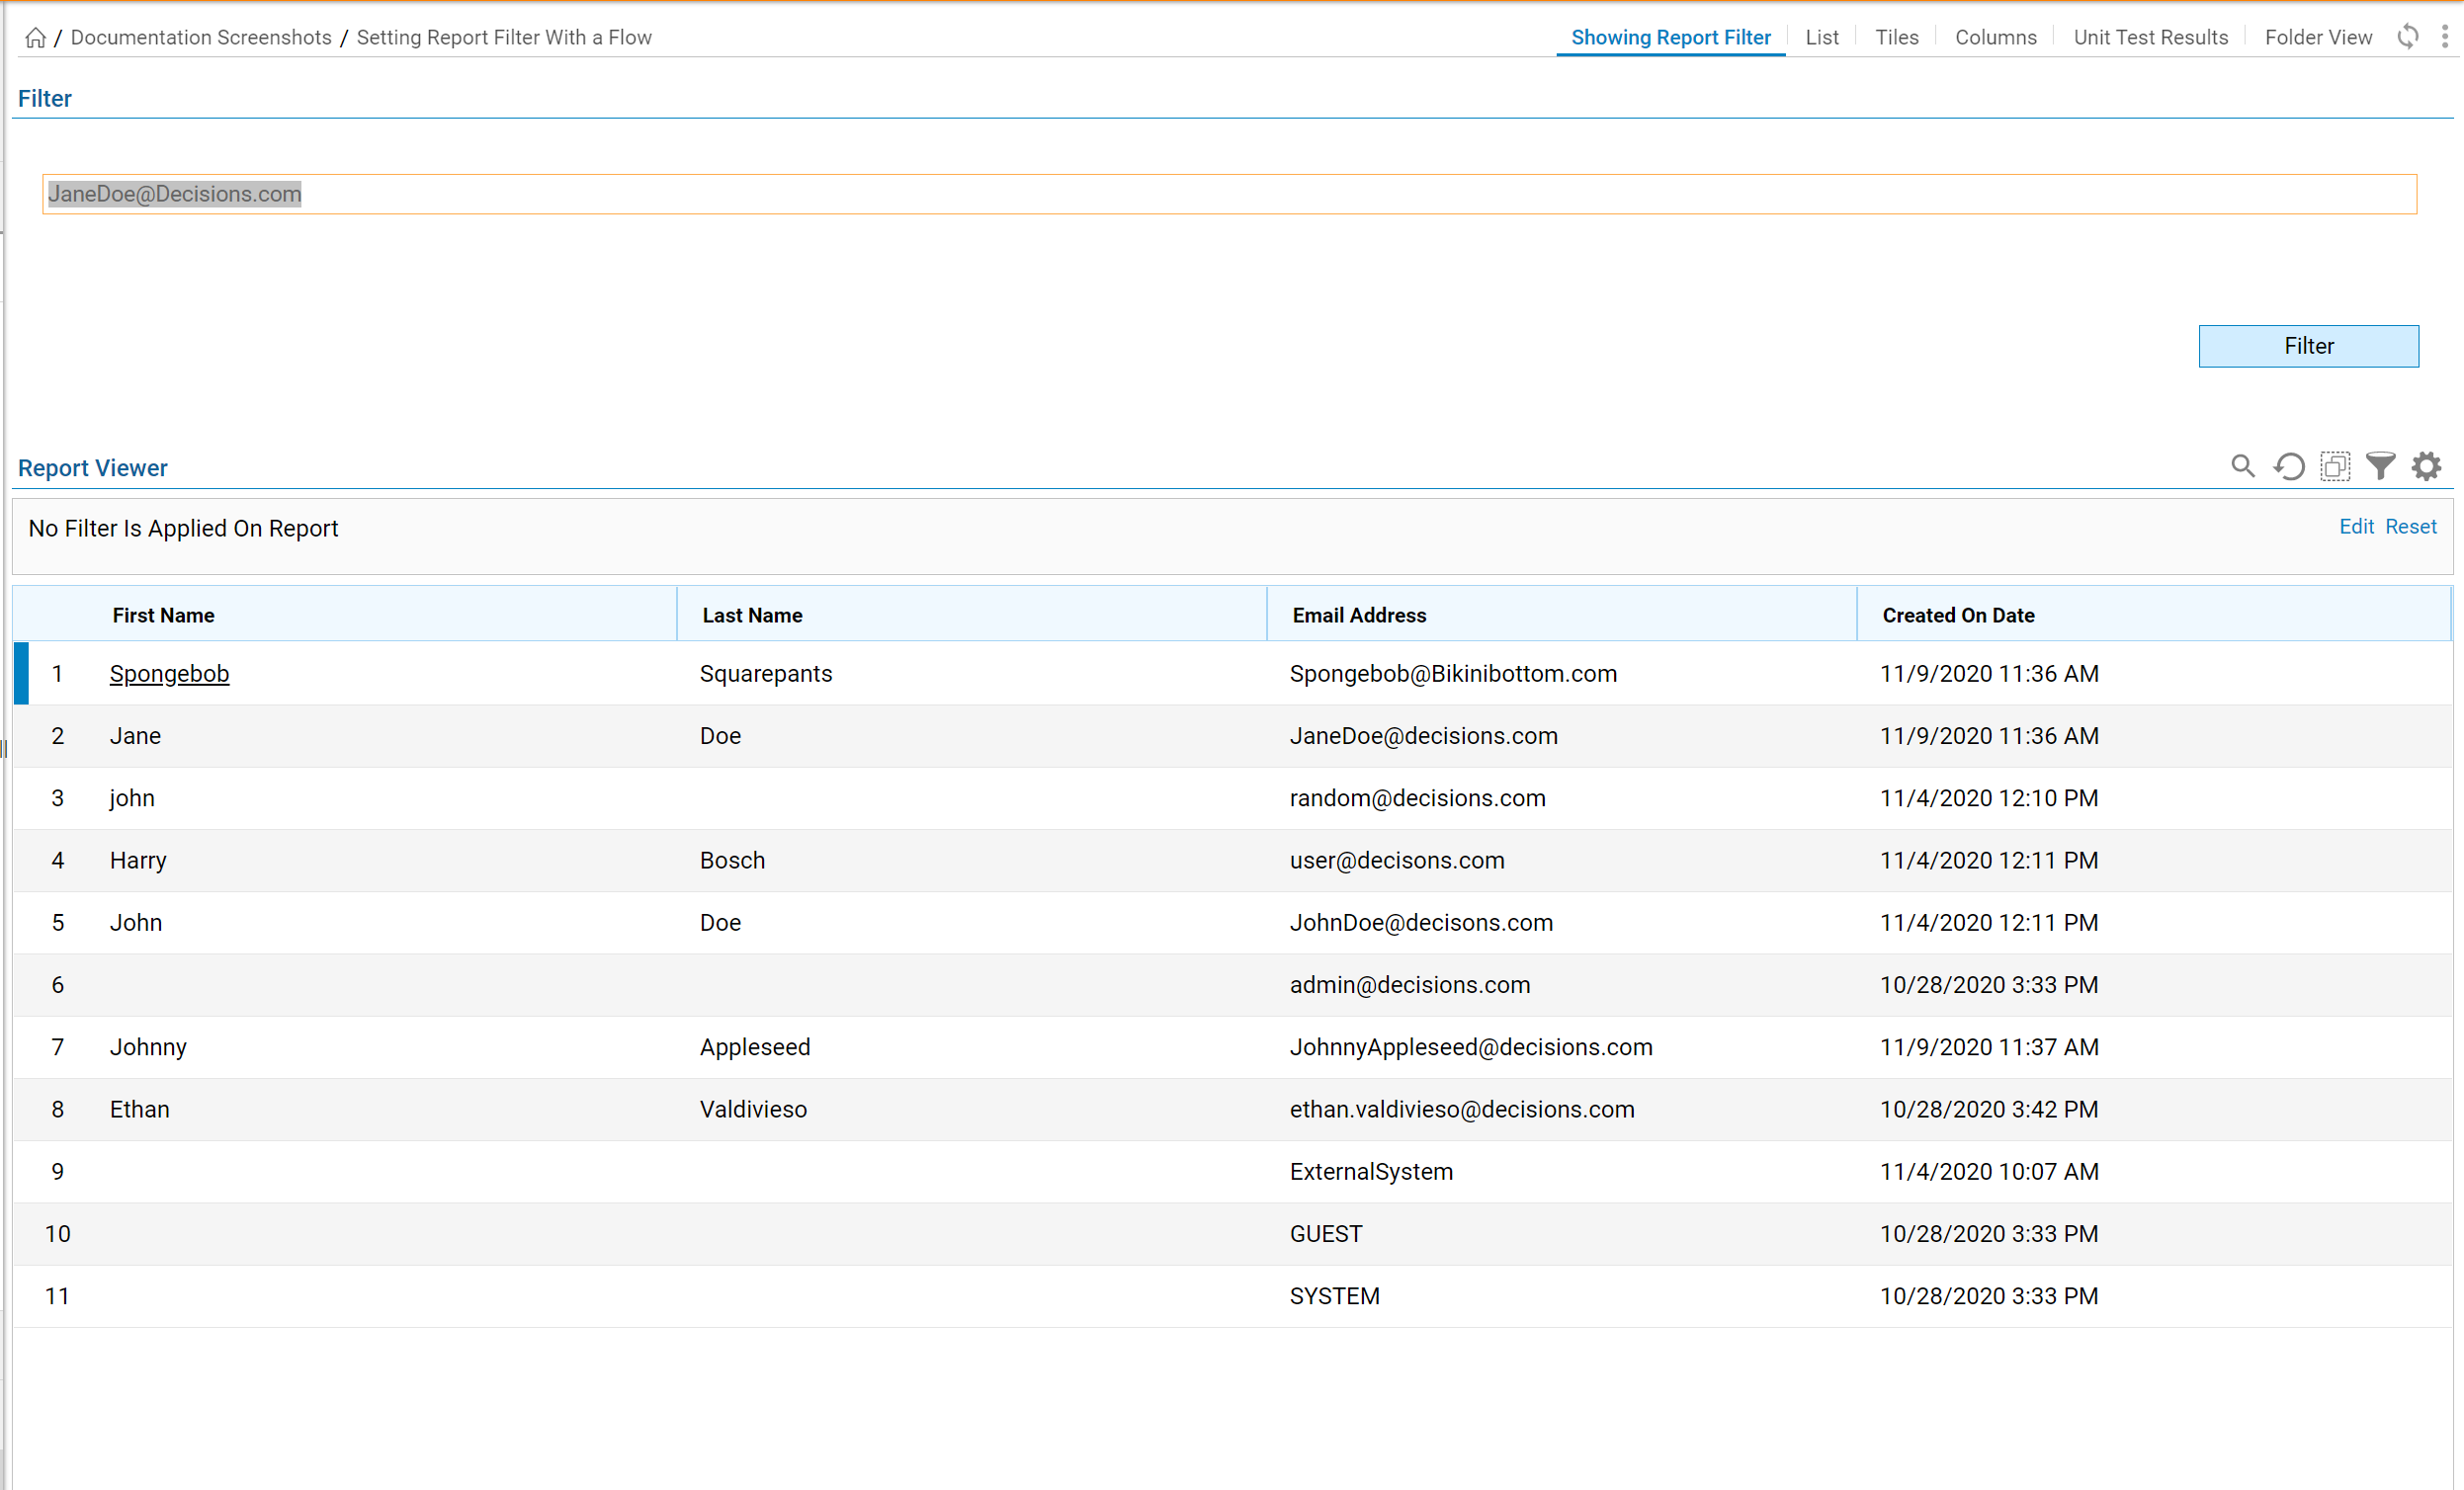
- The Report filters, and displays the Account with the matching email address.
