Overview
Creating a checkpoint in a Flow will create a backup of the element in a history folder. This makes it possible to restore the checkpoint from a backup file. The difference between a checkpoint and an auto-generated save is that a checkpoint backup file has a specific name. Manual and automatic saves have generated names. Checkpoints are important for the action View Completed Form, which is found in the Process Views of a process folder. In order to show the correct version of a Form at runtime, make sure that the Form has a saved checkpoint before running the Flow.
Example
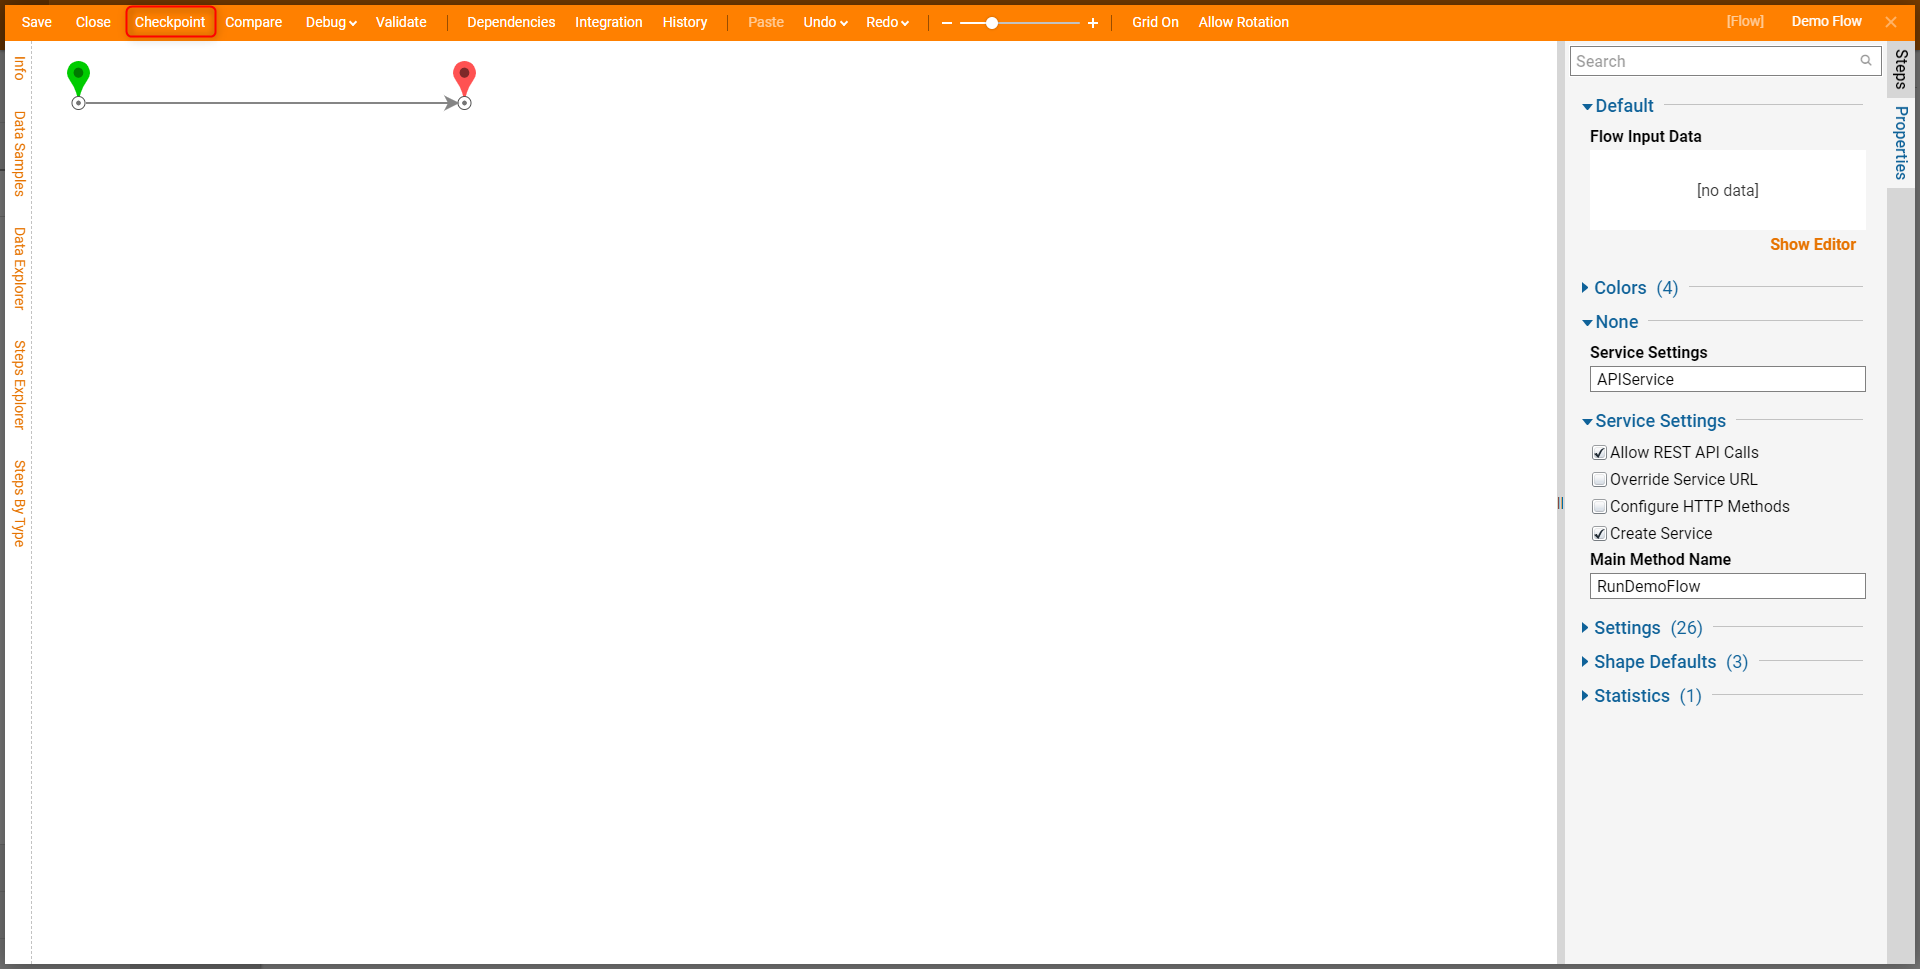
Start by navigating to a Flow from the Designer Folders. Inside a Flow locate and select 'Checkpoint' in the top action panel to create a Checkpoint for that instance of the flow.
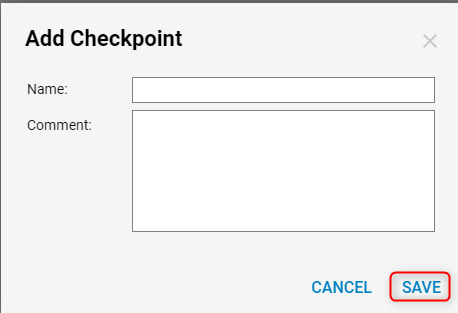
Provide the checkpoint name and add any comments as needed, and select 'Save'.

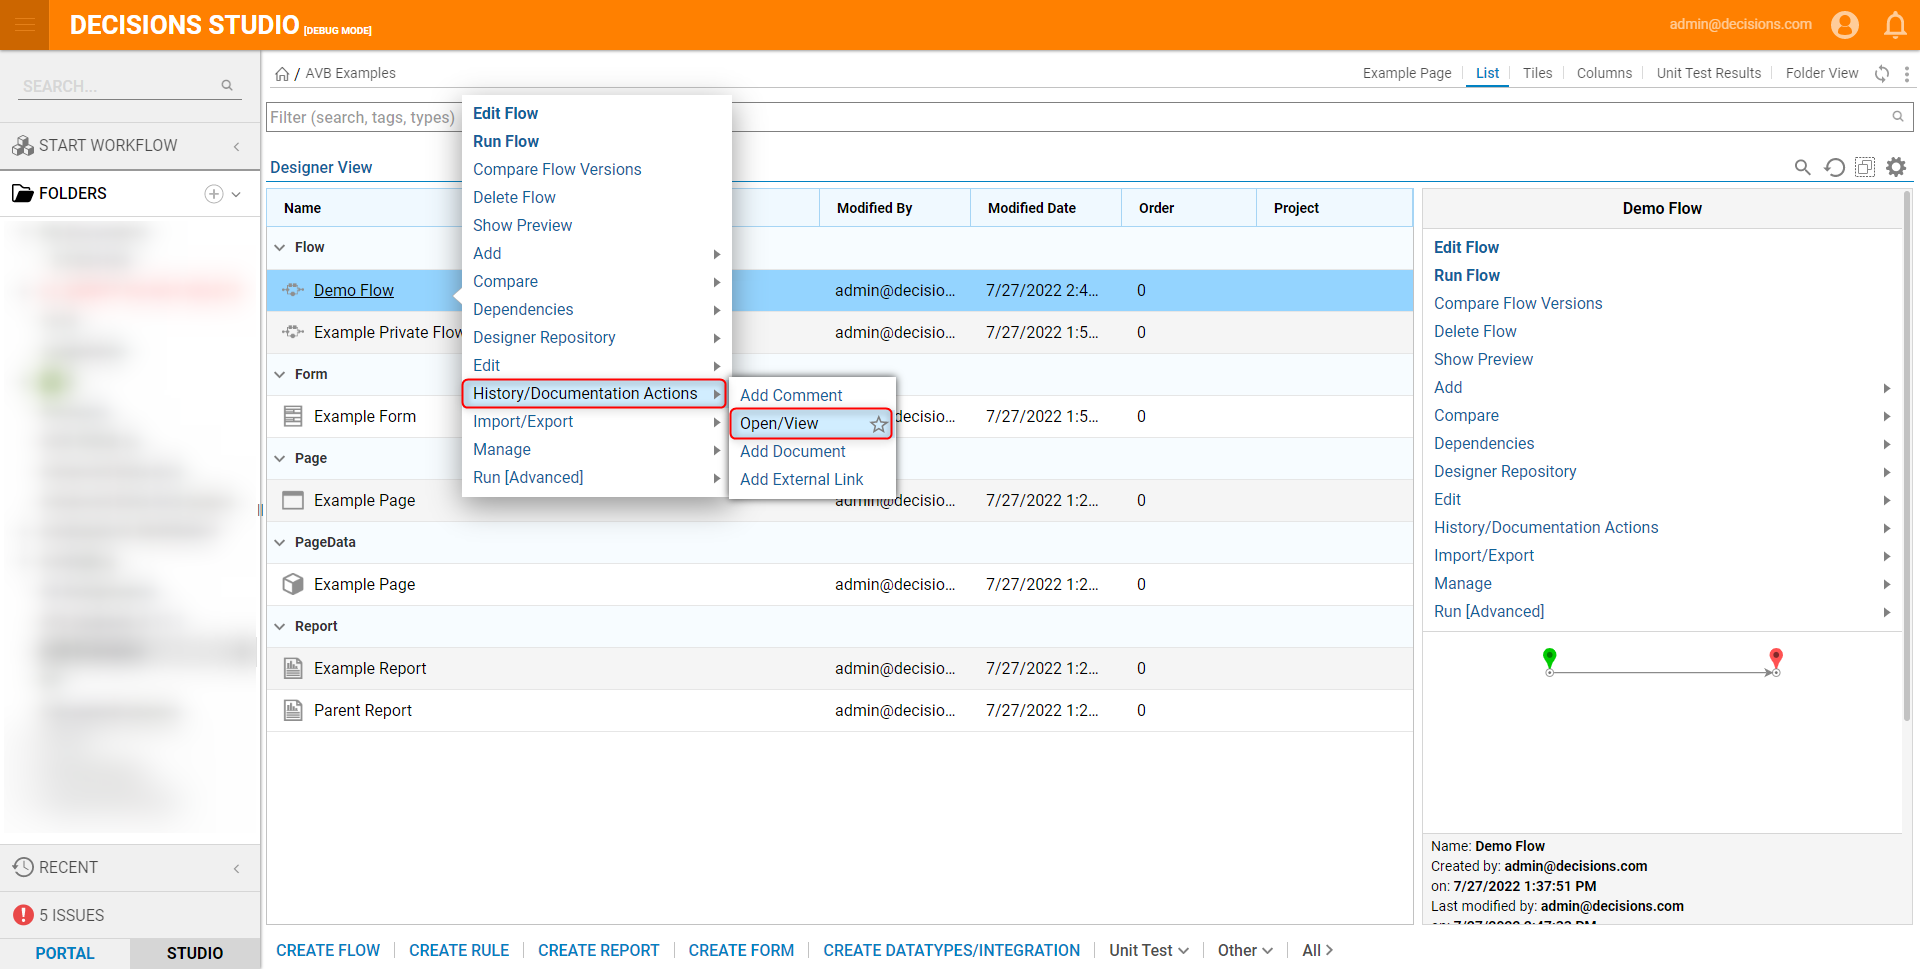
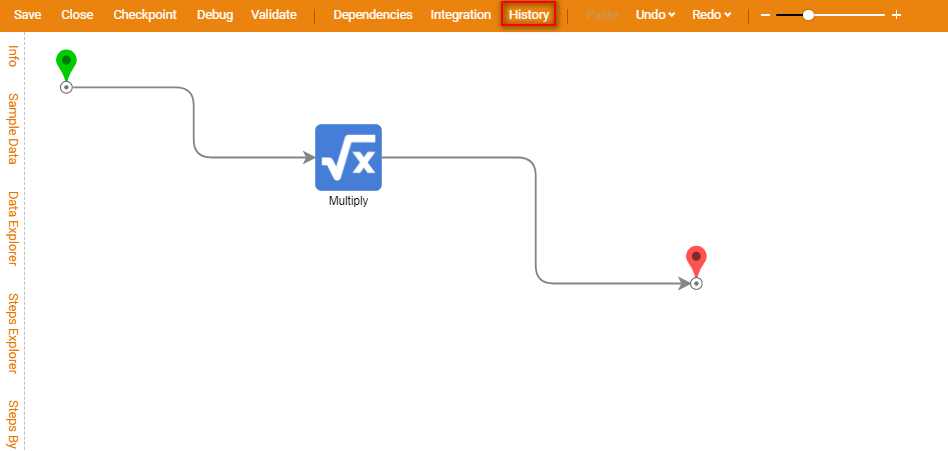
There are two ways to open and view checkpoints. To view the checkpoint from the Designer Folder select History/Documentation Action in the list of actions and then select Open/View. Alternatively, to open and view checkpoints within the Designer, select History in the top action panel. On the History and Documentation Page, a list of all changes made will appear on the left, and on the right side, a list of all Checkpoints created as well as auto backups will appear.
 |  |