Overview
Pages display web-delivered information through use of the Page Designer to create Tiles, display Reports, and construct Charts and Graphs. Since Pages support the majority of Decisions Elements, Designers may easily and flexibly build a custom interface for displaying and/or inputting data that is accessible virtually anywhere. Pages can either be added to a Folder or a Designer Folder; however, for Pages added to a Designer Folder, a user must be a Designer to access them.
When creating a Page, the Page Data settings are generated for the new Page. From here, the Designer may create the new Page from a set of templates, pick a previously produced Page, set the order in which this Page will appear in the Studio, and select which supported platforms may display the Page: computer, tablet, and mobile.
Dashboards are a common use case of Pages designed to present a dynamic, graphic information interface for tracking specified KPIs at a quick glance.
The following article discussed how to create a Page to assemble a Dashboard. For this example, the default Account object in Decisions stands in as the source of the Reports shown. Pages and Dashboards have different technical functions but are referenced interchangeably for they showcase the same data.
How to Create a Page/Dashboard
Designers may create a Dashboard through two methods: attached to the parent Folder and unattached. Attaching to a Folder grants the end user easier navigation by appearing as a viewable tab in the Studio and Portal. Unattached Dashboards may be easier to organize and may be attached to a Folder at any time.
Creating an Attached Page/Dashboard
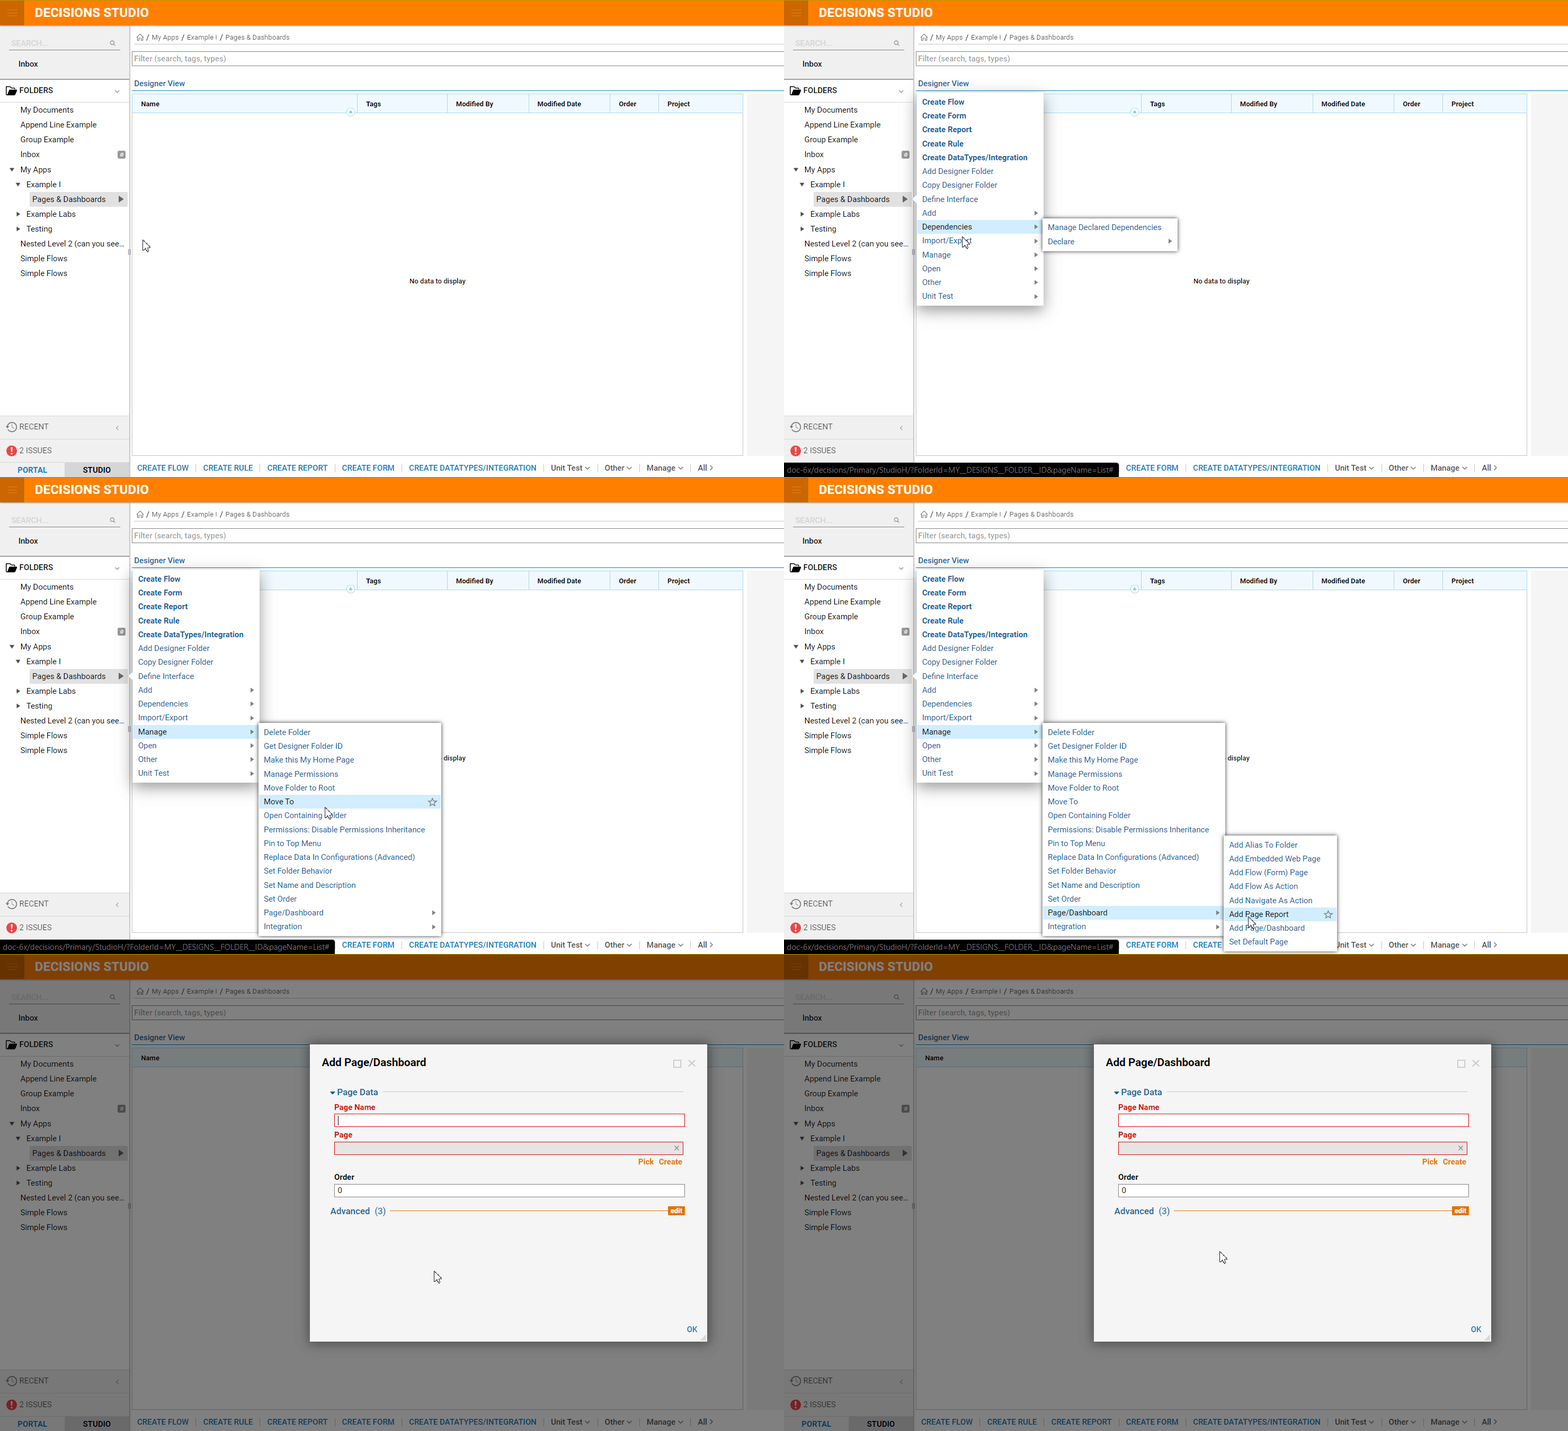
- In the Designer Studio, right-click on the desired parent Folder to open the Action bar. Select the following path: Manage > Page/Dashboard > Add Page/Dashboard.
- In the Page Data setting, designate a Page Name for the Dashboard keeping in mind it will appear as the name of the tab at the top of Folder.
- Use the PICK button to choose an existing Dashboard or CREATE to create a new Page with or without a template.
- Select SAVE once the Page Name and Page/Dashboard component have been selected.

- Notice that the Page Name now appears as a selectable tab to the left of LIST in the folder.

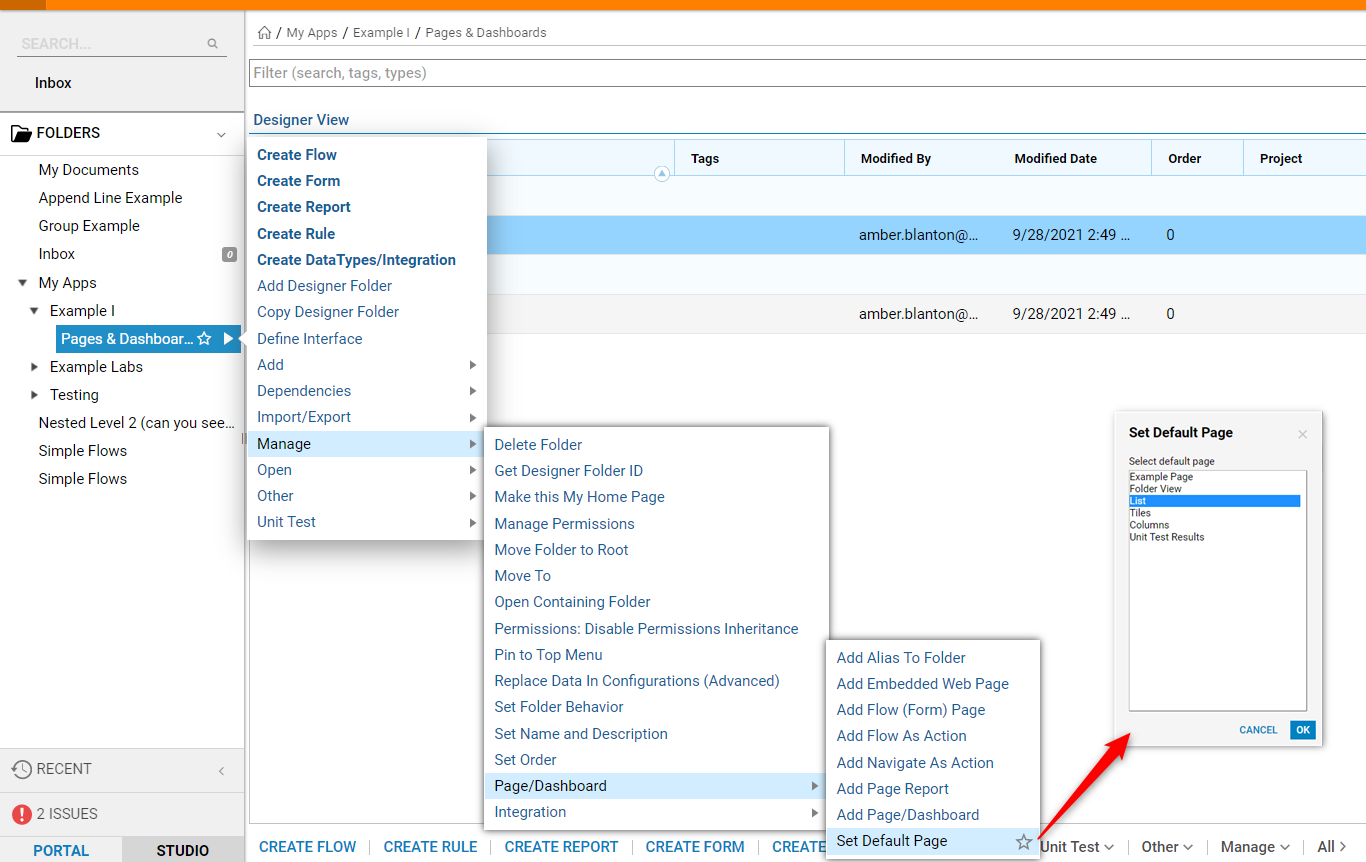
- To change the default landing page of the Folder to the new Dashboard, navigate to Manage > Page/Dashboard > Set Default Page in the Action Menu.

- Designate the Example Page as the default Page. It will appear once the Folder is selected.
Creating an Unattached Page/Dashboard
- Begin by navigating to a Designer Folder and selecting the Create Form button from the Action Panel at the bottom of the Folder interface.
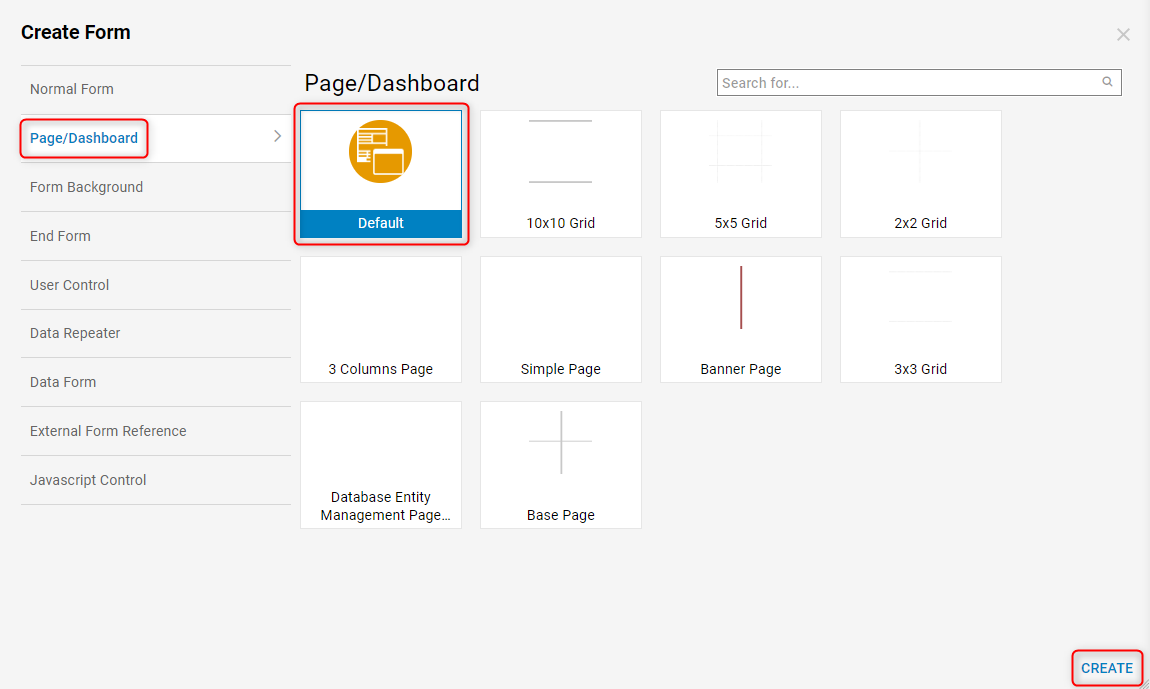
- When the ‘Create Form’ window appears, select the Page/Dashboard section on the left side under ‘Normal Form’.
- Select the Default template, then click CREATE.

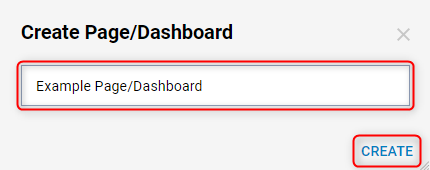
- A box will appear that prompts the Designer to enter a name for this Page/Dashboard, designate a name then select ‘CREATE’ again.

- The Designer is now redirected to the Page Designer for the new Page.