Overview
After creating a list, Flow steps can be used to manipulate the data such as adding, removing, or accessing items from the list.
Add Item to List
The Add to List Step is used to append a List by adding a new Item of the matching Data Type to that List. A new list with the added Item will be created.
| Inputs | Description |
|---|---|
| New Item | The new item which will be appended to the List. |
| Original List | The inputted list which will be manipulated. |
- From the Decisions Studio, select CREATE FLOW from the Global Action Bar and select Flow. Name the Flow and click CREATE.
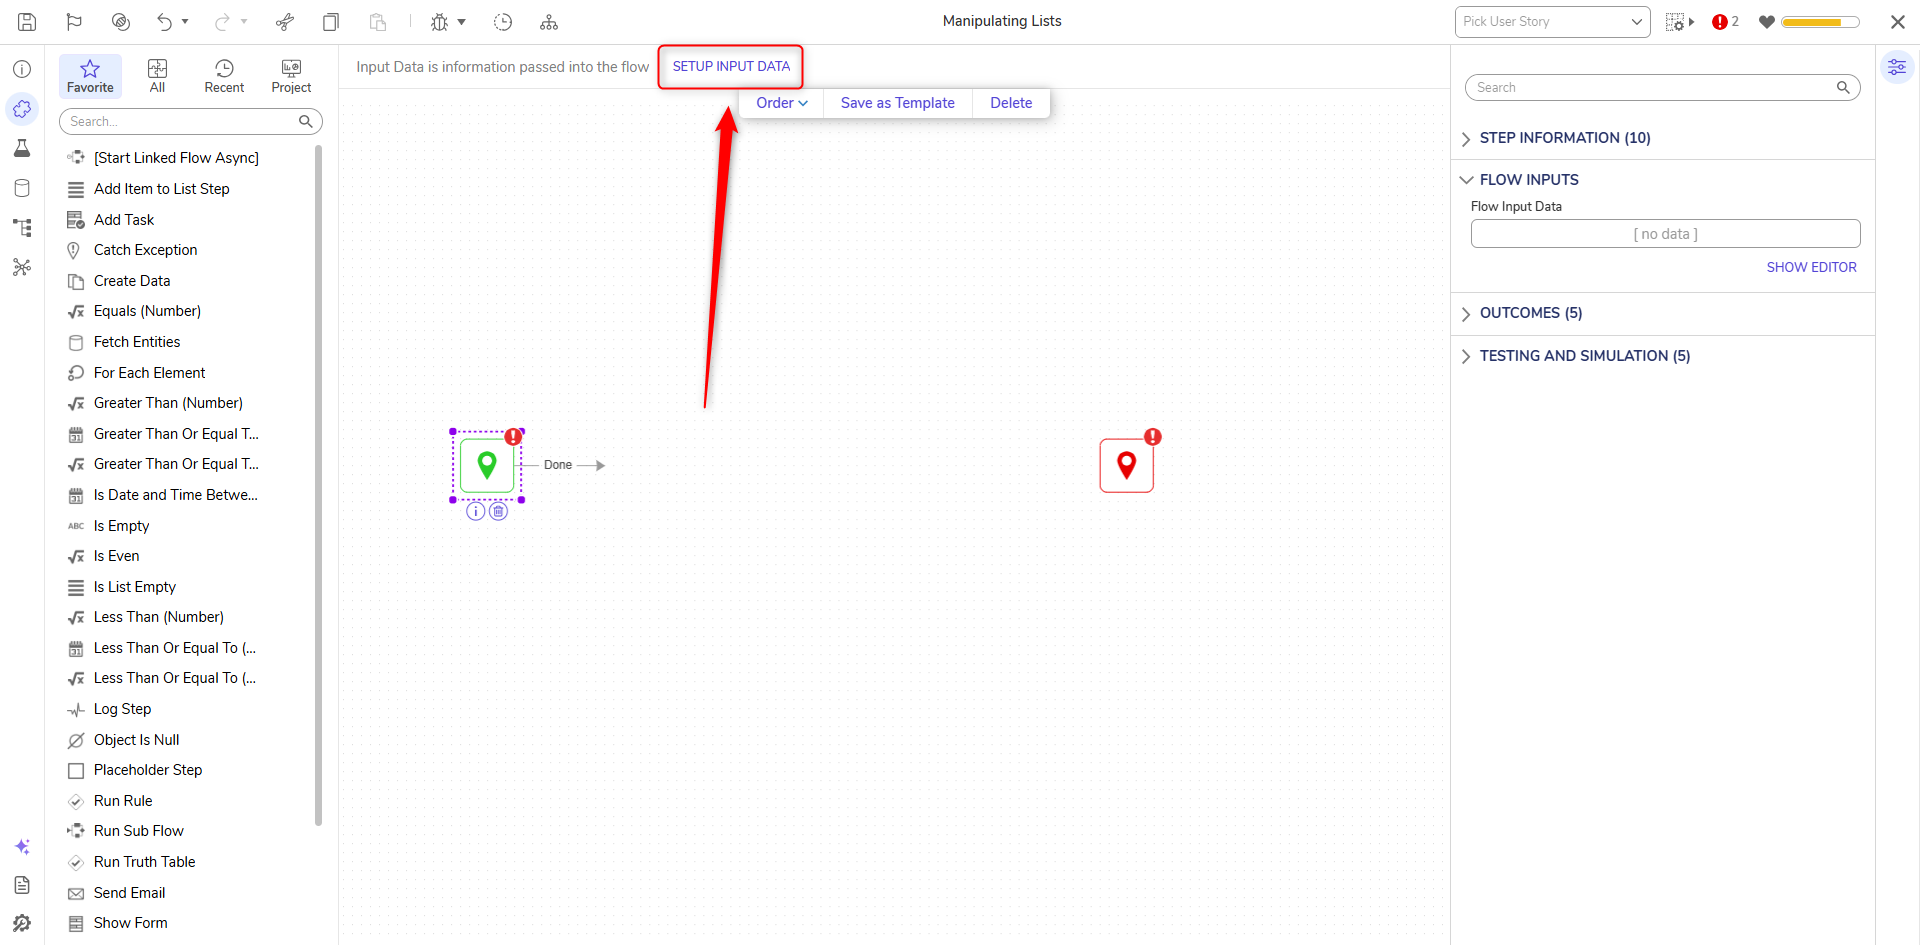
- Click SETUP INPUT DATA.
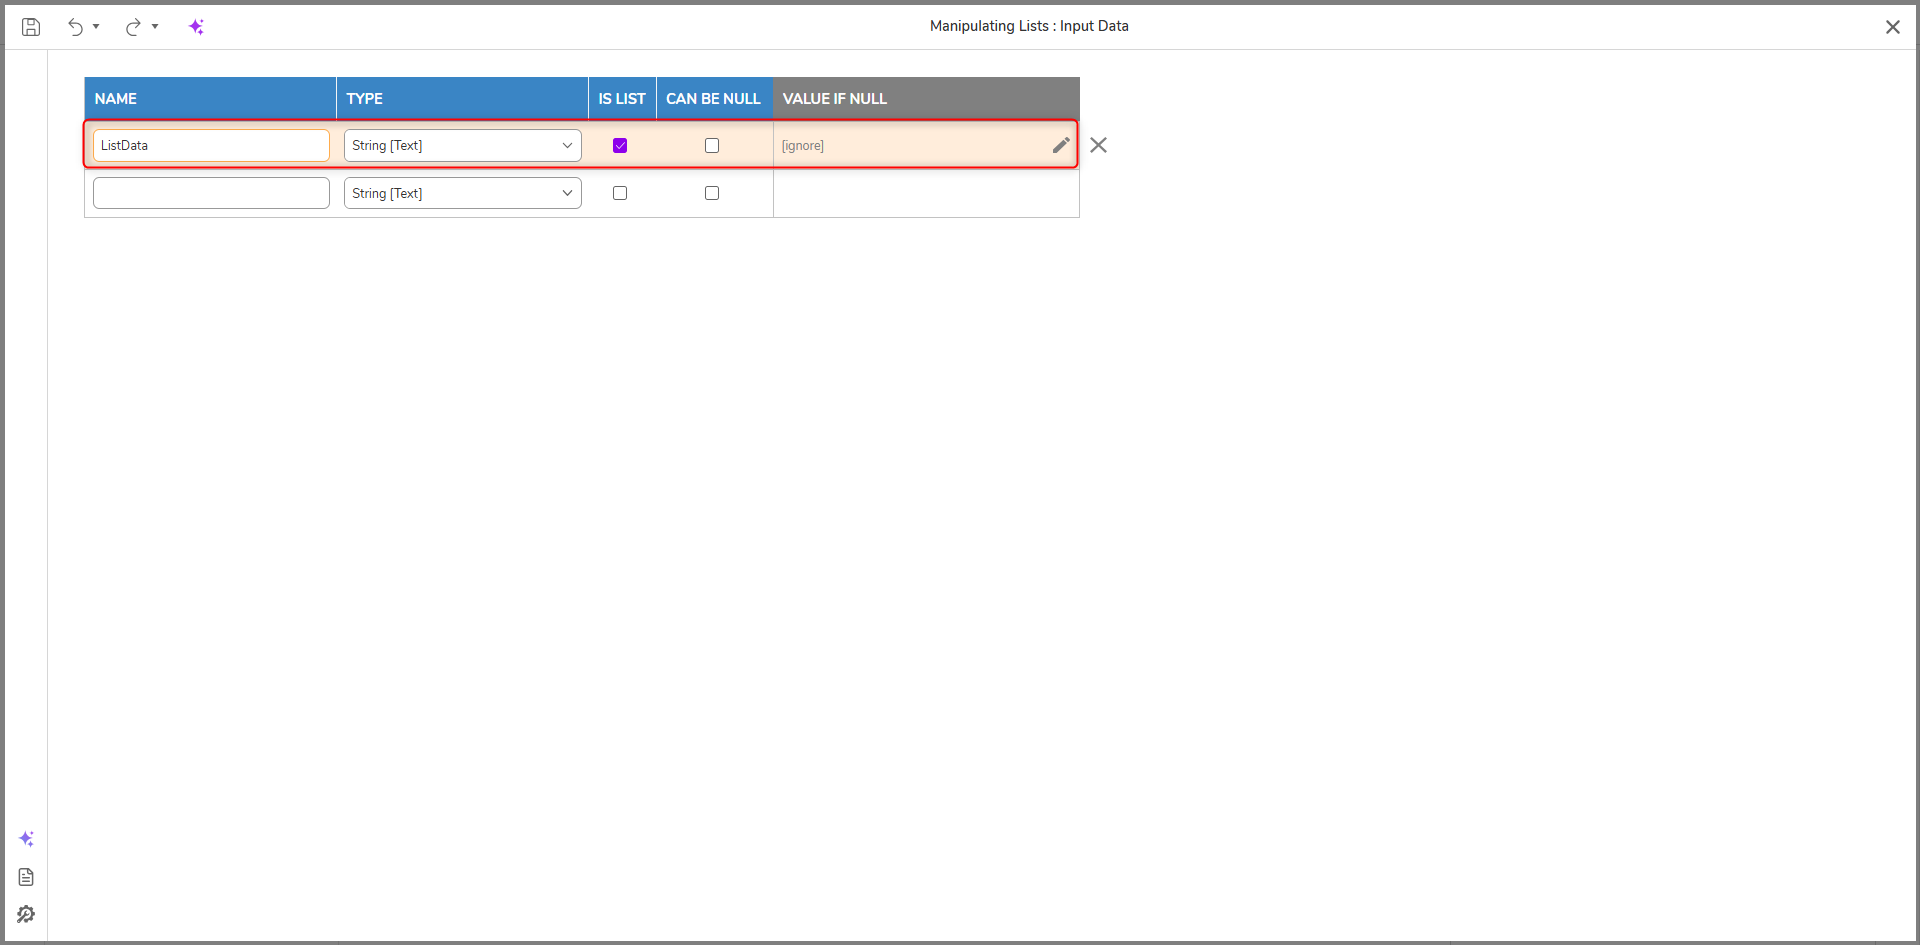
- On the Input Data window, enter "ListData" under NAME and select String [Text] under TYPE. Select the checkbox for IS LIST.
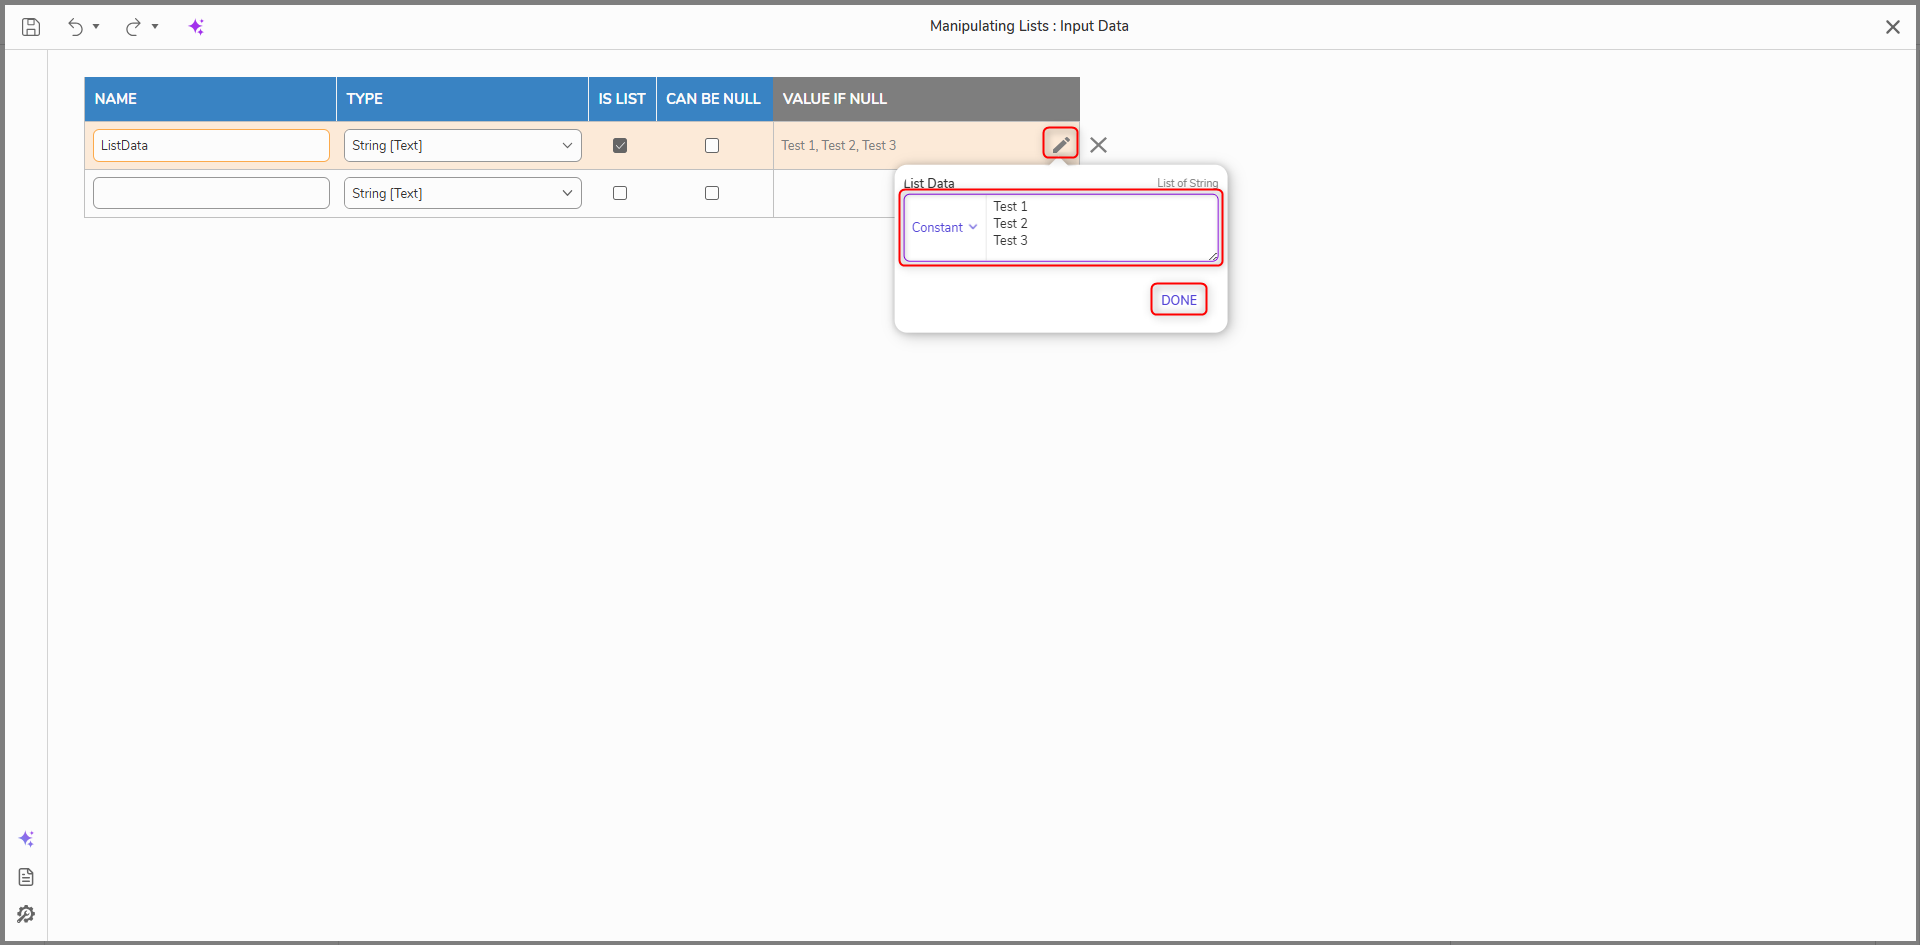
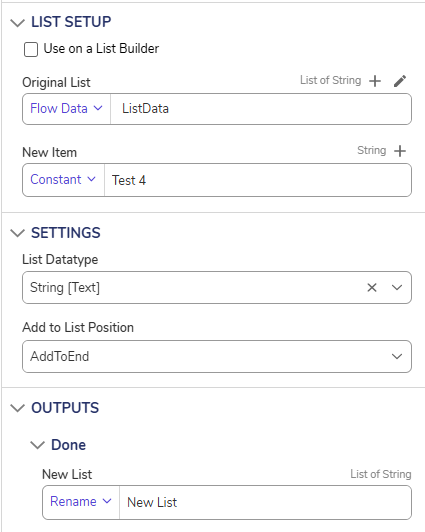
- Under INPUT, click the pencil icon. Then, select Constant as the mapping type and enter "Test 1", "Test 2", and "Test 3" separating each value by line. Click DONE. Click Save and close the window.
- From the Toolbox panel, navigate to DATA > LIST and add an Add Item to List step to the Start step.
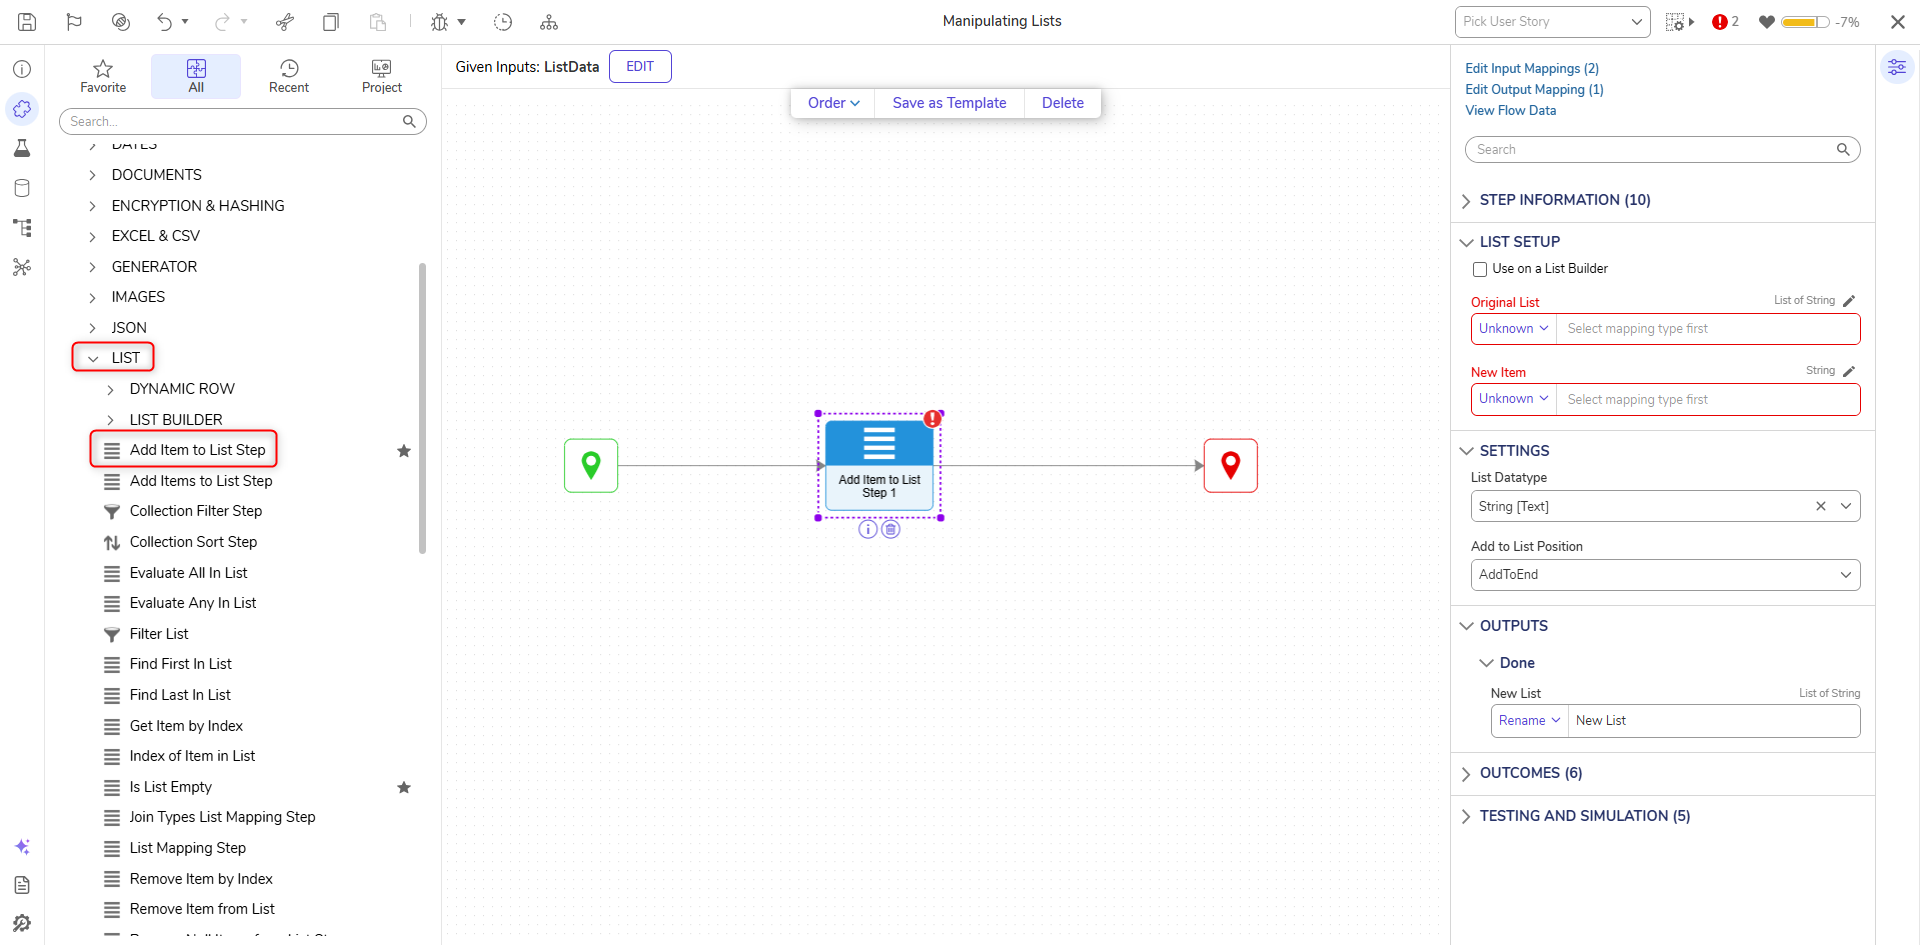
- From the DATA category on the Properties panel, select AddToEnd for the AddToListPosition option and String [Text] for ListType.
The AddToListPosition Property allows users to dictate where the new value is placed in the List. Users have the option to either AddToBeginning or AddToEnd.AddListToPosition Description AddToBeginning Inserts the item at the beginning of the List. AddToEnd Inserts the item at the end of the List. 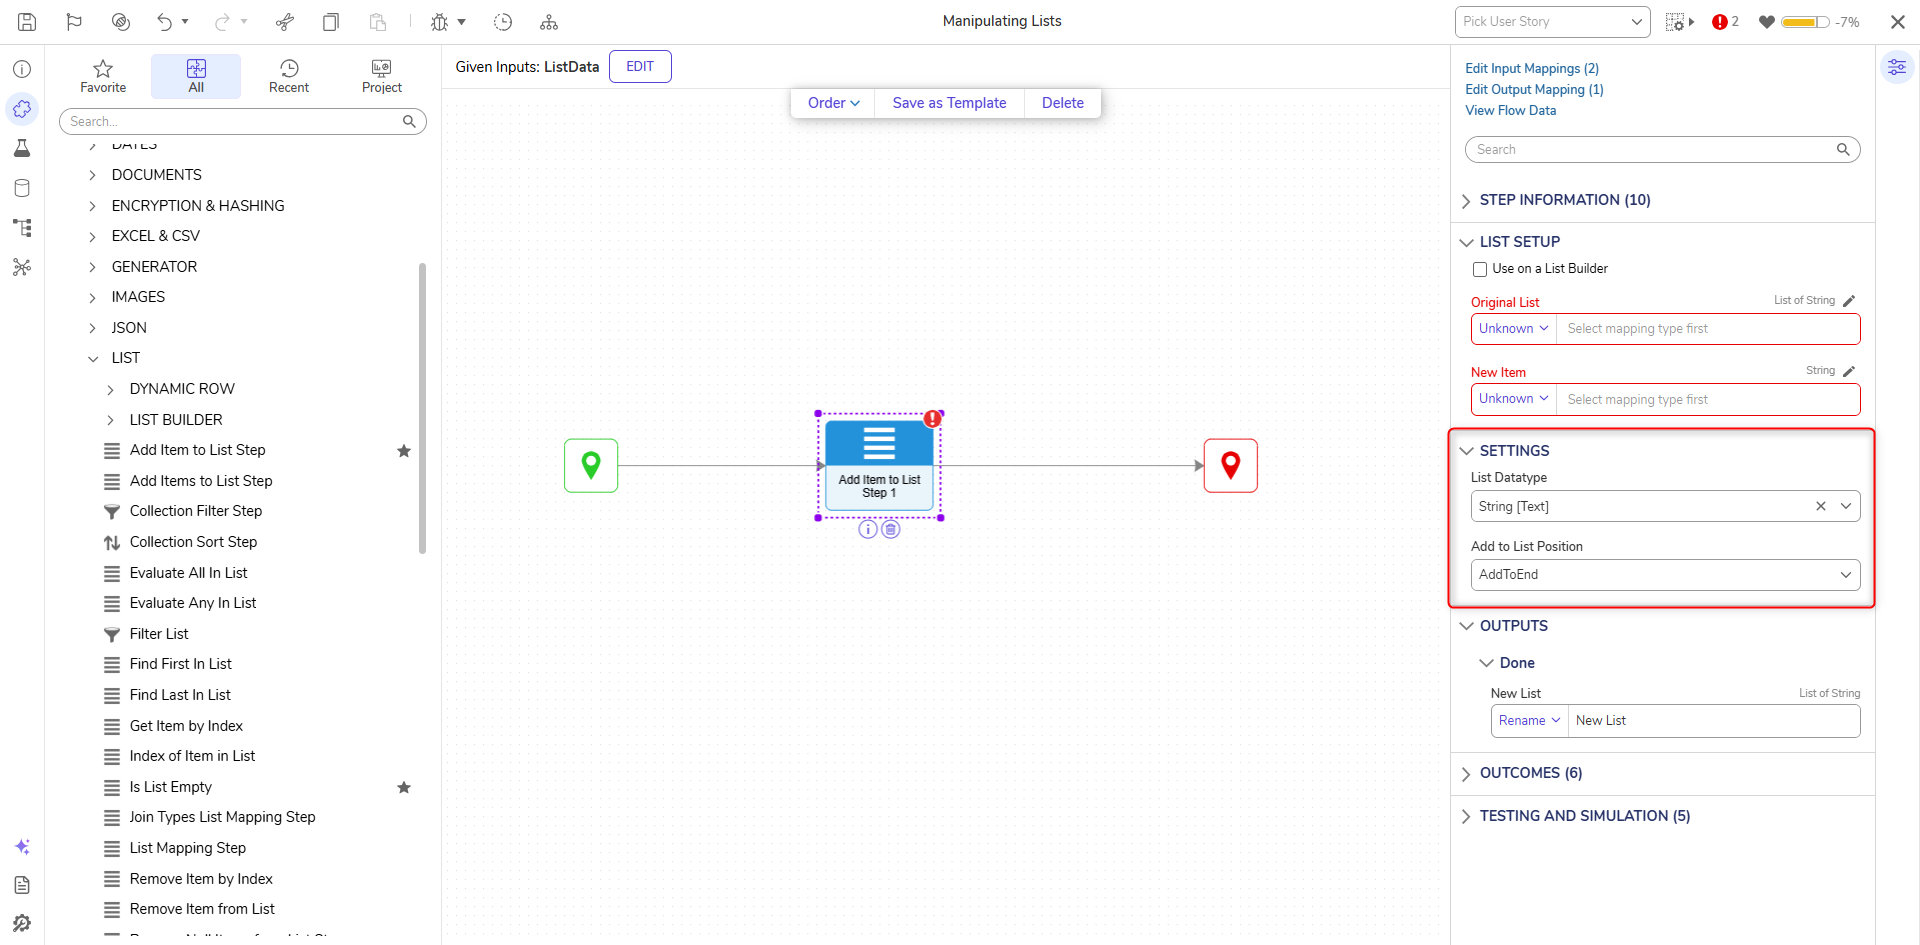
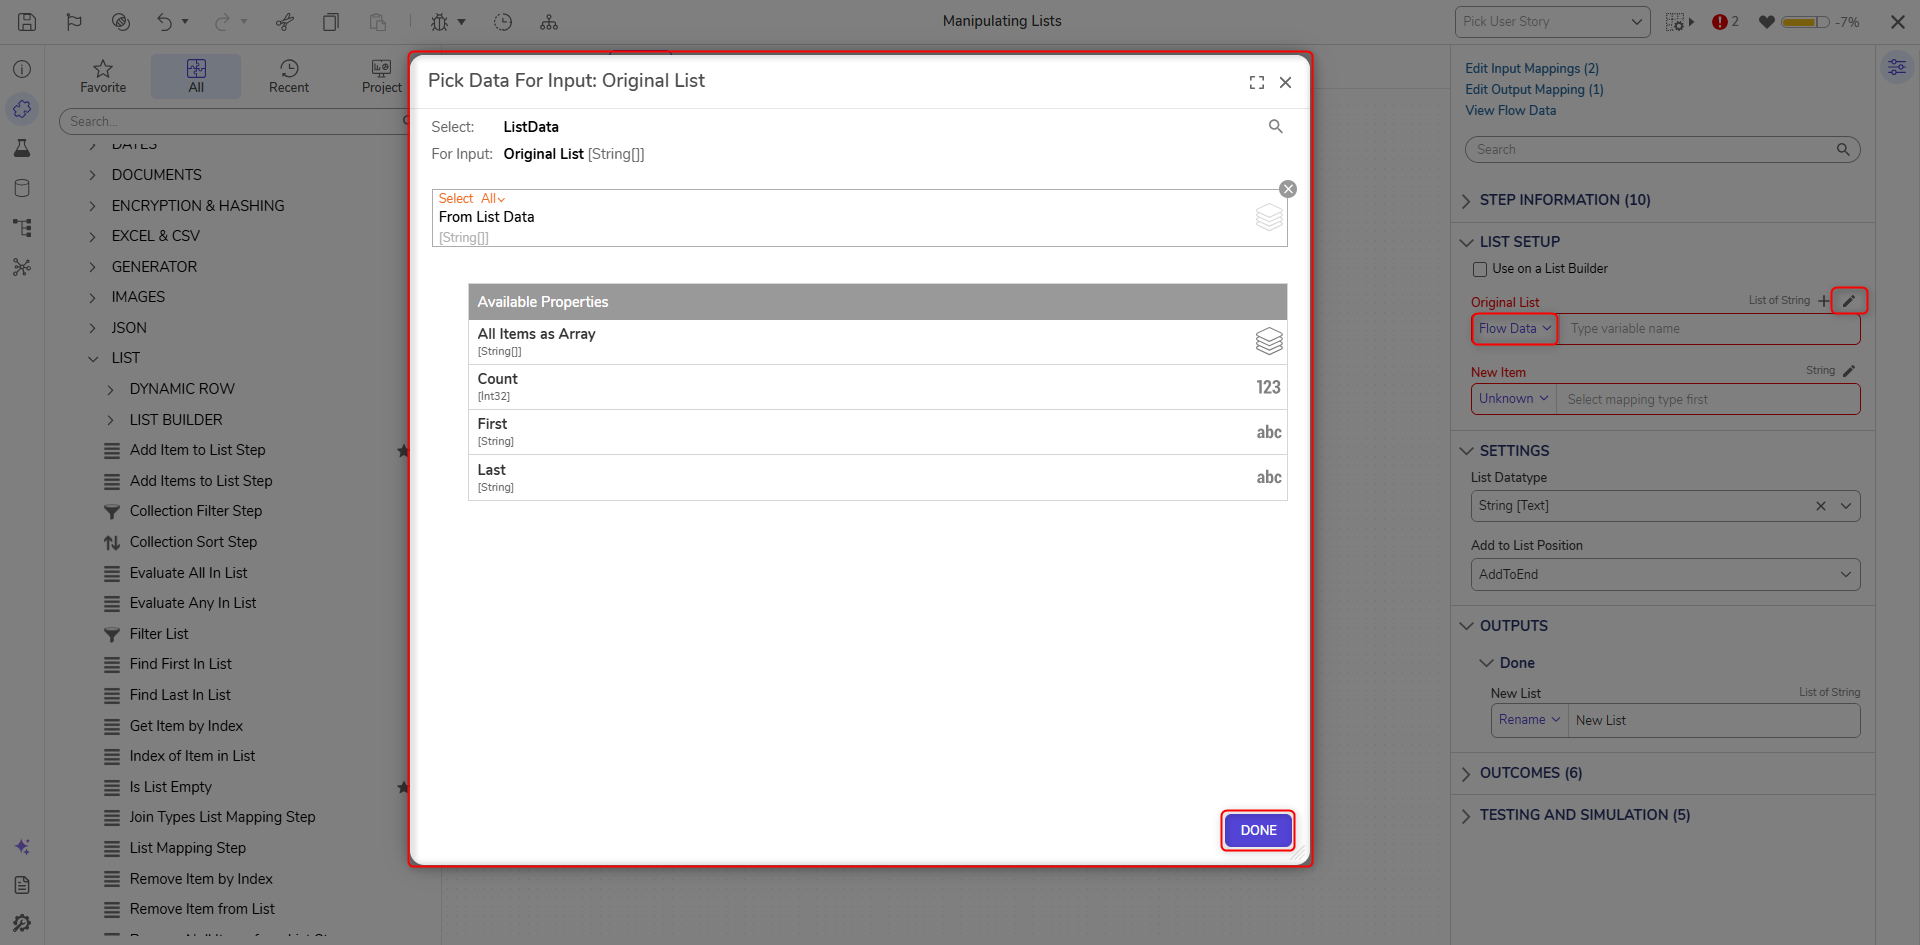
- Under the INPUTS category, click Unknown next to the Original List field and select Flow Data. Select List Data and click DONE. Enter "Test 4" in the New Item field.
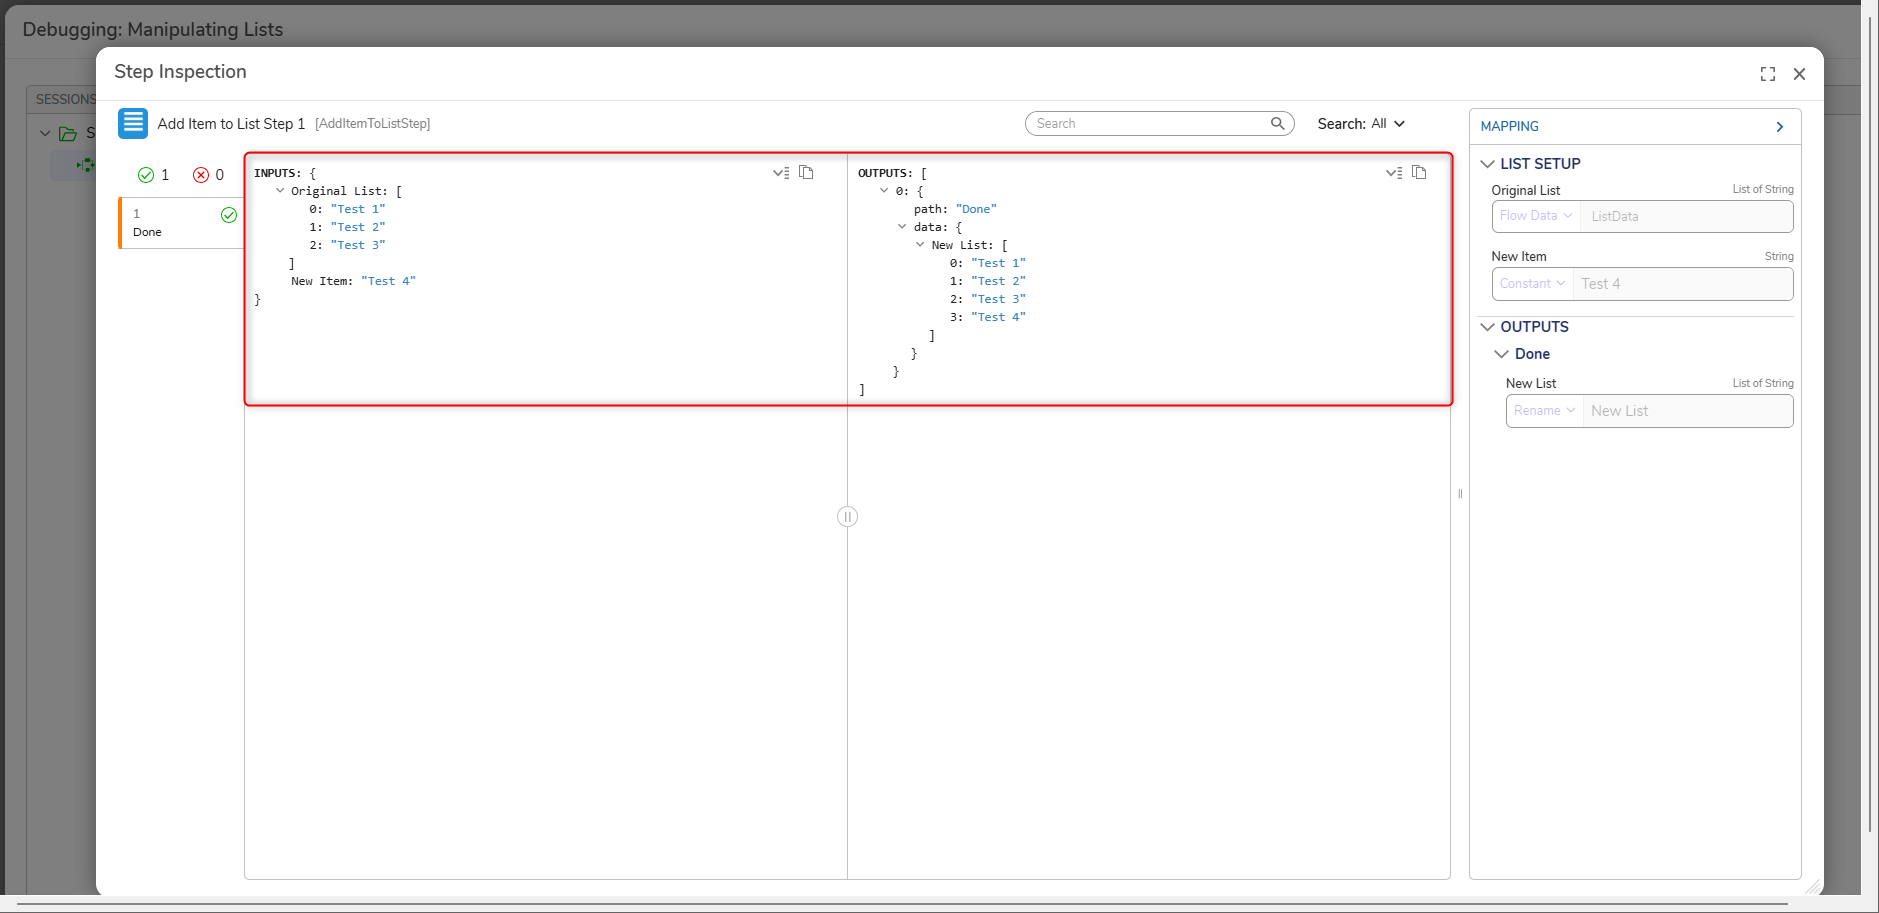
- From the Flow Designer, select the Debug link from the top Action bar.
- Click START DEBUGGING. Select the step and verify that the New Item was added to the Original List.
Get Item by Index
The Get Item by Index step is used to obtain values from an existing List by providing an Item Index for context of its location within the List.
| Inputs | Description |
|---|---|
| Item Index | Represents an Item's position in the List, starting from 0. |
| List | Inputted list where the item will be pulled from |
- From the Toolbox, navigate to DATA > LIST and attach a Get Item by Index step to the Add Item to List step.
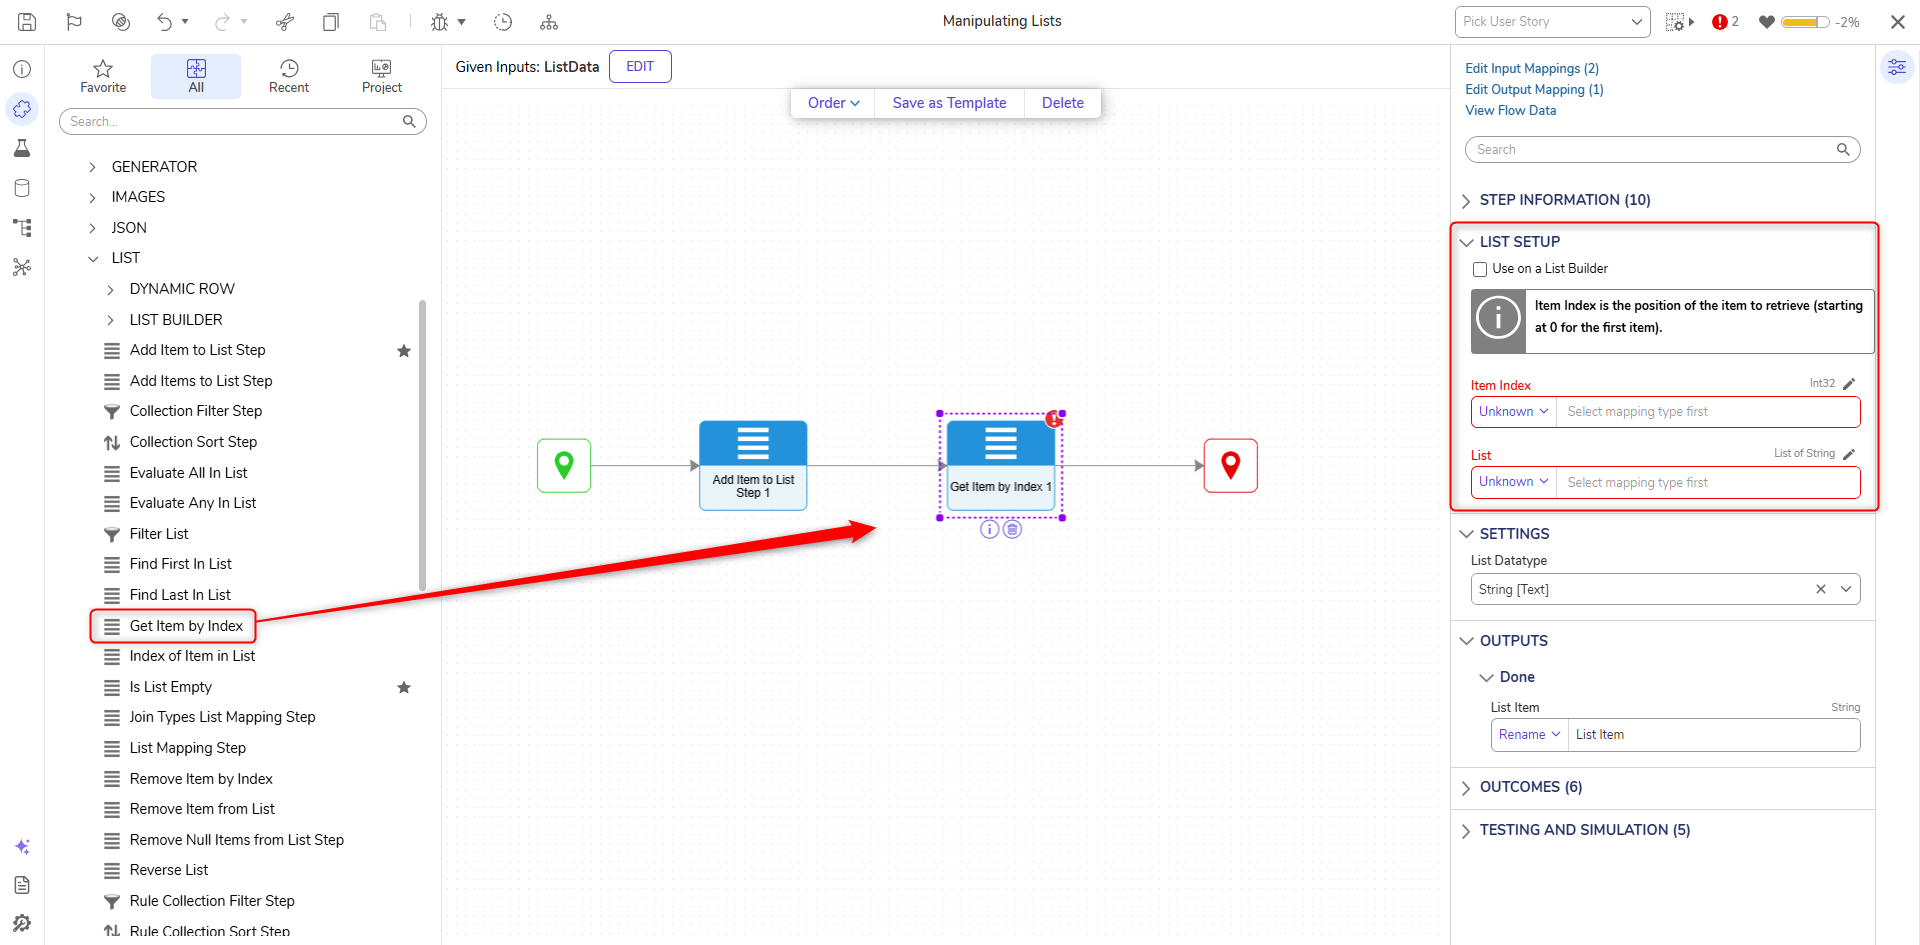
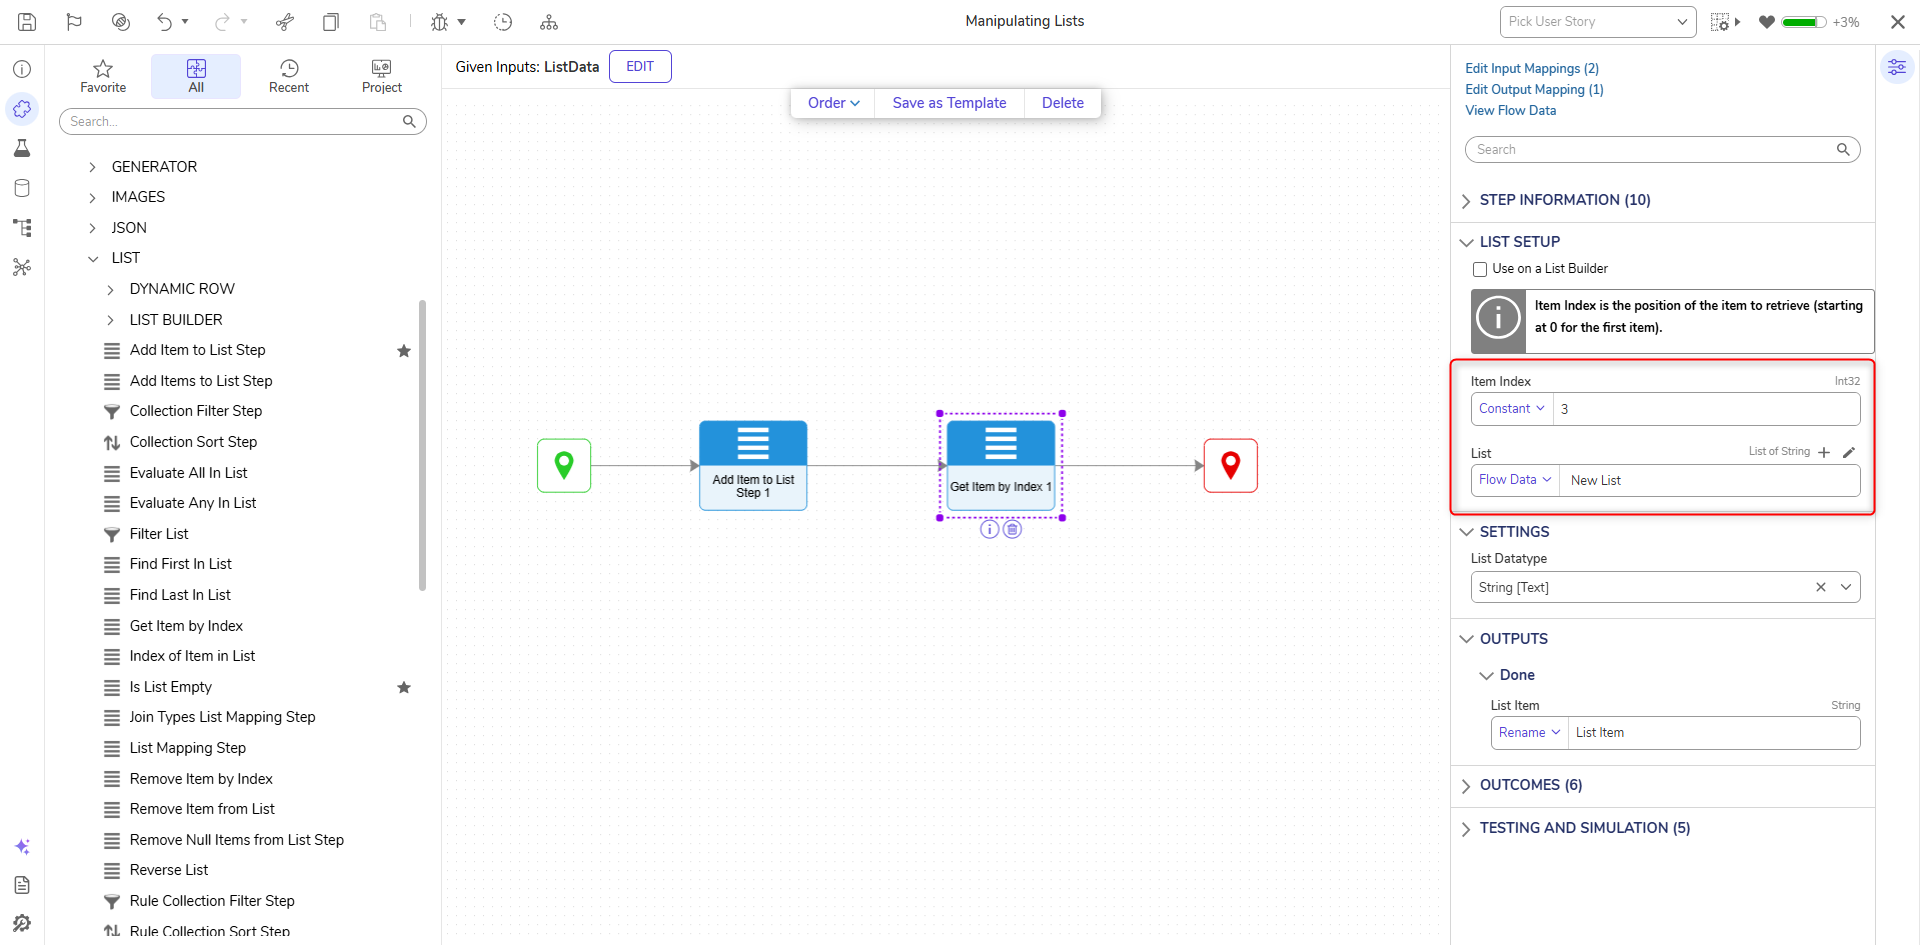
- From the Properties panel under INPUTS, click Unknown next to the List field and select New List. Under Item Index, enter 3.
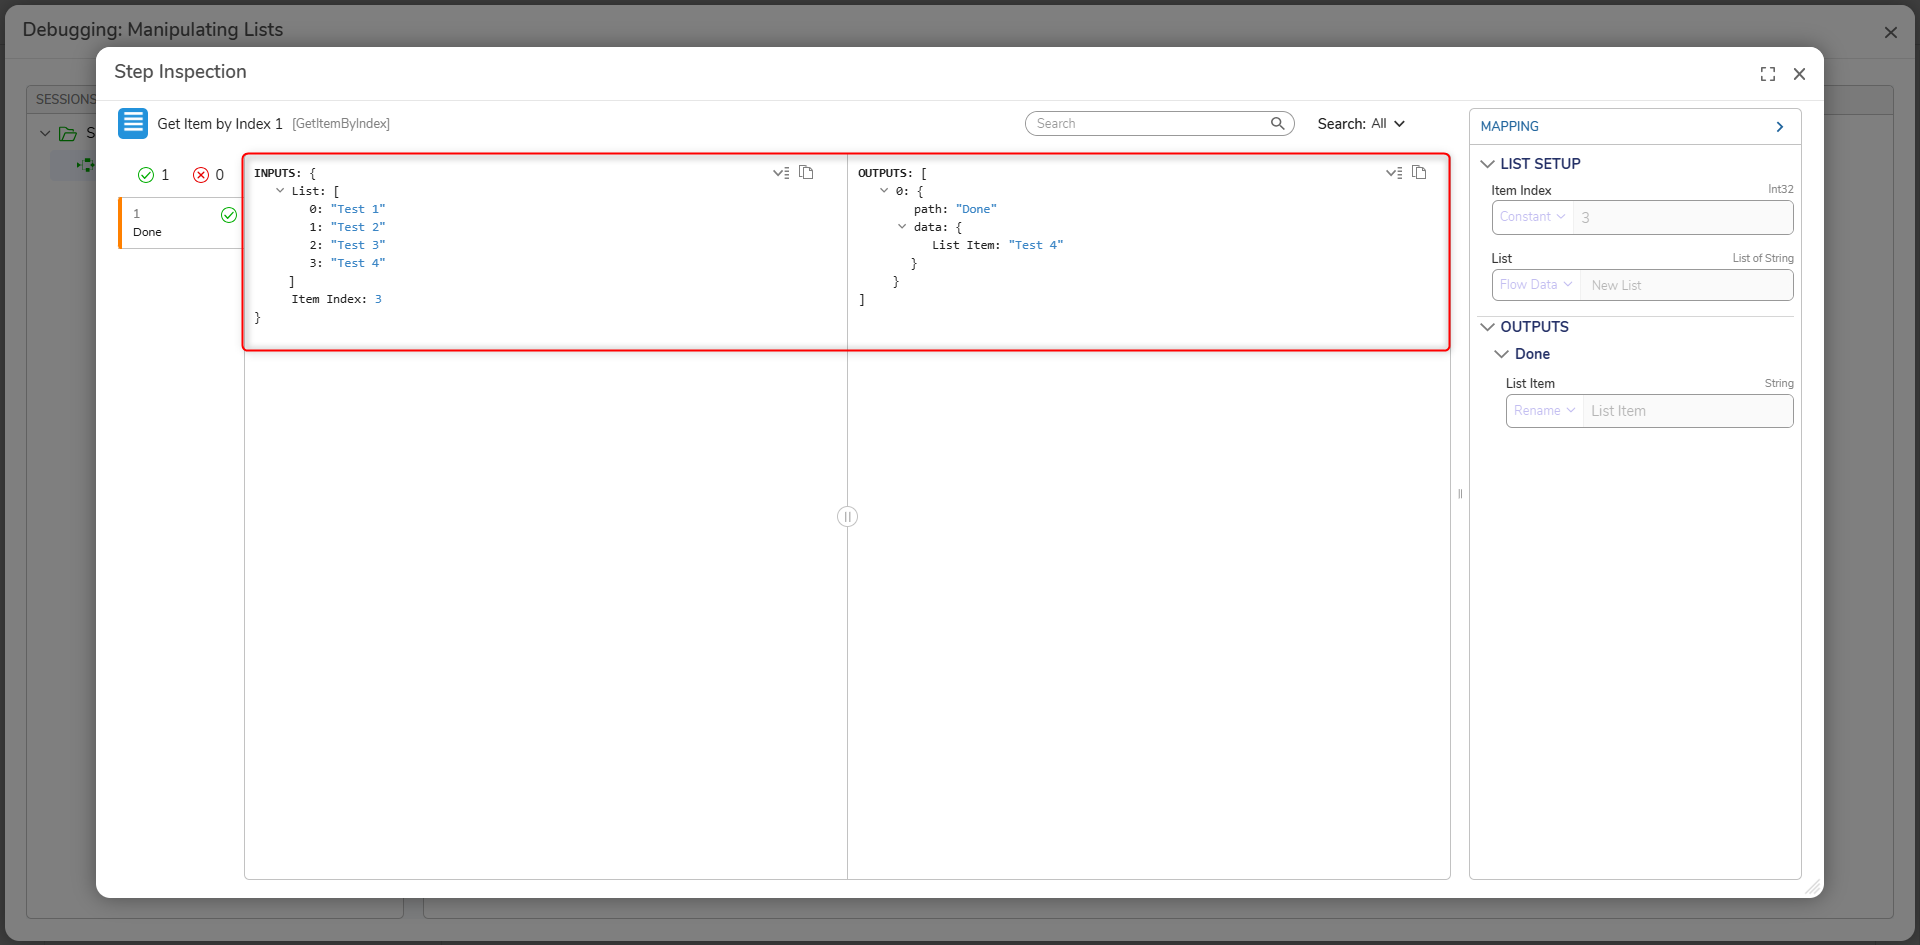
- From the Flow Designer, select the Debug link from the top Action bar.
- Click START DEBUGGING. Select the step and verify that the selected Item is correct.
Remove Item from List
The Remove Item From List step is used to remove a designated Item (Item to Remove) from a defined List. Both Items and List may be dynamically mapped, or Constant mapped onto each Property respectively.
| Inputs | Description |
|---|---|
| Item To Remove | Item that will be removed from the List. |
| List | The inputted list to be manipulated by the step. |
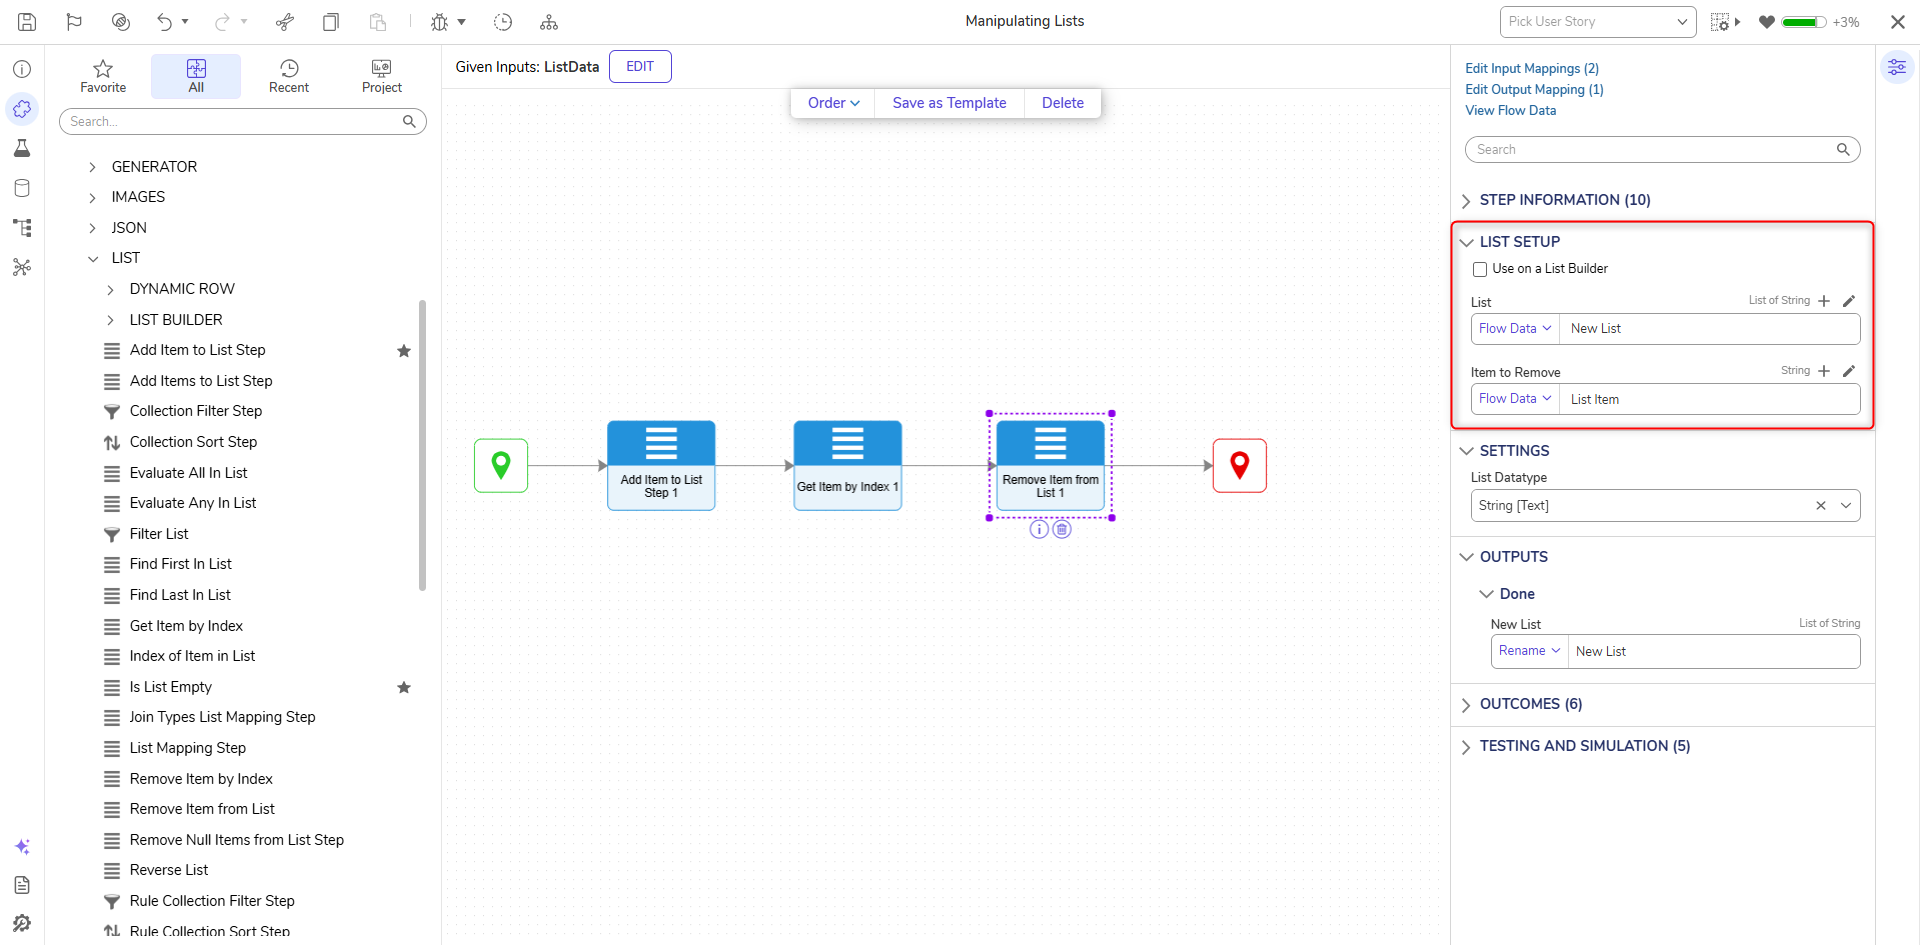
- From the Toolbox, navigate to DATA > LIST and attach a Remove Item from List step to the Get Item by Index step and the End step.
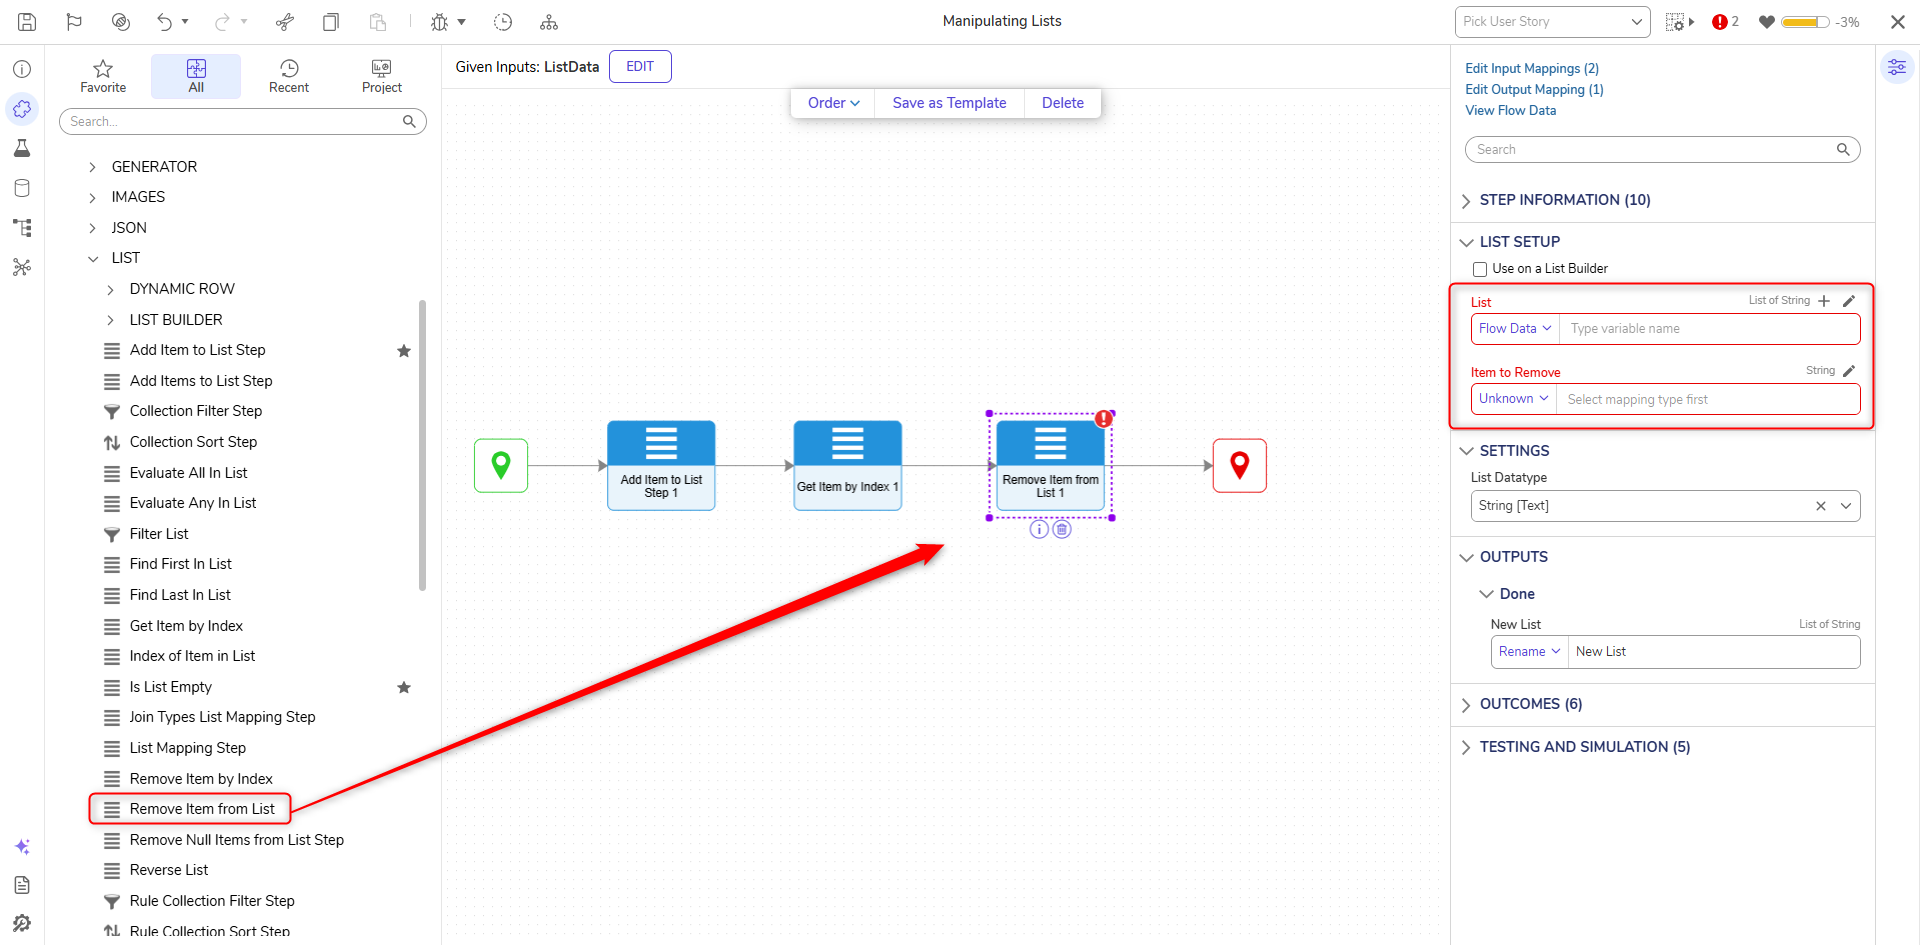
- From the Properties panel, click Unknown nnext to the List field and select Flow Data. Select New List and click DONE. Select Unknown next to the Item to Remove field and select Select From Flow. Select List Item and click DONE.
- Click Save to save changes to the Flow.
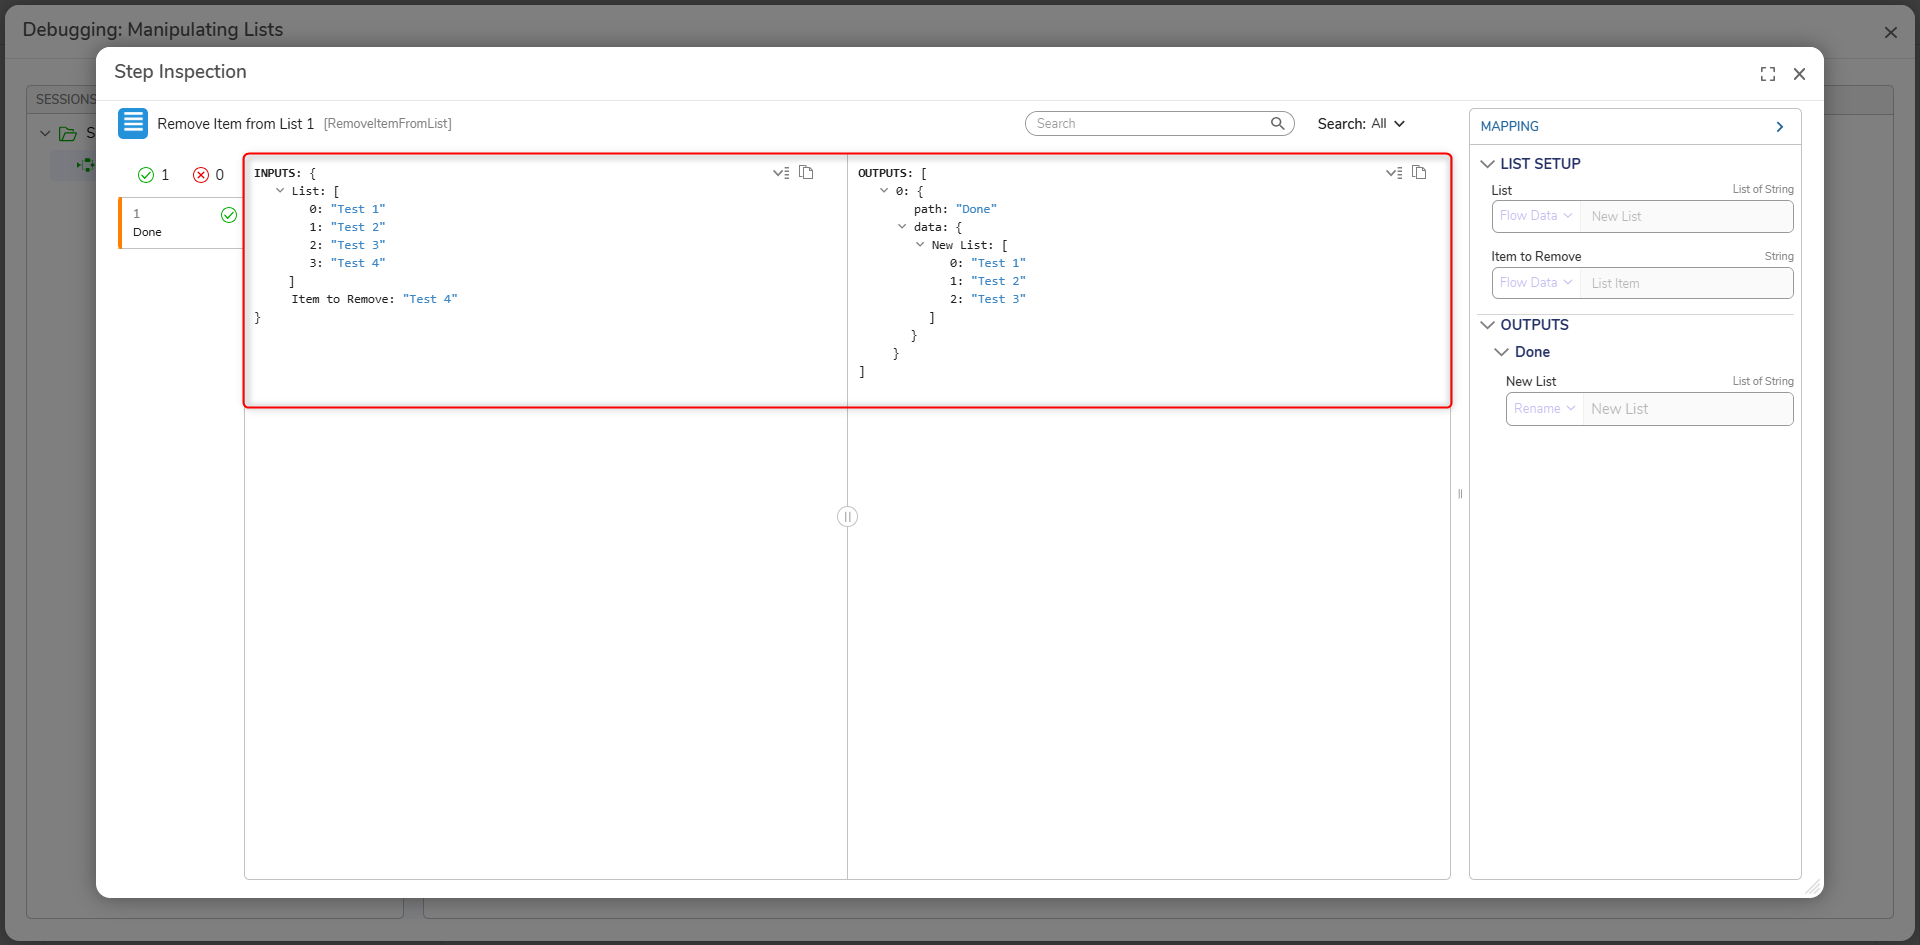
- From the Flow Designer, select the Debug link from the top Action bar.
- Click START DEBUGGING. Select the step and verify that the selected Item is removed.
For further information on Flows, visit the Decisions Forum.