Overview
When a task is initially assigned, the default behaviors of the Portal is to (1) send a popup notification to the assignee(s) and (2) send an email containing the task name, description, and link. Additionally, it is possible to design any action that will be triggered via Flow when the Assignment is being assigned.
Example
In this example, notify the administrator that an Assignment was created. Create a simple Notification Flow that will be triggered on an Initial Assignment.
- First, create a Trigger Flow that will perform specific actions.
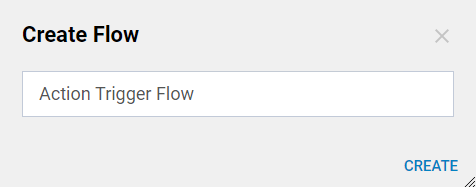
- Navigate to a Designer Folder and select CREATE FLOW.

- Name the Flow and select CREATE.
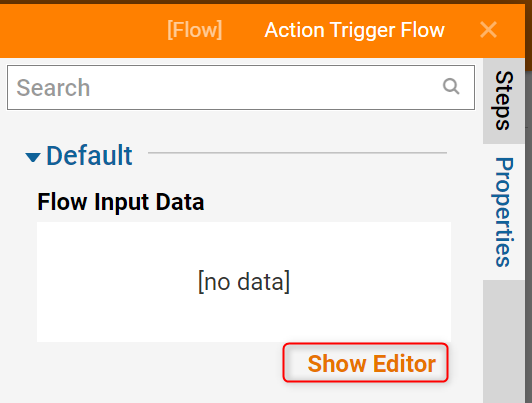
- When the Flow Designer opens, add some Input Data that will be used as a URL Parameter in the Form Assignment Flow.
- Navigate to the Flow Input Data box and select Show Editor.
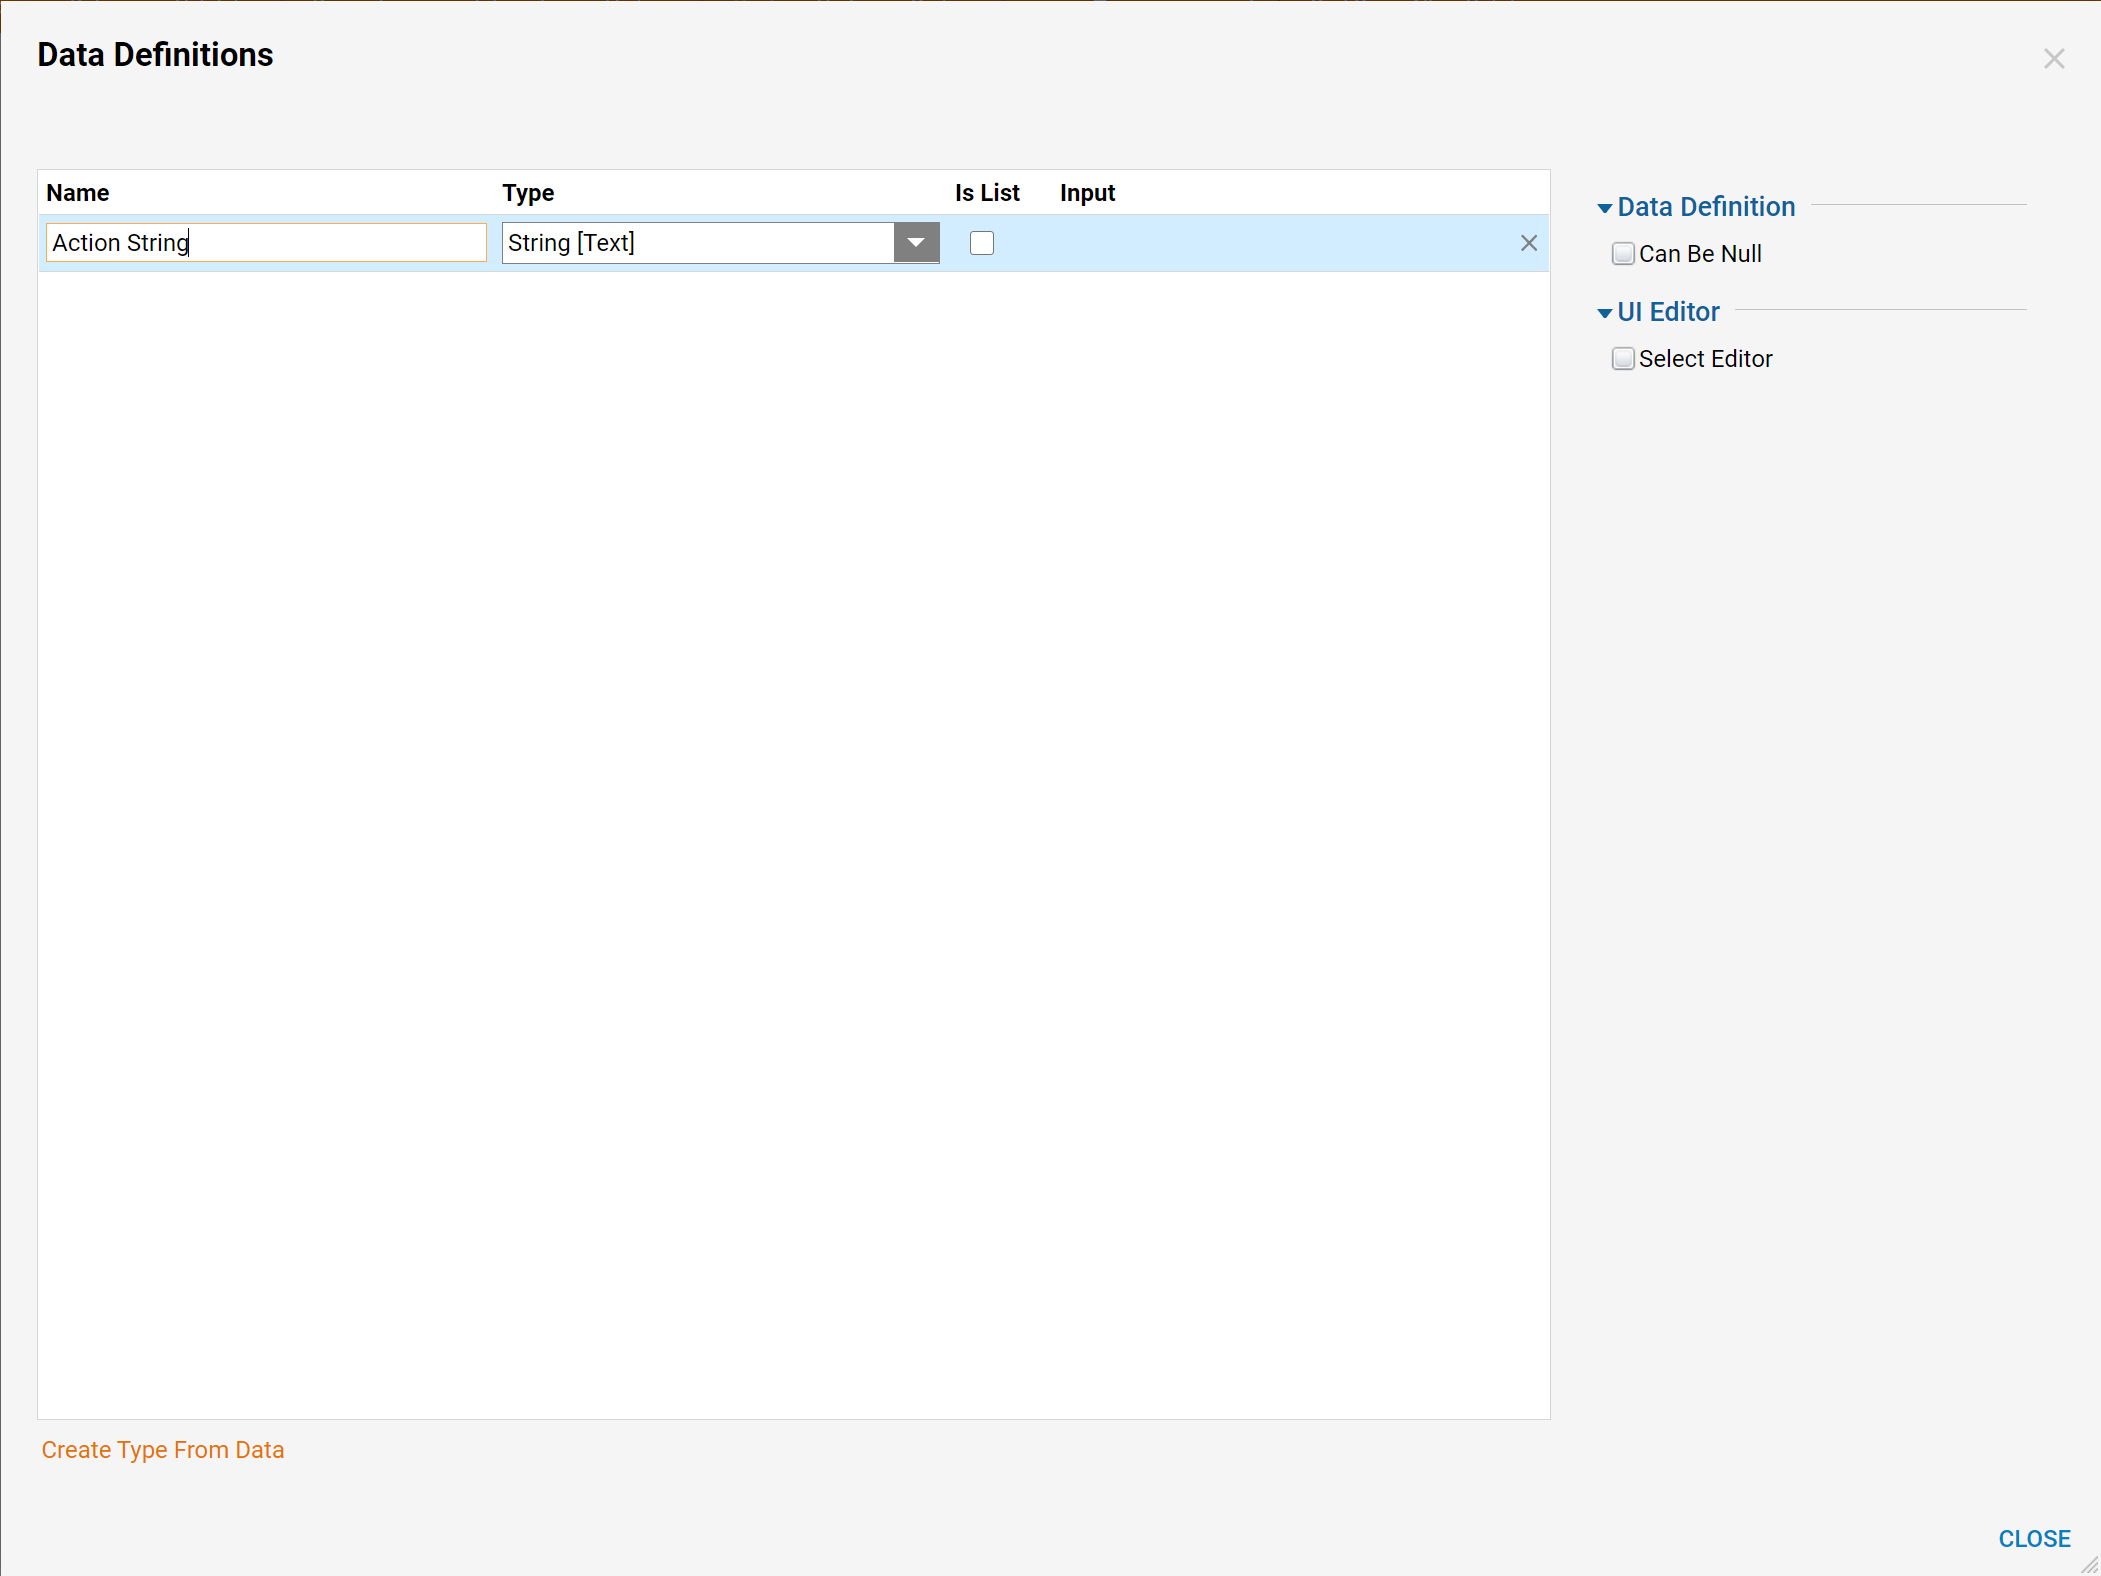
- In the dialog, name the Input Data and pick a String Type.
- Select OK to save and close this dialog.
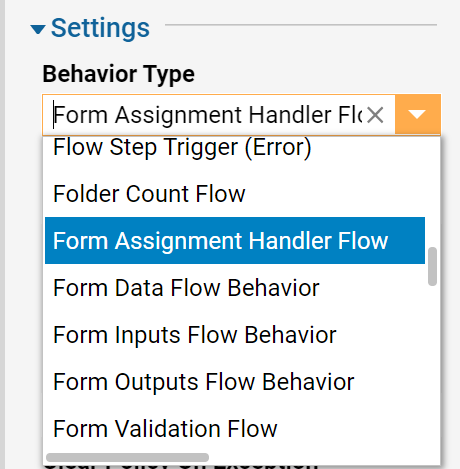
- Set the Flow behavior to Form Assignment Handler Flow.
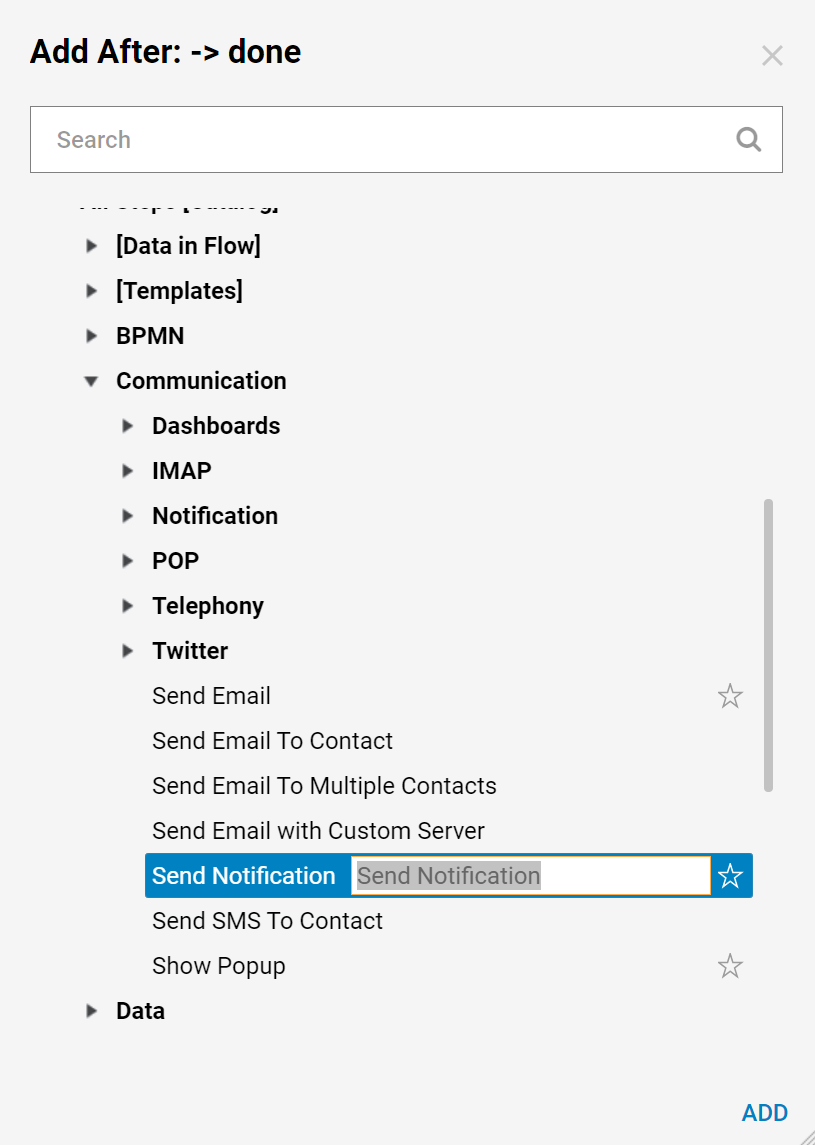
- Select the Send Notification step from the All Steps [Catalog] > Communication category from the Flow Designer's quick add window.
- Select Add to add it to the workspace.
- Connect this step to the End step of the Flow.

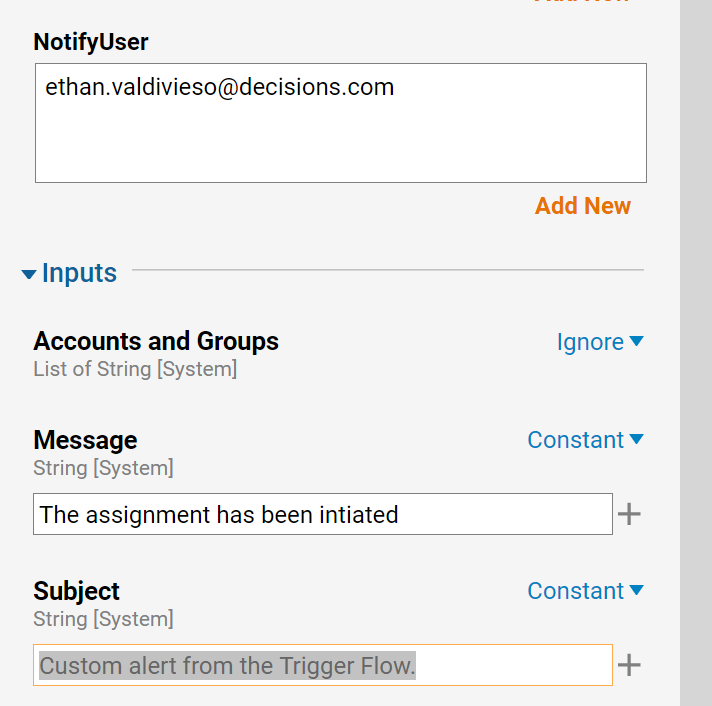
- Configure the Send Notification step as follows:
- Save and close the Flow.
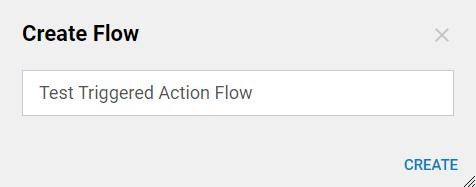
- In the Designer Folder, select the CREATE FLOW button, name it, and select CREATE to continue. This will be the main Flow in the process.
- Drag the Form that will be assigned into the workspace and connect it to the Start and End steps.
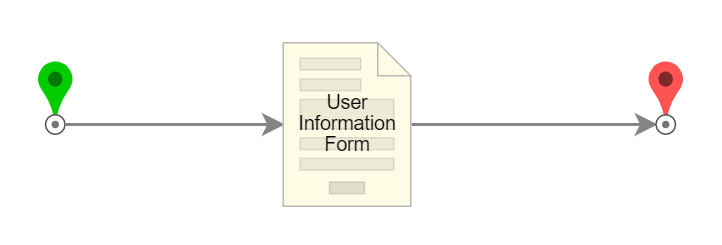
- In this example, use a simple User Information Form that is designed using four Text Boxes and four Labels that specify what data these Text Boxes will store.
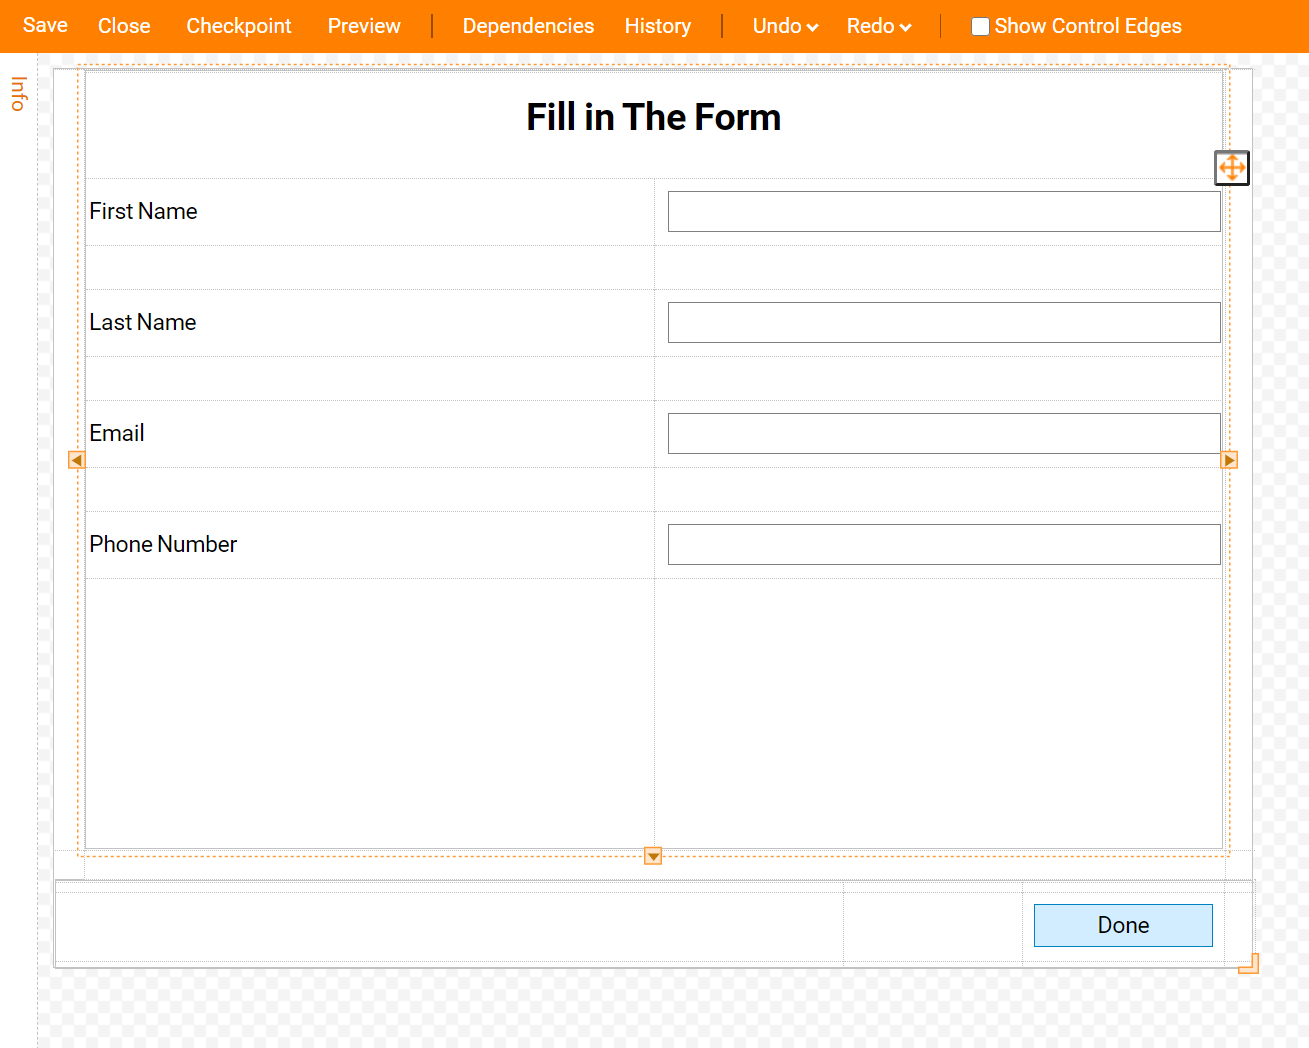
- Assign the Form in the Flow Designer by navigating to its Properties panel.
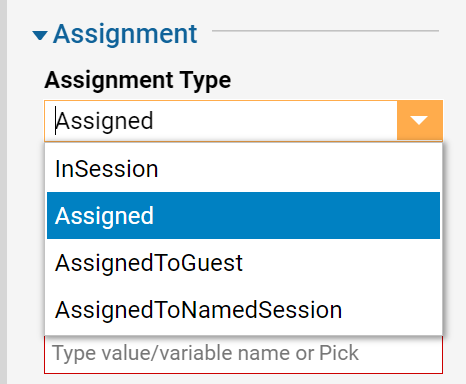
- Select Assigned from the Assignment Setup > Assignment Type drop down.
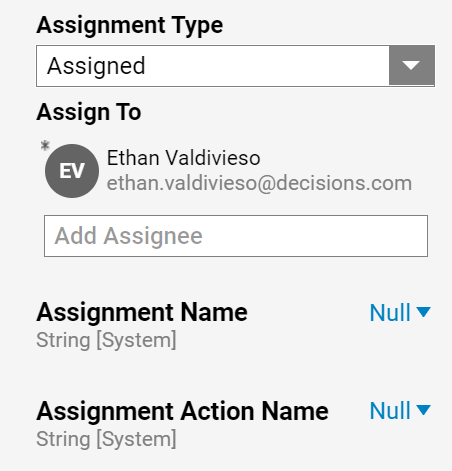
- Add assignee(s). Go to Assign > Assign to Users, and Add New.
- Once the account has been chosen, select DONE to save and close this dialog.
- A new option, Start, is available to use after assigning the Form. Now there is an option to pick Show Flow To Run. This option is available for the External Form Step as well.
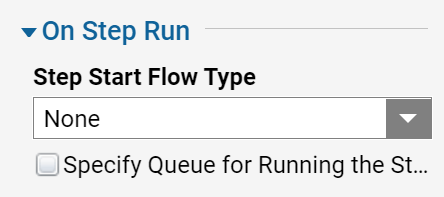
- In the Show Flow To Run drop down menu, there are two options: Shared Flow and Private.
- With the Shared Flow option selected available to receive and use parameters. These parameters are:
- URL Parameter Name.
- Assignment ID Parameter.
- Step Tracking ID Parameter.
- Flow Tracking Parameter.
- By selecting Private, there is no access to those parameters. For this example select Shared Flow.
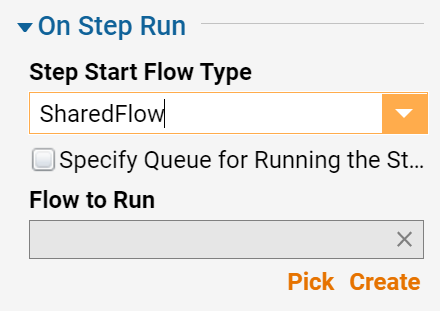
- Select the Flow picker. Pick the Action Trigger Flow that was created in the first step of this example and select OK to save and close this dialog.
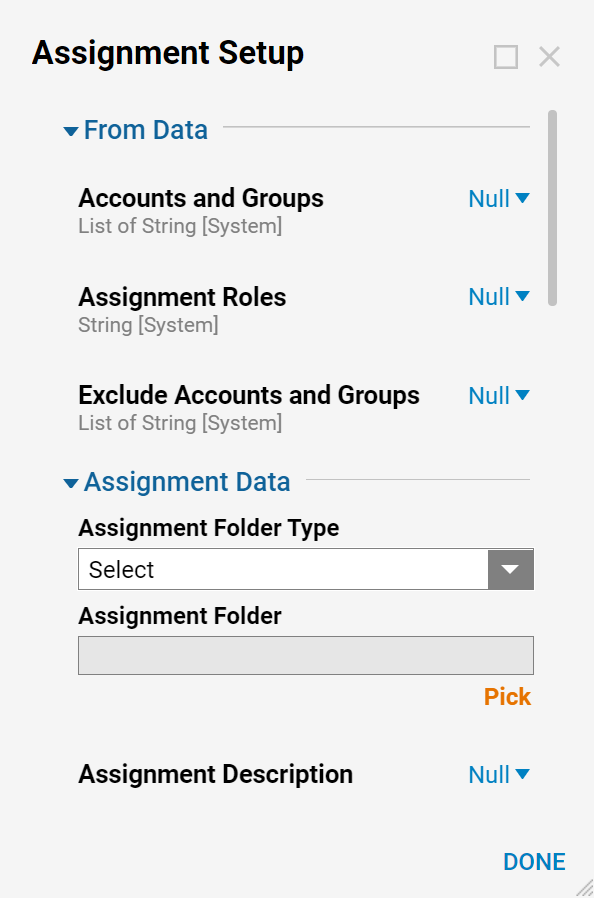
- Navigate to the URL Parameter Name drop down and pick the Action String that was defined as Input Data for the Send Notification Flow.
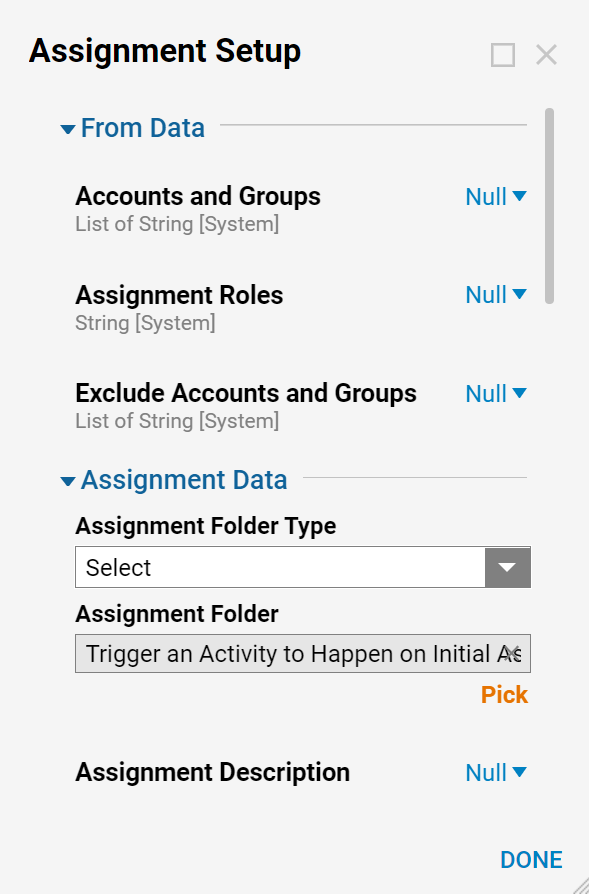
- The Flow is complete. Save the Flow and close it.
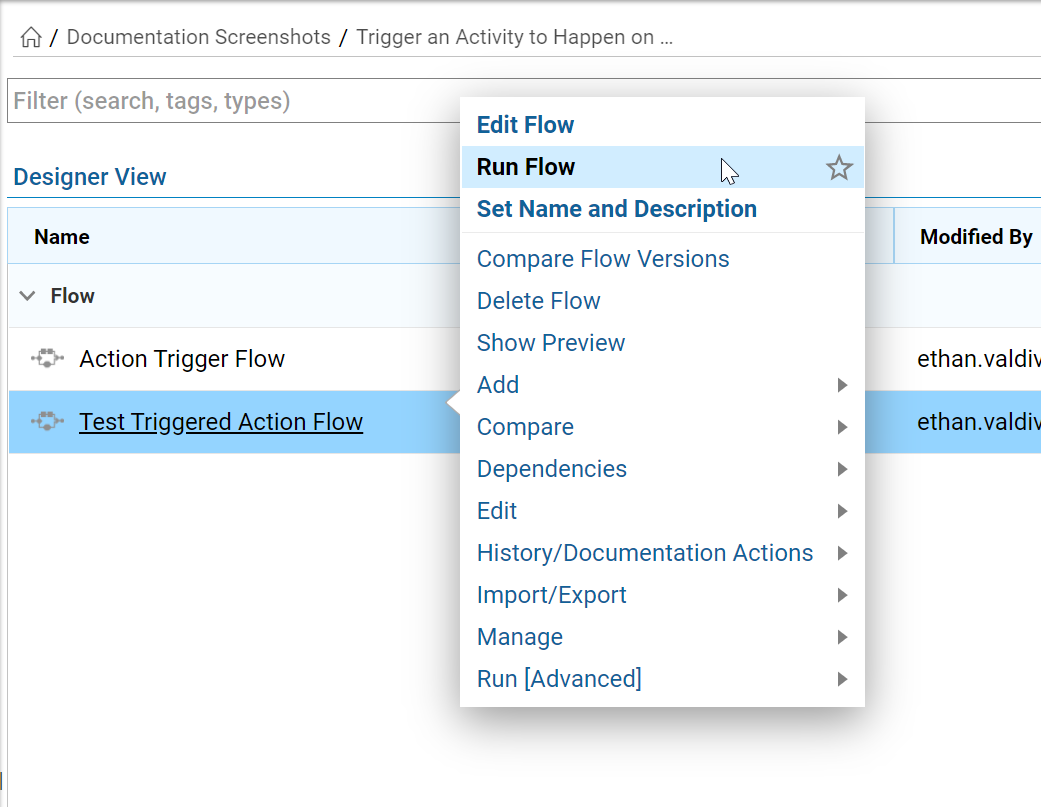
- In the Designer Folder, right click the Test Triggered Action Flow and select Run Flow.
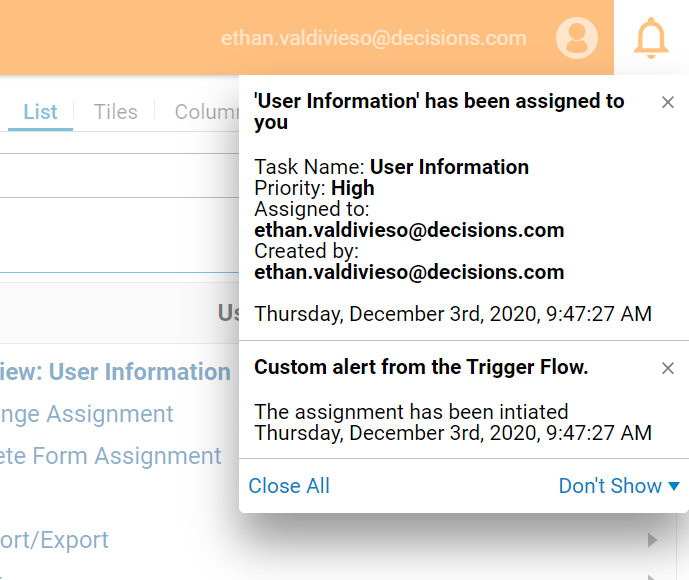
- The Assignment is created and the notification that was configured earlier is displayed in the Designer Studio.
- Logout and log back in to see a new task exists in the My Tasks Folder.
Debug
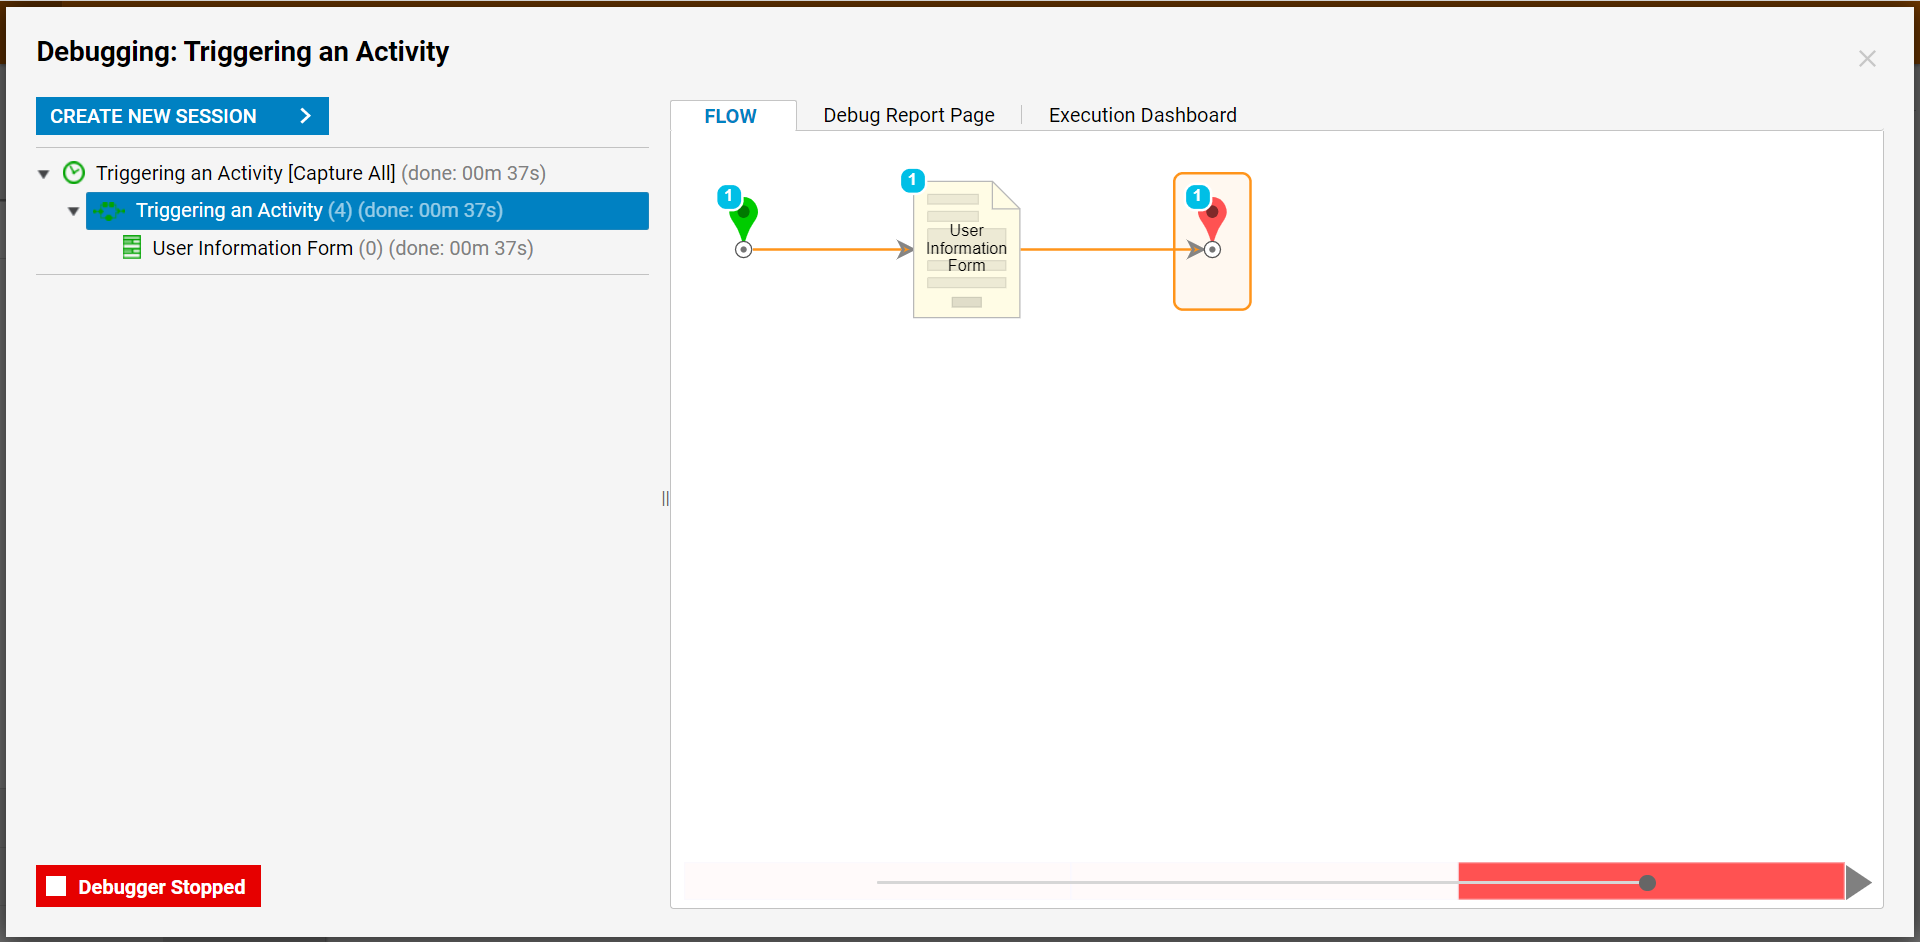
- From the Flow Designer, select Debug from the top action bar.
- Debug the Flow.
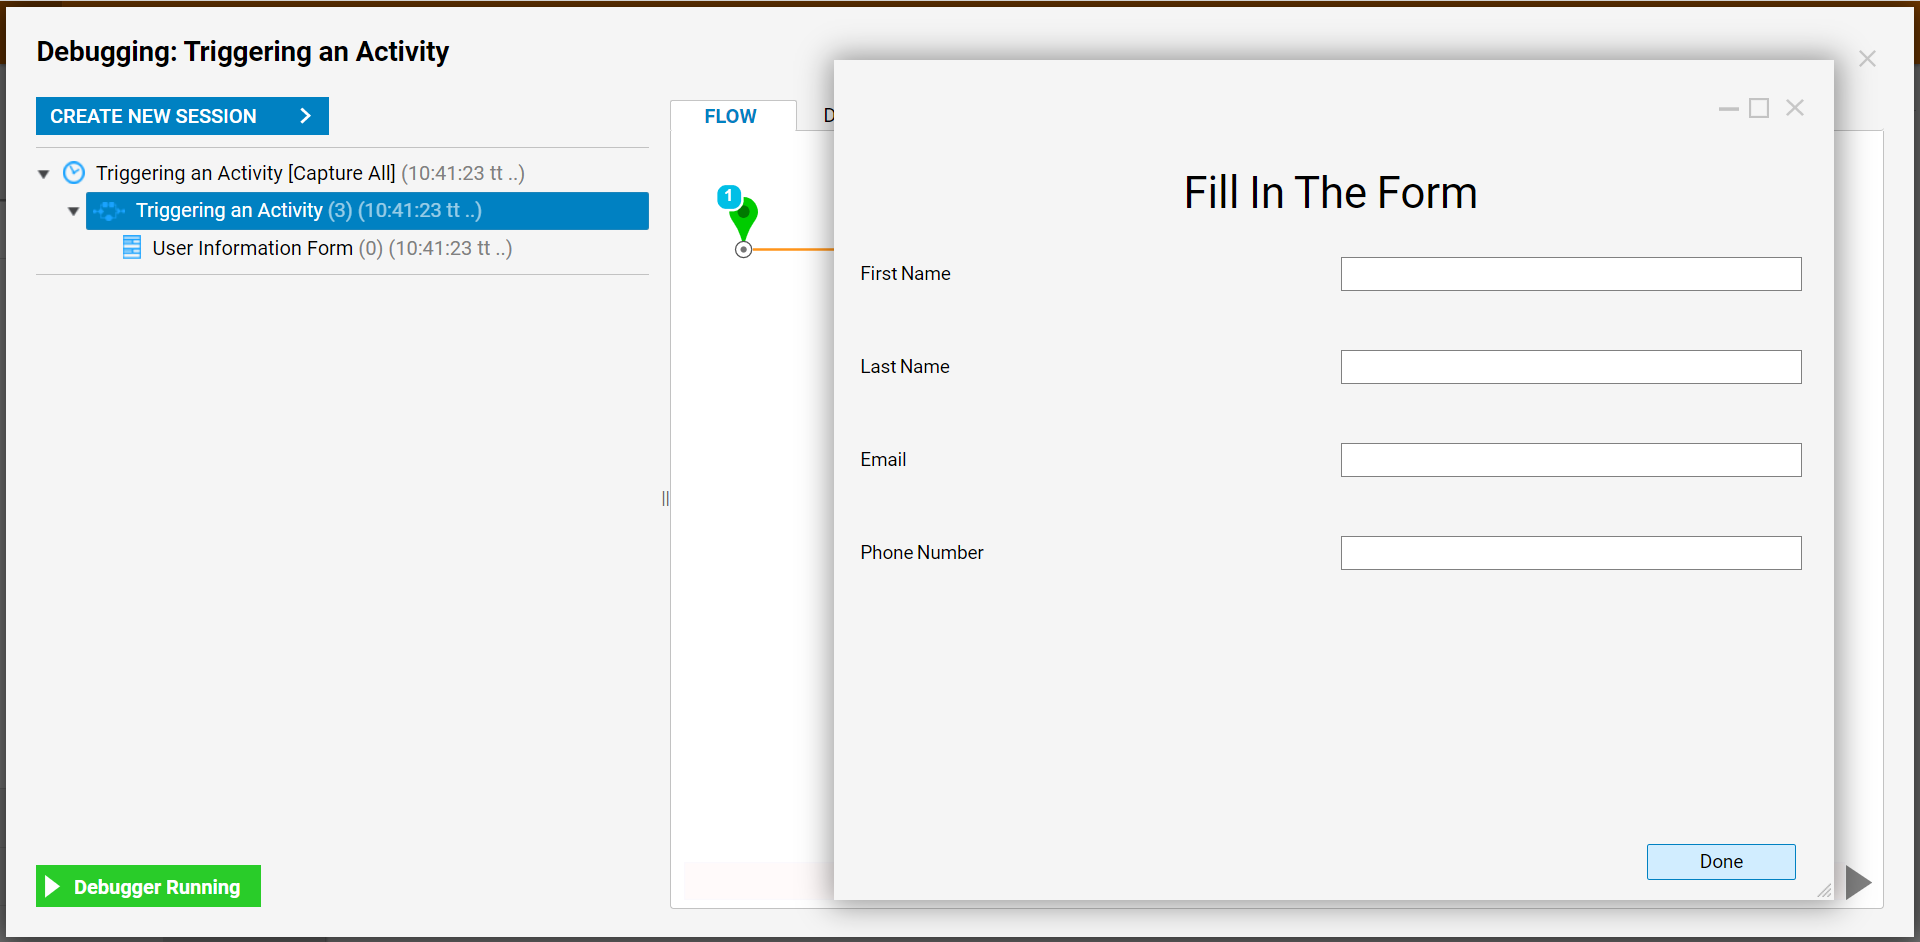
- If desired, fill out the Form and then submit it to complete the Flow.
