Overview
This tutorial demonstrates how to use Auto Complete configurations for the Assigned Forms. With the Auto Complete setting, there is the option to configure a Time Span for the Assignment. When the specified Time span has passed, the Auto Complete Flow triggers and the Assignment completes with designed outcomes.
Example
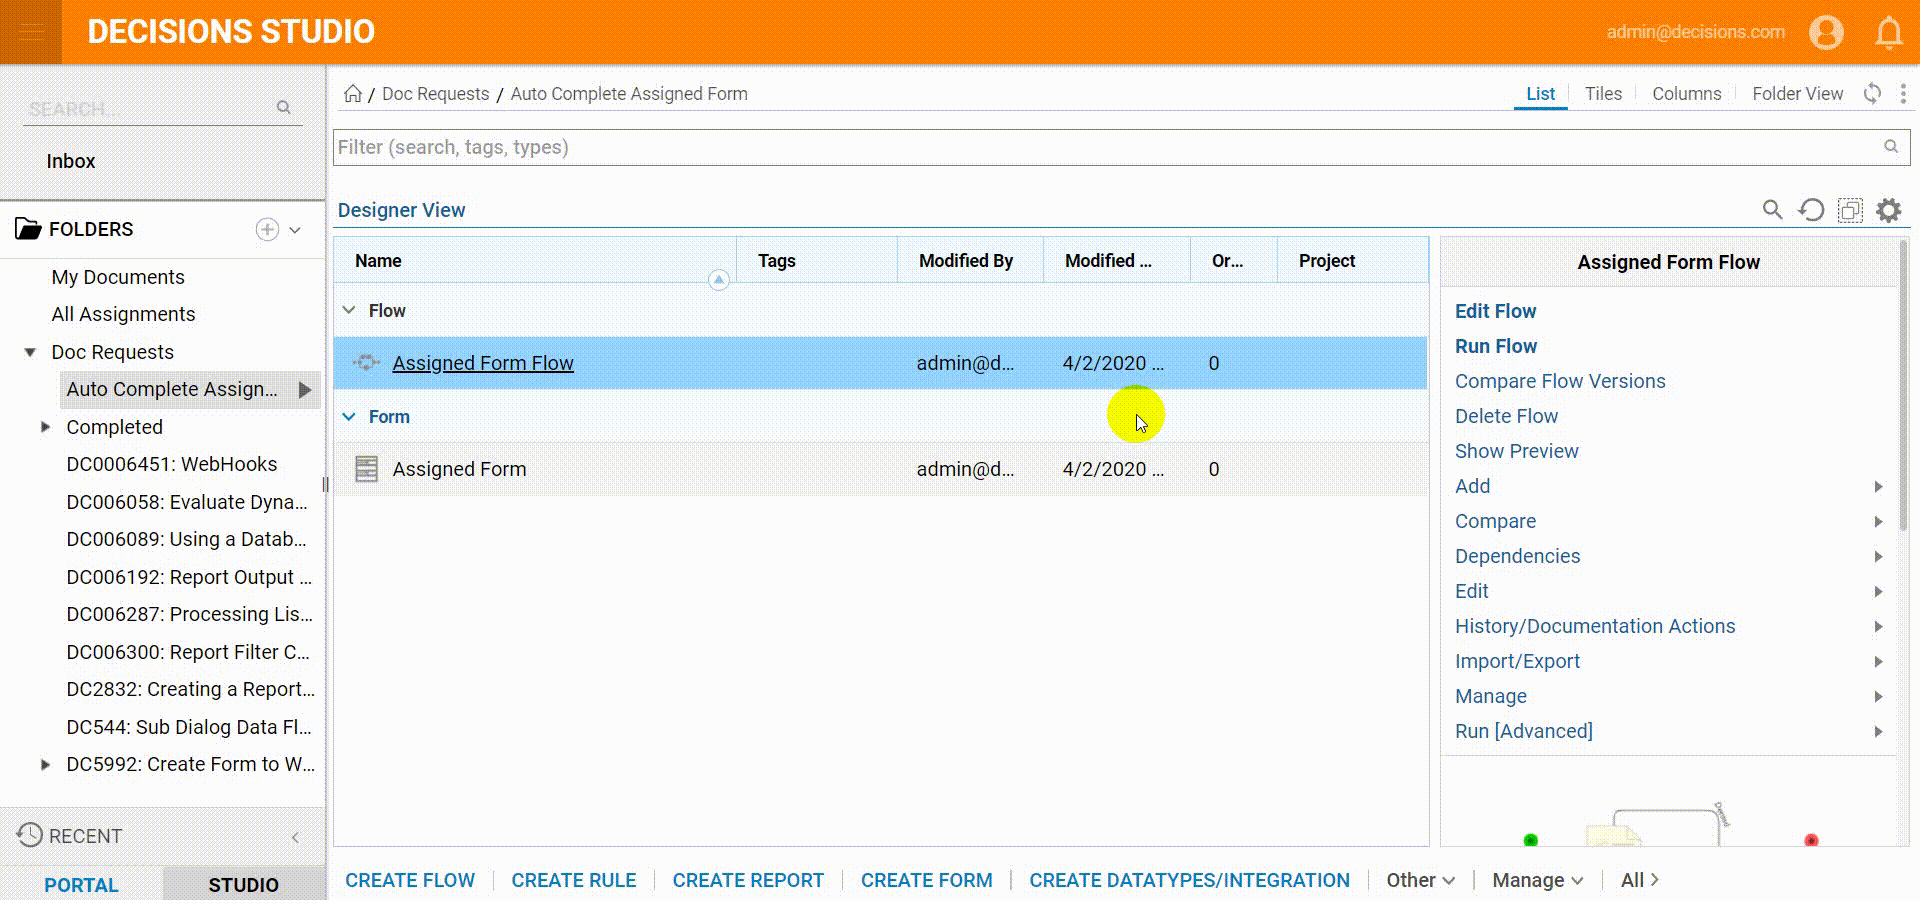
- Begin in the Designer Folder and select CREATE FLOW on the Folder Actions Panel.
- Give the Flow a Name and select CREATE to proceed to the Flow Designer.

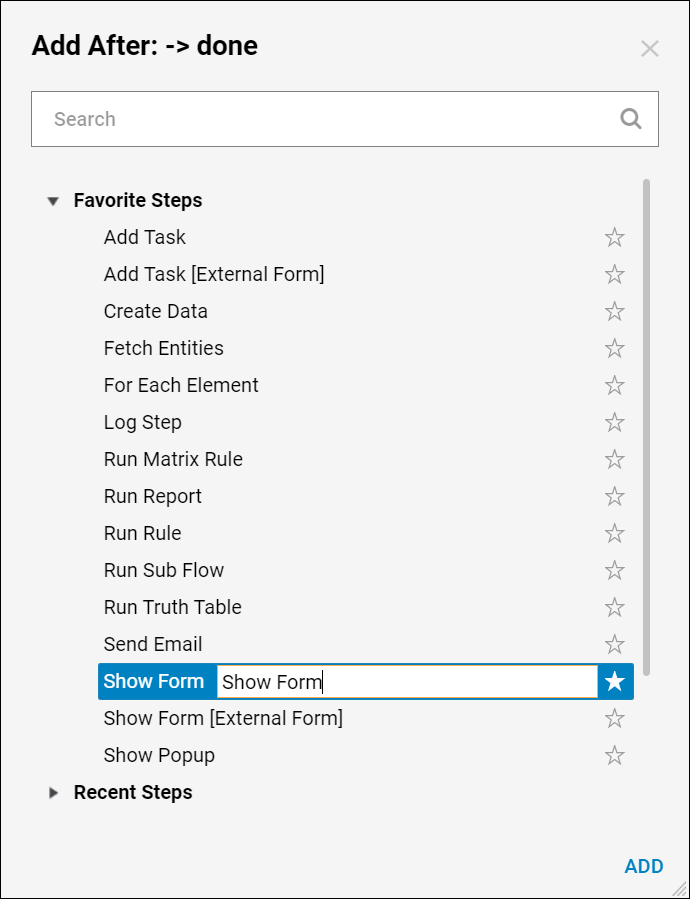
- In the Flow Designer, add the Show Form step from the Favorite Steps category.
- Name the Form and select CREATE to proceed to the Form Designer.
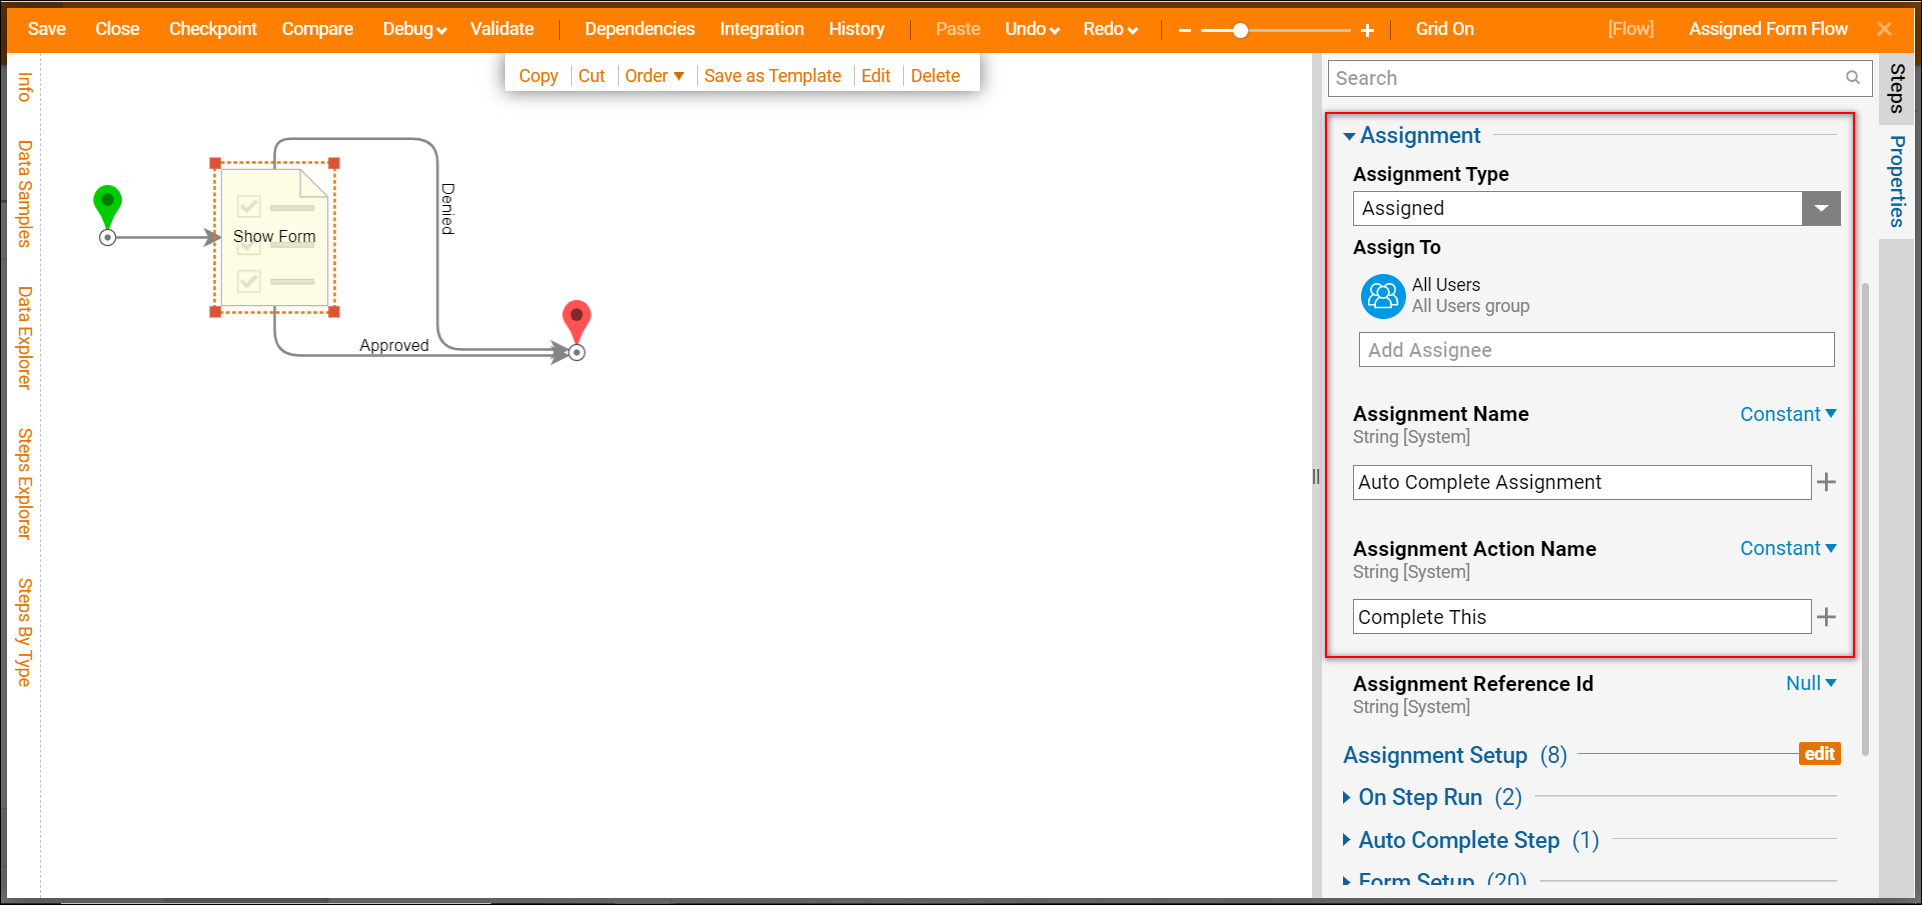
- The Form is designed with two Buttons named Denied and Approved.
- When finished, save and close the Form Designer to return to the Flow Designer.

- In the Flow Designer, connect both outcomes from the Show Form step to the End step in the Flow.
- Then, select the Show Form step on the workspace and change the Assignment Type from InSession to Assigned under Assignment Type.
- Each assigned Form has to have at least one assignee. Select Assignment Type to define an assignee for this Form.
- After the assignee has been selected, name the Assignment and name the Assignment Action.
- Choose Constant and enter a given name or select from the options given when clicking next to Assignment Name and Assignment Action Name.
- Select save and close the Assignment window.
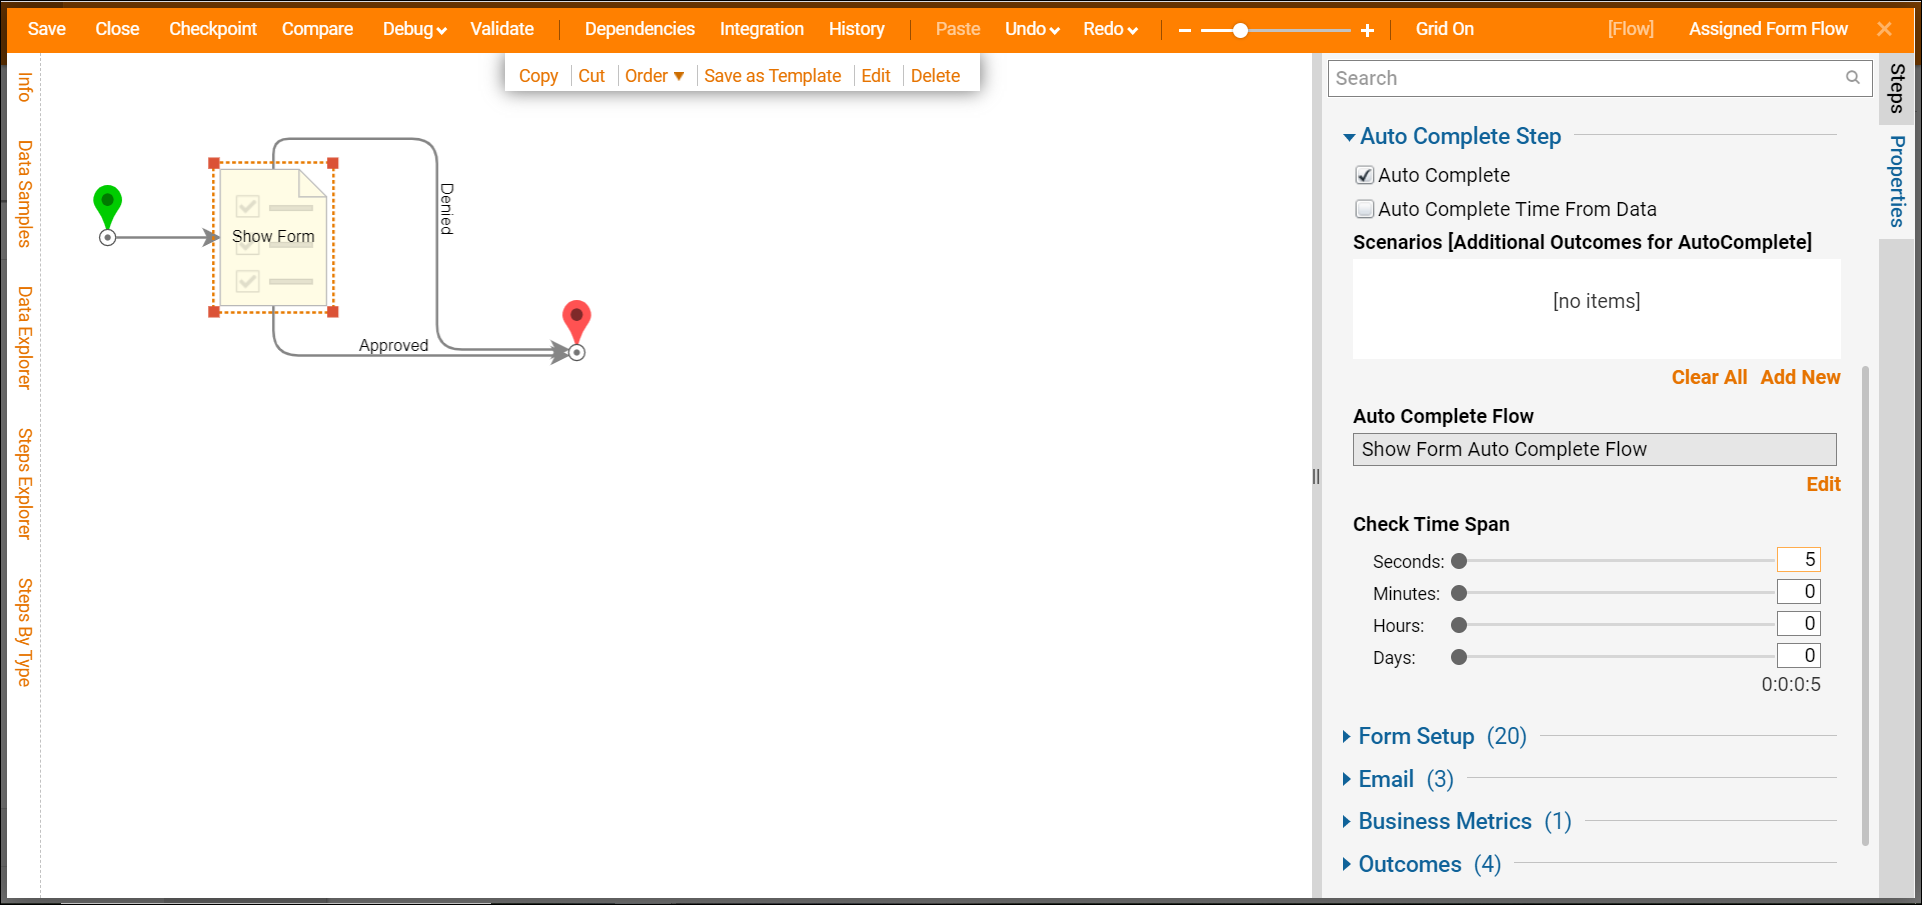
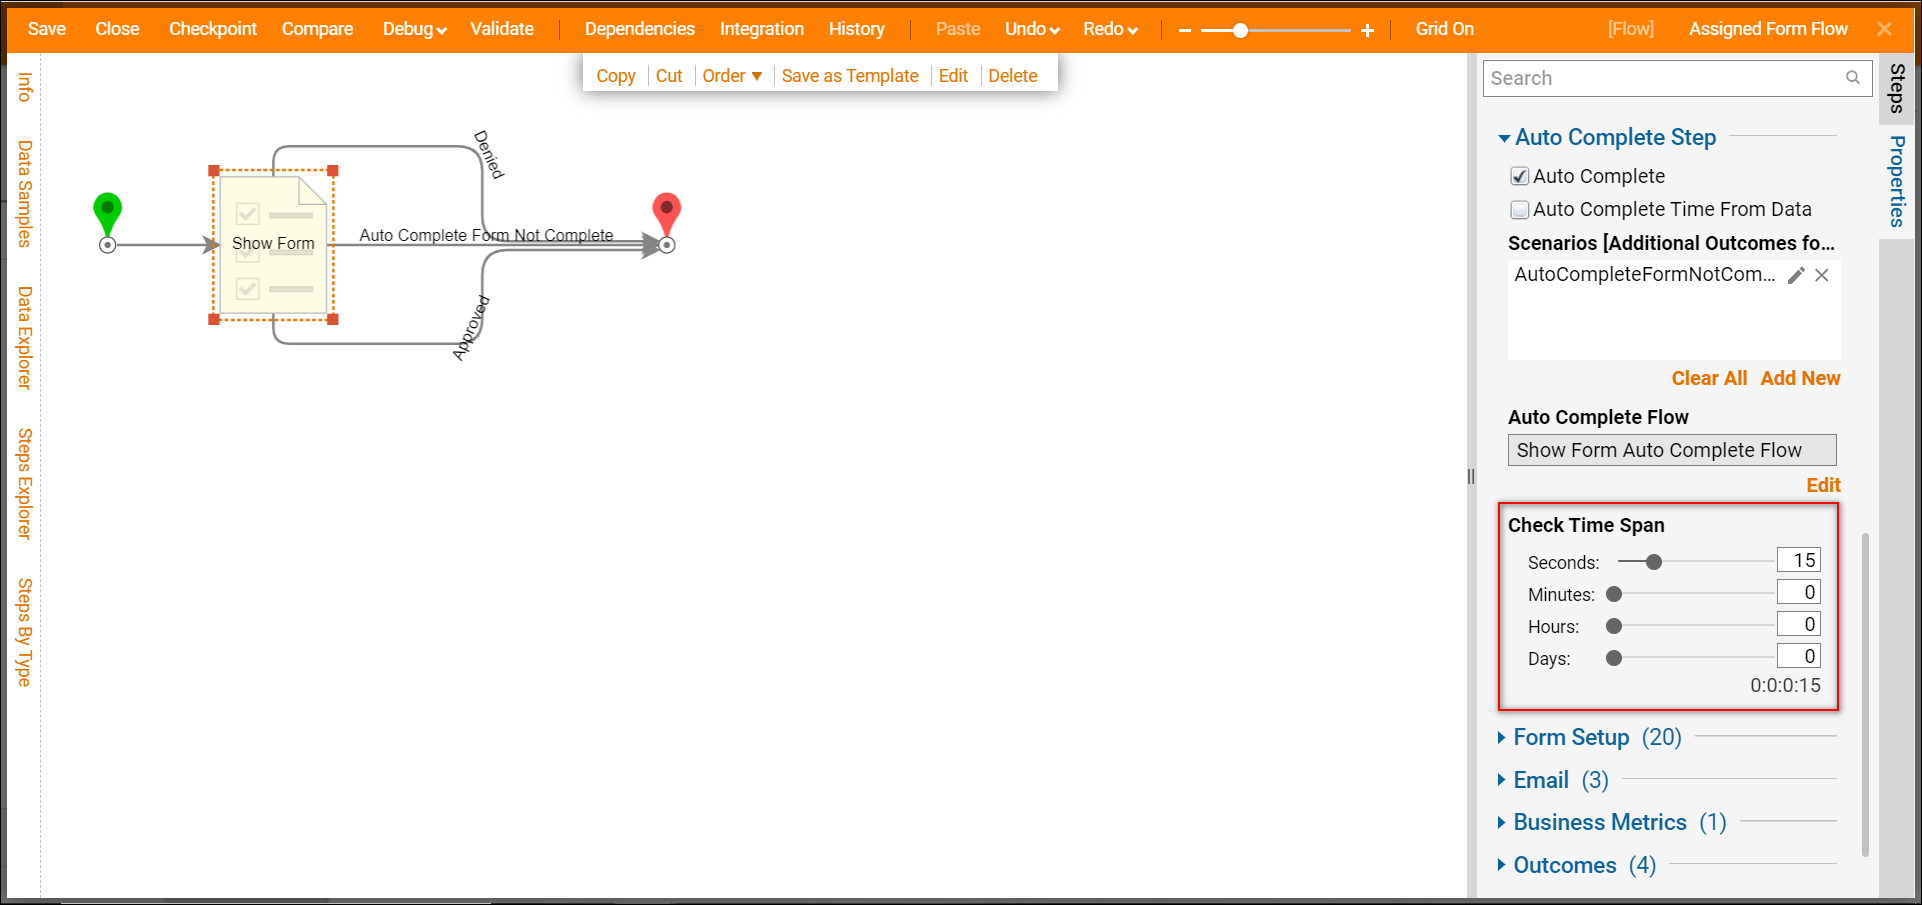
- Locate the Auto Complete section in the Show Form step configurations and check the Auto Complete check box.
- Under Scenarios [Additional Outcomes for AutoComplete]:Add New adds a new outcome Path for the Assignment to be automatically completed.
- Under Check Time Span, define a time span after which the Auto Complete Flow will be triggered.
- For example, set the Time Span to be 5 seconds. This means that if the Assignment is not completed in 5 seconds, it will be auto completed with the Auto Complete Flow.
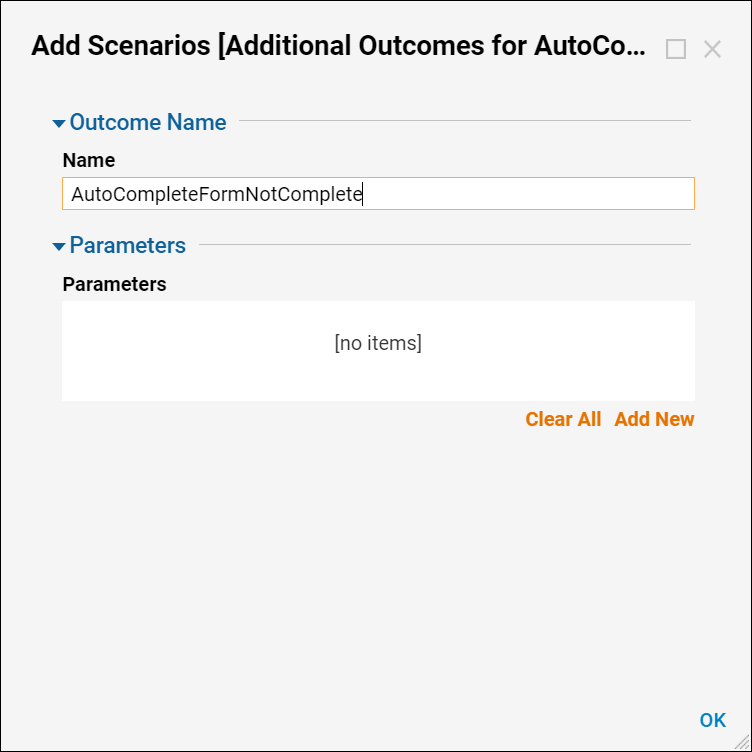
- Select Add New under Scenarios [Additional Outcomes for AutoComplete].
- In the Add Scenarios dialog, name the outcome path. Developers can define the parameters for this Outcome Path by selecting Add New.
- Select OK to close the dialog.
- Under Auto Complete Flow, select Edit.
- The Auto Complete Flow has as many End steps as there are outcomes from the Assigned Form.
- In this Flow, developers can implement any logic to handle the auto complete process for the Assignment.
- Connect the Start step to the AssignedFormNotComplete End step.
- Save the Flow and close the Auto Complete Flow Designer.

Debug
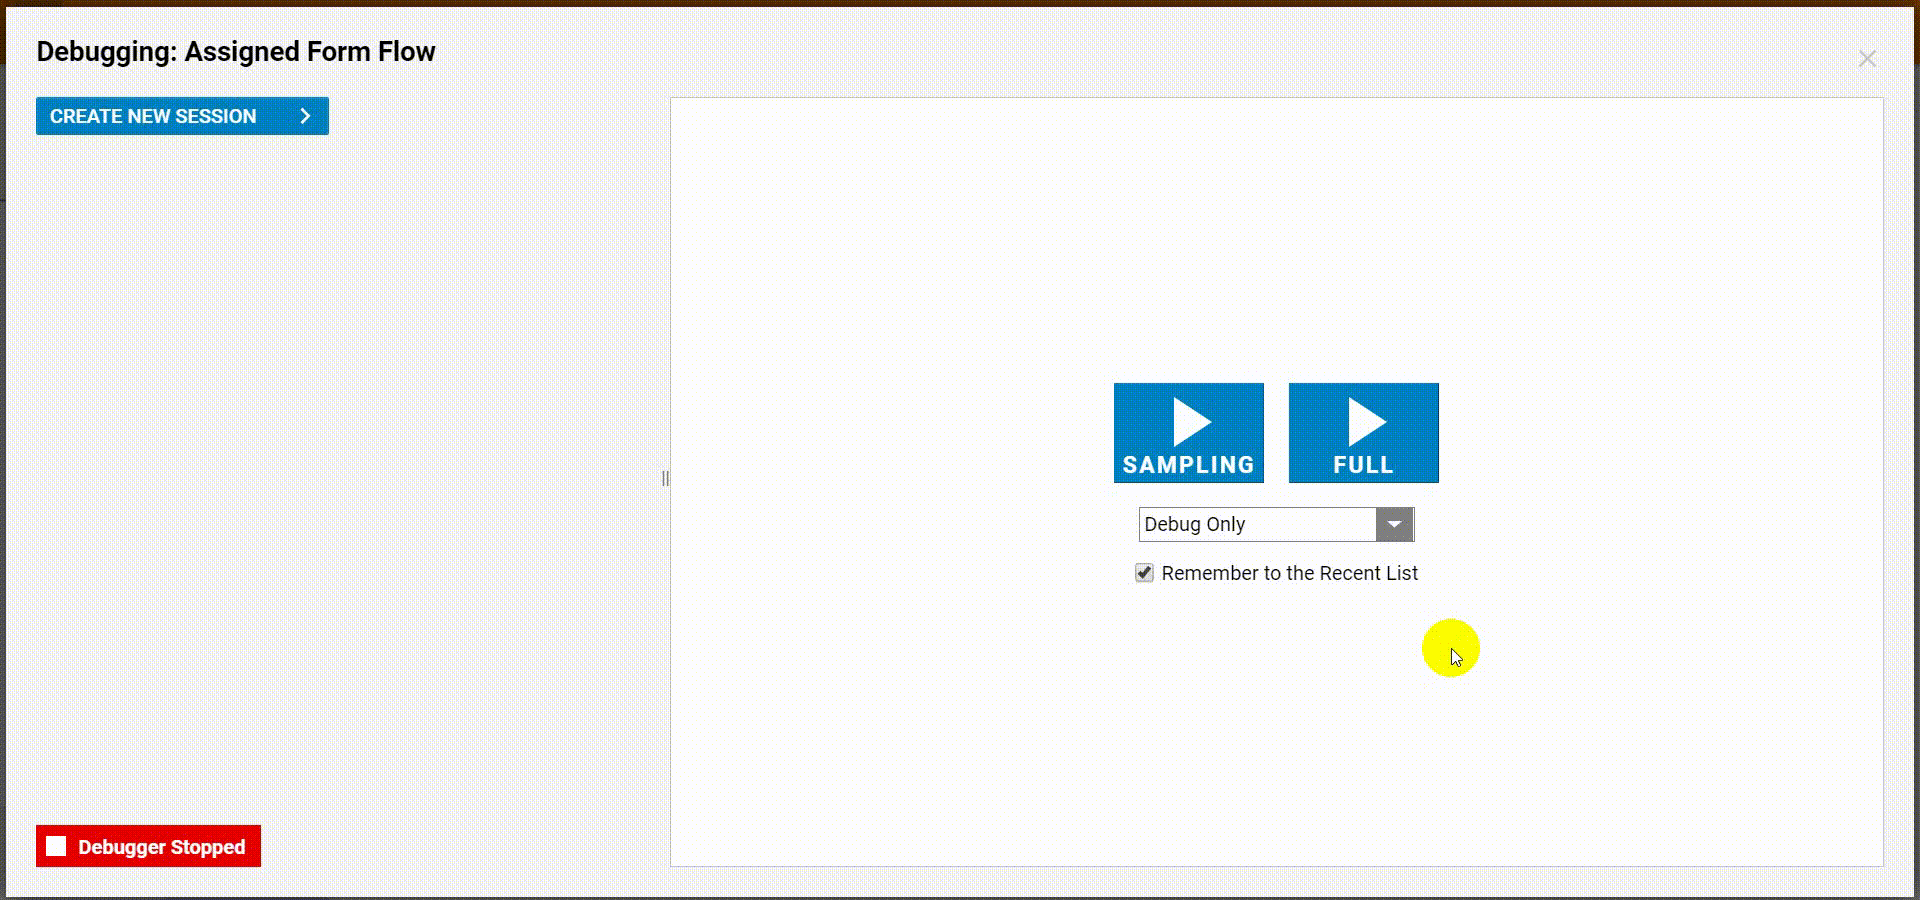
- Select Debug on the Top Panel of the Flow Designer to test the Flow.
- The Form gets Assigned.
- Close the Form without completing it. Notice in the Debugger that after 5 seconds the Assigned Form is Auto Completed.
- Back in the Flow Designer, change the Time Span for Auto Complete to a longer time.
- Save and close the Flow Designer.
- Run the Flow in the Designer Folder. When the Form is assigned, select No.
- Navigate to the Inbox Folder and see the Assignment is still available to complete as the Auto Complete time has not passed yet.