Overview
By using the Split Excel Column component in a Flow, the data in an Excel spreadsheet's column that is separated by a delimiter can be split into several columns and then displayed in a data grid or converted into a CSV file.
The Split Excel Column step can also split the original columns into more columns, or combine them into fewer columns.
Example
The following example demonstrates how to use a Split Excel Column step in a Flow to separate data in an Excel spreadsheet that is separated by a delimiter, and how to properly map the step via the Mapping Editor.
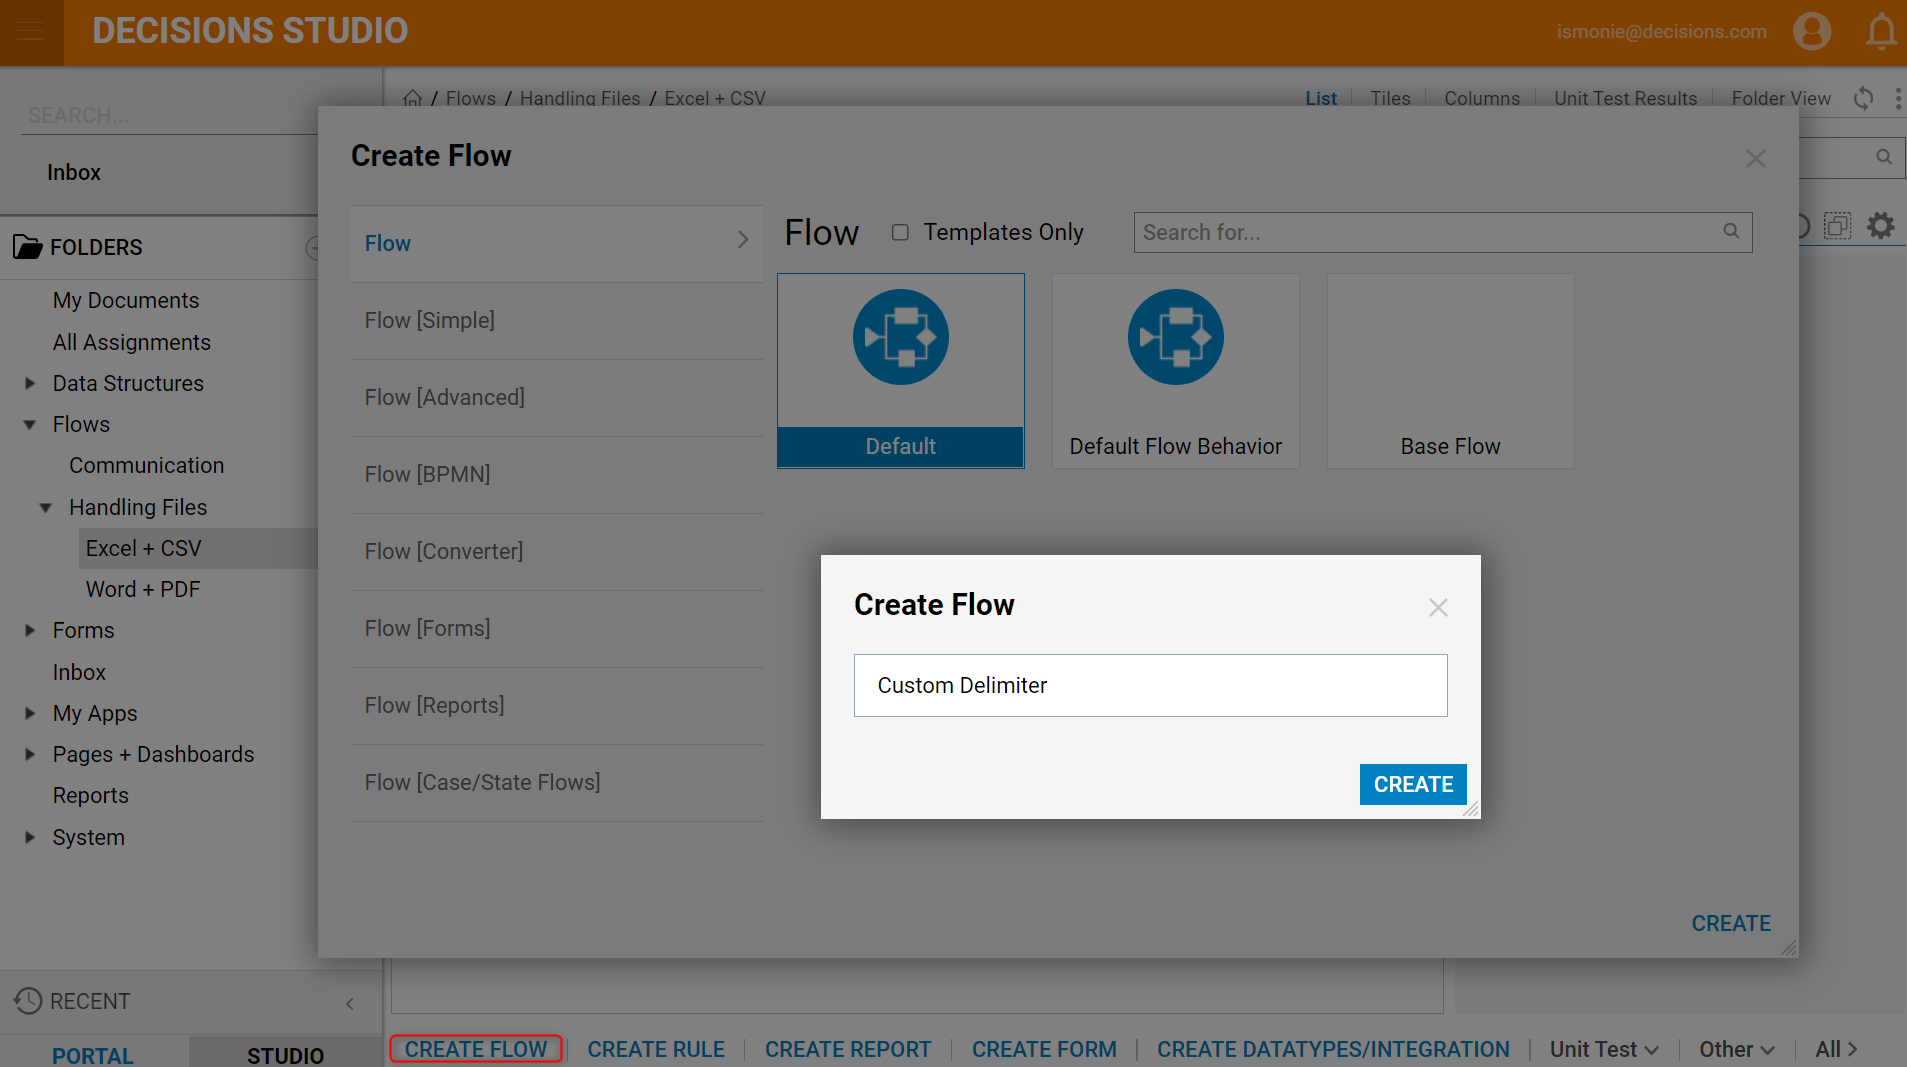
- To begin, navigate to a Designer Folder and click the Create Flow button.
- Select and name the default Flow [Custom Delimiter] and click CREATE to open it in the Flow Designer.

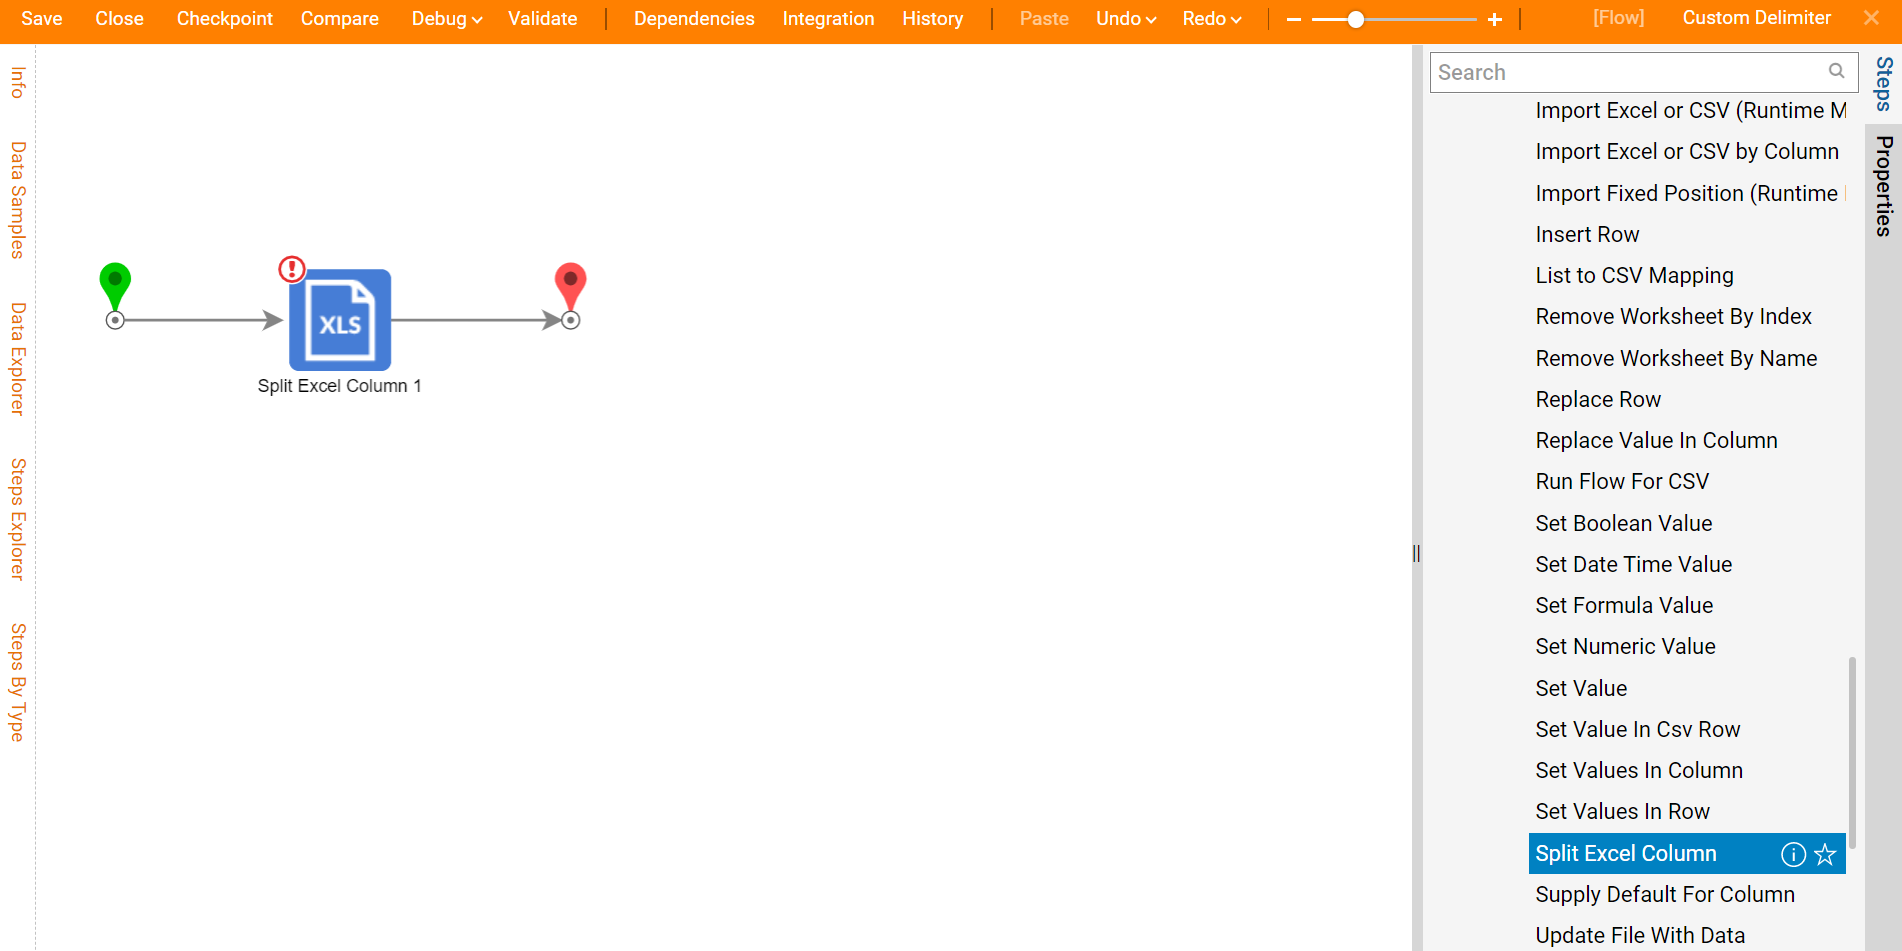
- In the Flow Designer, expand the category All Steps [Catalog] > Integration > Excel and CSV, then drag and drop a Split Excel Column step to the workspace.
- Connect the Split Excel Column step to the Start and End steps.

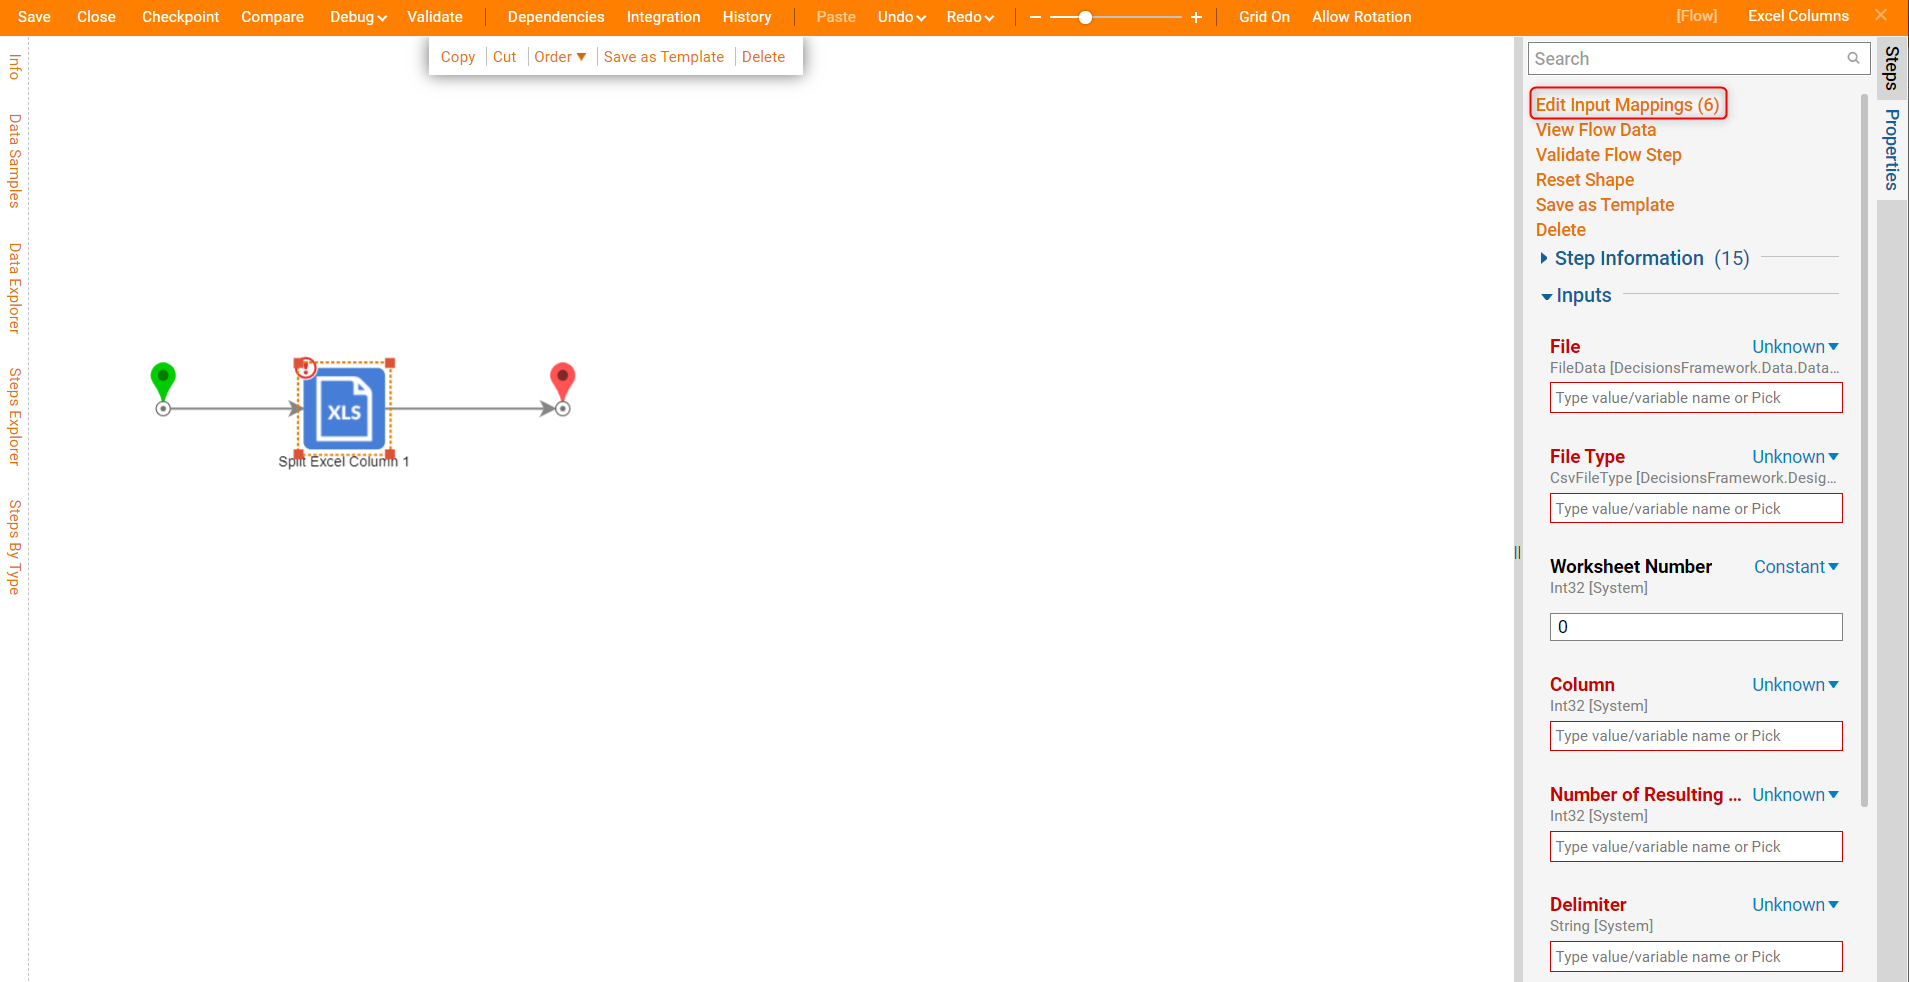
- To map the component, click on the Split Excel Column step and click the Edit Input Mapping button in the Properties panel, or select Show Mapping Editor from its Actions menu.

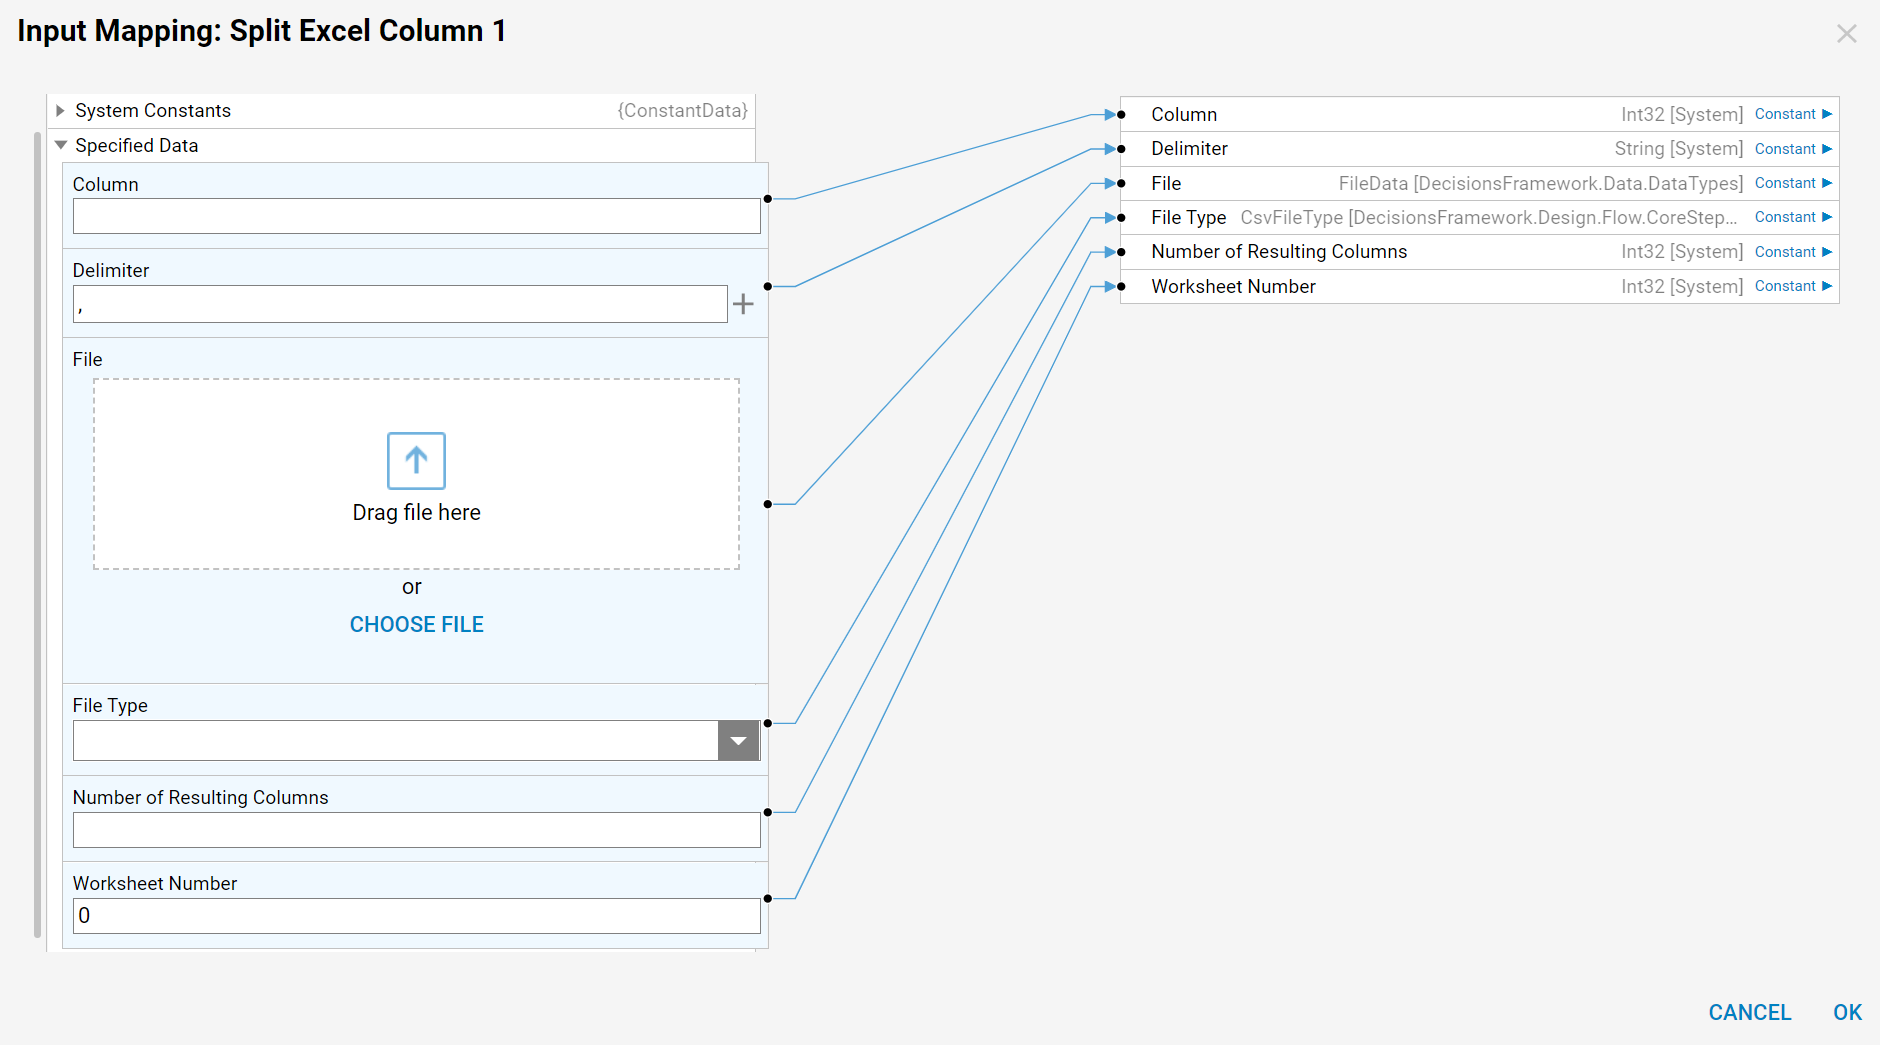
- In the Mapping Editor, change all inputs from Unknown to Constant.
- For the File object, add the file using the file selector.
- For the fileType object, from the Value drop-down list, select Excel_xlsx.
- For the column object, specify the number of columns in the file in the Value field.
- Enter the delimiter in the value field under the delimiter object.
- Enter the relevant worksheet number, if working with a document created with multiple worksheets.
- Finally, specify the number of columns that should result after the columns have been split (or merged).
- Click OK to save the mapping and close the Mapping Editor.
