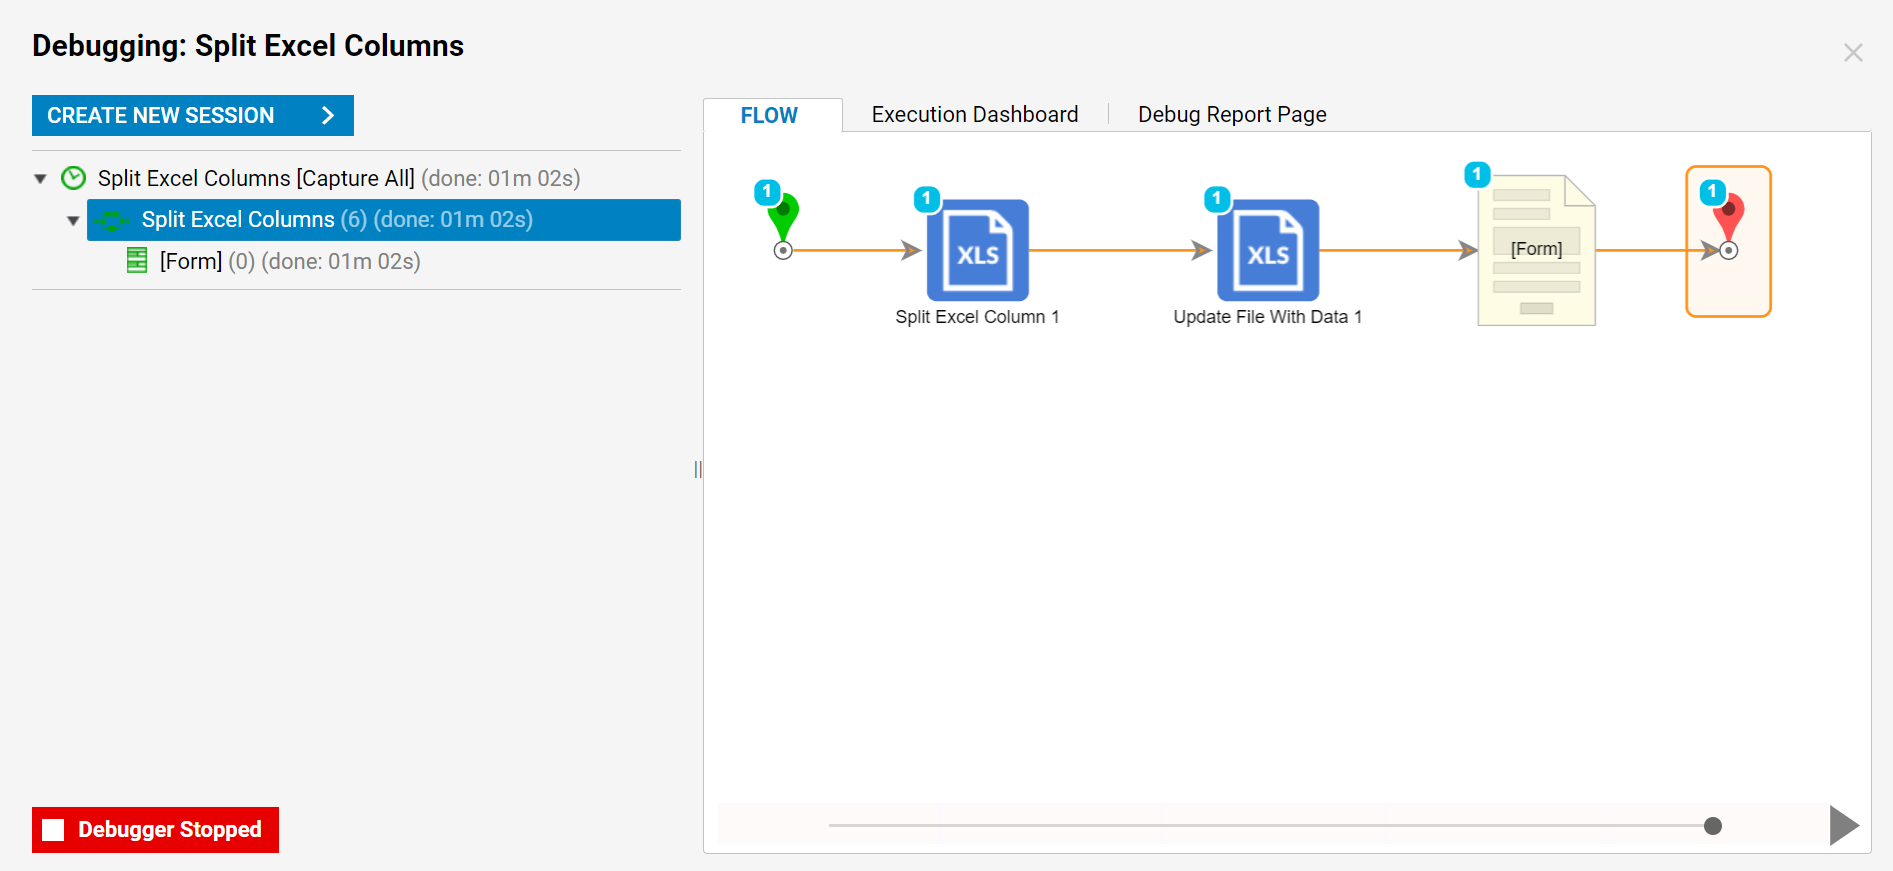
Overview
By using the Split Excel Column component in a Flow, the data in an Excel spreadsheet’s column that is separated by a delimiter may be split into several Columns and then displayed in a Data Grid or converted into a CSV file.
This step may also split the original Columns into more columns, or combine them into fewer Columns.
Example
The following tutorial shows how to create a Flow that uses the Split Excel Column step with an Update File With Data step, and a Form to alter an Excel spreadsheet, and then download it.
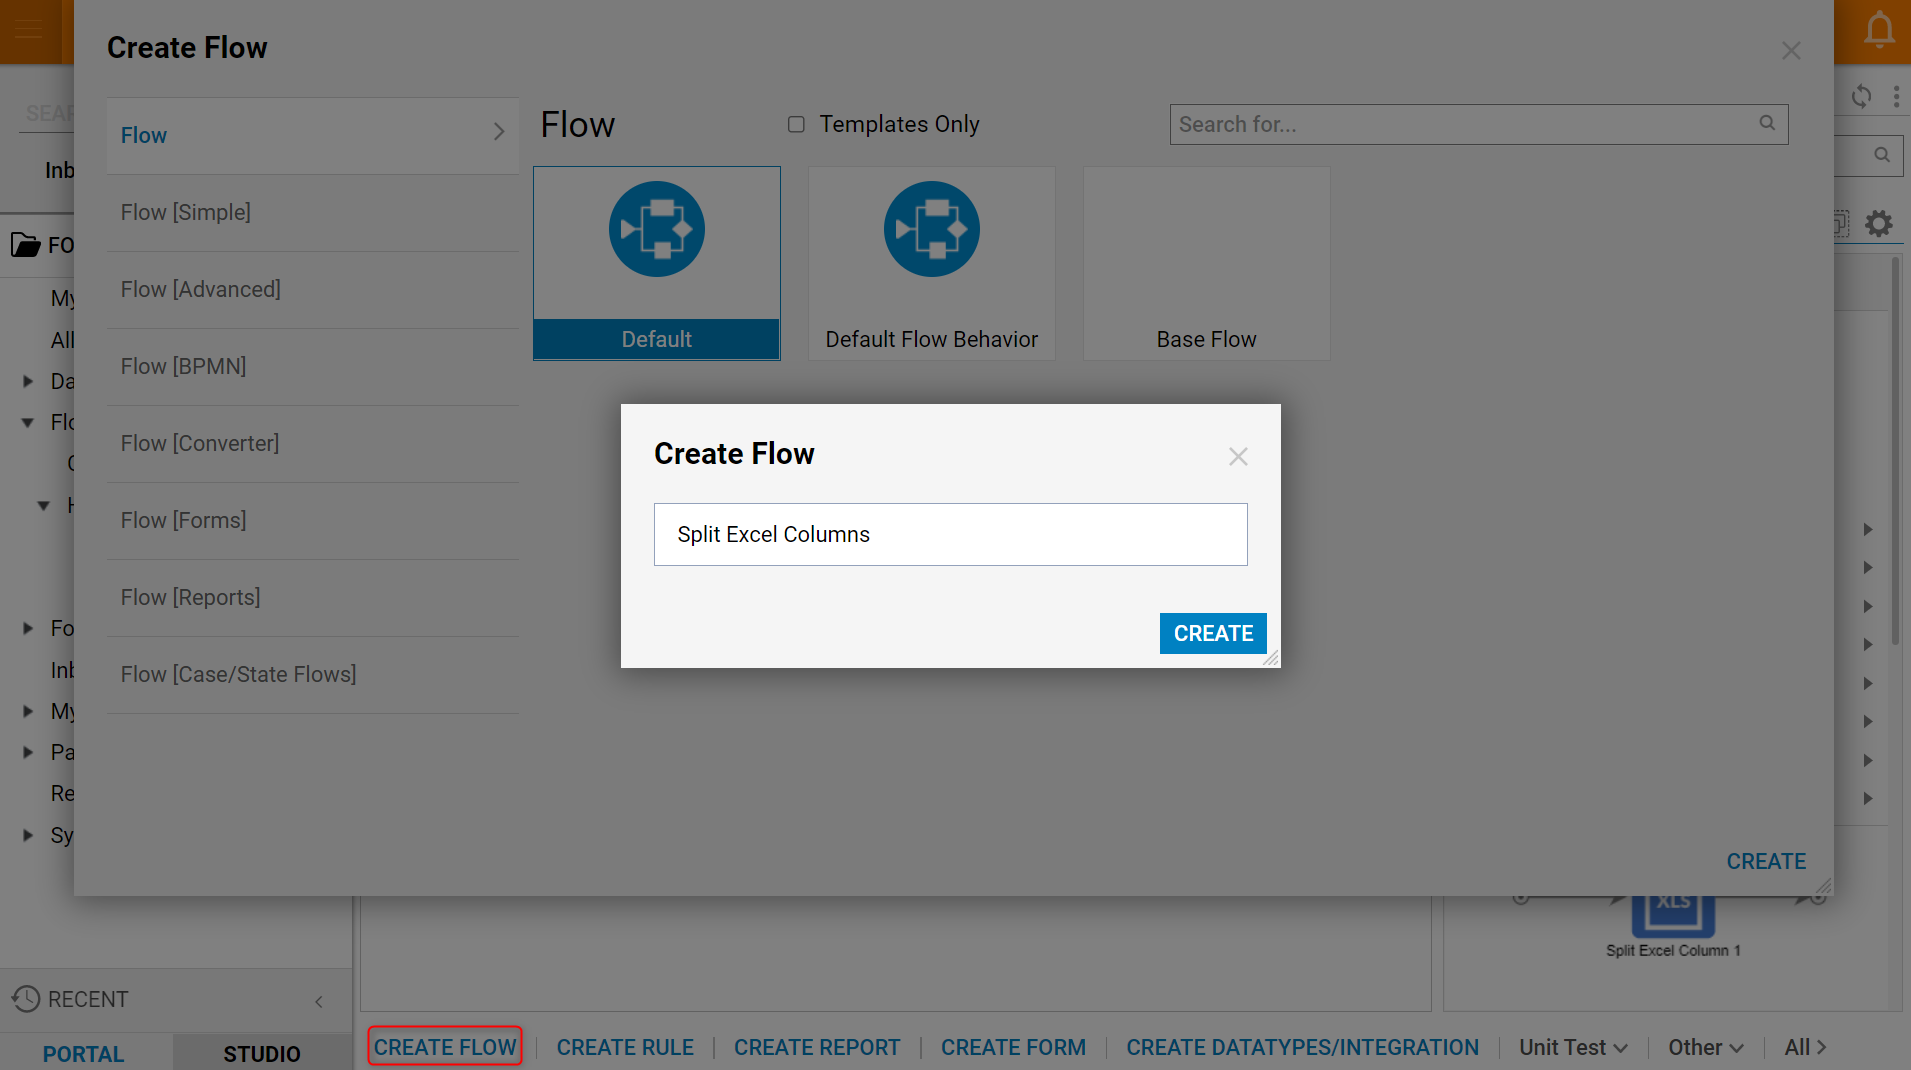
- To begin, navigate to a Designer Folder and click the CREATE FLOW button.
- Select and name the default Flow and select CREATE to open the Flow Designer.
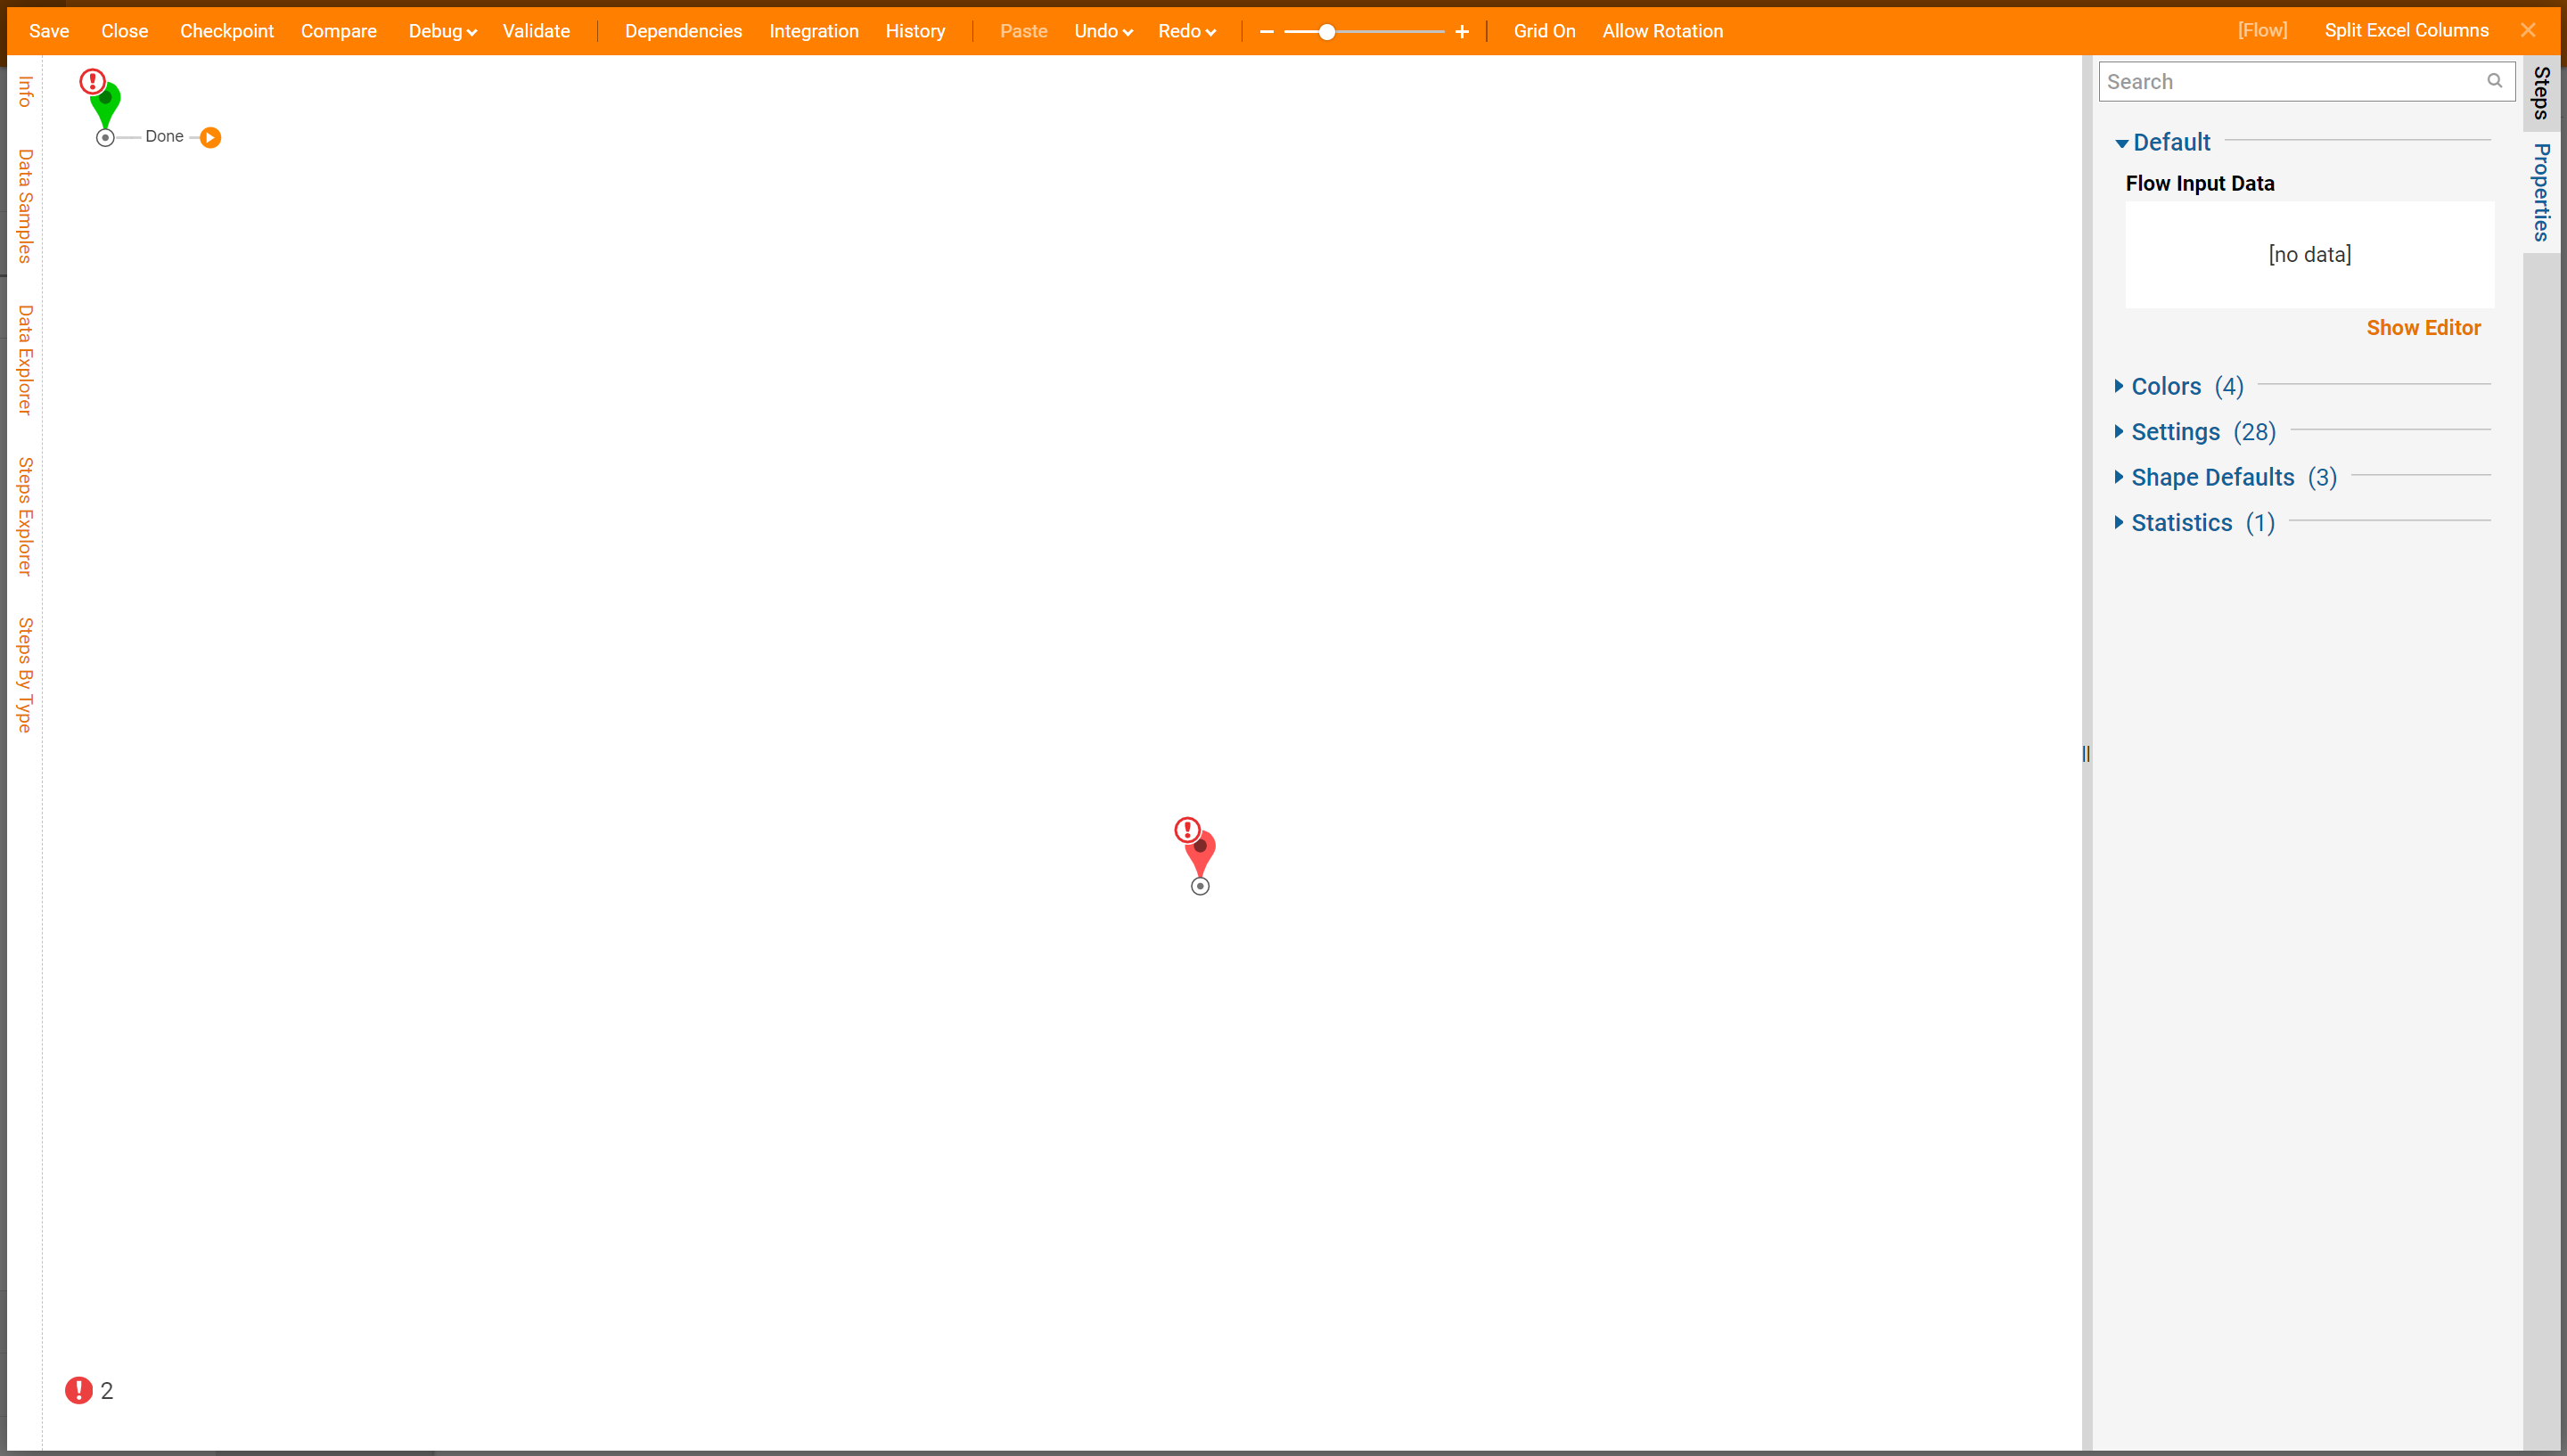
- In the Flow Designer, select the Start step, in the Properties panel under Flow Data > Flow Input Data select Show Editor.
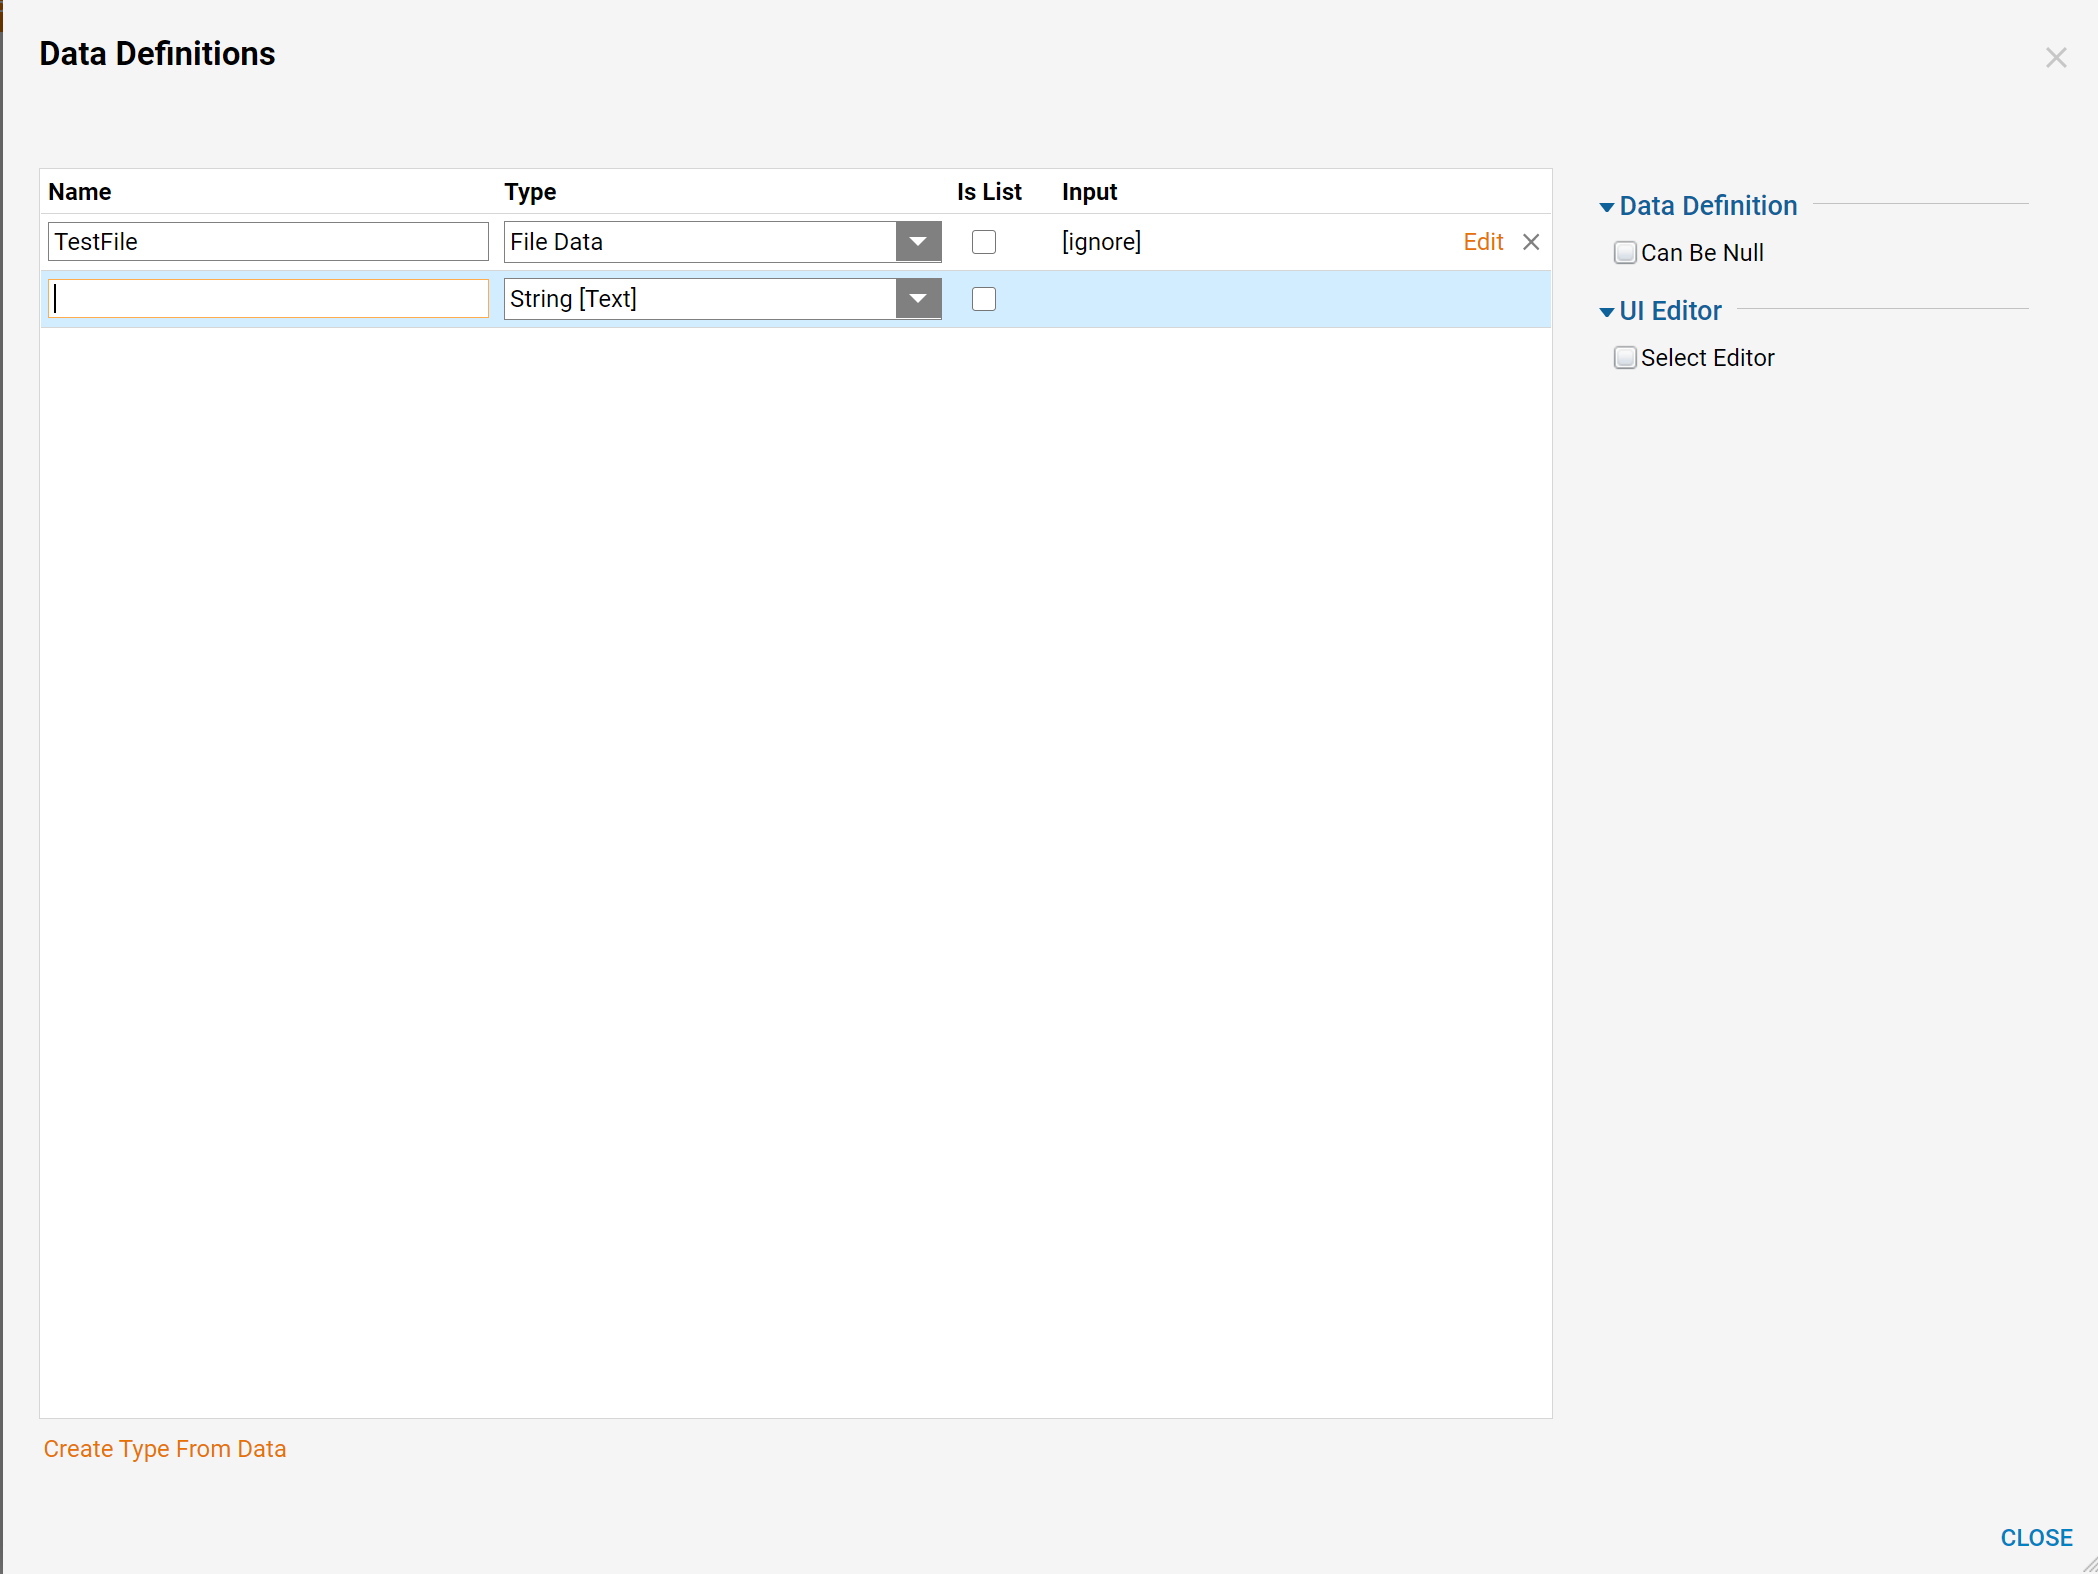
- In the Data Definitions dialog, define a Name for the input variable.
- Next, define its Type as FileData using the search in the Type Picker.
- Select CLOSE to navigate back to the Flow Designer.
- In the Steps panel, expand the category All Steps [Catalog] > Integration> Excel and CSV, then drag and drop a Split Excel Column step to the workspace.
- In the Steps panel, add the Update File With Data step found in the category All Steps [Catalog] > Integration > Excel and CSV.
- Next, locate the Show Form step in the Favorite Steps category in the Steps panel, add this step next to the Update File With Data step in the Flow.
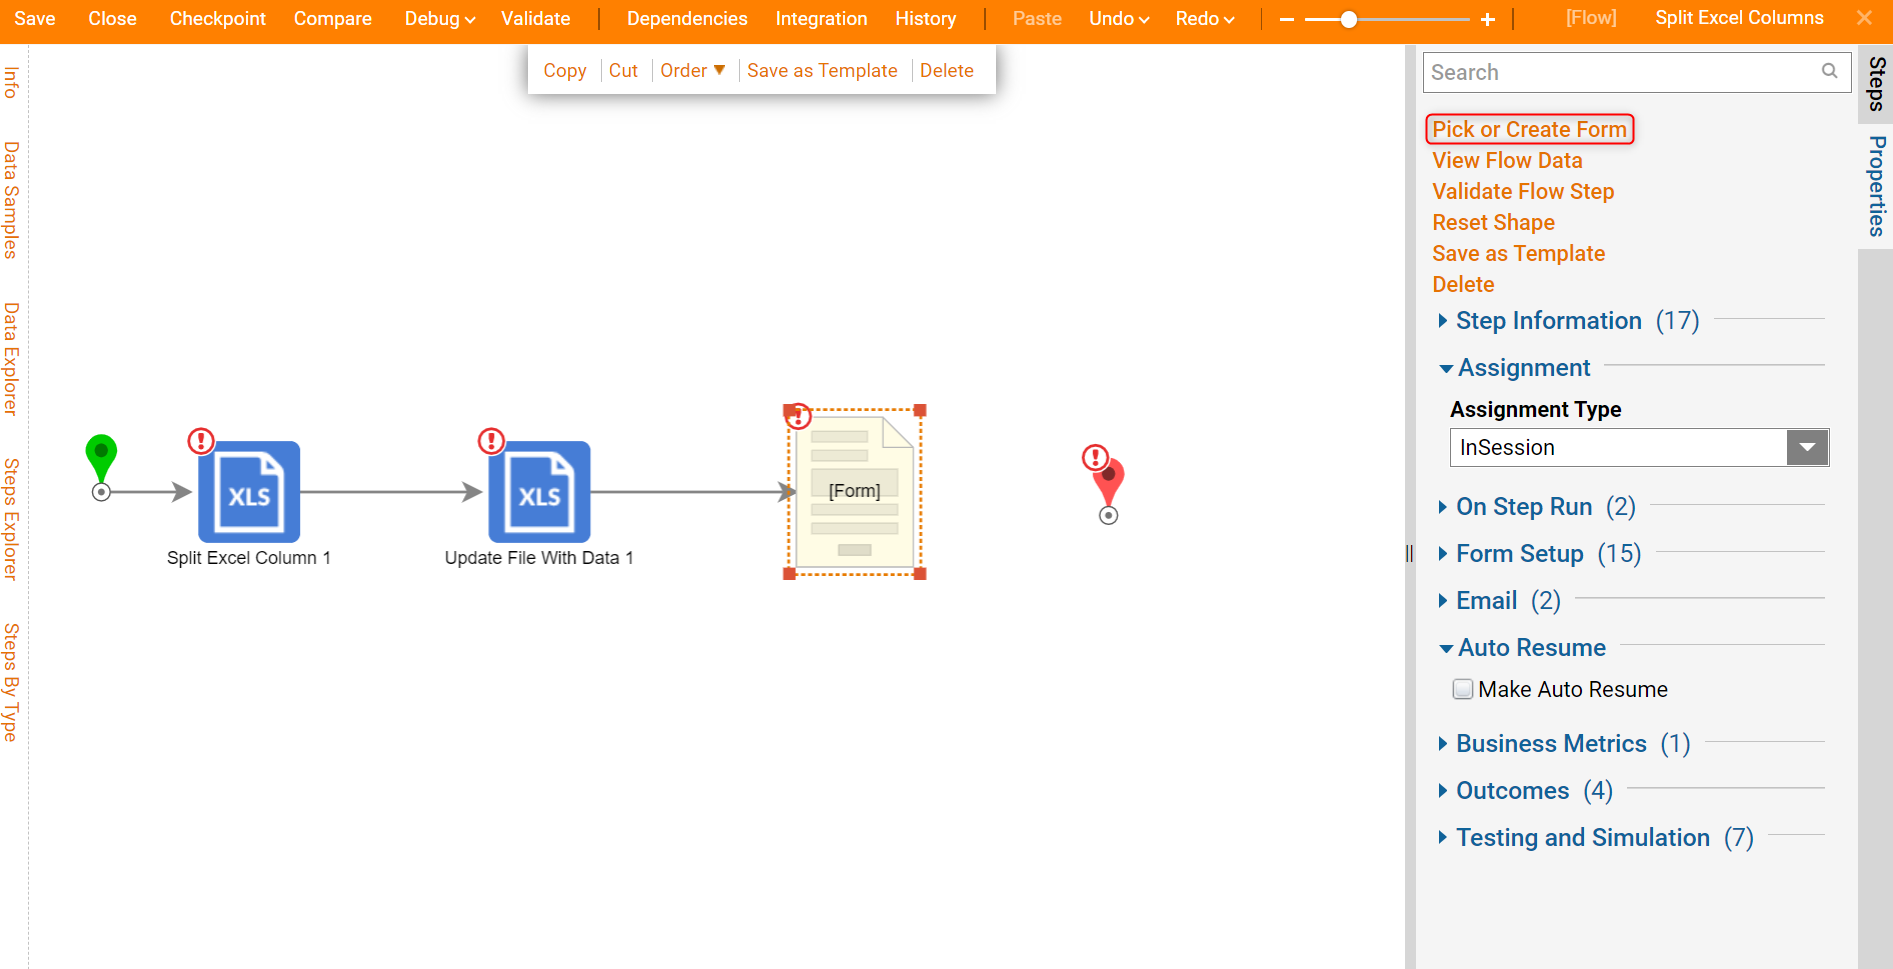
- Select Pick or Create Form from the Properties panel.
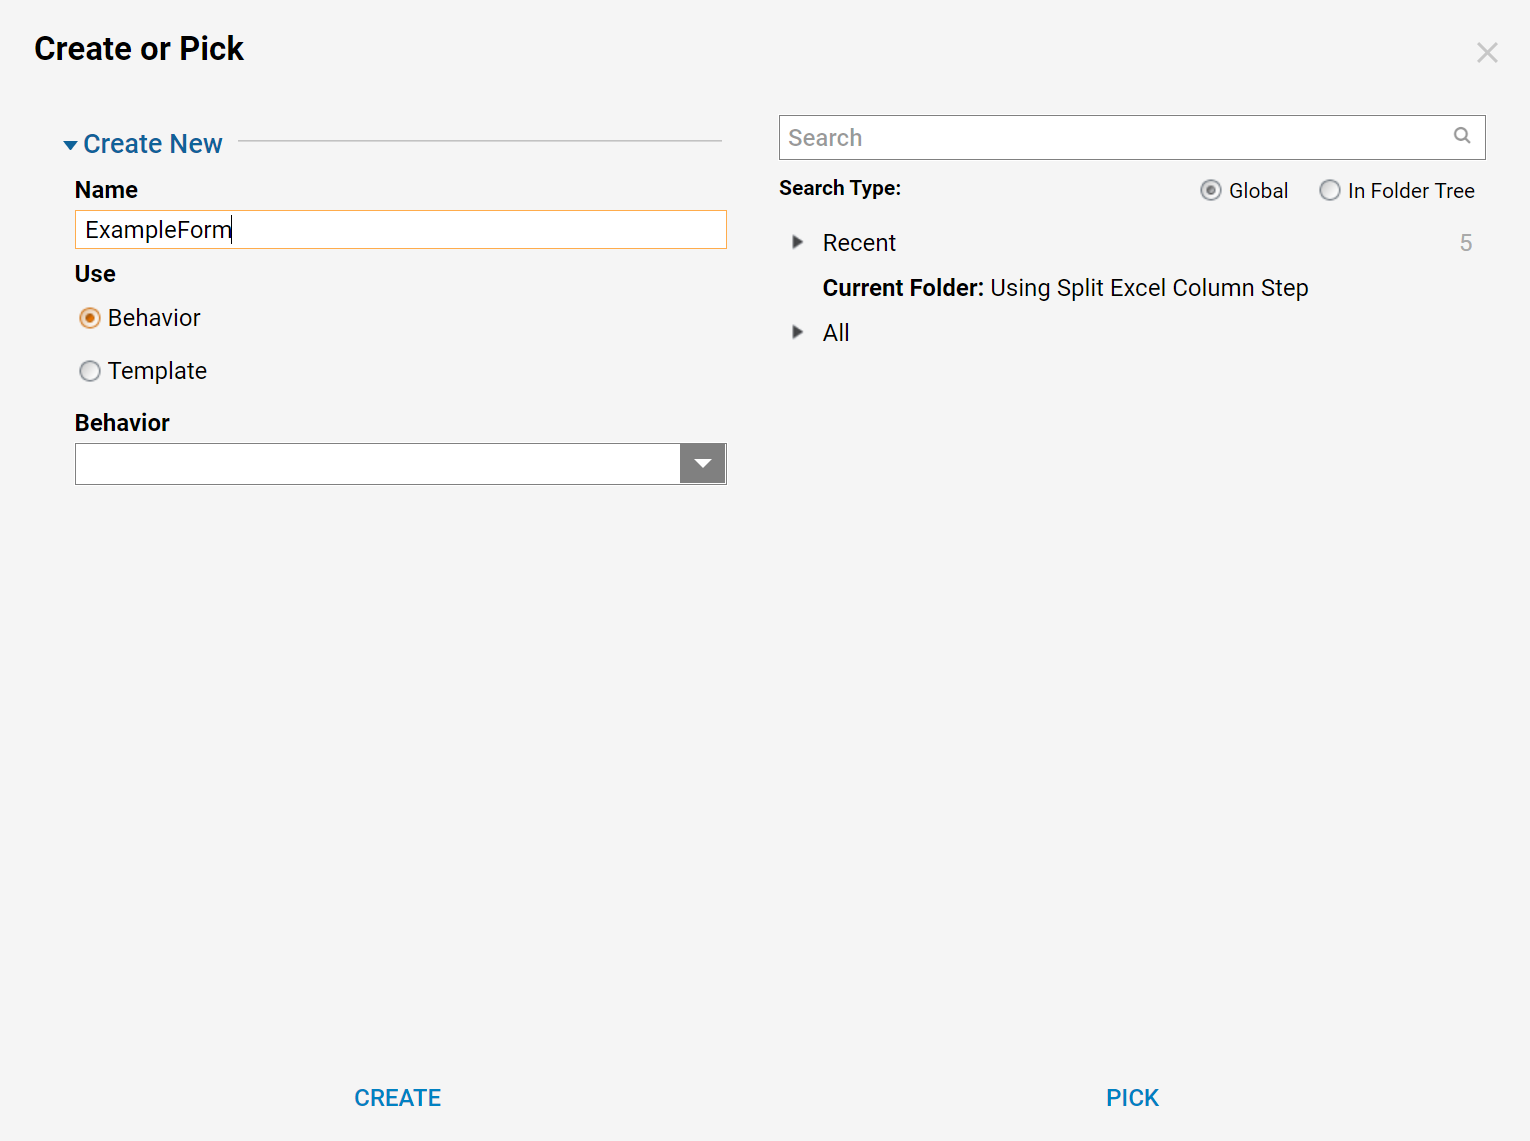
- In the Create or Pick window, select and name the default Form [ExampleForm] and select CREATE to proceed to the Form Designer.
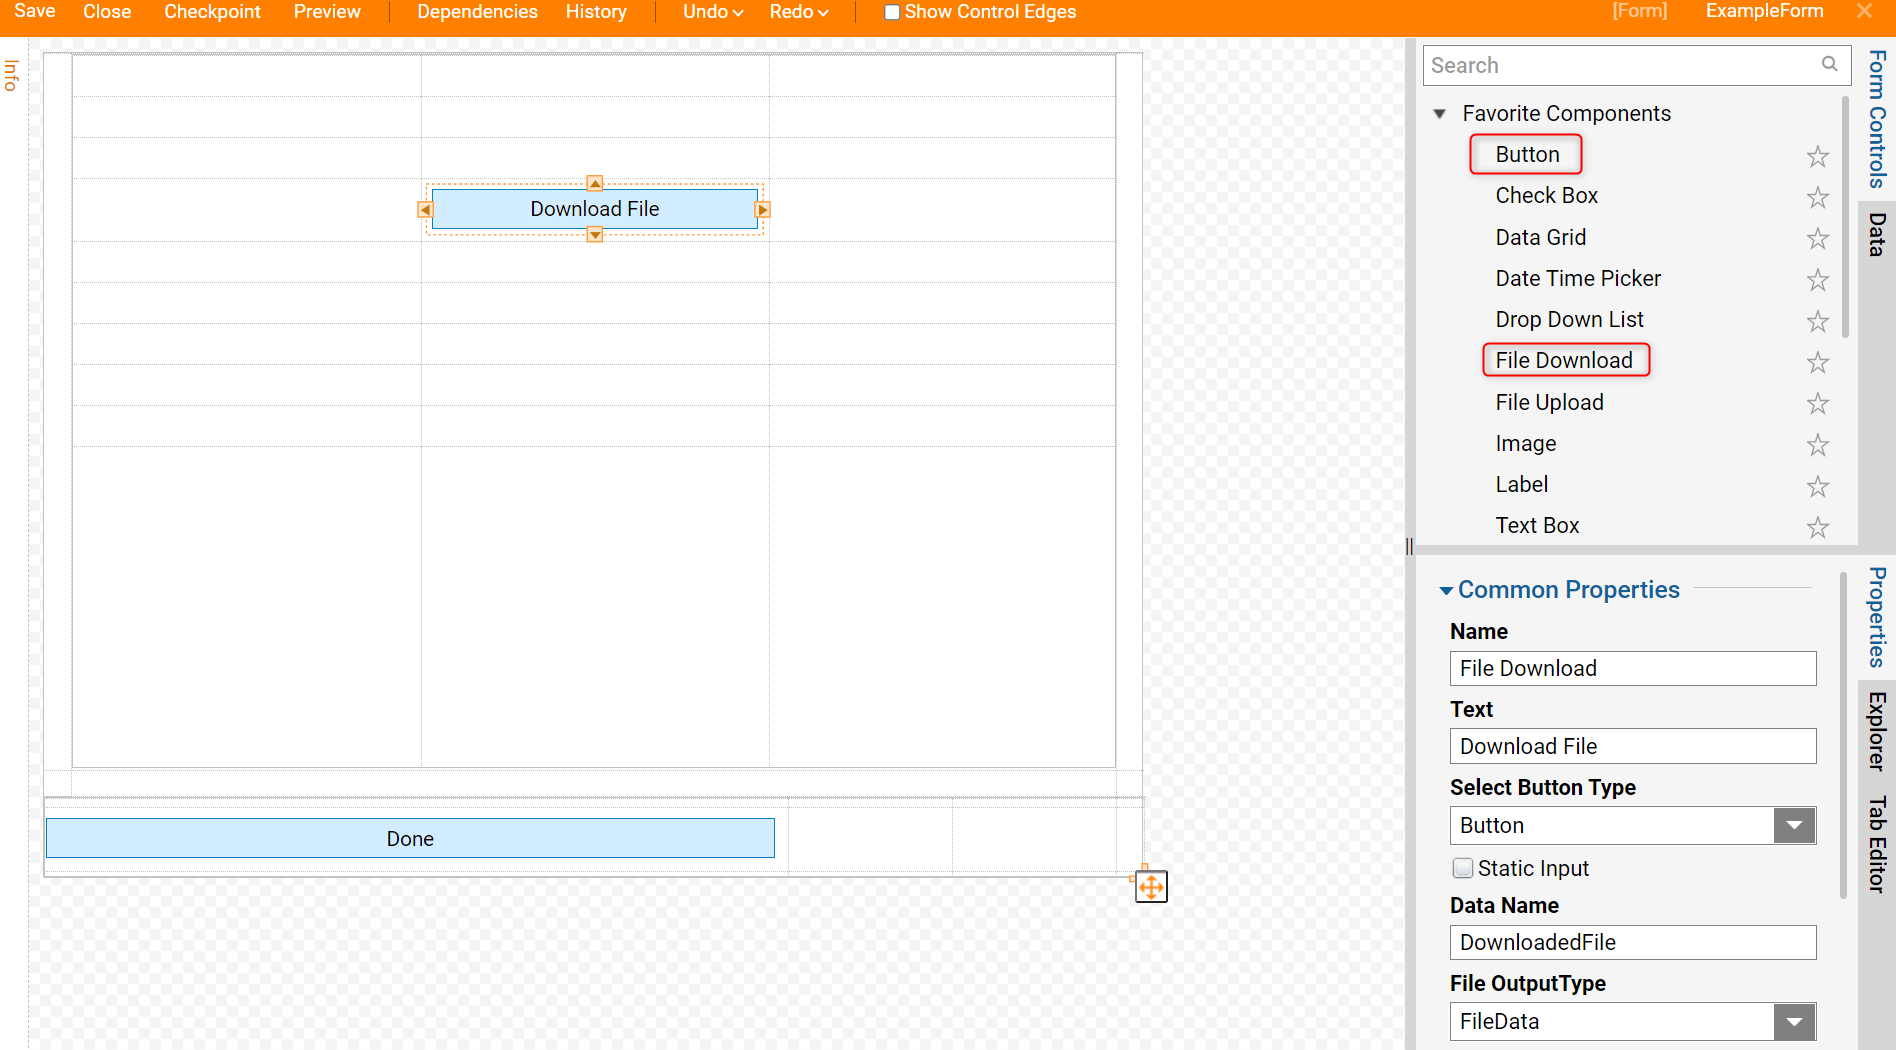
- In the Form Designer, add a Button from the Actions category in the Form Controls panel, name this Button "Done".
- Next, add a File Download component from the Favorite Components or Data > File category.
- Configure the File Download component; provide its Select Button Type as Button, define a Text that will be shown on the Button, and define a Name for the Variable that will hold the Updated Excel File.
- Save the Form and Close the Form Designer.
- Back in the Flow Designer, connect the steps in the Flow.
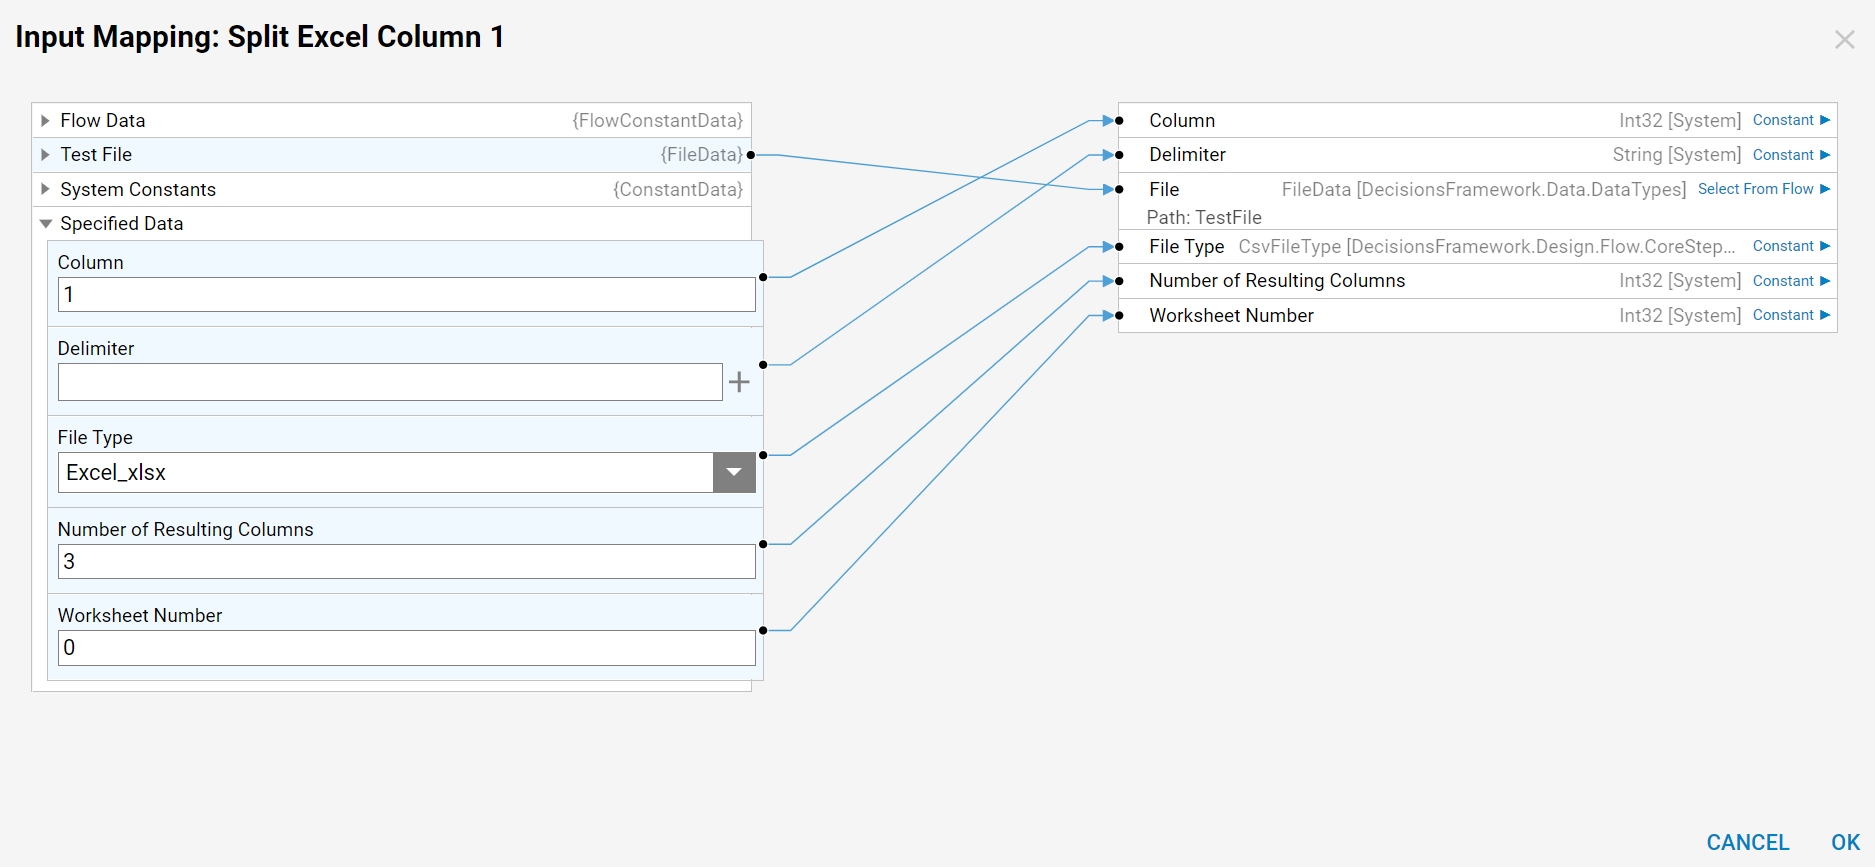
- With the Split Excel Column step selected, in the Properties panel choose the Edit Input Mappings button.
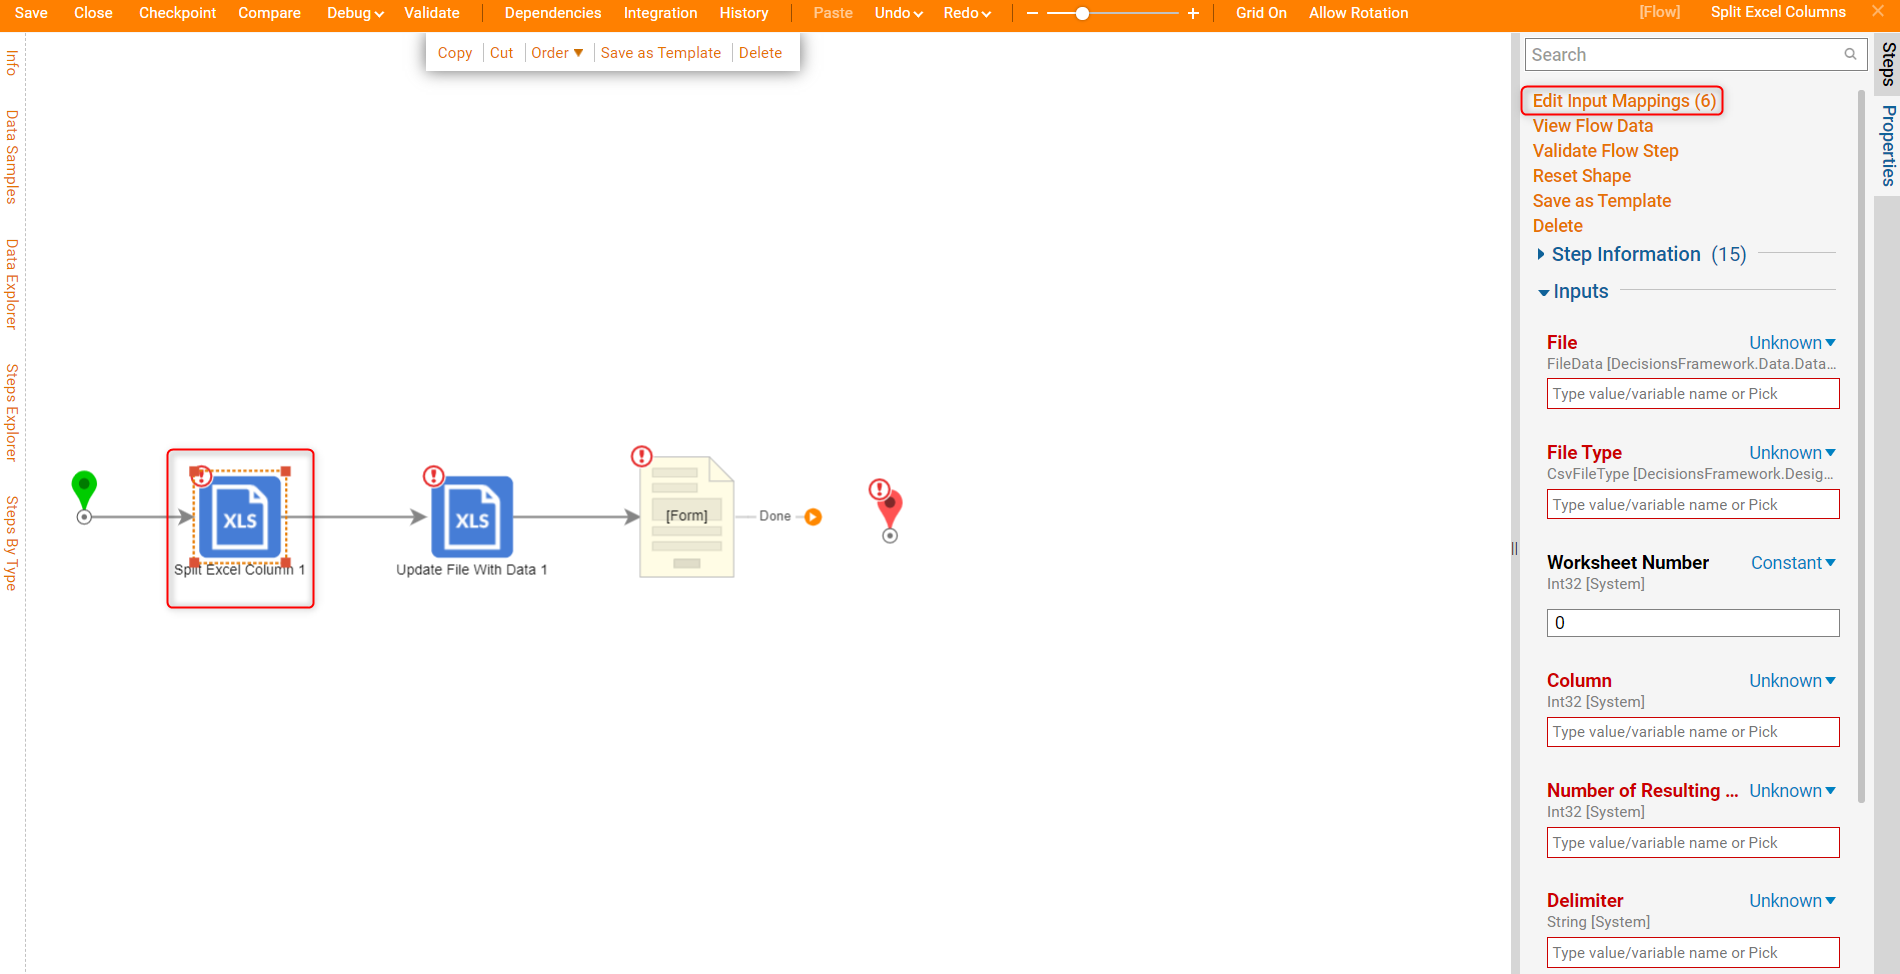
- In the Mapping Editor configure the data as follows:
- For the File, use the Select Value Mapping Type and connect it to the Flow Input Data file from the Start step.
- For the File Type object, from the Value drop-down list, select Excel_xlsx.
- For the column object, specify the number of columns in the file in the Value
- Enter the delimiter in the value field under the delimiter object (in this case it is a spacebar character).
- Specify the number of columns that should result after the columns have been split or merged.
- Finally, specify the Worksheet Number if there are multiple worksheets present in the Excel document.
- Select OK to save the mapping and close the Mapping Editor.
- Next, use the Edit Input Mappings option to configure mapping for Update File With Data step in the Flow.
- In the Mapping Editor, connect the Input field to the File, and define its fileType as Excel_xlsx.
- Select OK to save and close Mapping Editor.

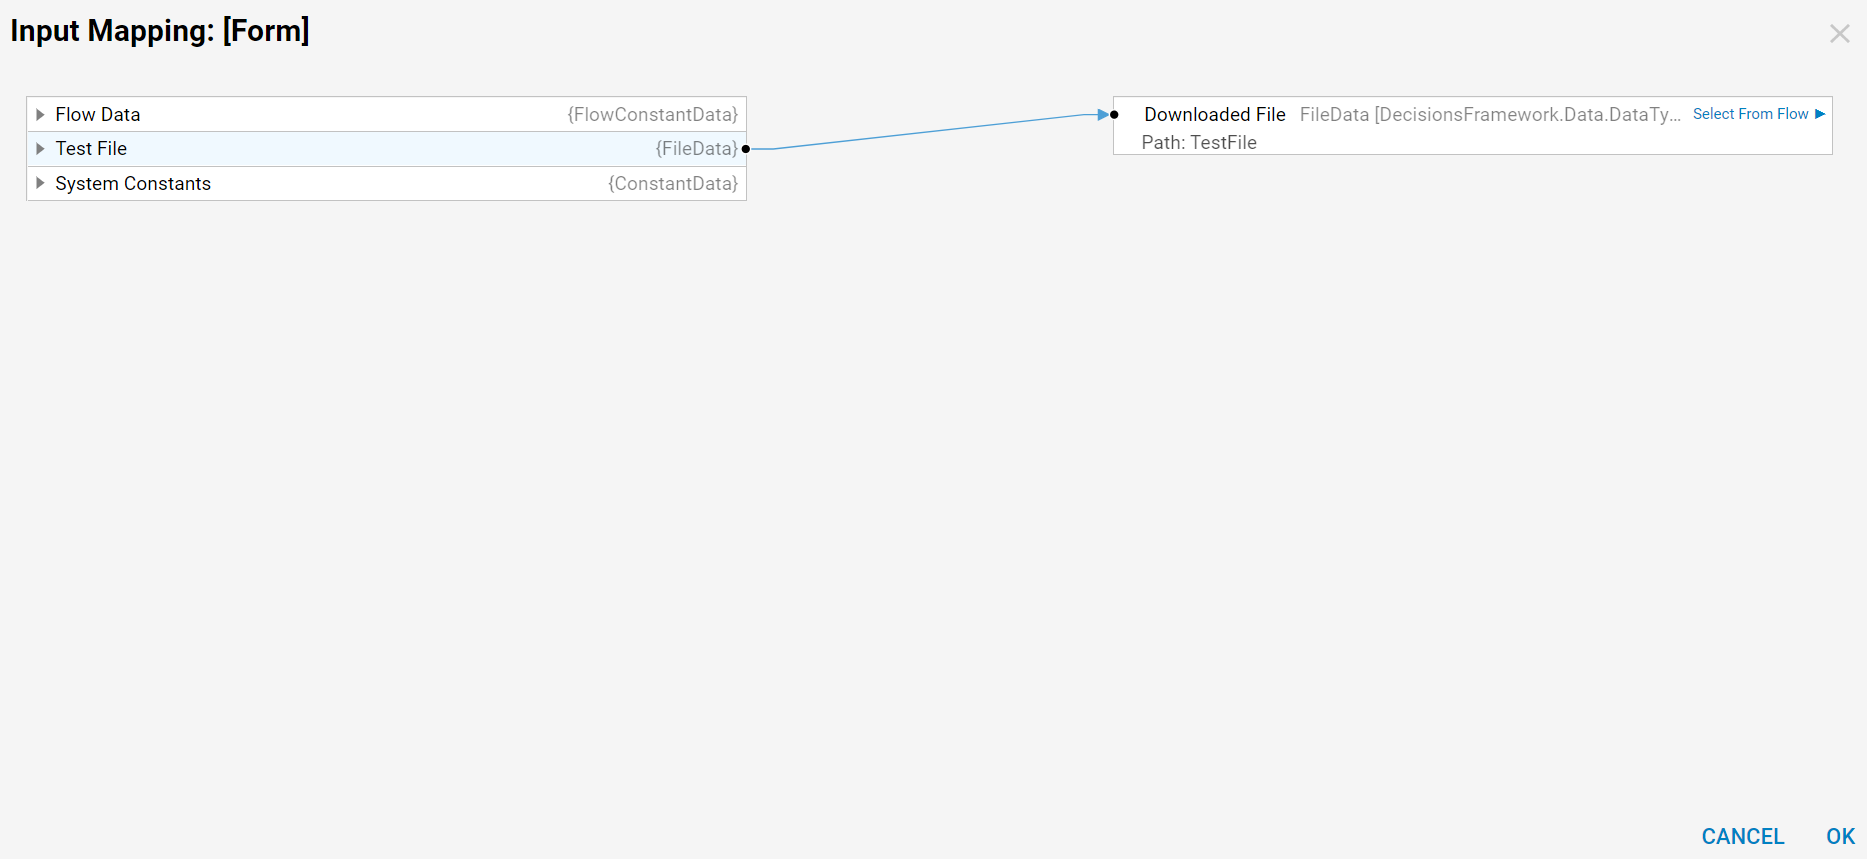
- Then, use the Edit Input Mappings option for the Show Form step.
- In the Mapping Editor for the Show Form step, connect the File to the File Download control Variable on the Form.
- Save and close the Mapping Editor.
- This completes the Flow. Select Debug on the Top Panel of the Flow Designer to test the Flow.
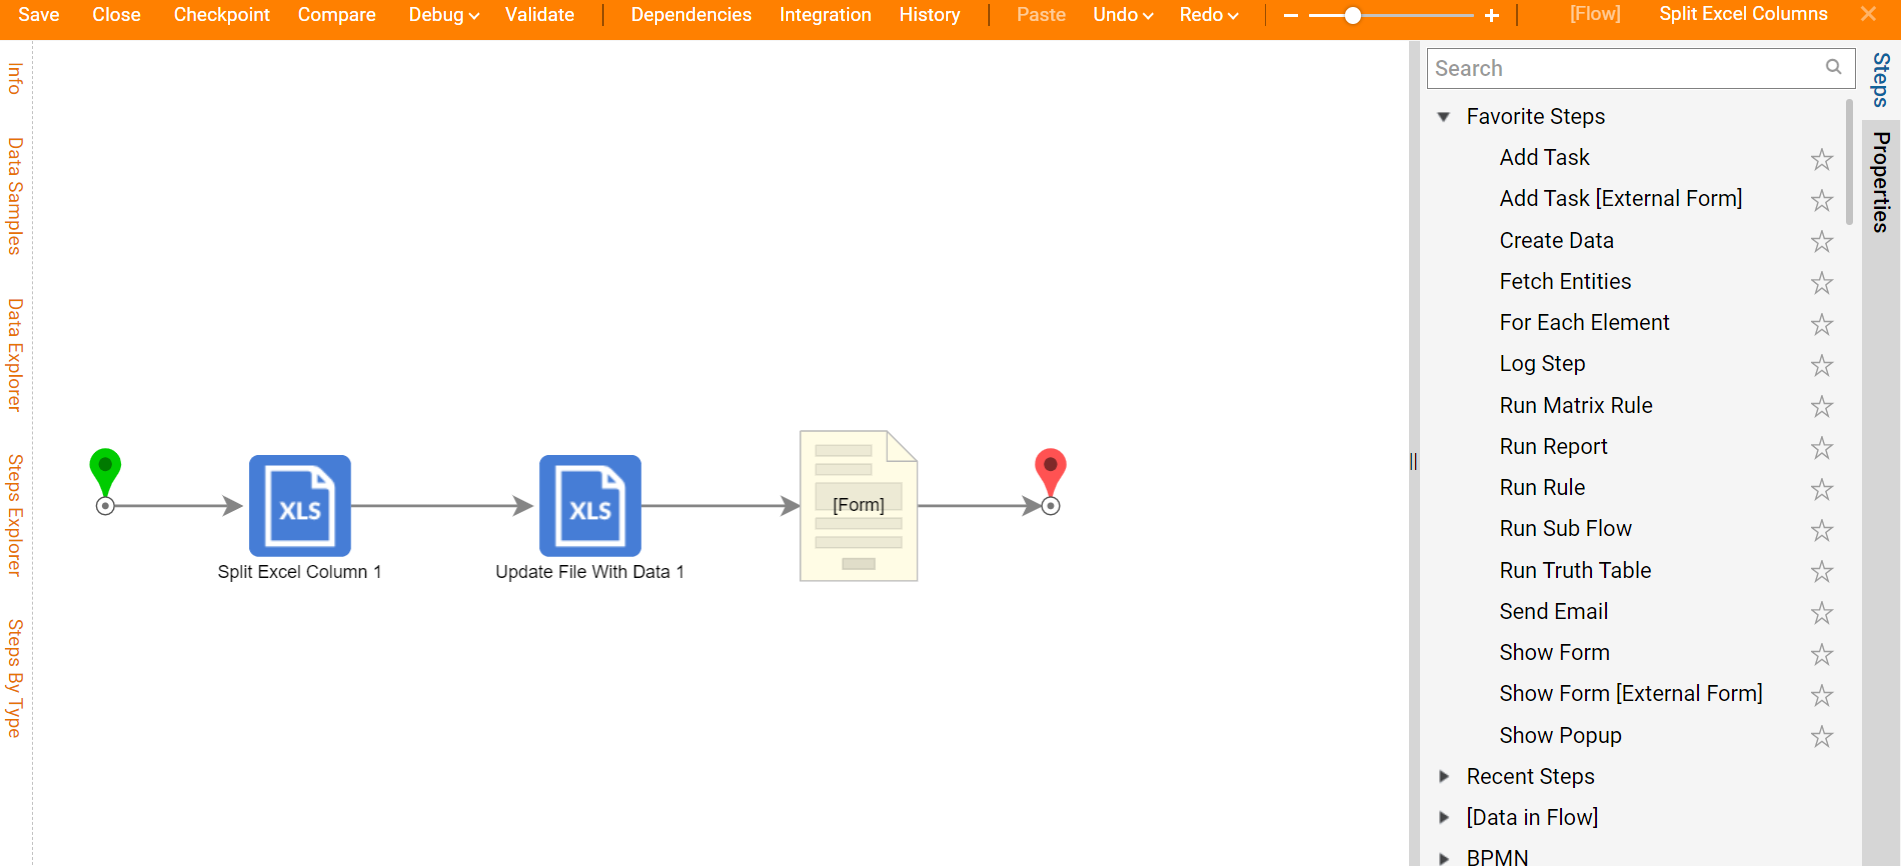
Debug
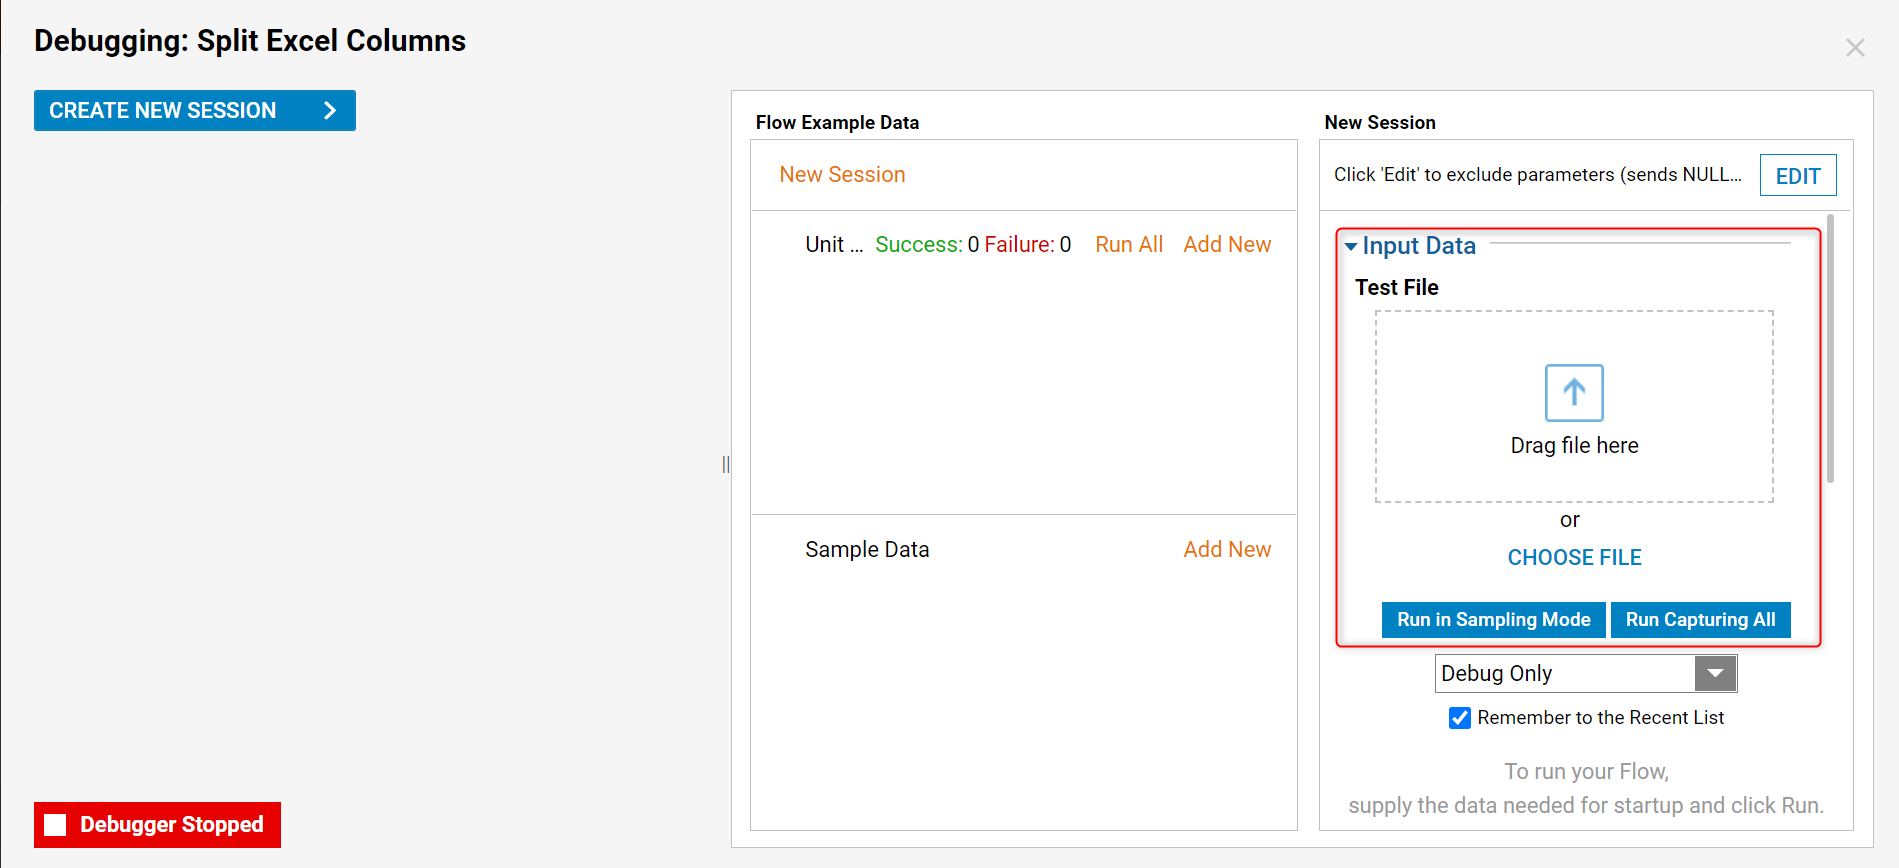
- Provide the Flow with an Excel File. Then select Run Capturing All to proceed.
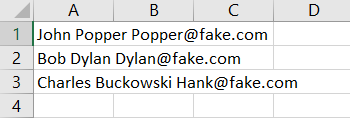
- The Excel file looks like the following. It has a First Name, Last Name, and Email Address in one column delimited with a space character. The Flow will divide this data into three separate columns.
- The Form opens in the Debugger. Select the Download File button to download the updated Excel file.
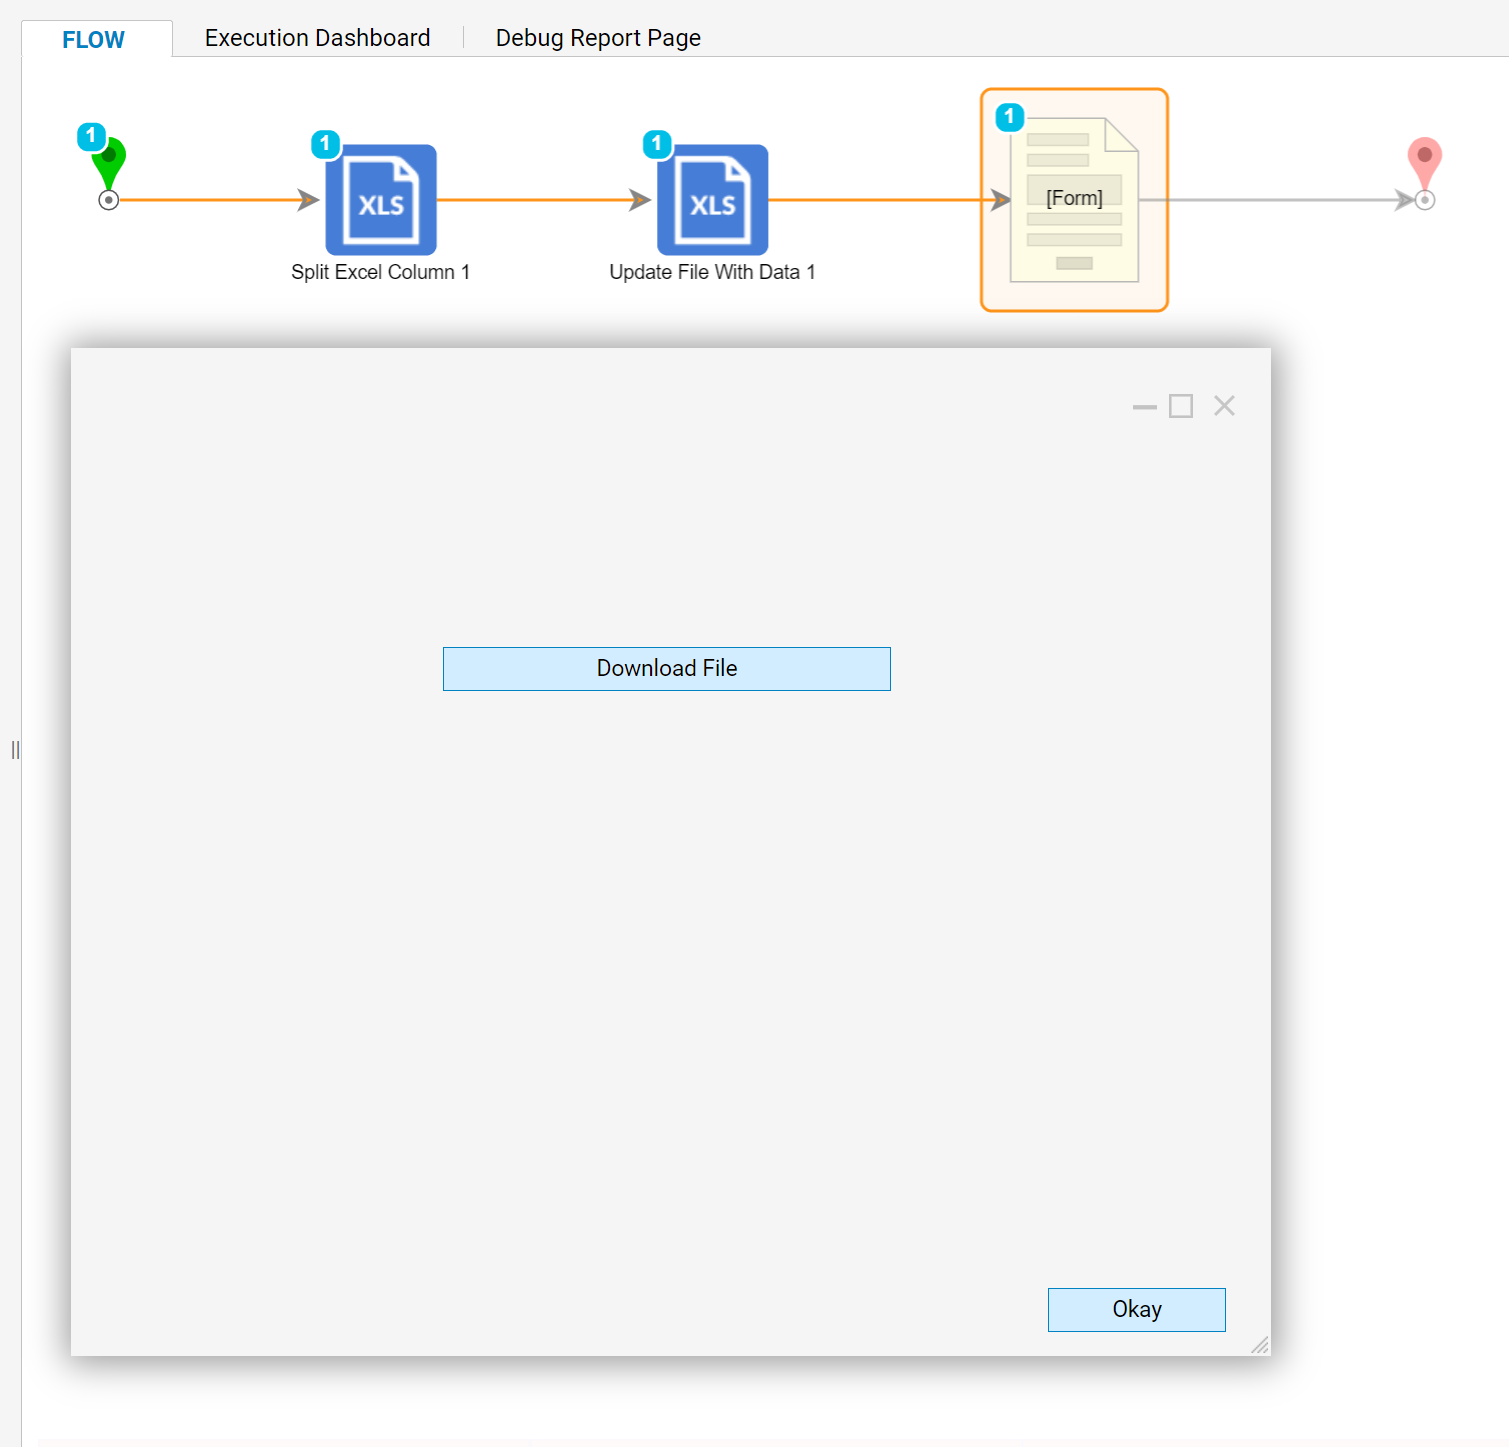
- This initiates the browser's File Download Process and the file is downloaded. Locate the updated file and open it to confirm that the Data is now divided into 3 columns as expected.

- In the Debugger, select the Done button on the Form to close the Form. The Flow runs to the End step with no errors.
