Overview
It is possible to launch a Flow when the user clicks on the Tile component on the Page.
Example
This tutorial demonstrates how to Run a Flow on a Tile selection. A downloadable example ready for import can be seen below.
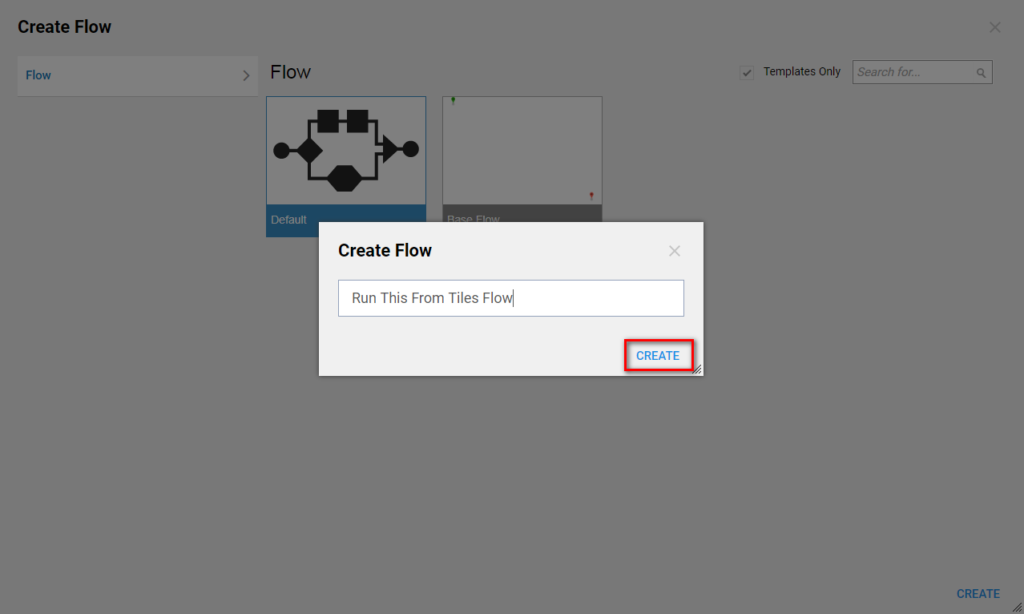
- Begin in the Designer Folder and select Create Flow on the Folder Actions Panel.
- Then, name the Flow and select 'Create' to proceed to the Flow Designer.
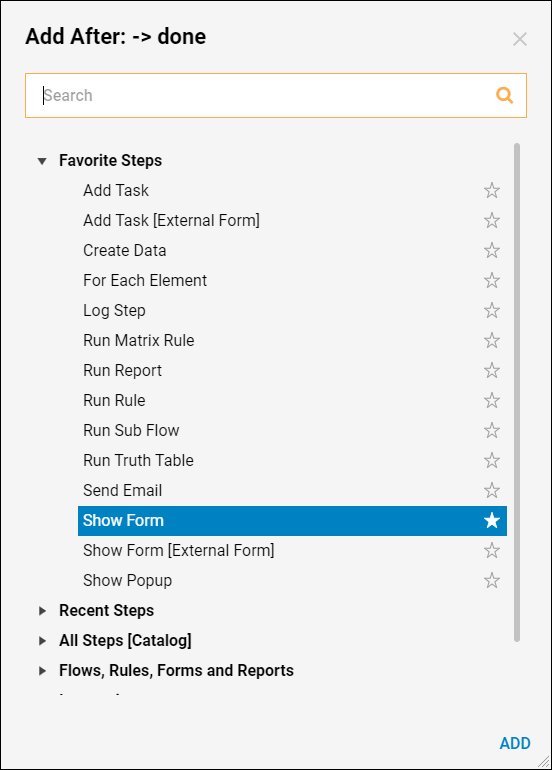
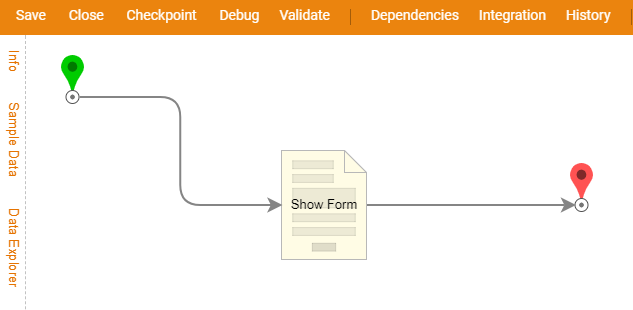
- In the Flow Designer add a Show Form step from Favorite Steps category.
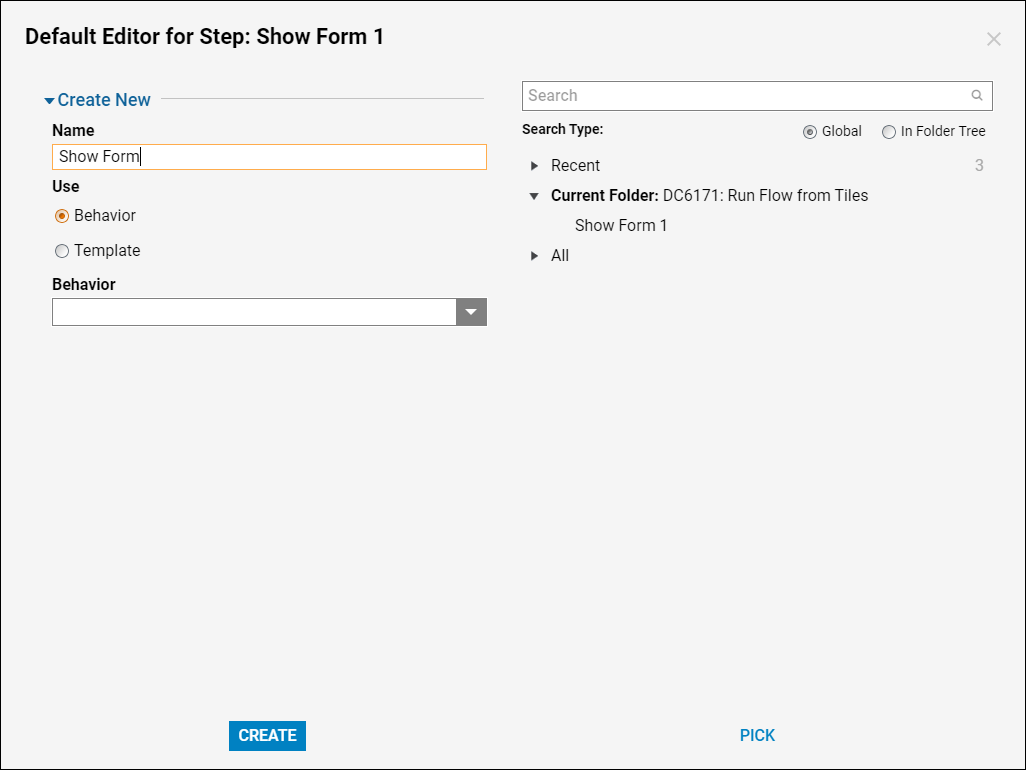
- Then, name the Form and select 'Create' to proceed to the Form Designer.
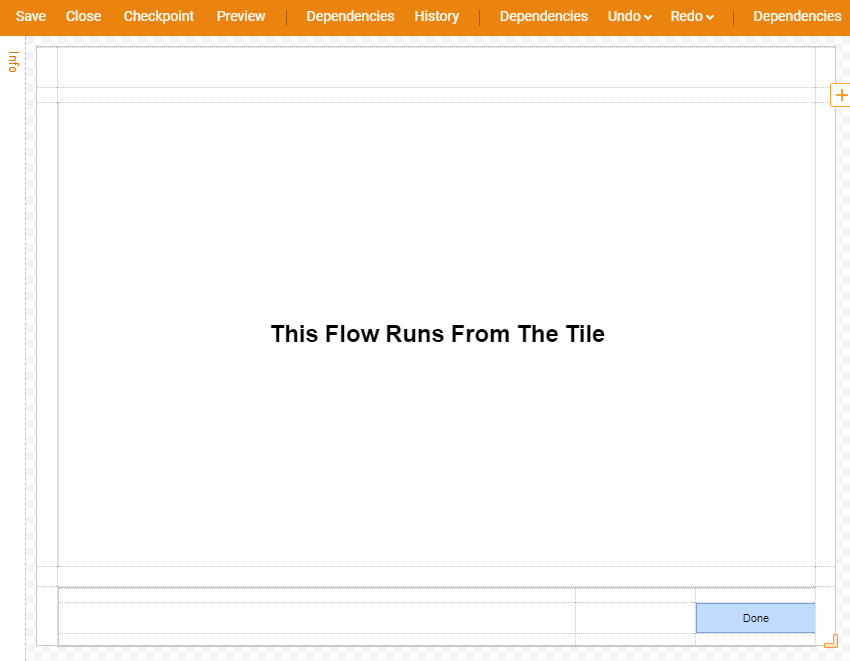
- The Form has a Label and a Button control for the user to be able to submit the Form. When finished designing the Form save the Form and close Form Designer.
- Back in the Flow Designer connect outcome from the Form to the End step in the Flow. This completes the Flow. Save the Flow and close Flow Designer.
- Next, create the Tile Flow. In the Designer Folder select Create Flow on the Folder Actions Panel.
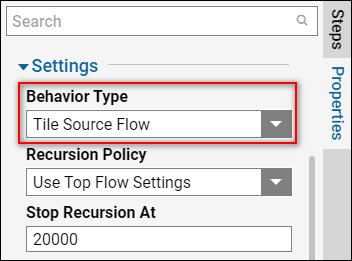
- Then, name the Flow and select 'Create' this opens Flow Designer. In the Properties panel under Settings, pick Tiles Source Flow from Behavior drop-down.
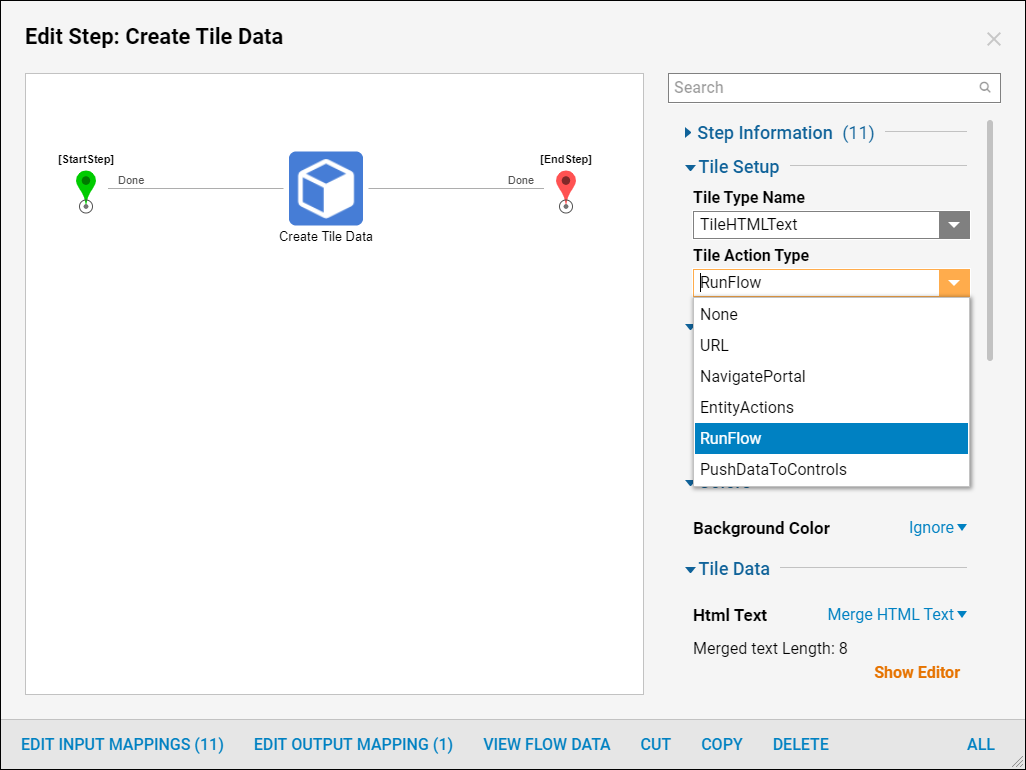
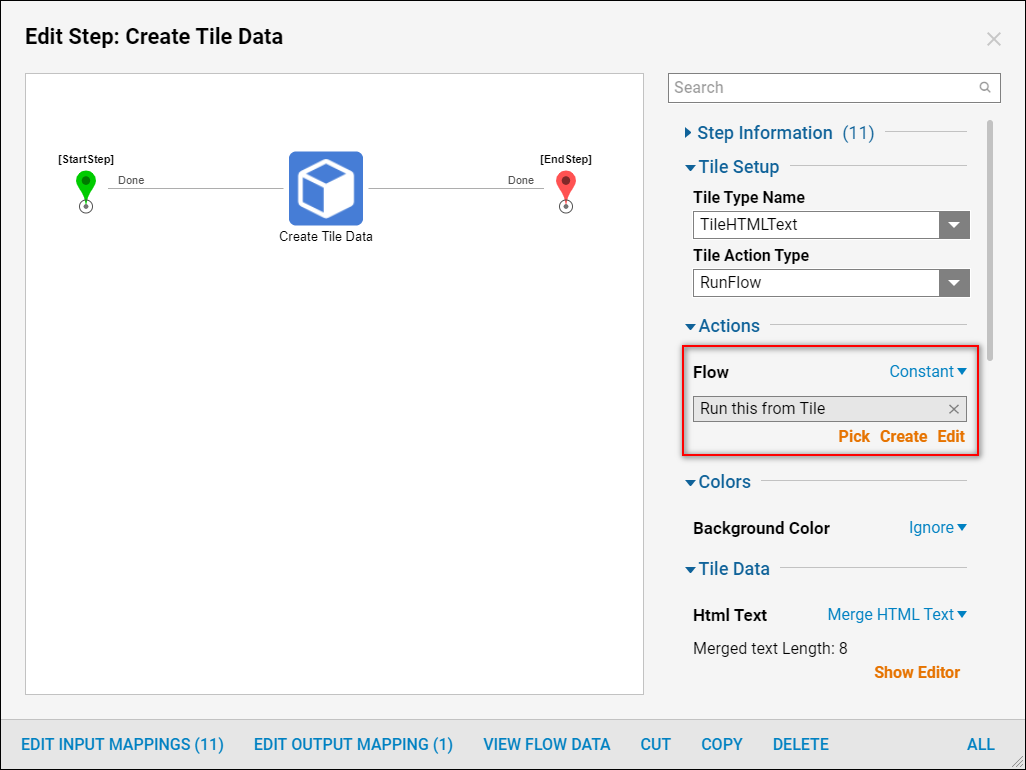
- Select the Create Tile Data, in the Tile Action Type drop-down pick RunFlow.
- In Actions > Flow settings change the mapping type to Constant then pick the flow that was created earlier in this tutorial.
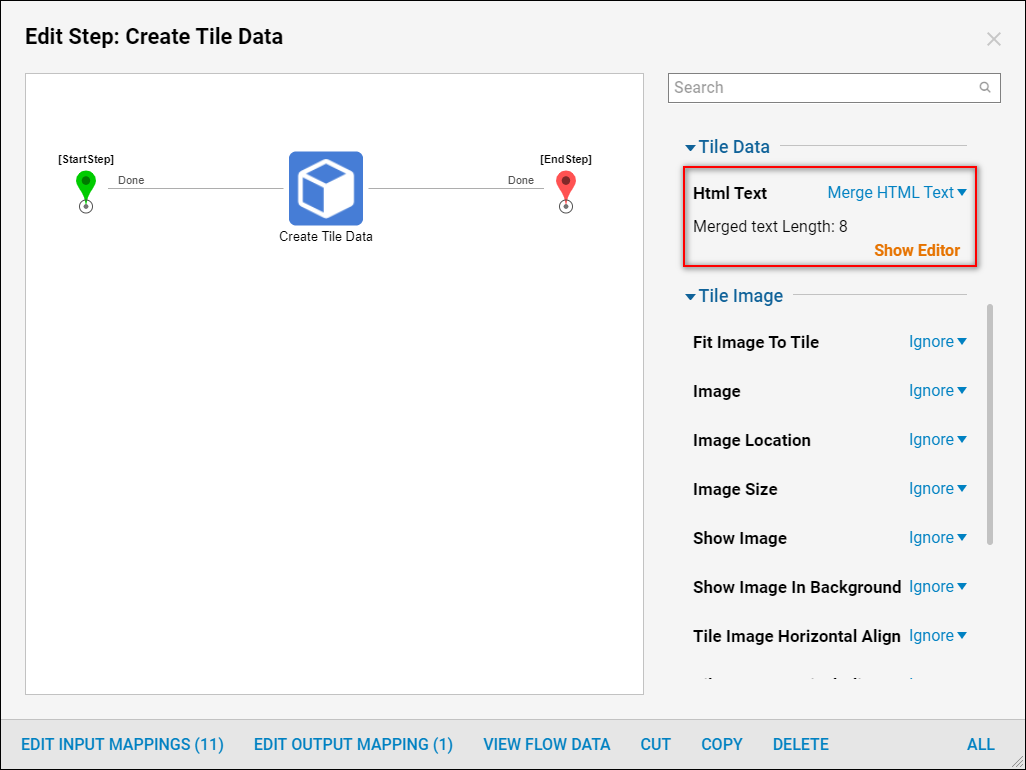
- Then, locate Tile Data settings. For the Html Text pick Text Merge.HTML mapping type. Select Show Editor for the Merged text.
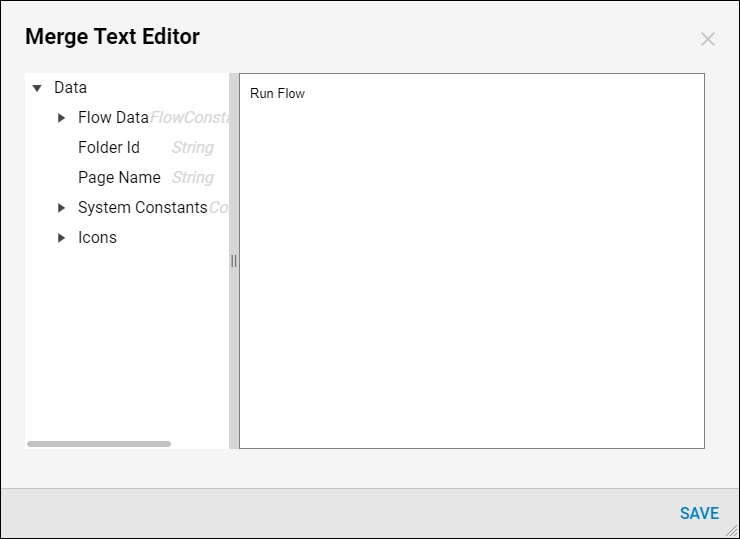
- In the Merge Text Editor design the HTML text for the Tile and select 'Save' to save and continue.
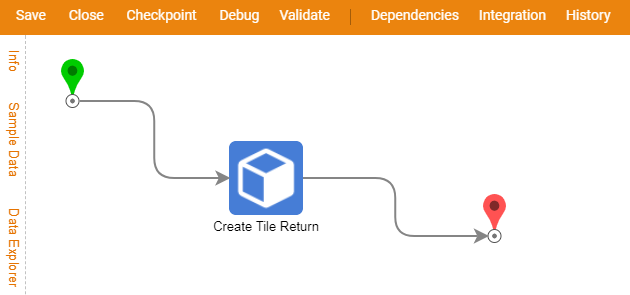
- Next, connect the outcome from Create Tile Return step to the End step in the Flow.
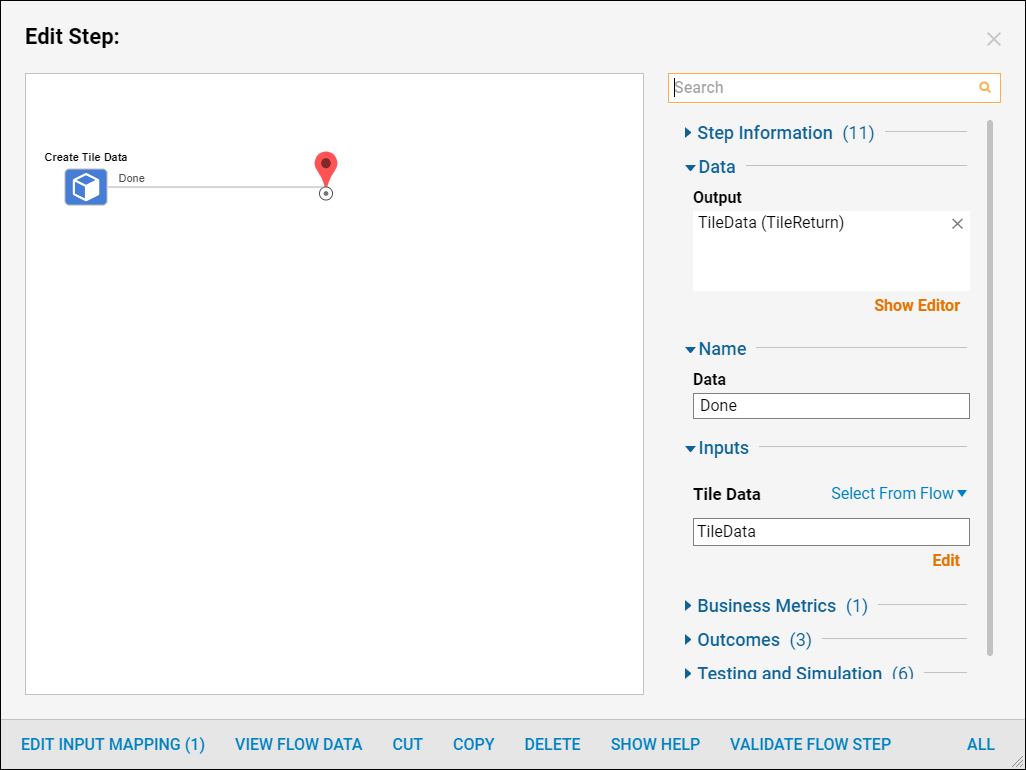
- The End step should output Tile Data collection of Tile Return Type. Locate Tile Data Input on the End step.
- For Tile Data Input select TileData from the Flow.
- This completes the Tile Flow. Save the Flow and close Flow Designer.
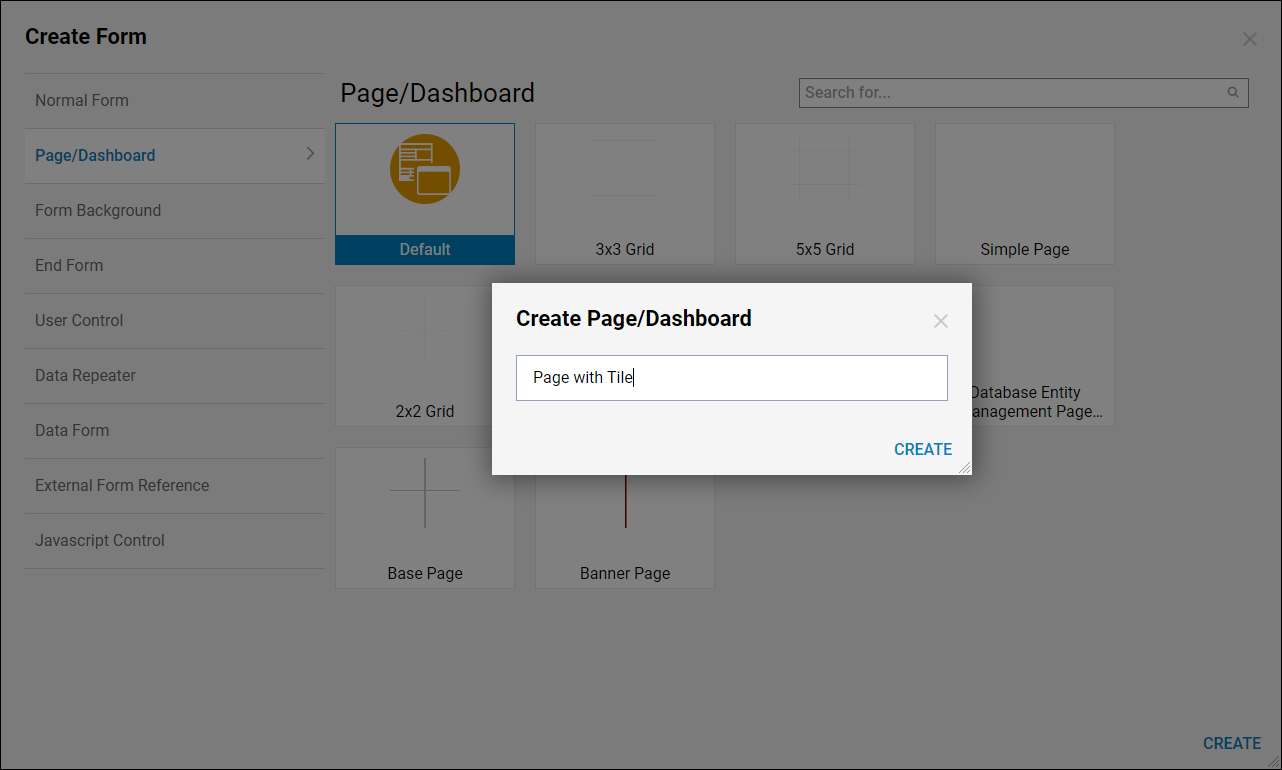
- In the Designer Folder create a Page to test the Tile. Select the Create Form > Page/Dashboard on the Folder Actions Panel.
- In the resulting window name the Page and select 'Create' to proceed to the Page Designer.
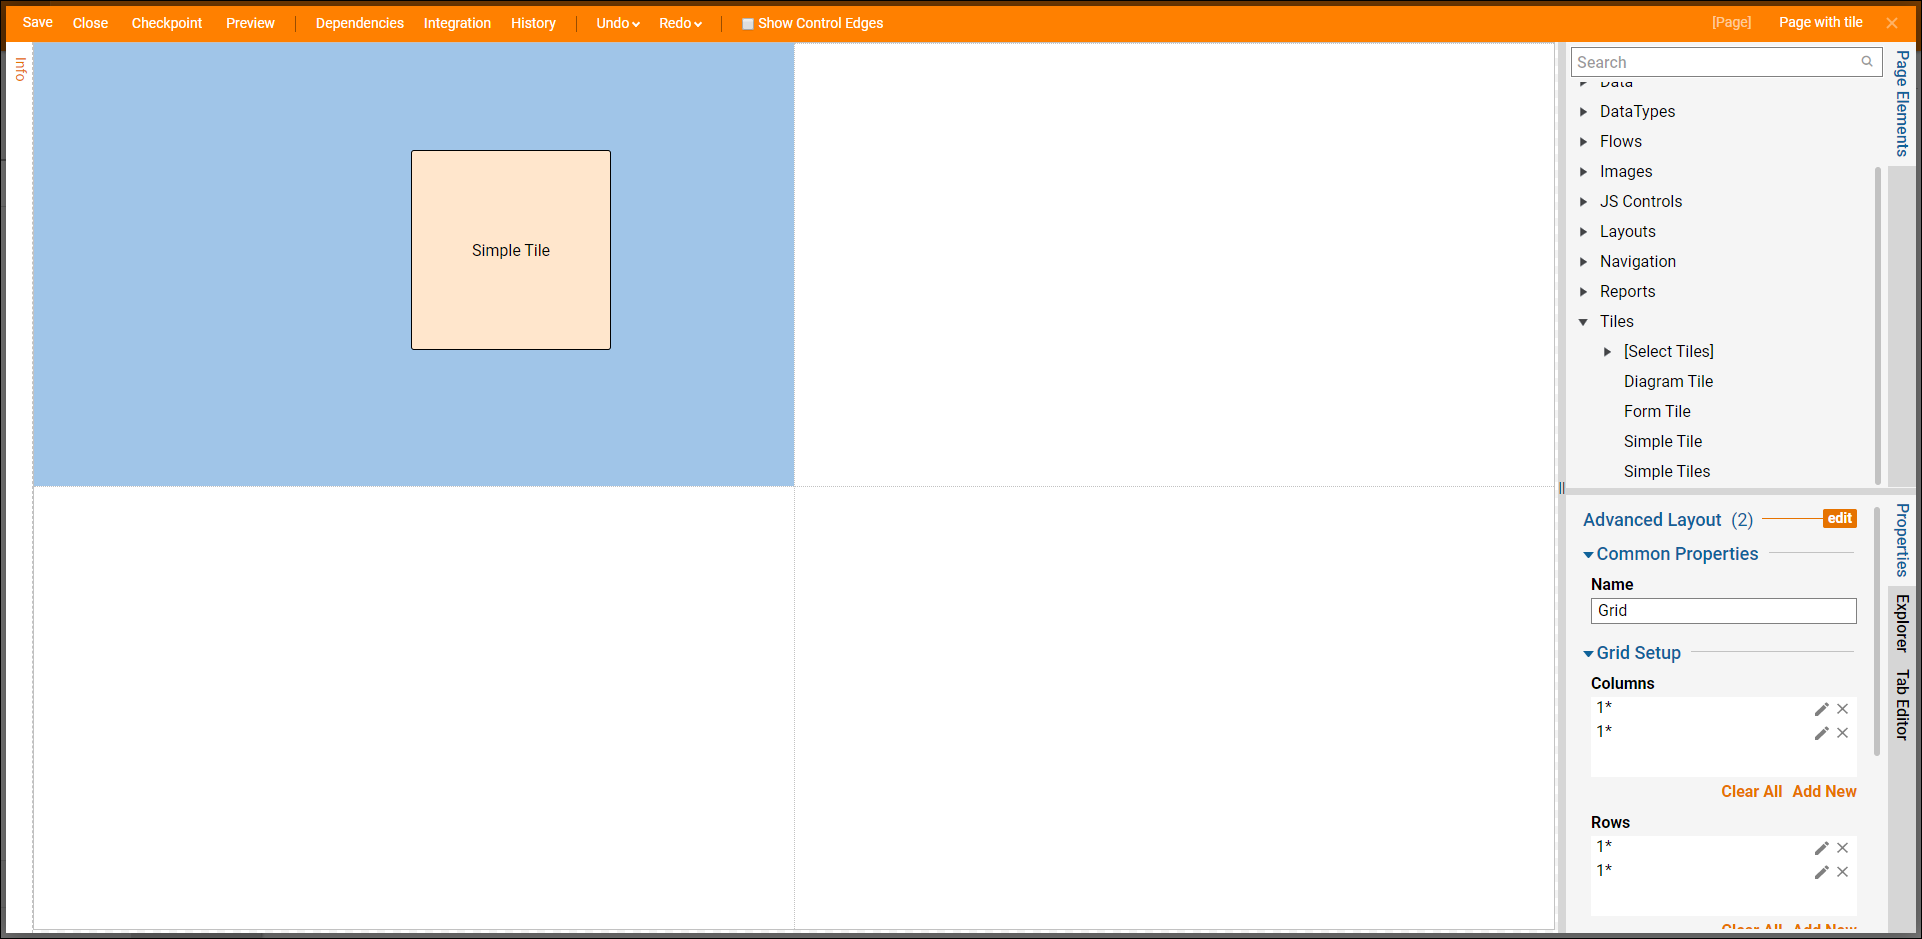
- In the Page Designer search for Simple Tile element and add it to the Page.
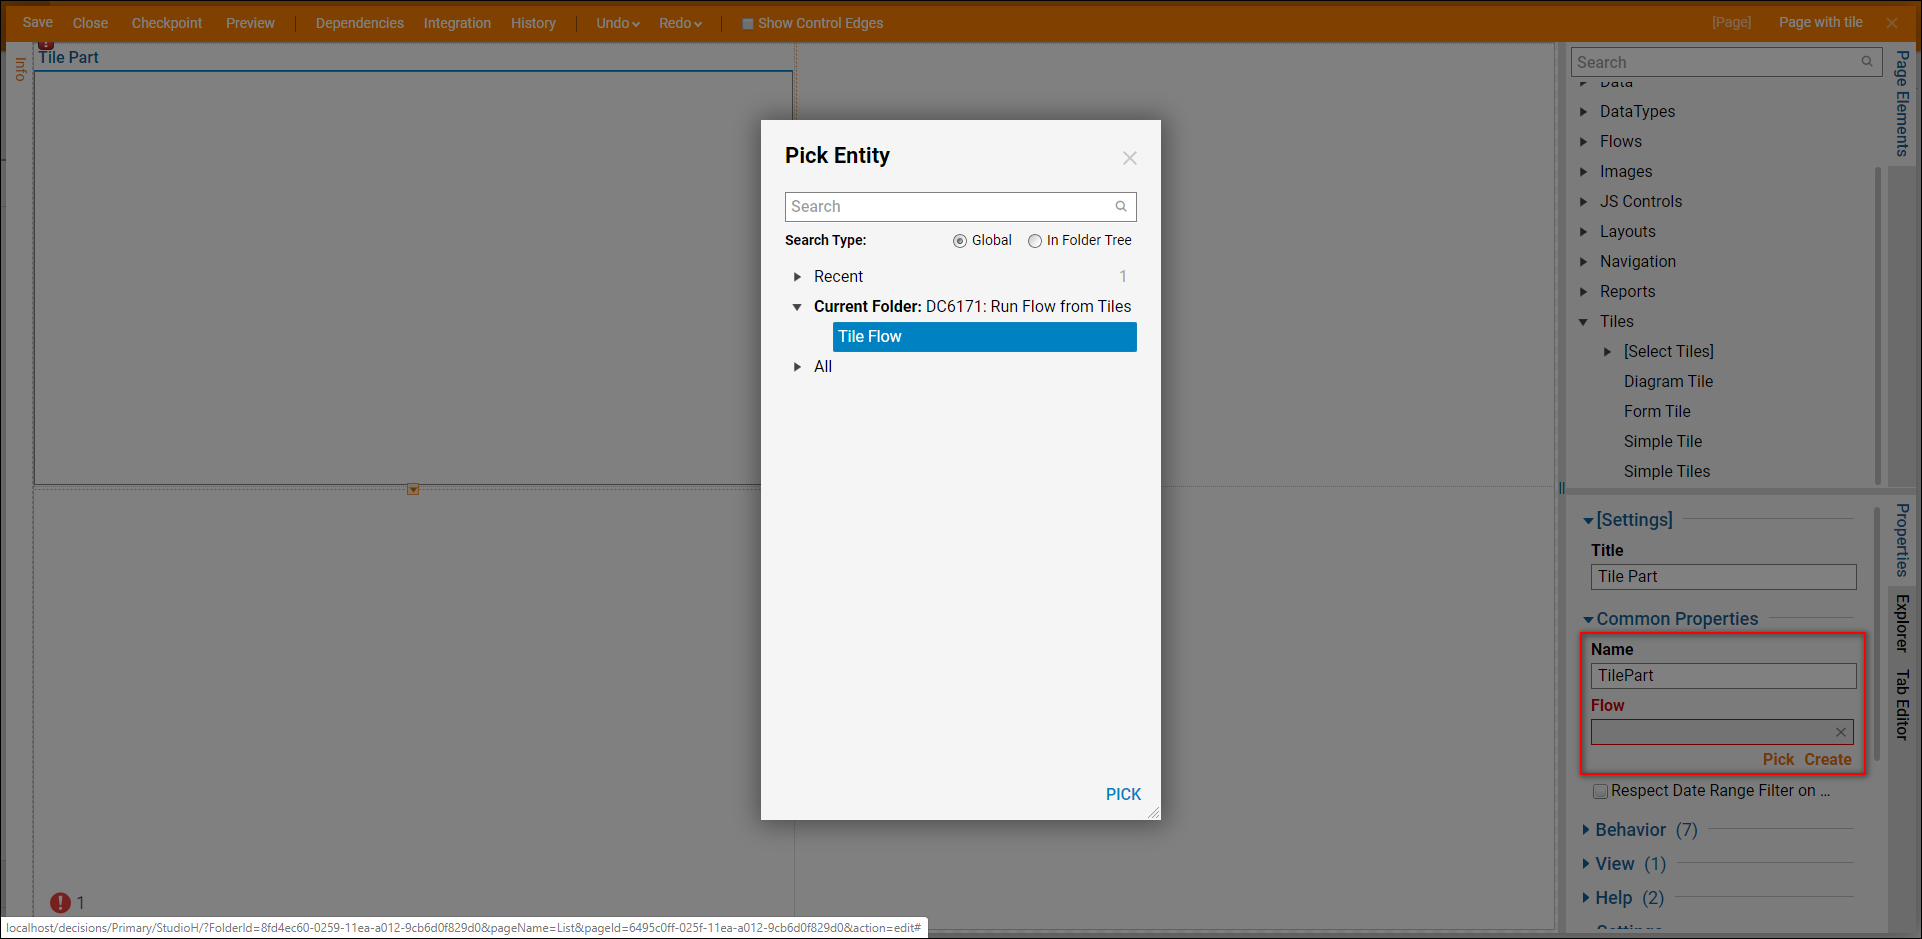
- In the Common Properties for the Tile element under Flow, select Pick and locate the Tile Flow that was created earlier in this tutorial.
- This completes the Page design. Save and close Page Designer.
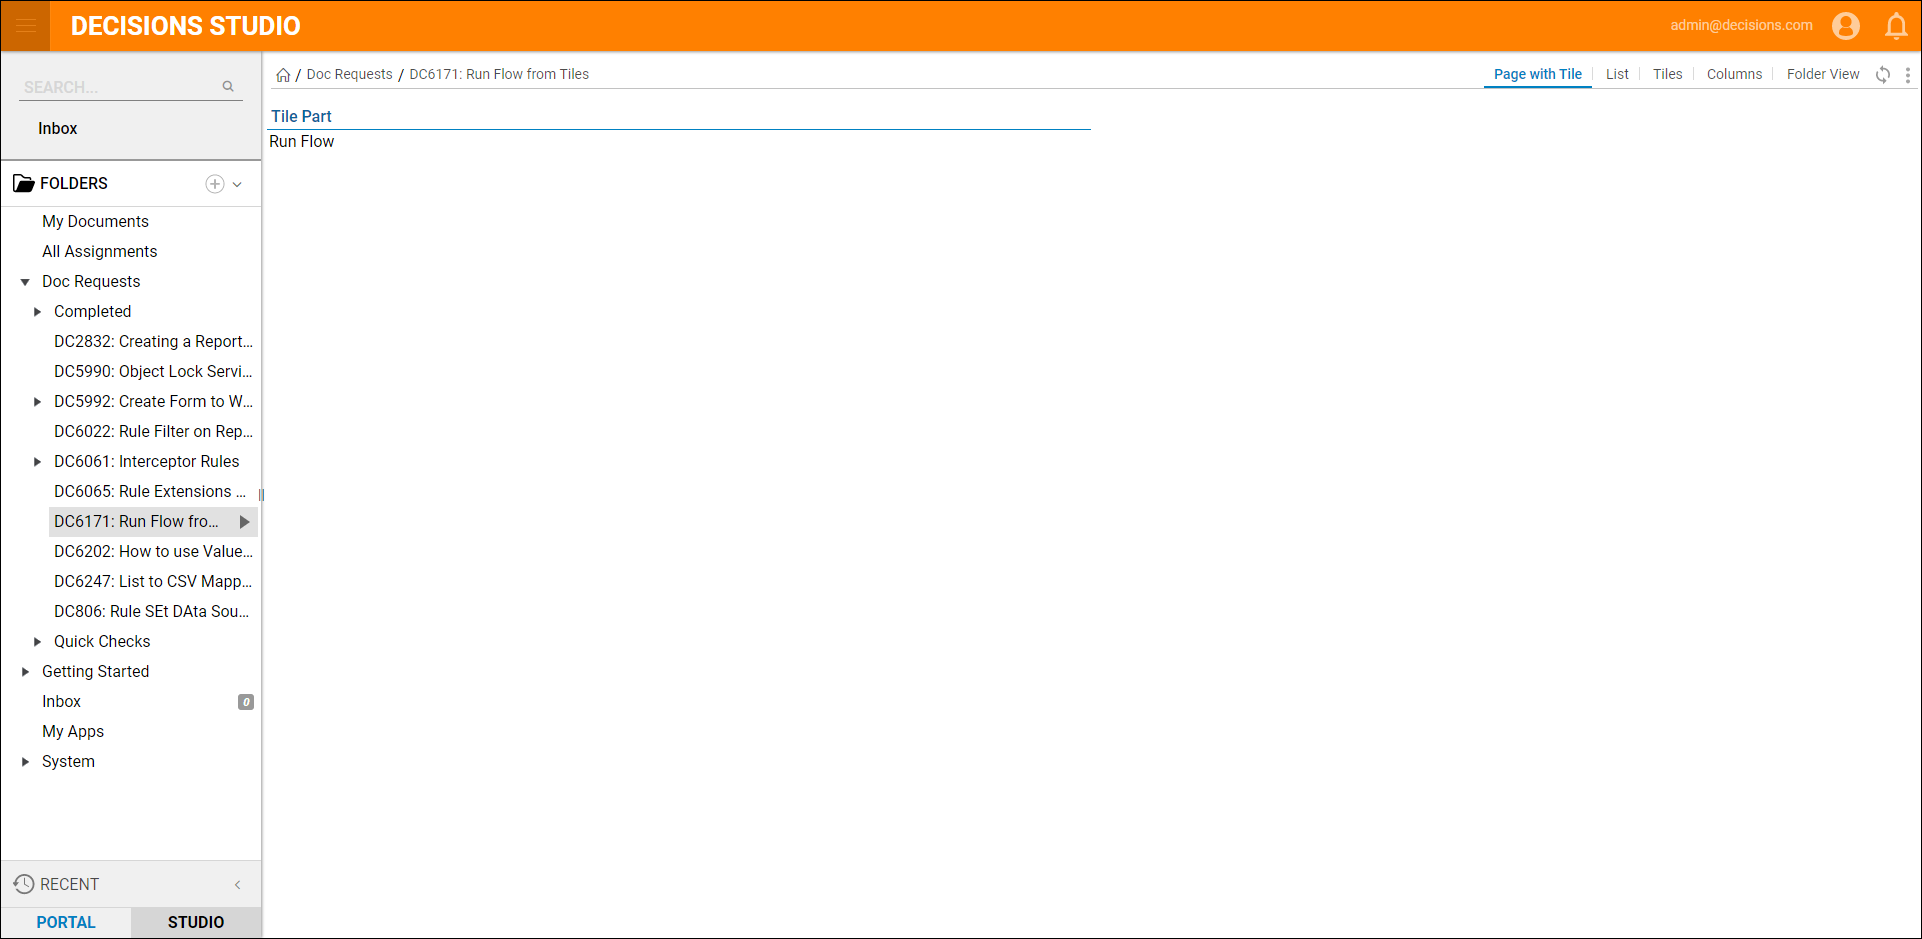
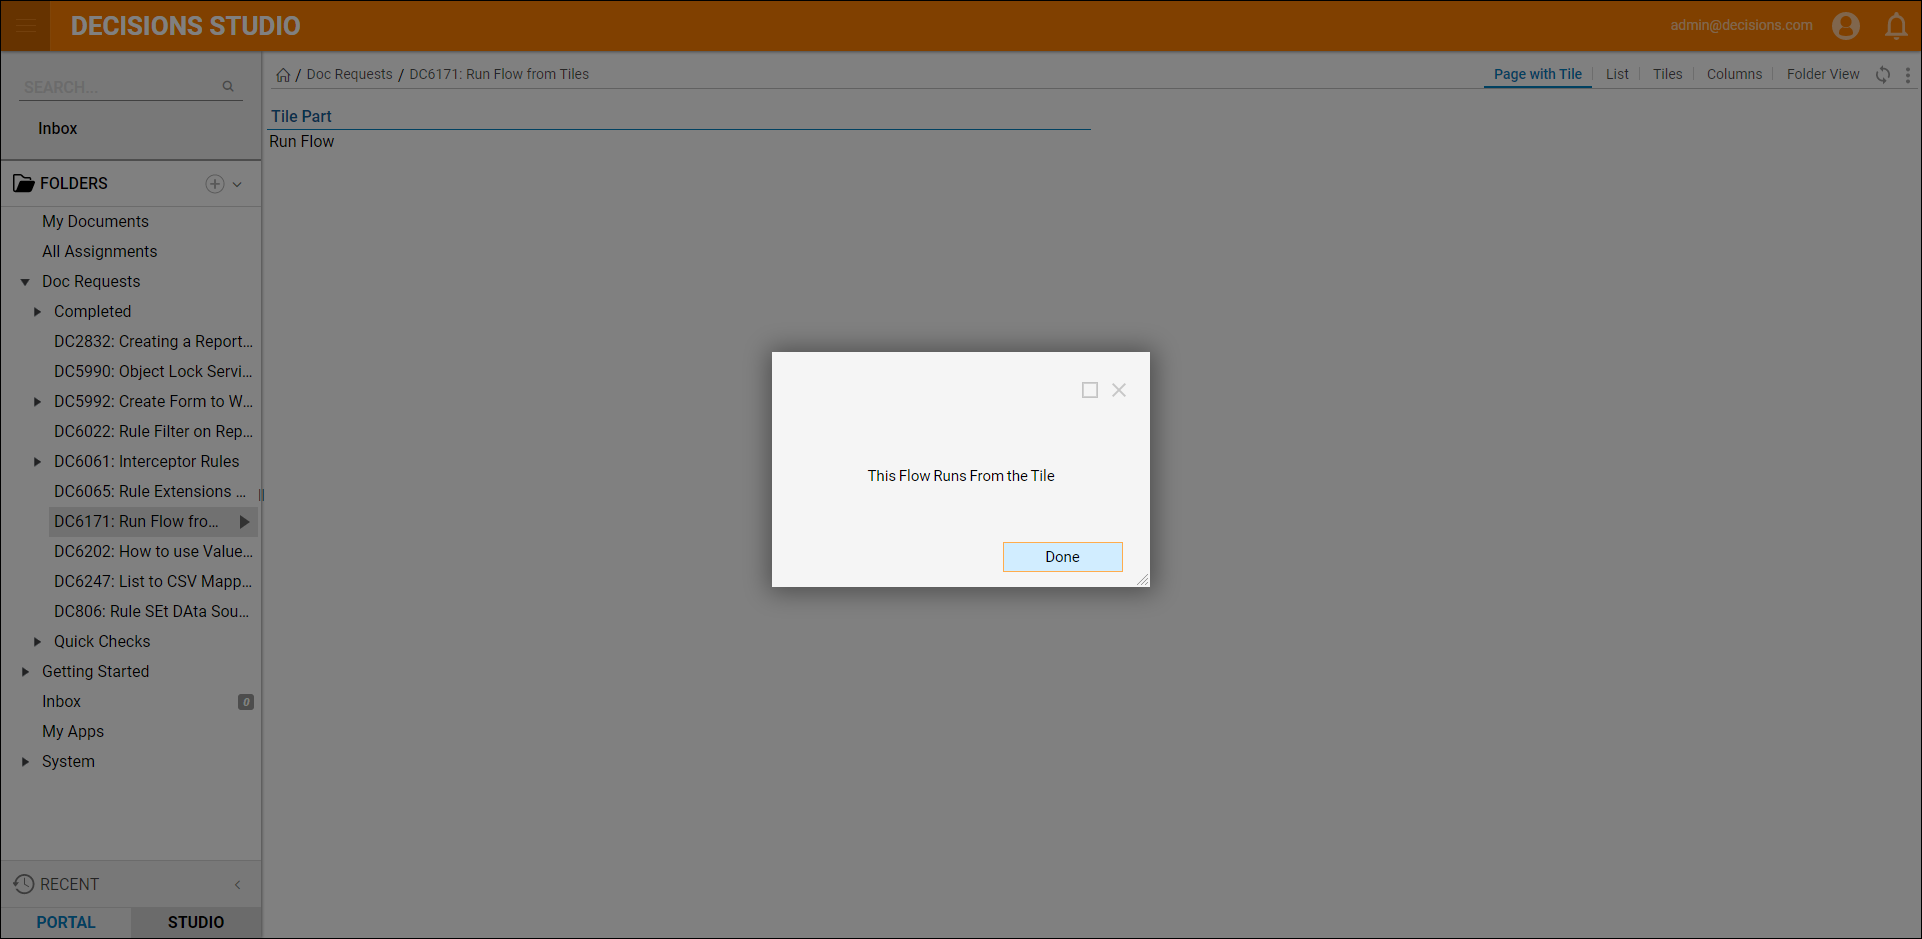
- Back in the Designer Folder preview the Page. The Page displays view HTML text on the Tile Component.
- Select the Tile component, the Flow launches, and see the Form that was designed in that Flow. Select Done to close the Form and complete the Flow.

