Overview
This document demonstrates how to customize the Login page in Decisions. Various CSS elements can be modified and applied within Decisions from the CSS folder in the Decisions program file.
Example
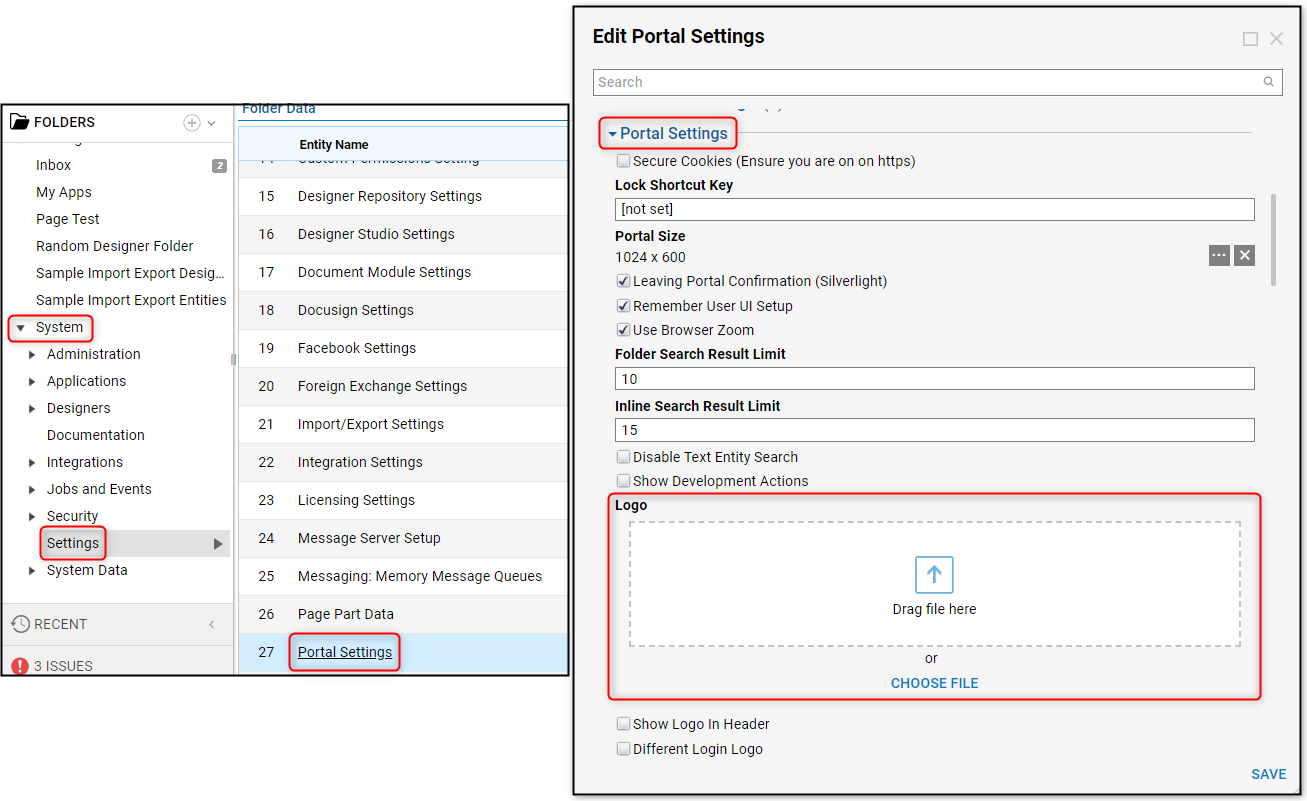
For this example, a new logo was applied in the Portal Settings of Decisions. In the Designer Studio, navigate to System > Settings and find Portal Settings in the numbered list of settings options. In the Edit Portal Settings window, scroll down to the section that is also labeled Portal Settings and find the logo upload box.
As it turns out, the logo is too small and not scaled properly to fit the logo box. Resizing the logo will have to be done through customizing the CSS used for the login page.
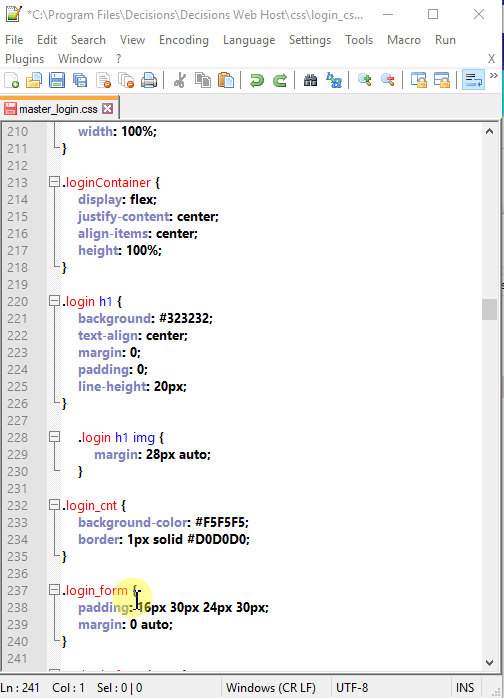
In Windows File Explorer, navigate to C:\Program Files\Decisions\Decisions Web Host\css\login_css and open the master_login.css file with a preferred CSS editor software.
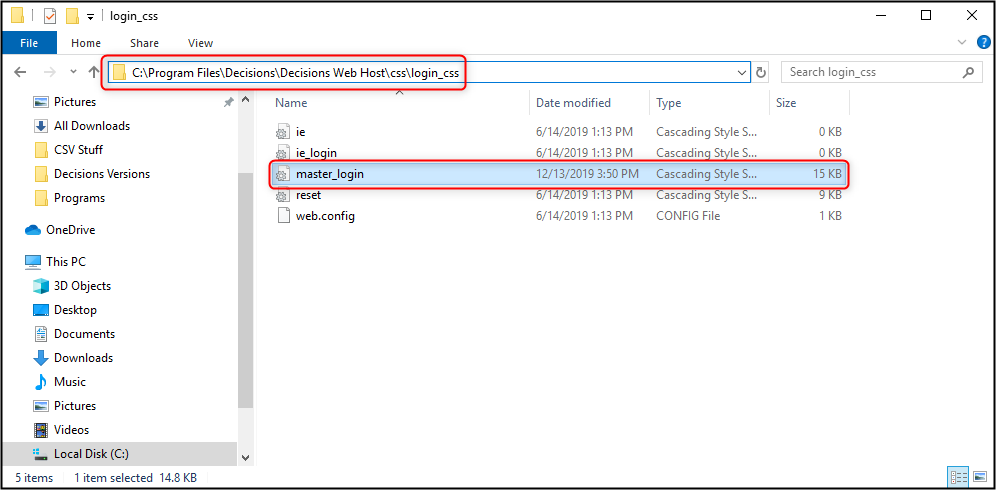
In the CSS editor opened to the master_login.css file, find the .login h1 line and write the CSS so that background: equals #FFFFFF. The line that will be edited next is .login h1 img, which should be about 8 lines below .login h1. On the .login h1 img line, write the CSS so that margin: equals 0px; width: 460px; height: 400px. There needs to be a space after the colon on both settings, and they both need to end with a semi-colon as shown in the GIF below.
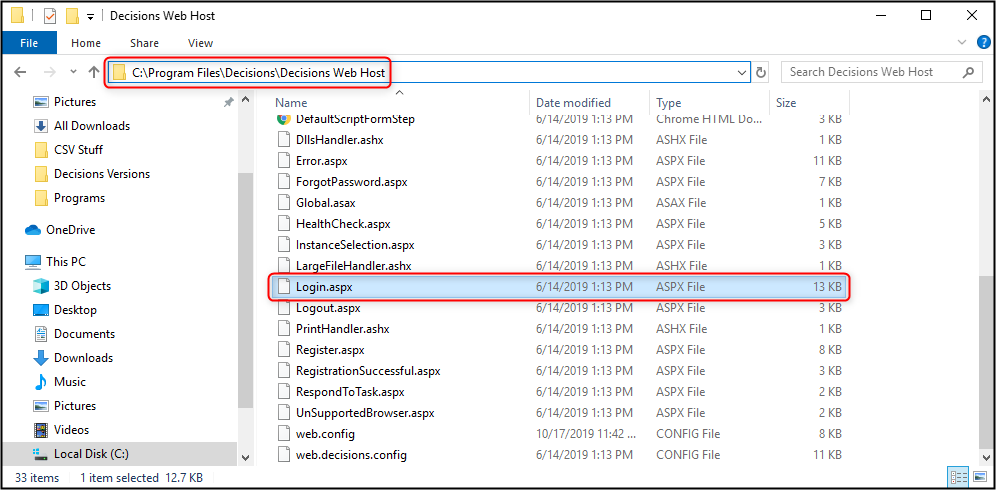
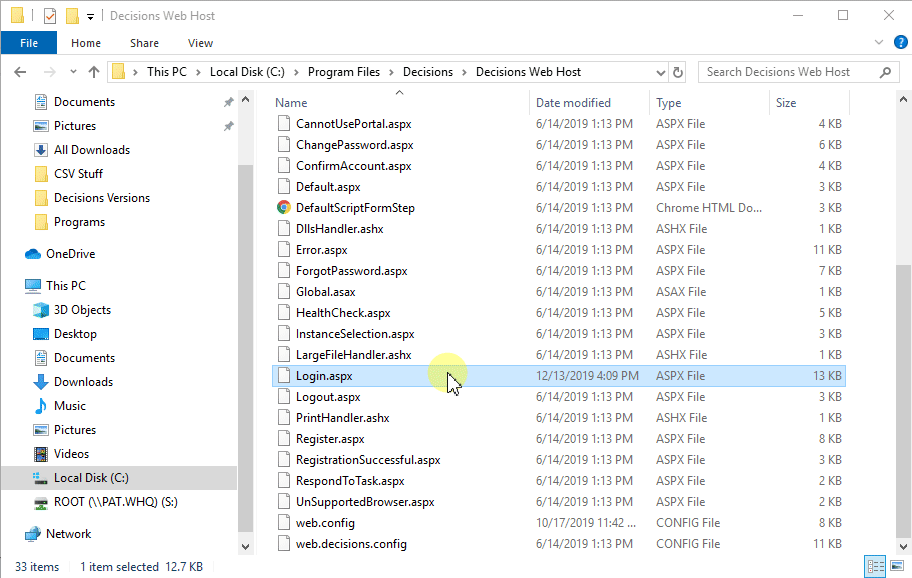
In the Windows File Explorer, navigate back two folders to C:\Program Files\Decisions\Decisions Web Host and locate the Login.aspx file, then open this file with a preferred code editor software.
In the code editor opened to the Login.aspx file, find the "login_logo" and navigate to the img src line right below it, then write the code so that the value of max-height: equals 500px. Use the same parameters for this edit as shown in the GIF below.
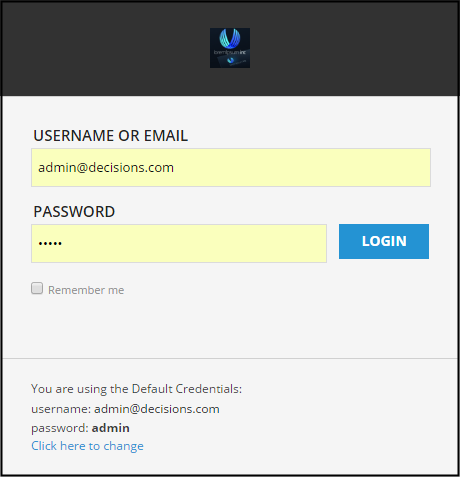
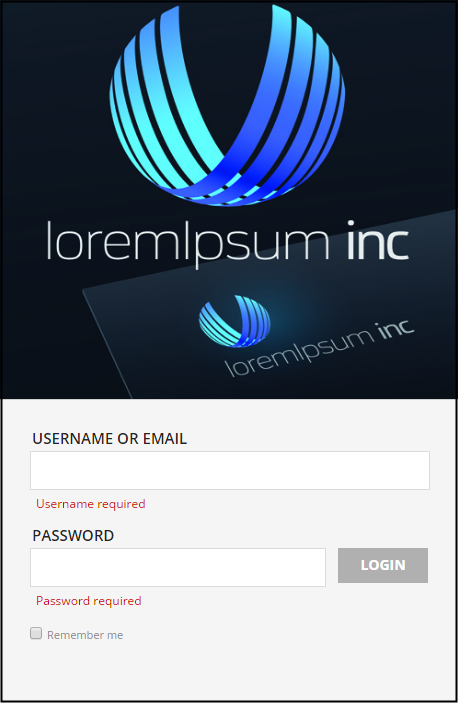
The effects of the code edits and login page customization can be seen at the Decisions login page for the modified instance.
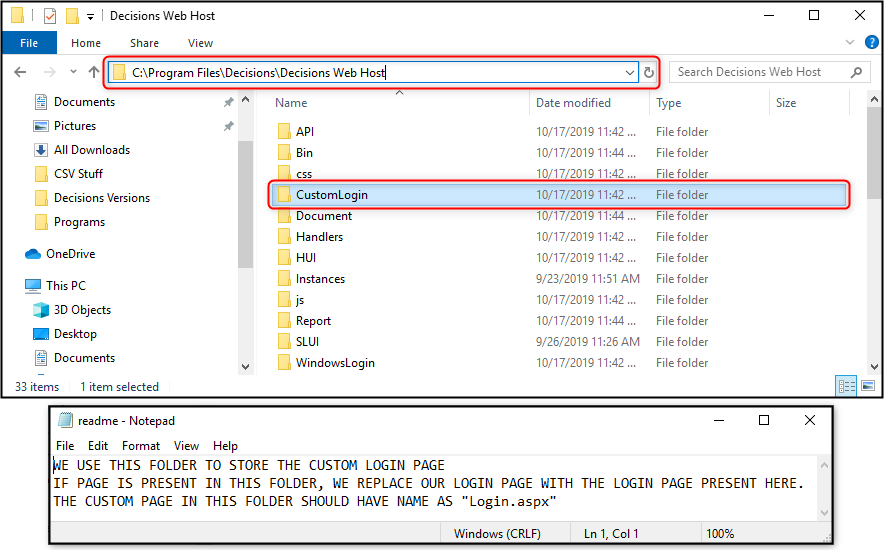
Storing Custom Login.aspx Files
A new feature in Version 6 provides a place to store customized Login.aspx files in the event that the instance will be upgraded. Navigate to C:\Program Files\Decisions\Decisions Web Host and open the folder called CustomLogin. In this folder, there is a readme file that states the use of this folder. If there is NOTa Login.aspx file in the CustomLogin folder then the customized login file will be set to default, whereas if there IS a Login.aspx file then the customized login file will replace the original.