Overview
The AUTO LOCK section in Decisions' Portal Settings offers Administrators a configurable time duration before the Decisions environment performs a global lockout.
When Single Sign-On is enabled, the AUTO LOCK settings are hidden. Additionally, for Single Sign-On, Timeout/Inactivity will end the Decisions Session but not the identity provider's; a single log-out will end both.
The following example demonstrates how to use the Auto-Lock function in Decisions, to establish the Portal's lockout time.
Example
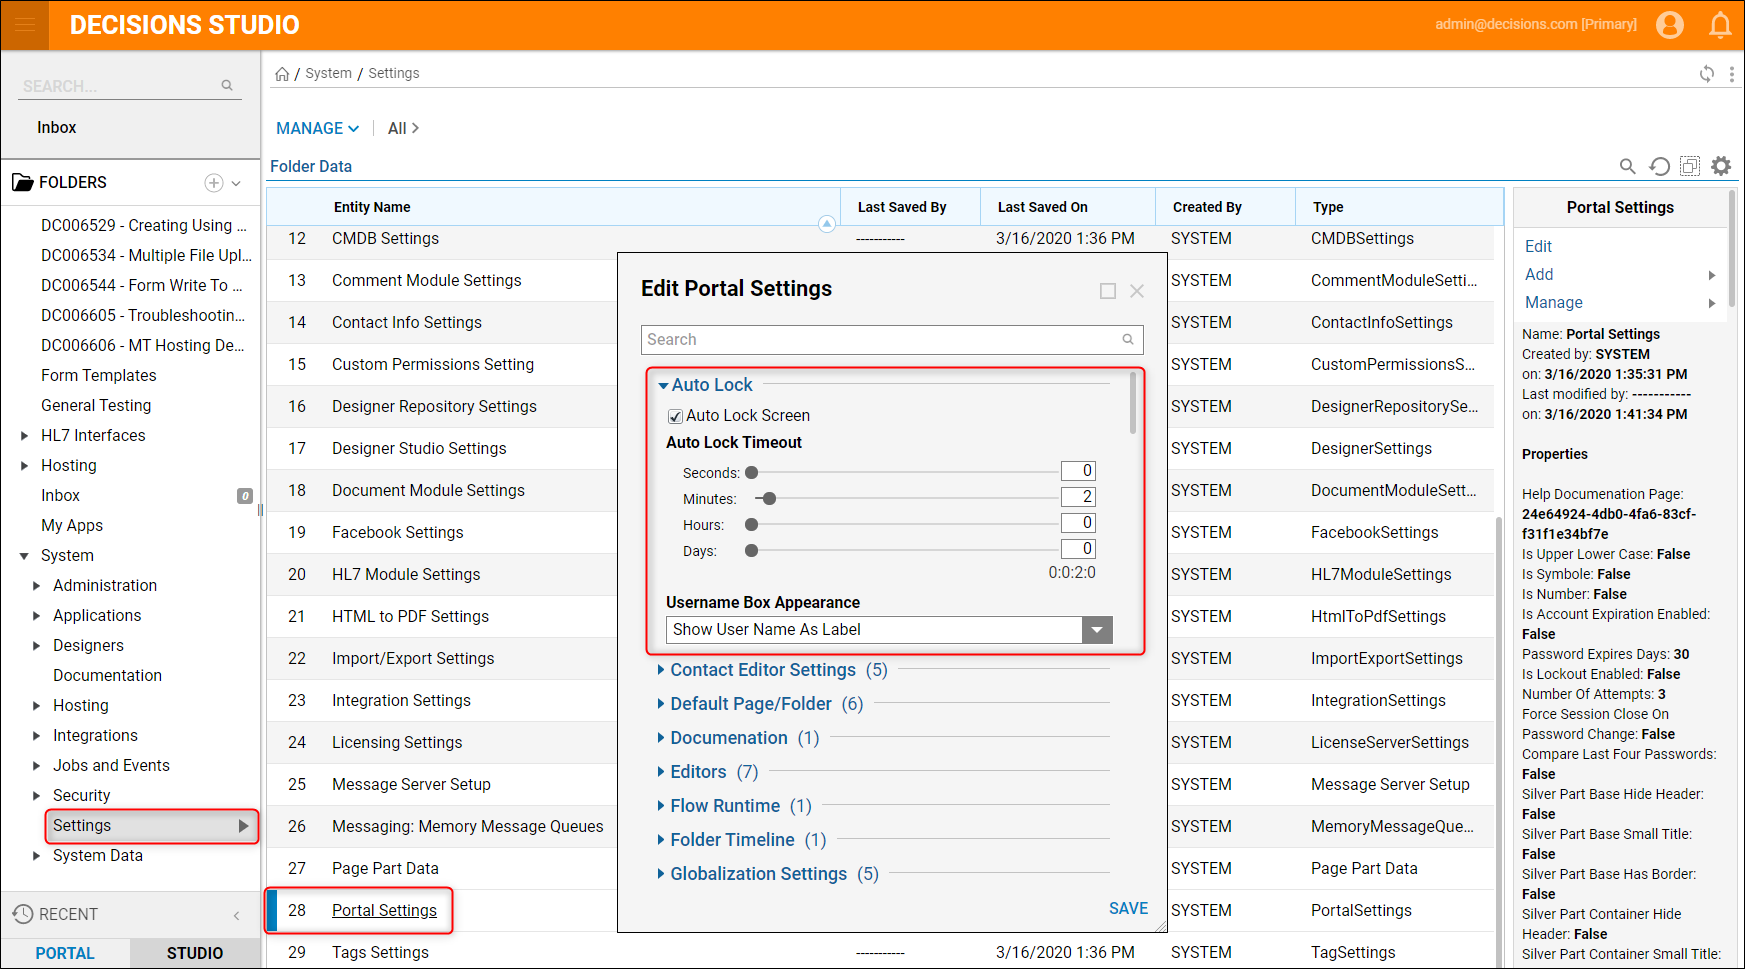
- Navigate to System > Settings > Portal Settings in the Folder List on the left side of the Designer Studio.
- When the Edit Portal Settings appear, locate the Auto Lock section, which should be the first.
- Check the Auto Lock Screen box to enable this feature, then use the time sliders to set the appropriate inactive duration before the lockout. Note: Keep in mind that this lockout will occur regardless of whether or not a user is active in their session.
- The Username Box Appearance offers three options for how to display the username when the lockout occurs; Show Username As Label, Hide Username, Retype Username. For this example, the username of the person who was locked out will appear as a label on the password screen.
- Set an appropriate time duration before the environment locks out, make sure to set enough time so that the setting can be changed if need be. Setting a short time like two seconds would not be enough time to change the Portal Settings back before getting logged out.
- Make the changes then click Save.
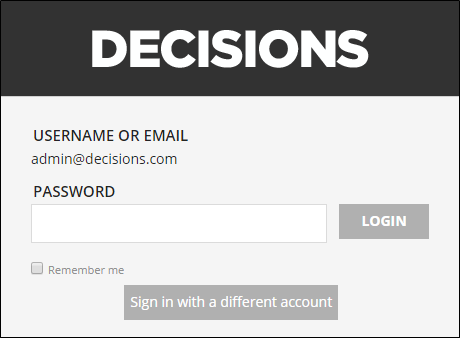
- With the option set to show the username as a label, after the lockout occurs, this is the credential screen that appears.
- Enter the password for the account to log back into the environment, or select the option to sign in with a different account to enter a different username.