Overview
Configuration Folders are used to house different things such as User Actions and Visibility Rules. These are automatically created when a data type such as a Case Entity or a Flow Execution Extension is created, but when needing to modify attributes on built-in data types such as Accounts or the behavior of DefaultFolders, the Configuration Extension comes into play.
A Configuration Extension lets a user create a Configuration Folder for an existing data type. In the following examples, the Accounts group will gain an additional action.
These folders will affect ALL data that is of the selected data type. For this reason, it’s important to keep these Configuration Extensions in a safe and memorable place. It’s recommended to create a Folder to store these Configuration Extensions.
Example
This example will show how to create a Configuration Folder for the built-in Decisions data type (Account) and then create an Action for that data type within that Folder.
Please note that this method of adding a Configuration Folder is not strictly for Account data only. This is a method to hide elements or give Actions to users for a multitude of built-in data.
- Navigate to a Designer Folder.
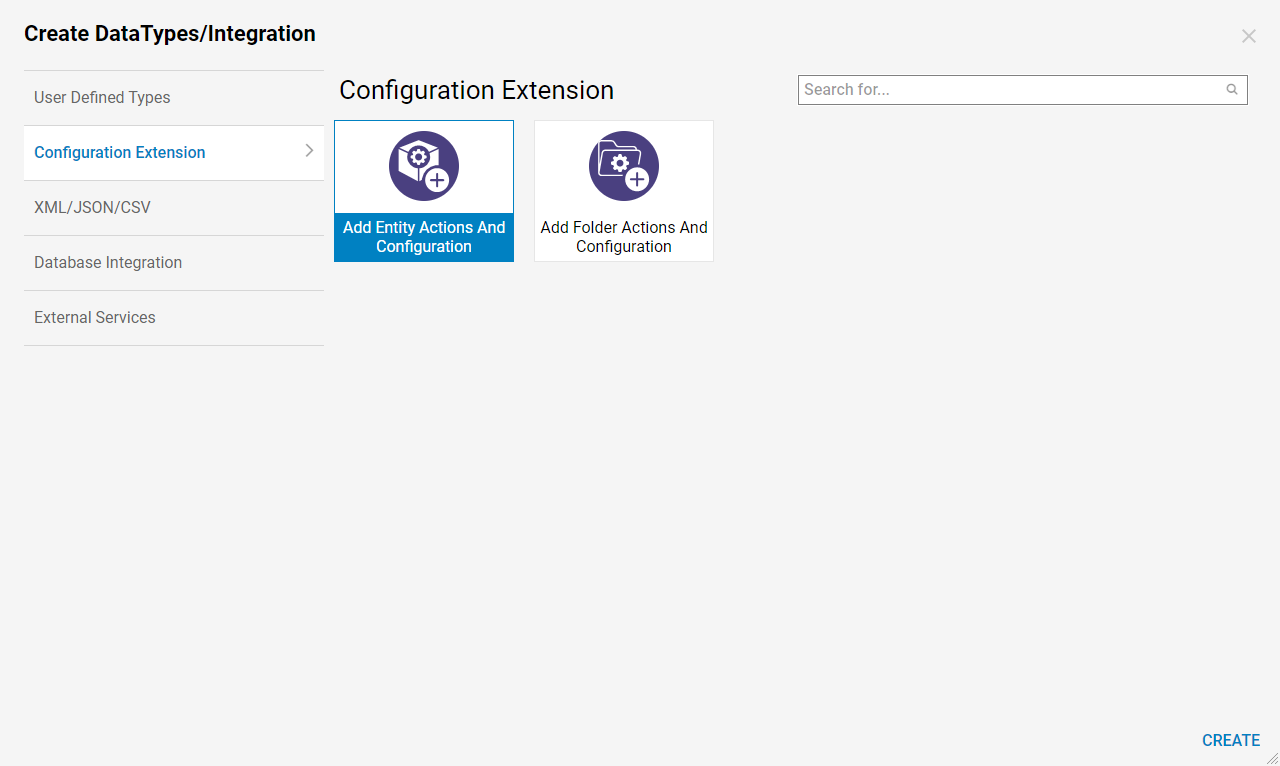
- Select CREATE DATATYPES/INTEGRATIONS and go to Configuration Extensions.
- Two options are available: Add Entity Actions And Configuration and Add Folder Actions And Configuration.
- Select Add Entity Actions and Configuration and then select CREATE.
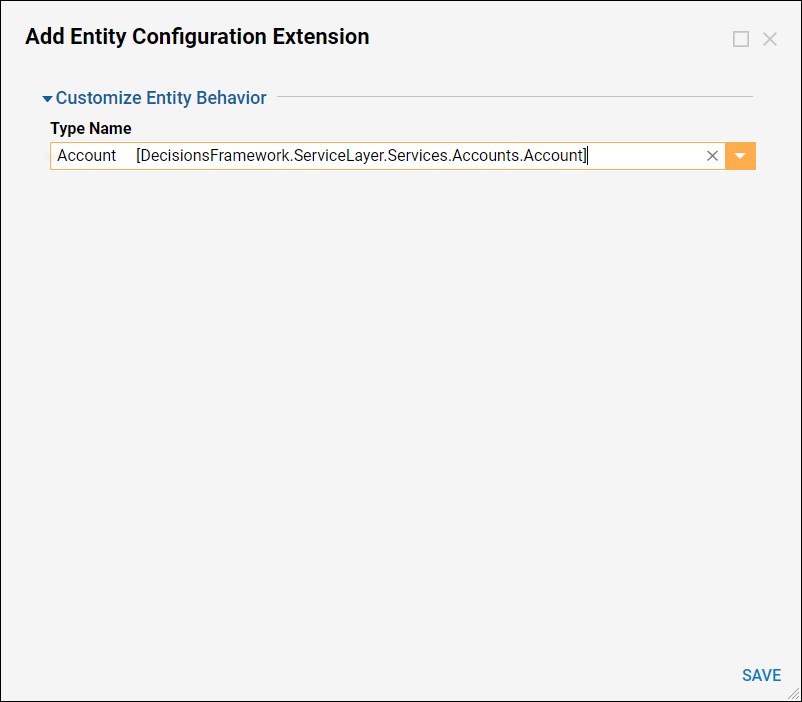
- Type “Account” in the Type Name drop down then select SAVE. This creates an Account Configuration Extension Folder.
- Navigate into this Configuration Extension Folder and it should be just as similar as any other data type configuration regarding creating Actions.
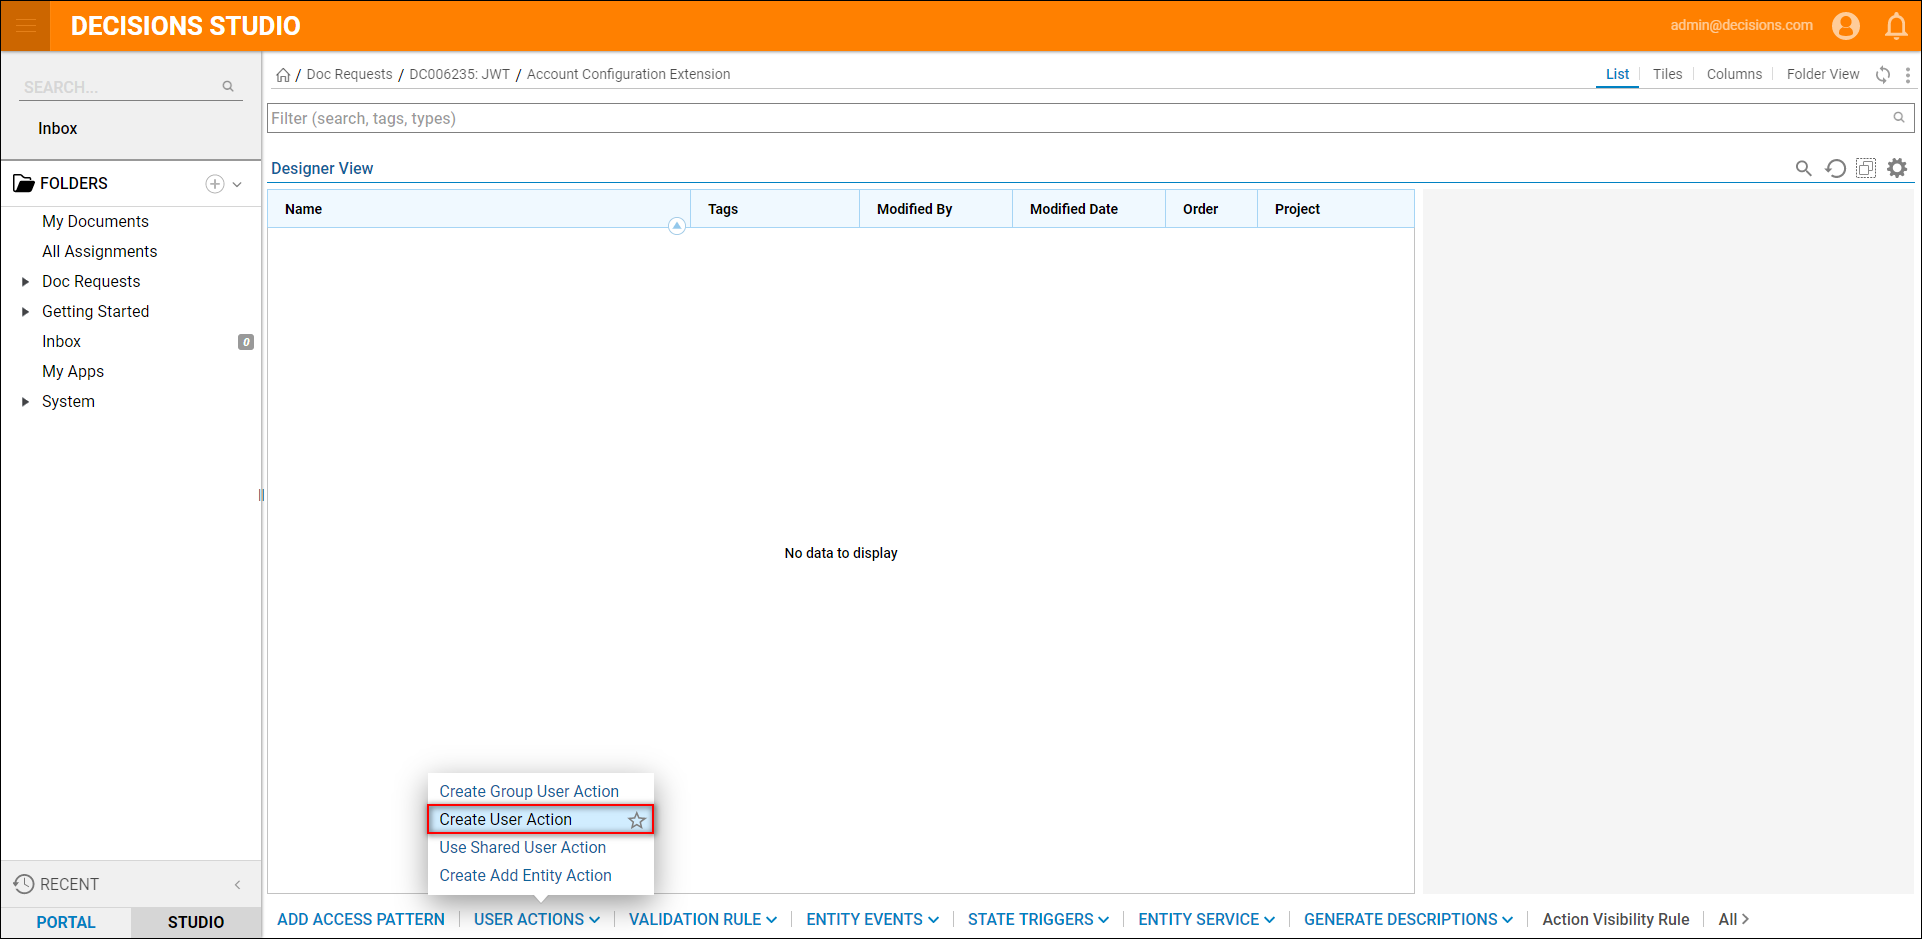
- Select User Actions > Create User Action.
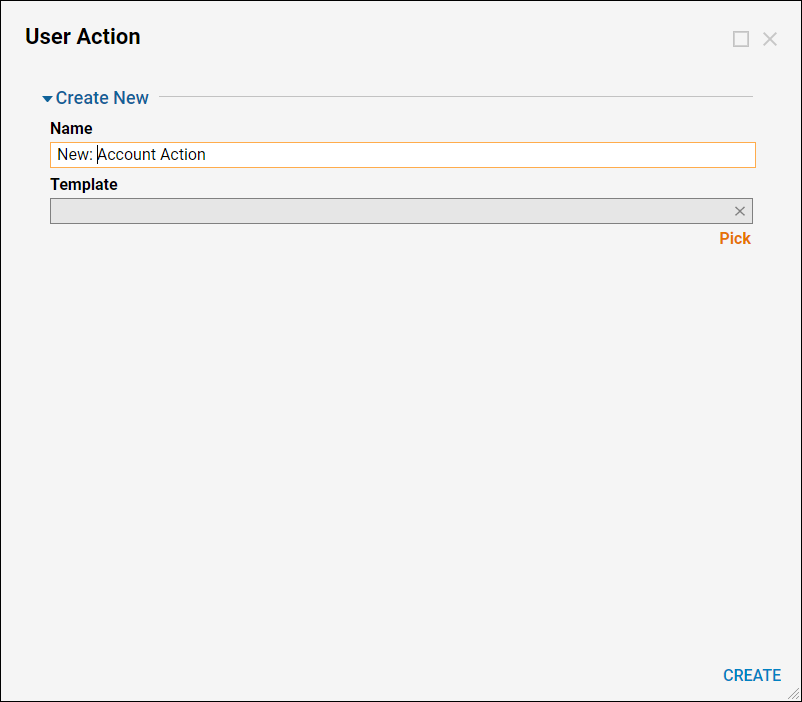
- Name the User Action Flow and select CREATE. This will be the name of the action available in reports. Name this accordingly.
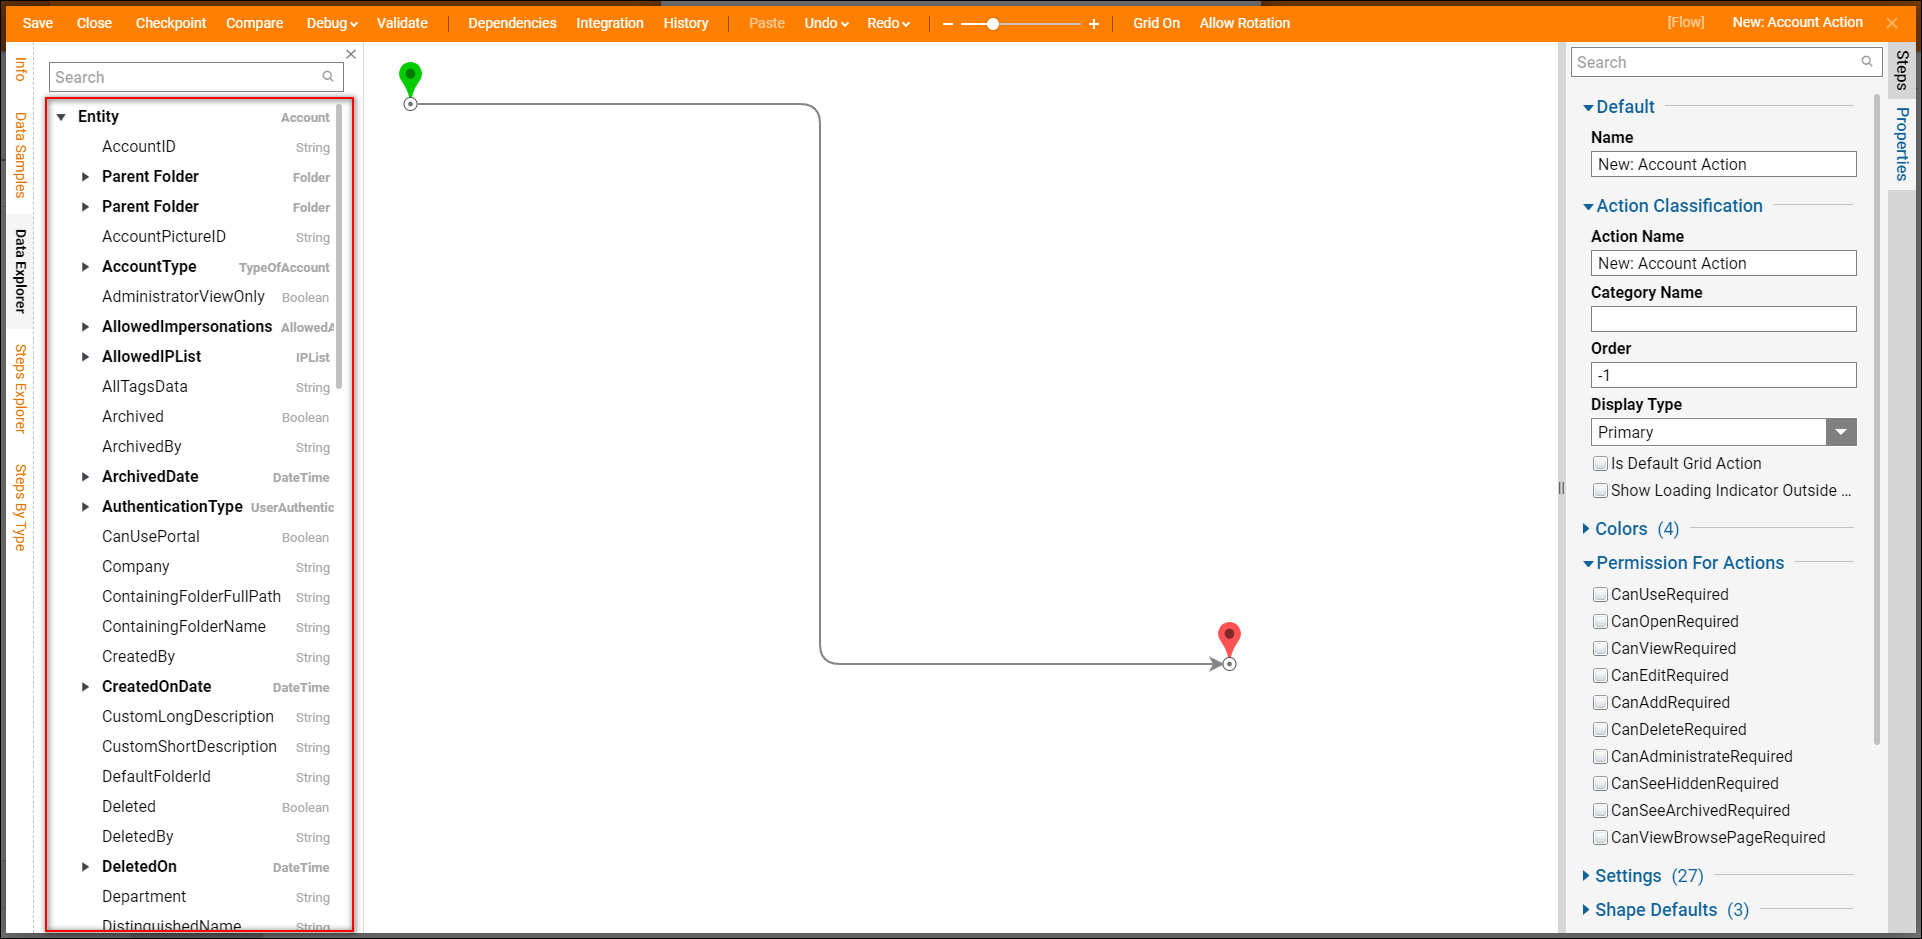
- In this Flow, the Entity information is accessible and visible in the Data Explorer.
- Configure this Action to do whatever it may need to do, and make sure it’s working properly by using the Debugger.
- For example purposes, keep the Flow simple by connecting the Start step to the End step. Its important to note any logic can be built in this Flow to create an Action for the data type.
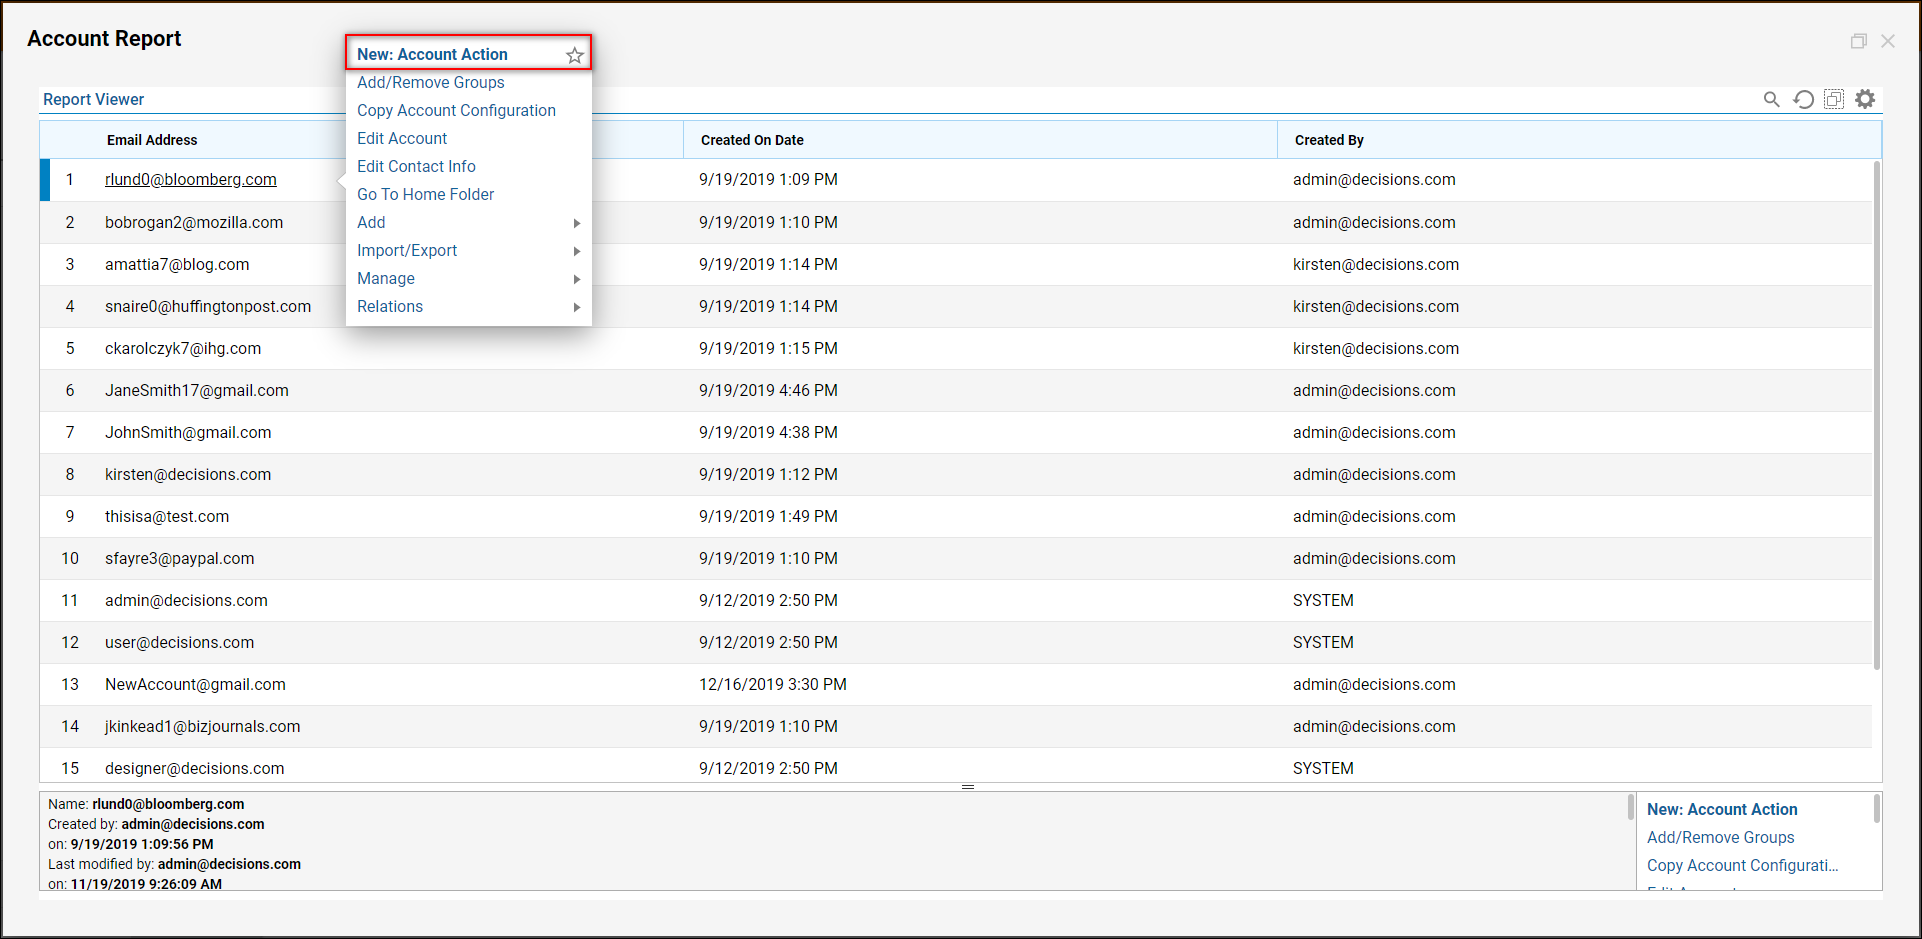
- To make sure this Action is visible, create a report that references the Account Data Source and right-click an Entity and see the new built-in Action created from this process.
Learn how to Create a Report.
