Overview
NVelocity is an open-source Java template engineering framework. The Custom Merge [NVelocity] step merges data in a text format according to a defined template. These templates generate a variety of structured text formats including CSS, HTML, and XML.
Due to its support of these languages, NVelocity boasts a high level of flexibility limited only by the user's ability to code in the chosen language. Compared to the TextMerge step which only merges to plain or HTML Text, NVelocity steps offer the utmost flexibility with data template merging and formatting to fit any Designer's needs.
However, NVelocity requires knowledges of CSS, HTML, and/or XML languages to use thus it has a higher barrier to entry paired with a longer time commitment to develop. If interested in implementing NVelocity in your Decisions instance, please contact support@decisions.com for assistance.
Example Use Cases
- Building a custom email body with a button link.
- Applying custom CSS formatting of an email body, PDF, or Word Document.
- Implementing reference image links using HTML.
Example
This example below involves utilizing the NVelocity step to construct a custom email body that merges multiple text fields together.
See Modifying an Application Servers SMTP Settings for details.
- Begin by navigating to a Designer Folder, clicking the Create Flow button, and naming the Flow.
- From the Flow Designer, either quick add a Create Data Step, by clicking the end path of the Start Step, or by dragging one in from the Toolbox catalog.
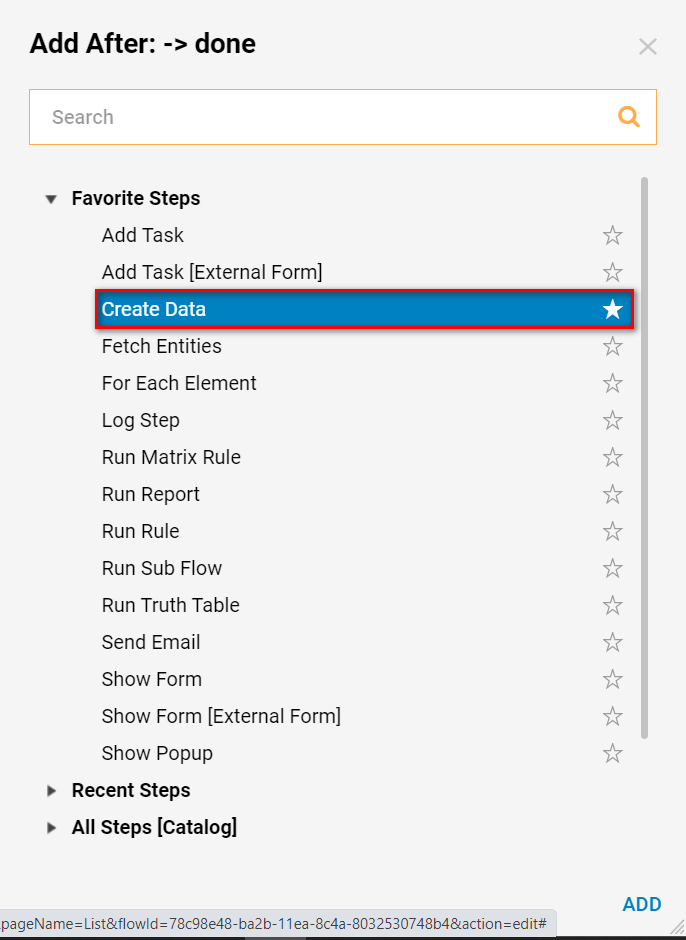
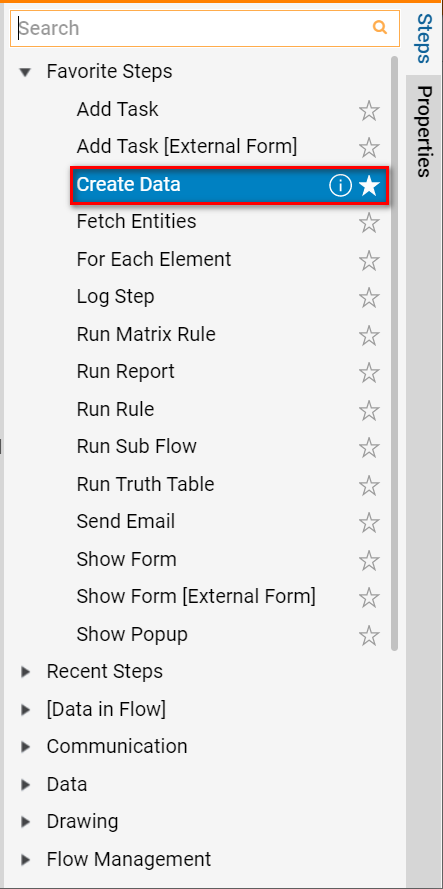
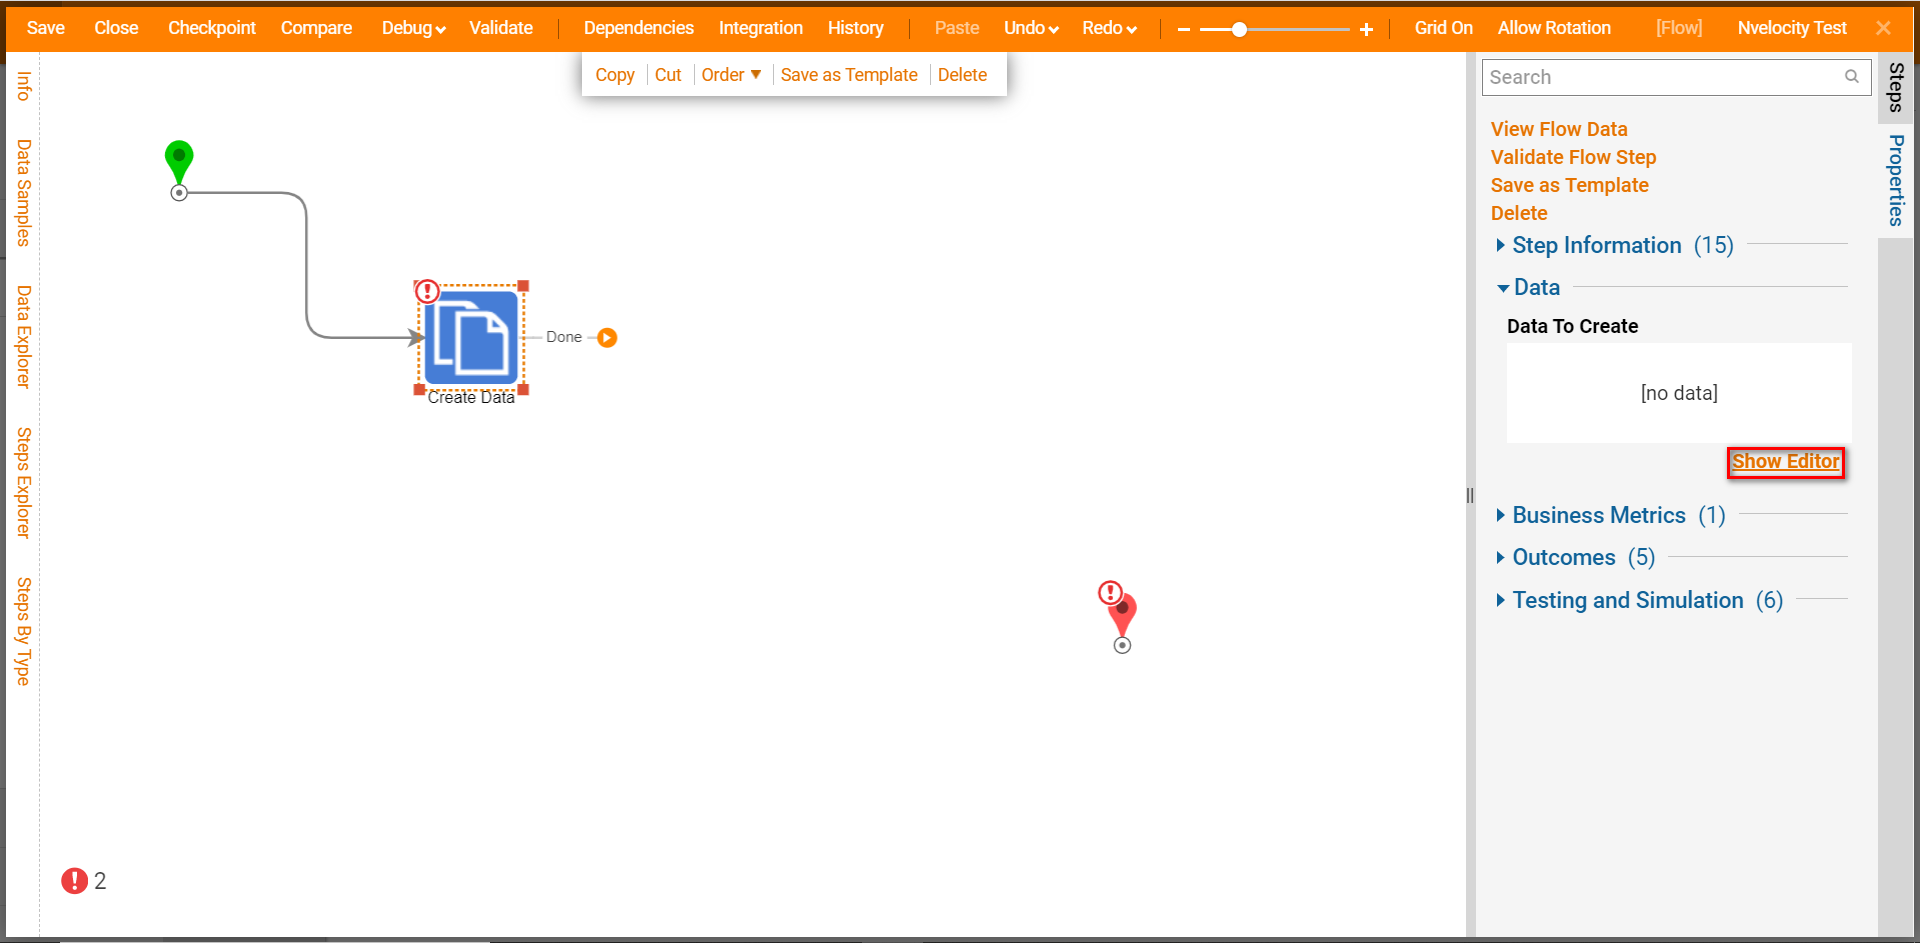
- Next, with the Create Data step selected, navigate to the Properties tab on the right, and click Show Editor.
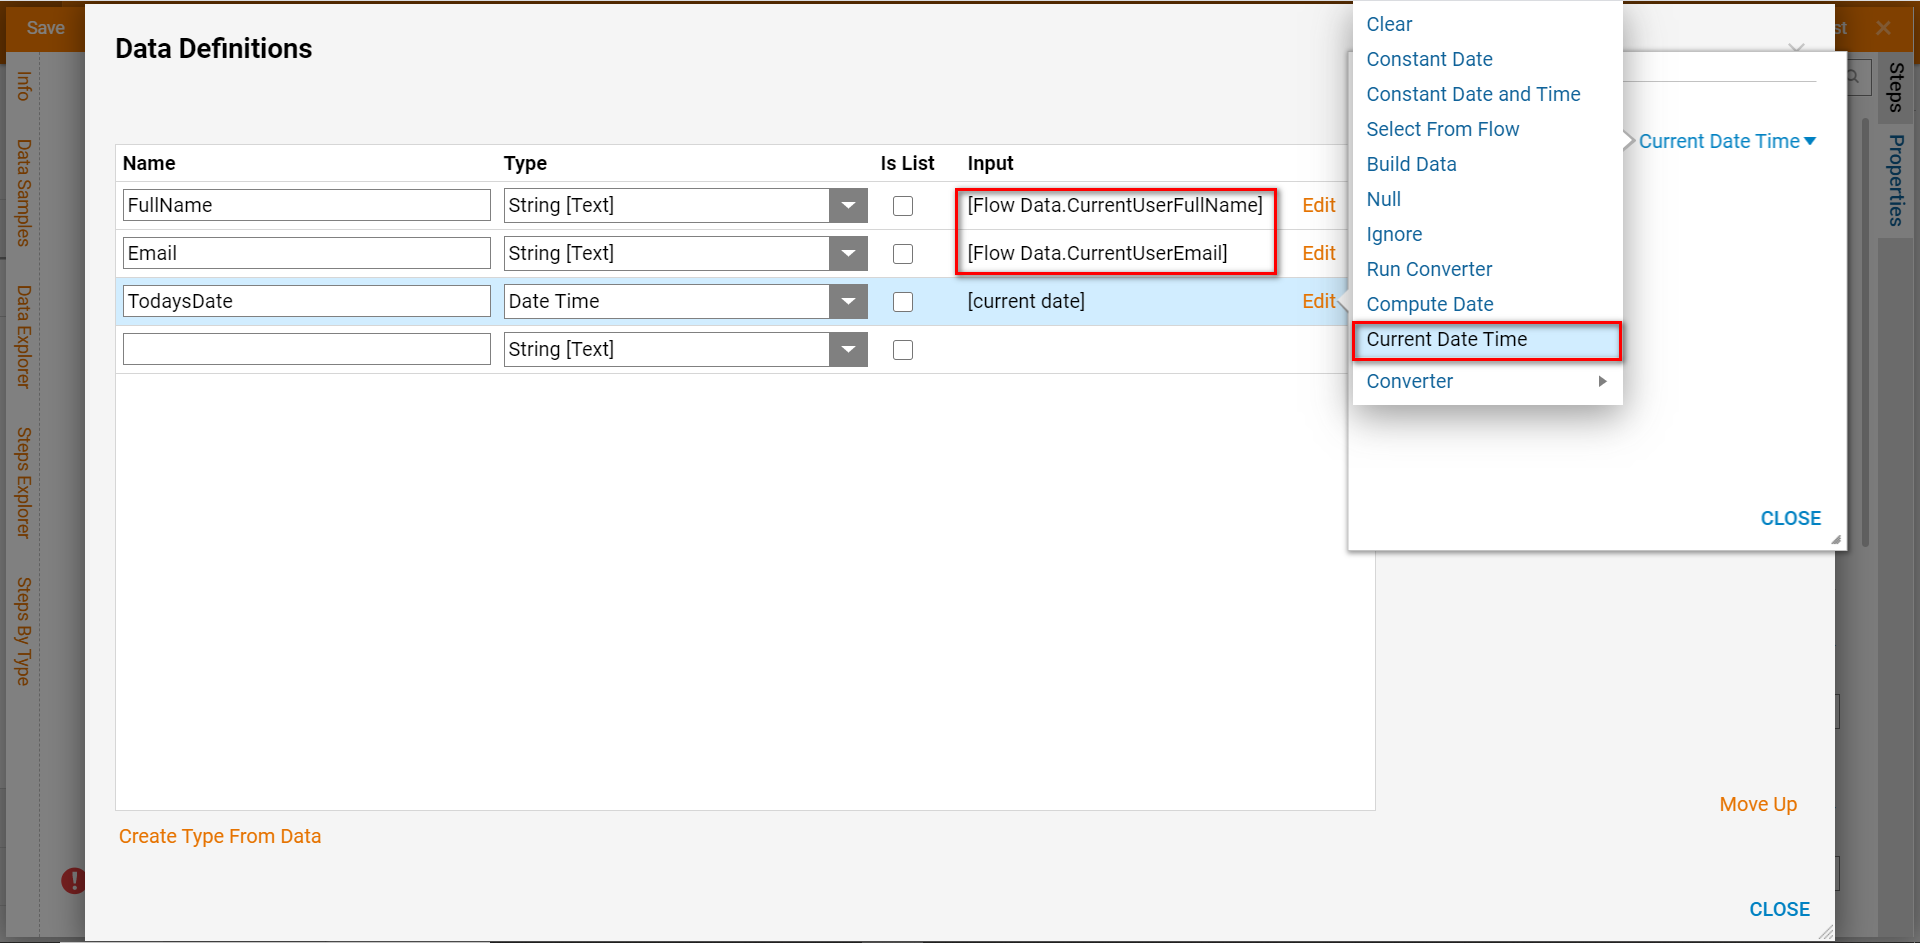
- From the Data Definitions panel, create two String types. Then, Select From Flow mapping type to map the FullName String data member to the Flow Data.CurrentUserFullName Input and the Email String data member to the Flow Data.CurrentUserEmail Input.
- Next, create a new data member named TodaysDate. Set its type to Date Time, and select the Current Date Time input.
- Then, create a String type named EmailBody and select either Merge HTML Text or Merge Plain Text as its input depending on the email's content.NoteSelecting 'Merge HTML Text', allows the user further customization options such as the ability to incorporate images or change font colors.
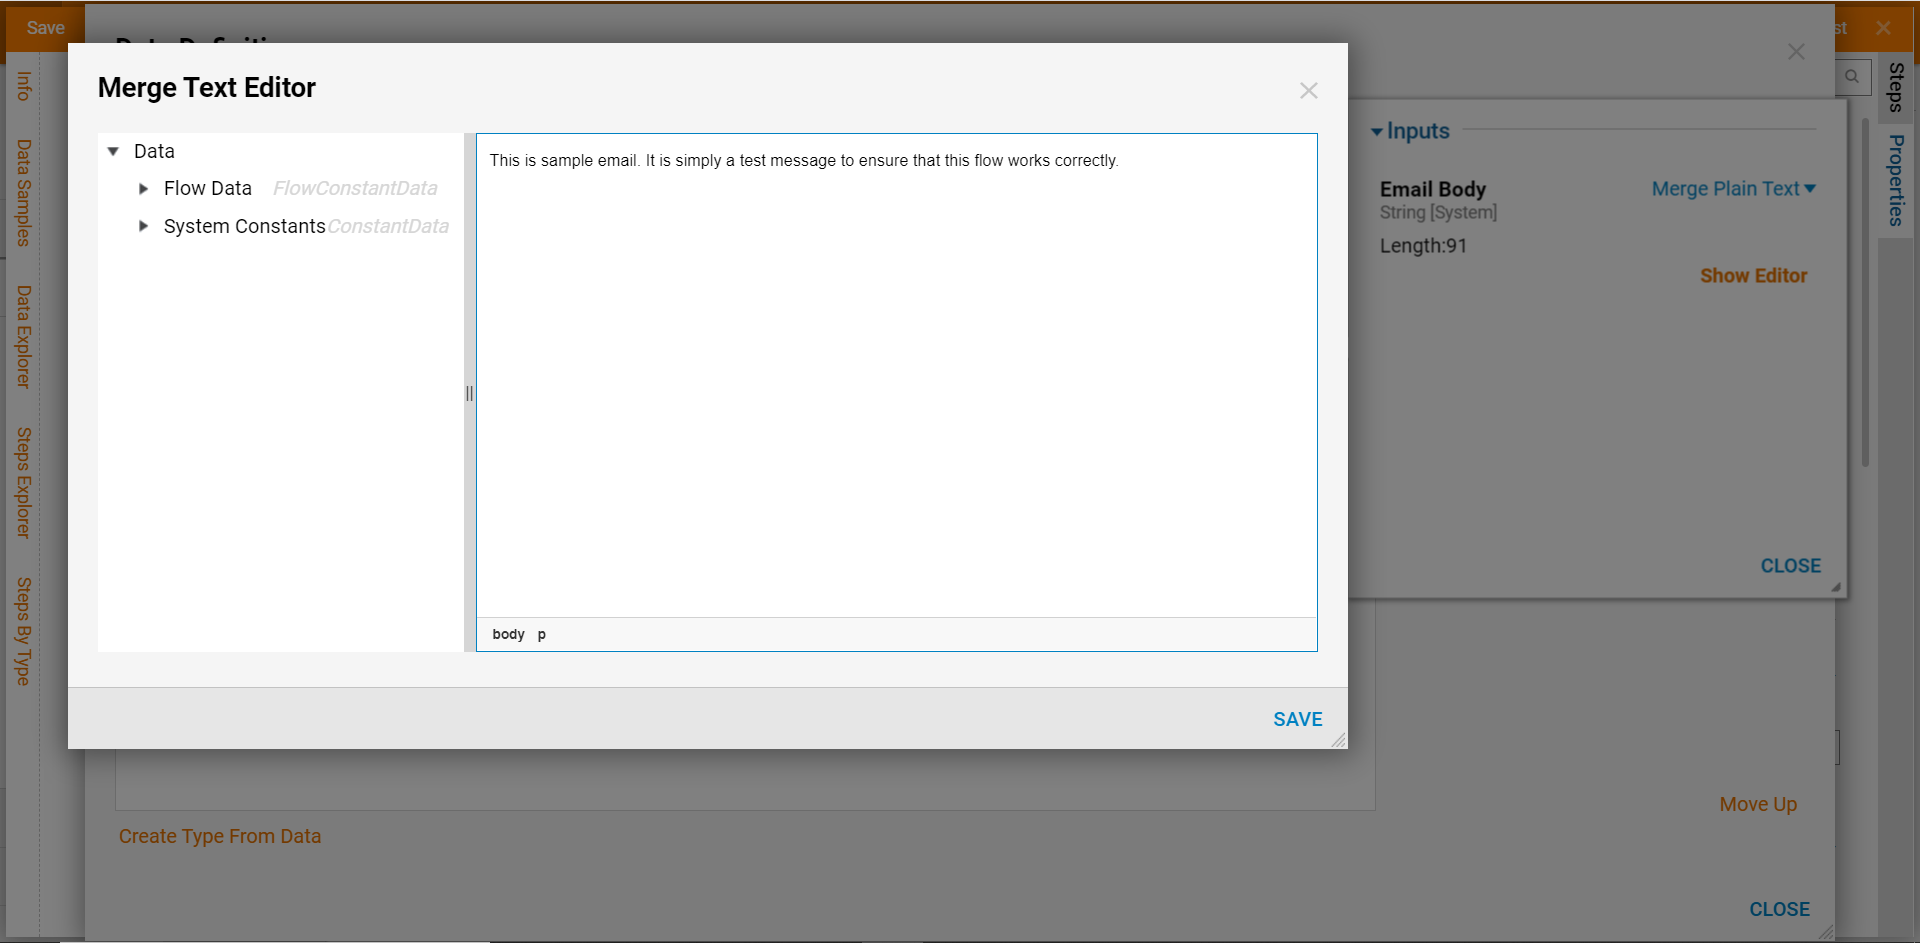
- Enter a message, 'Save', and then 'Close' the editor. Afterwards, 'Close' to save and exit the panel.
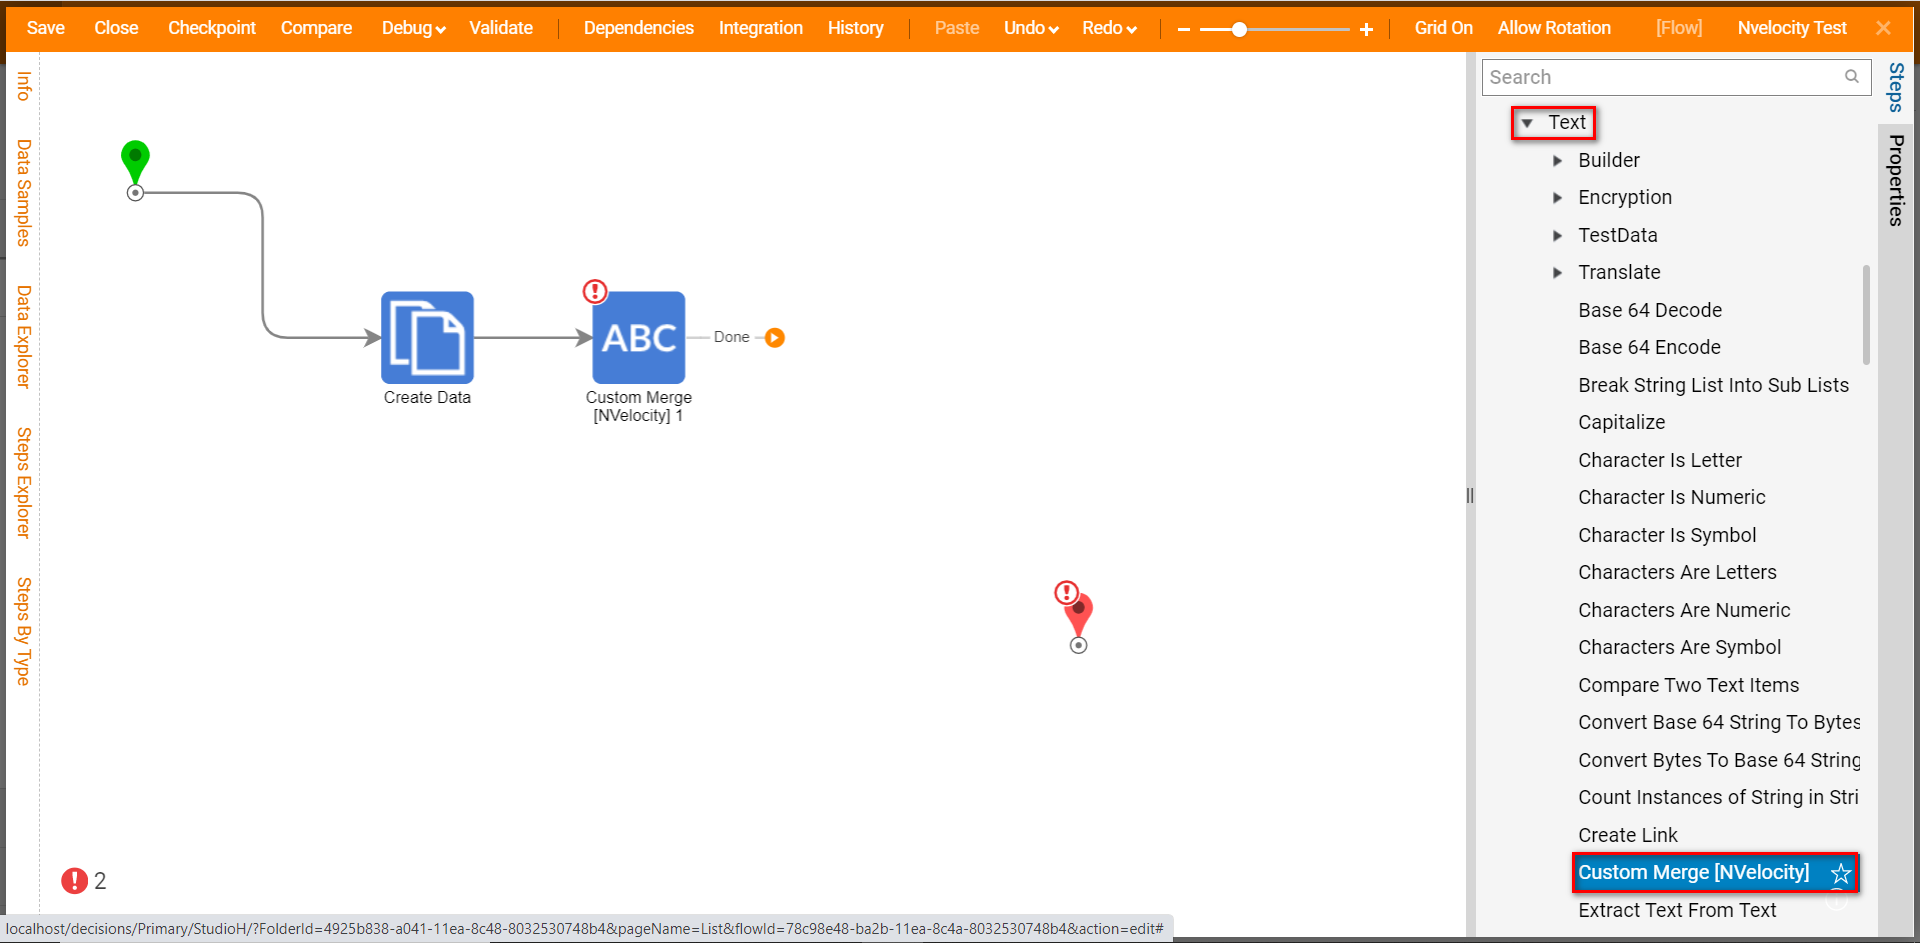
- In the Steps Catalog, navigate to All Steps [Catalog]>Data>Text and add a Custom Merge [NVelocity] step to the Done path for the Create Data step. Select the step to begin configuring the text merge.
Variables can be added to the Merge step one of two ways:
- Via selecting Add to New under Variables to Merge.
- By typing $(Name of variable), into the Template box. The example is configured as followed. Placing each variable on a separate line will display each one in a separate row from top to bottom.
Shell$FullName $Email $TodaysDate $EmailBodyNoteTyping a variable name that matches data from the 'Create Data' step and is a String, will automatically input that variable. If the input is new or not a string, users may map via the 'Inputs' panel on the 'Custom Merge [NVelocity] step. - If further mapping is needed, select Edit Input Mappings from the Properties panel. Connect each variable with its correct input: the properly configured inputs should look as follows:

Select "Ok" to save and exit the Input Mapping Editor.
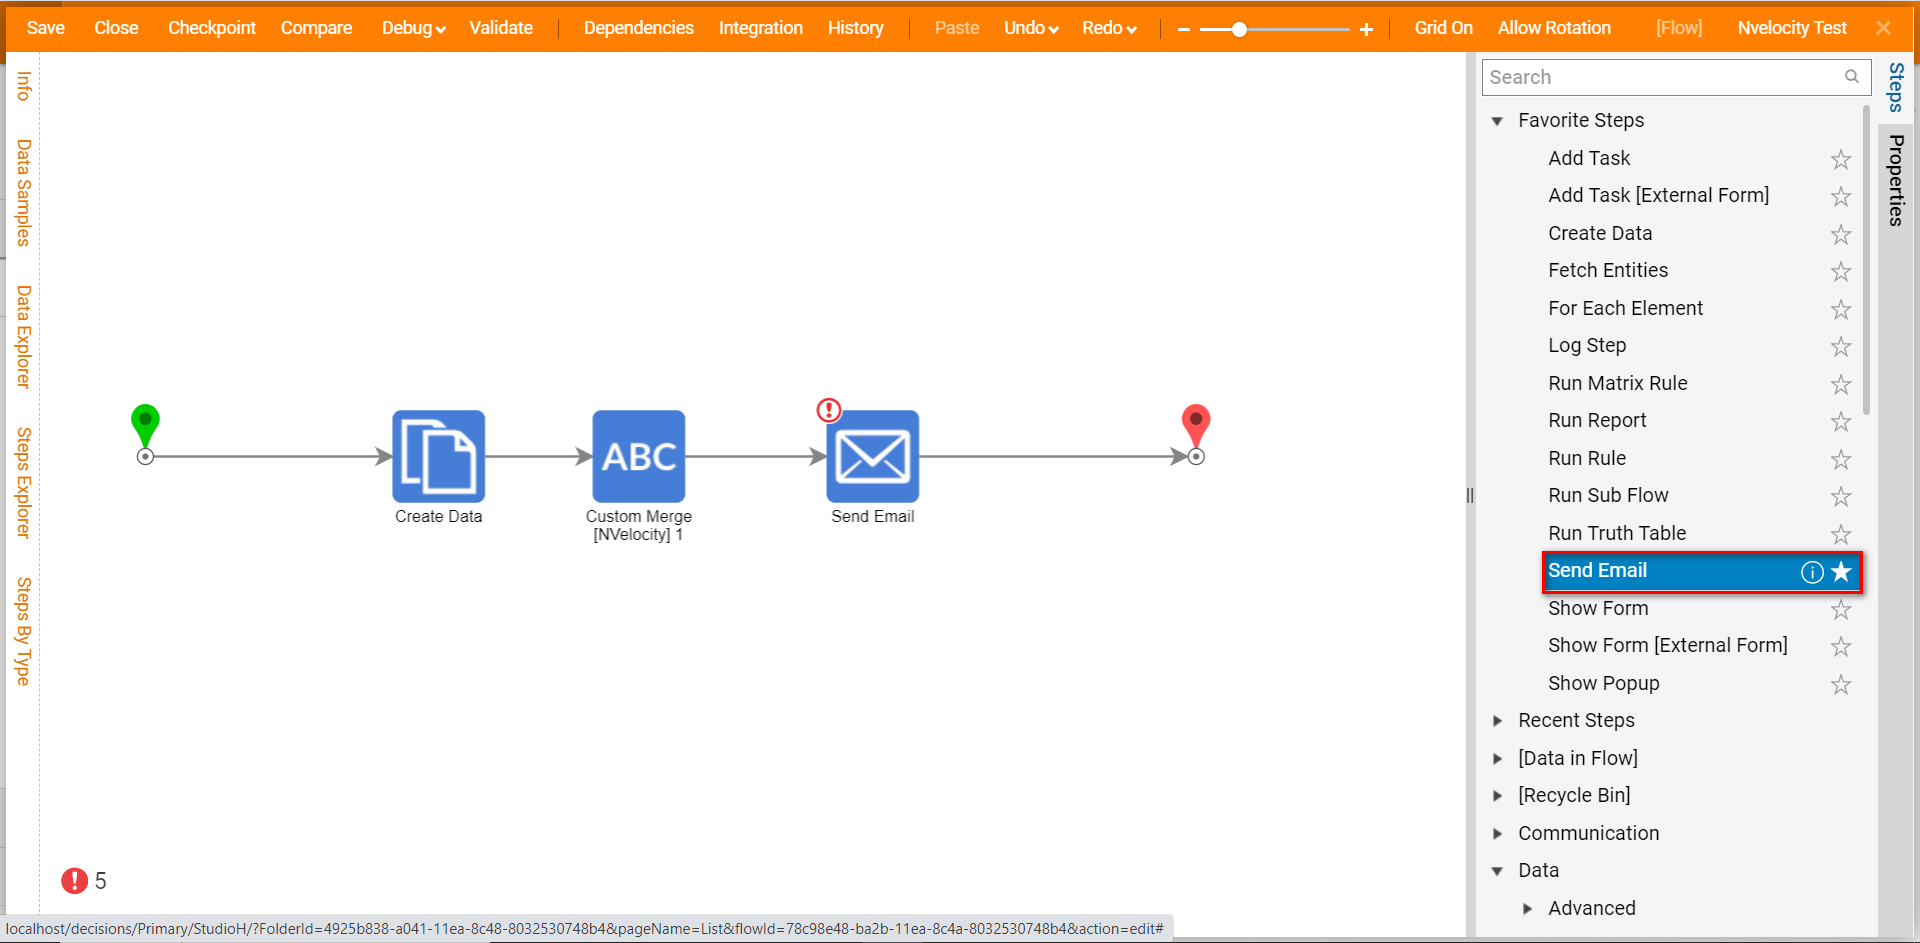
After configuring these inputs, attach a Send Email step after the Custom Merge [NVelocity] step in the Flow. Select the Send Email step to begin configuration.
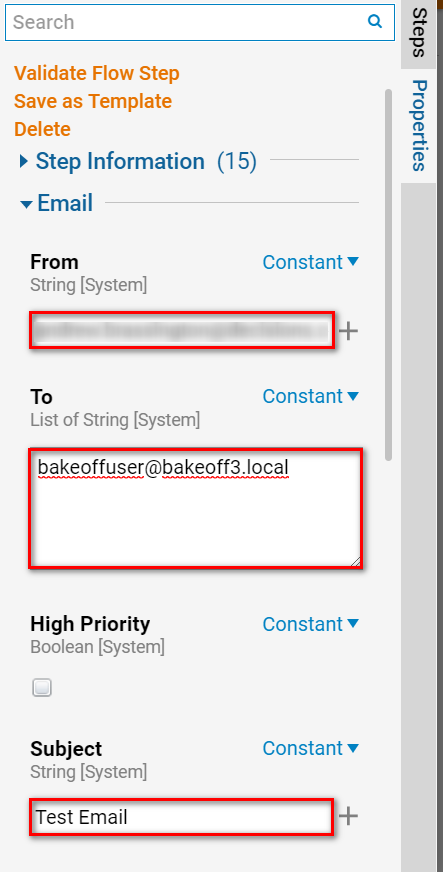
- In the Properties tab, select the Constant mapping type for both the From and To inputs to specify the sender's email and the address of the recipient respectively.
- Then, Constant map the Subject. For this example, the subject is "Test Email".
- Next, map the email Body input via Select From Flow to select MergedString [String]. Selecting this option displays and formats the email according to the organization of variables in the Nvelocity Merge step.
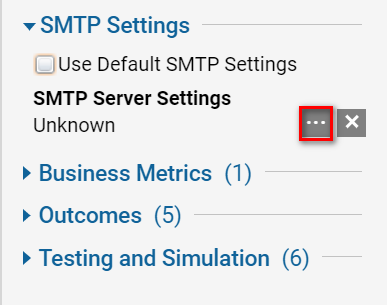
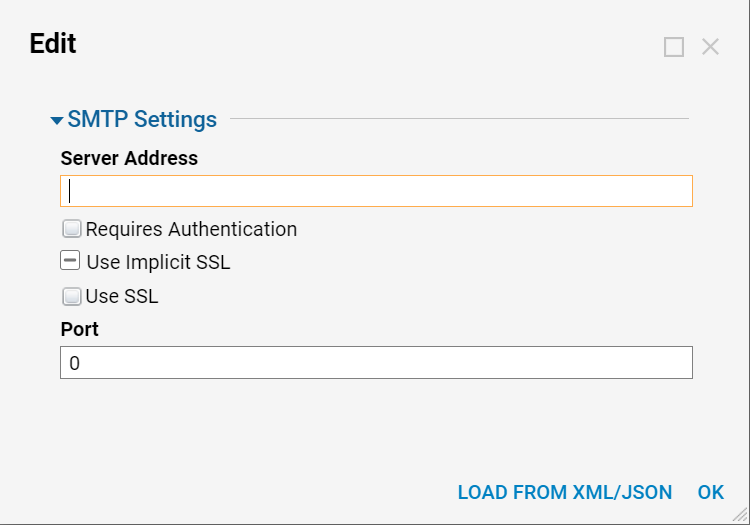
- If SMTP Settings are not setup to send email, they can be set by unchecking Use Default SMTP Settings, and then by clicking the ellipses icon to open the SMTP Settings Editor. If these Settings are established, Default SMTP Settings may be used.
Once SMTP Settings have been set, proceed to testing.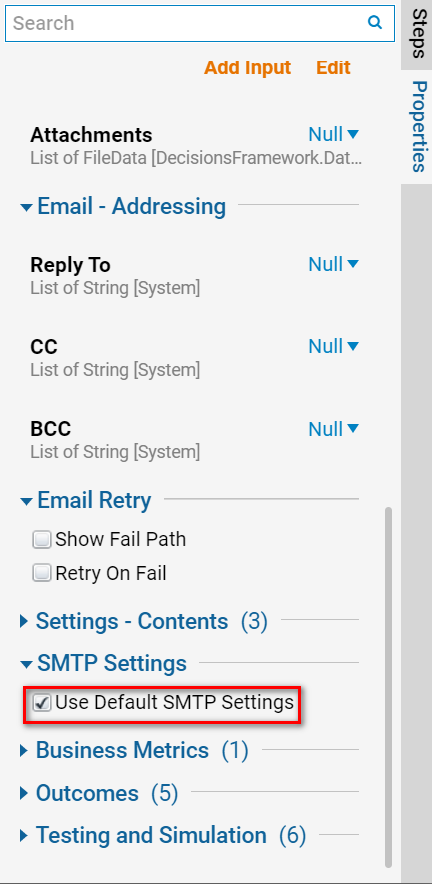
Debug
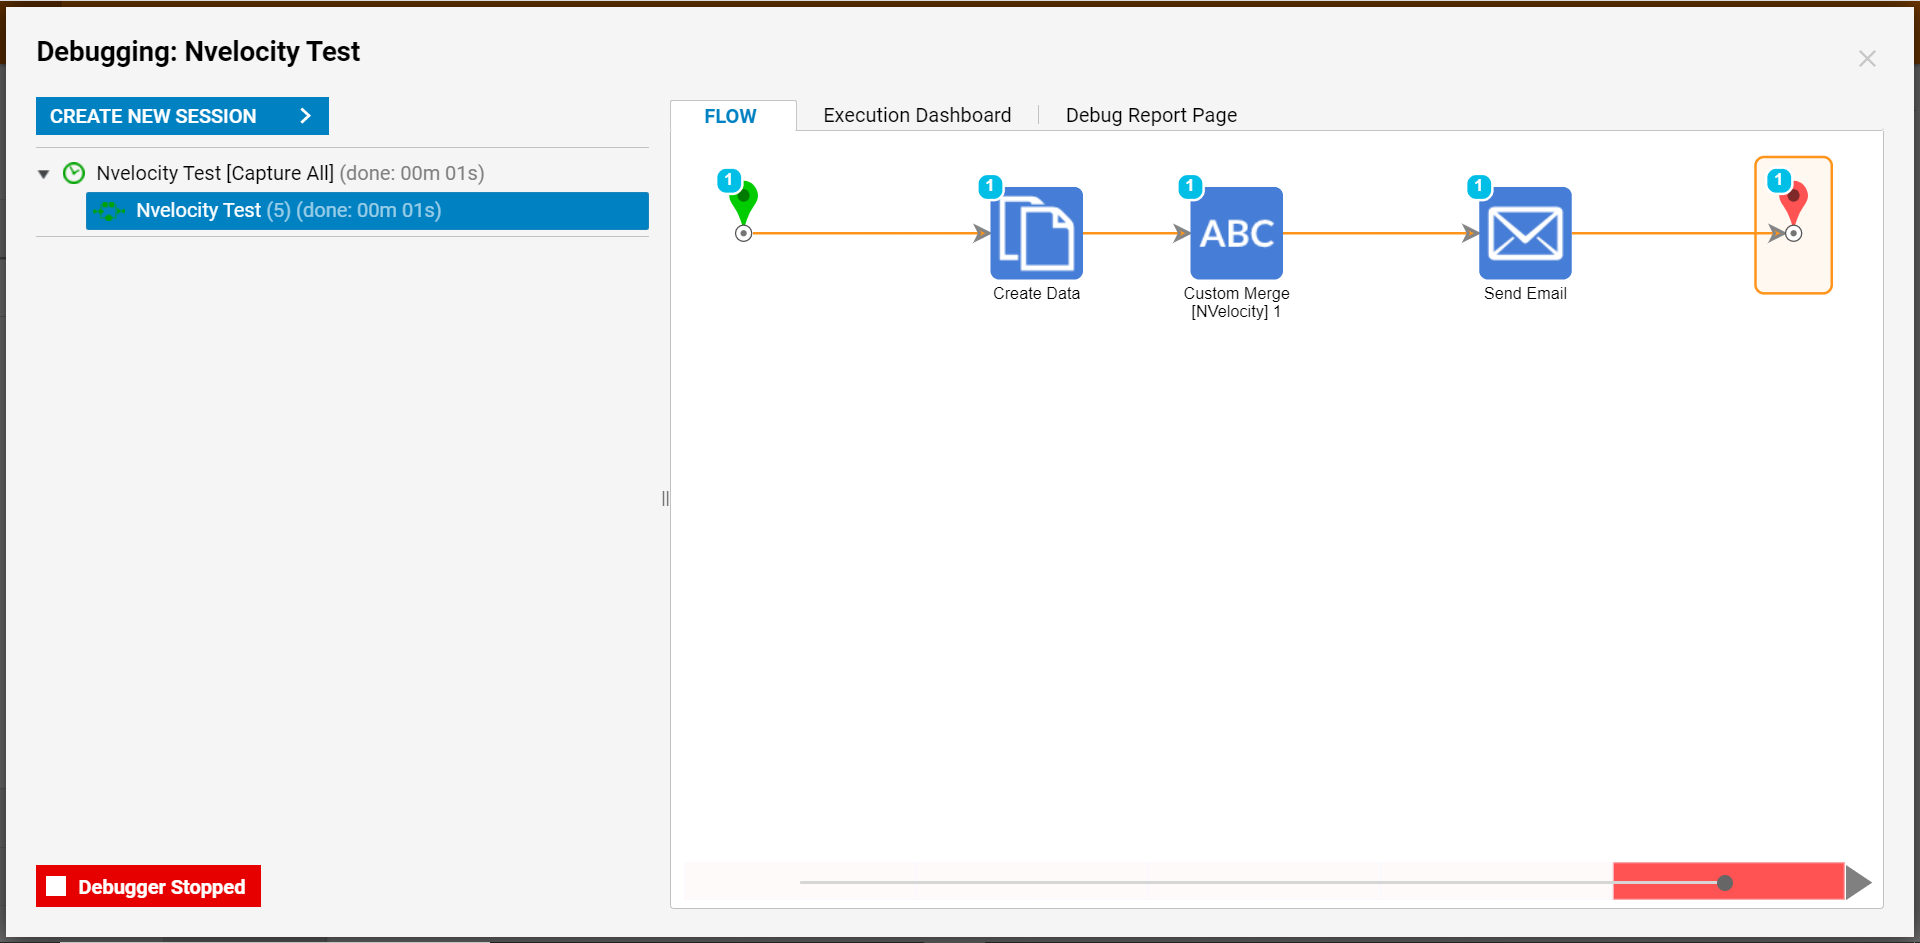
- From the Flow Designer, select the Debug link from the top Action bar.
- Click START DEBUGGING.
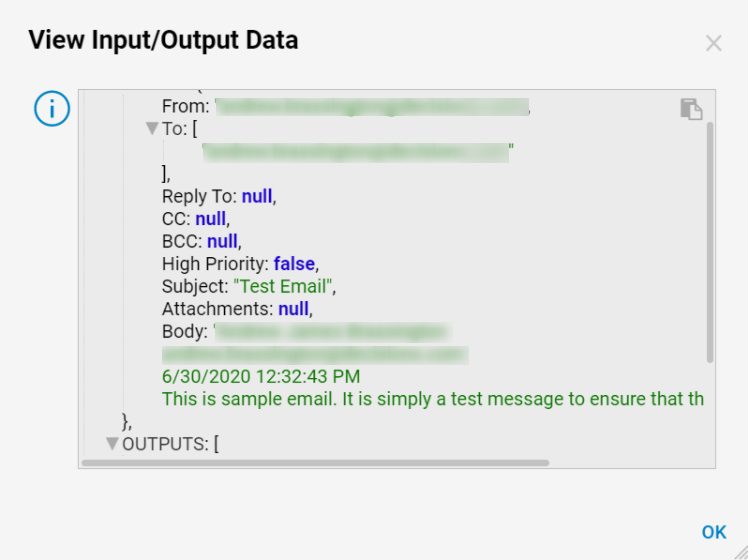
- If successful, the Flow will send an email to the established receiving email address; this message will display as configured by the Nvelocity component.
.png)