Overview
The Data Grid (Advanced) Form Component is similar to a normal Data Grid in that its purpose is to display a list of data objects from within a grid on a Form. Similar to the standard Data Grid, each row represents an object and each column represents an object property.
The difference is that in the Advanced Data Grid, these objects are sourced from a report that is created from within the Form Properties tab. The standard Data Grid only allows selection from the columns that are provided by the form control and there are limited grouping options for these columns. With the use of the Advanced Data Grid, however, entities could be edited in the same ways that they are edited in reports.
Example
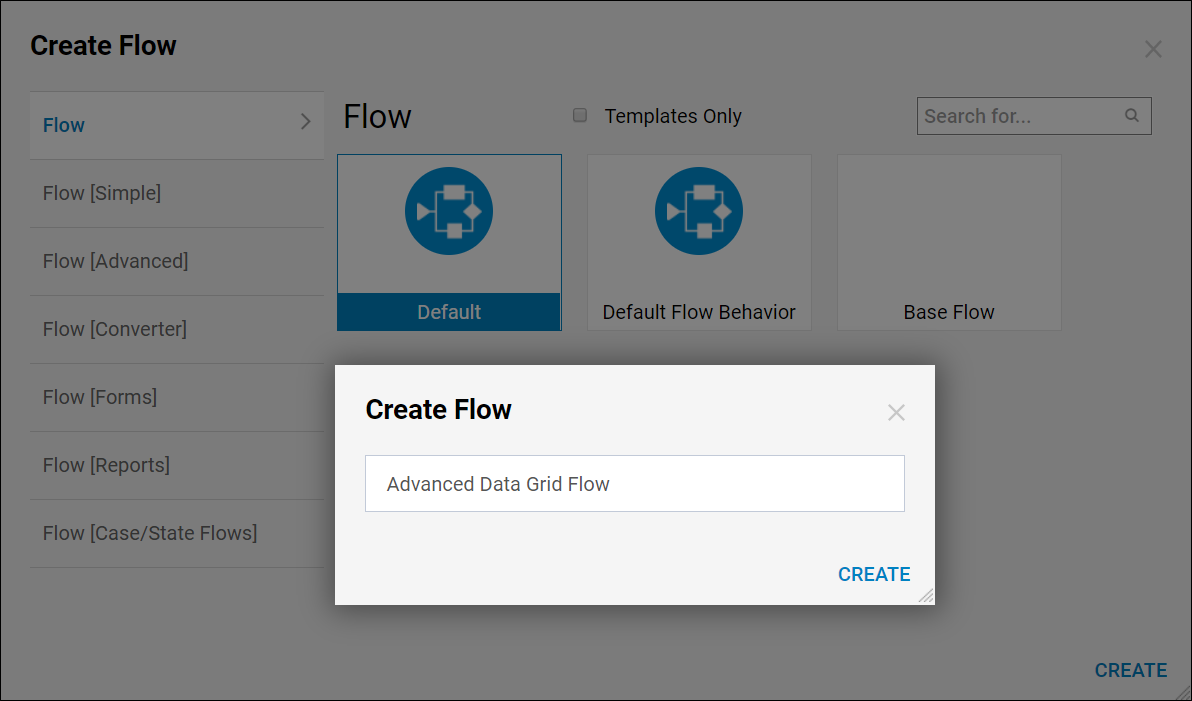
In a Designer Folder, select the Create Flow option from the bottom Action Bar. Select the Default Flow template and click Create, name the Flow then click Create again.
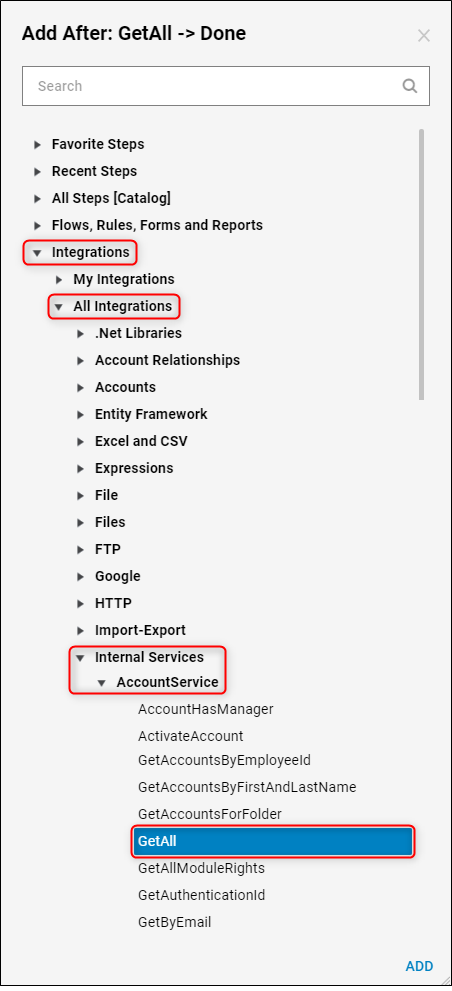
Click the orange arrow at the end of the Done path from the Start step and when the Step Catalog window appears, navigate to Integrations > All Integrations > Internal Services > AccountService. There is a long list of several different steps that can be added for this section, locate GetAll from the list and select Add.
Click the orange arrow at the end of the Done path from the GetAll step and when the Step Catalog window appears, add a Show Form step from the Favorite Steps section. When the Default Editor window appears, provide a Name for a new Form on the left side, then click Create.
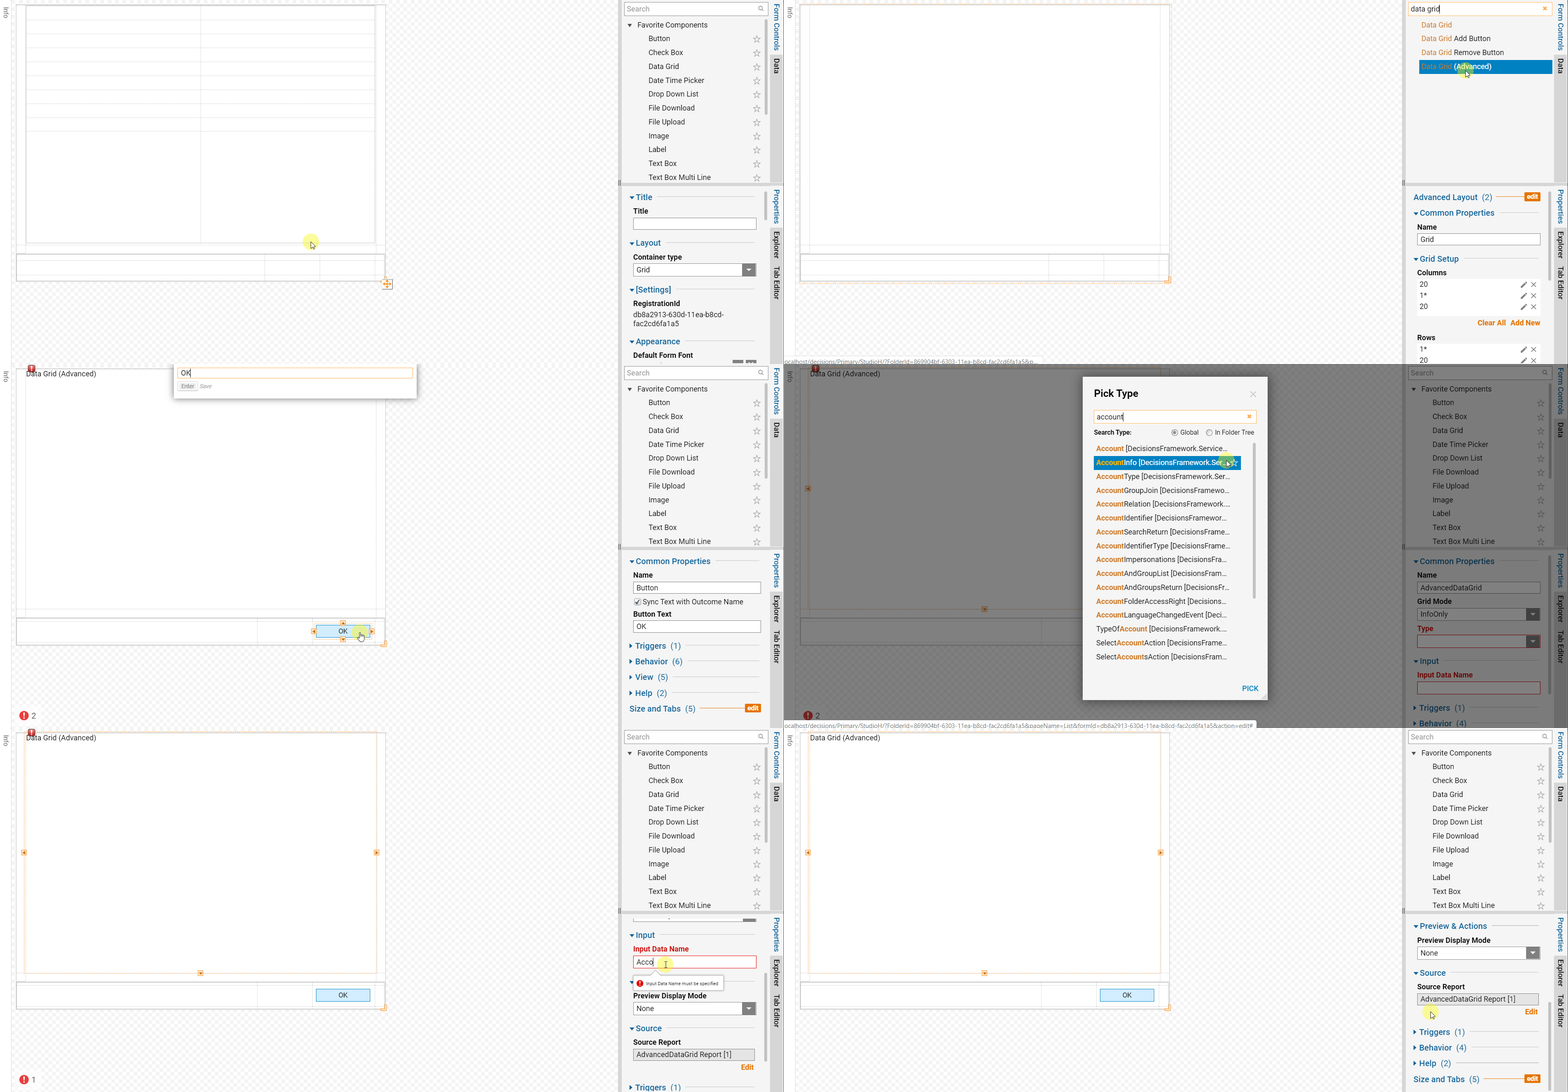
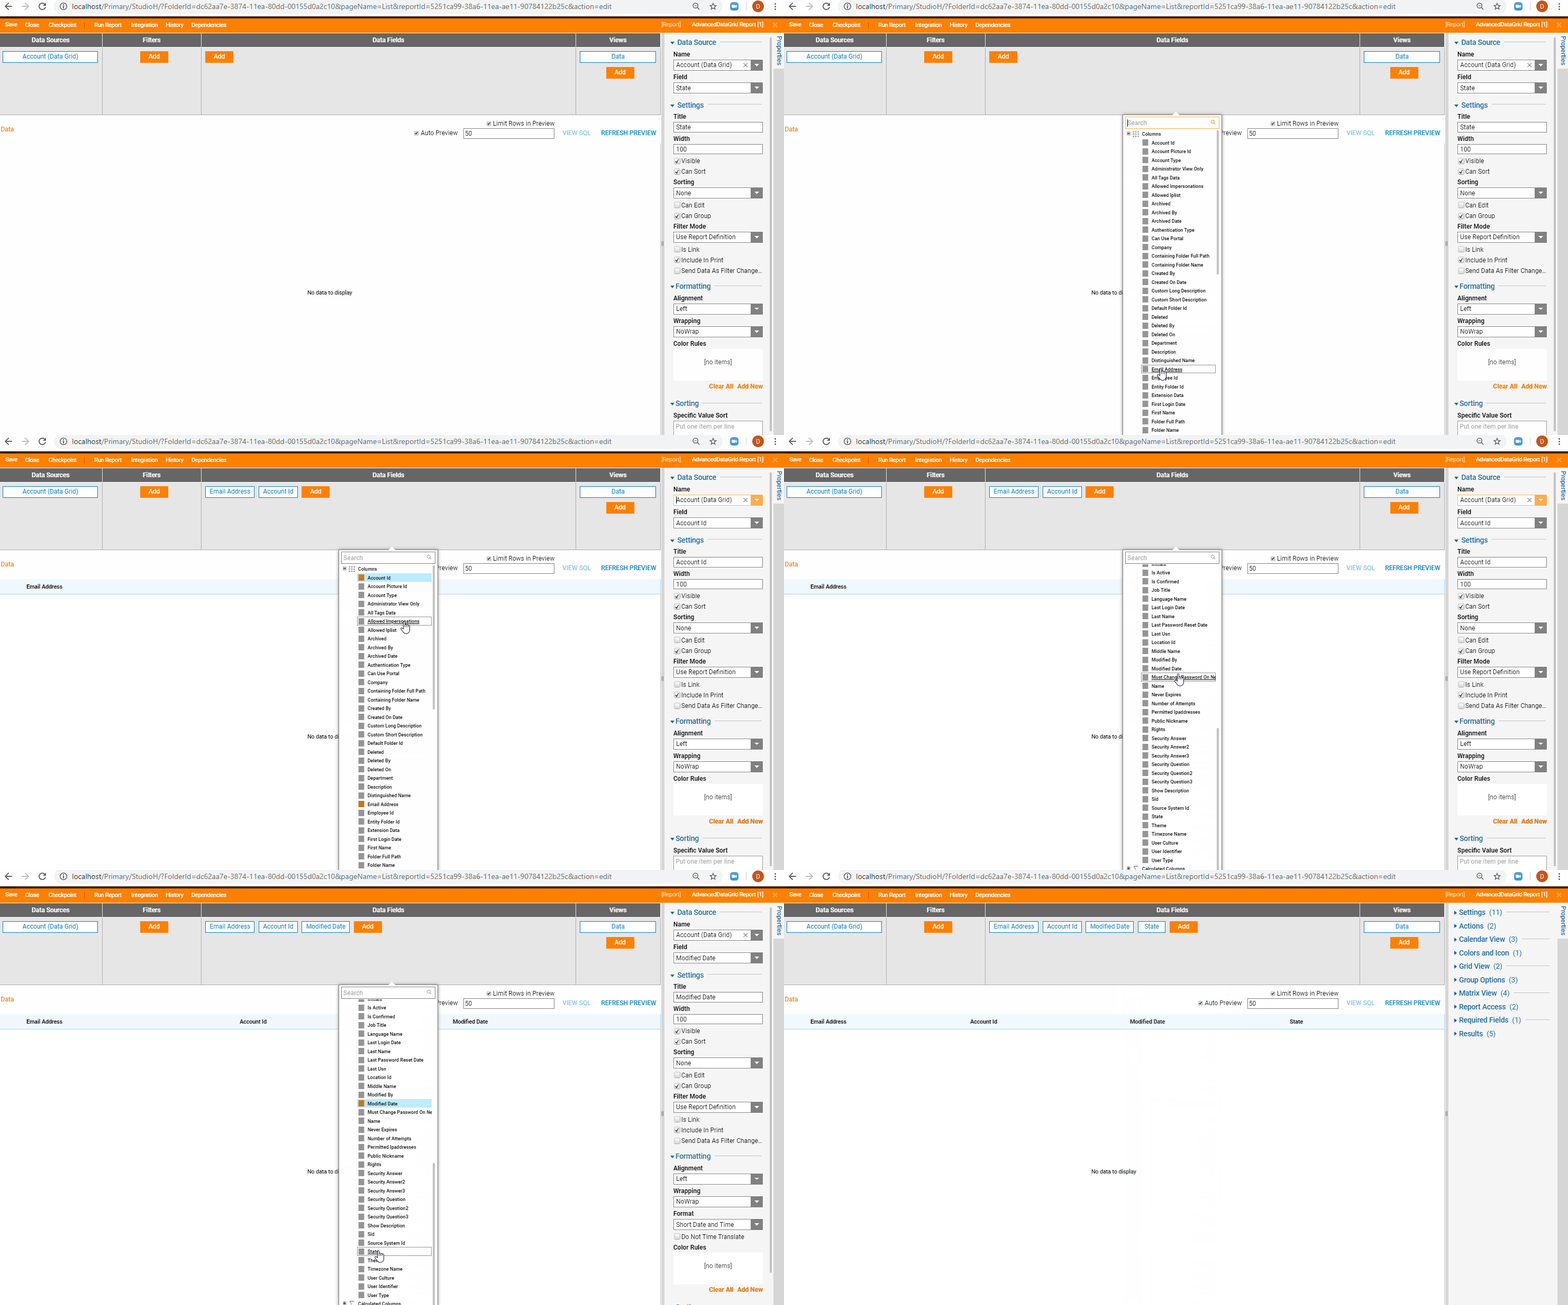
In the Form Designer, follow the GIF below to build a simple form using the Data Grid (Advanced) Form Control. Notice that in the GIF, the first action is to delete the main Grid that is on the Form by default, so that the space it occupies can be used for the Data Grid.
Once the Data Grid is in place, select that Form Control on the Form itself to populate the Properties for this component on the right. Locate the Type dropdown and use the All/Search button to find the Account [DecisionsFramework] type, an example is shown in the GIF below. The Data Grid has produced a Source Report that can be modified. Once the Form is complete as shown, select the Edit button under the Source Report to enter the Report Designer.
In the Report Designer, the Data Source is already populated with the Type that was selected in the Properties for the Advanced Data Grid. Select the Add button under the Data Fields section and check the box for Email Address, Account ID, Modified Date, and State. Once this is complete, save and close the Report Designer and the Form Designer.
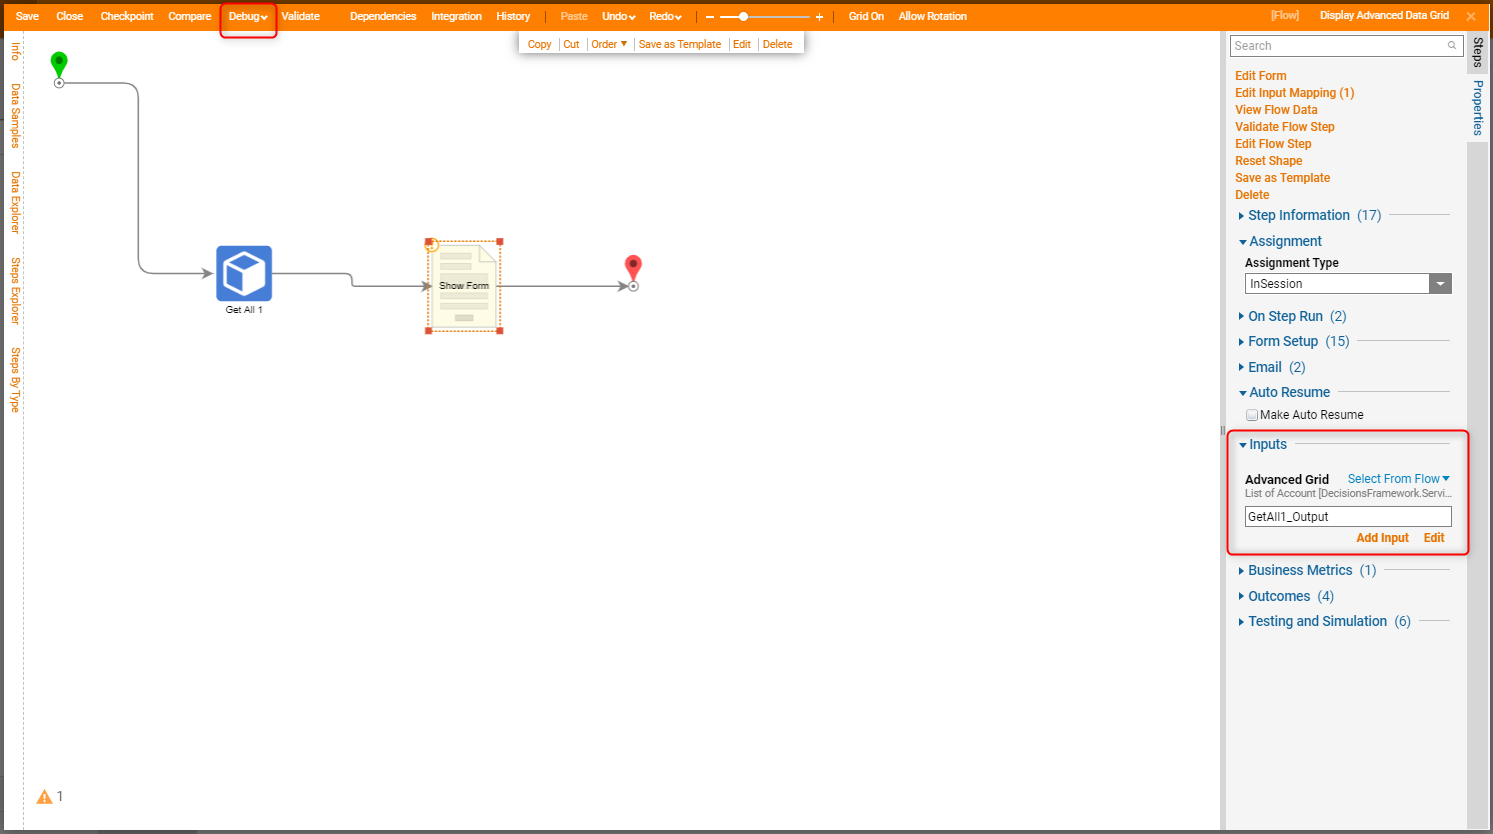
Back in the Flow Designer, connect the OK path from the Show Form step to the End step. Select the Show Form step and in the Properties panel, change the Unknown mapping type to Select From Flow, for the Advanced Grid value then choose the GetAll Output to be mapped as the value for Advanced Grid. Once this is complete, select the Debug button from the top Action Bar in the Flow Designer.
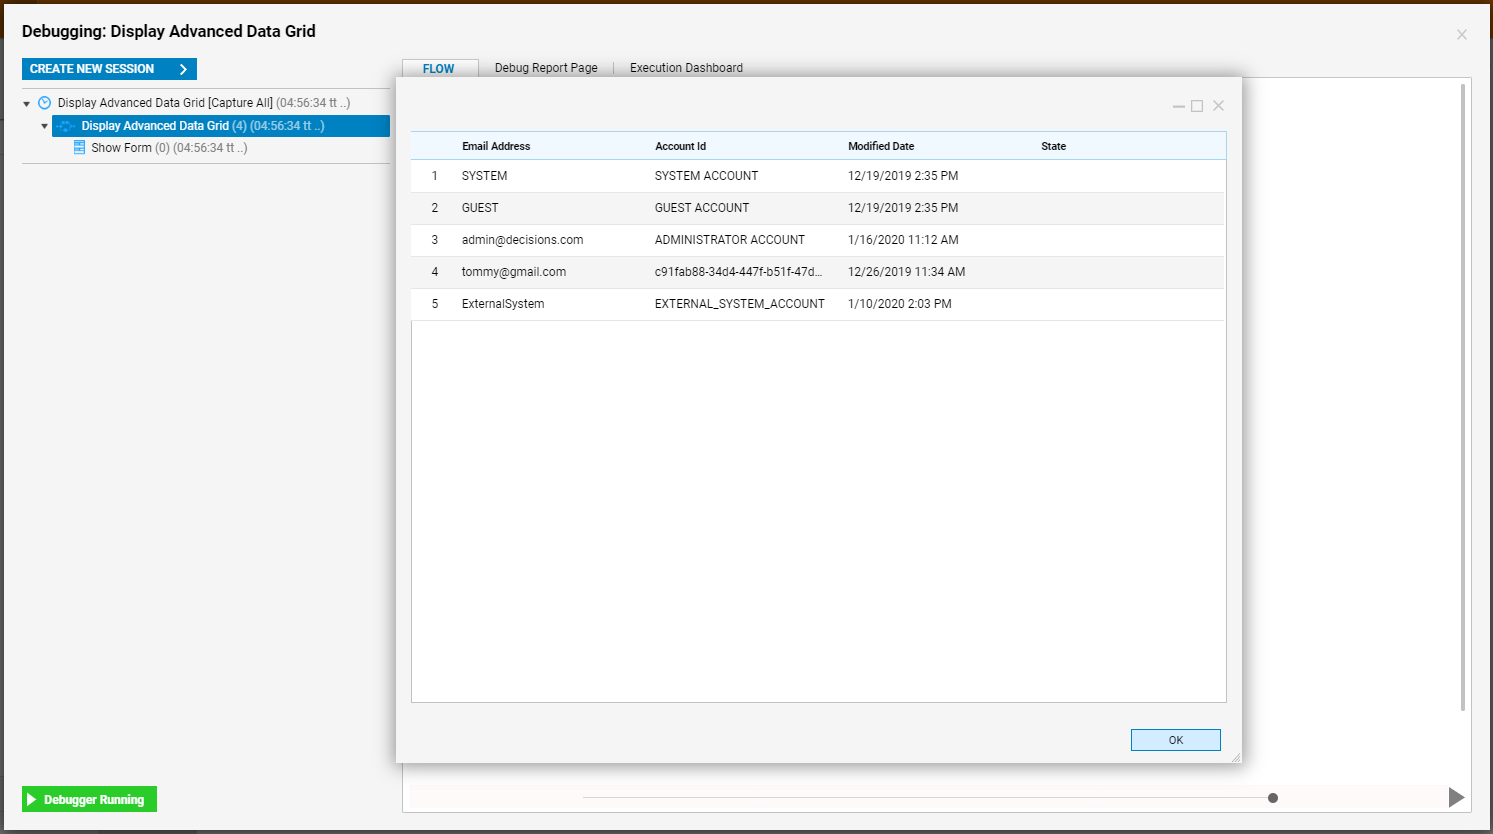
When the Flow runs in the Debugger, the Advanced Data Grid should show the list of accounts with the appropriate Data Fields sourced from the previously created Report.