Overview
This tutorial demonstrates how to dynamically change data on the Form with a simple Data Flow. Data Flows are like “Helper Flows” that may be triggered by some Form events and change data on the Form.
Example
In this example, create a simple Flow with a Form on it. The Form will have a Data Grid component displaying all Accounts in the System. When a user changes selection on the Data Grid component trigger a Data Flow that will be using selected Data Grid row and outputting selected Account’s Email Address on the Form.
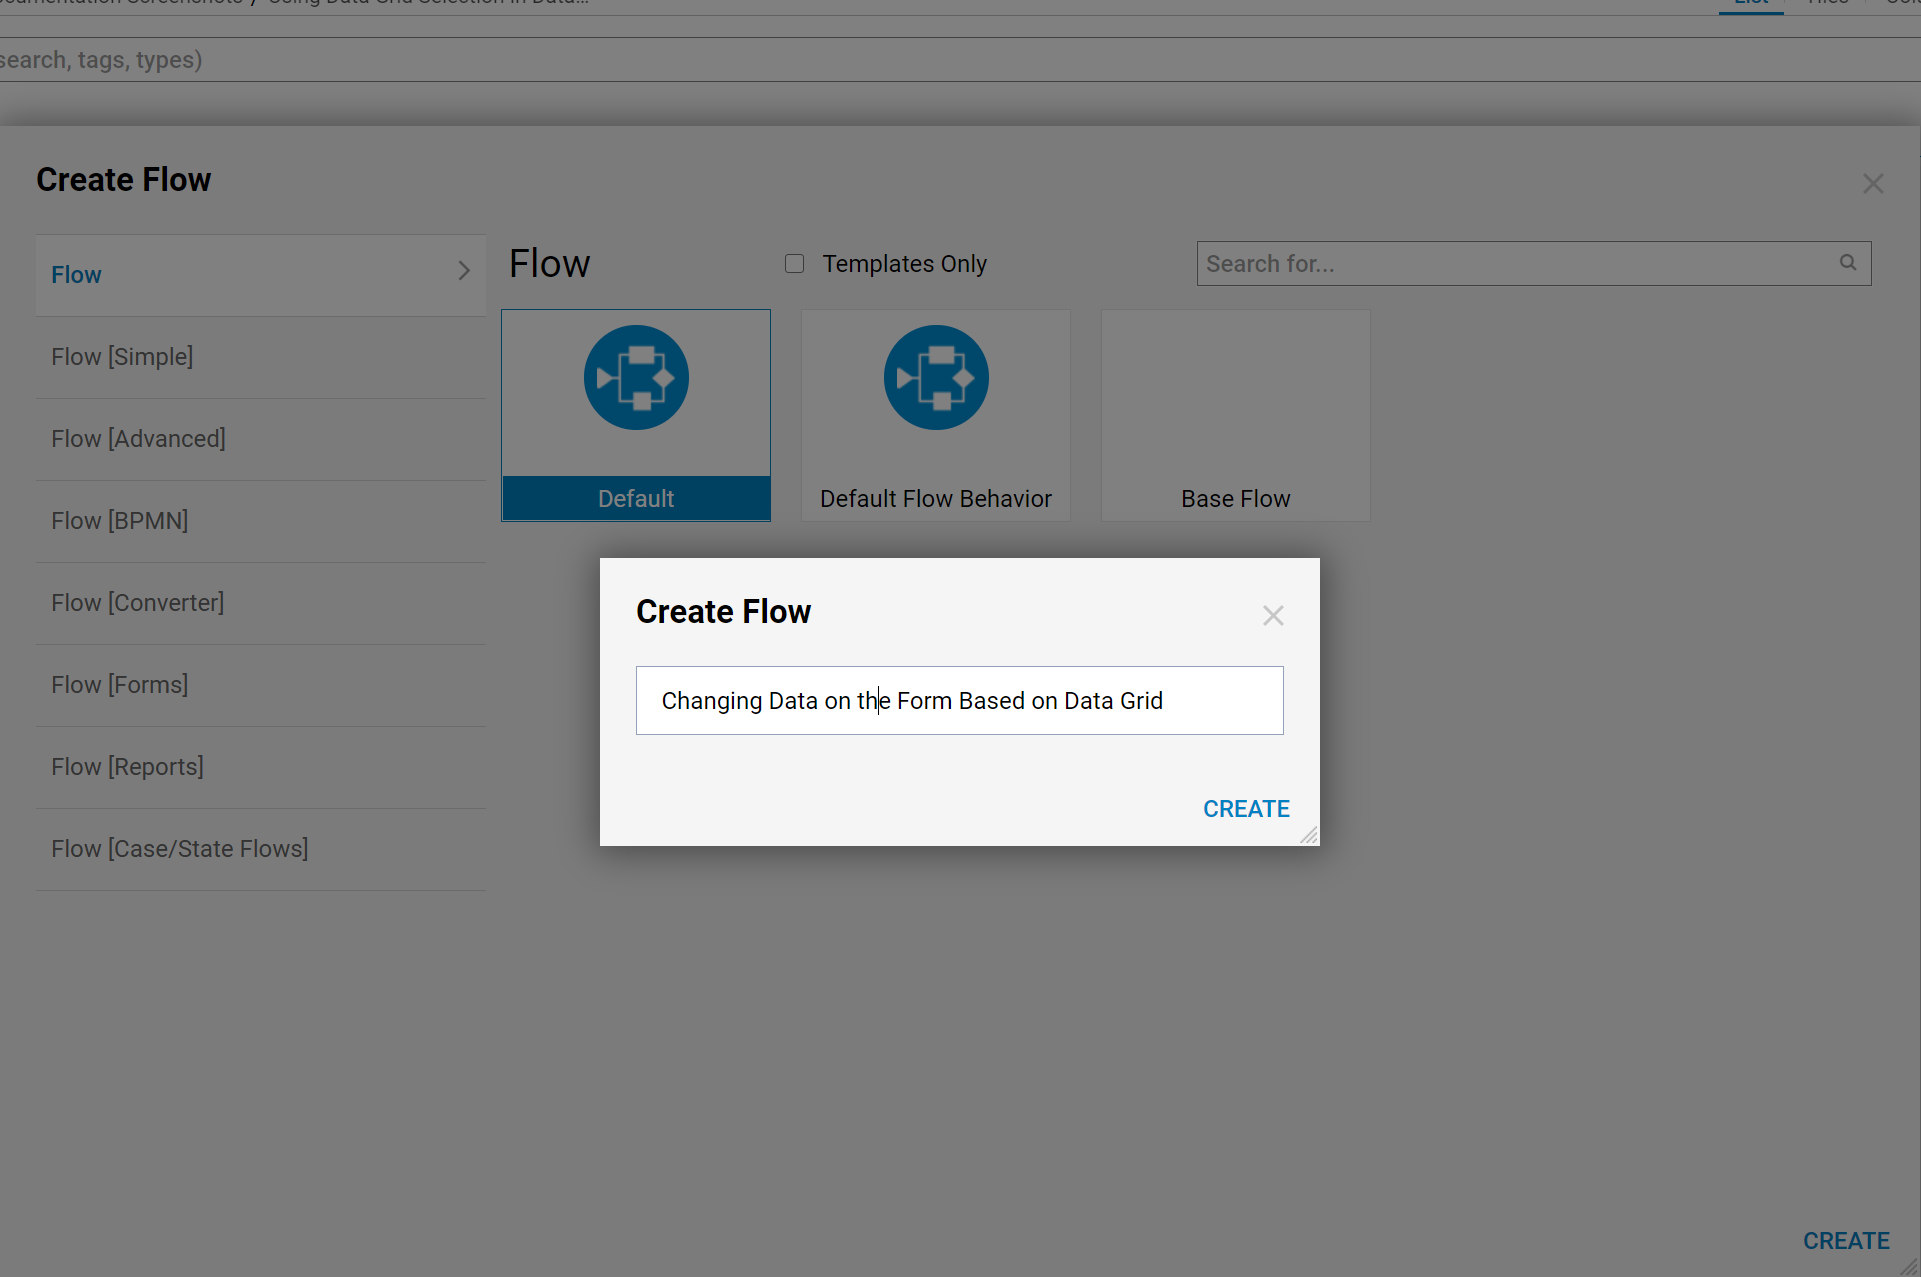
Begin in the Designer Folder with selecting Create Flow in the bottom folder action panel.

Then, name the Flow and click 'Create' to proceed to the Flow Designer.
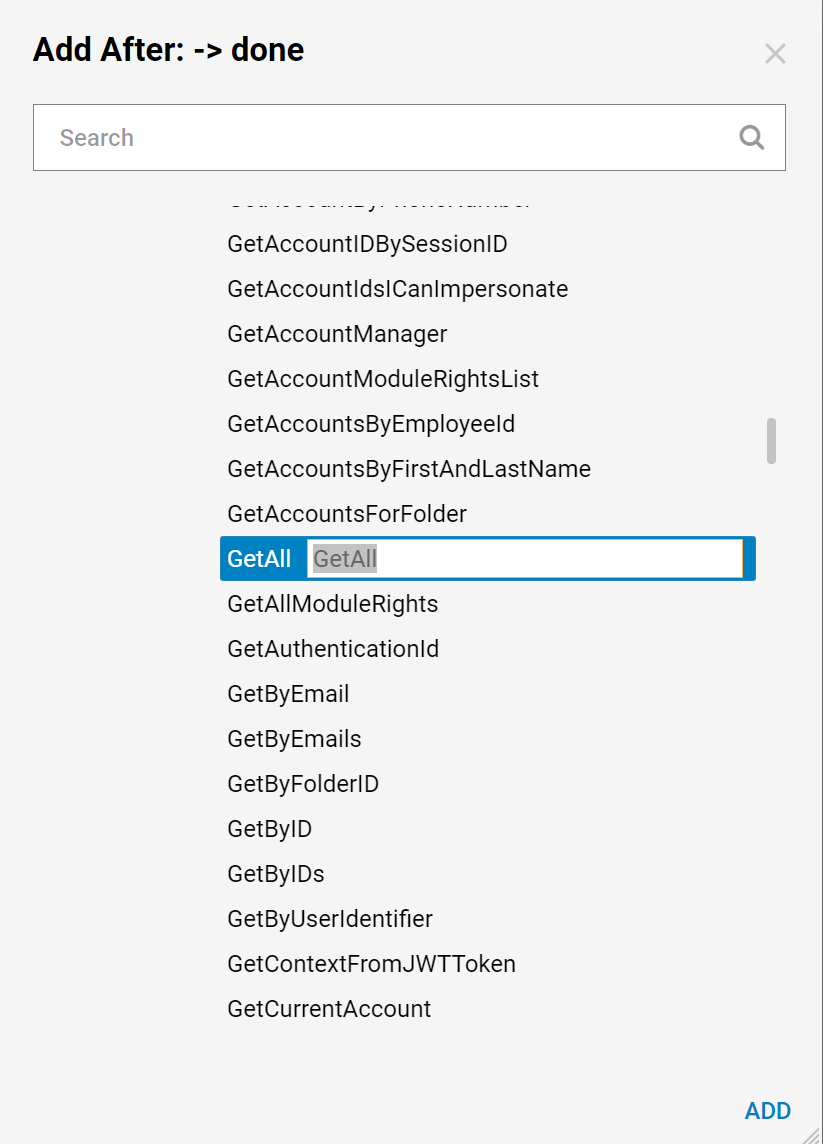
As mentioned before, the Flow will have a Form with Data Grid displaying all Accounts in the System. First, get All Accounts to be available in the Flow. Add Get All step from Integrations > All Integrations > Internal Services > Accounts Service category.
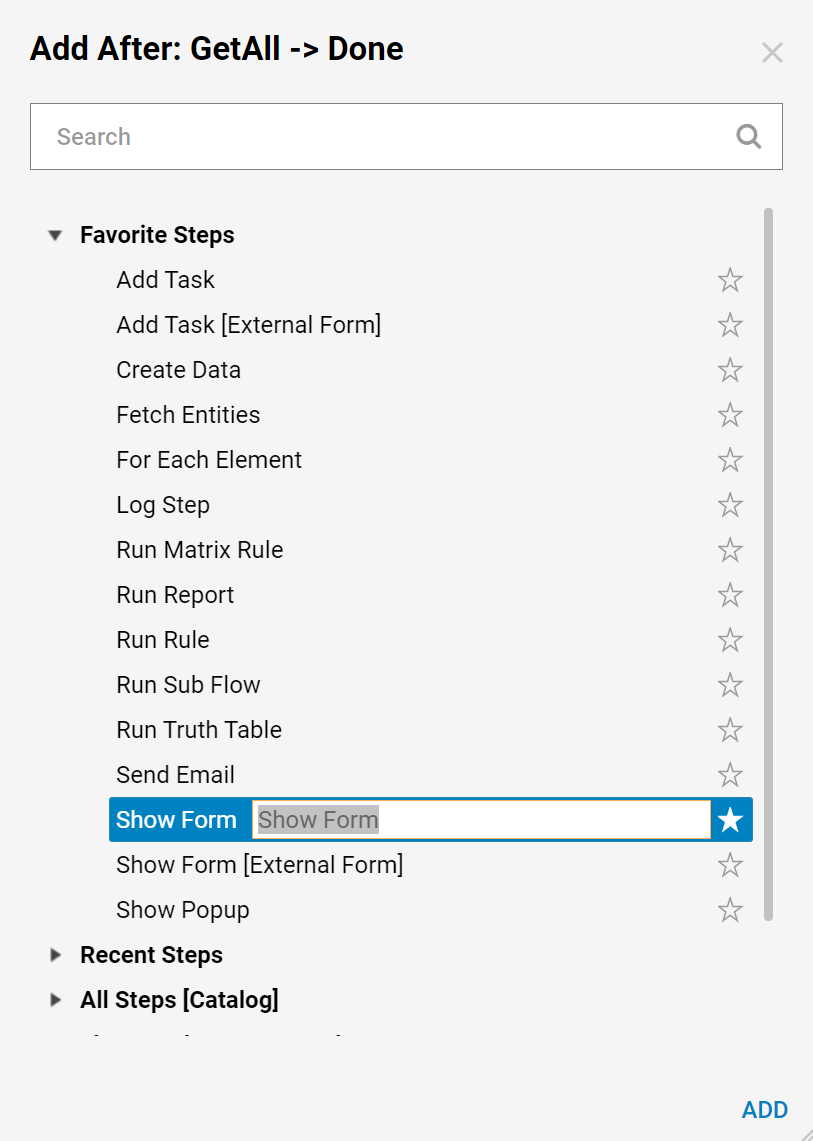
On the Get All step outcome add Show Form step from Favorite Steps category.
In the resulting window, name the Form and select 'Create' to proceed to the Form Designer.
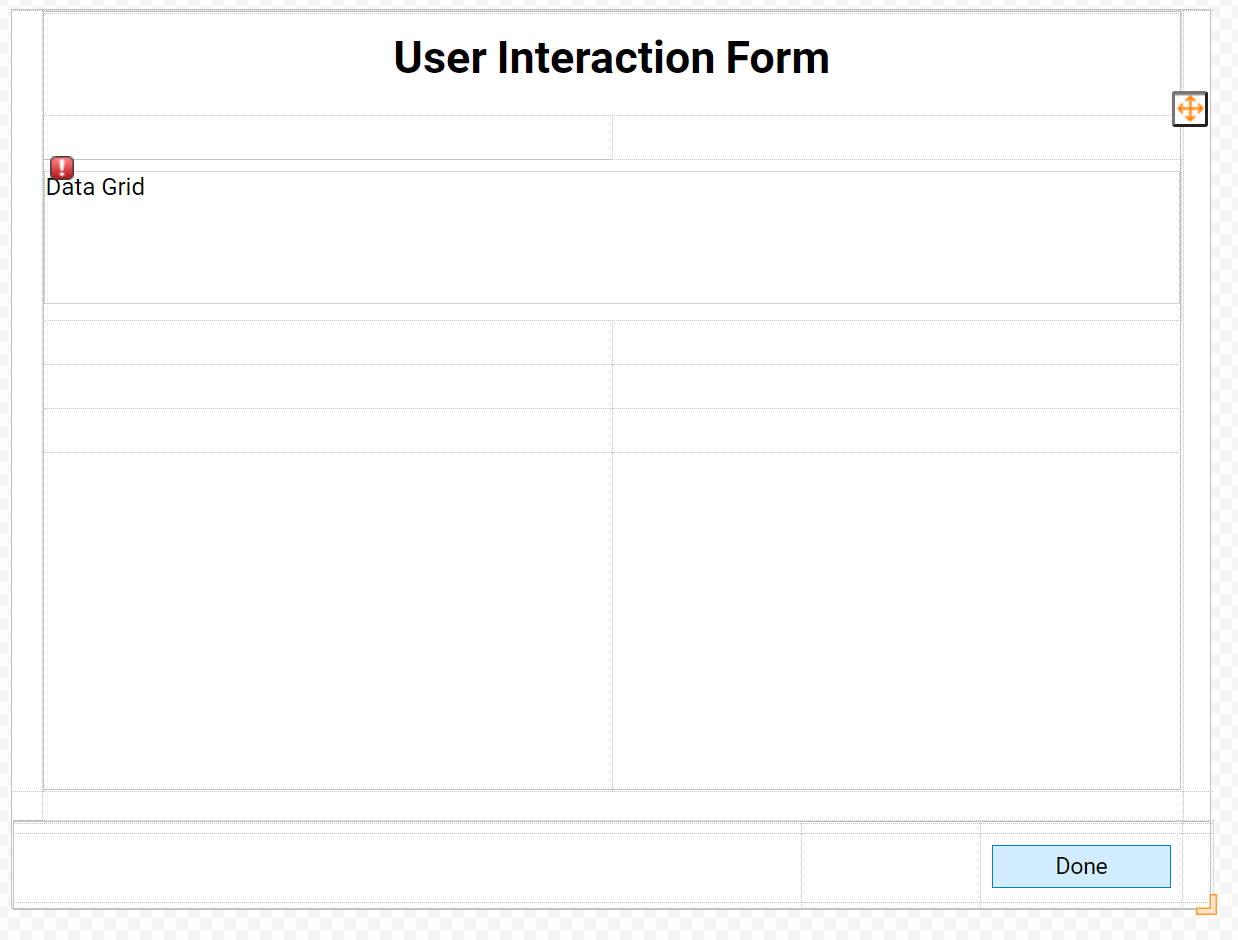
In the Form Designer, add Label component that reflects Form title and Button component for User to be able to submit this Form. Then, add the Data Grid component from Data > Data Grid category in the Form Controls panel.
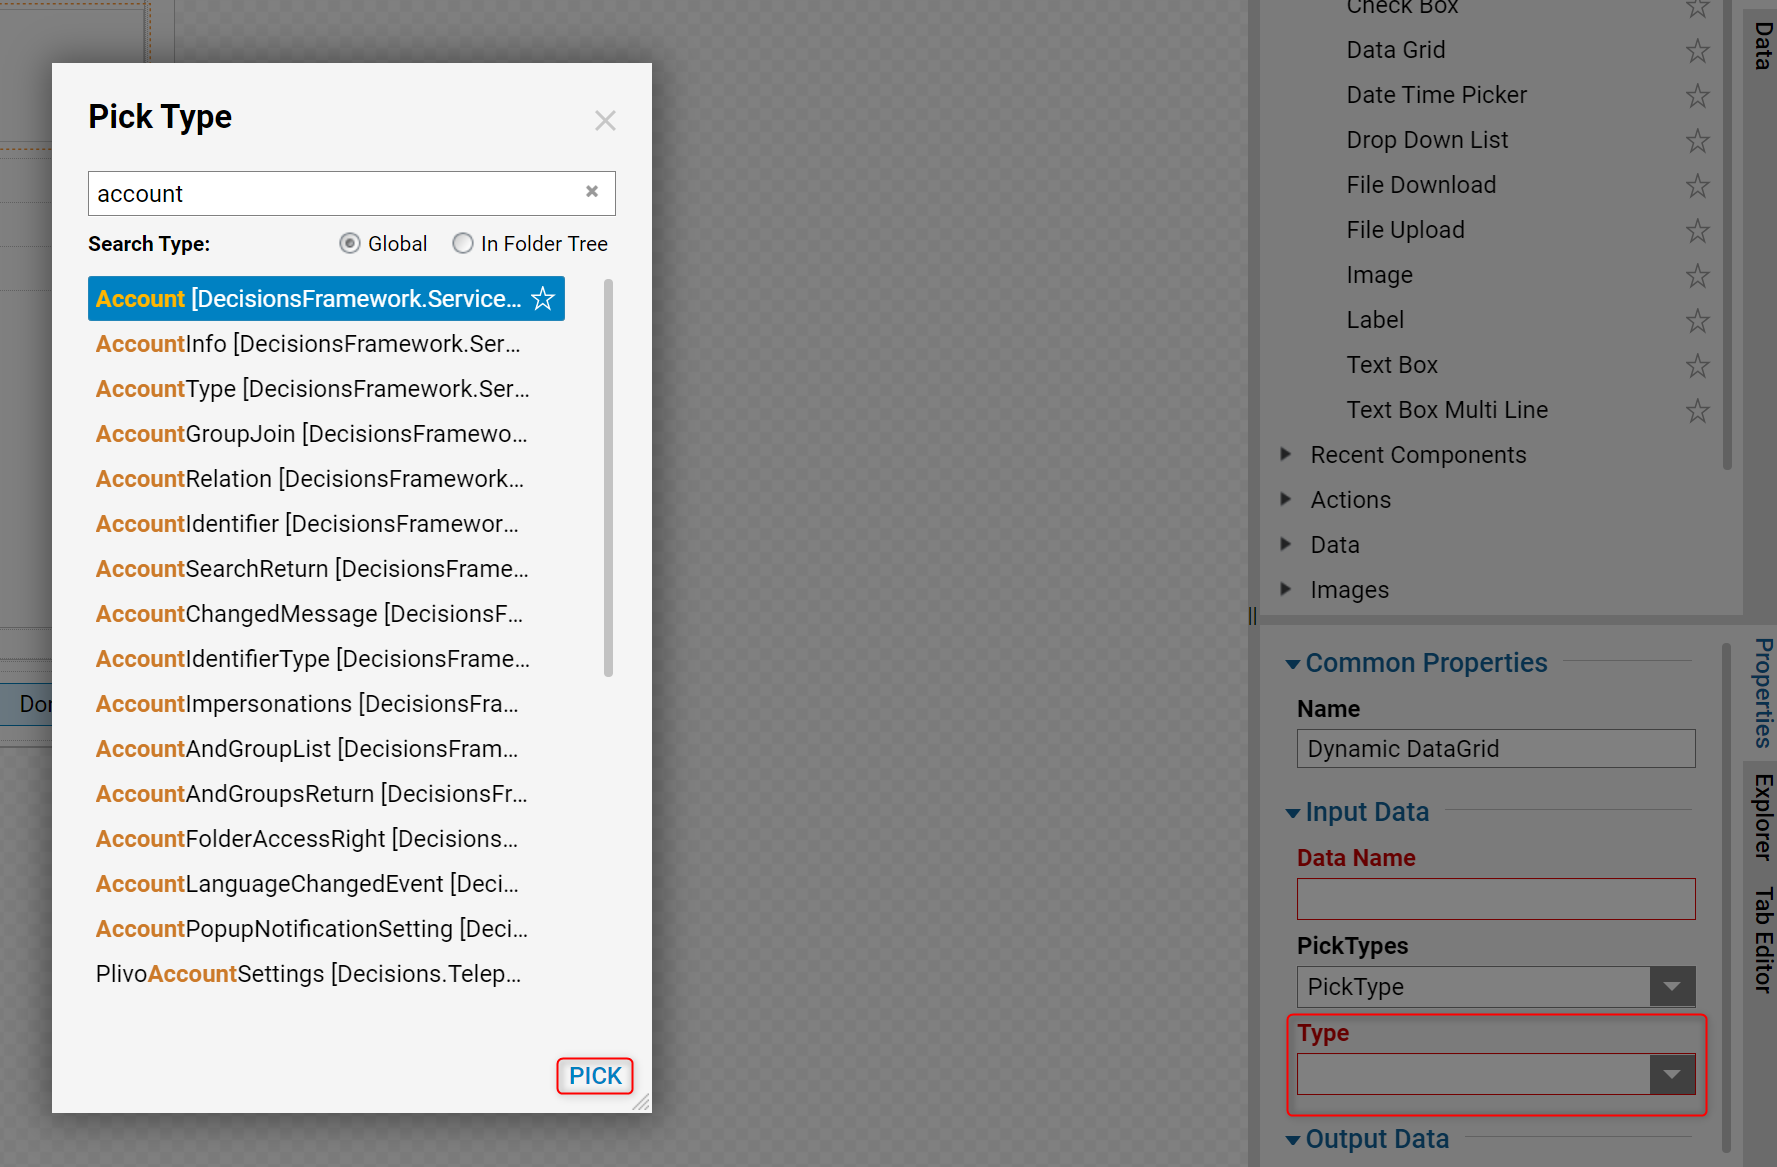
For the Data Grid component locate Input Settings. In the Input Settings, define Data Name and Pick Account Type.
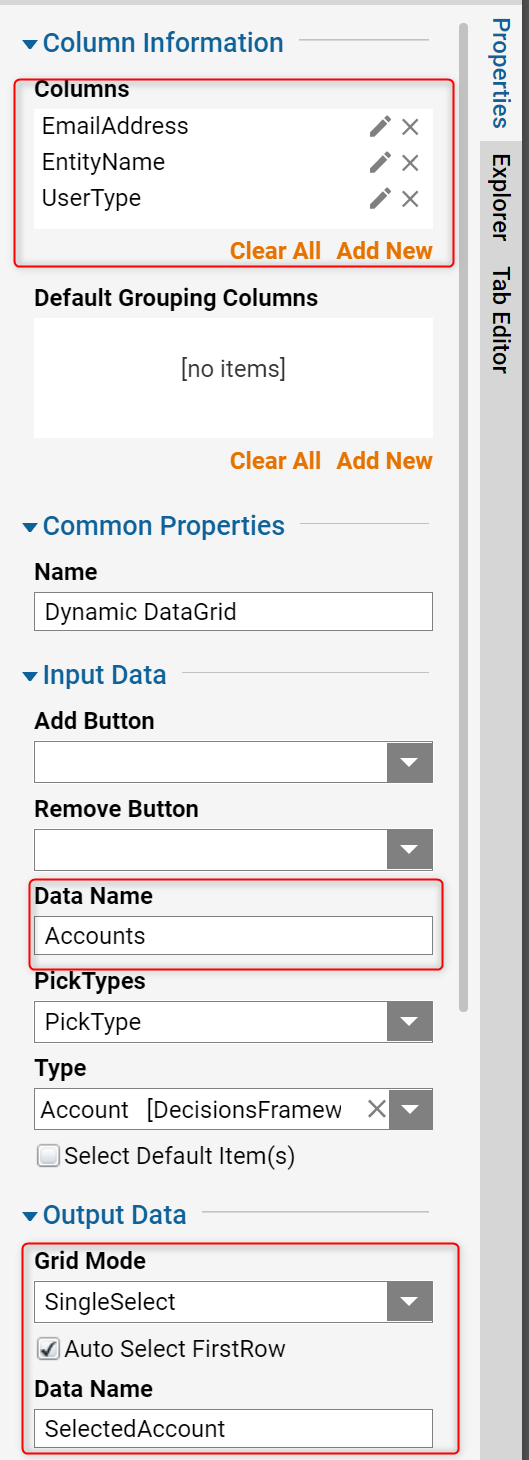
Then, in Column InformationSettings, keep desirable Columns from Account type and delete unnecessary. Next, locate Output DataSettings and define Grid Mode as SingleSelect. Also, provide a Data Name for the Selected row.
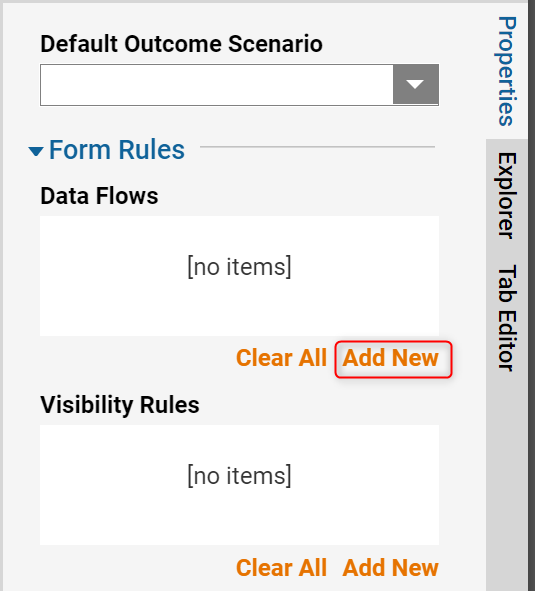
Next, create the Data Flow. Select outside of the Form’s work-space to switch to the Form’s global settings. Then, locate Data Flows in the Form Rules section and select Add New.
In the Add Data Flows window name the Flow Data and select Create under Flow Settings.
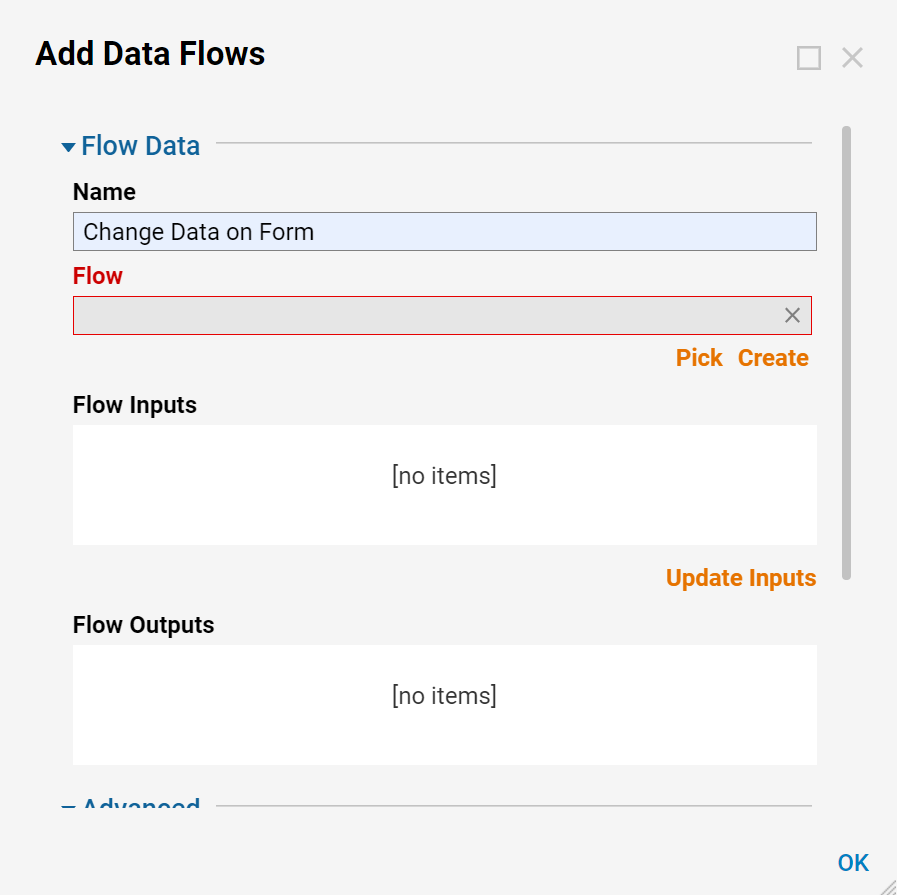
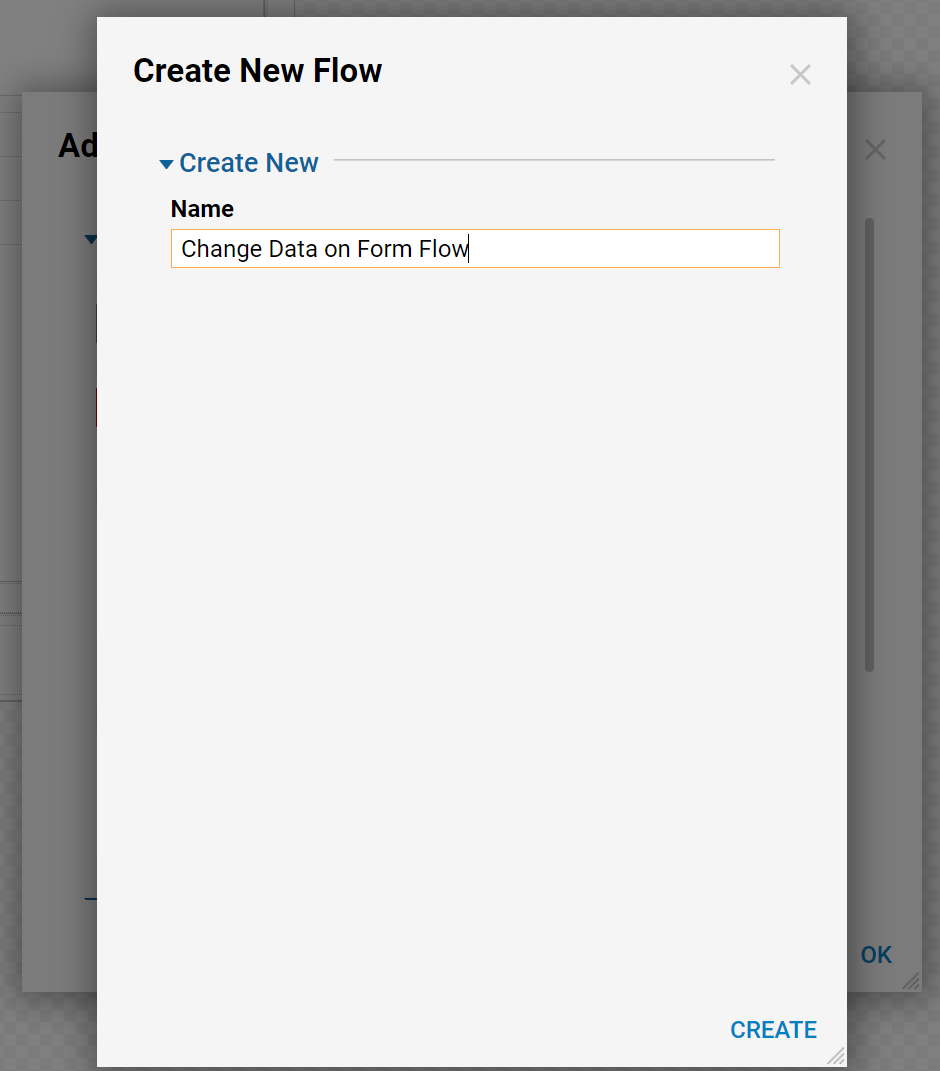
In the resulting window, name the Data Flow and select 'Ok' to proceed to the Flow Designer.
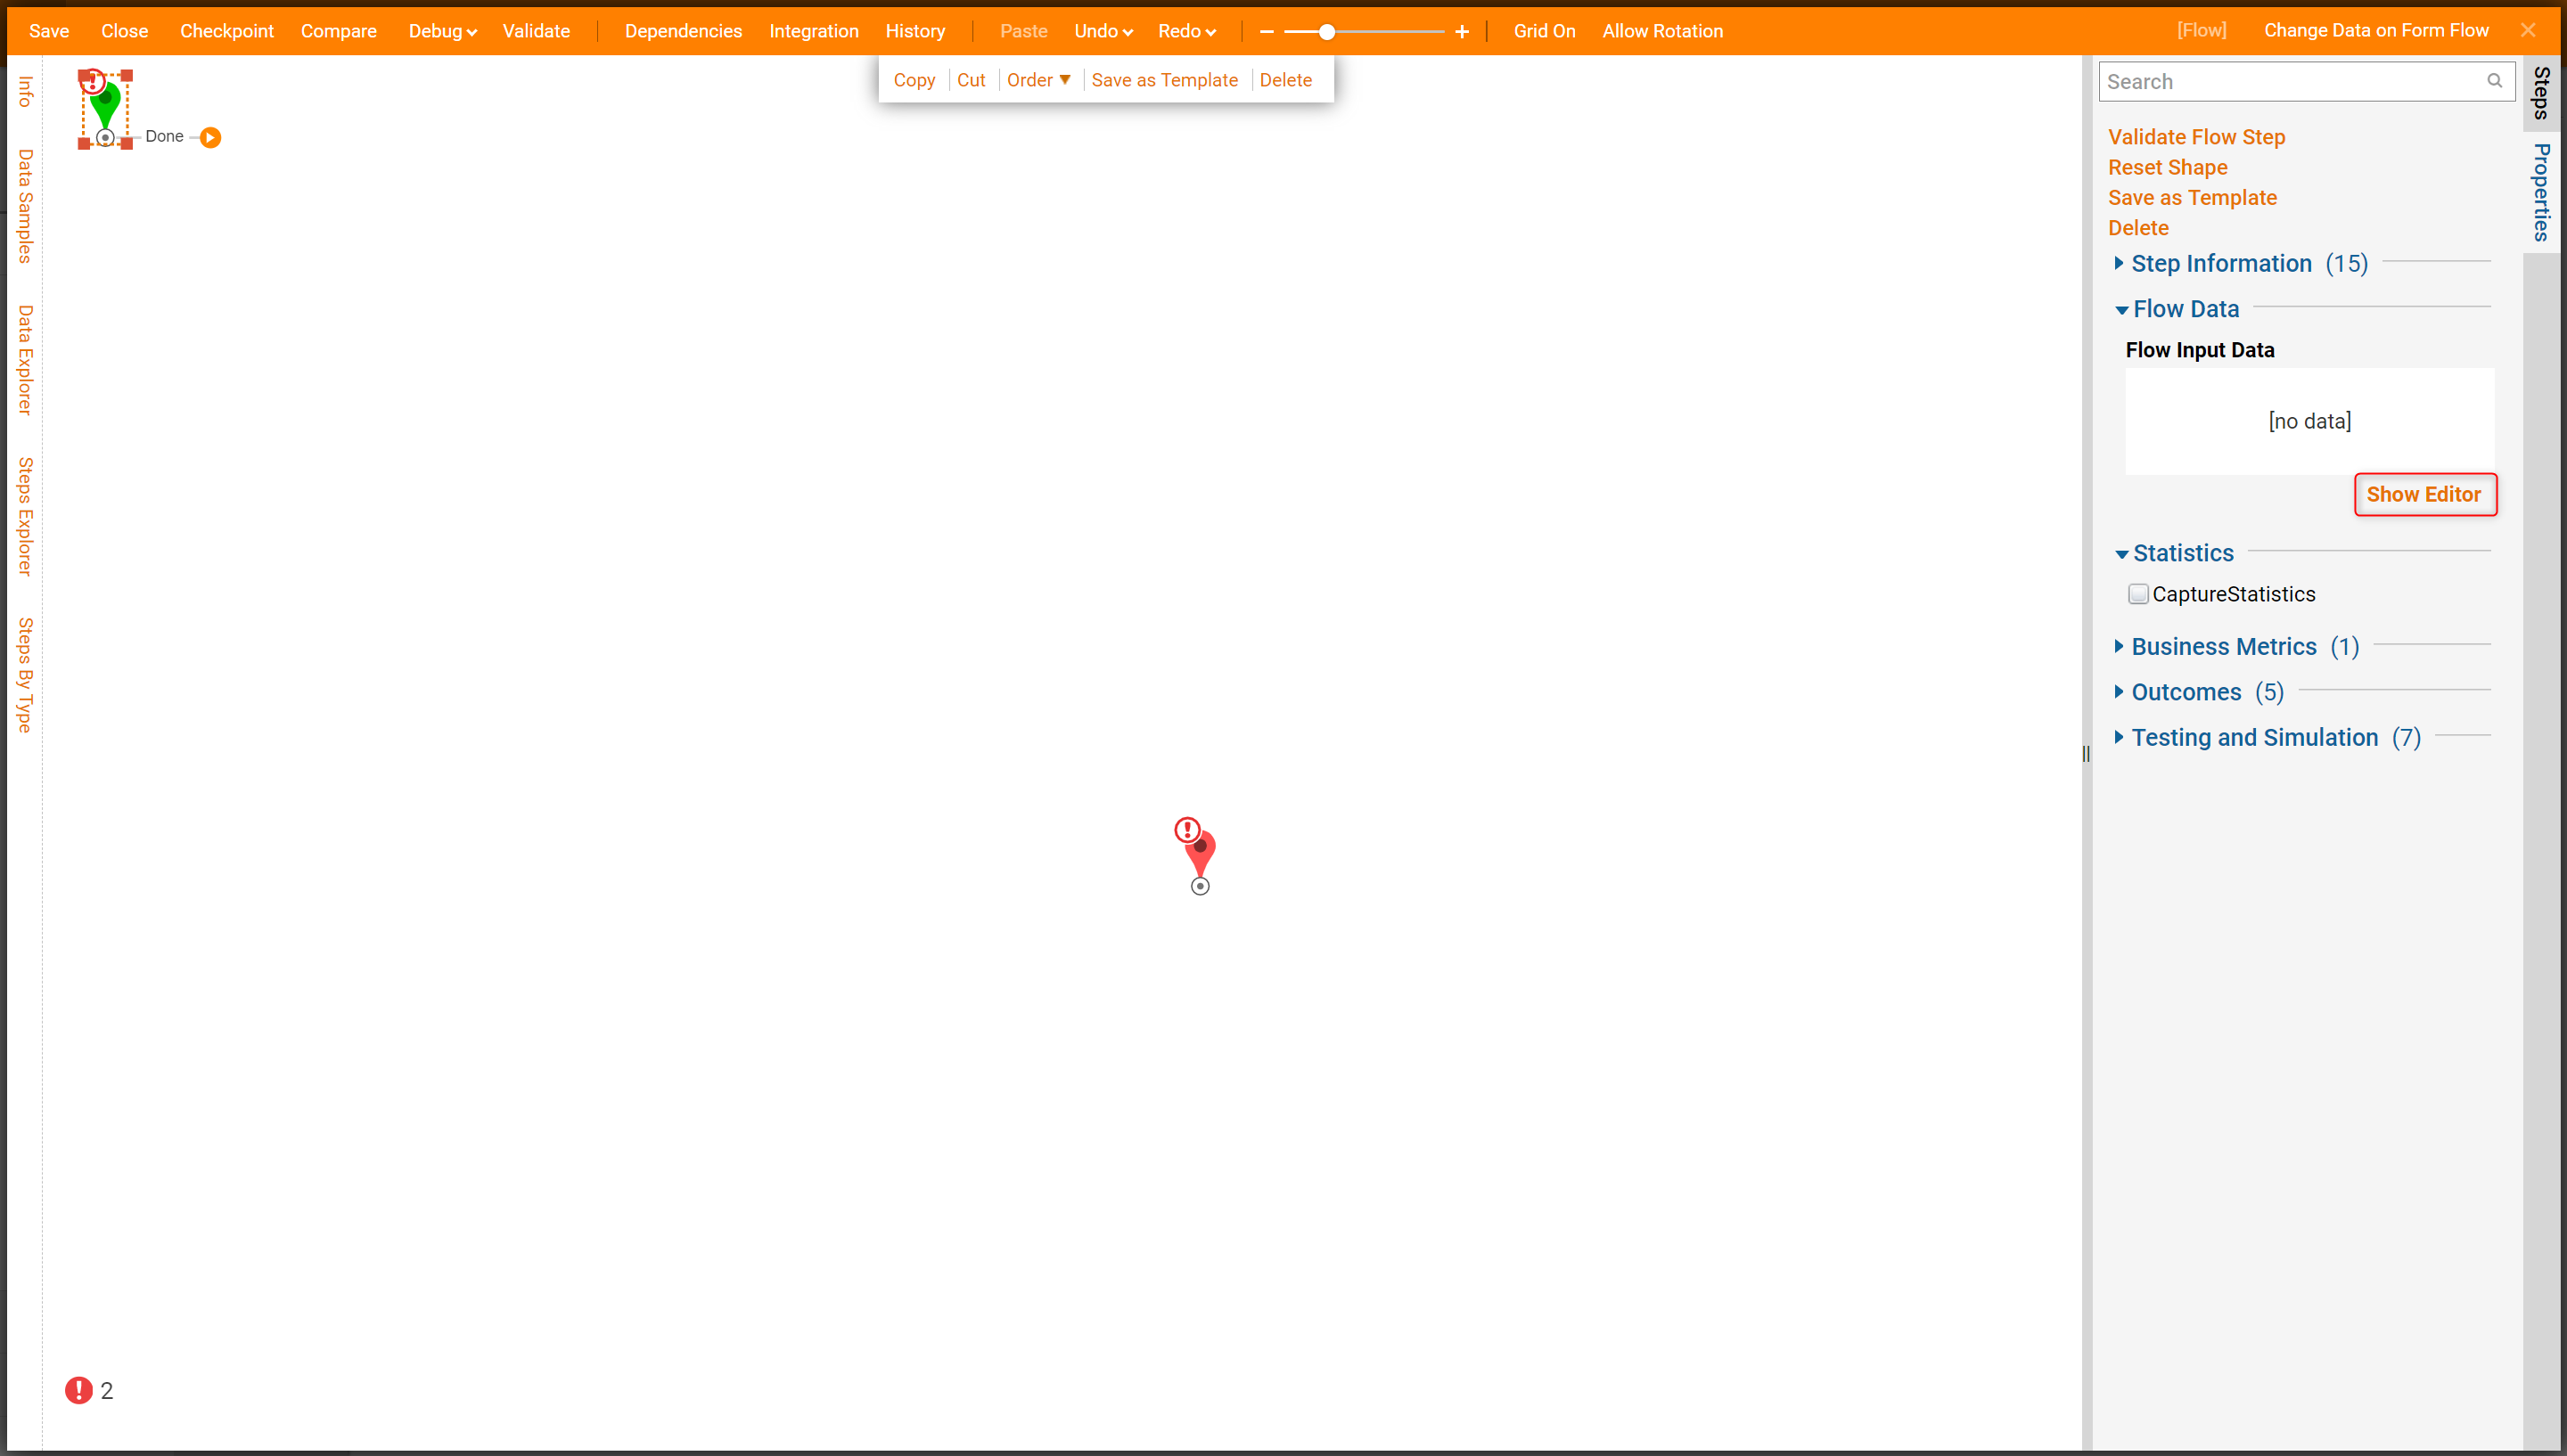
In the Flow Designer select Start step and in the Flow Data settings select Add New Flow Input Data.
In the Add Flow Input Data window name the Input Data and pick Account Type. Then, select CLOSE to save and continue.
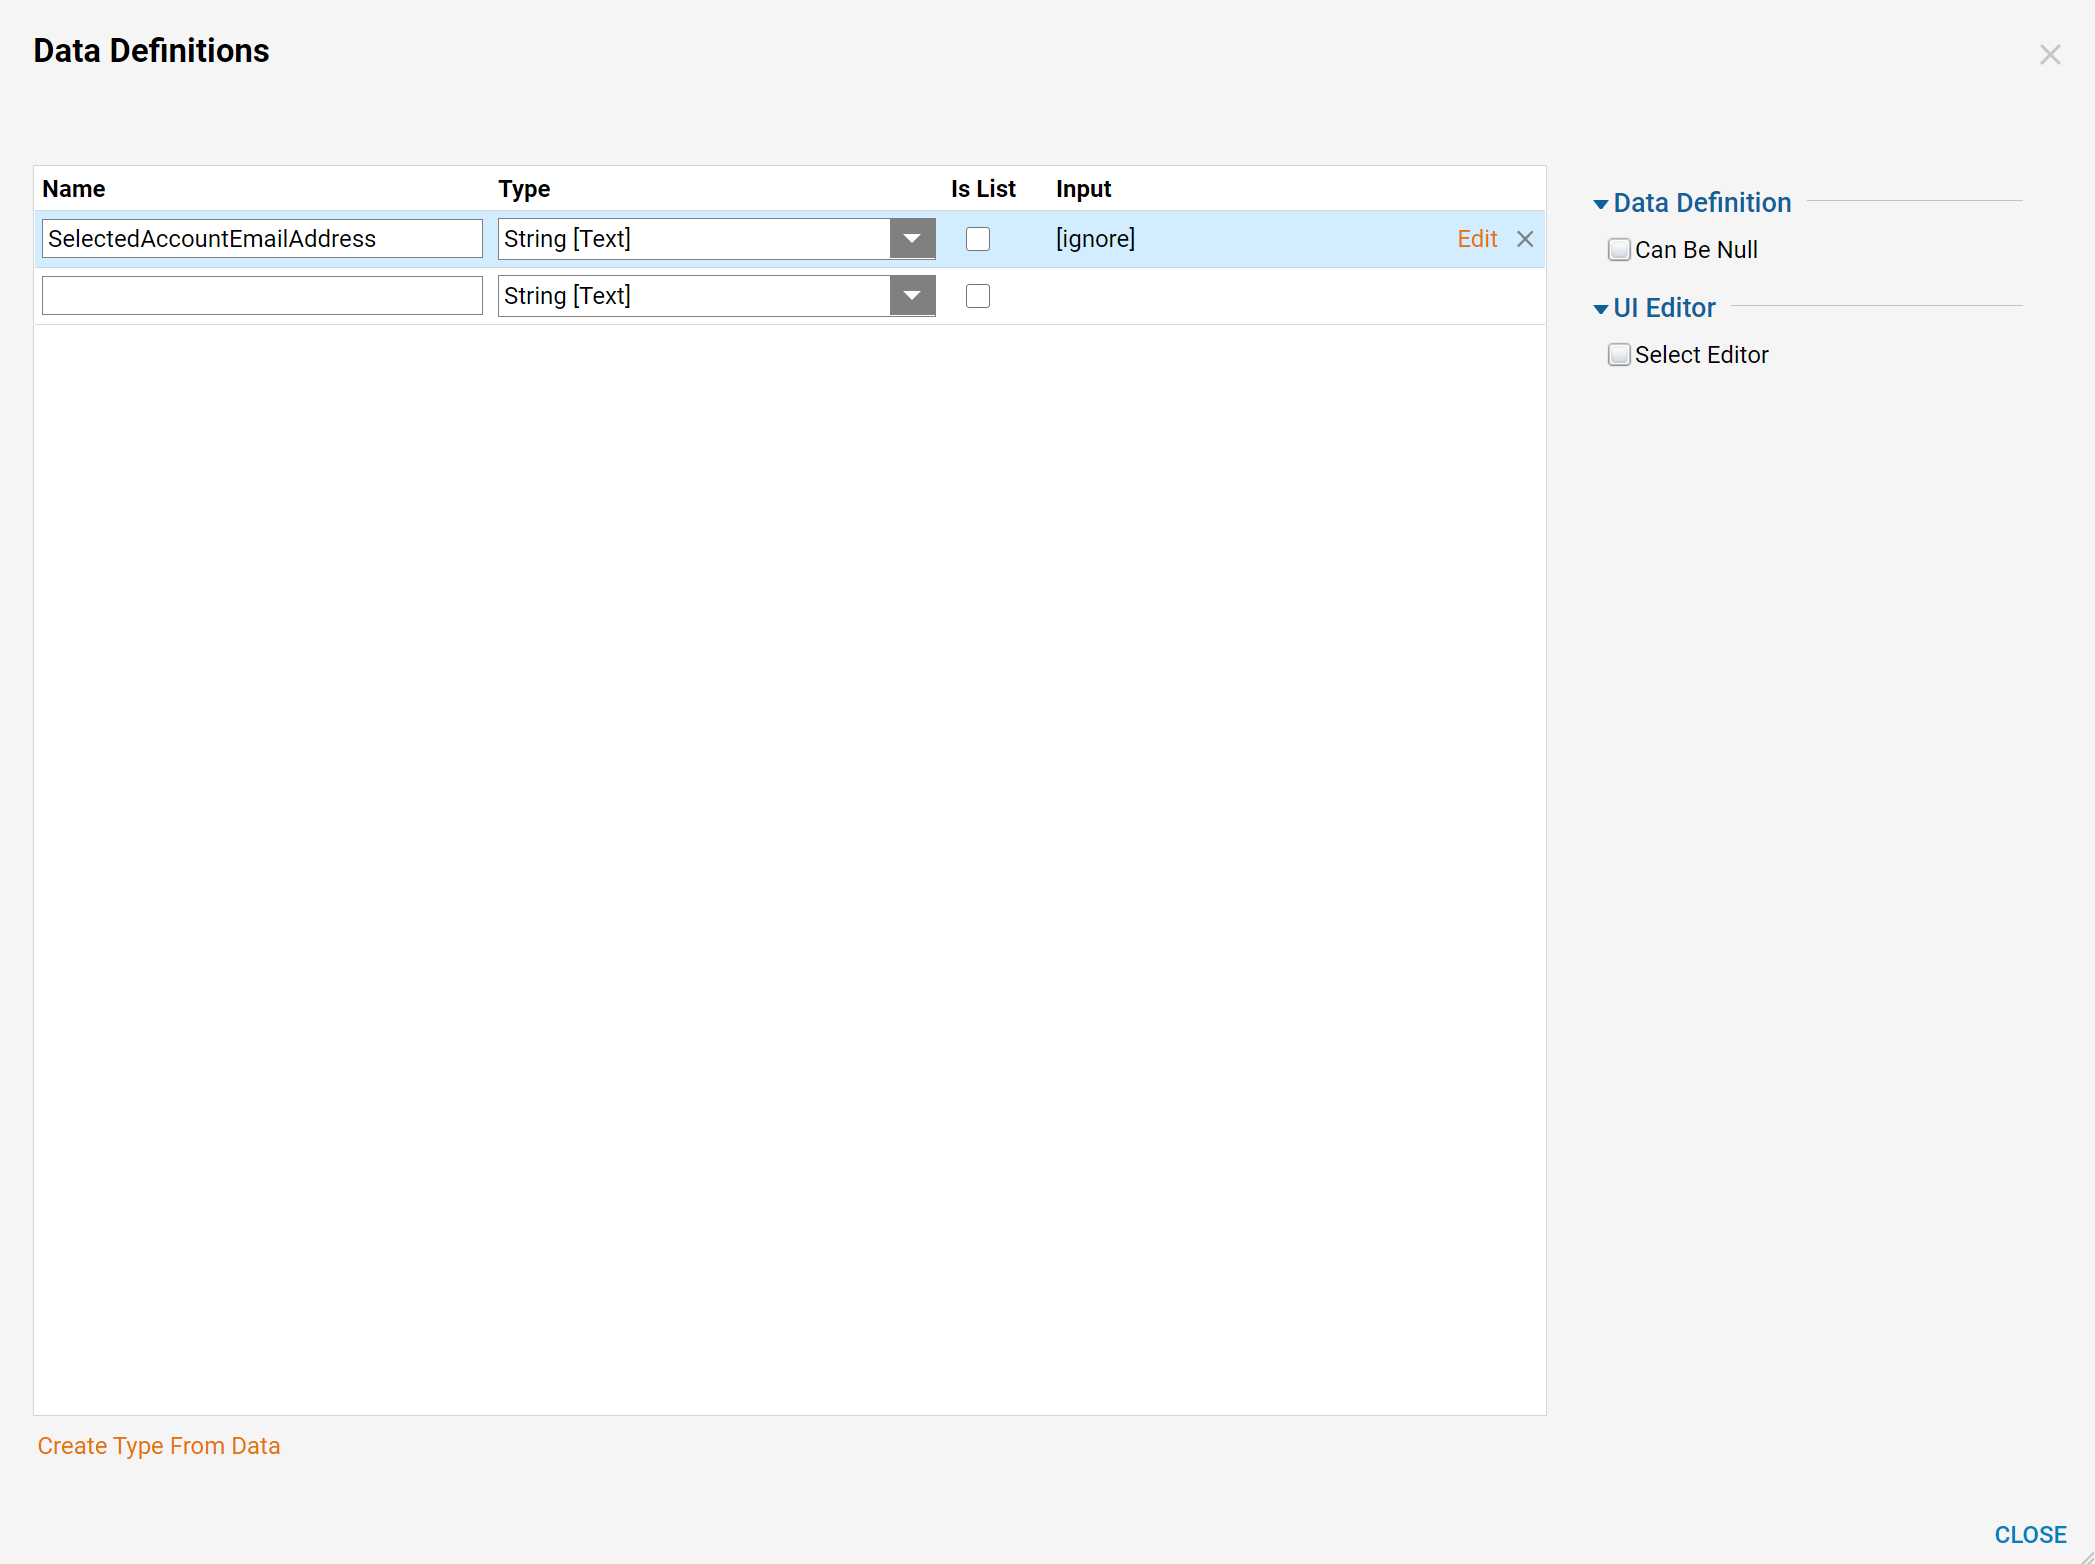
The Flow Input Data is defined and select 'Ok' to close this window and continue.
Then, connect Start step and End step on the work-space, select End step, and select Add New Data in the Output settings for the End step.
In the resulting Add Data window, provide Output data-name in General Information settings, and pick String Data Type in Type Information settings. Then, select 'Ok' to save and close Add Data window.
Back in the Edit End step window, locate Inputs settings, pickSelect Value Mapping Type, and using Path Picker select Email Address field from the Account Flow Input Data that was defined on the Start step in the Flow.
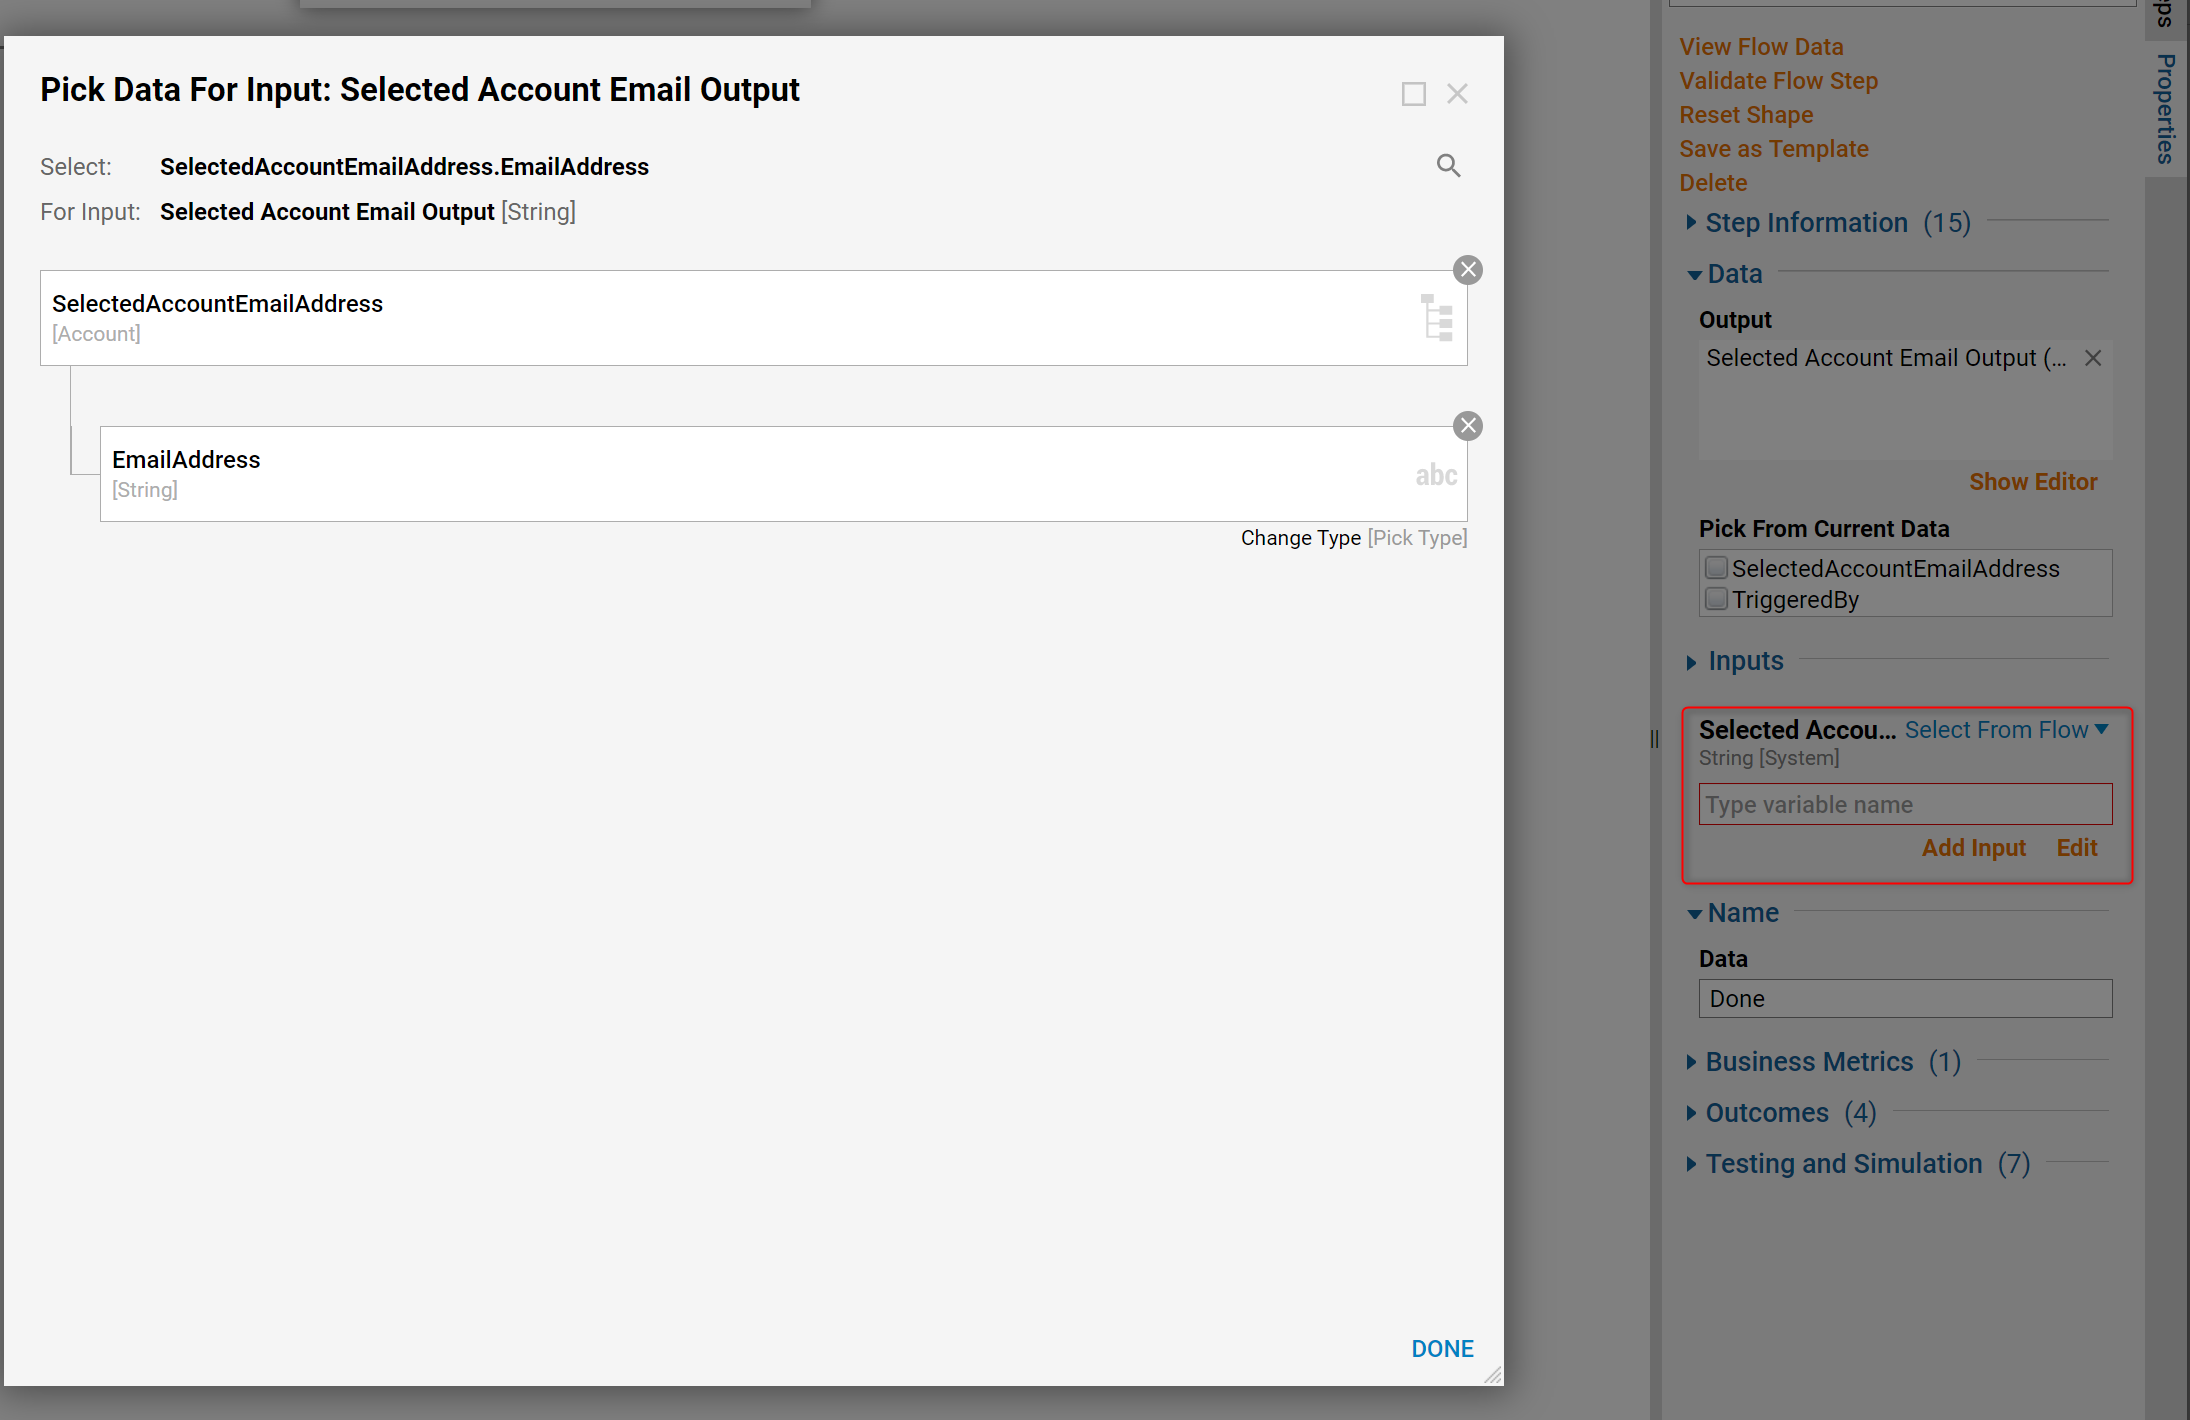
This completes the Data Flow. Save the Flow and close Flow Designer.
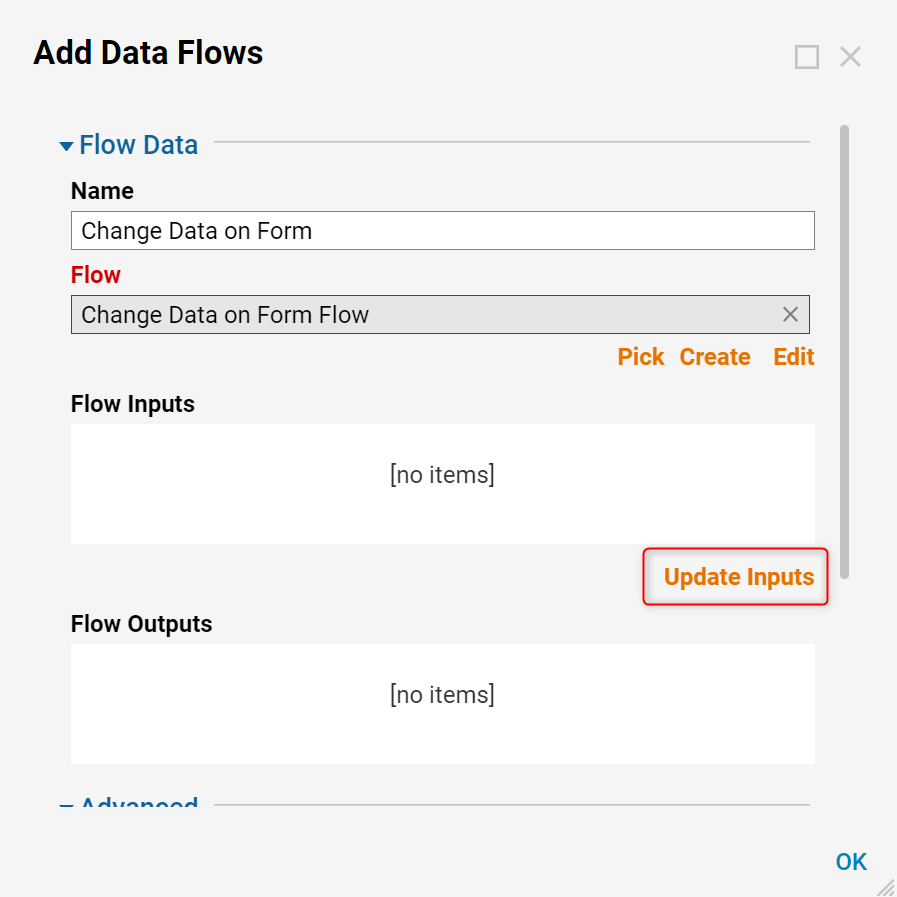
Back in the Add Data Flows window select Update Inputs under Flow Inputs box.
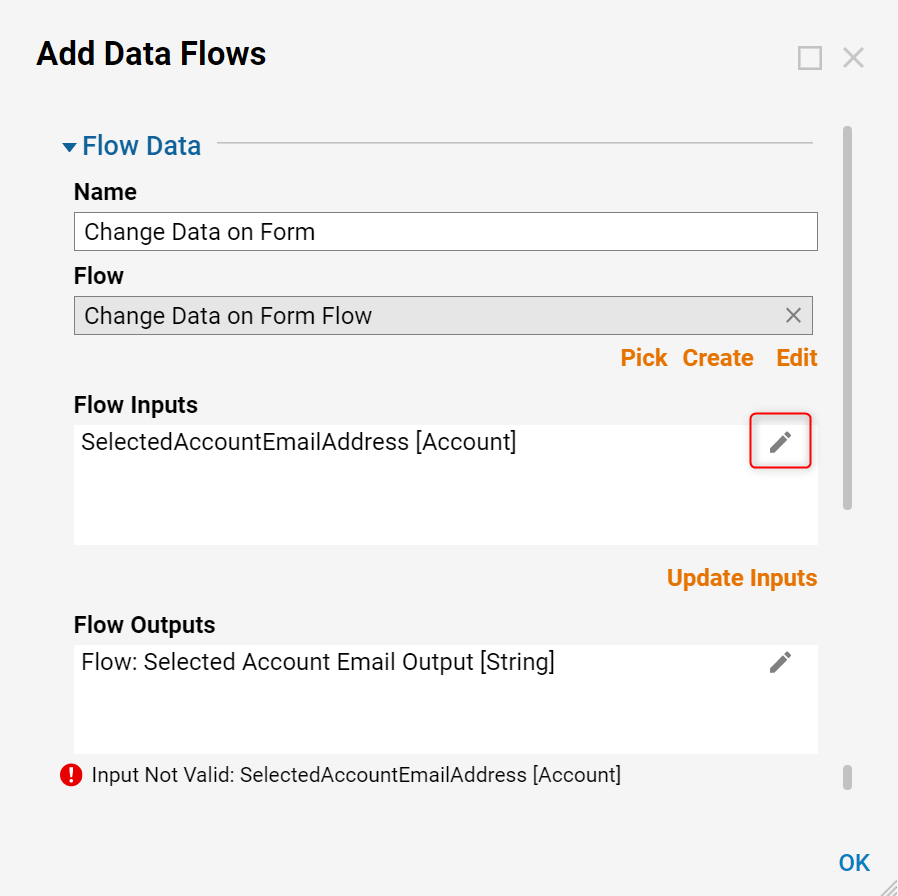
Select selectedAccountFlow Input and select Edit.
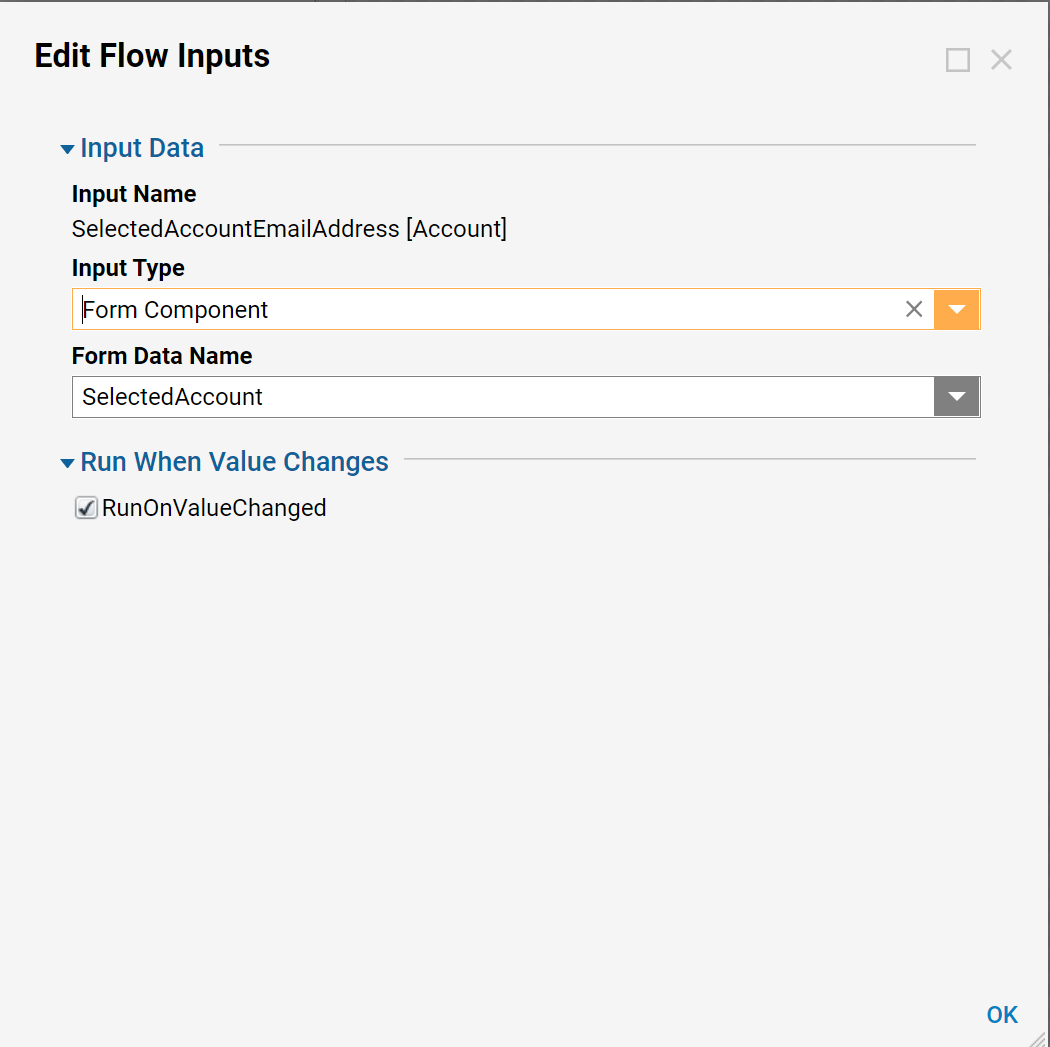
In the Edit Flow Inputs window, pick Form Component Input Type and from the Form Data Name drop-down pick selectedAccount (this is our Data Grid selected Data Name).
Note: When picking a Form Component Input Type, in the Form Data Name drop-down, only Form Components that match the Data Flow Input will show. In this example, because the Data Grid displays a collection of Accounts, a single row represents one Account; this matches the Data Flow Input that requires single Account Input Data.
When finished, select 'Ok' to save and close this window.
Then, pick Dynamic DataGrid: Selection Changed as a Trigger in Advanced settings for the Data Flow. Select 'Ok' to save and close the Data Flow definition window.
Finally, add a dynamic Label to the Form to reflect the selected Account’s Email Address. Add Label Component to the Form. Then, in Common Properties for the Label check Text from Data Name check-box and using Pick From Data link select Flow: selected Account Email Address outcome from the Data Flow.
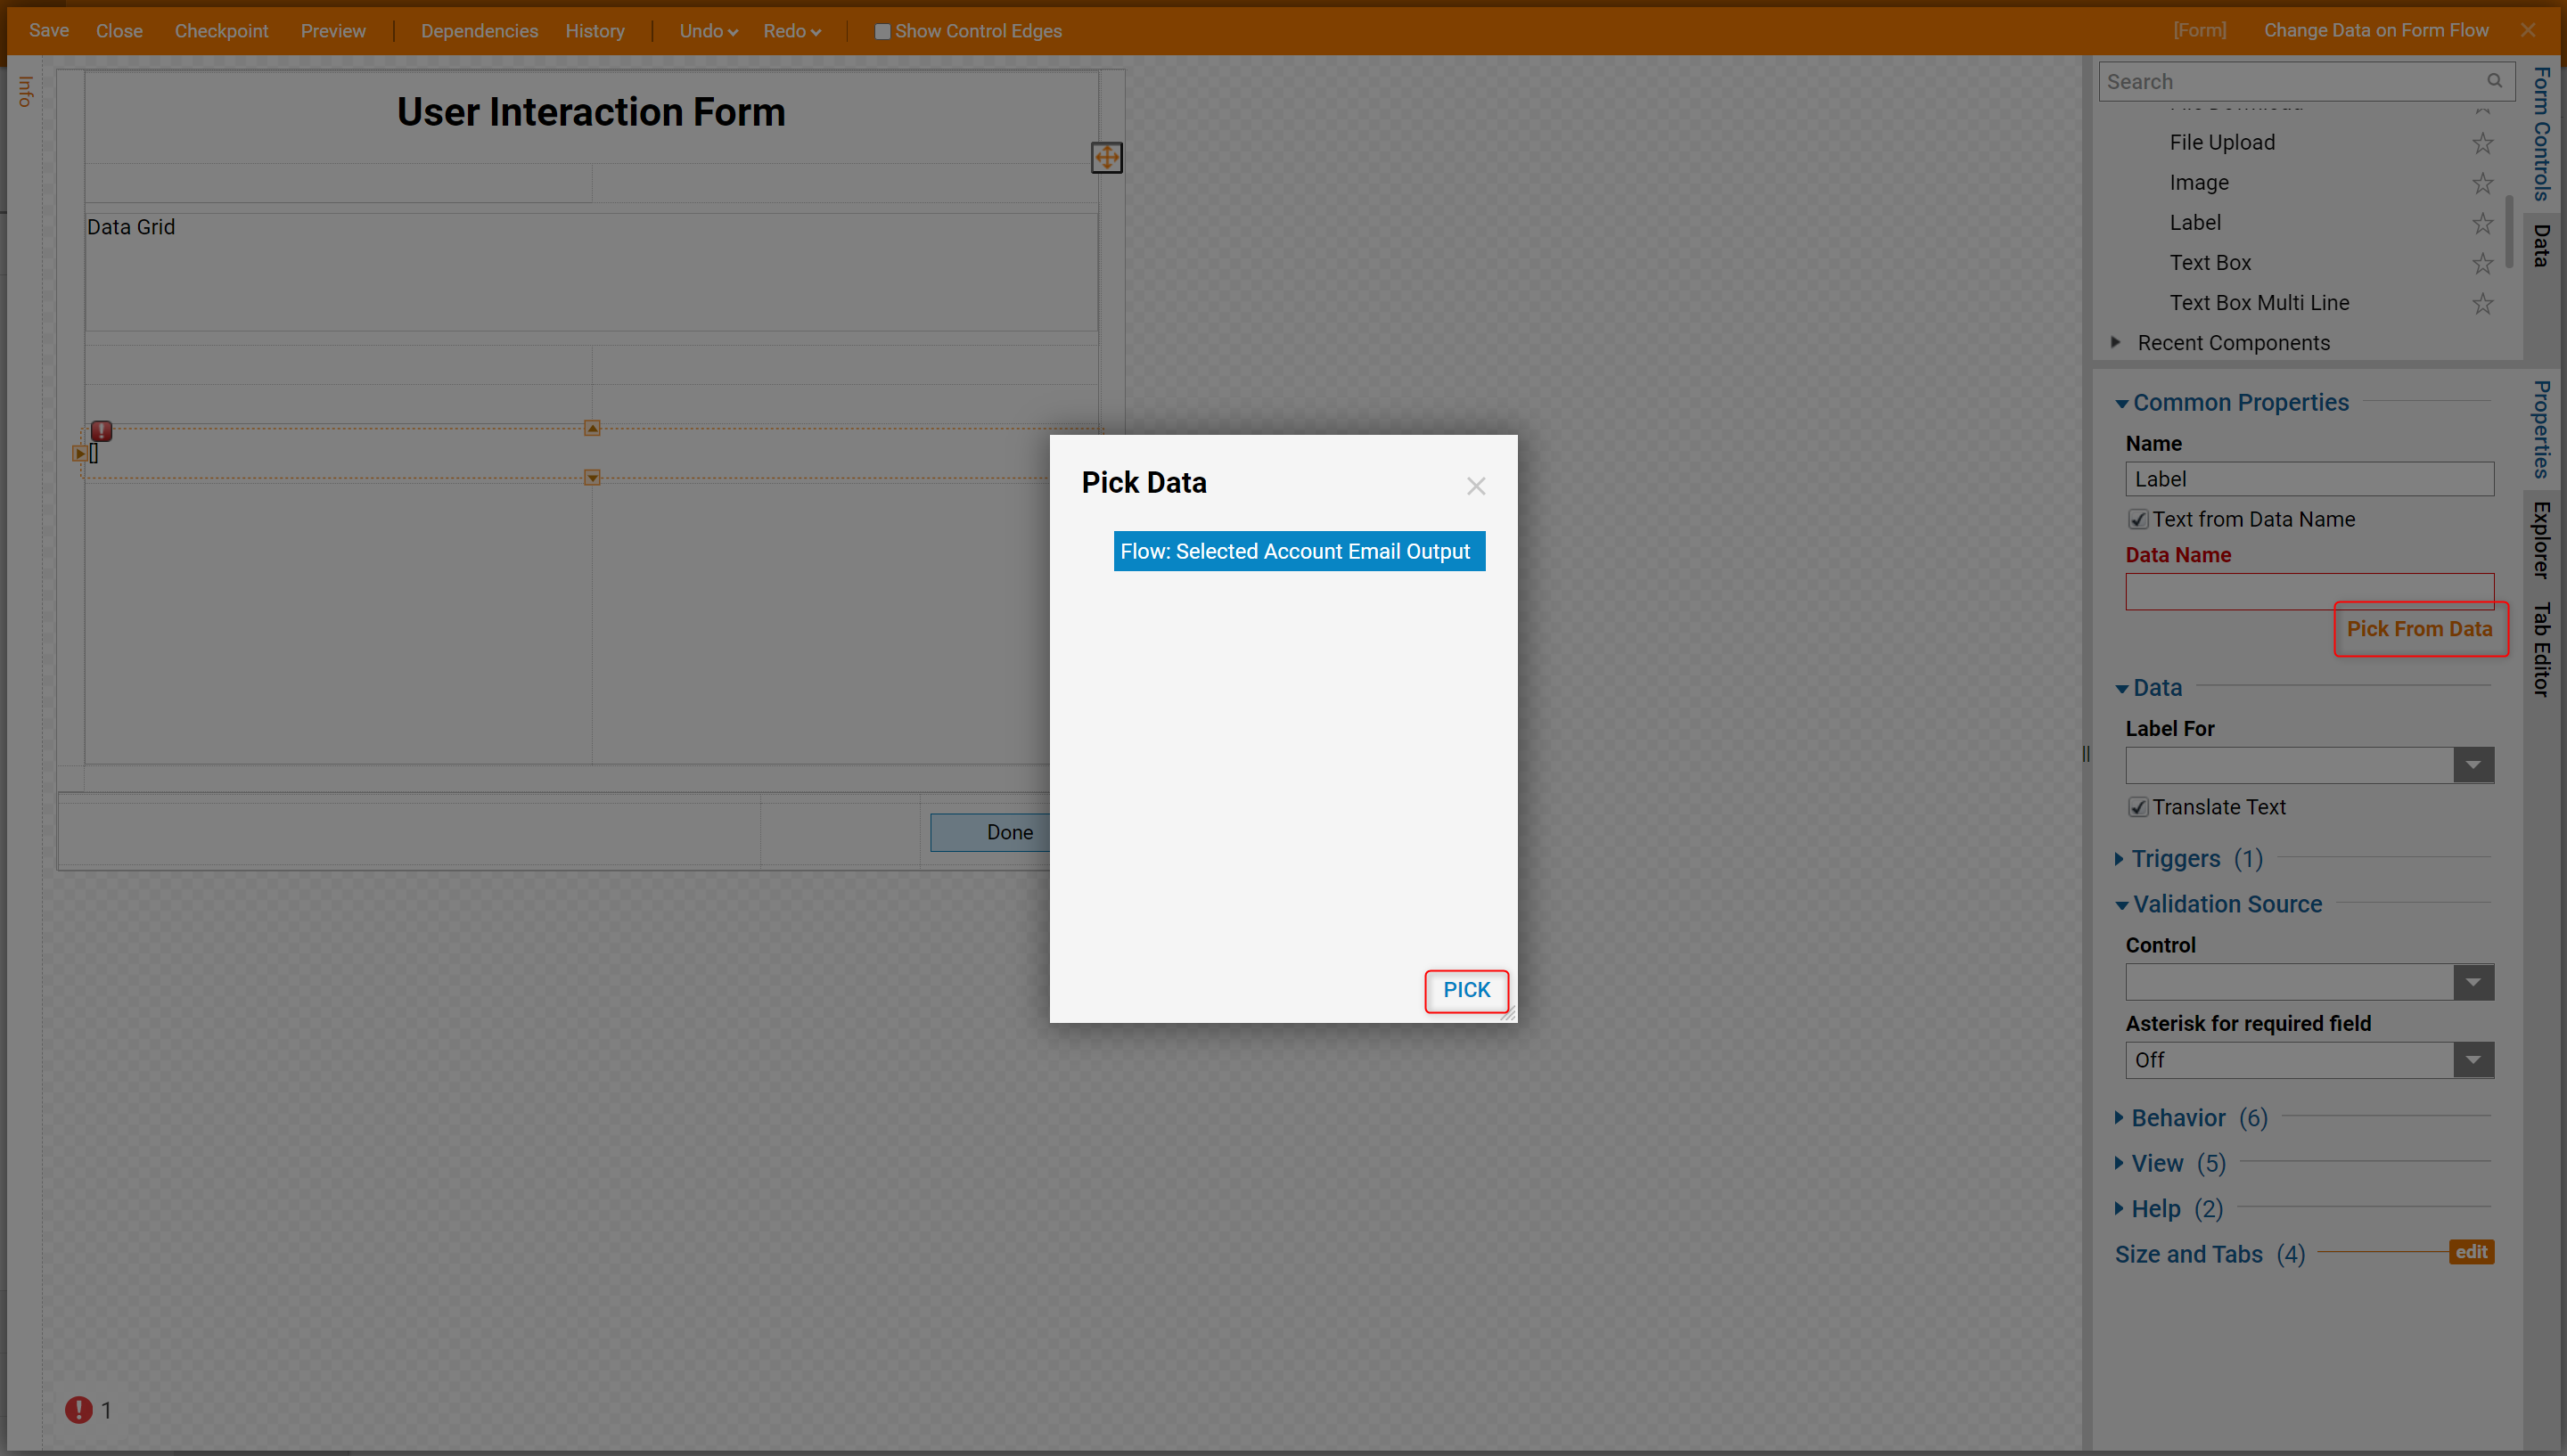
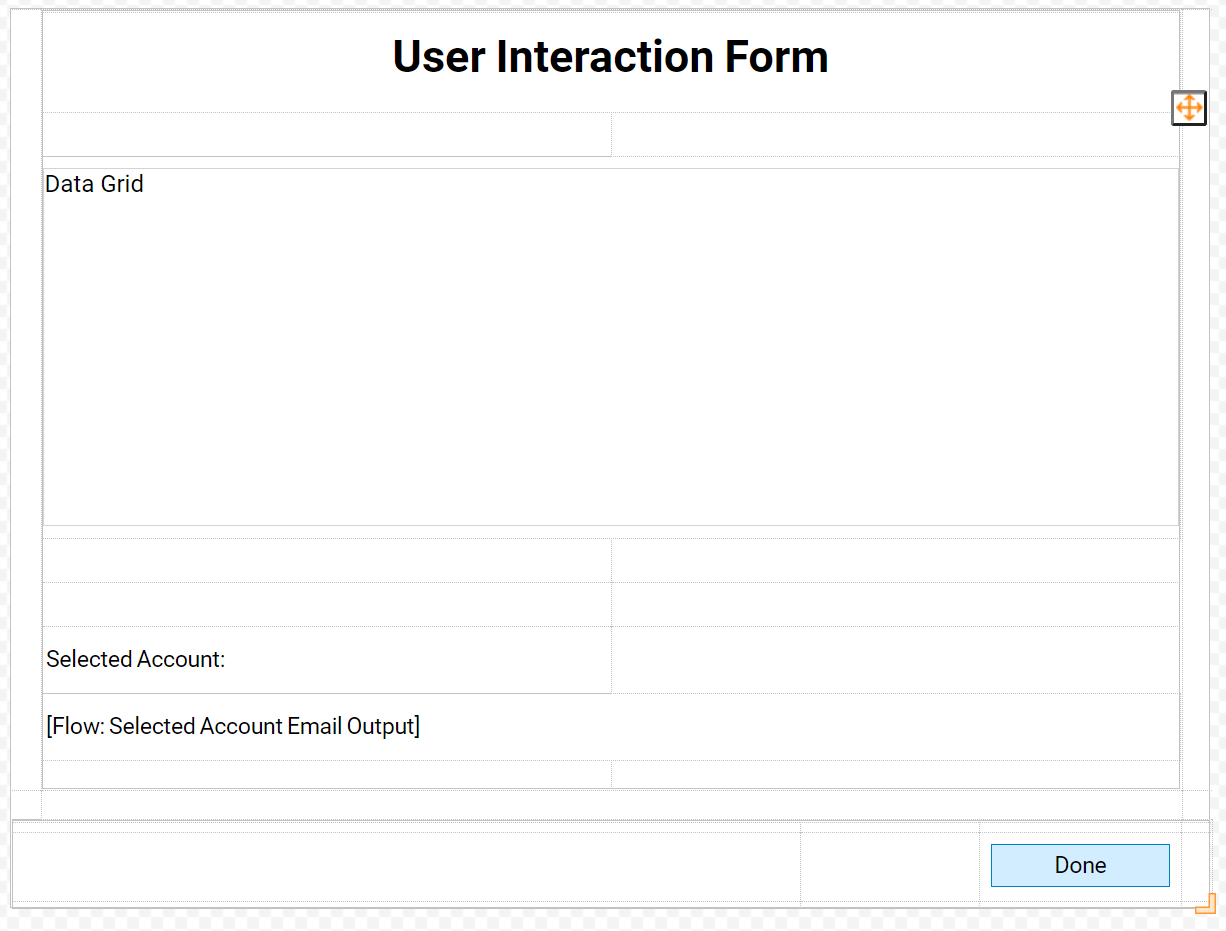
This completes the Form Design. Save the Form and close Form Designer.
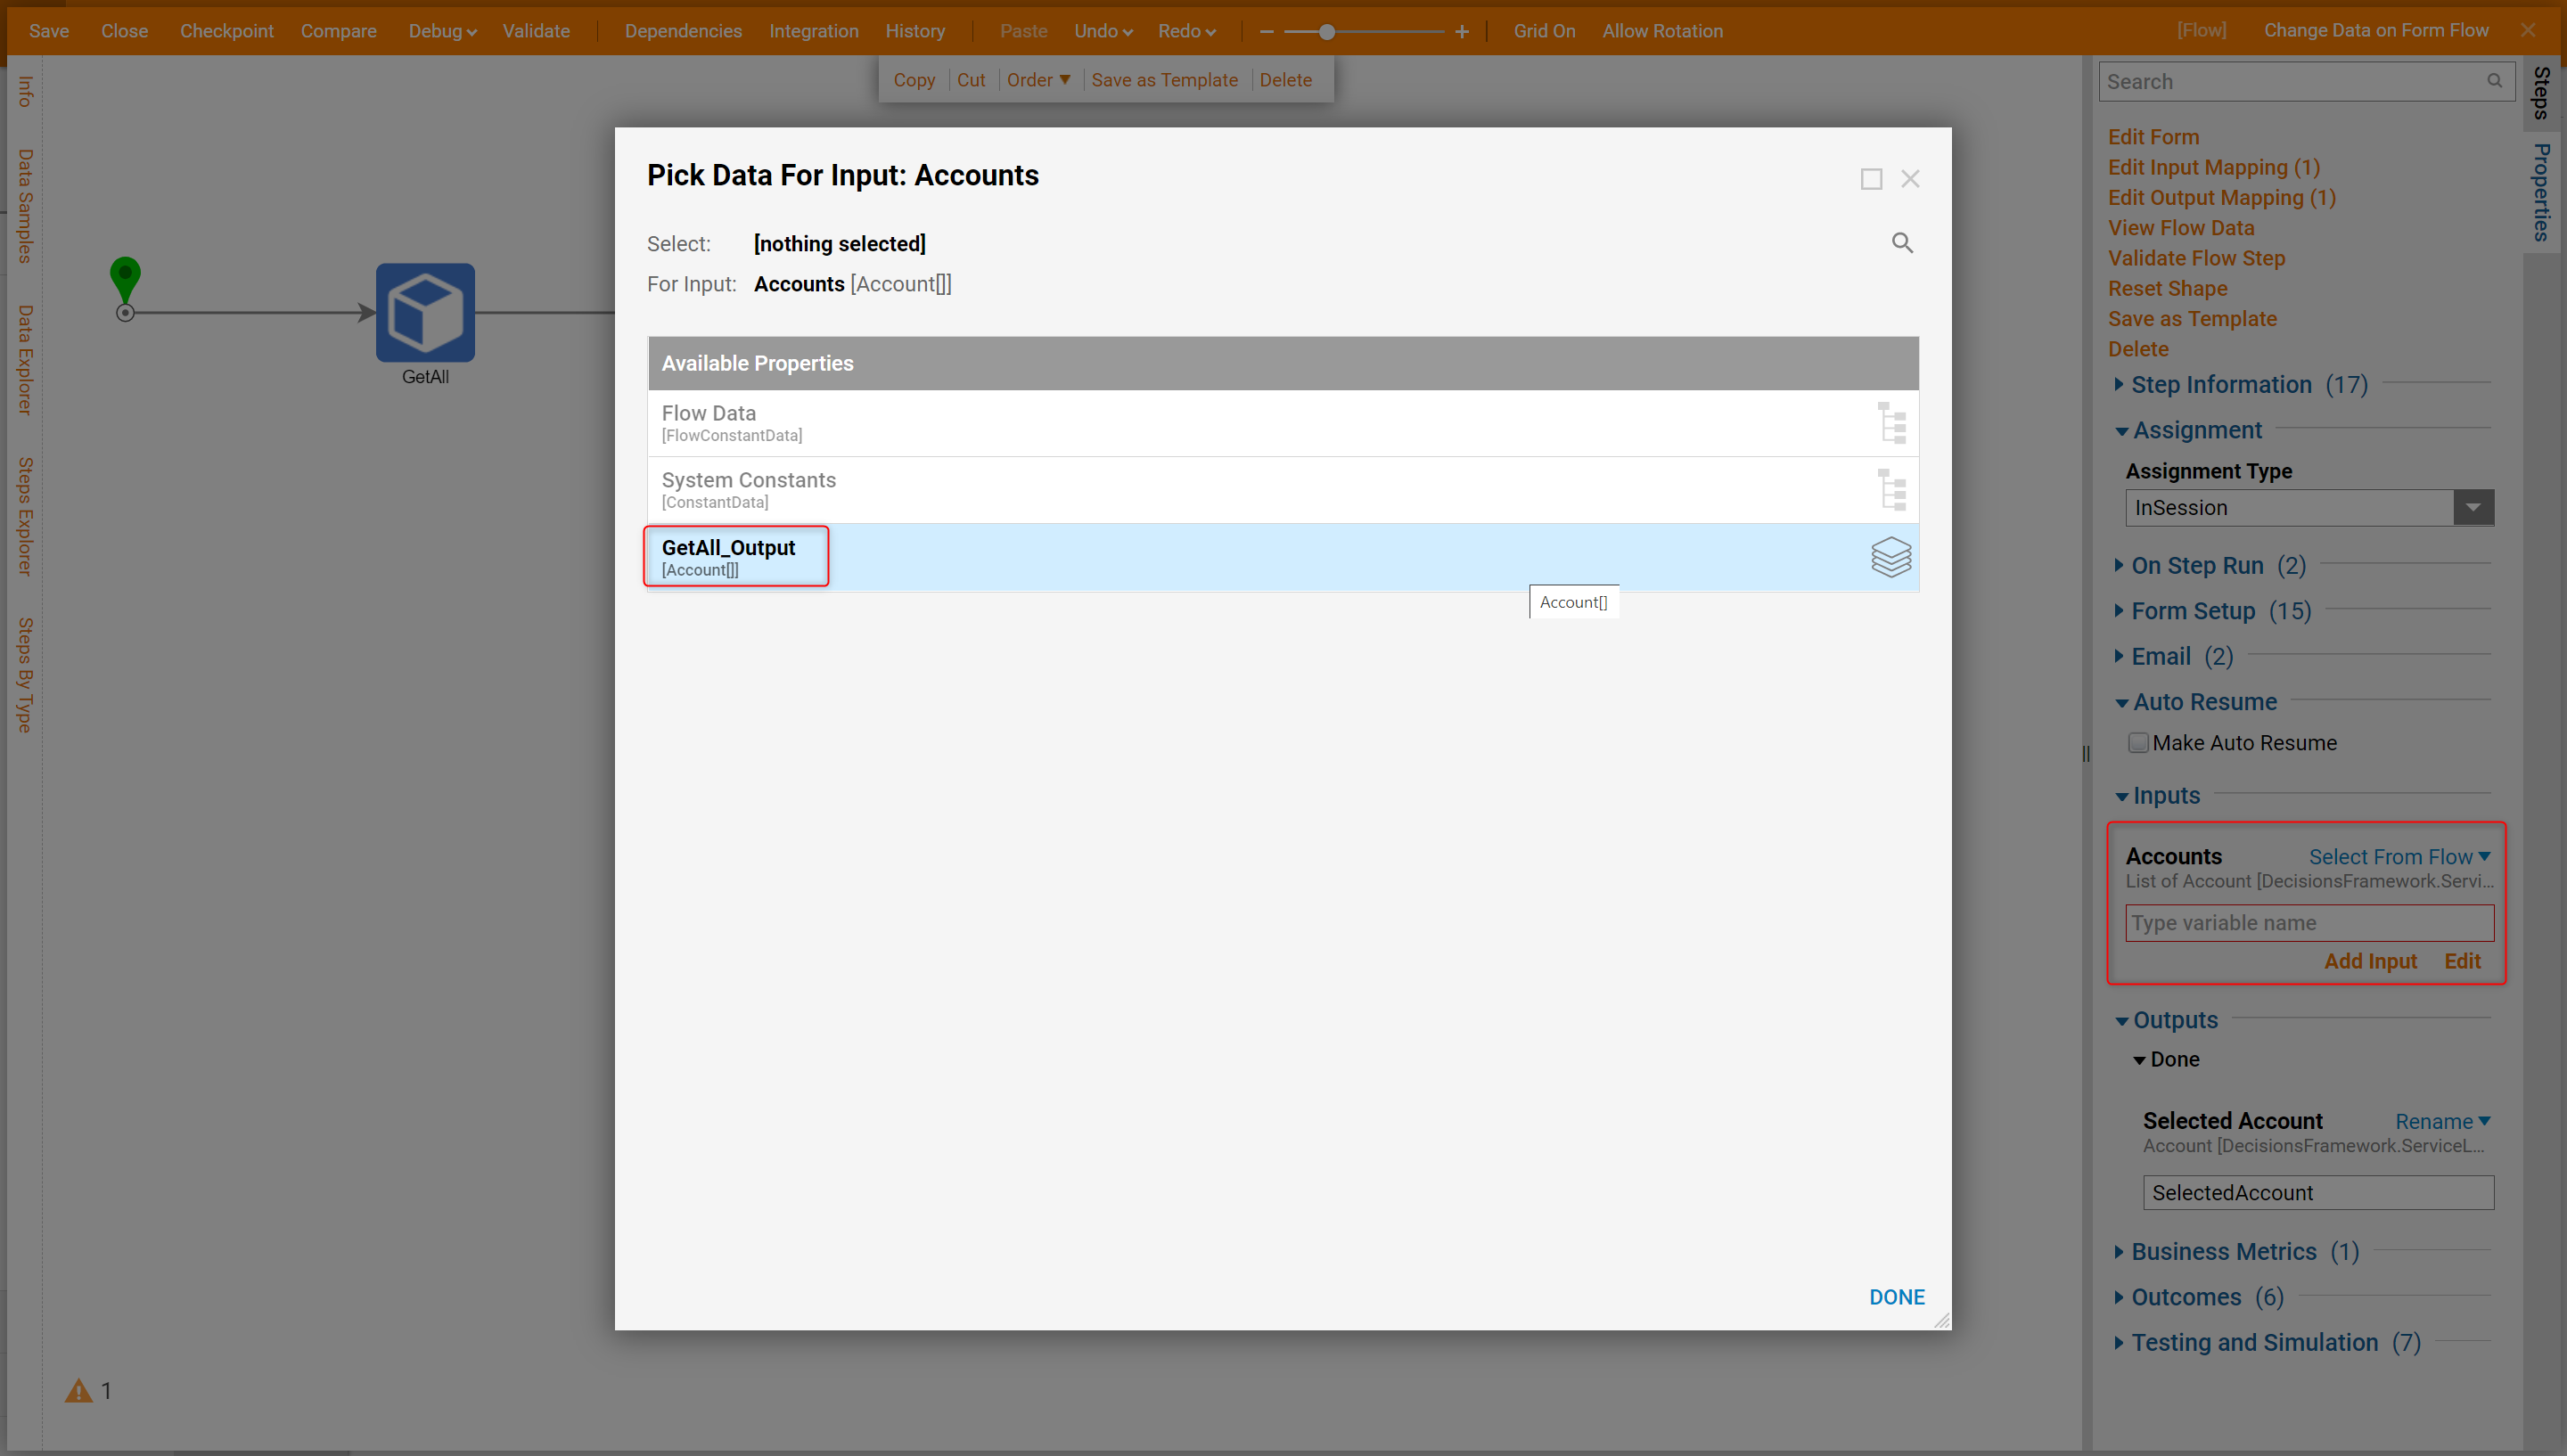
Back in the Flow Designer Select Value of the Get All_Output for the Accounts Input to the Form.
Then, connect the outcome from the Form Step to the End step in the Flow. This completes the Main Flow. Save the Flow and close Flow Designer.

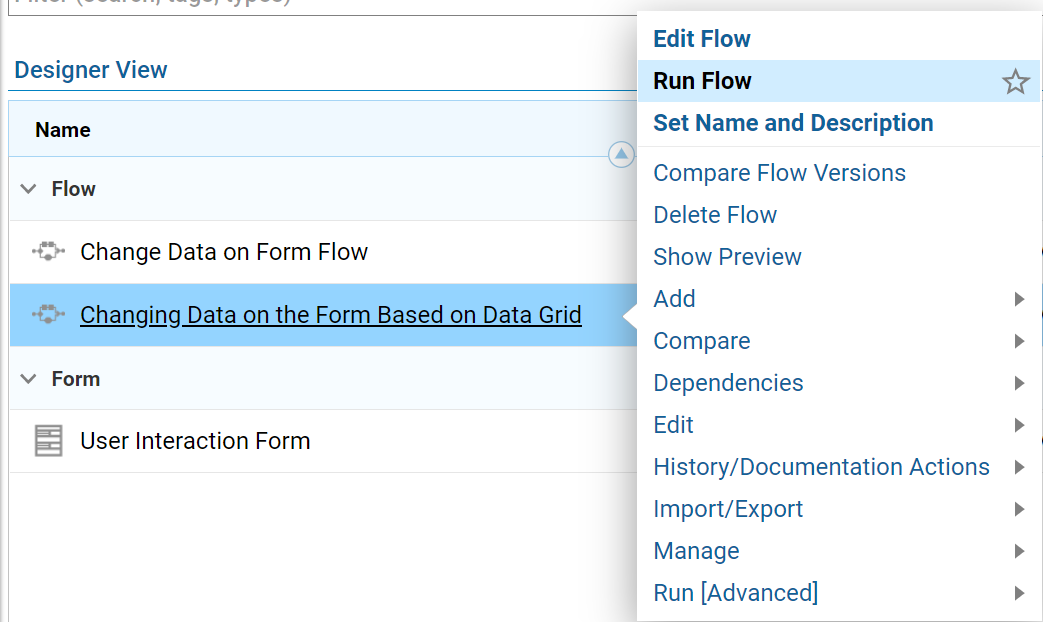
In the Designer Folder locate the thumbnail for the Main Flow and select Action > Run Flow on thumbnail’s menu.
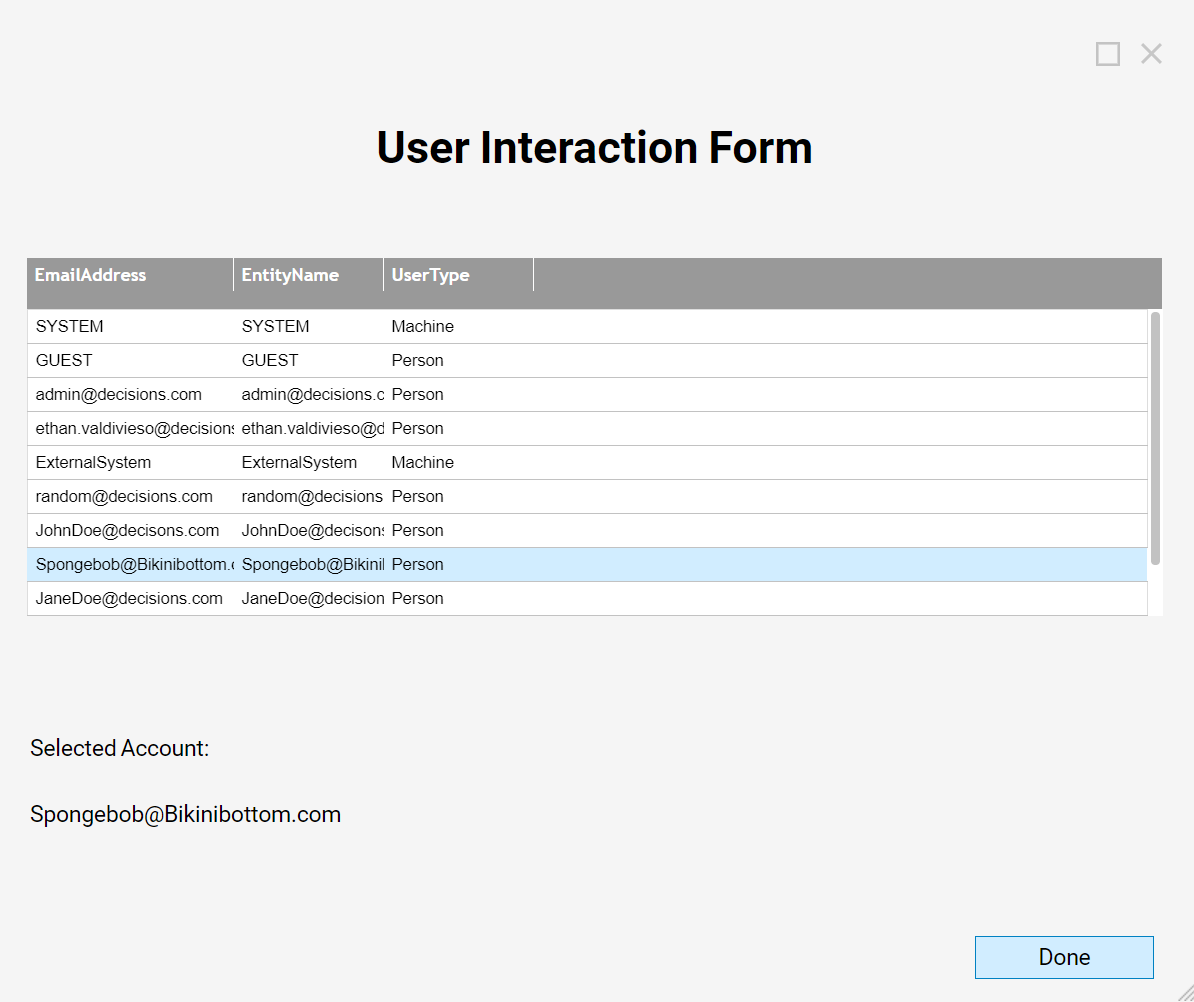
The Form shows the Data Grid component populated with all Accounts in the System. Because the sixth row is selected, the Label displays ‘random@decisions.com’ selected Account Email Address.
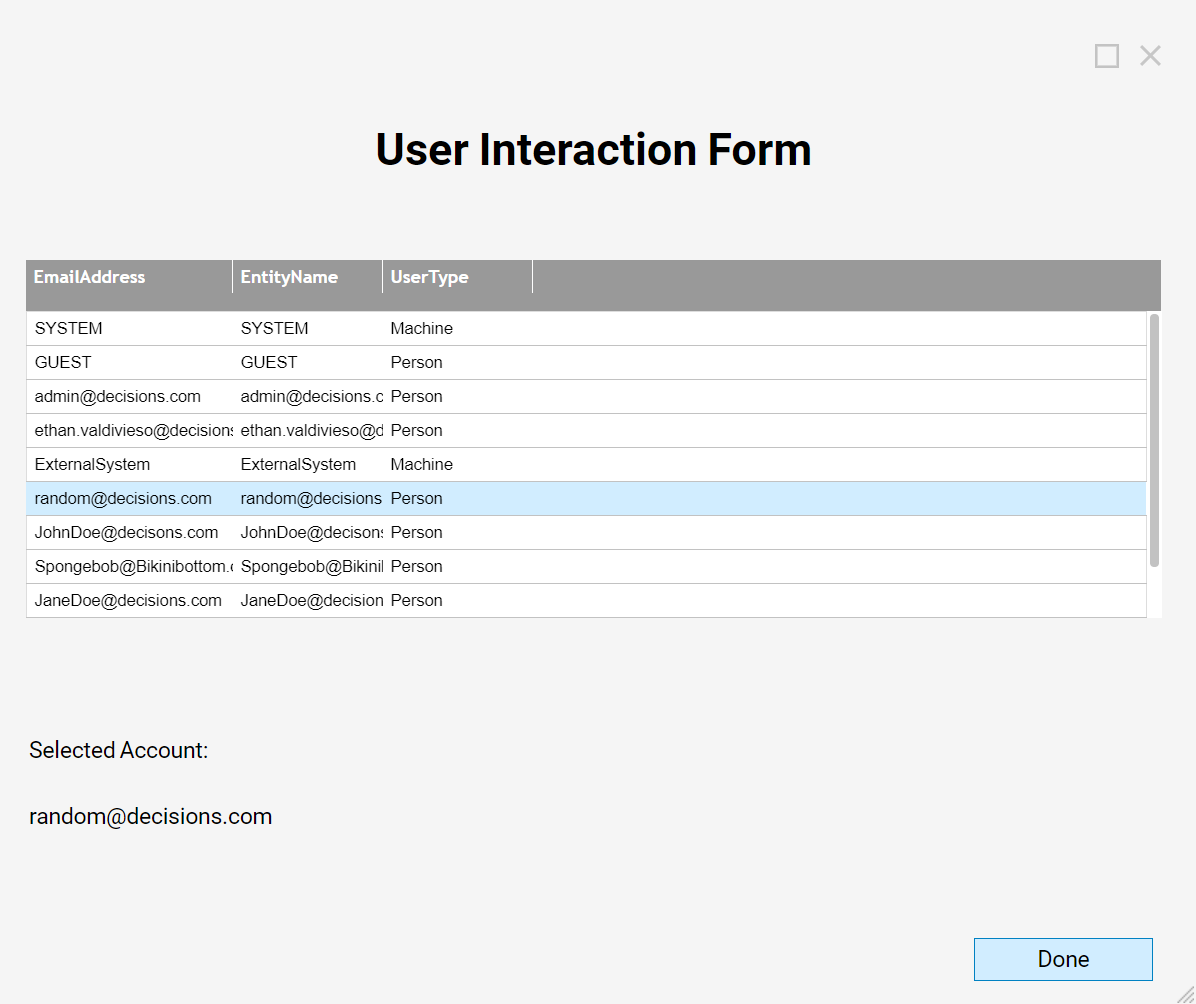
Change the selection on the Data Grid component, the Data Flow triggers and changes Label text to reflect the selected Account Email Address.
