Installing a Process Mining Container
- 19 Nov 2024
- 2 Minutes to read
-
Print
-
DarkLight
Installing a Process Mining Container
- Updated on 19 Nov 2024
- 2 Minutes to read
-
Print
-
DarkLight
Article summary
Did you find this summary helpful?
Thank you for your feedback
Overview
Only one Decisions instance can connect to the Process Mining URL. In other words, multiple VMs cannot connect to the same Process Mining URL. Each VM requires its own unique Process Mining URL.
Example
Prerequisites
Install Docker on the machine creating the Process Mining Container
- Open Windows Powershell as an Administrator and run the following command to pull the Process Mining image. The Image name convention is "registry_name/image_name".
docker pull dockerrepo.decisions.com/process-mining - Run and configure the container by entering the following command.If logging to a licensed Process Mining instance hosted on a different machine, users must whitelist the connecting machine's IP Address.To do so, open the env.list of the Decisions container and add the following variable:
If the IP Address changes, update it here then restart the Decisions Server.DECISIONS_LOGINPAGEALLOWEDIPS=[IP Process Mining Container]
For {port_number}, enter a port number to map to port 80 to the specified port. By default, Docker exposes port 80.docker run -p {port_number}:80 --name {container_name} -v {file_path_to_store_data}:/data -e decisions_baseurl={decisions_url} -e decisions_password={processmining_account_password} dockerrepo.decisions.com/process-mining
For {file_path_to_store_data}:/data, enter the file path that will house the Data folder for the Process Mining. Data stored here may still be retrieved even after destroying the container.
For {decisions_url}, enter the Decision instance's complete base URL including the Instance Name e.g. "http://localhost/decisions/Primary/". The Process Mining instance will retrieve data from this Decisions instance.
For {processmining_account_password}, enter the password for the default Process Mining account available upon installation: processmining@miningagents.internal.Optional Additional VariablesEnter the following variables between the password variable and "dockerrepo.decisions.com/process-mining" to declare optional configurations.- Pass -e server_ram={ram_of_server} to specify ram for the server.
- Pass -e server_port={port_number} to change port of the server.
- Pass -e server_name={server_host_name} to specify hostname of the server.
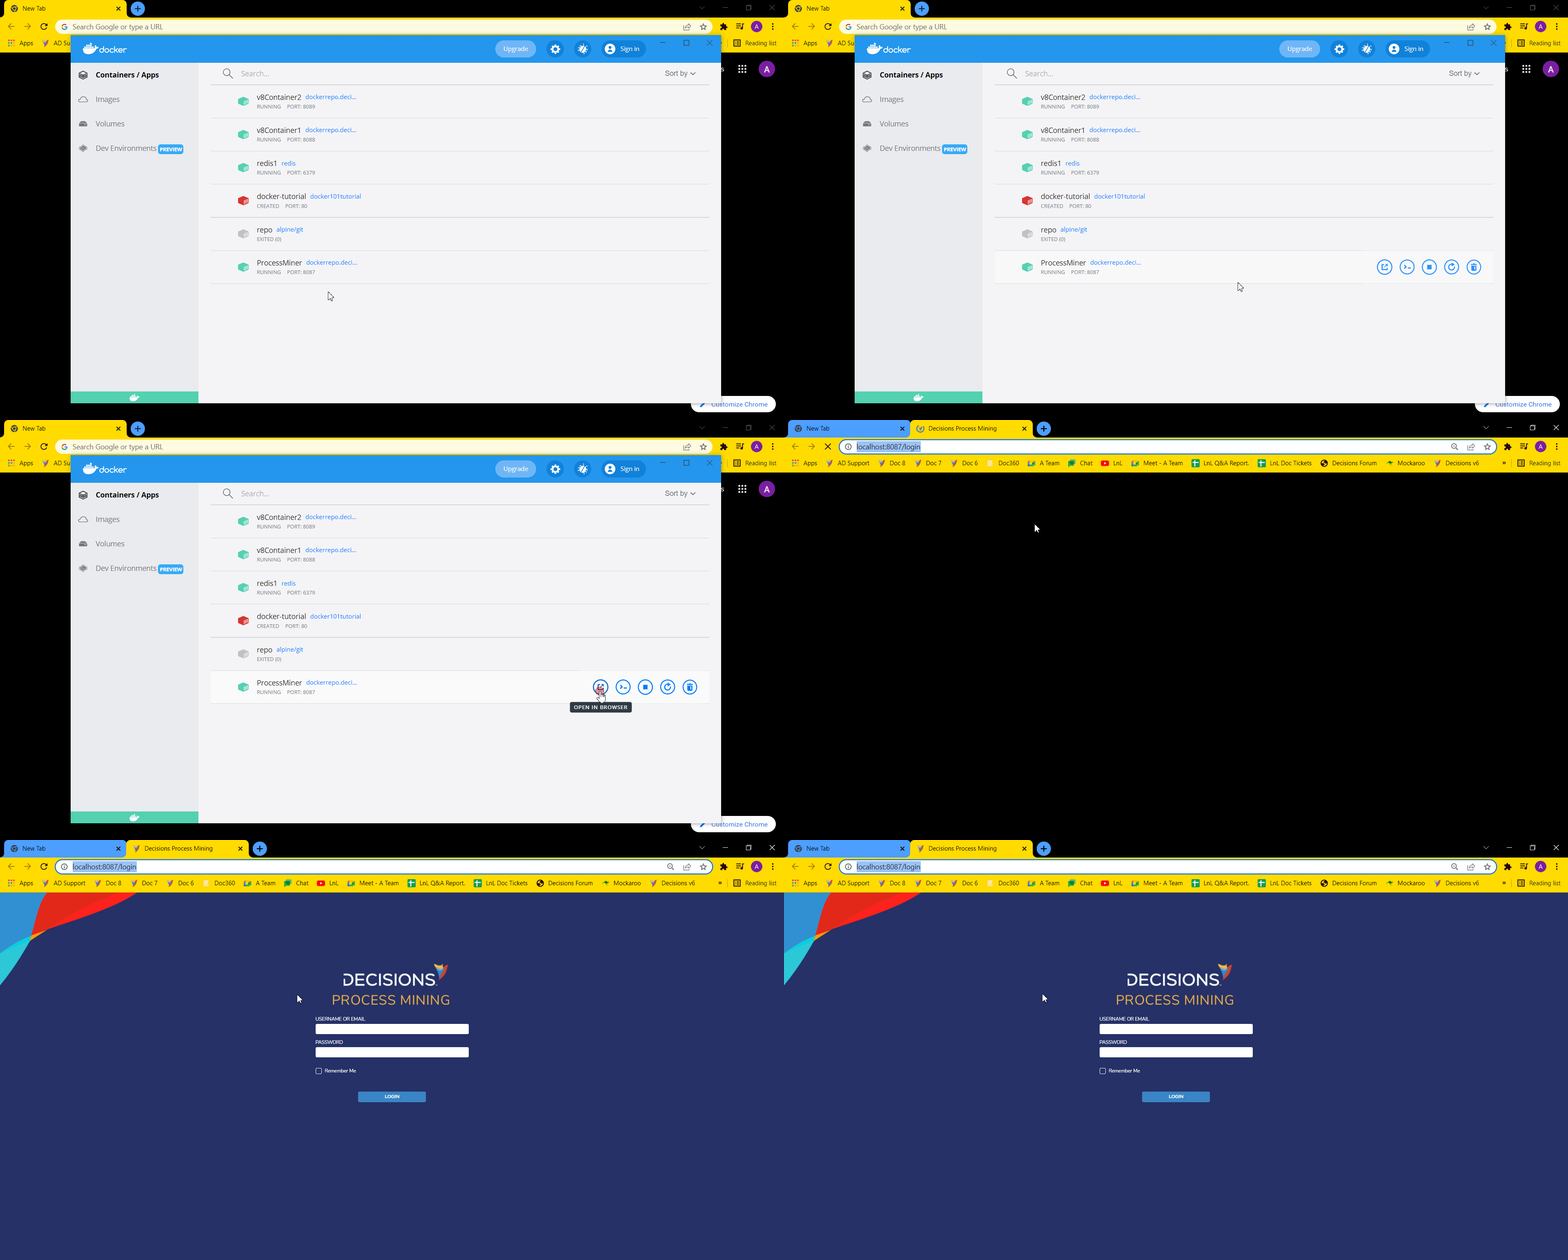
- Open the Docker application on the machine to view the newly created Process Mining container. Hover over it and select the Open in Browser button to open the Process Mining login screen in a new browser tab.

Running an SSL Process Mining Container
Prerequisites
Install Docker on the machine creating the Process Mining Container
- In any text editor such as Notepad or Notepad++, create an environment file with the following entries at any location on the machine.
Provide it a descriptive name and ensure it is saved a .list file extension e.g. env.list.server_port=443 server_ssl_enabled=true server_ssl_key-alias={keystore_alias} server_ssl_key-store=data/{keystore_name} server_ssl_key-store-password={keystore_password} decisions_baseurl={decisions_url} decisions_password={processmining_account_password} - After saving the environment file, open Windows Powershell as an Administrator then run the following command to create the Process Mining container.
docker run -p {port_number}:443 --name {container_name} -v {file_path_to_store_data}:/data --env-file="{environment_file_path}" dockerrepo.decisions.com/process-mining - The newly named Process Mining container now appears in the Docker application. Hover over it and select the Open in Browser button to open it in a new browser tab.
Was this article helpful?


