Overview
Decisions provides the ability to utilize BPMN (Business Process Modeling Notation) in conjunction with the Flow Designer to create BPMN Diagrams. In addition to being able to create BPMN Flows and diagrams using the Toolbox, Decisions also provides the ability to Import BMPN XML files/convert them into Workflows and Export these diagrams as Decisions .obj files. This ability is provided via the Project Conversion Service and can be accessed via the Upload BMN XML or a POST call.
The following document demonstrates how to use the Import and Export feature to utilize BPMN Diagrams within the Decisions Studio environment.
Example A: Upload BPMN XML
The following example demonstrates how to Import a BPMN XML format file into the Decisions Studio environment through use of the Upload BPMN XML action.
To use this tool, navigate to https://demo.bpmn.io/
To Import a BPMN File:
- Create and export a BPMN Diagram using a BPMN tool, or locate a BPMN XML file.
- Navigate to a Designer Project in Decisions Studio.
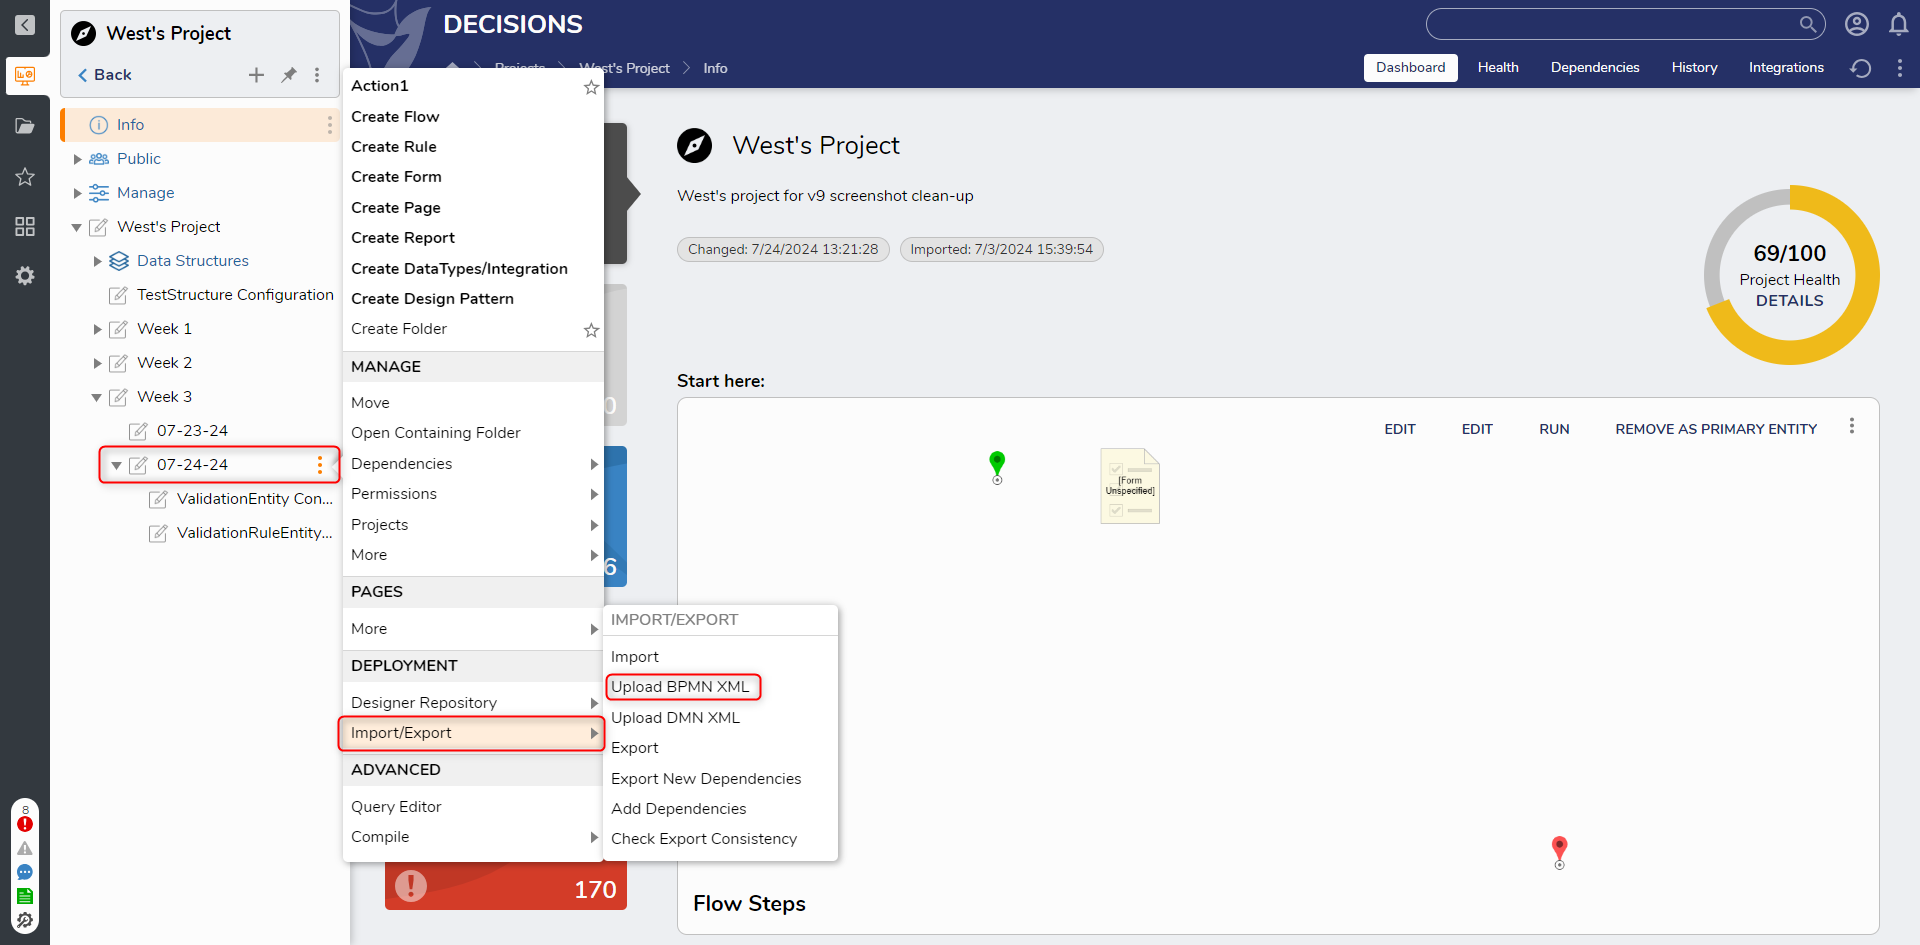
- Right-click the Designer Project then select Import/Export > Upload BPMN XML.
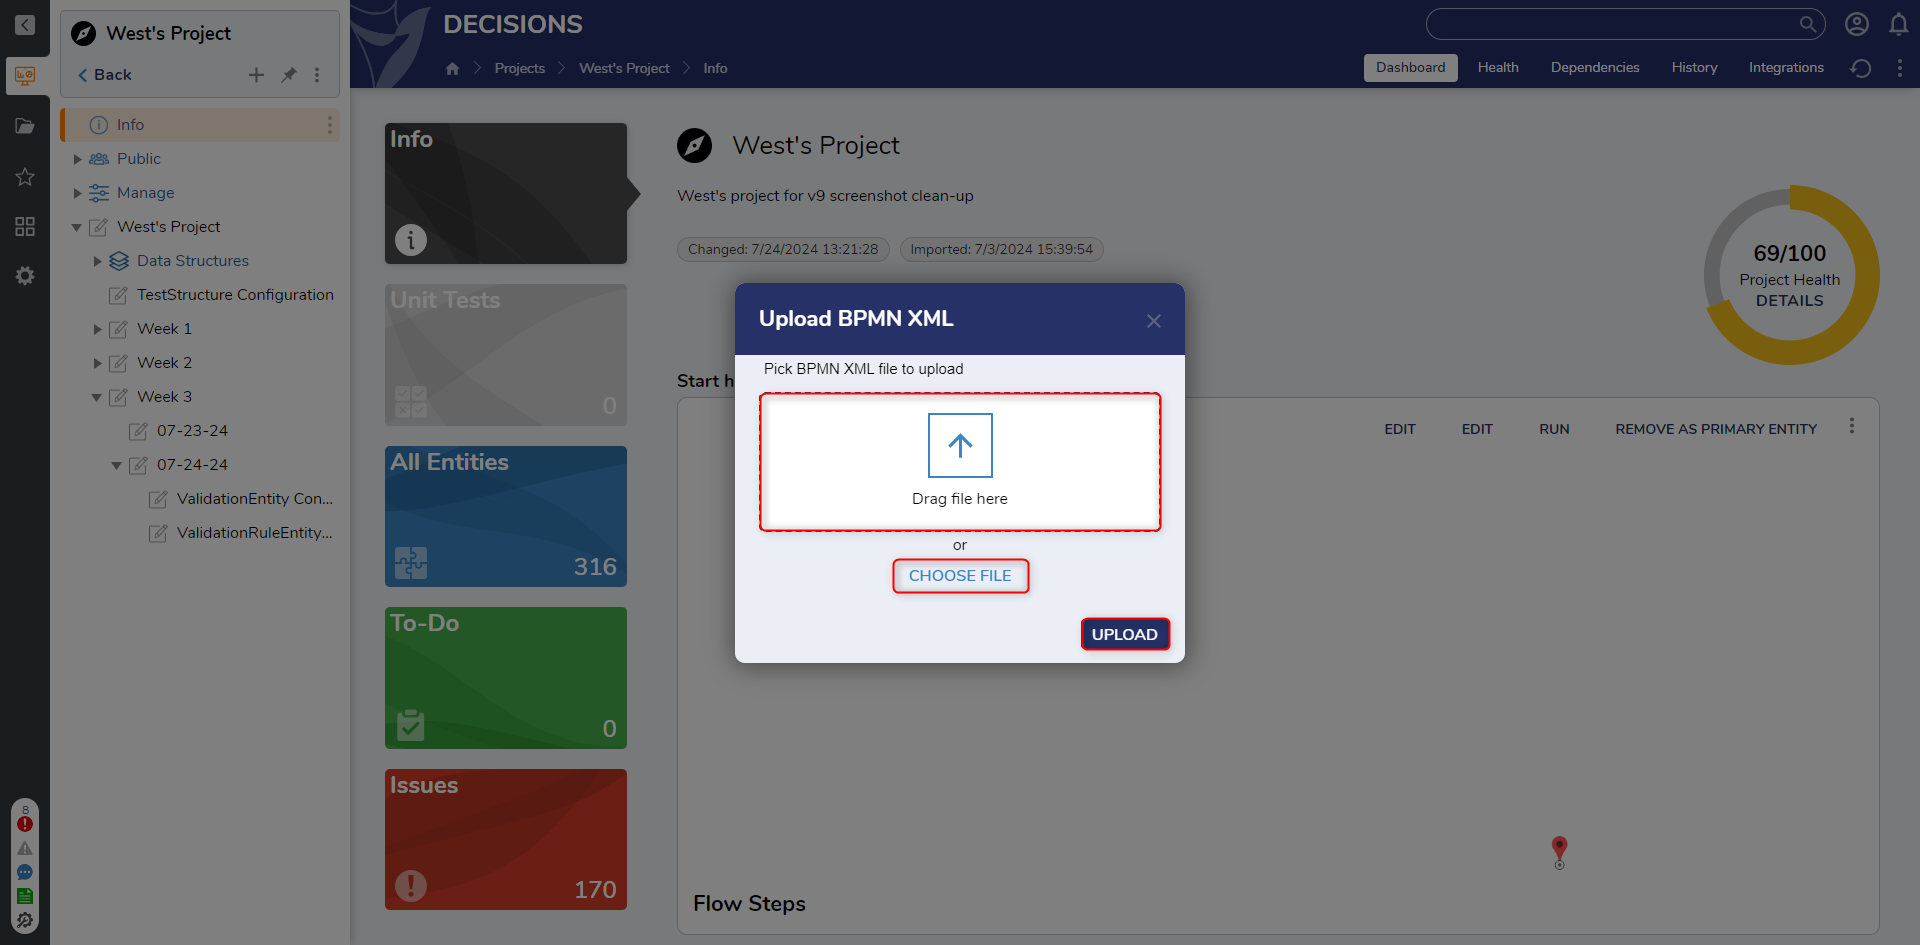
- From the Upload BPMN XML window, use the CHOOSE FILE button or drag in a .bpmn file into the Drag file here field. Then click UPLOAD.
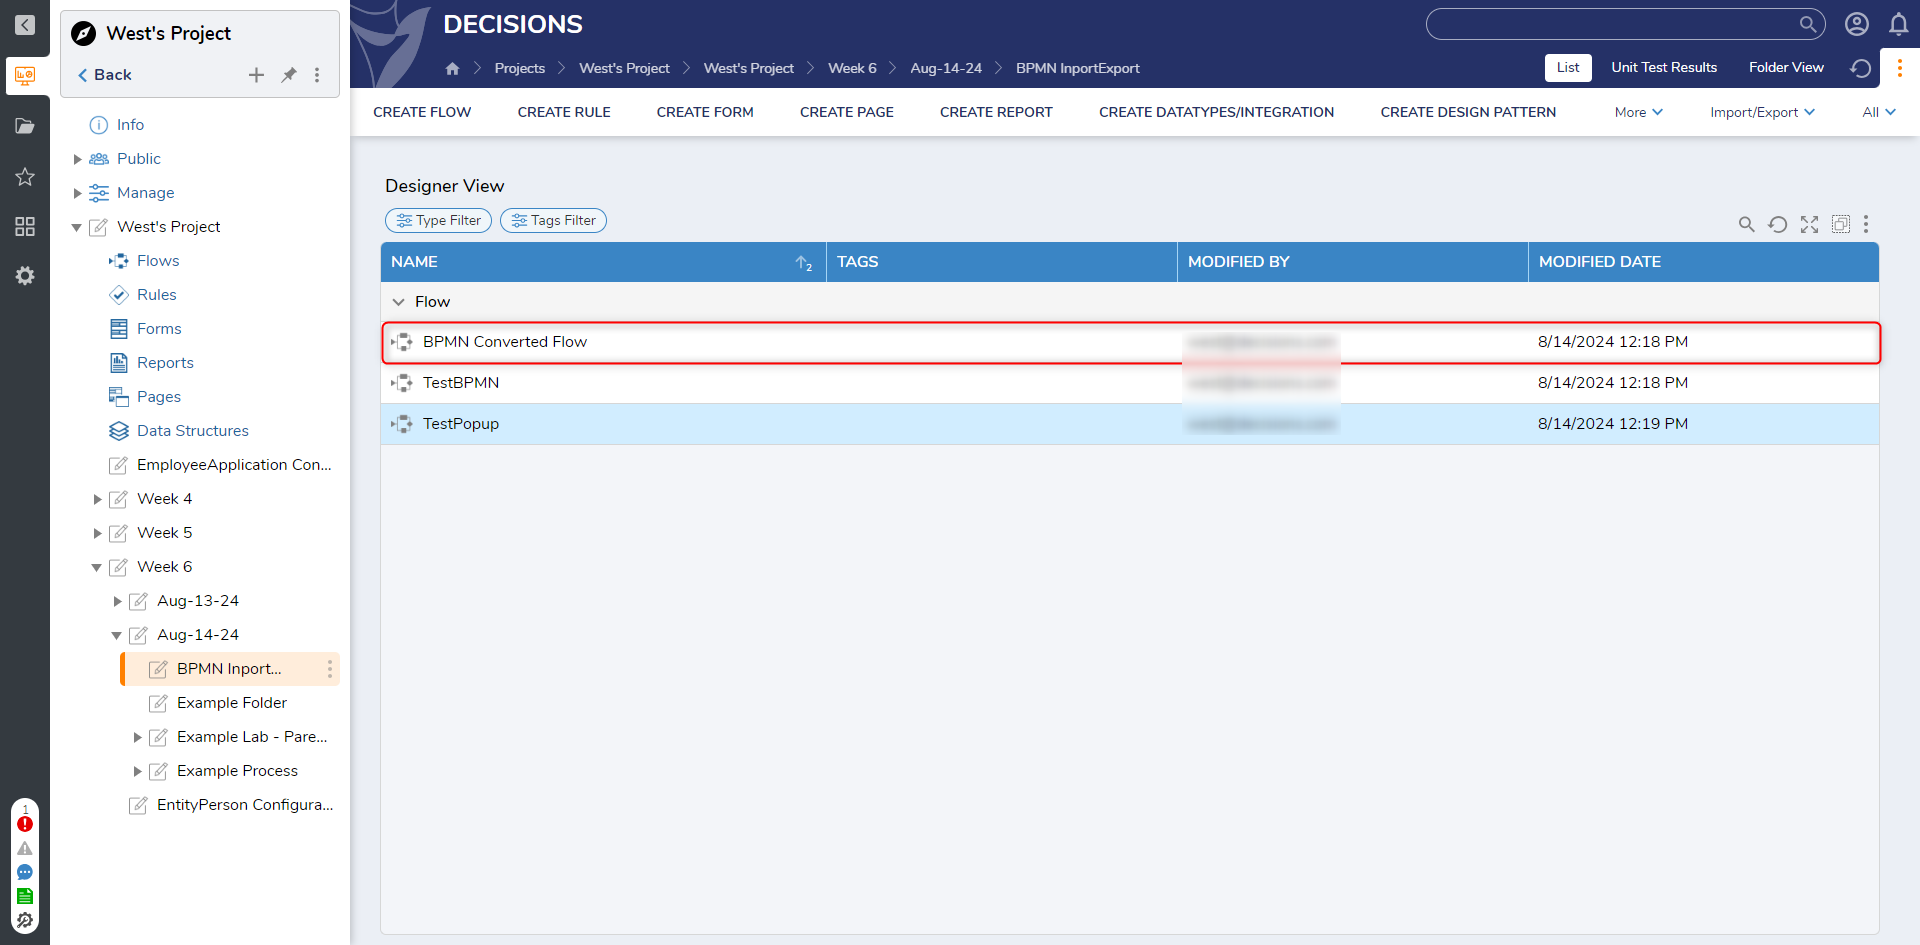
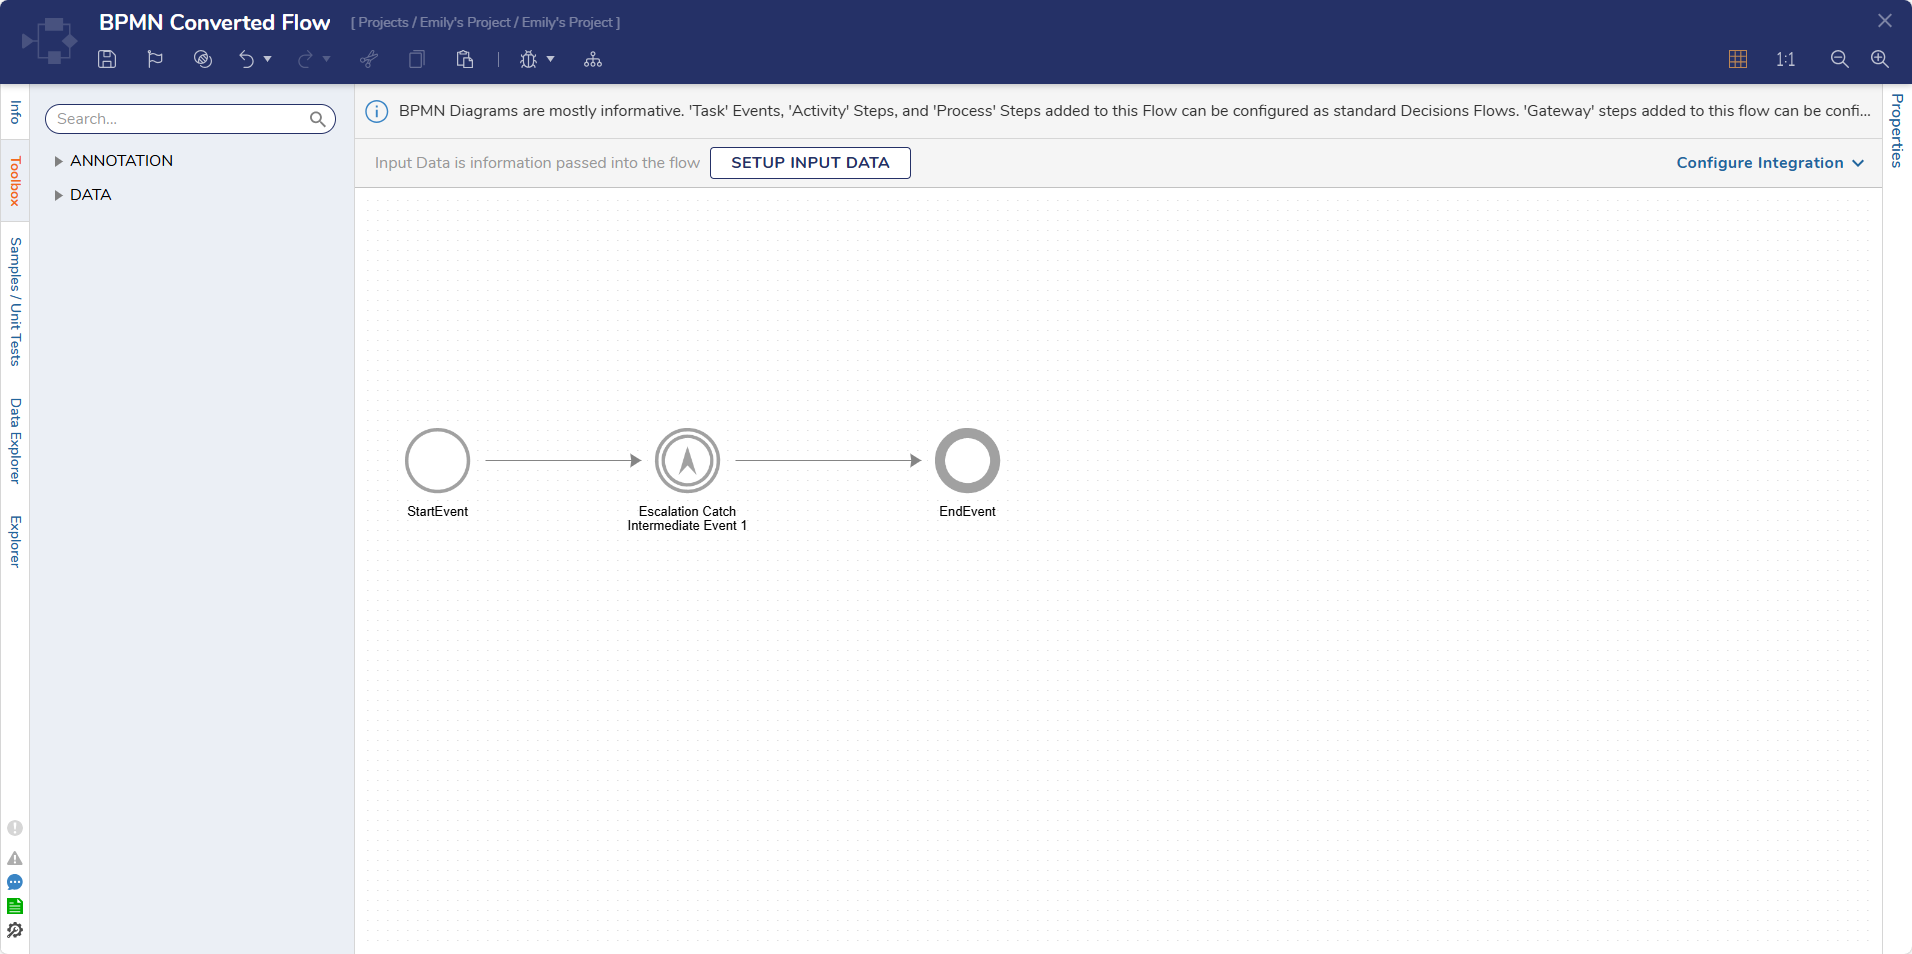
- Once the File Imports, open the imported Flow to verify that the BPMN Diagram has imported and been properly converted into a Flow.Note on Imported File's NameNote that if a Name is specified in the BMPN XML File, then the Flow will Import with the same name. Otherwise, the Flow will appear under the Name "BPMN Converted Flow".
Example B: POST Call
For more information on POST calls see Post to Flow Behavior.
To configure a POST Call as an alternate method of uploading BPMN XML:
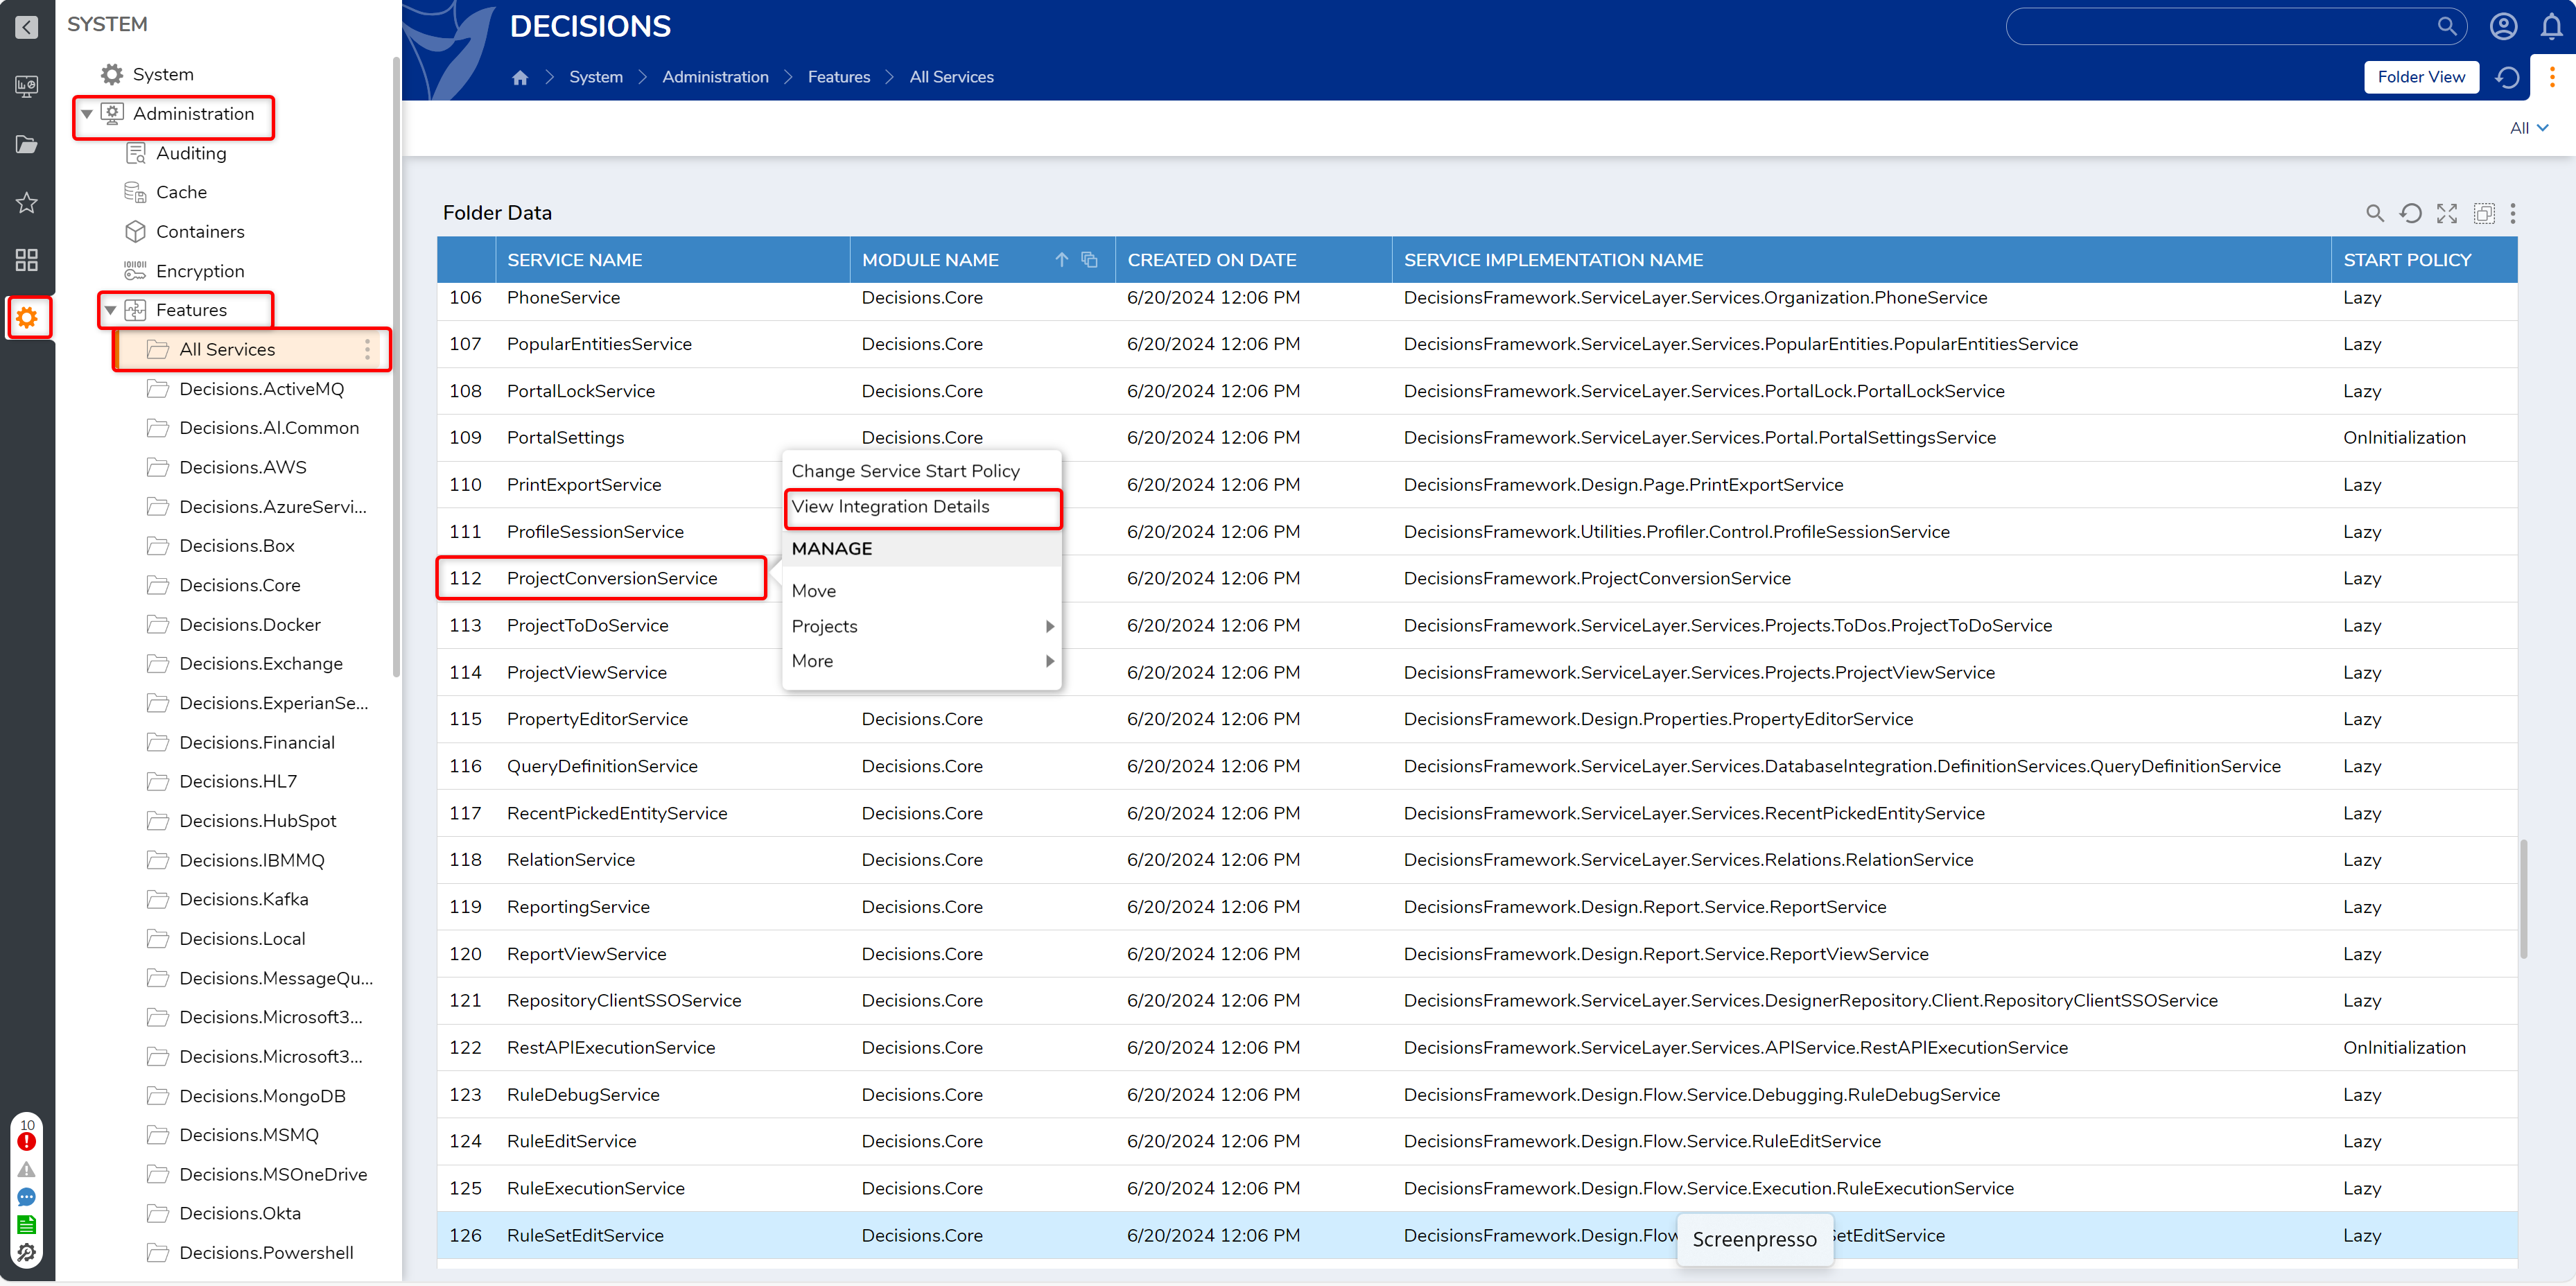
- From the Decisions Studio, navigate to System > Administration > Features > All Services.
- Scroll to and right-click ProjectConversionService, then select View Integration Details.
- Locate and select UploadBpmnProject.
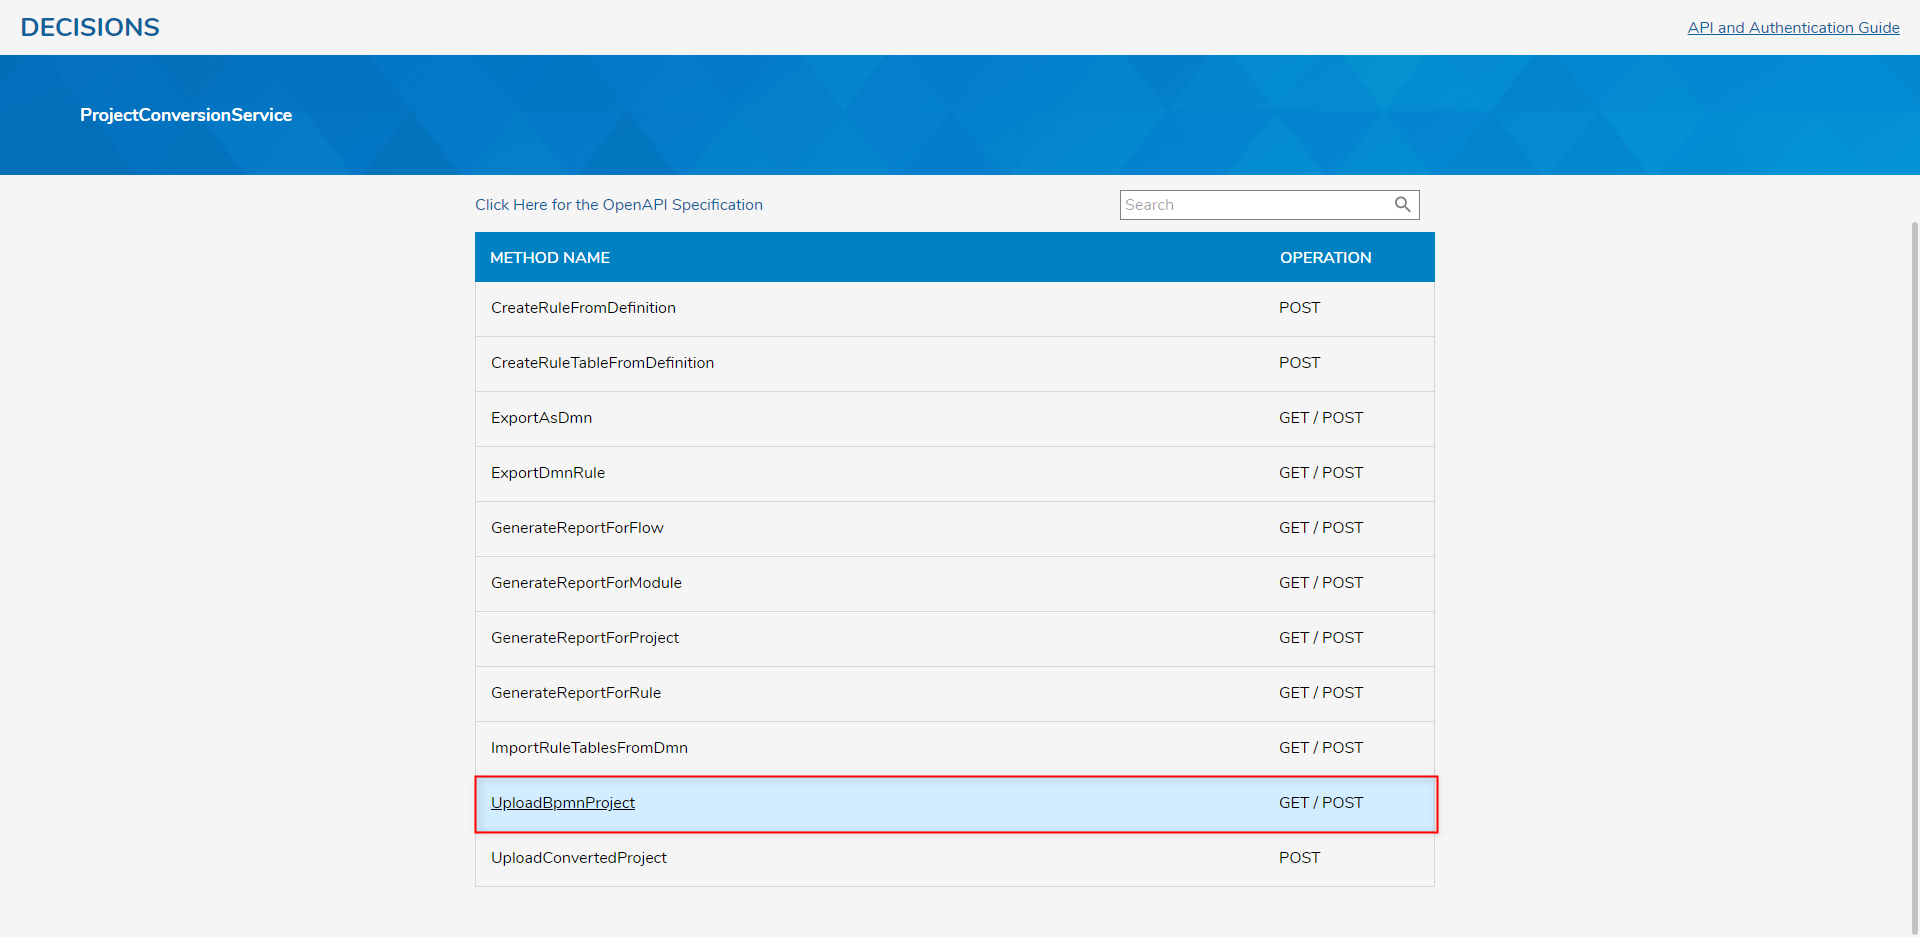
- From the UploadBpmnProject Integrations Page, under Credentials, select Specify User Credentials. Under Options > Rest Options, select POST. Then, under Output Type, select XML. Then copy the Using POST url.
.png)
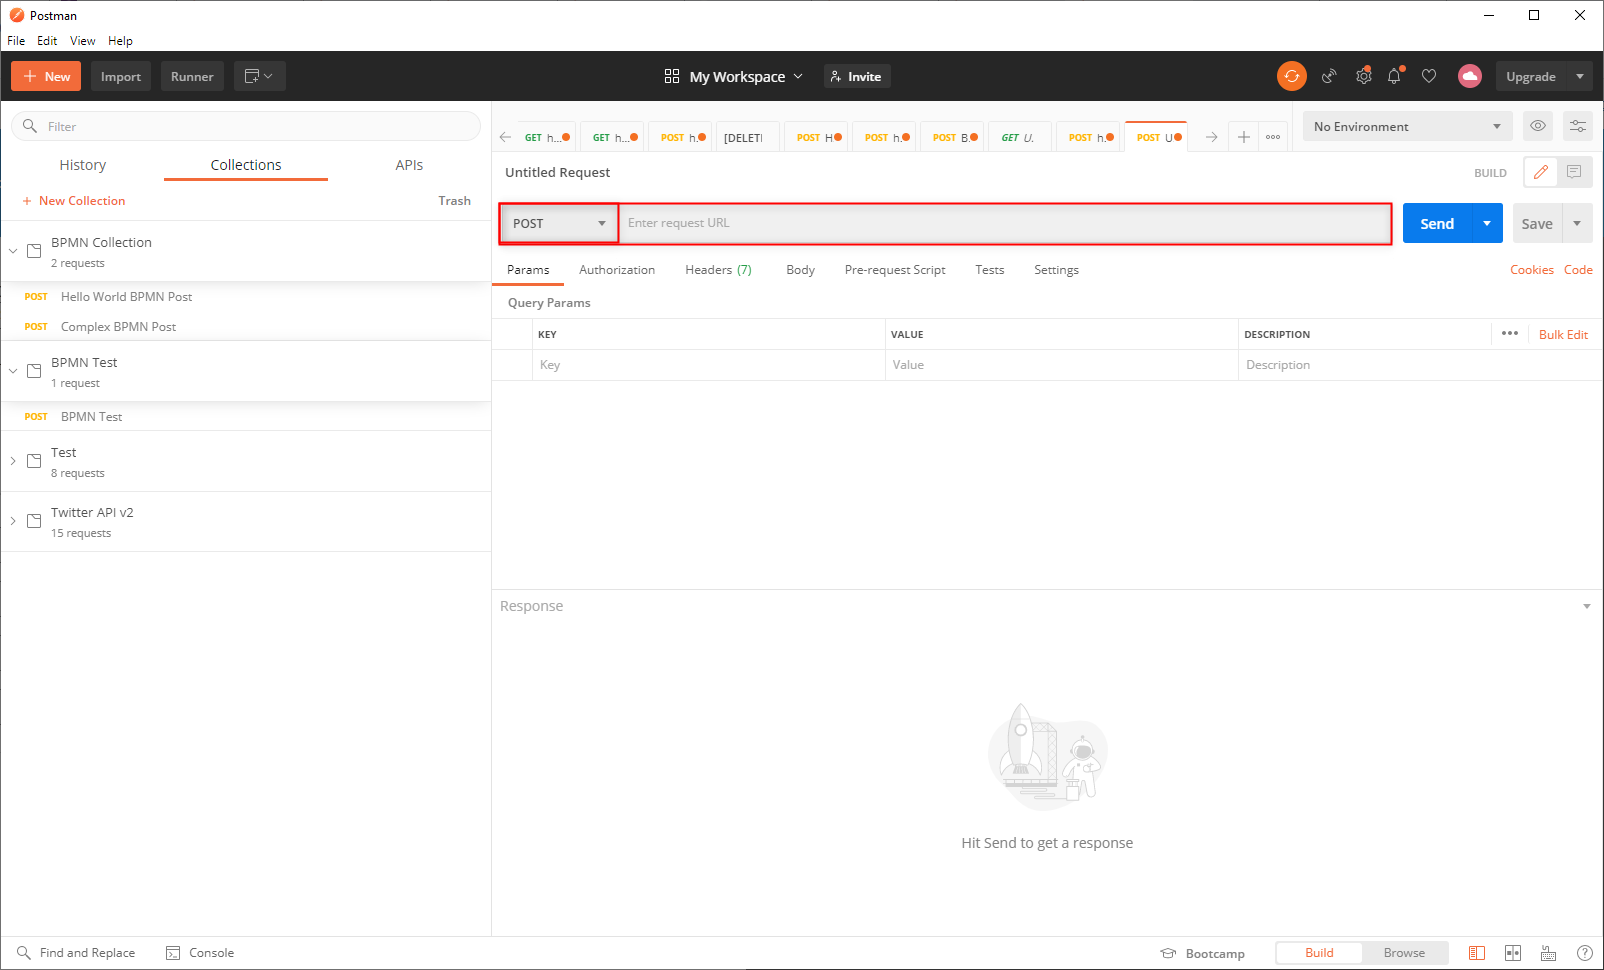
- Open Postman and create a new POST call; paste the URL into the Enter URL Request box.
- Navigate to the Body tab and select raw. Back on the View Integrations Page, copy the Parameters content, then paste it into the Body text field. Configure the userid, password, and folderId values accordingly. Additional Information on Call ConfigurationfolderId represents the designated location (Designer Project) that the Flow will import to.
userid and password represent the user's login credentials for Decisions.
Note, the default value for includeDataSteps is set to false, setting this value to true will import the BPMN with the inclusion of Data Input steps.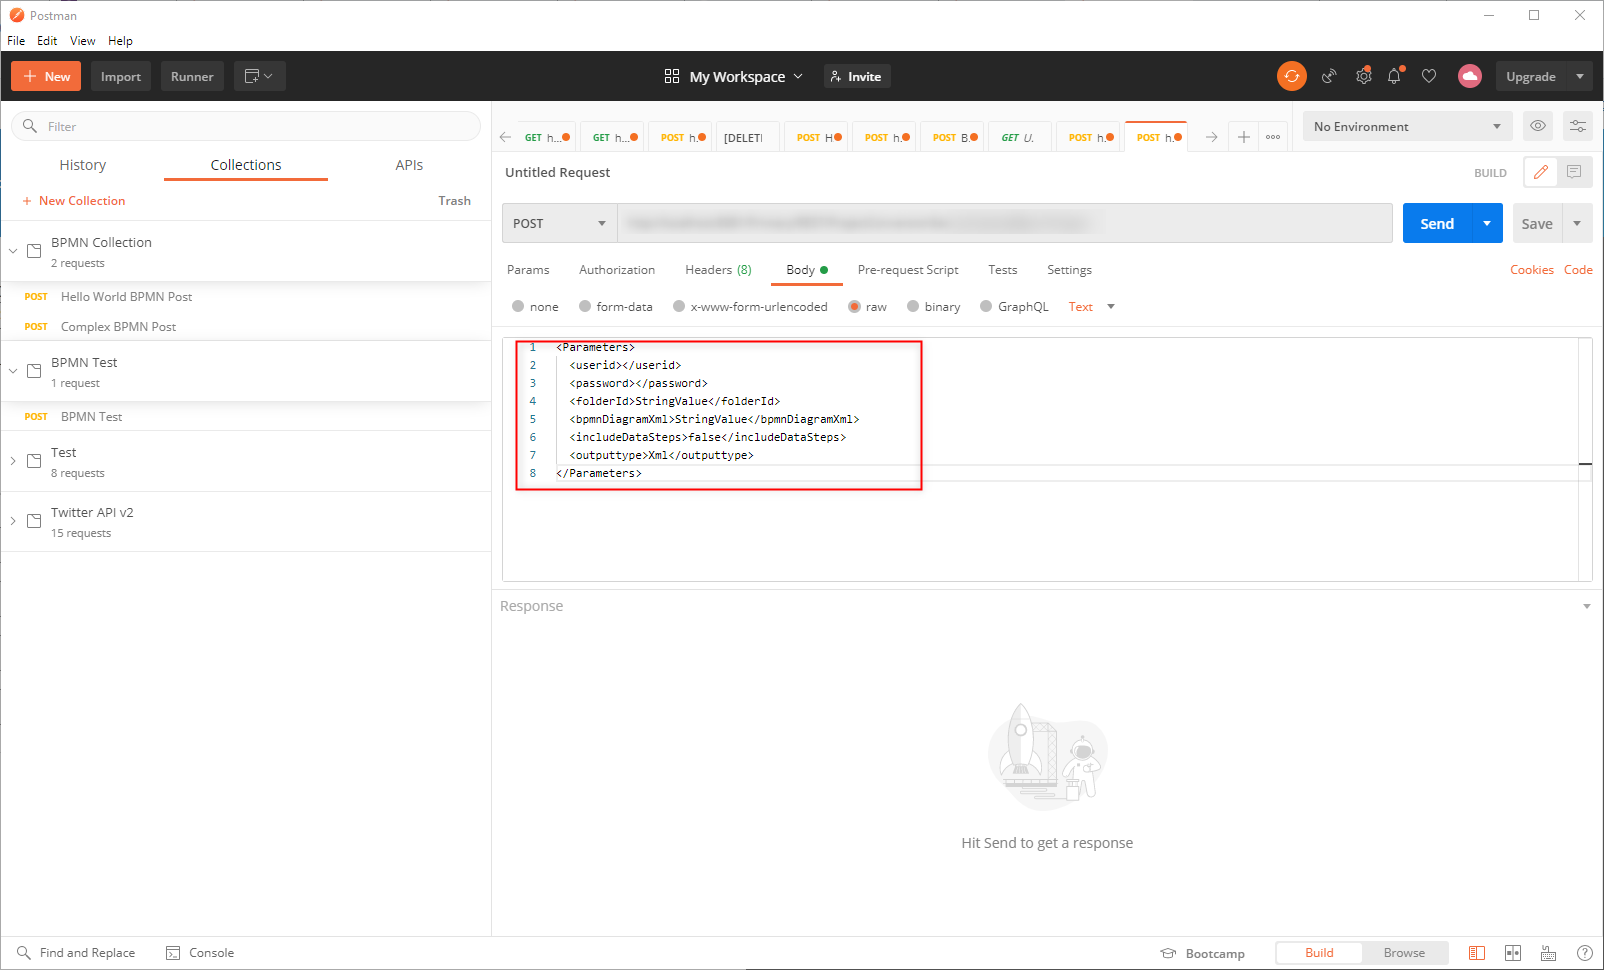
After the opening bpmnDiagramXml tag, replace StringValue, with the desired BPMN XML content, leading the text with <![CDATA[ and closing the text with ]]>. Then click Send.
Note on CDATA TagEnsure that the BPMN XML is encapsulated within the <![CDATA[ ]]> tag, Failing to do so will throw an error in the process and prevent the BPMN from importing.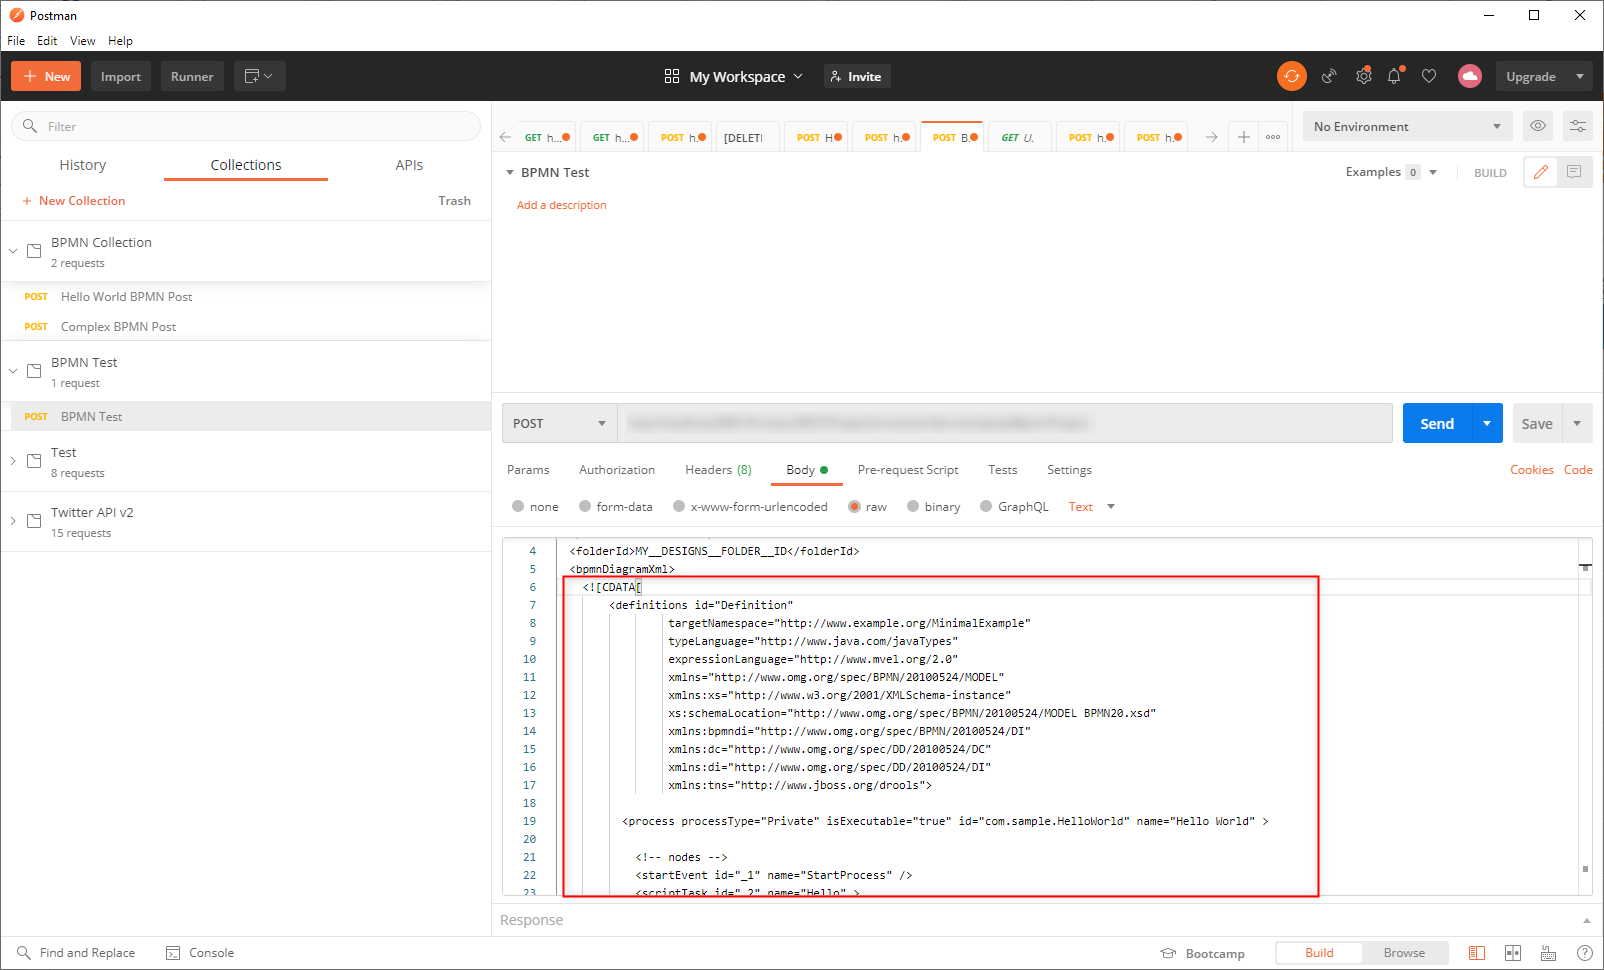
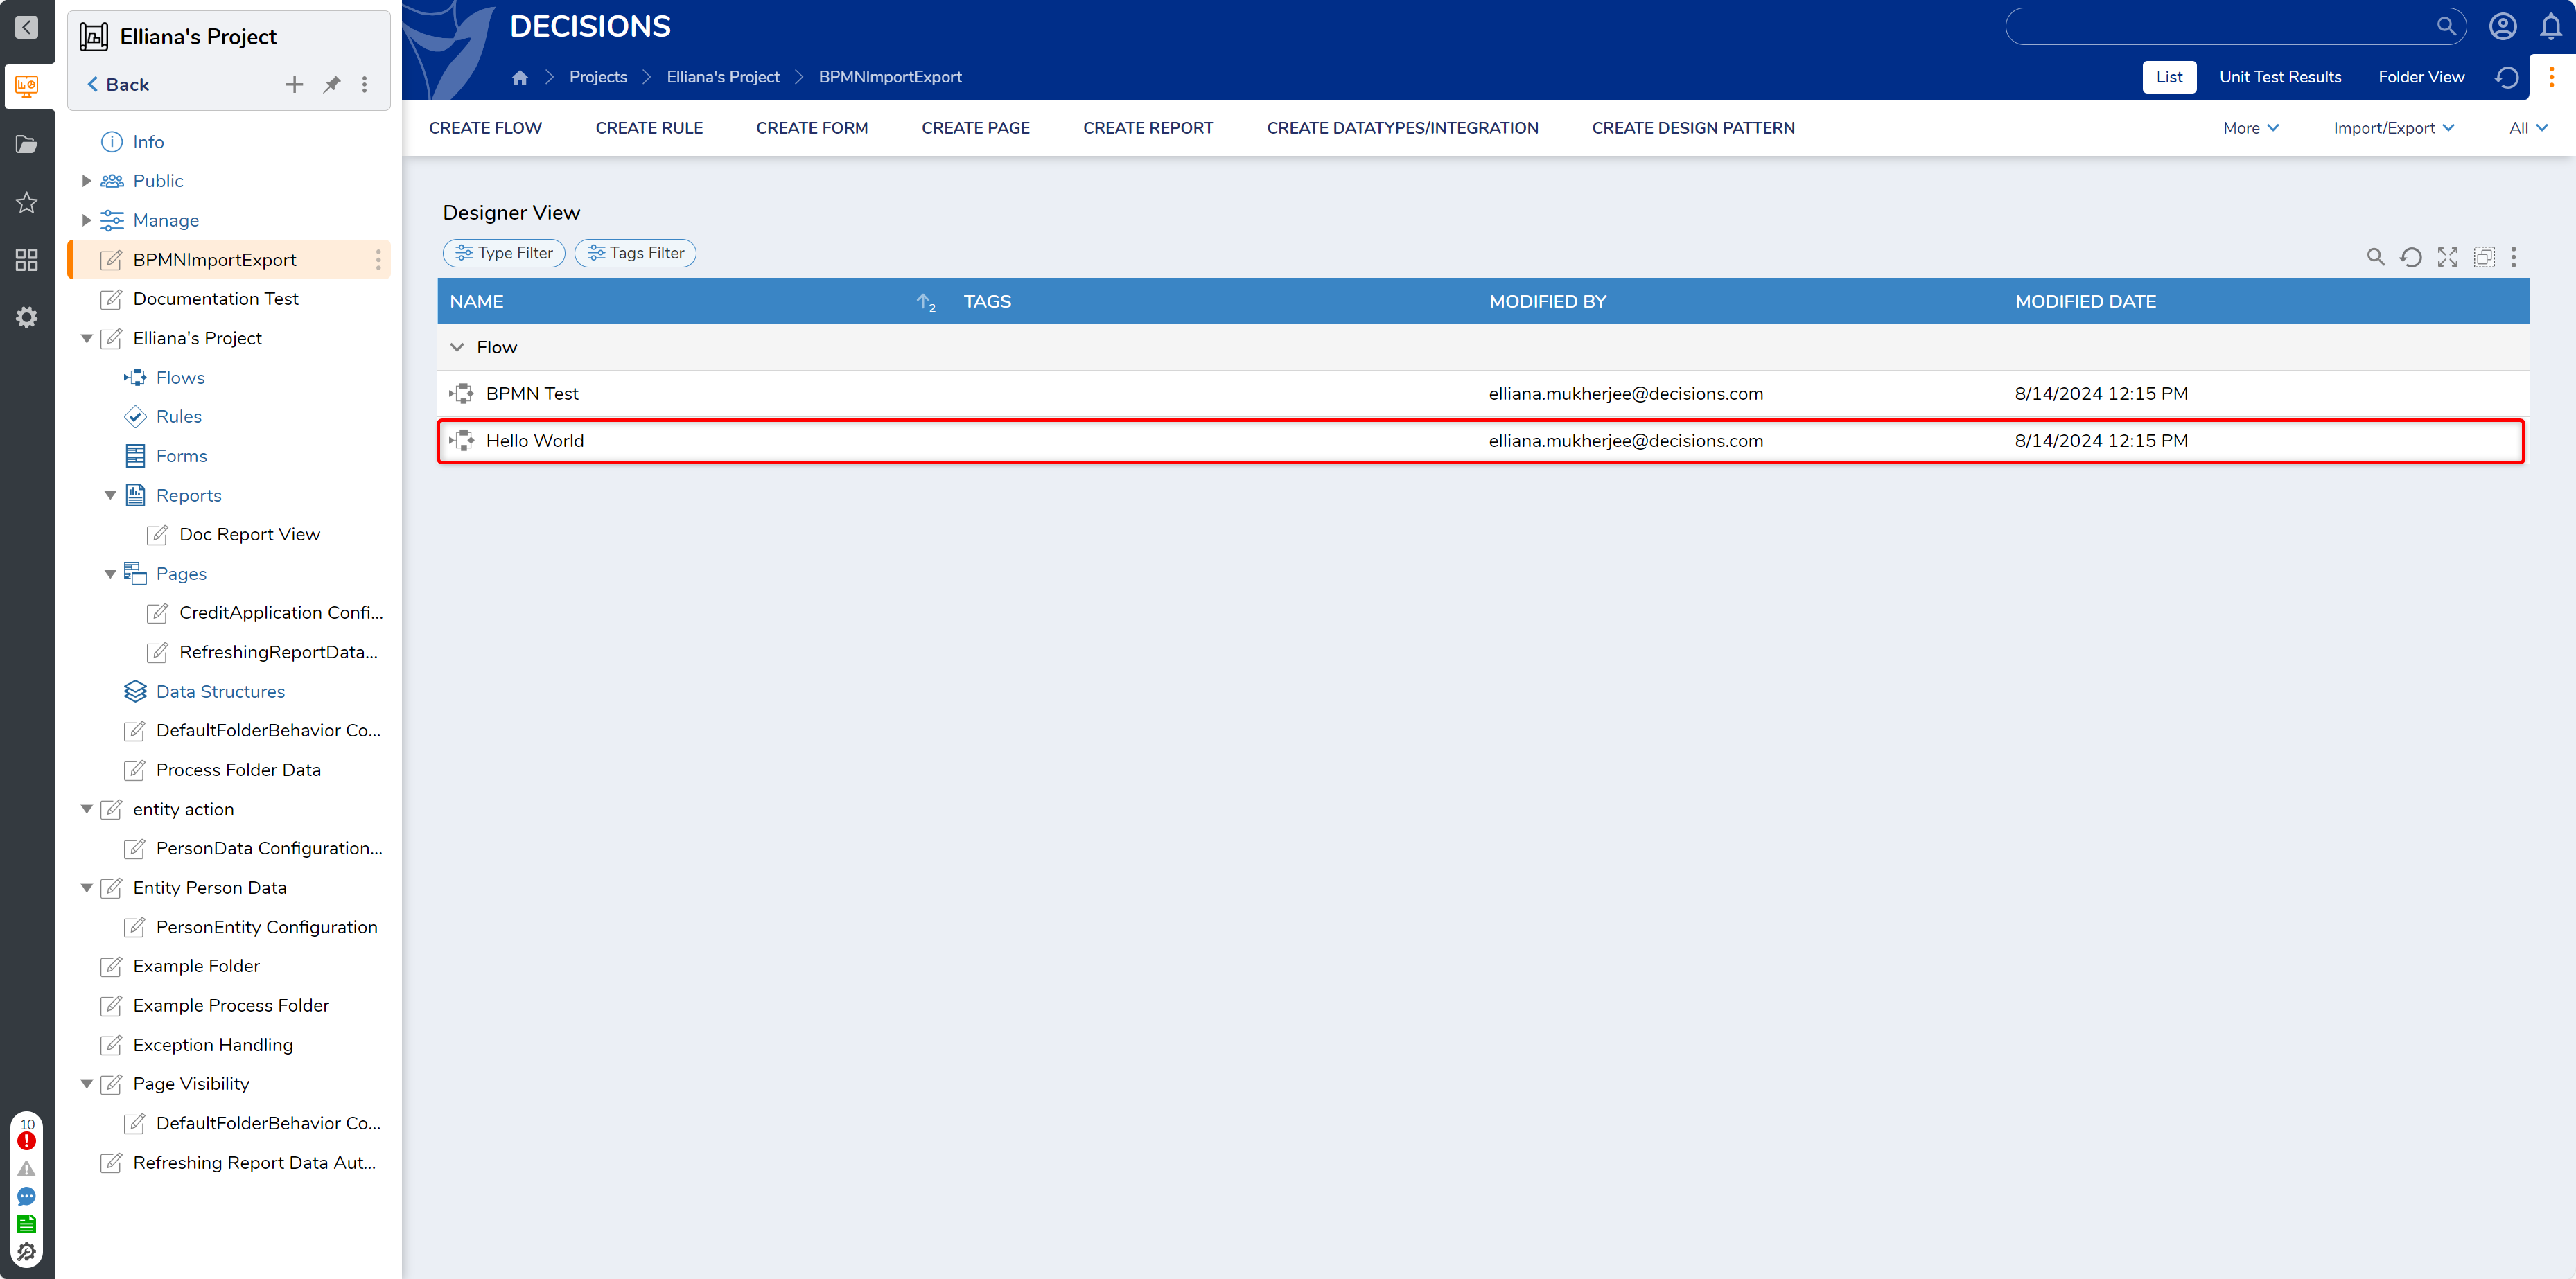
Navigate to the designated Designer Project, then locate and open the newly imported Flow.
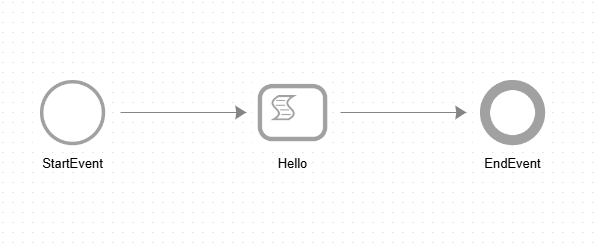
Verify that the Flow contains the expected Shapes, steps, and Annotations.
Example C: Export
Functionality to Export BPMN Flows as .bpmn files is currently in development.
To export a BPMN Workflow:
- Locate the desired Flow in Decisions Studio.
- Right-click the Flow and select Import/Export > Export.
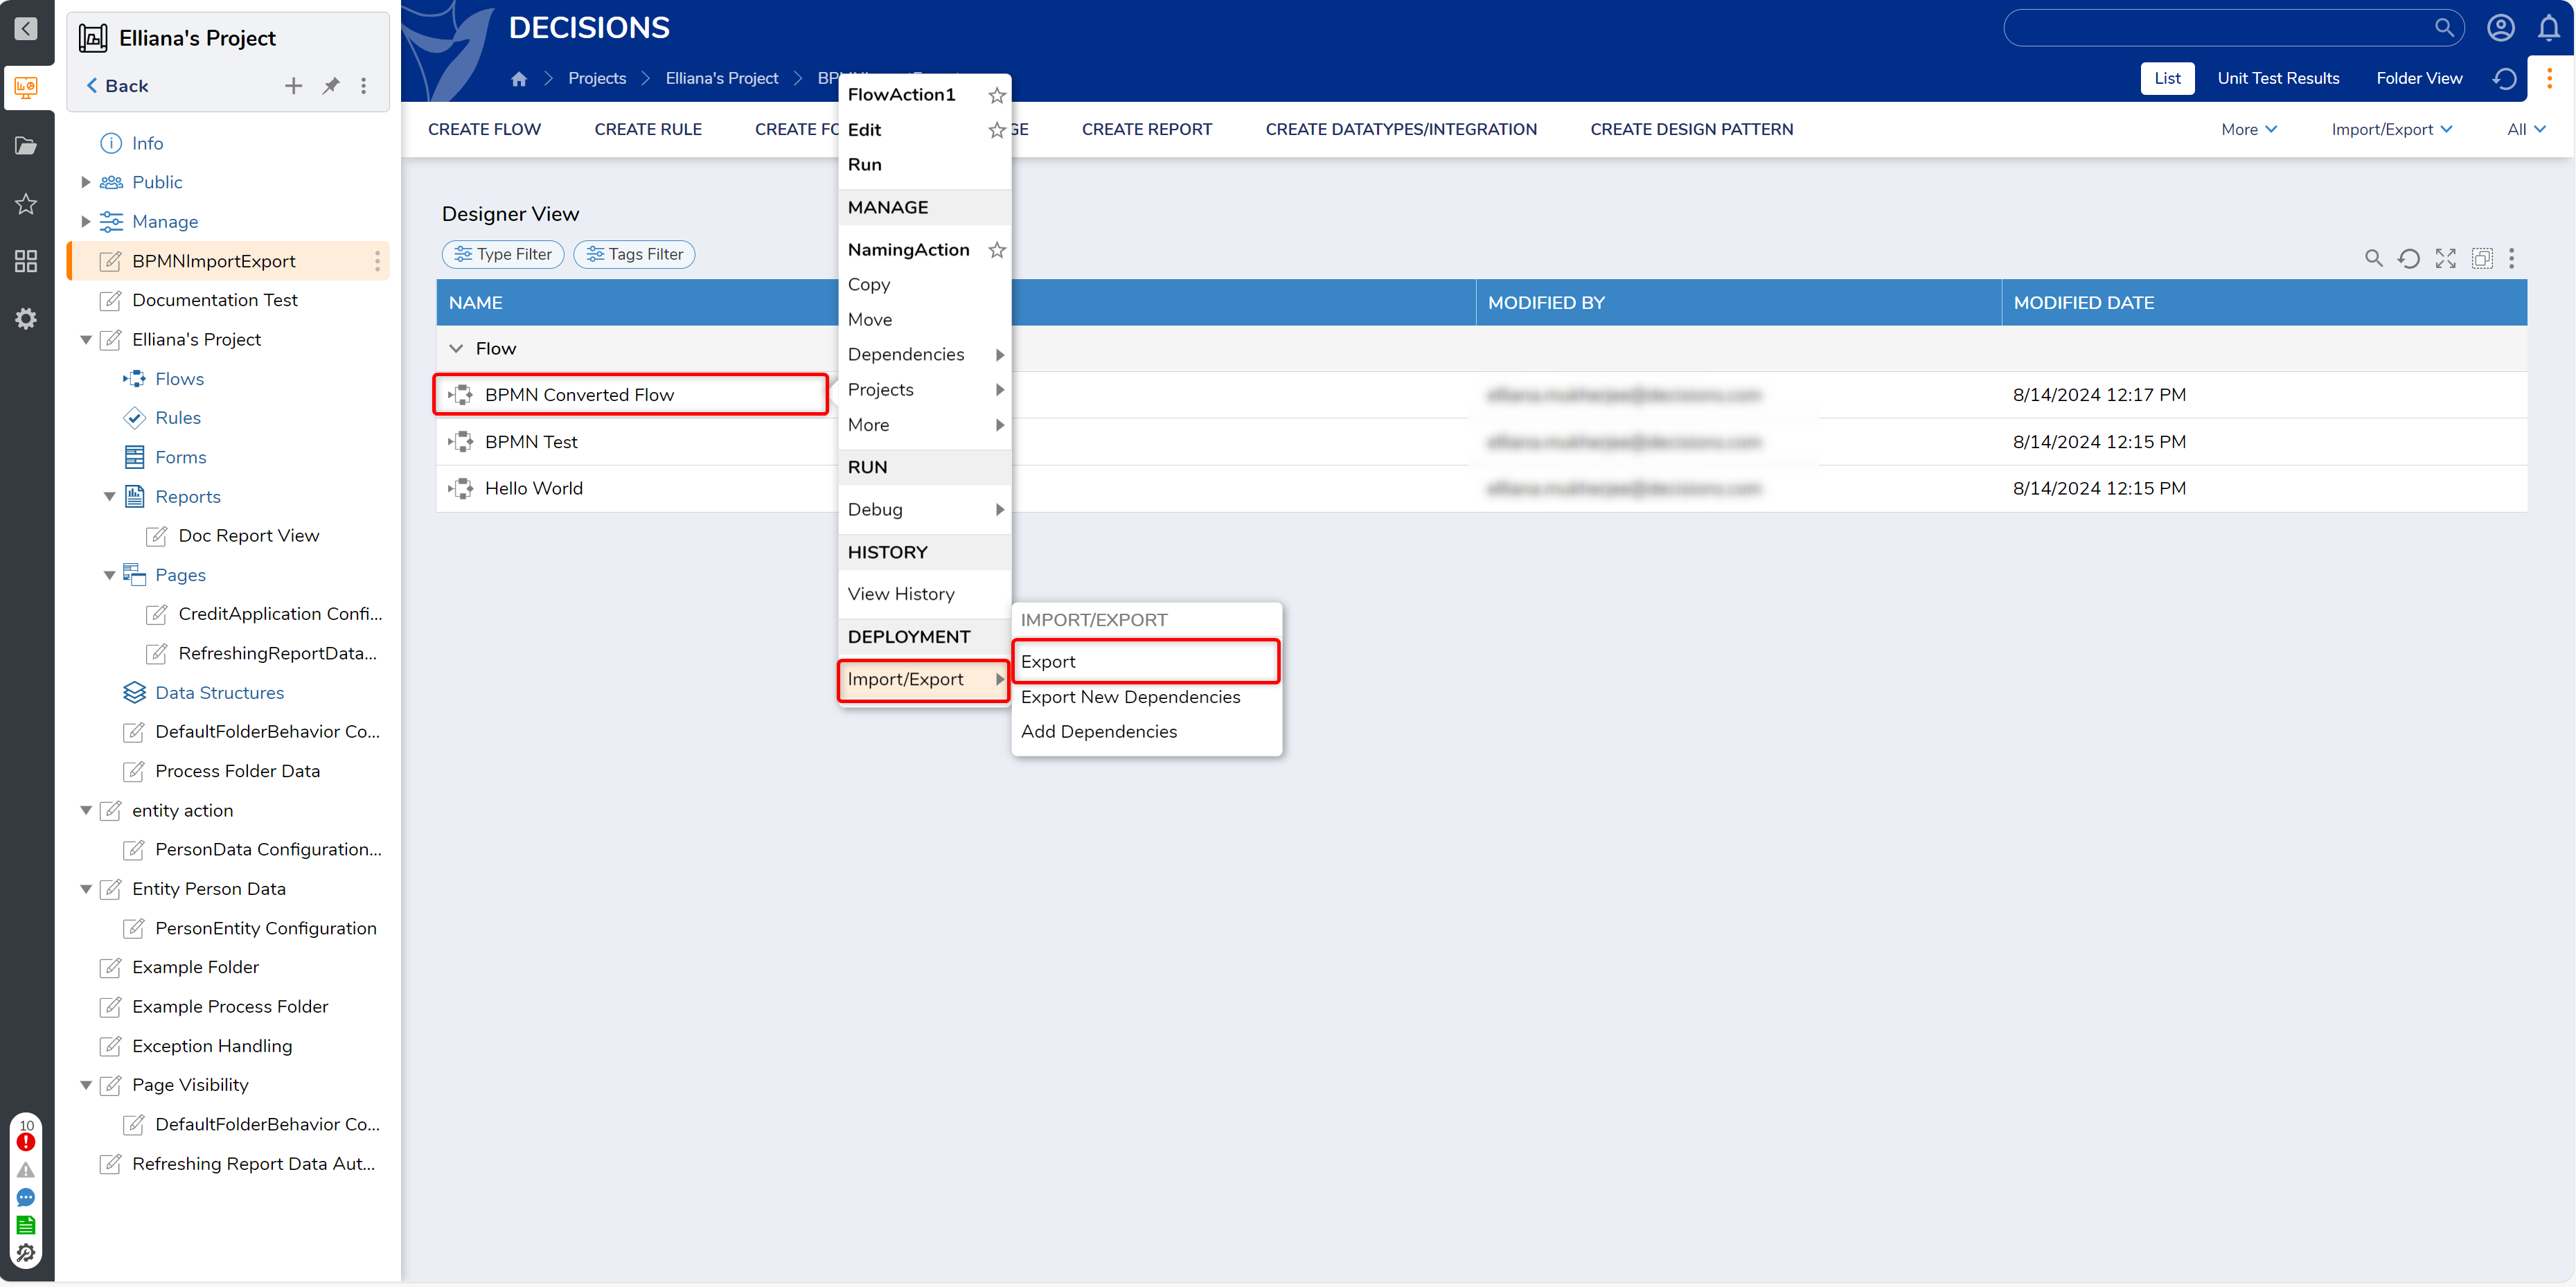
Once the item is ready, click DOWNLOAD.
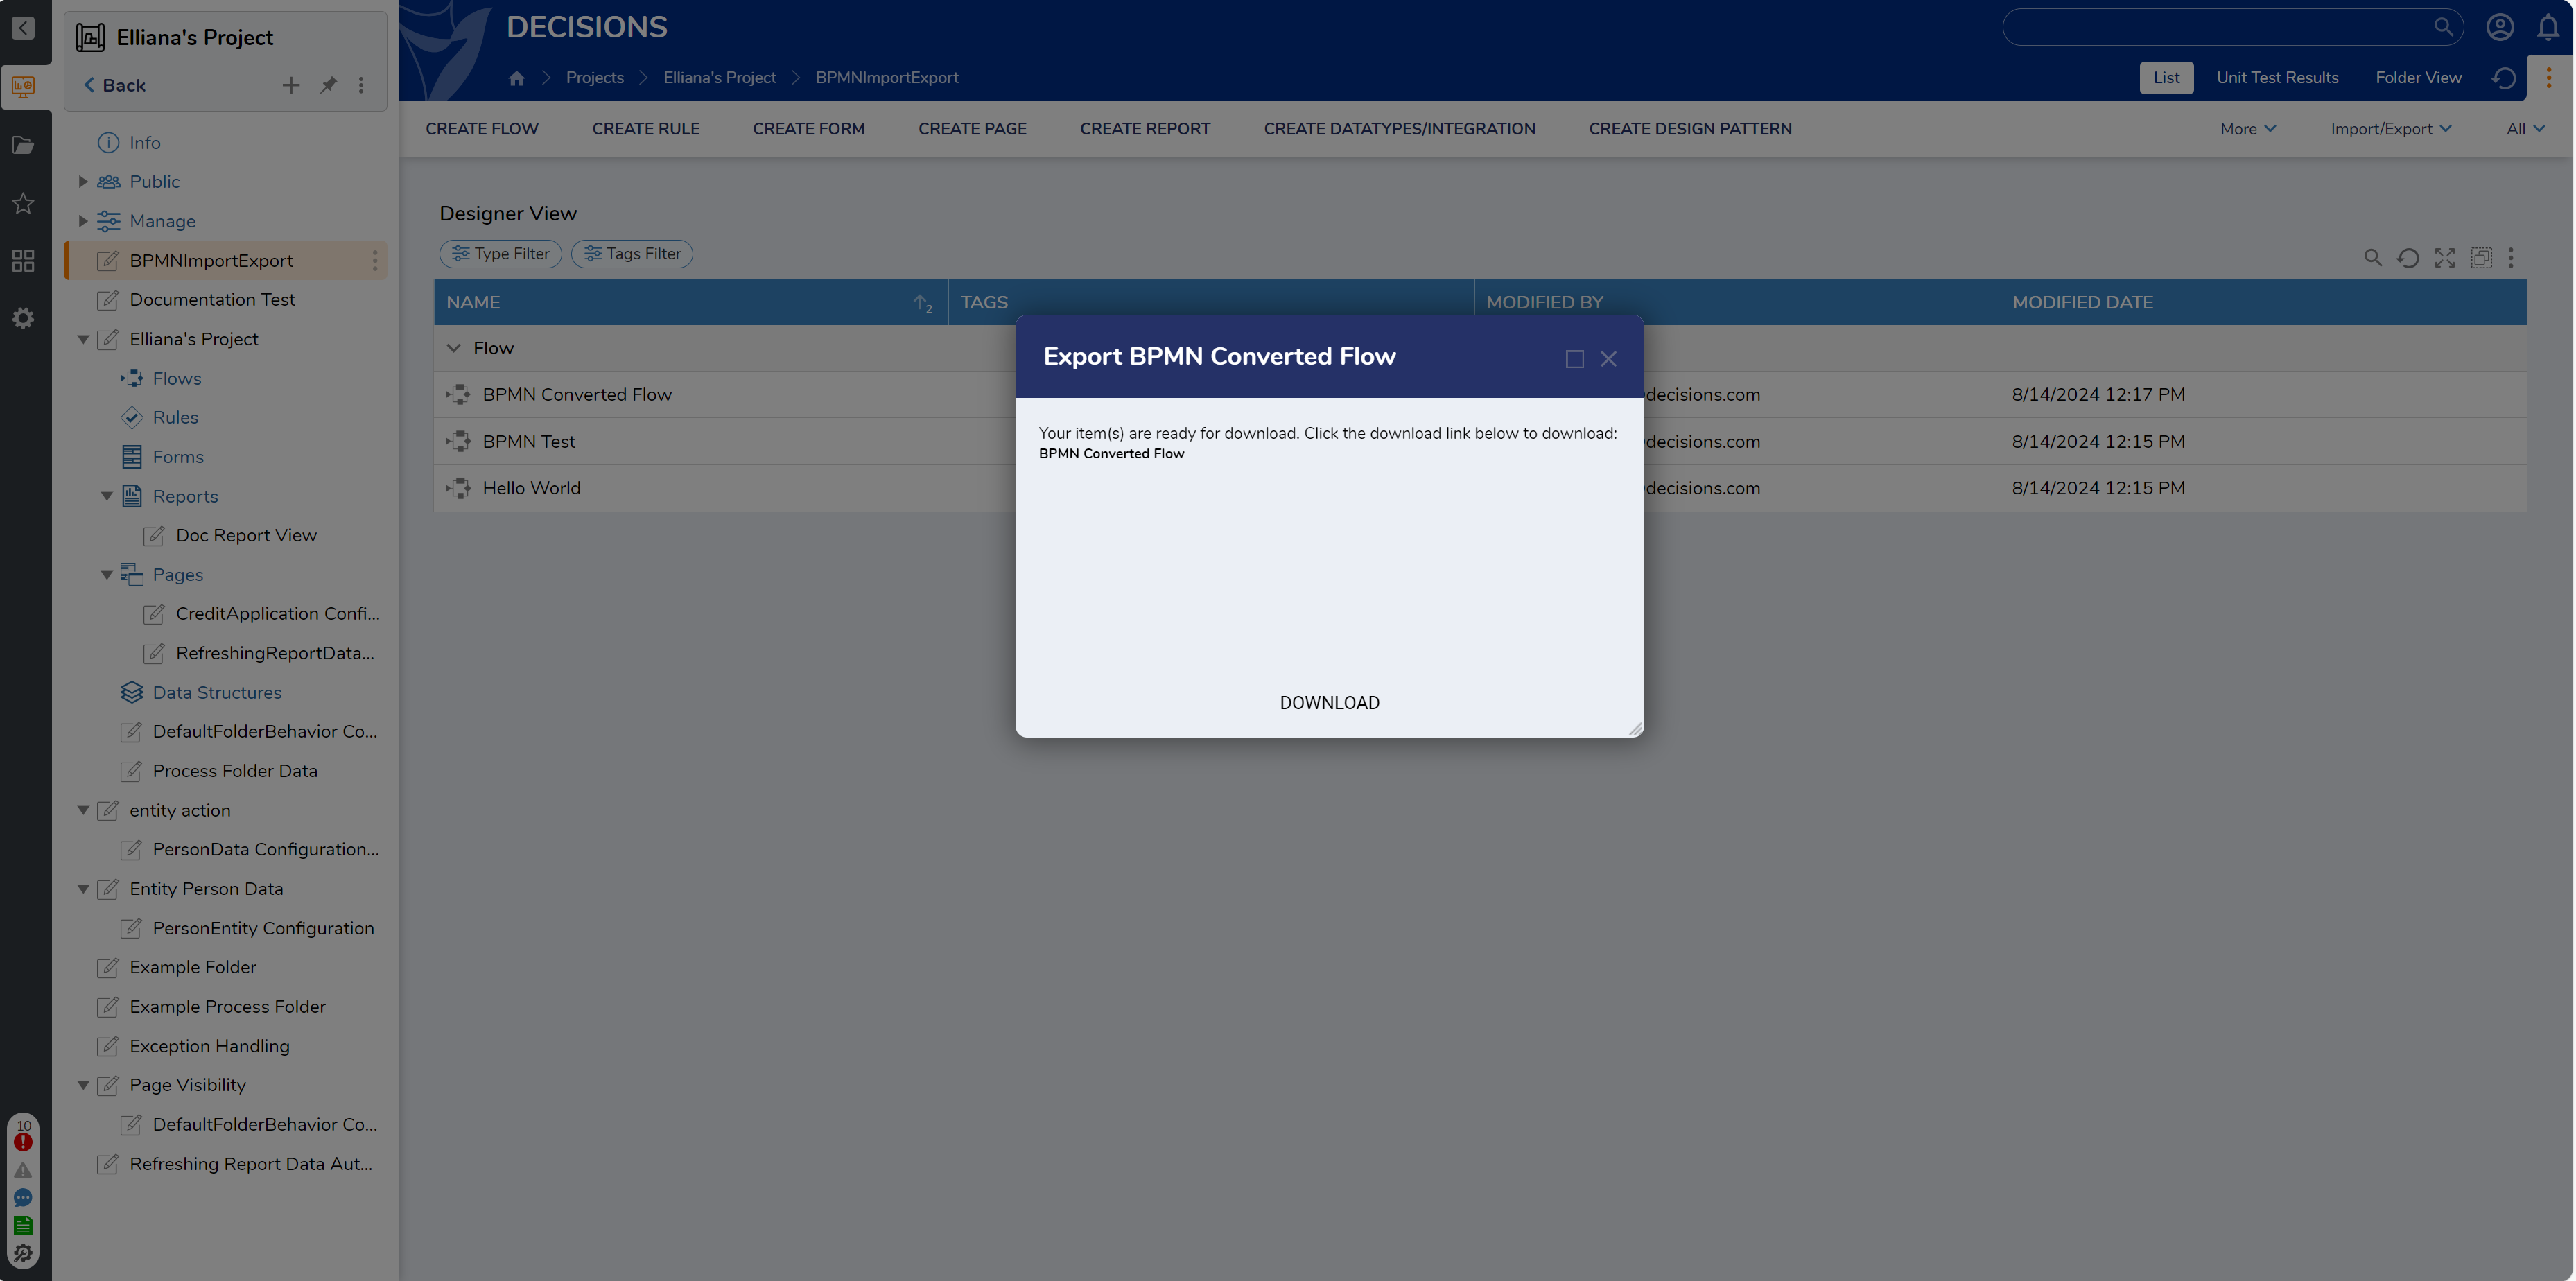 Note on DOWNLOADSelecting DOWNLOAD will Export and download the desired Flow as a .decObj to the default Download location on the Local System.