Overview
The Theme Editor allows admin users to customize and modify the user interface (UI) of an instance. It provides a graphical interface that enables users to make visual changes to the UI, such as altering colors, fonts, icons, and other design elements.
The changes made in the Theme Editor can be applied immediately without writing or changing the code on the default LESS files. Users can select to edit the Portal/Studio or Mobile theme. After selecting a theme, the Theme Editor lists all UI elements within that theme that can be changed.
Use Case
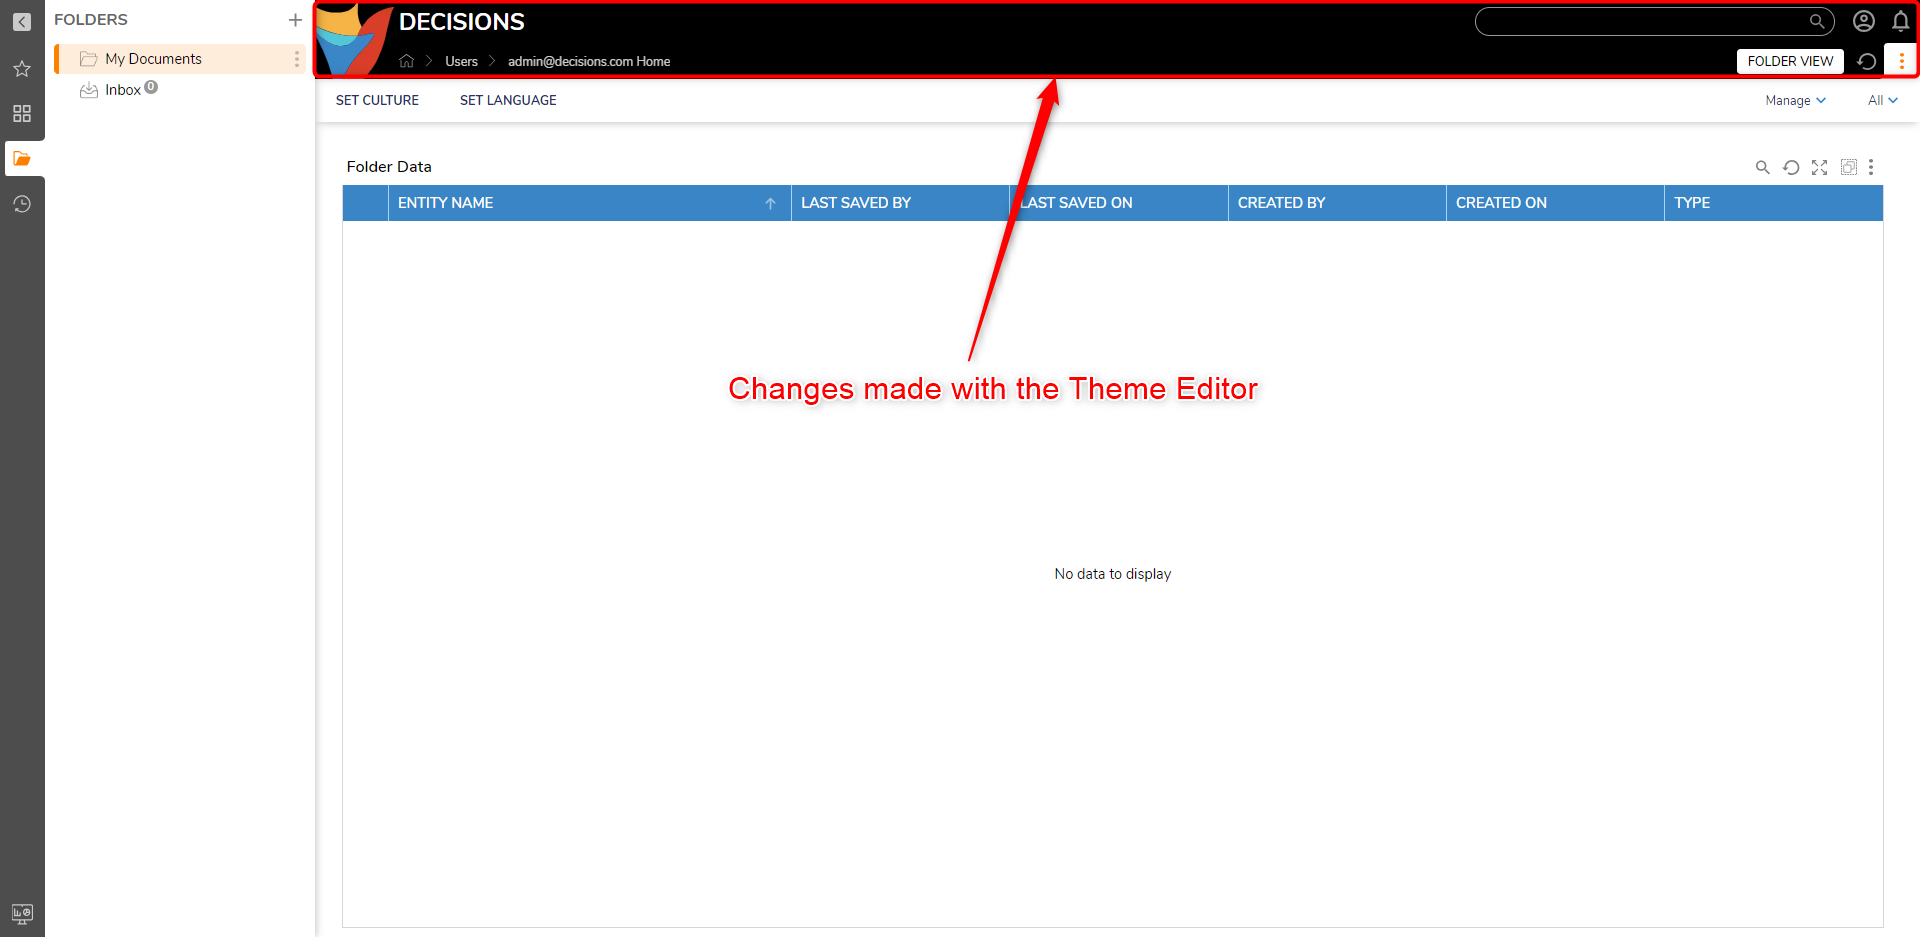
A common scenario often involves customizing the color scheme of the Portal to align with branding requirements. Additionally, other elements, such as navigational icons and loading indicators, can be modified to create a unique and personalized user experience. The image below showcases the default Portal with a customized version, demonstrating the distinct visual enhancements achieved through customization. This allows organizations to create a consistent and branded look and feel for their users, reinforcing their identity and improving overall user engagement.
Accessing the Theme Editor
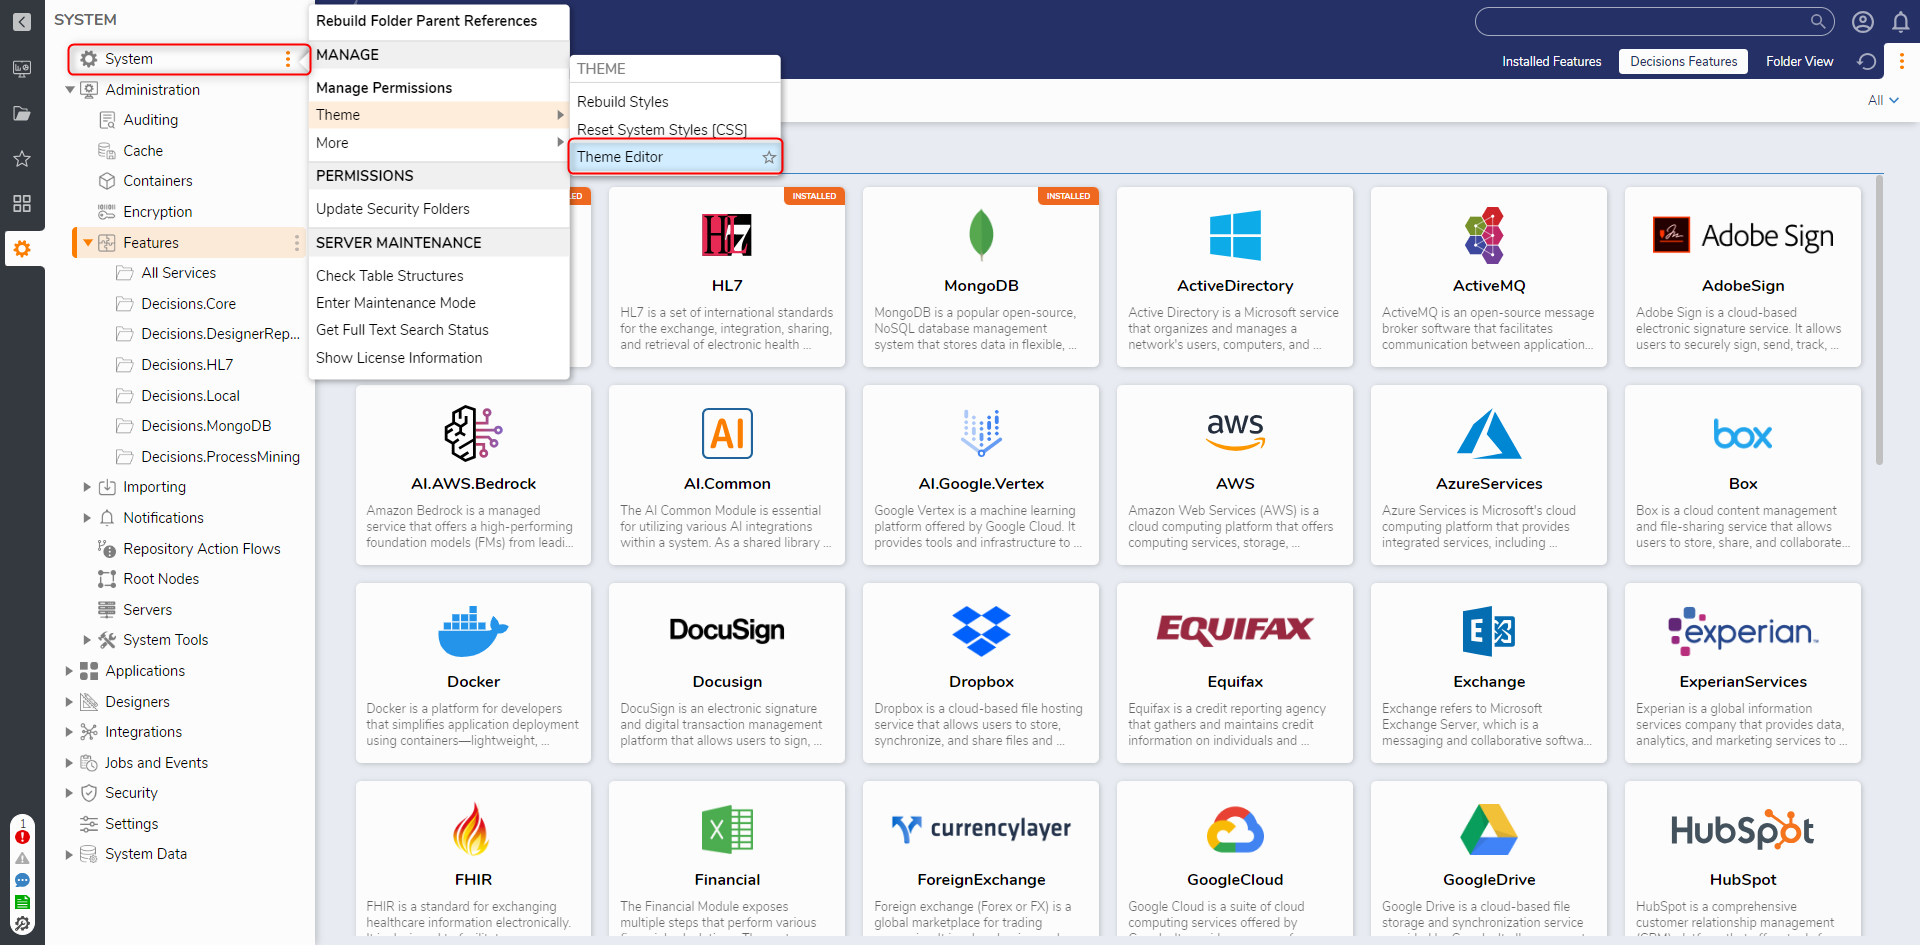
To view the Theme Editor. Navigate to System (gear icon) > Right-click on System (ellipsis icon) > Themes > Theme Editor.
The left panel displays the UI elements within the selected UI Theme. Specific elements may be found via the search bar.
There are four element types available for editing.
- Icons
- Font
- Size
- Color
Selecting an element populates the right panel with configurable options. Each type can be manually edited via the Edit action. Selecting the Pick Variable option instead lets mirroring the styling of the selected elements. This may be useful for preserving the same color scheme, icons, etc., across multiple UIs.
Applying a Change in the Theme Editor
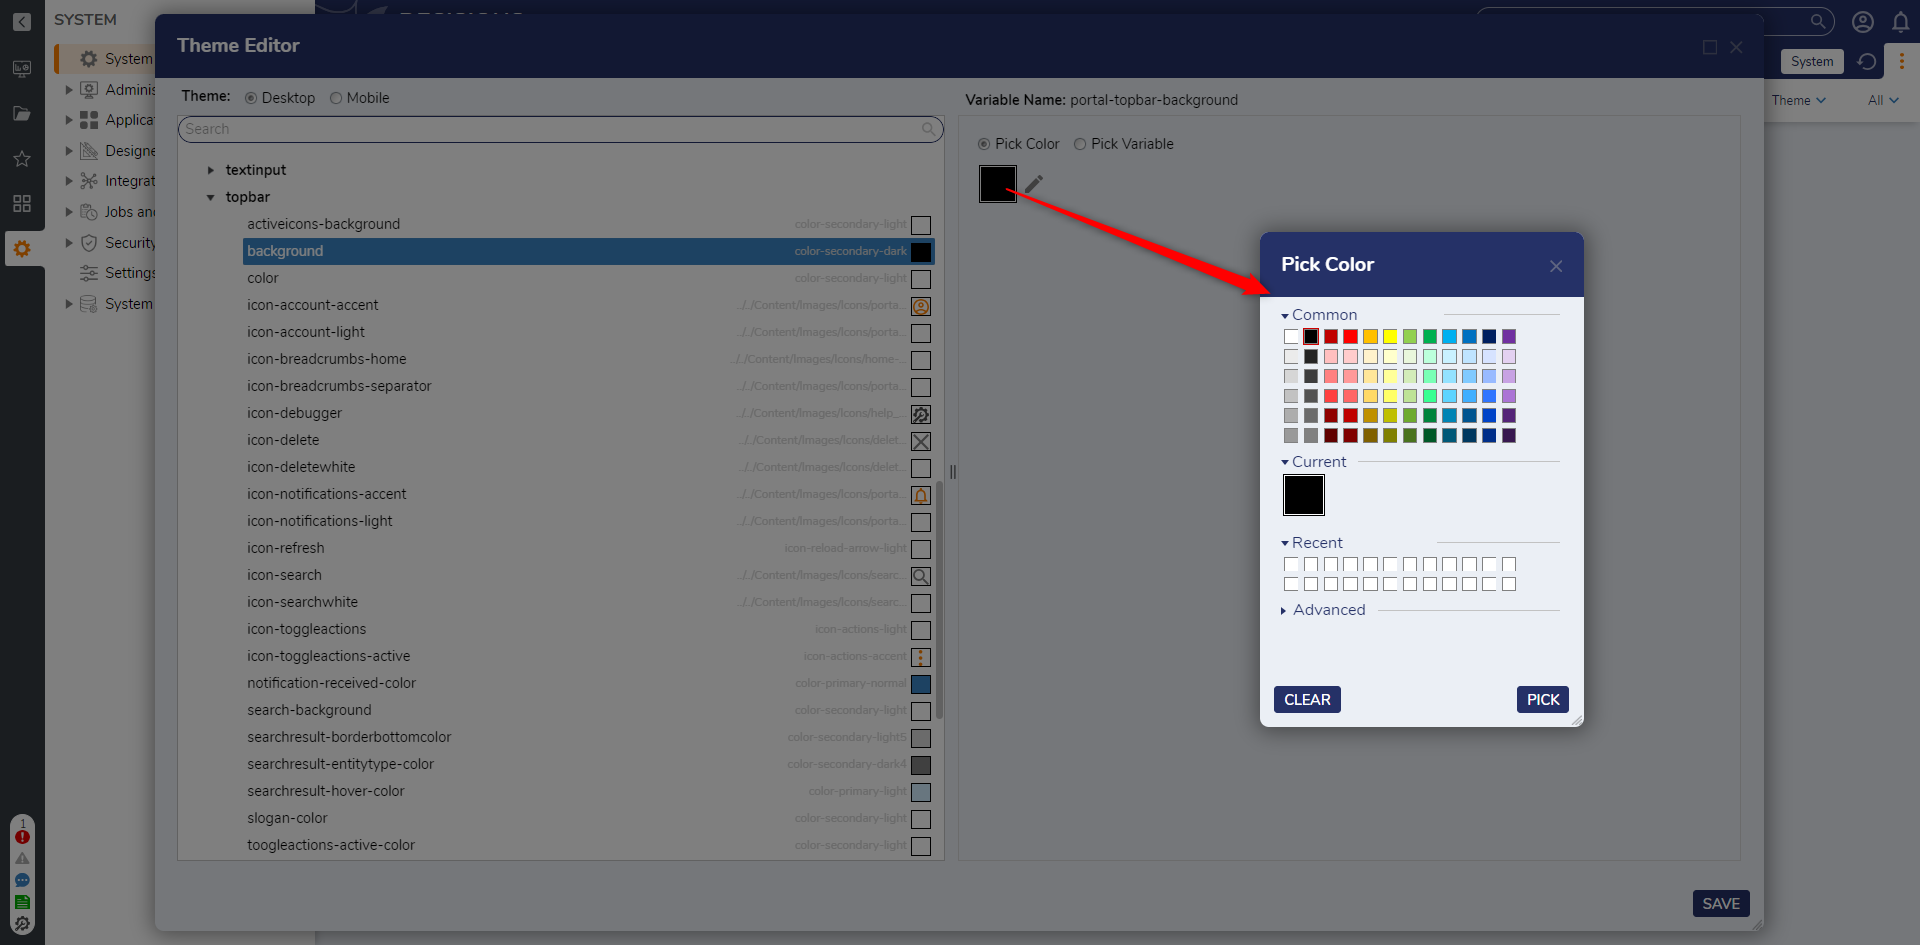
- Navigate to the Theme Editor Window. Select the User Portal > portal > topbar > background.
- In the right-side panel, click Pick Color and click the pencil icon. Select a color and click PICK.
- Click SAVE. The Save Theme window will allow the user to either apply the changes or only save them and apply them later. Applying changes requires the Portal to reload.Changes not appearing after browser refresh?Applying theme changes might take a few minutes and requires the portal to be reloaded.
If the theme is still not visible, try clearing the browser's cache to update the theme.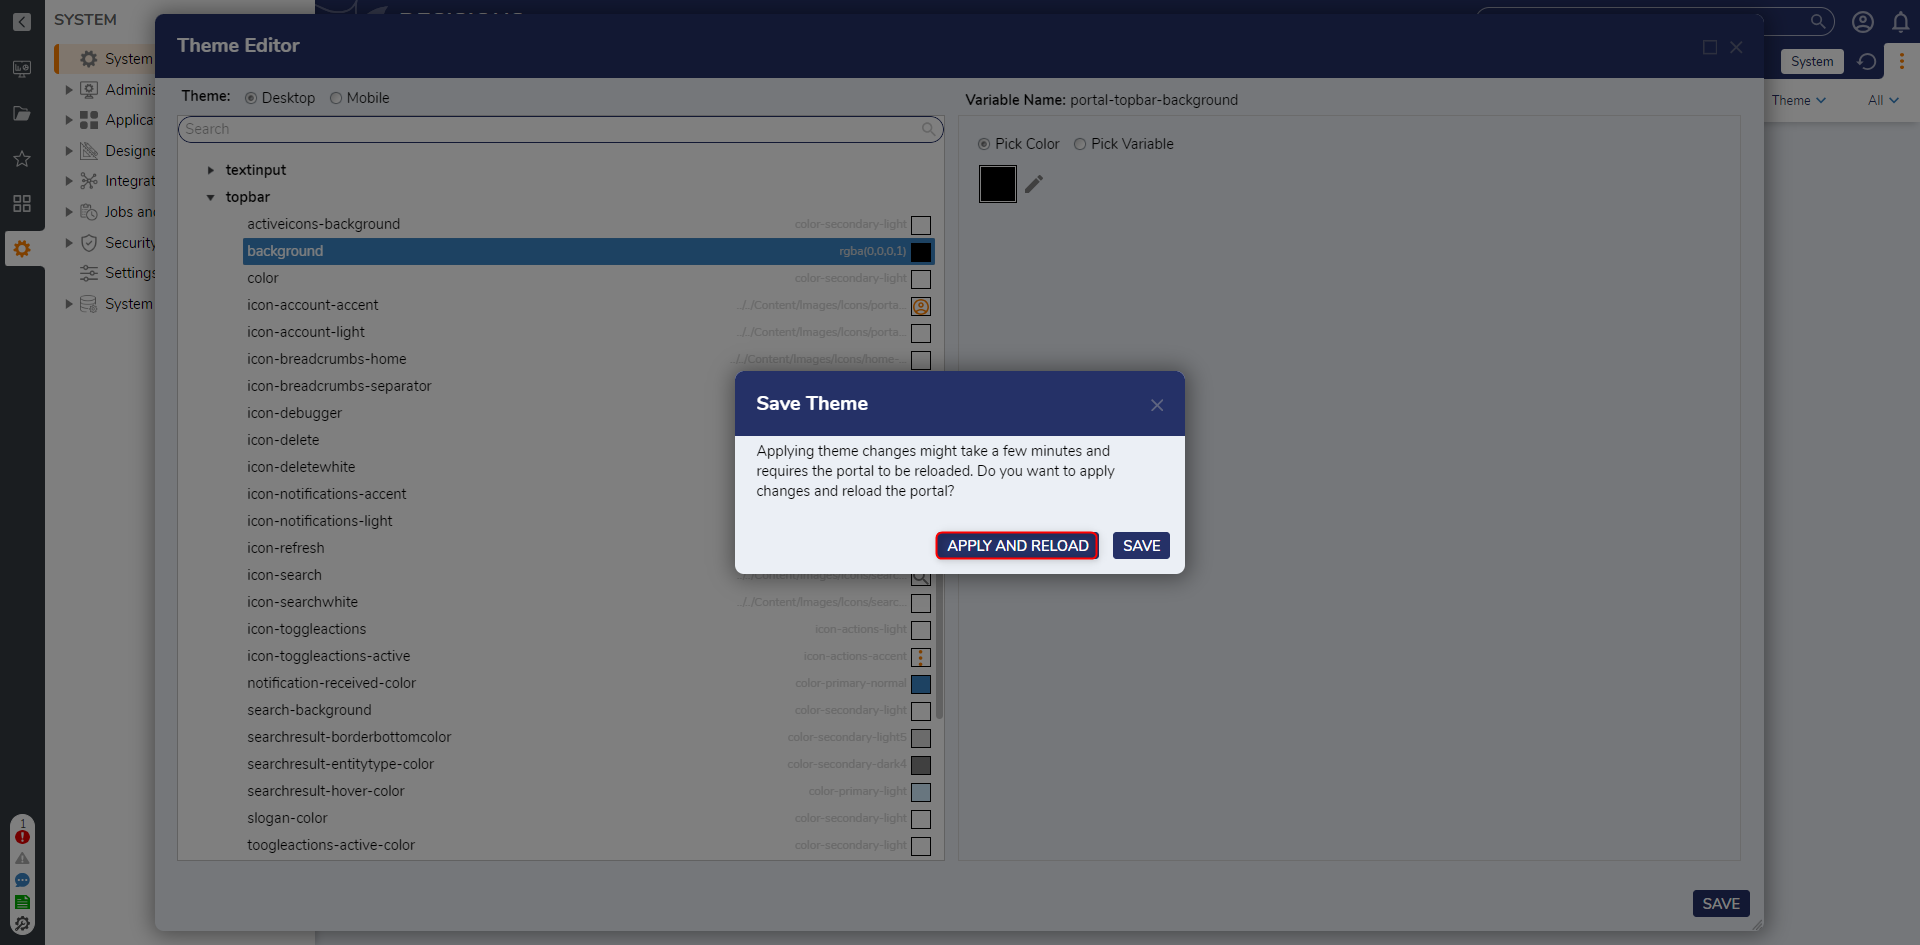
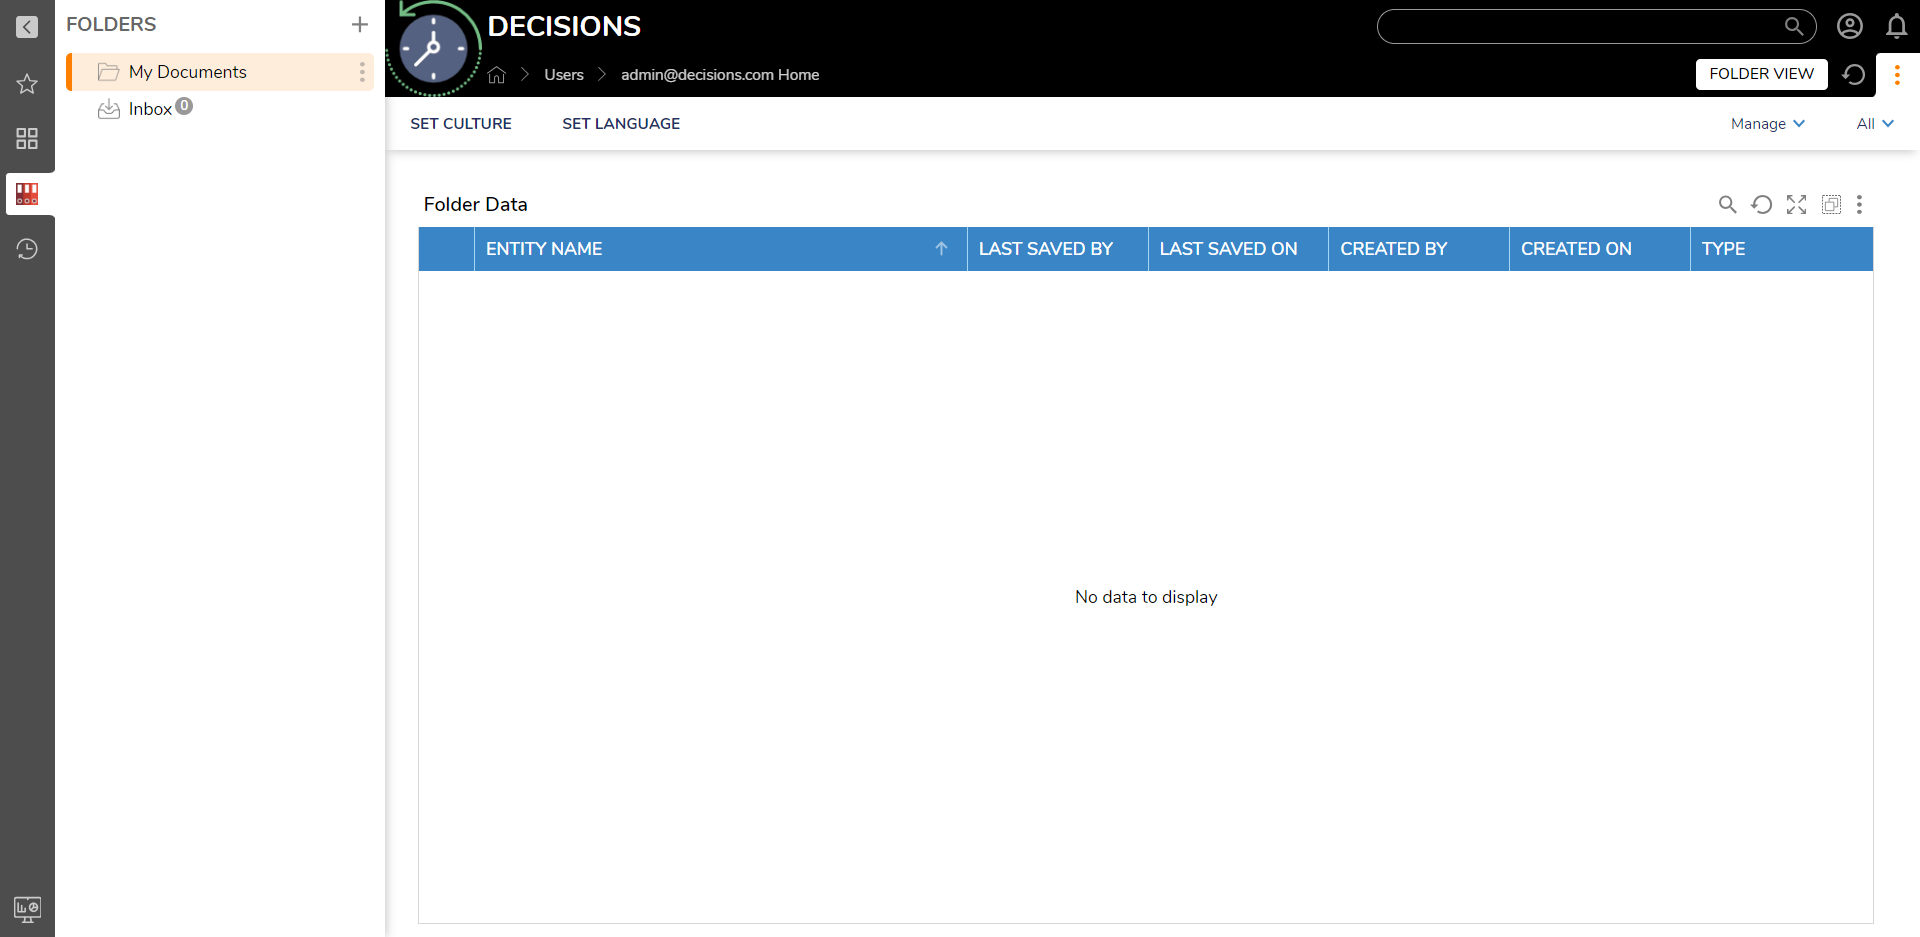
To see the theme changes switch to the User Portal. You will immediately notice that the topbar color has been altered as per the selected preference.
Custom Icons
While choosing the icon in the theme editor via Pick Icon, Users have three options:
| Setting Name | Description |
|---|---|
| From Platform | Allows to select a bunch of default icons that are already present in the platform. Users can also upload their own custom images to the Decisions library. For more information, refer to Uploading Custom Images. |
| From File | Allows users to upload only .png files. |
| From URL | Allows to enter the image URL. Ensure the URL is accessible on the host server. |
Import/Exporting Theme Editor Settings
Below is a step-by-step guide on how to apply the same Theme Editor settings to different instances:
- Locate the custom.less file(s) in the originating instance. They are typically found in the directory path: C:\Program Files\Decisions\FileStorage\Primary\styles\themes. The file(s) should be formatted as 'theme.[UITheme]-custom.less'.
- Copy the custom.less file(s) from the originating instance.
- Paste the copied file(s) into the same directory path in the destination instance.
- Navigate to System (gear icon) > Right-click on System (ellipsis icon) > Themes > Re-build Styles.
The system may take some time to rebuild the styles. You will receive a pop-up notification once the process is complete. To view the changes, it is recommended to empty the cache of your browser and perform a hard reload. This will ensure that the updated styles are properly displayed.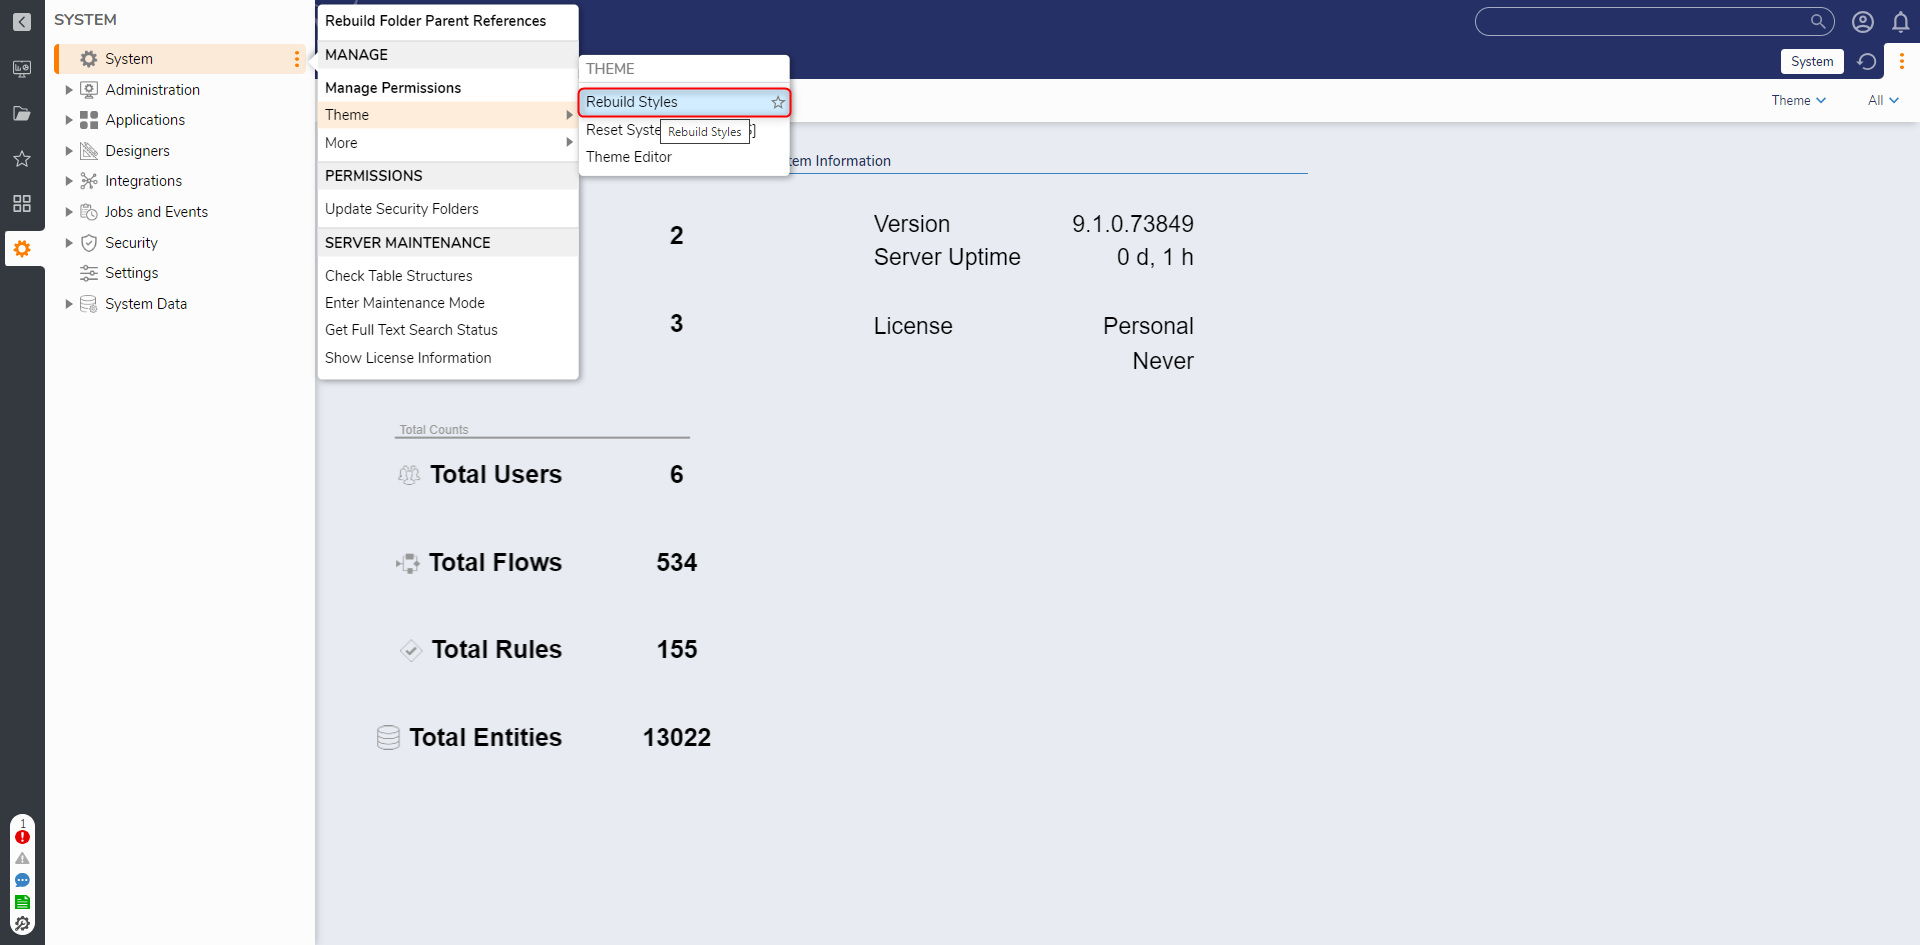
By following these steps, you can successfully apply the same Theme Editor settings across different instances, ensuring uniformity in the appearance and design of your application or platform.
Reverting to Default Settings
Navigate to the System (gear icon) > Right-click on System (ellipsis icon)> Themes > Reset Theme Styles (CSS). To view the changes, it is recommended to empty the cache of your browser and perform a hard reload. This will ensure that the updated styles are properly displayed.