Overview
Users may submit custom images into the Decisions Image Library, where they may be added to Forms, Pages, etc., to suit aesthetics and/or branding needs best.
Using the Custom Images folder helps improve performance for icons and other UI elements that are reused across Forms, Pages, Dashboards, and similar surfaces. Images stored in the instance Image Library can be served consistently within the platform, reducing repeated lookups and minimizing reliance on external image locations.
Uploading an image in the Decisions memory allows multiple users in the same instance to quickly access similar images, such as logos and icons, when creating an Element. This removes the repetitive rework of selecting the same image URL and/or image file from a device.
Custom images support the following image file extensions.
- SVG
- ICO
- JPG / JPEG
- PNG
There are two ways to add Custom Images to Decisions: the System folder or the File Directory.
System Folder
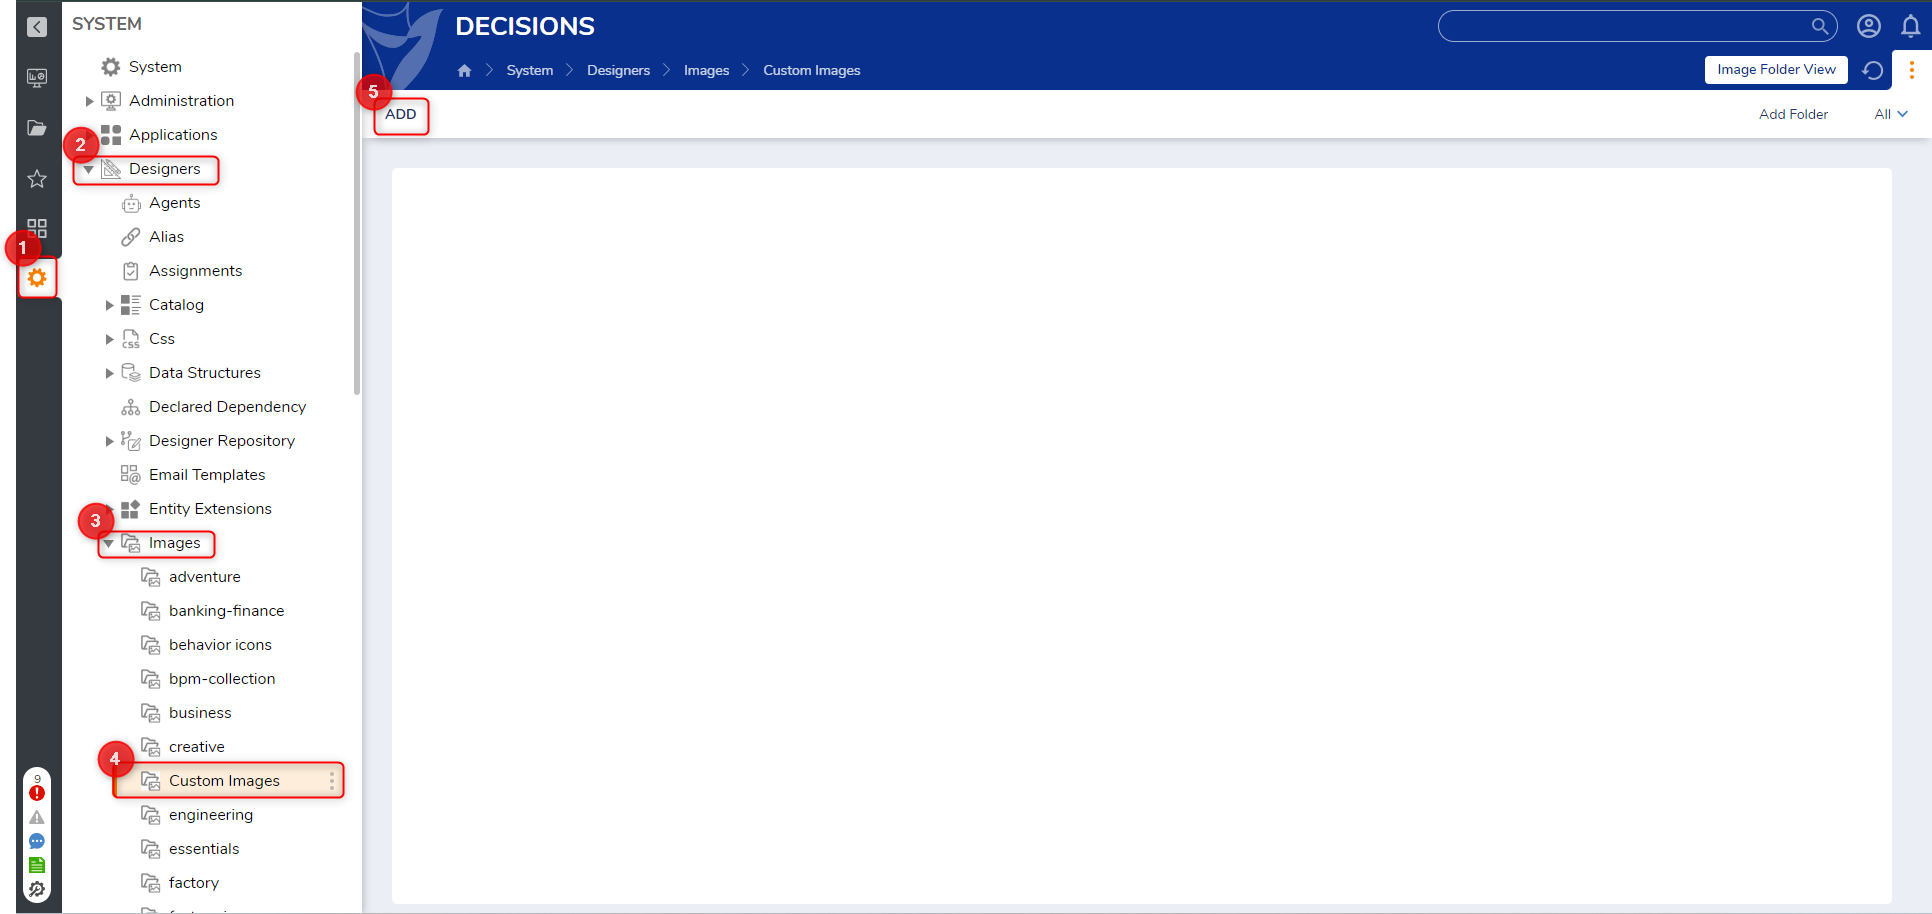
- Navigate to System > Designers > Images > Custom Images.
- Select ADD at the top left of the Custom Images folder.
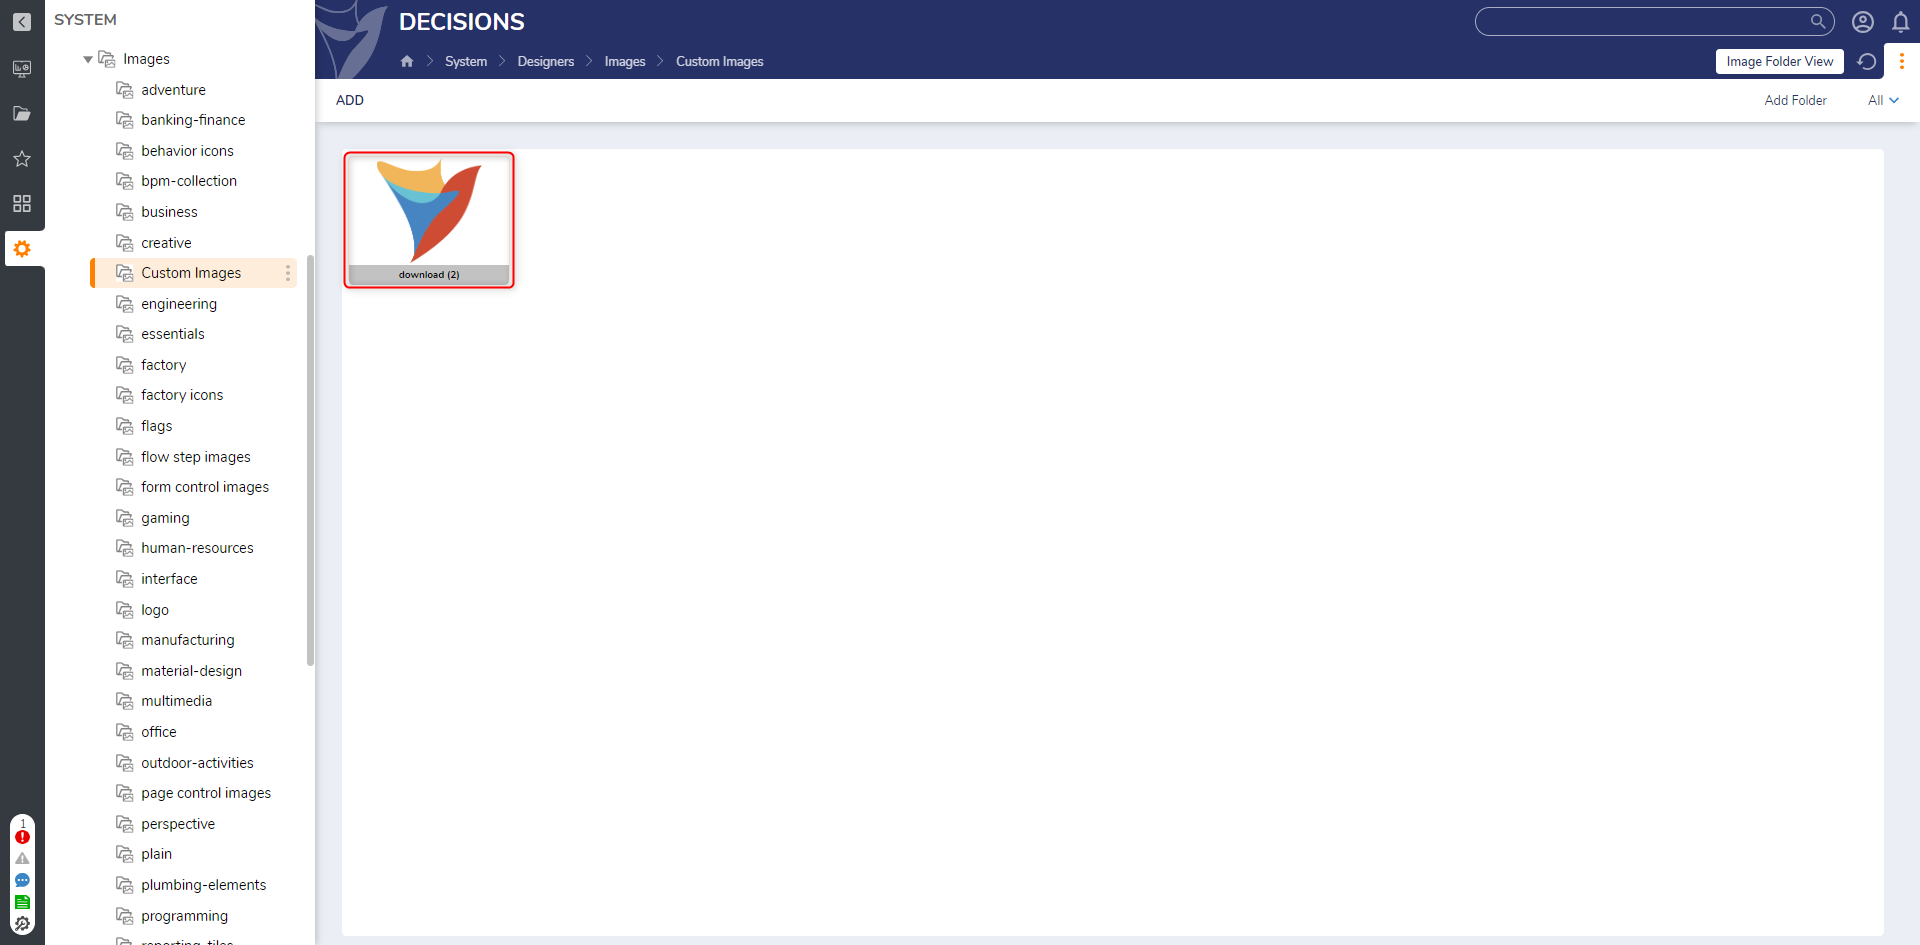
- In the Add window, drag or choose a supported image file to upload, then confirm the selection by choosing UPLOAD IMAGE. Refresh the browser to view the newly uploaded image in the folder.
Using a Custom Image in a Form
After a custom image is uploaded, it can be referenced from a Form by selecting it as a constant input on a Show Form step.
- Create a new Flow in a Designer Project.
- Add a Show Form step, then select the step and choose Pick or Create Form.
- In the picker, select Create New Form to open the Form Designer.
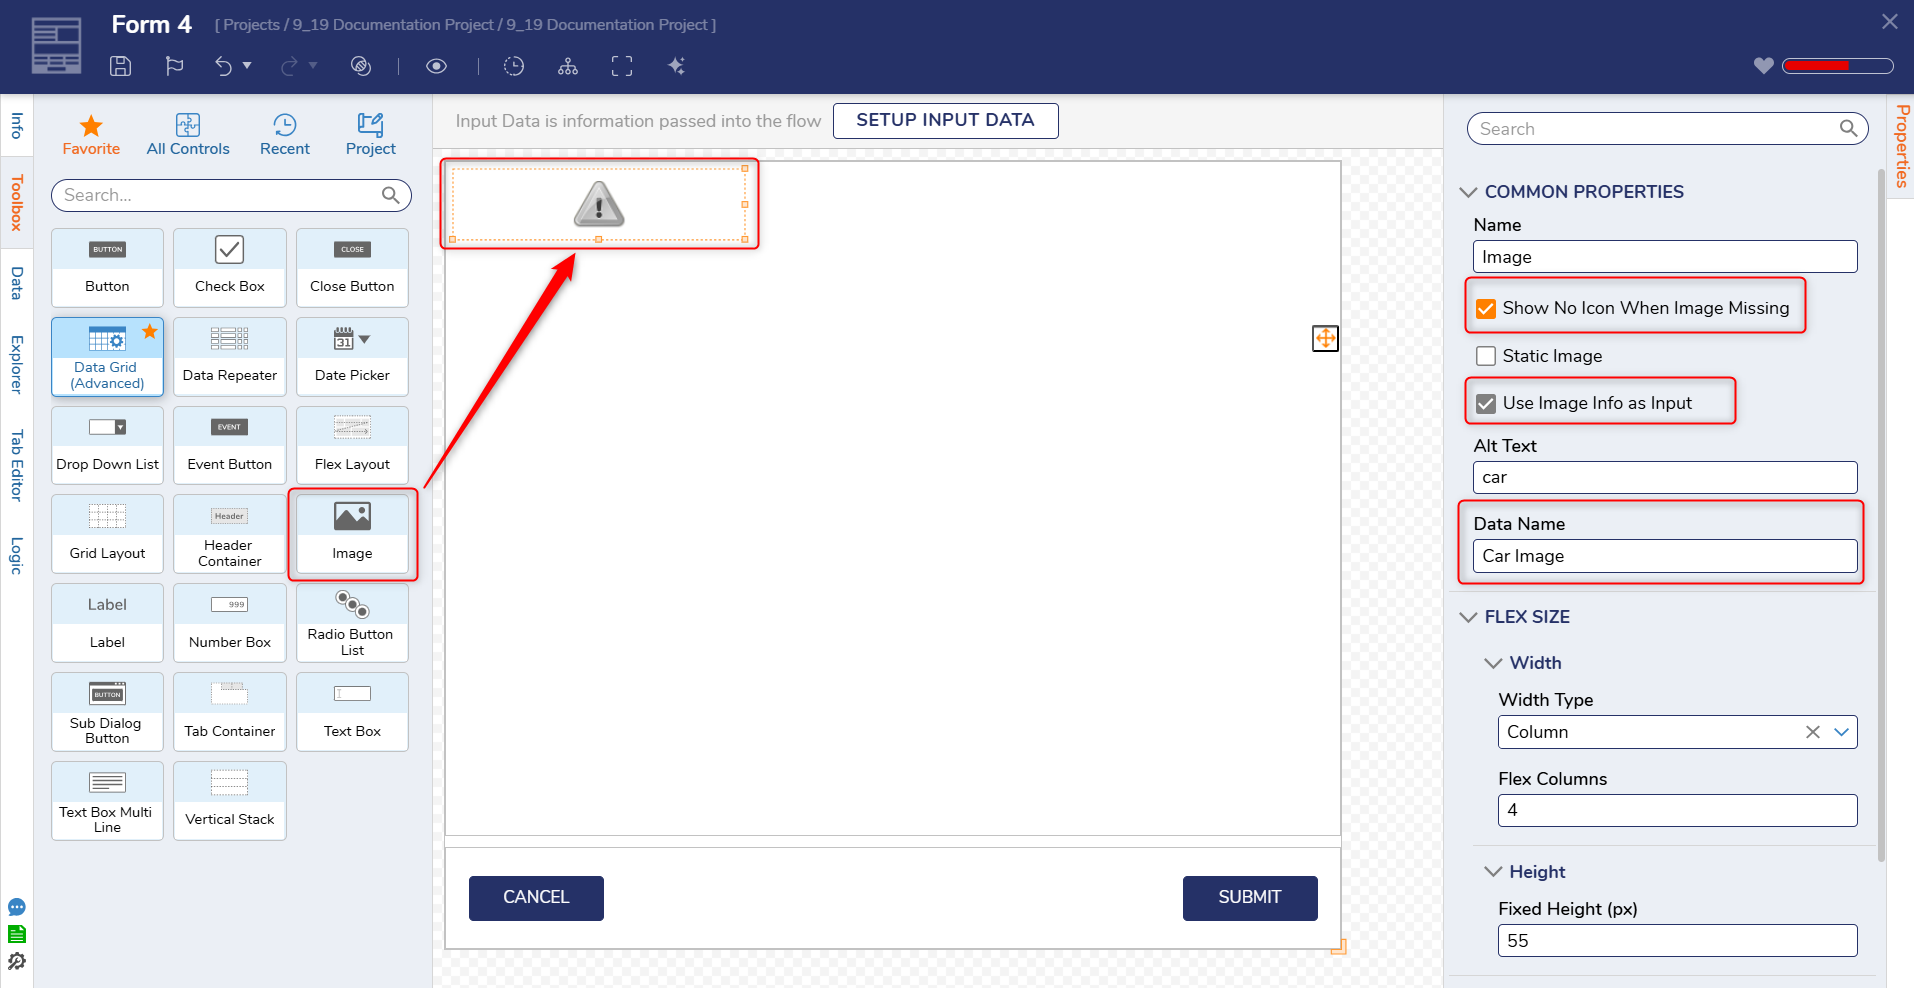
- In the Form Designer, drag an Image control onto the Form.
- Select the Image control, set a Data Name (for example, Car Image), and enable the following properties:
- Show No Icon When Image Missing
- Use Image Info as Input
- Save and close the Form.
- Back in the Flow Designer, select the Show Form step and locate the Image input (for example, Car Image).
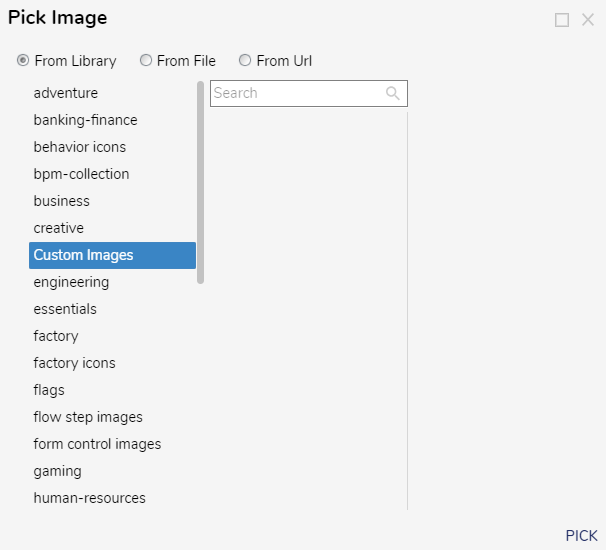
- For the Image input, set the mapping type to Constant, then select the Edit (pencil) icon to open the Pick Image window.
- In the Pick Image window, select Custom Images, choose an uploaded image, and select Pick to confirm.
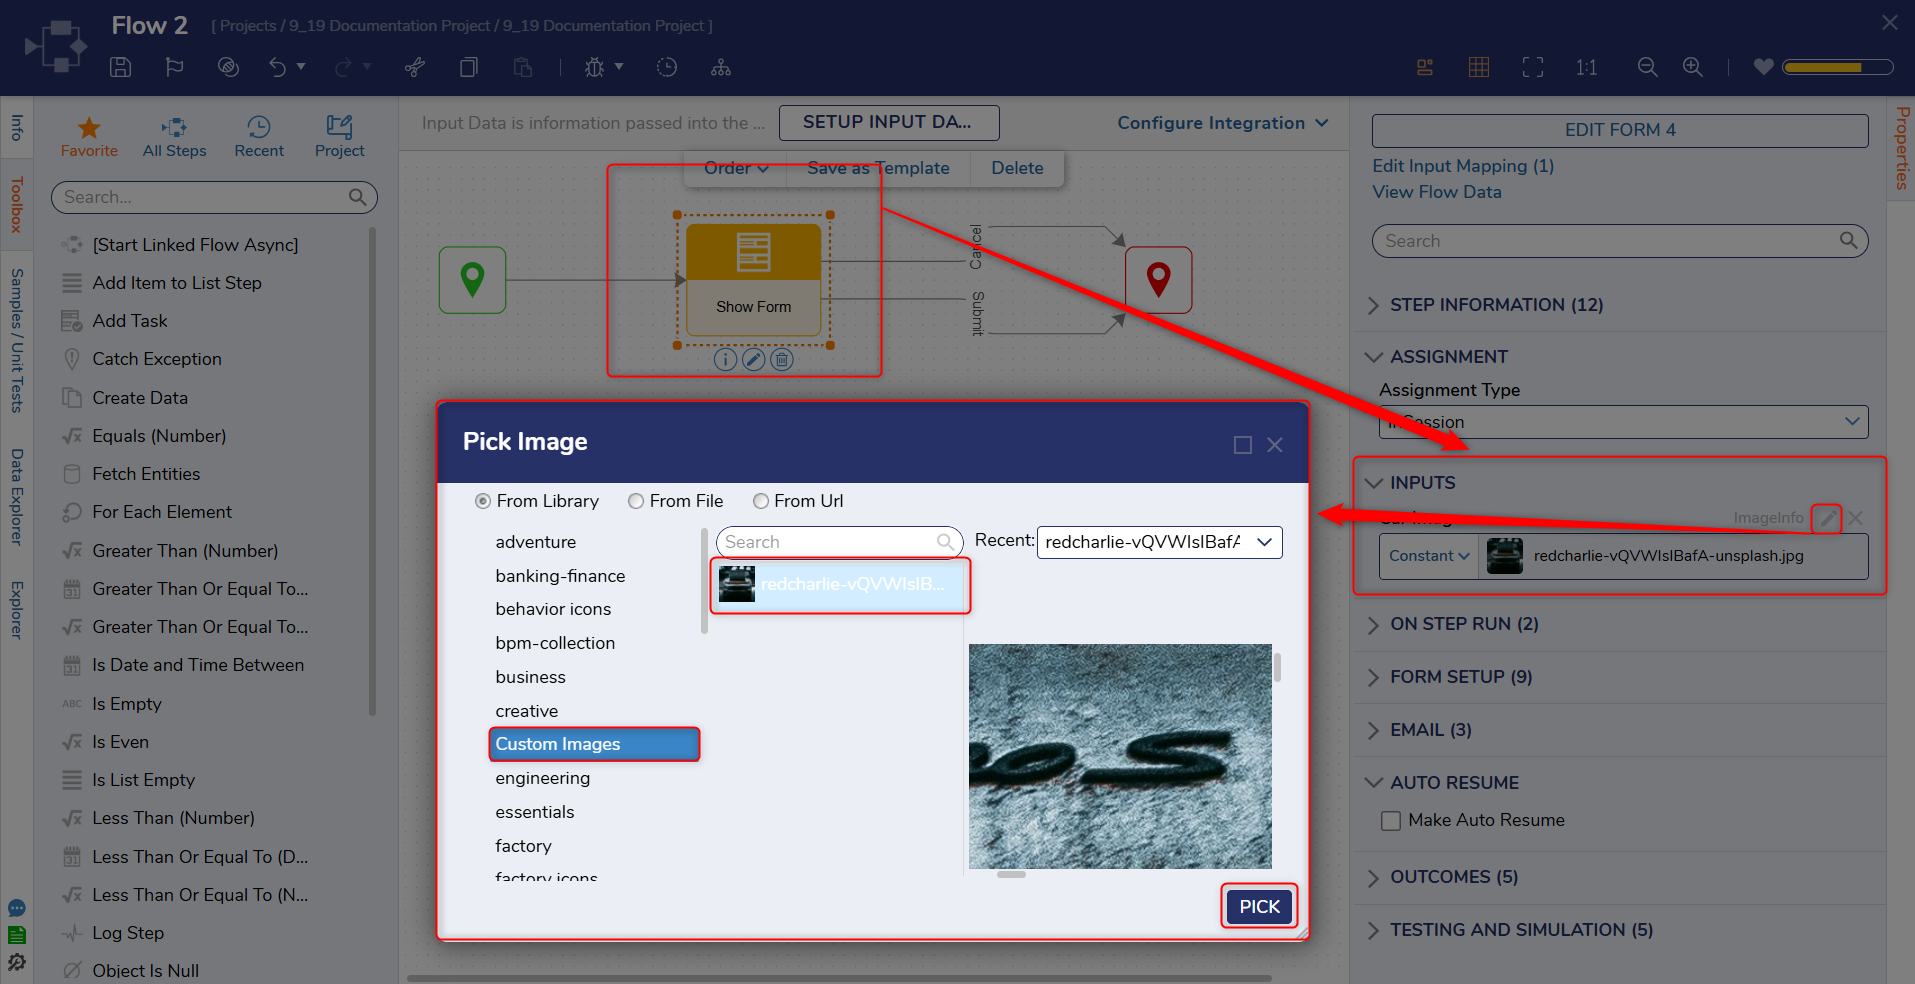
- Save the Flow and run Debug to confirm the image renders in the Form.
Deleting a Custom Image
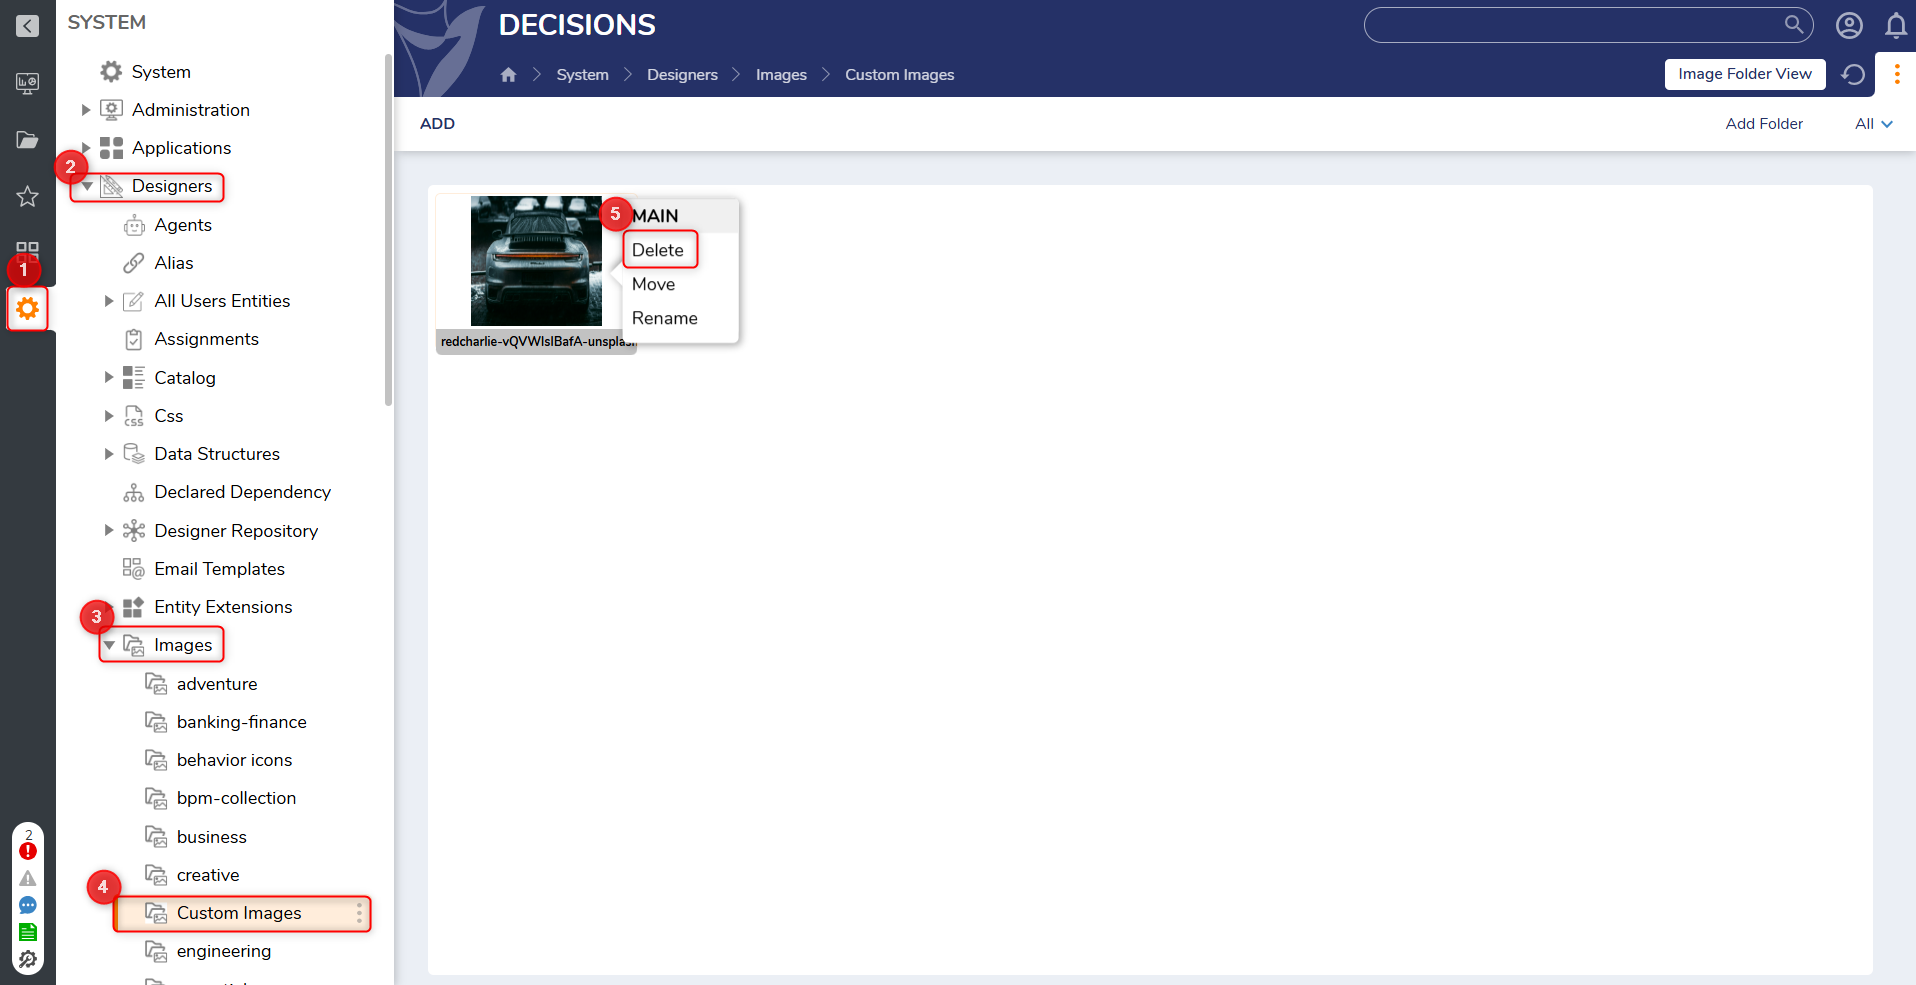
- Navigate to System > Designers > Images > Custom Images.
- Right-click the image, then select Delete.