Overview
In a multi-tenant environment, the host server is called the Control Instance. The Control Instance is the primary host for additional Tenant Instances.
The Control Instance can direct users to the desired instance throughout the environment. The following document demonstrates how to install a Control Instance.
Important!
- Decisions do not support same-server self-hosted multi-tenancy setups. If users want to host tenant instances on the same server as Control, users must only use Internet Information Services (IIS) for hosting.
- If the Tenant Instances are hosted on separate servers, it is essential to align the hosting configuration of the Tenant Instances with that of the Control Instance. The Tenant Instances should also be self-hosted if the Control Instance is self-hosted, similarly for Internet Information Services (IIS). Ensuring consistency in the hosting environment is essential in such scenarios.
Installing Control Instance
- Download and then run the Decisions Installer as an Administrator.
- Continue with the installation until the Select Installation Type window. Select Multi-Tenancy Server (Control), then click Next.
.png)
- Proceed with the installation as outlined in the Installation Guide.
- Complete the installation process, then open the Studio and verify that the environment contains the System > Hosting Folder with the created Instance Name visible in the Folder's respective Report.
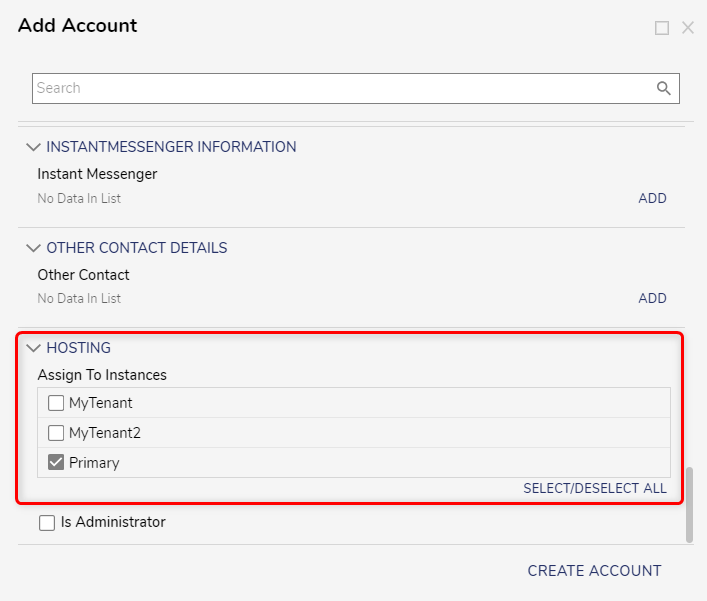
Accounts assigned to Control Instance
By default, when a new account is created in a Control Instance, it is automatically assigned to the Control Instance unless otherwise unchecked from the settings. Additionally, administrators have the ability to assign accounts to specific tenants available on the Control Instance. To create a new account, refer to Creating Accounts.