Overview
Users can enhance the performance of Flows created with the Flow Designer by implementing the following Best Practices.
Flow Structure and Organization
Flow Design and Layout
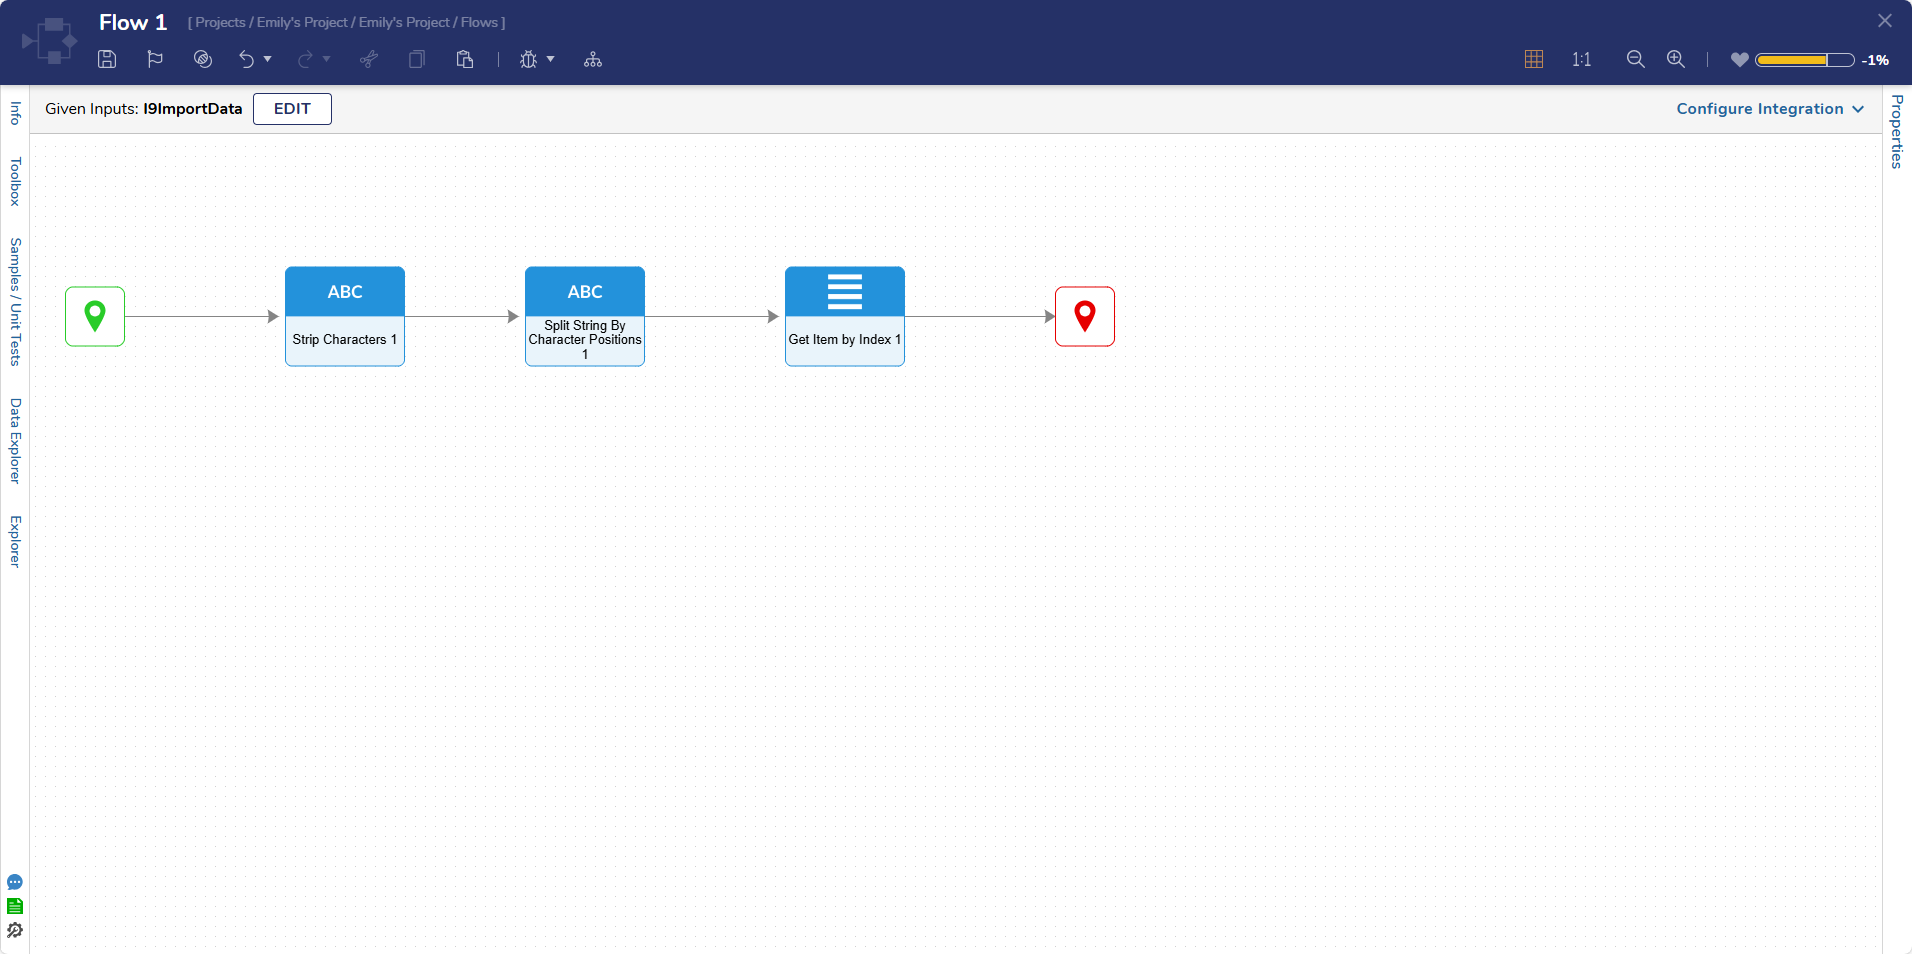
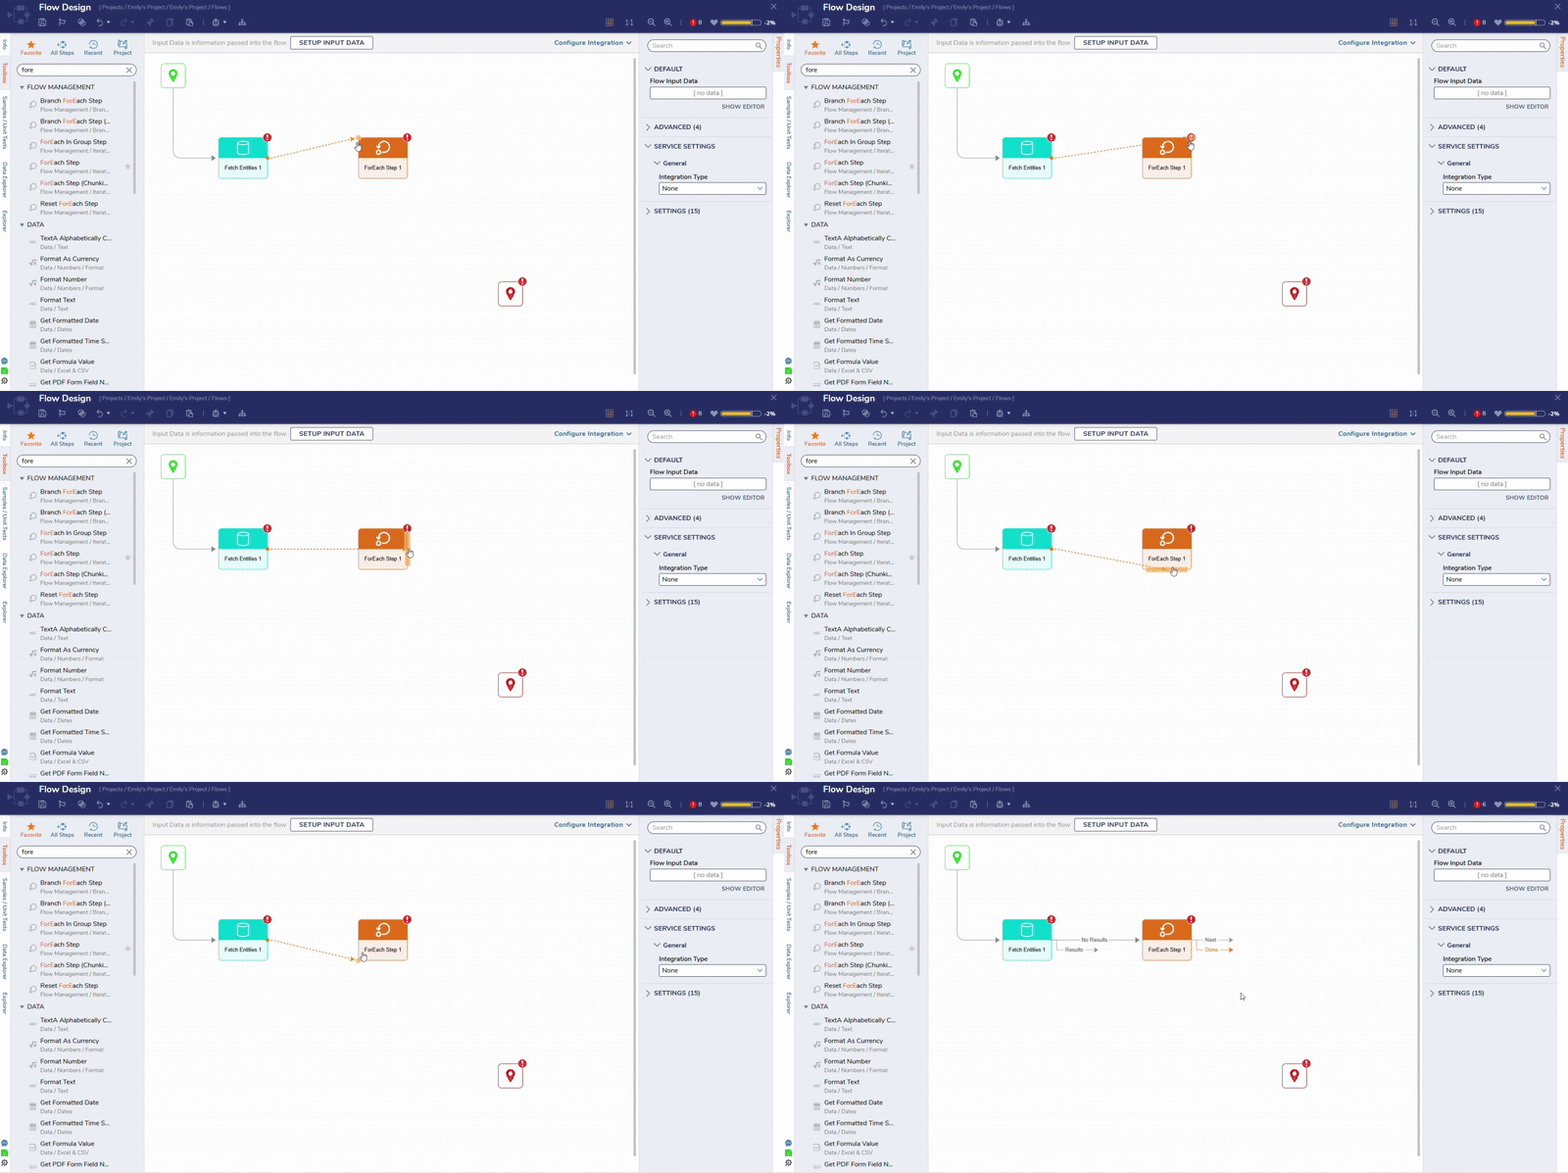
Steps should be organized from left to right and top to bottom. This layout will create a clear and logical Flow for optimal readability.
Utilize Sub Flows
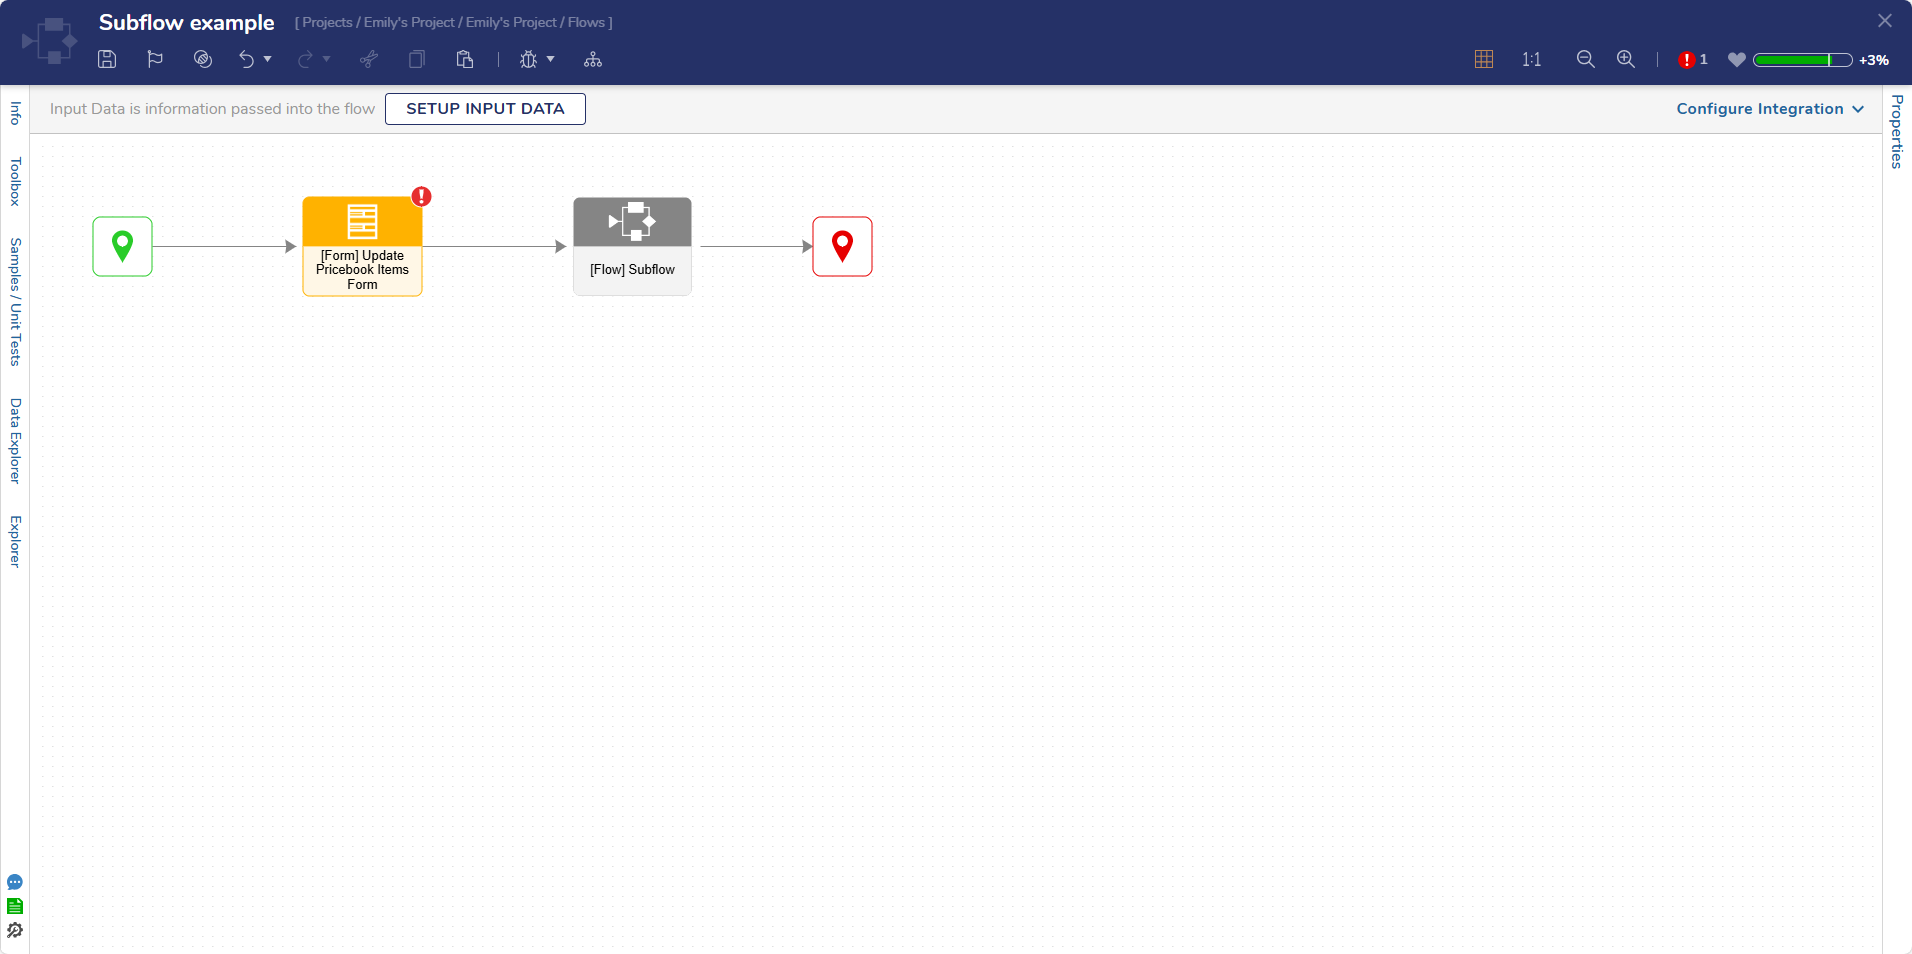
Complex Flows can be broken down into smaller Subflows. Utilizing smaller Flows when designing simplifies the Main Flow and also promotes the reuse of pre-built Logic/Steps, streamlining the development process for Designers.
 Flow Templates
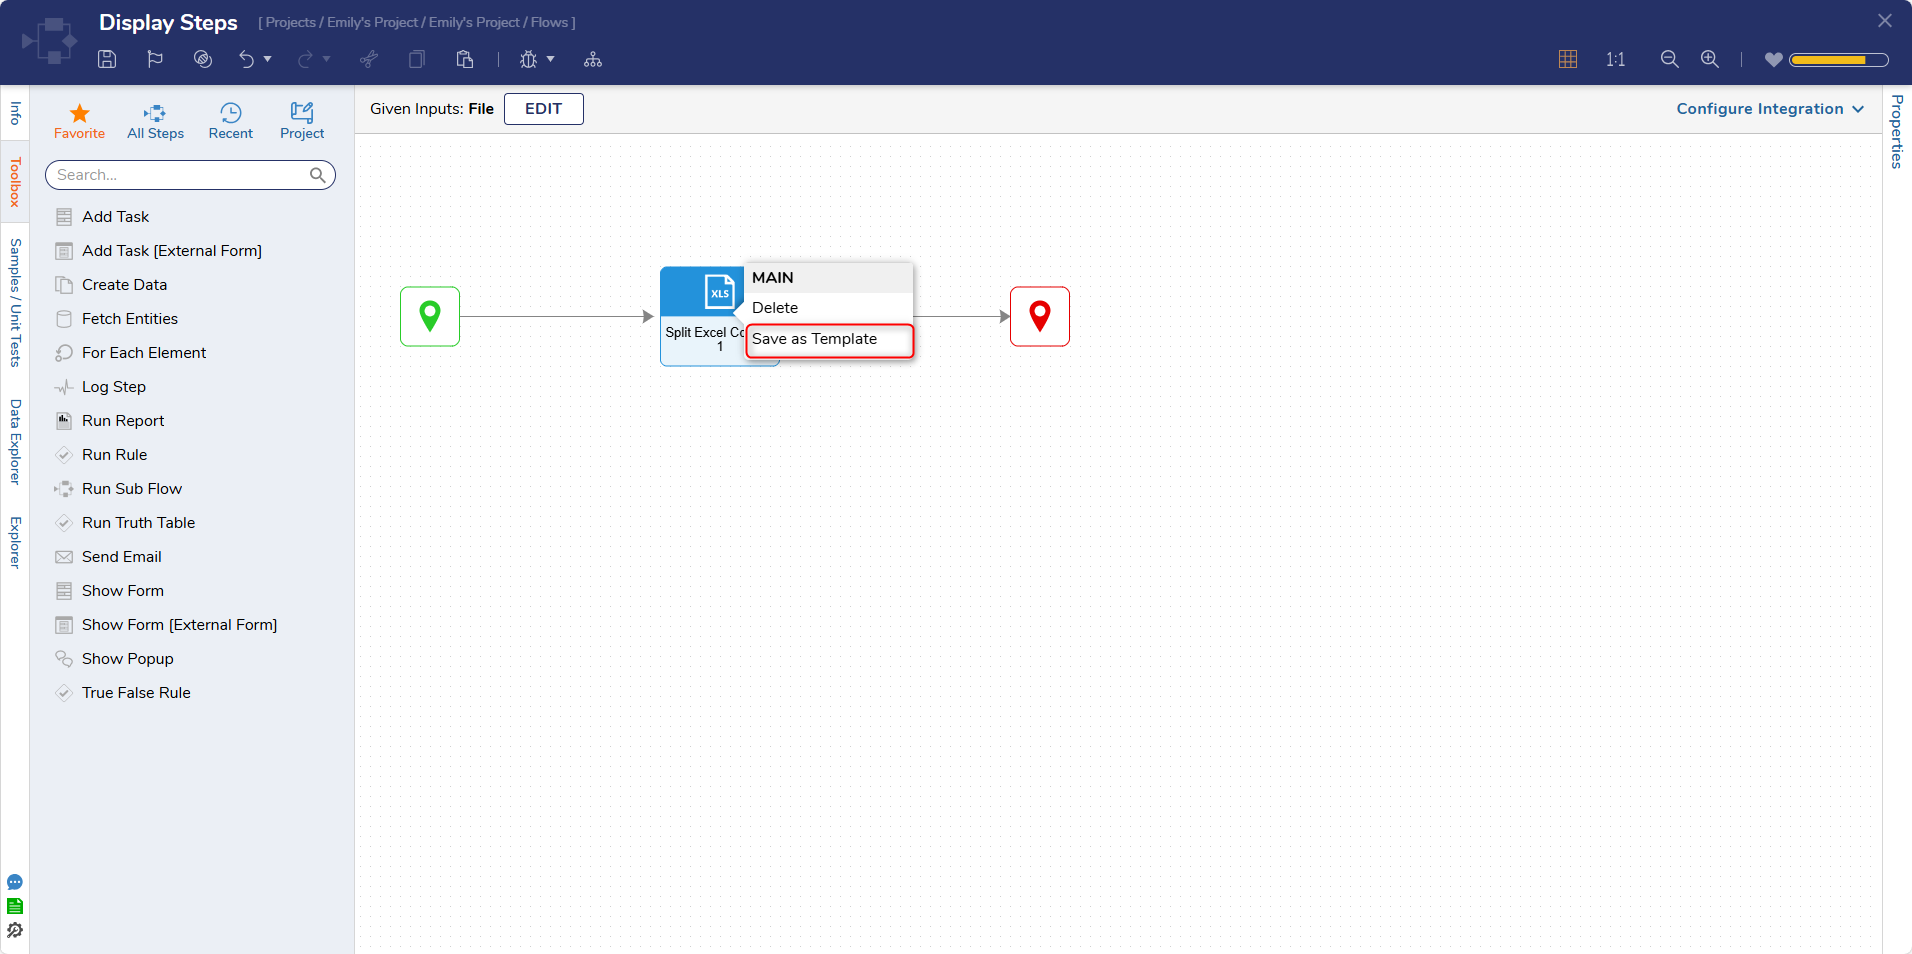
Flow Templates can be created and reused for commonly used Steps/components, which can save time during Development. To create a Flow template:
- Navigate to the Flow Designer.
- Add Steps from the Toolbox to the workspace and configure their corresponding inputs and outputs.
- Once all desired Steps are added, control + left click to select the Steps and select Group to group the Steps together.
- Once the Steps are grouped, select Save as Template.
- From here the Template Name and Toolbox Category can be customized.
Once the Flow Template is saved, it can be implemented into a new Flow to maximize productivity.
Step Optimization and Efficiency
Step Organization
- Steps available in the Toolboxcan be renamed to reflect a specific purpose and improve the overall clarity of the Flow.
- To rename a Step, hover over it and start typing. The new name will reflect under the Step after clicking Enter on the keyboard.
- Organizes desired Steps and ensures they add efficiency to the overall Flow.
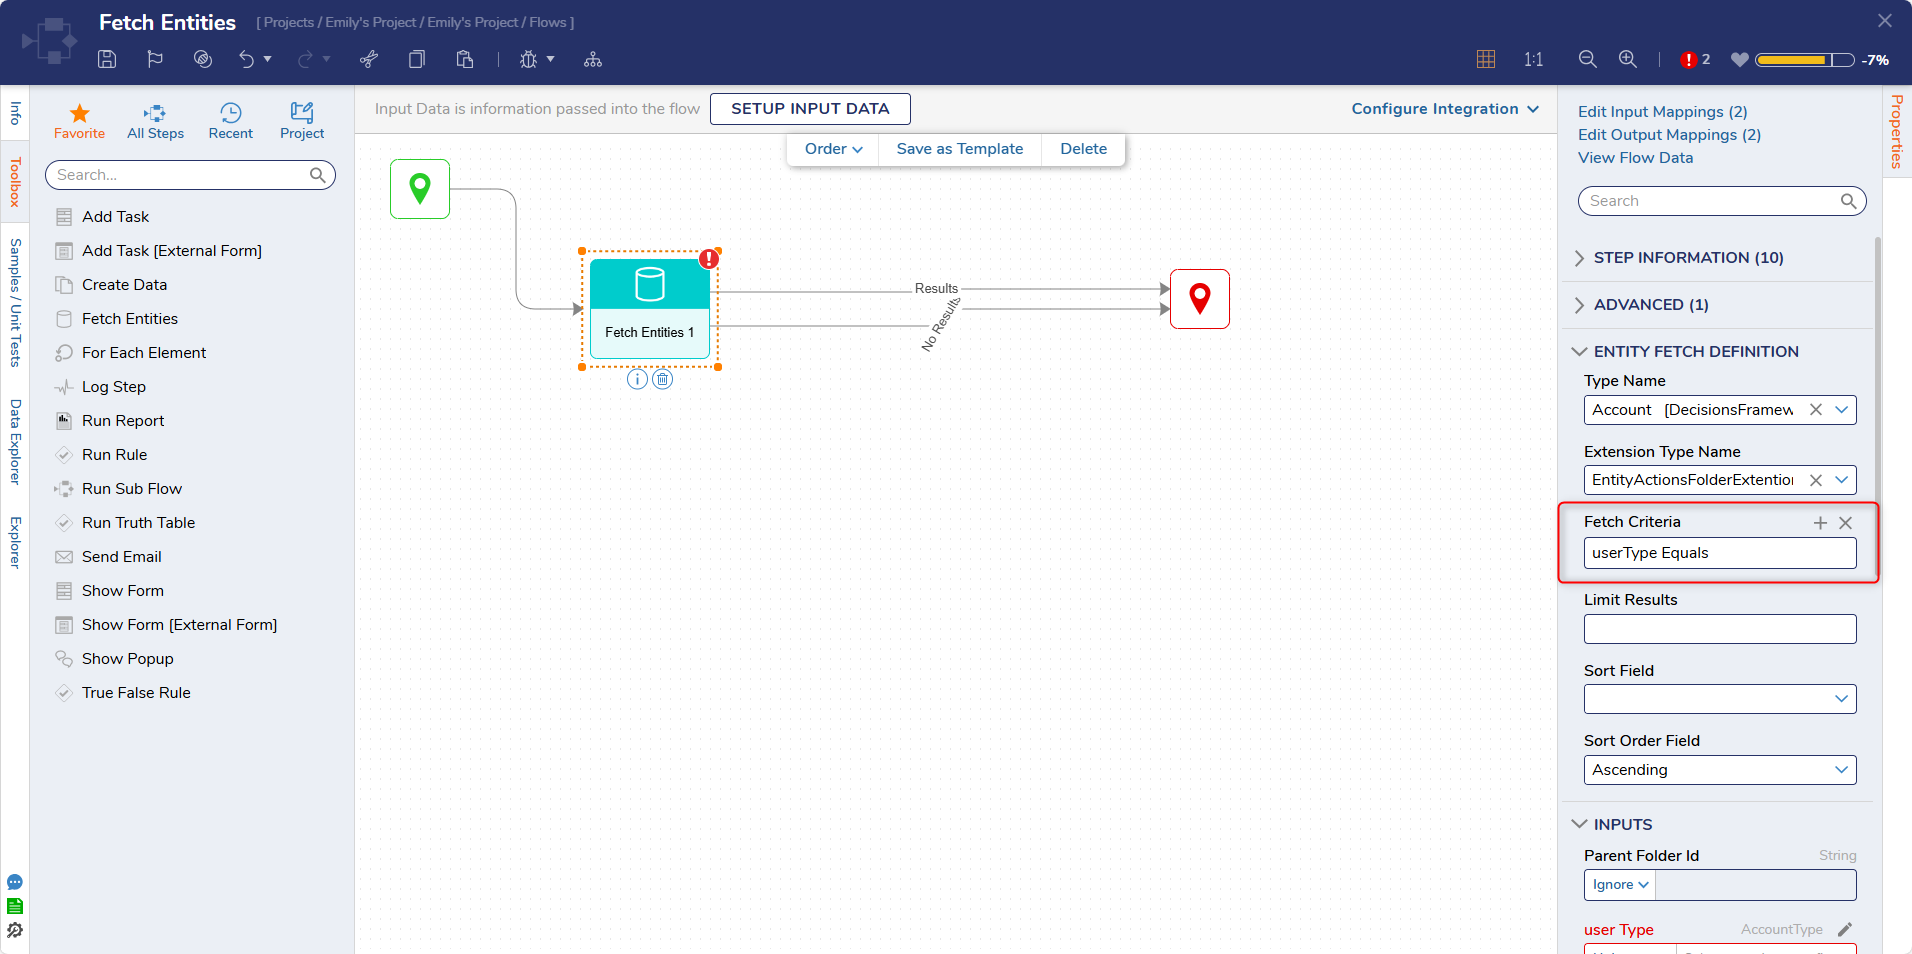
- In addition, each Step contains Properties that can be configured to maximize efficiency. For example, use a Truth Table instead of multiple sequential Rule Steps or filter a Fetch Entities Step to return only desired data.
Utilizing Pre-built Steps/Logic
Using pre-built Steps provided by Decisions reduces designing time and since they are typically well documented, it is easier for Developers to understand their functionality and troubleshoot any issues.
Consider Recursion Limits when Looping
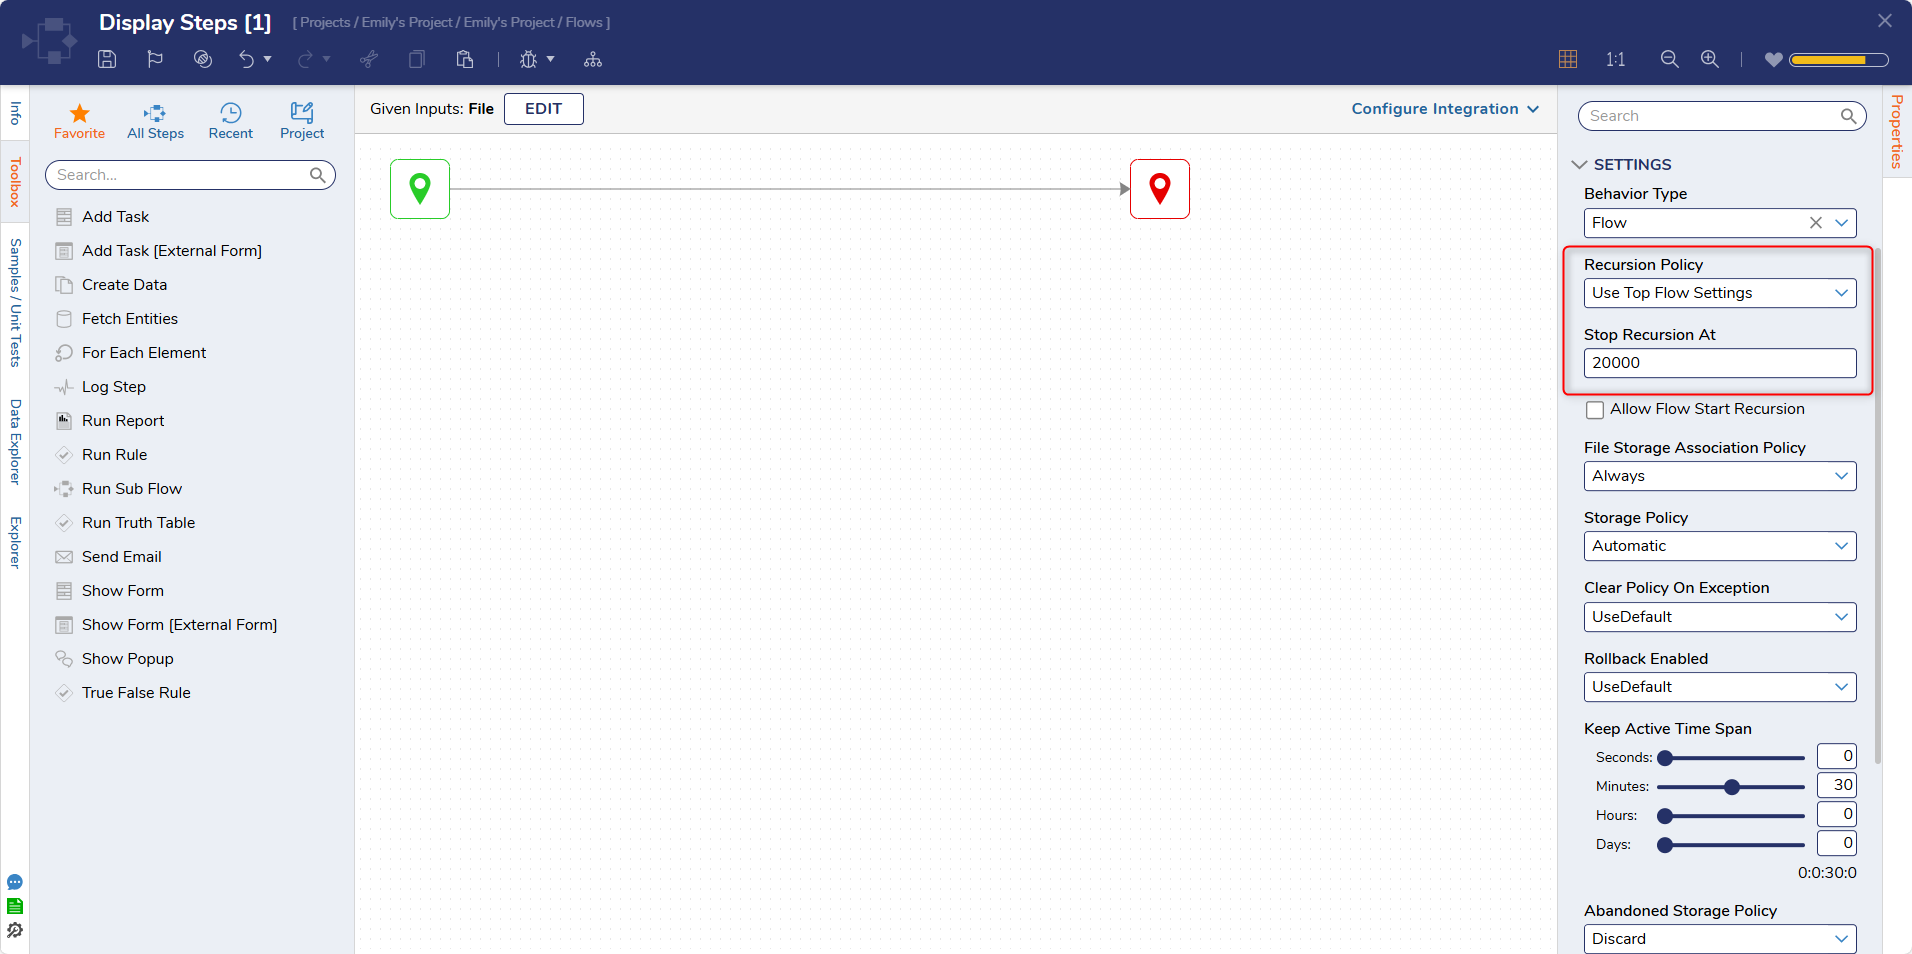
Flows in Decisions have a default recursion limit to prevent infinite Looping. This limit can be adjusted, but excessively high limits can impact performance. Setting appropriate limits when Looping is advisable to ensure stability.
For more information on how to set a Recursion limit in the Flow Designer, visit our documentation on Recursion Checking.
Debug Regularly
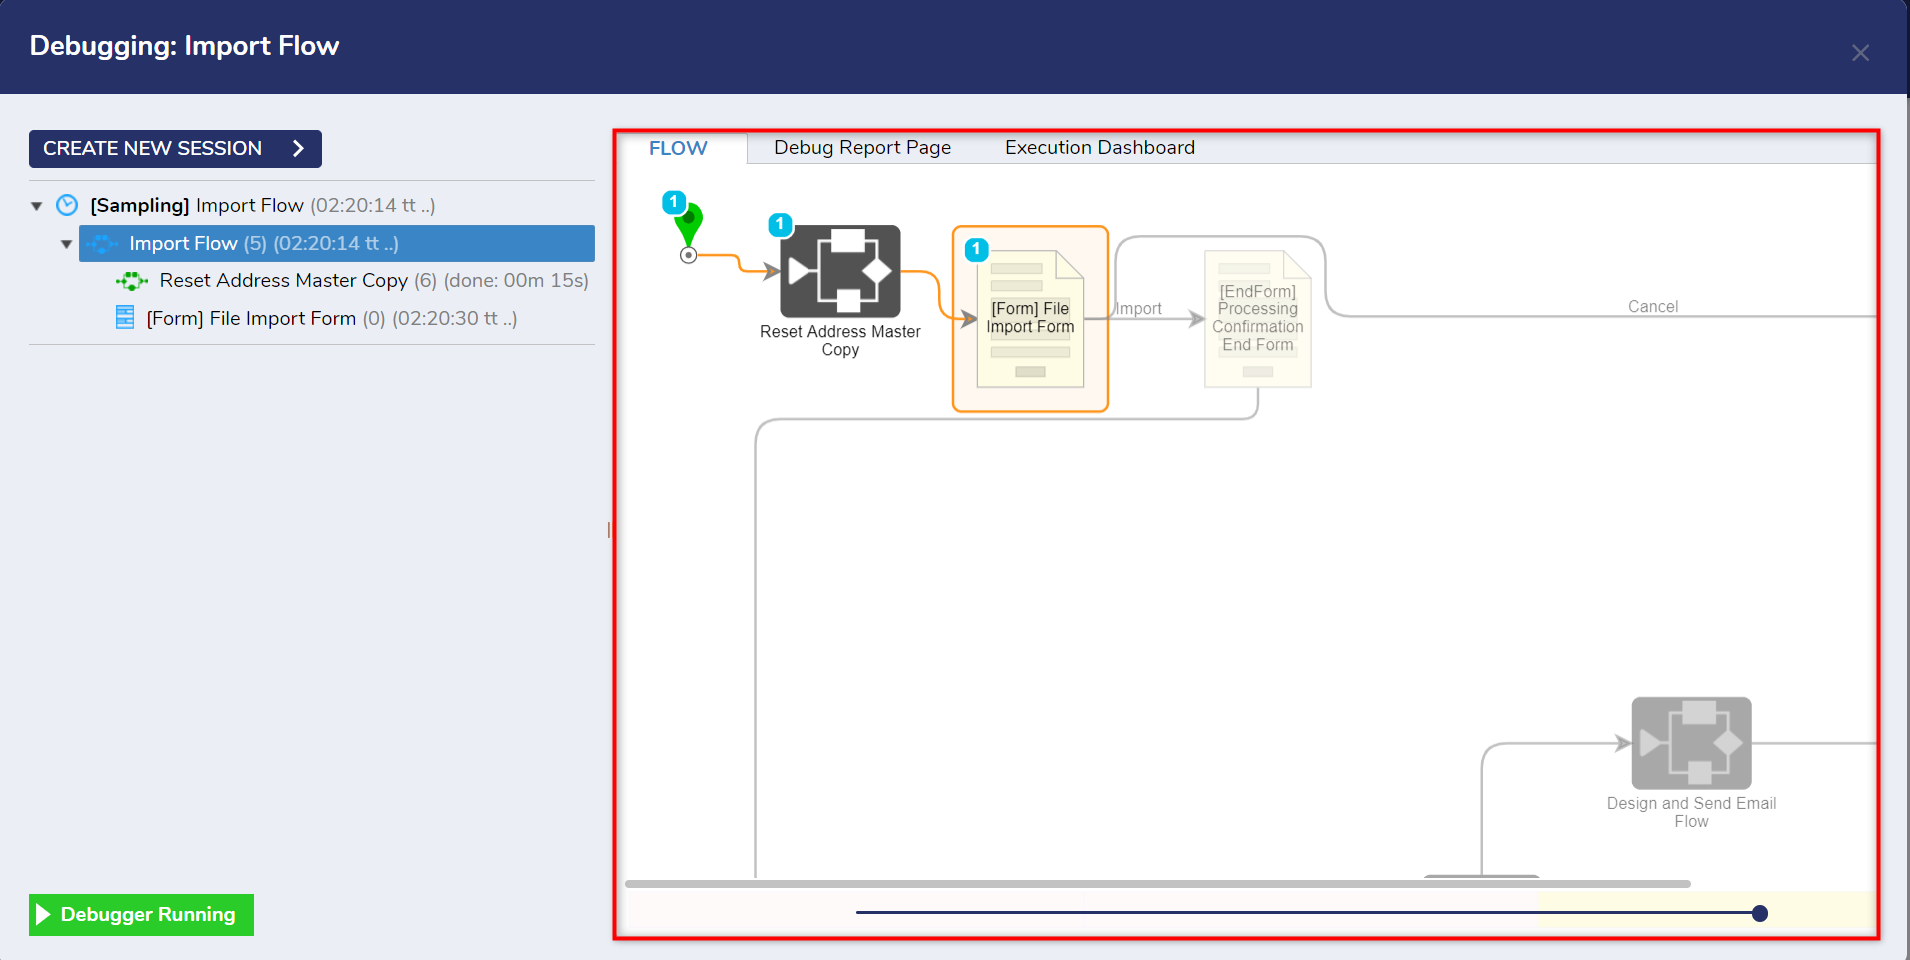
Frequently testing a Flow's logic with Decisions Debugger will assist with identifying potential issues and optimize the overall performance of a Flow.
Step-by-Step Execution
The Debugger is designed to provide a clear view of how Data is processed and transformed at each stage of a Flow. Utilizing this feature helps Designers closely monitor potential issues and understand the impact of each Step of the overall process.
Analyzing Input/Output
Each Step has the opportunity to display associated Input and Output information after the Flow has been executed. This feature verifies data is being passed through and manipulated correctly and enables Designers to identify errors throughout the Flow.

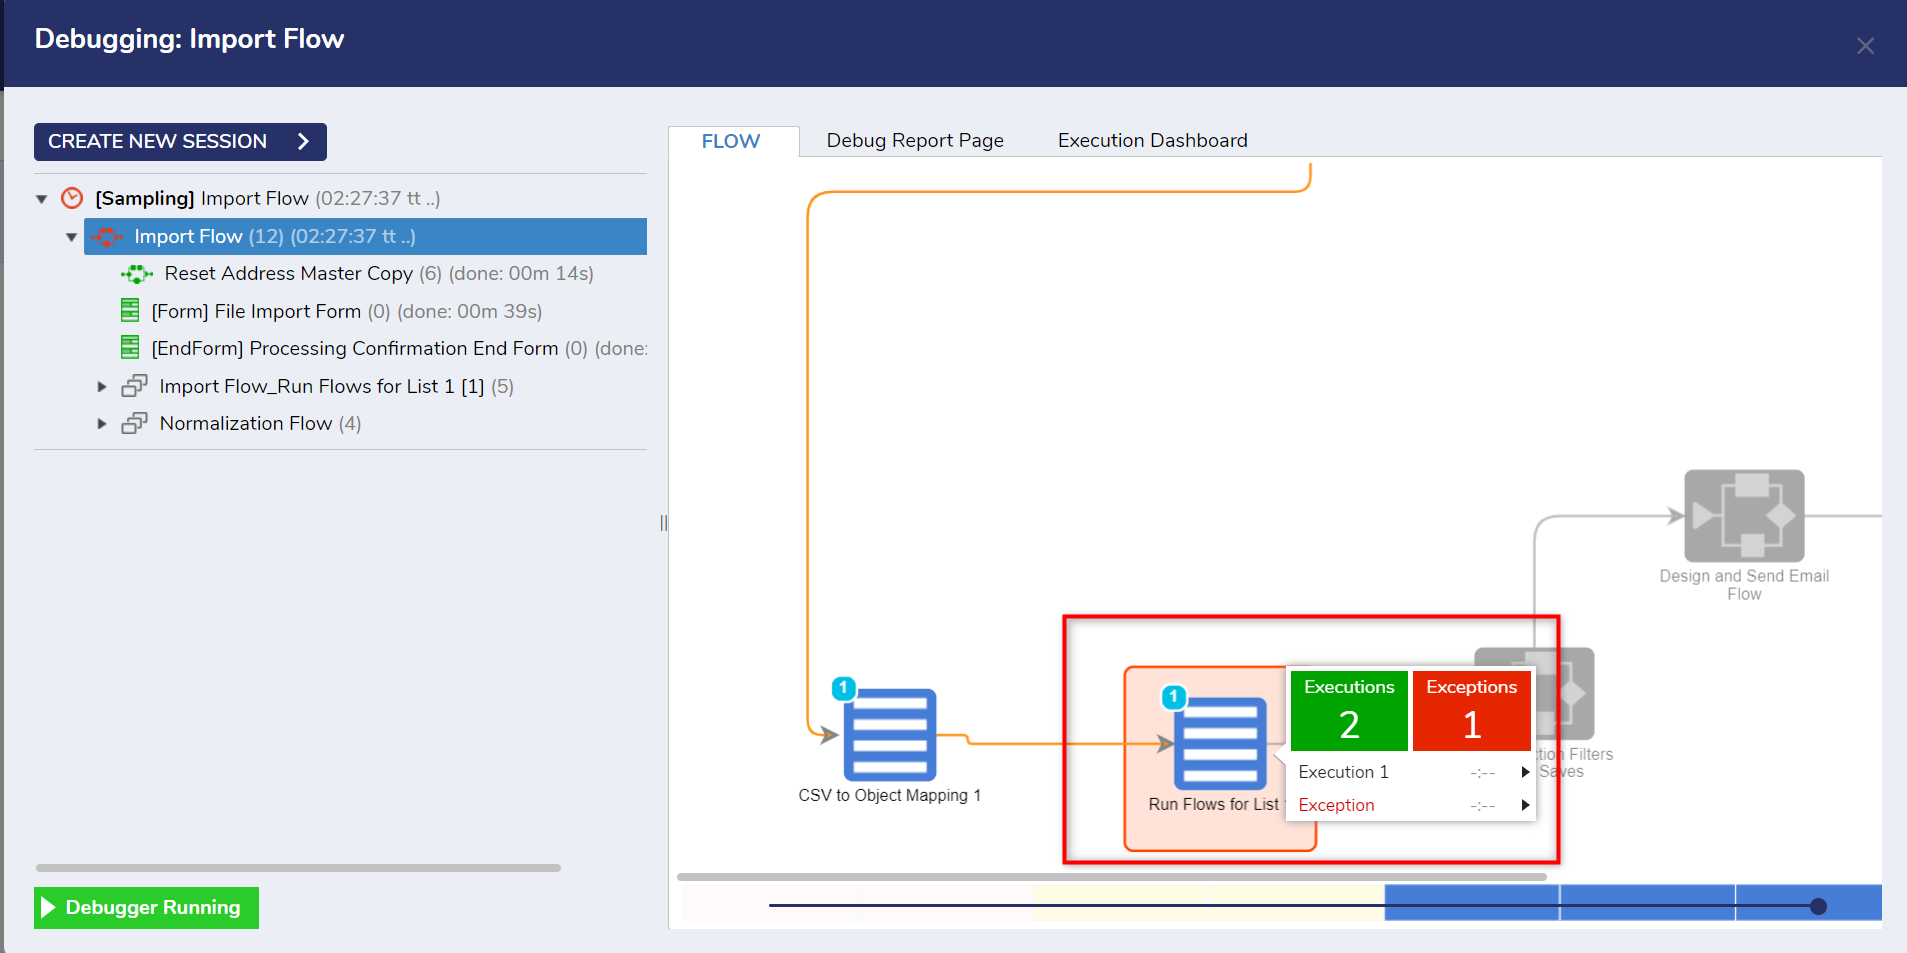
Error Highlighting
When errors occur after a Flow has been executed, the Debugger stops the Flow at the Step that has errored. This helps Designers pinpoint the root cause of the problem and assists in creating a quicker resolution.
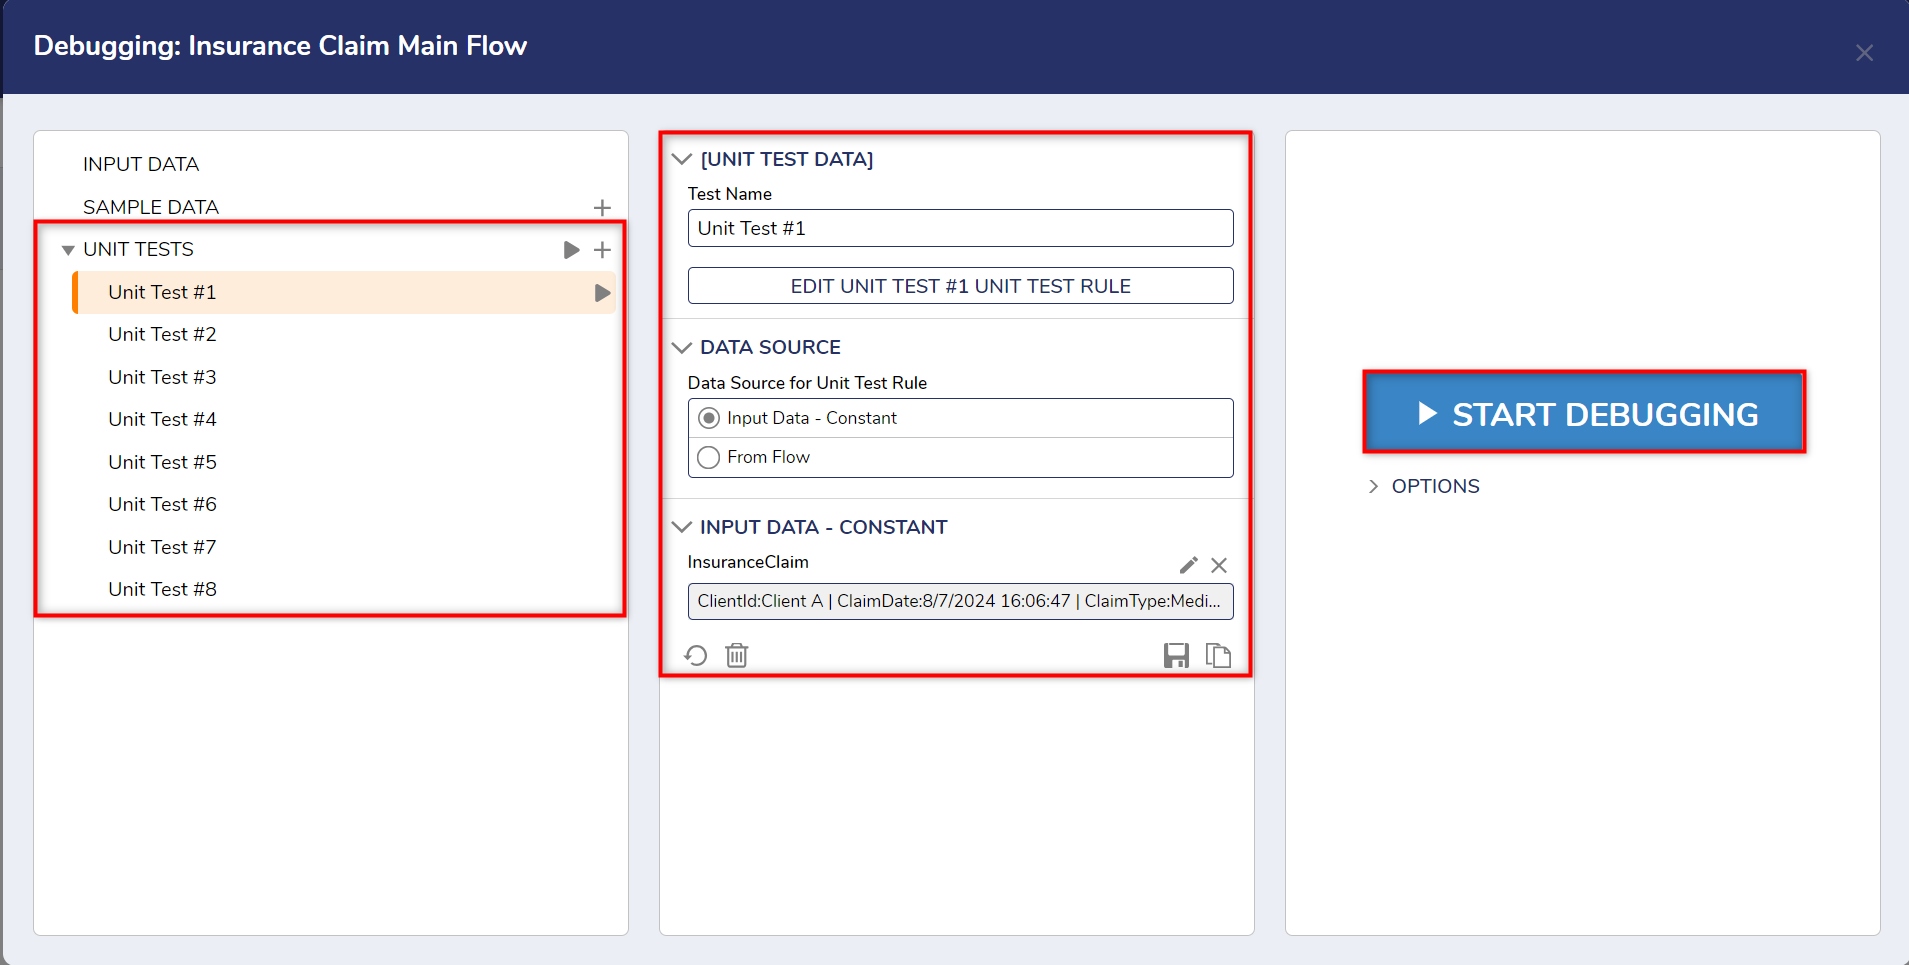
Sample Data and Unit Tests
The Debugger offers Sample Data and Unit Test integration as an additional layer of support when testing a Flow. Designers can create Unit Tests and import Sample Data to streamline the process of testing a Flow Execution, improving the overall troubleshooting experience.
