Overview
In addition to the built-in fonts, custom fonts may be uploaded via CSS to fit any desired aesthetics or branding requirements. Once uploaded, these custom fonts may be implemented in Decisions Elements such as Forms and Pages.
Prerequisites
Example
The following example details how to upload a custom font via CSS into a localhost Decisions instance. To accomplish this, the following setup processes must be completed before utilization.
- Ensure the necessary permissions/licenses are acquired to use the desired font. Do not proceed until these are acquired.
- Include the necessary CSS font format in the CSS file.
- Upload the CSS and font's TFF file under
C:\Program Files\Decisions\FileStorage\Primary\styles\css\CssDocuments.
CSS Format
To add a custom font to a CSS file, add the following format to the CSS file:
@font-face{
font-family: 'NameOfFont';
src: url('customfontFolderPath.ttf') format('truetype'),
url('customfontFolderPath.woff2') format('woff2'),
url('customfontFolderPath.woff') format('woff');
}
.className {
font-family: 'NameOfFont';
}
The upcoming example uses the open-source, commercial license-free font Playfair, available via Google Fonts. The example follows this format:
font-face{
font-family: 'Playfair_Display';
src: url('PlayfairDisplay-Regular.ttf') format('truetype'),
}
.className {
font-family: 'Playfair_Display';
}
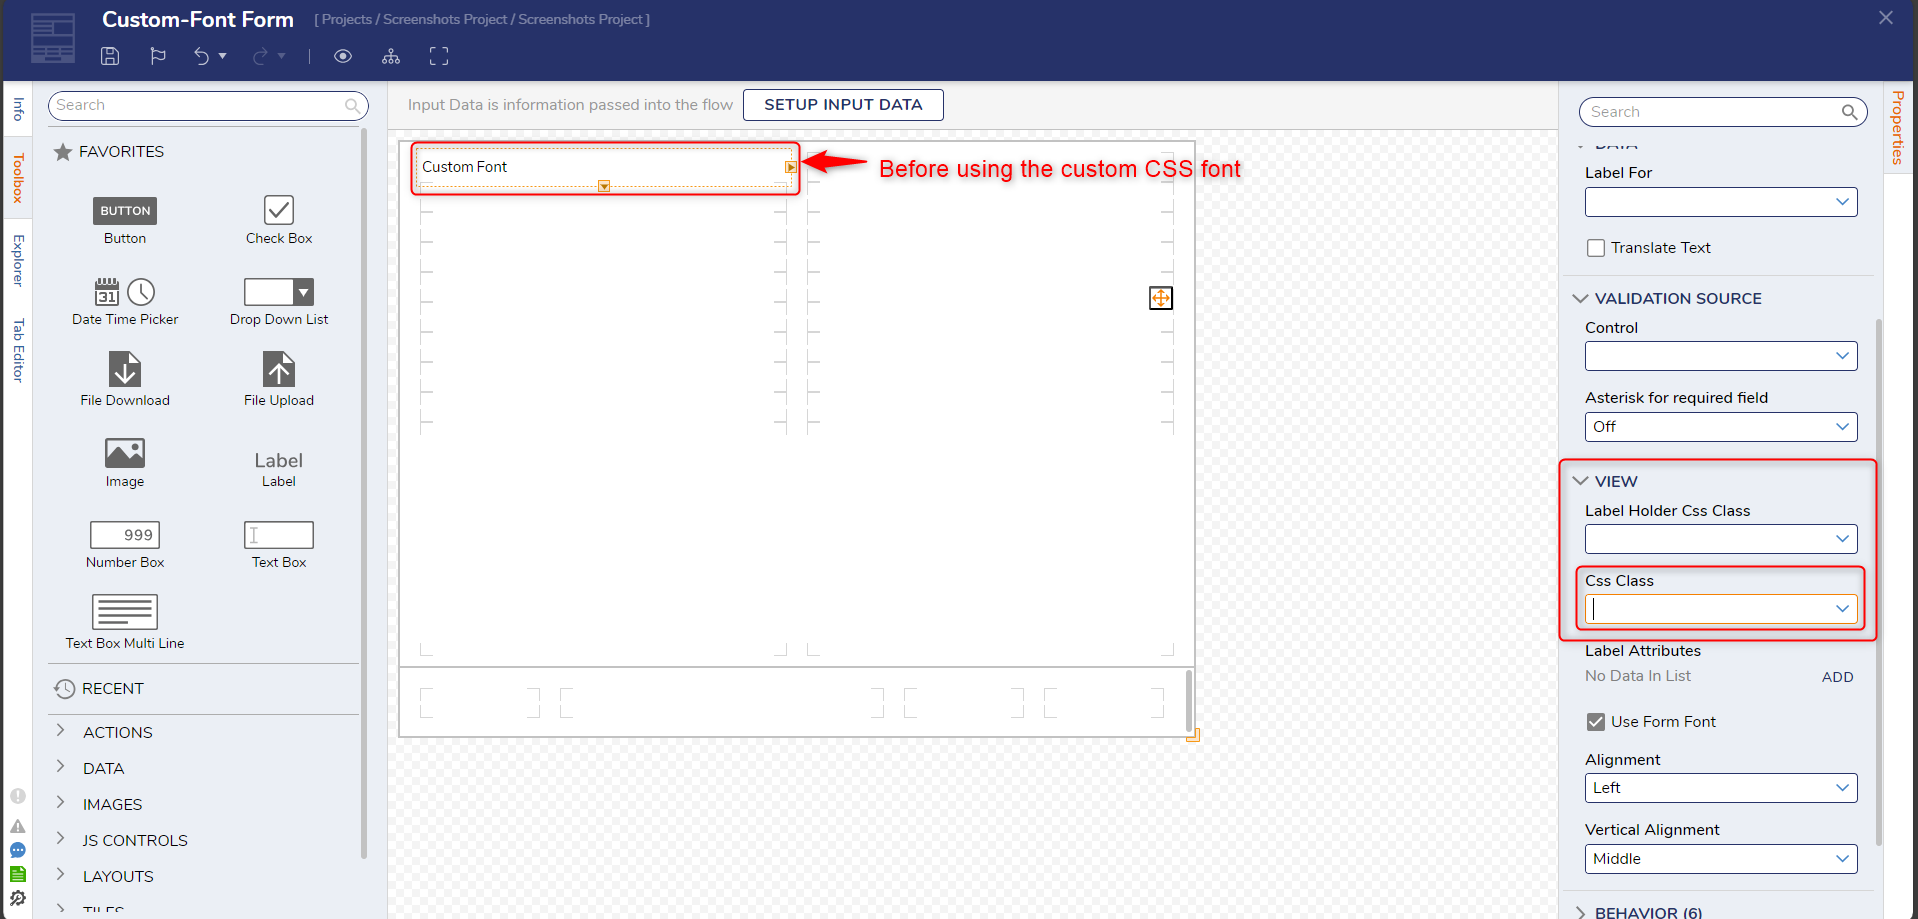
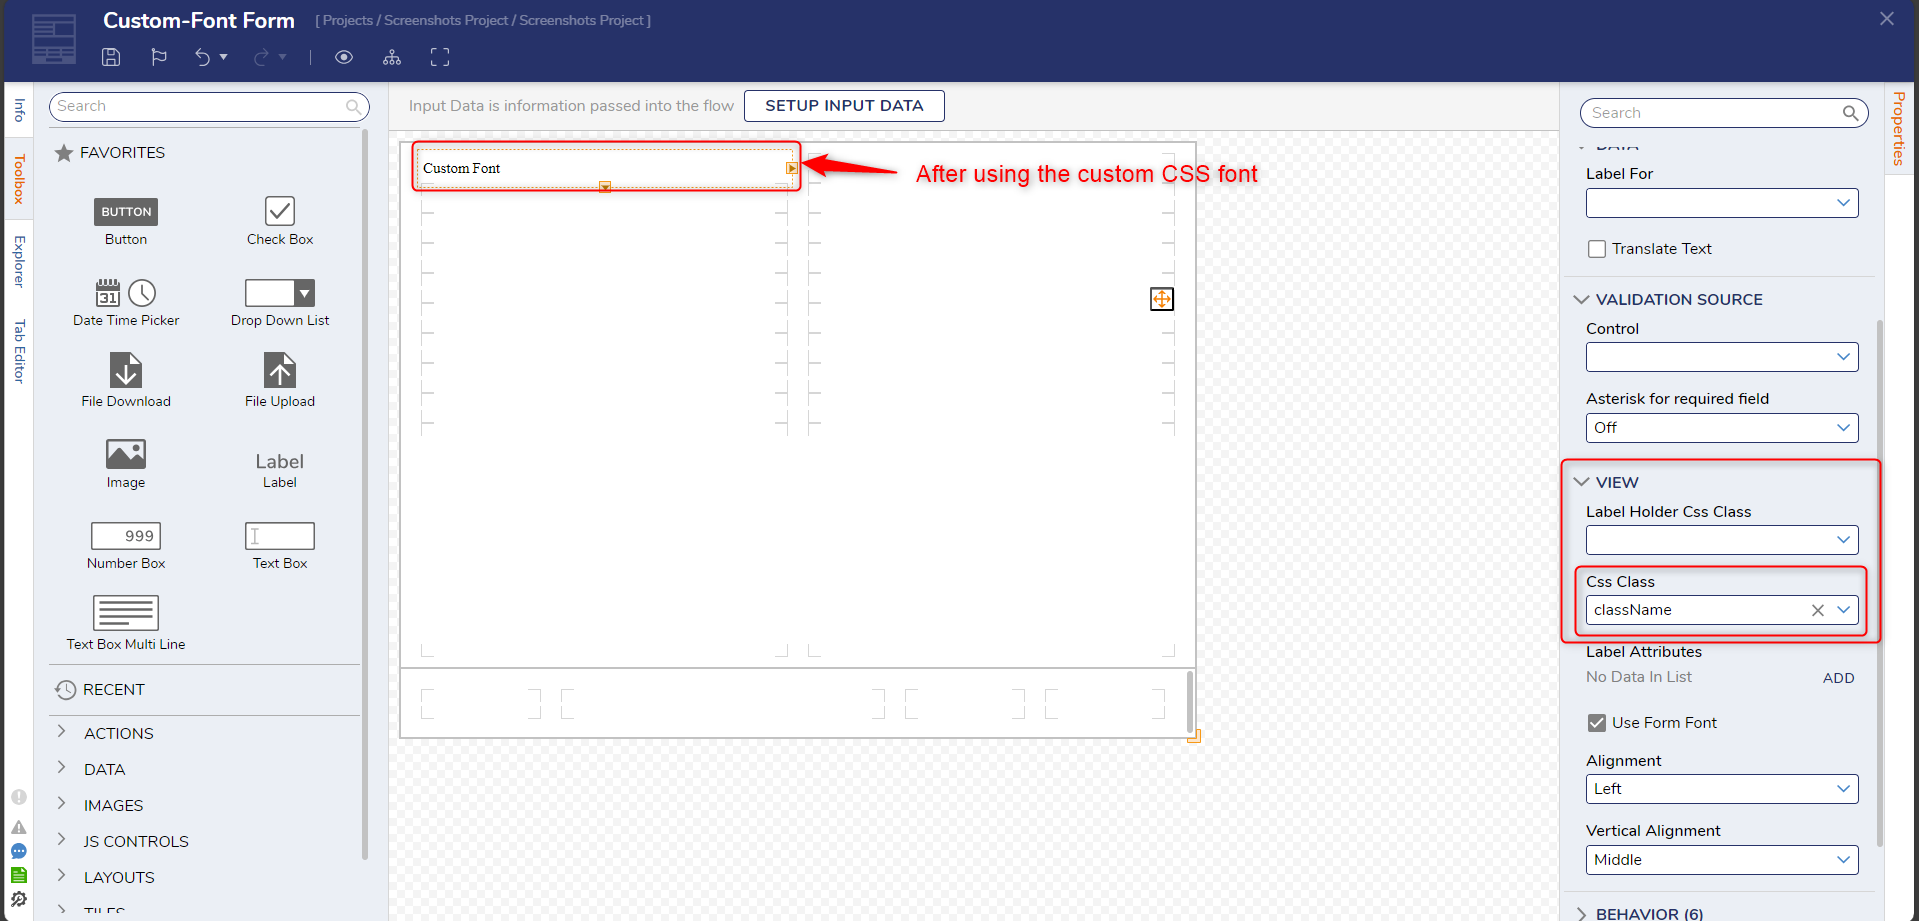
Utilizing the Custom Font CSS
Once the prior setup processes are completed, Designers may select the custom font CSS in Forms, Pages, etc., then apply the font to desired controls. Please reference the prerequisite articles for further information.

