Overview
Integrating with Tables grants the Designer access to data in an external database. Designers may choose to create new a Table within Decisions as through the directions below or reference a preexisting table in the external database. Designers also assign defined Flow steps for the created Table enabling the Designer to easily update the Table and its database through internal Flow logic, removing the necessity of external updates.
Example
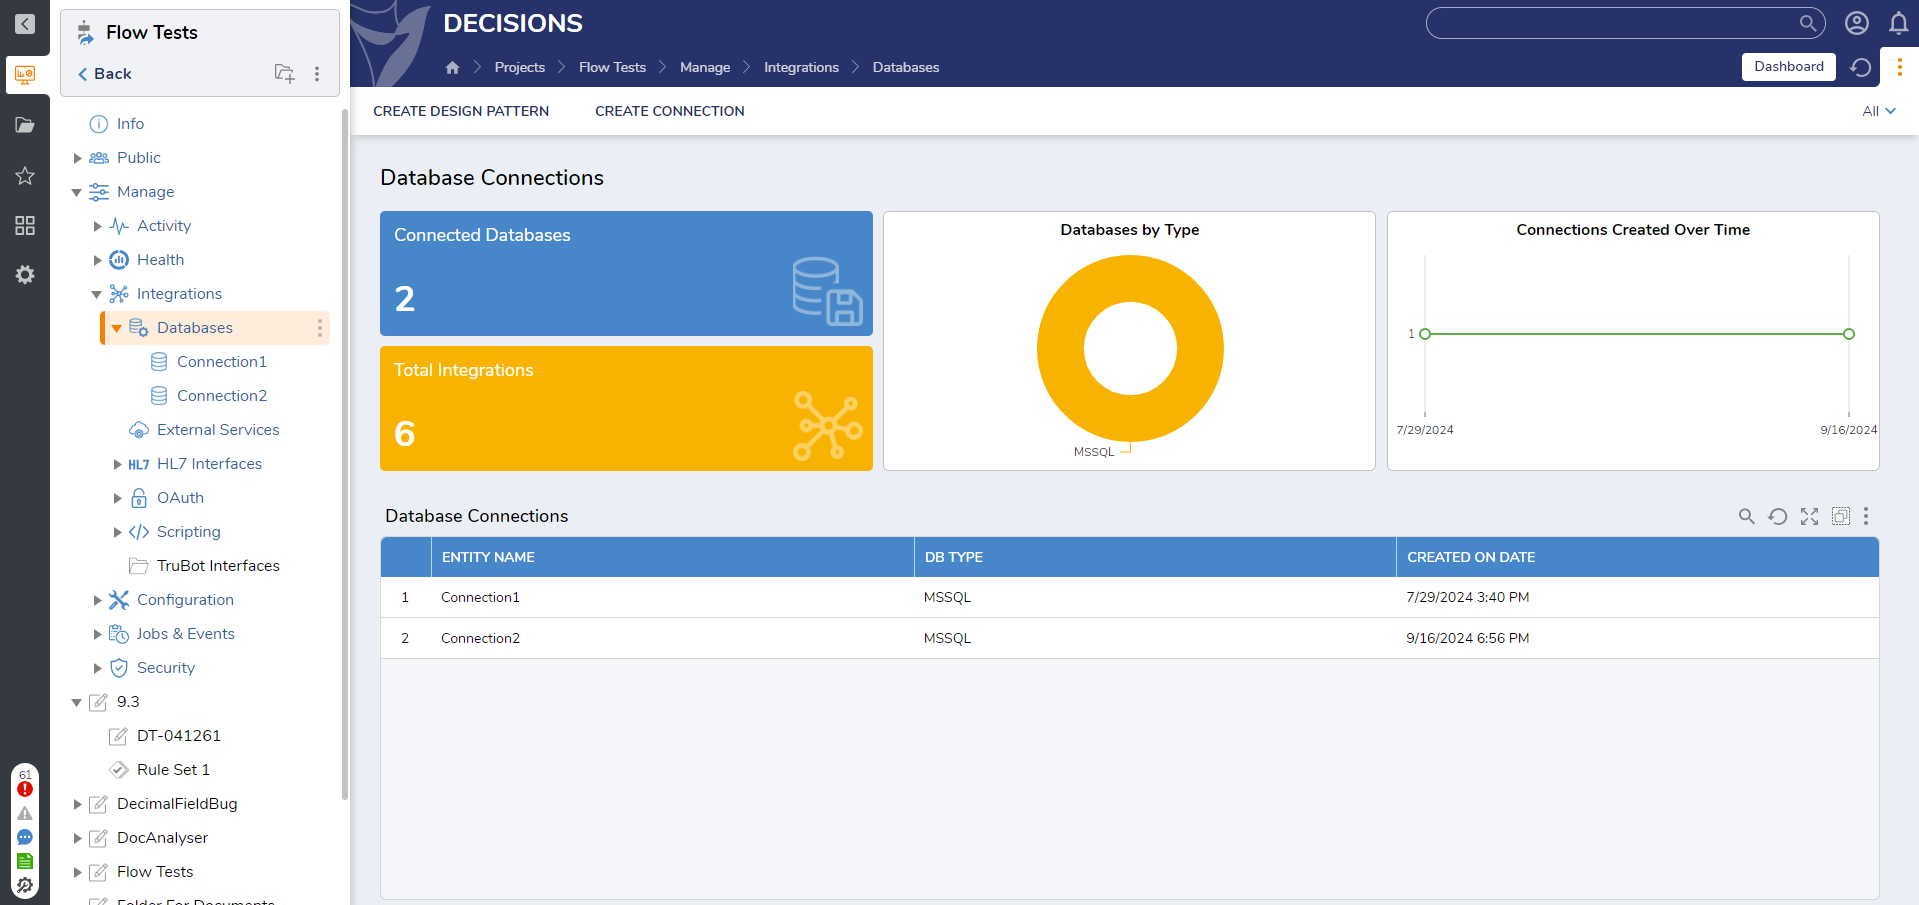
To add a database within the portal, navigate to the folder and select Manage > Integrations > Databases, choose the Add Database action button and supply the necessary details.
Once a database is has been connected, Steps to query, insert, or update data to or from the database within the Flow Designer can be used. They are found under Integrations > Database > [Database Name] > [Table Name].
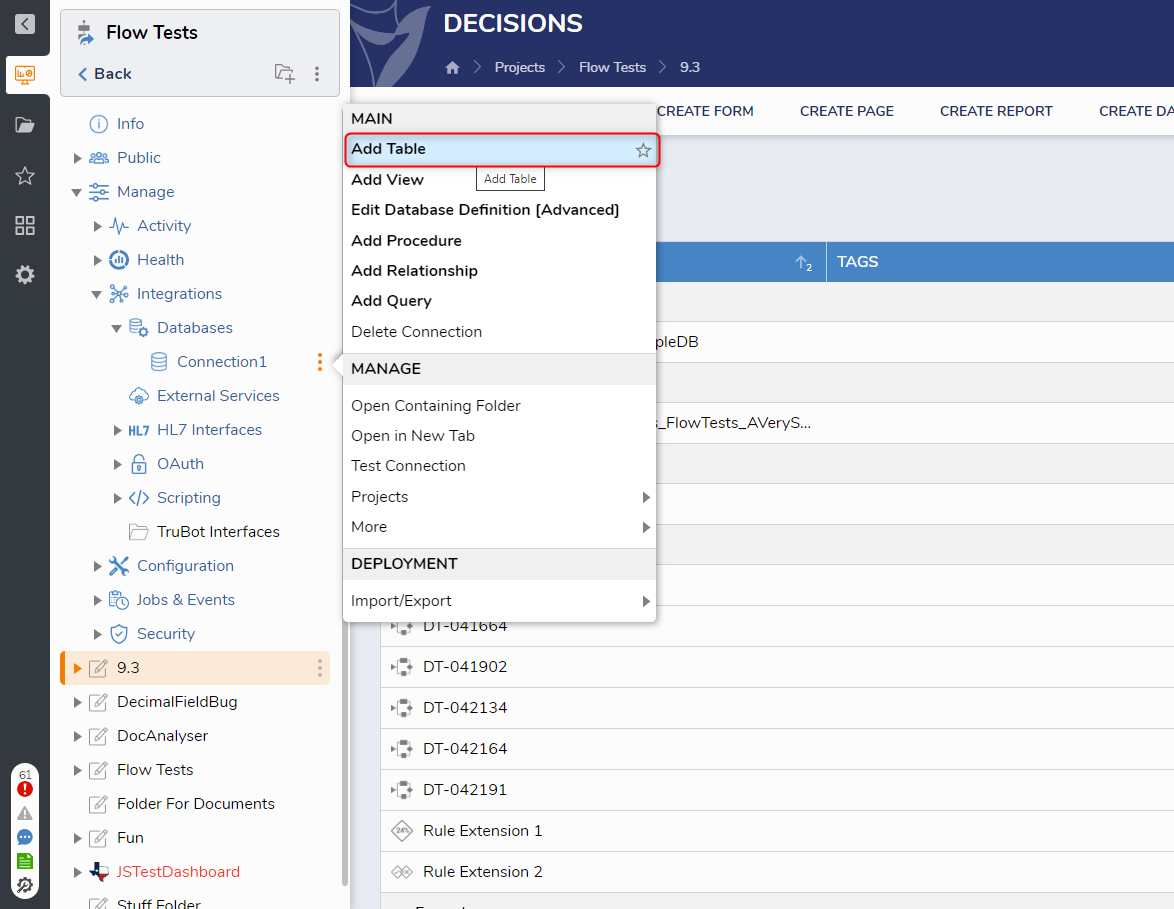
- Database connections can be found in the Databases folder. Right-click the database connection and select Add Table.
- To make an integration within a Project, go to any Designer Folder and press the create Datatypes/Integrations action. Then select Database Integration on the left. That will make this menu appear:
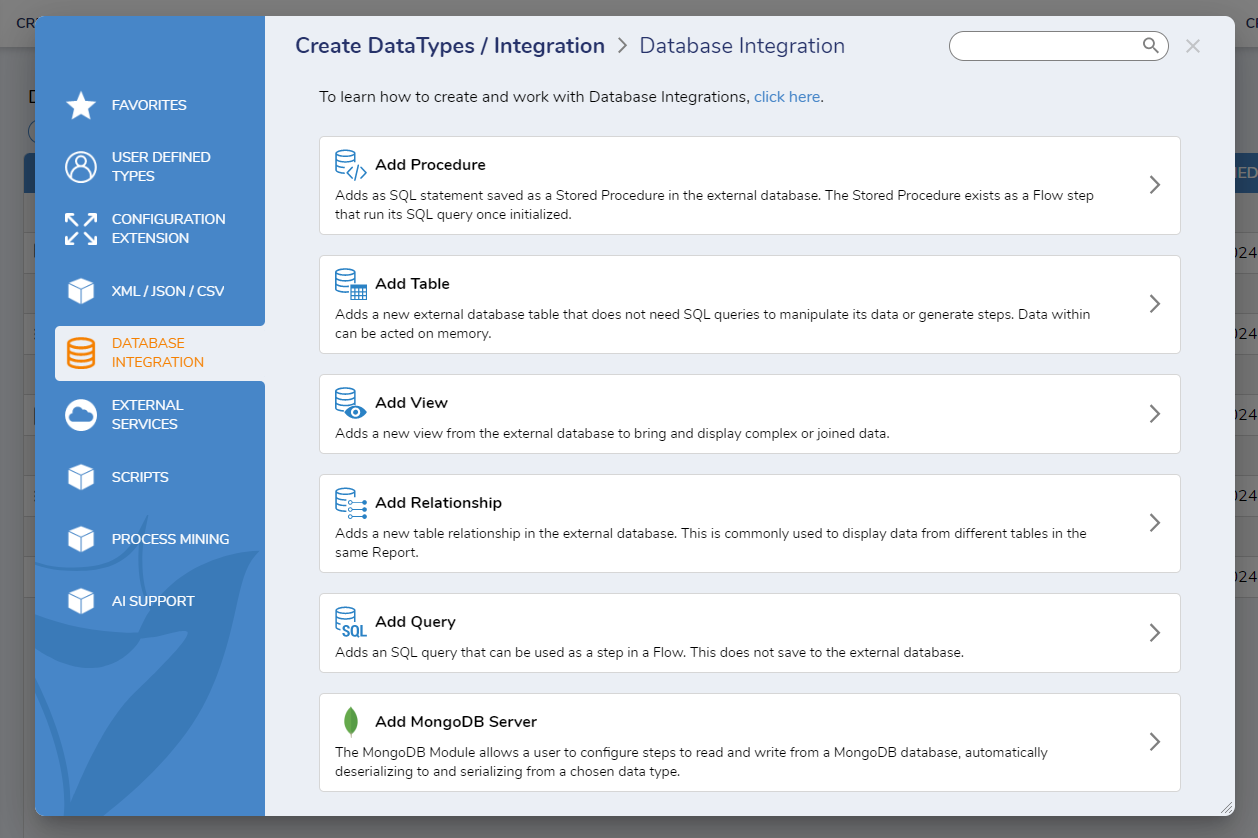
- To make an integration within a Project, go to any Designer Folder and press the create Datatypes/Integrations action. Then select Database Integration on the left. That will make this menu appear:
- In the Tables Integration window, pick a Table from the database that was integrated with and hit next.

- Select the Table Fields needed for integration. Make sure at least one Table Key is selected.
- Next, check the boxes to have those Flow steps generated in the Flow Designer. Then click Save.
- After clicking Save, the integrate database table will appear in the folder, indicating the successful integration. Below is a table of available actions when right-clicking a Database Table.
Edit [Advanced] Can set the type as a Lookup List. Edit Table Opens all previous dialogs that are seen when creating the table. Manage Additional Access Opens a new tab to create Access Patterns for the table. Override Action Context Enabling the Override Action Context Property allows users to add Actions for specifically sorted data.
Custom Steps
In addition to the standard Steps created through a Table Integrations, starting in v9.3 users can create custom Steps. This functionality is very similar to how Access Patterns work.
In the top right corner press the + icon to enable custom Steps.

The Custom Step functionality will Get whichever fields are selected from the list available in the Table. The new step can be found in the Step Toolbox under Integrations > Database > [Connection Name] > [Table Name]. This is useful in cases where it makes sense to fetch all the data from a particular field, rather than using the Get All or Get By Id that are created by default.
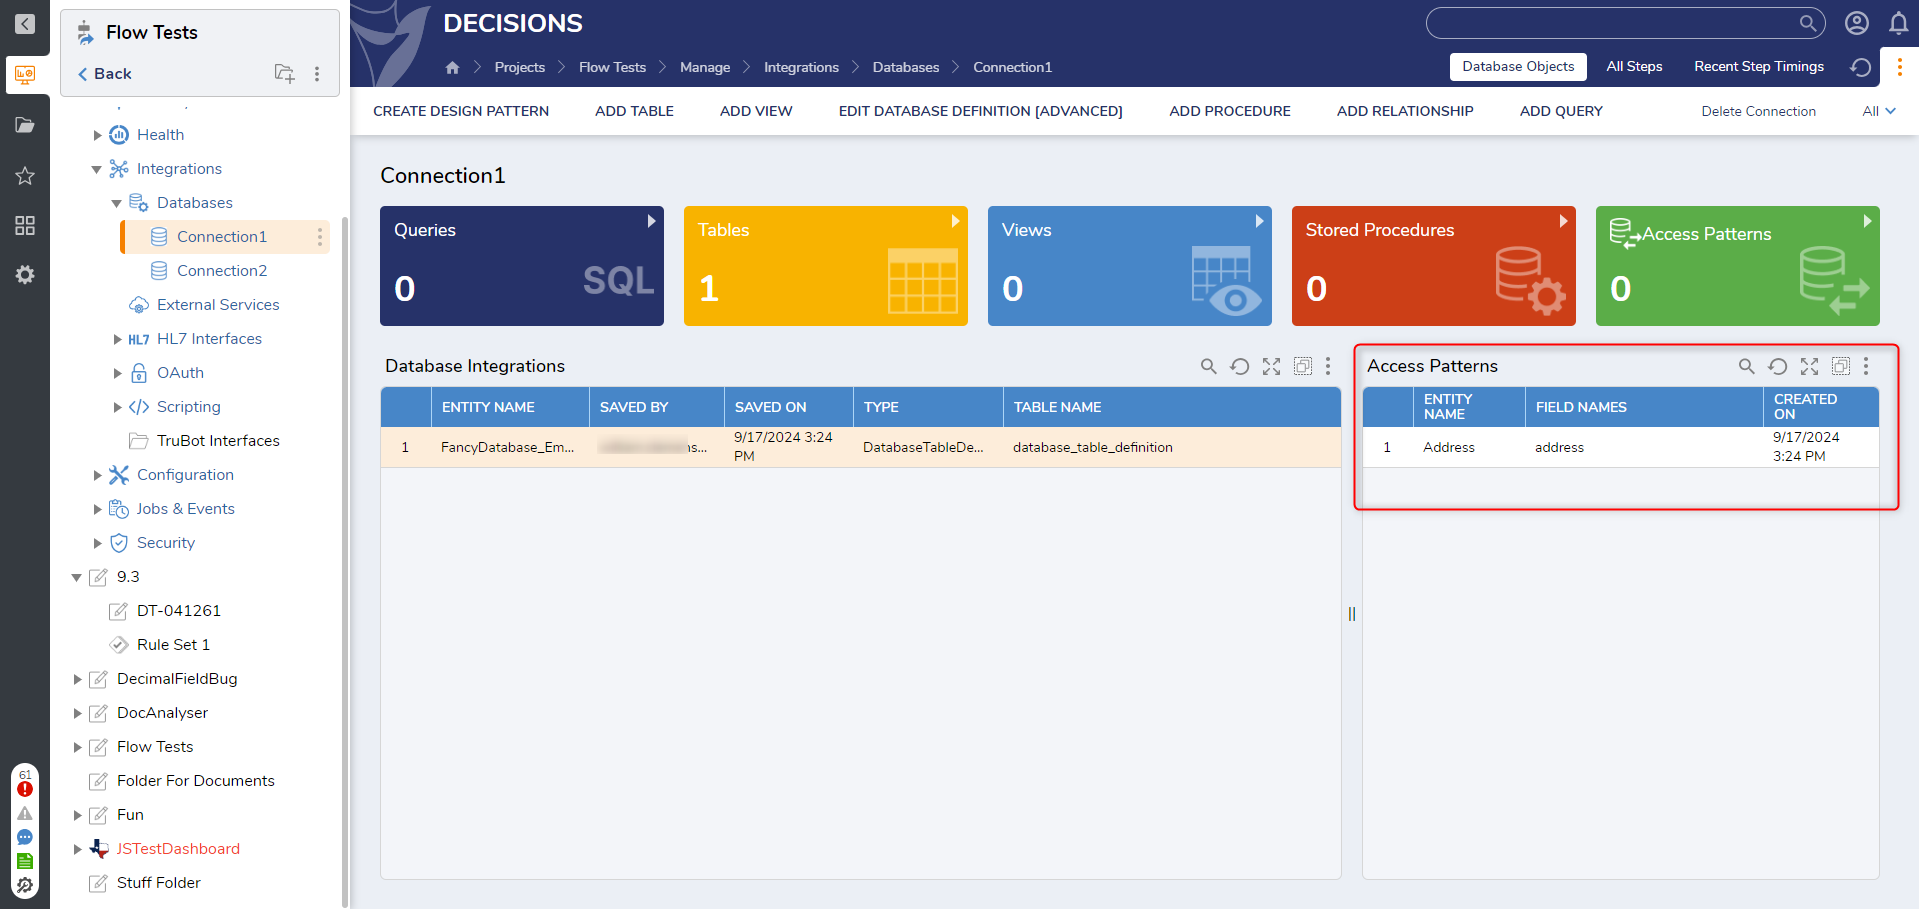
After a new step is created it will appear in the Access Patterns section when viewing the Database Connection.
Feature Changes
| Description | Version | Release Date | Developer Task |
|---|---|---|---|
| Table Integration UI was redone. | 9.2 | August 2024 | [DT-039371] |
| Custom Steps can now be created from a Table Integration. | 9.3 | September 2024 | [DT-041888] |