Overview
There are two methods to install a module:
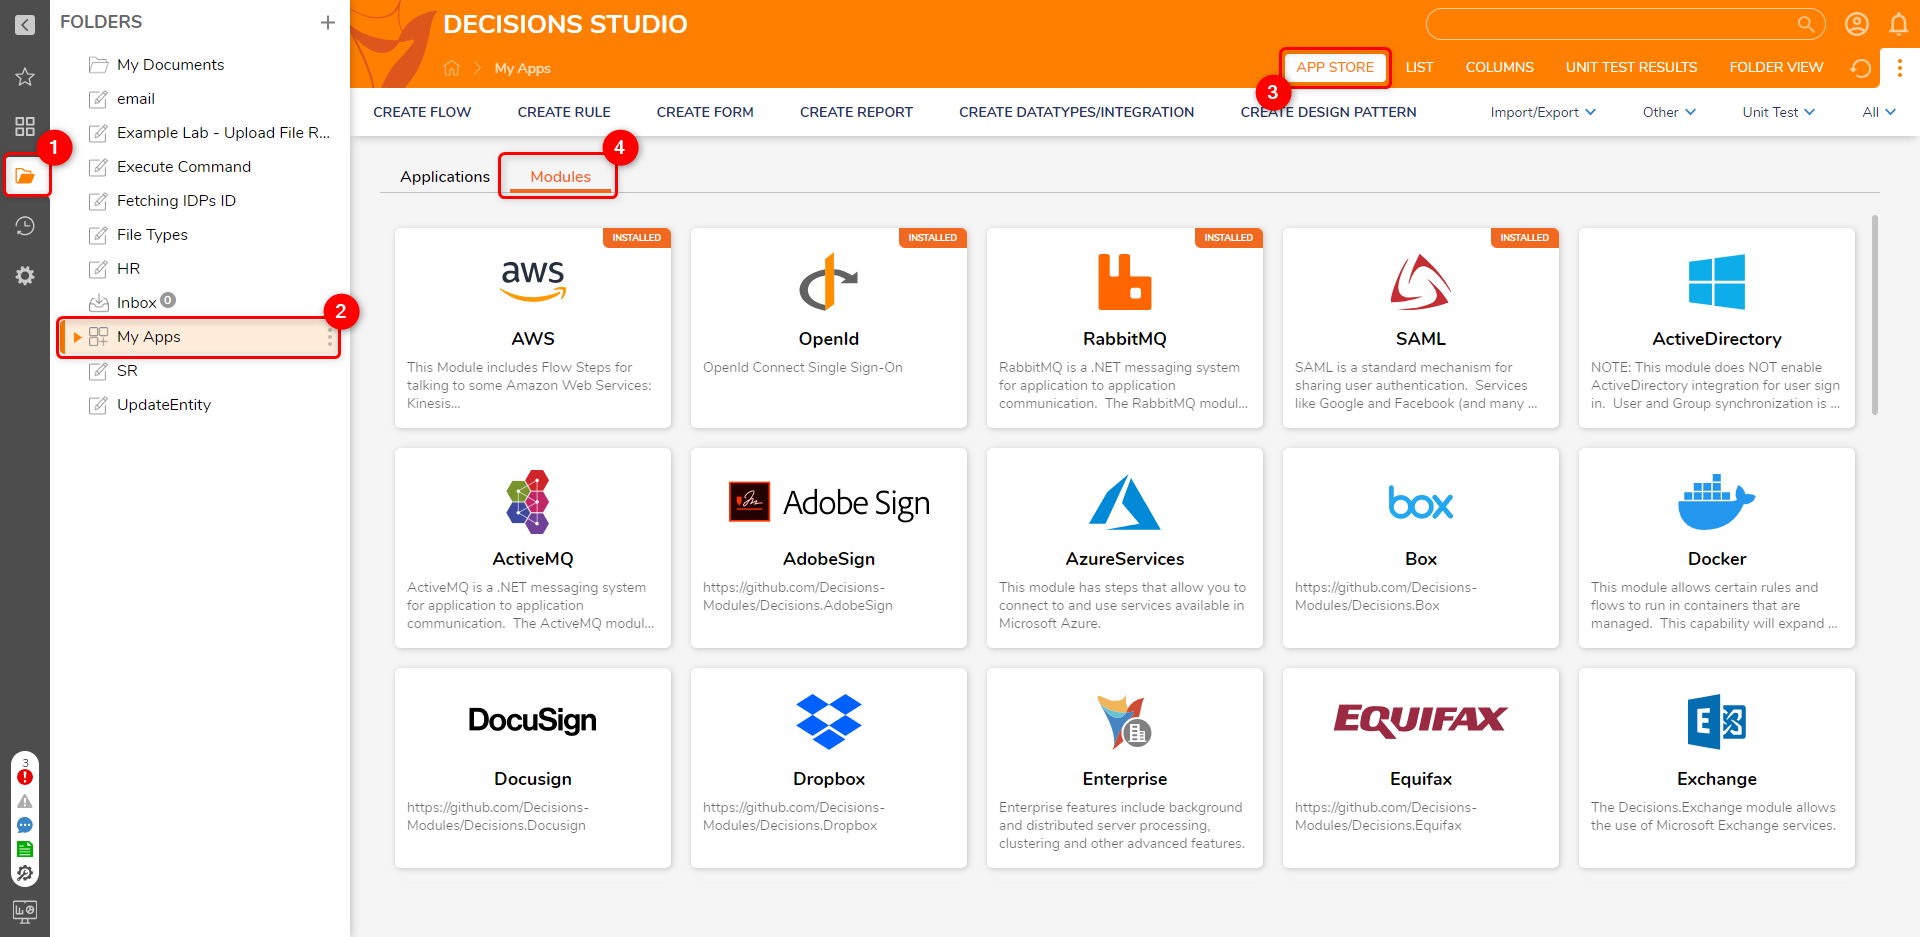
- My Apps > APP STORE > Modules
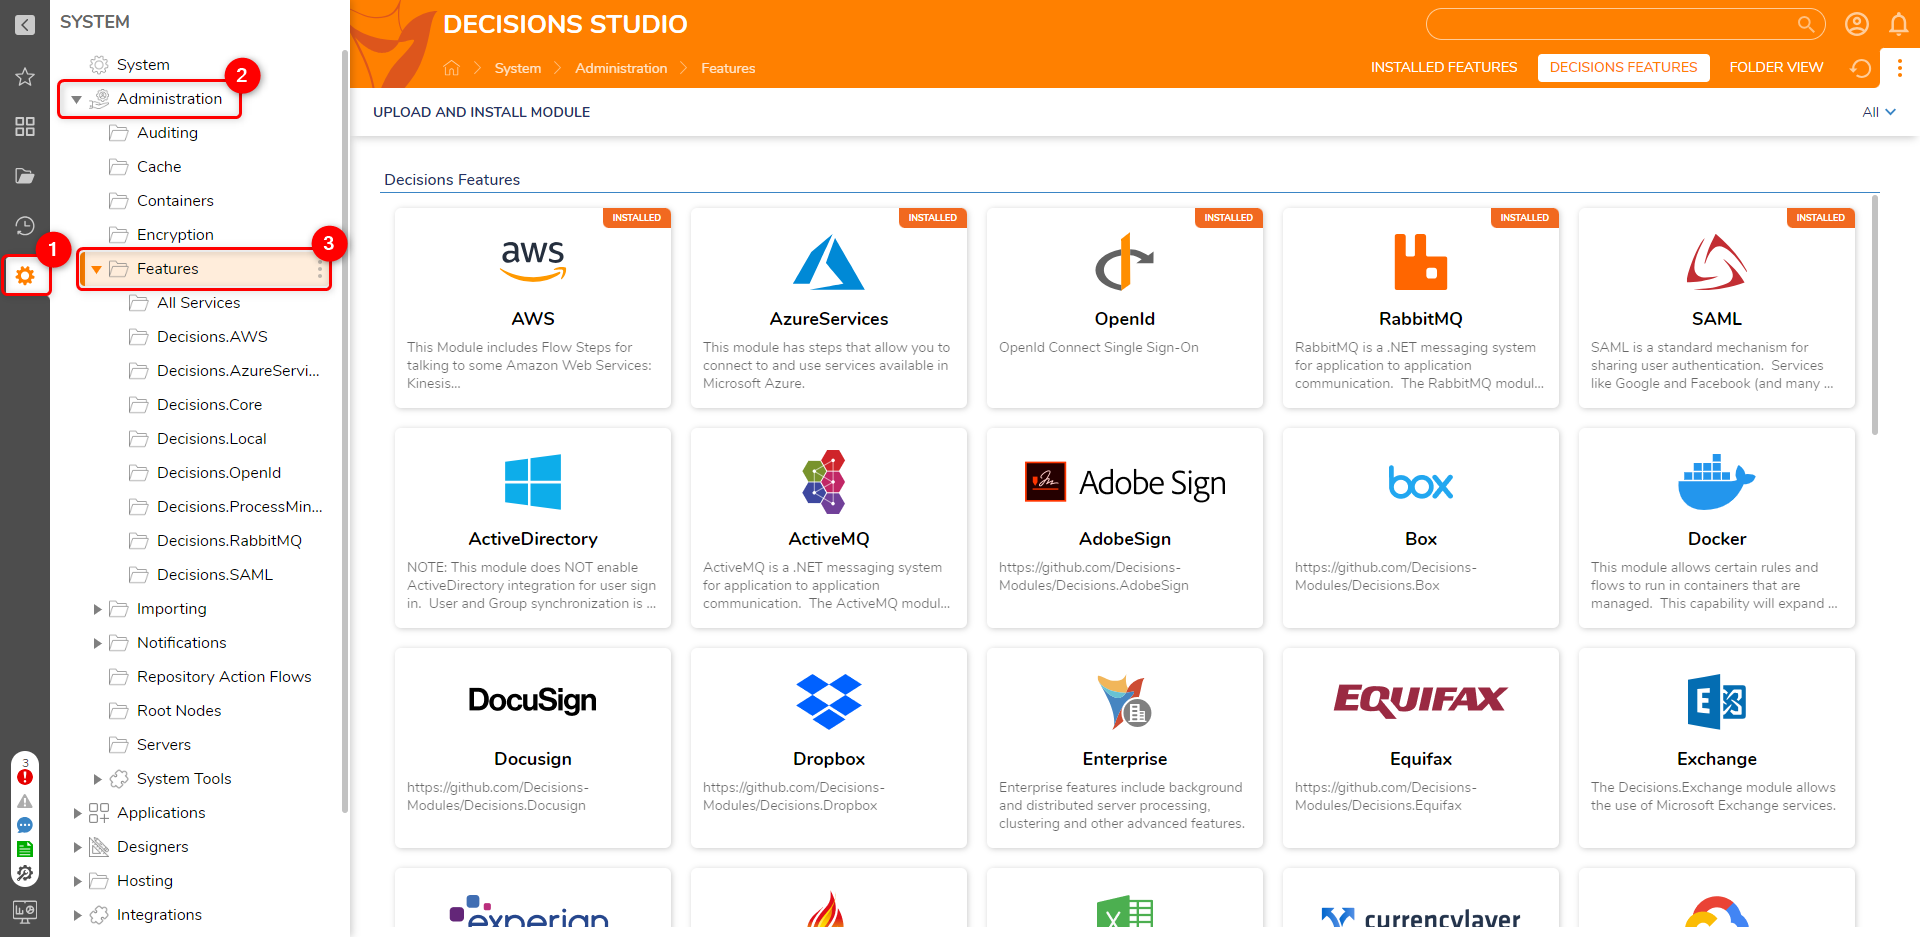
- Navigating to System > Administration > Features
The following subsections provide a step-by-step process to install a module for each method.
Uninstalling Modules
Uninstalling modules without understanding their dependencies can lead to issues and potentially break the functioning of other components. Hence, it is not recommended to uninstall a module. Please contact support@decisions.com for any assistance.
Example
Installation via My Apps
- In the Decisions Studio, navigate to FOLDERS > My Apps > APP STORE, and select Modules.

- Navigate to the desired Module. Click on Install > Continue to install the Module.
- On successful installation of the module, a notification will be displayed at the screen's top right.
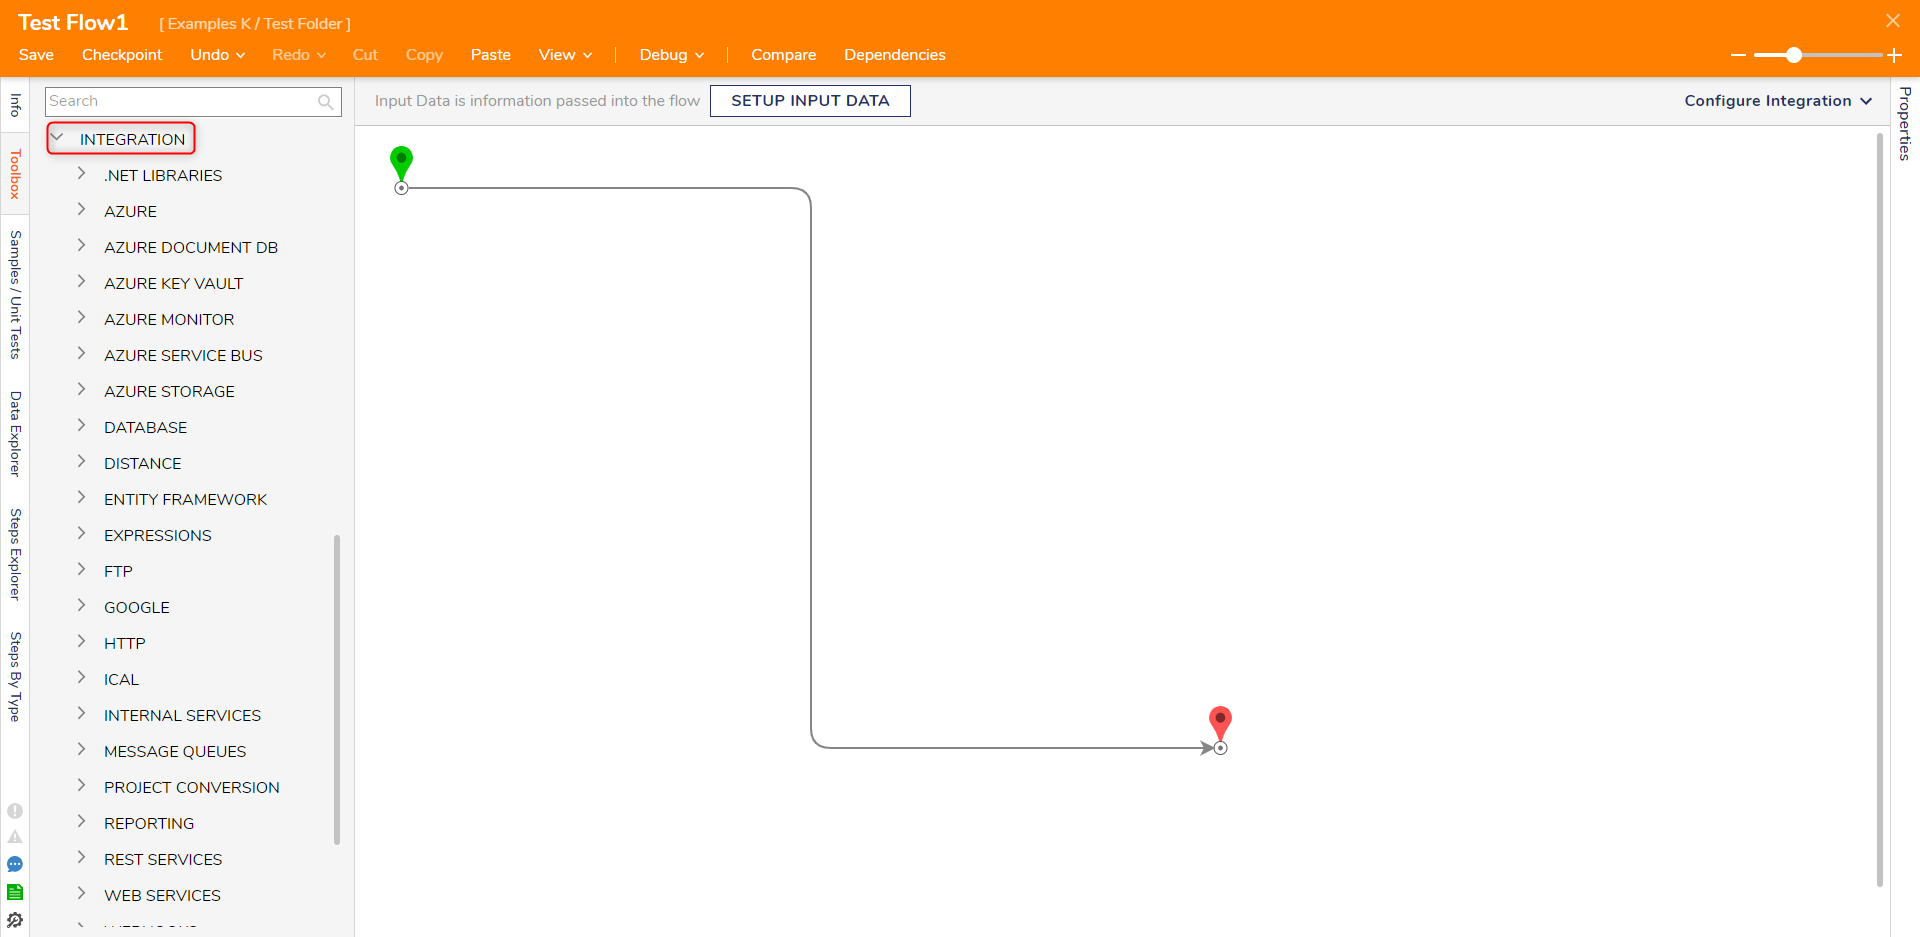
- To access the new Module's steps, navigate to the Decisions Studio and open a Flow to view the Flow Designer.
- In the Toolbox, navigate to INTEGRATION > [NAME OF SERVICE]. This folder houses all steps integrated with the installed Module.

Installation via System Features Folder
- In the Decisions Studio, navigate to the System > Administration > Features.
- Follow steps 2-5 from the above section to install and use the Module.

Feature Changes
| Description | Version | Date | Developer Task |
|---|---|---|---|
| UI changes for the "My Apps" Page in the Designer Studio | 8.13 | August 11, 2023 | [DT-037963] |
| UI change: Added a confirmation box while installing the module | 8.17 | December 13, 2023 | [DT-039136] |