Overview
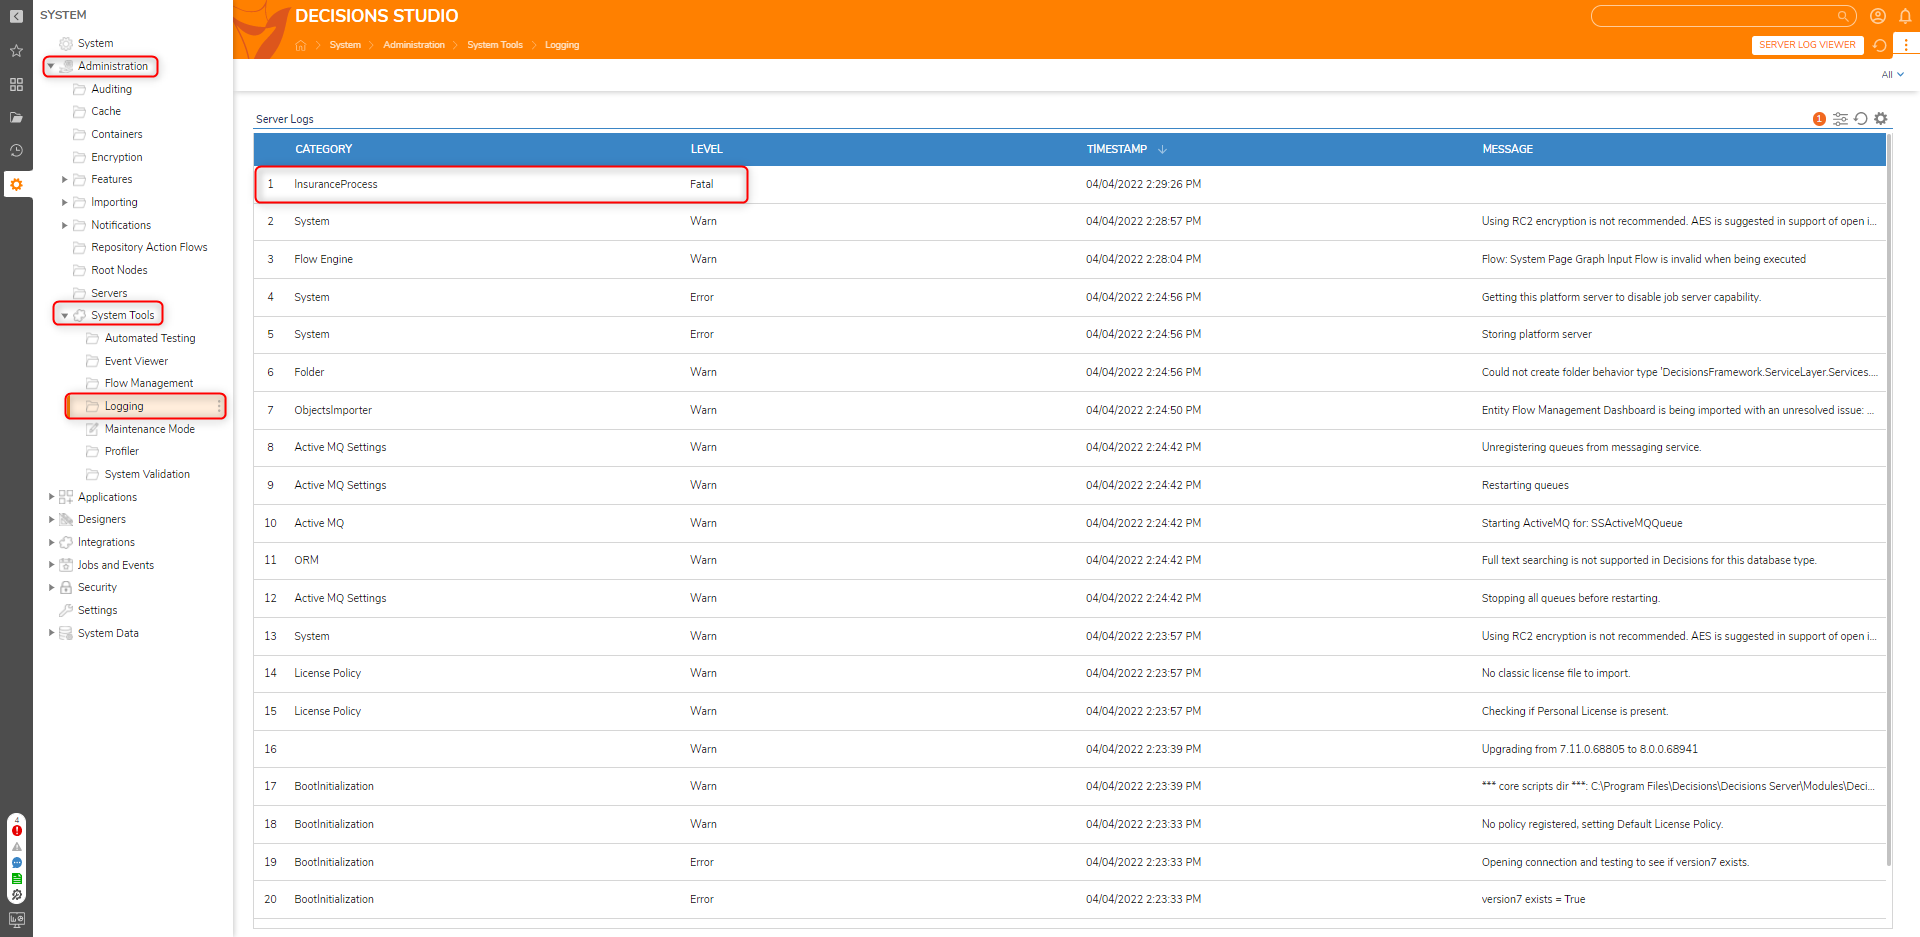
To help customize logging specifications within a Decisions environment, Administrators are provided the ability to define new Log Categories via the Log step and Logging Settings JSON.
This file automatically updates when a new category is created.
Further, these settings can be used to to log specified Categories to their own individual files within the Local File System. This can also be helpful when managing multiple Projects where files need to be segmented, by allowing customers to have their own specific error files organized.
Example
- Follow the process outlined in Using the Log Step to create a new Log Category.
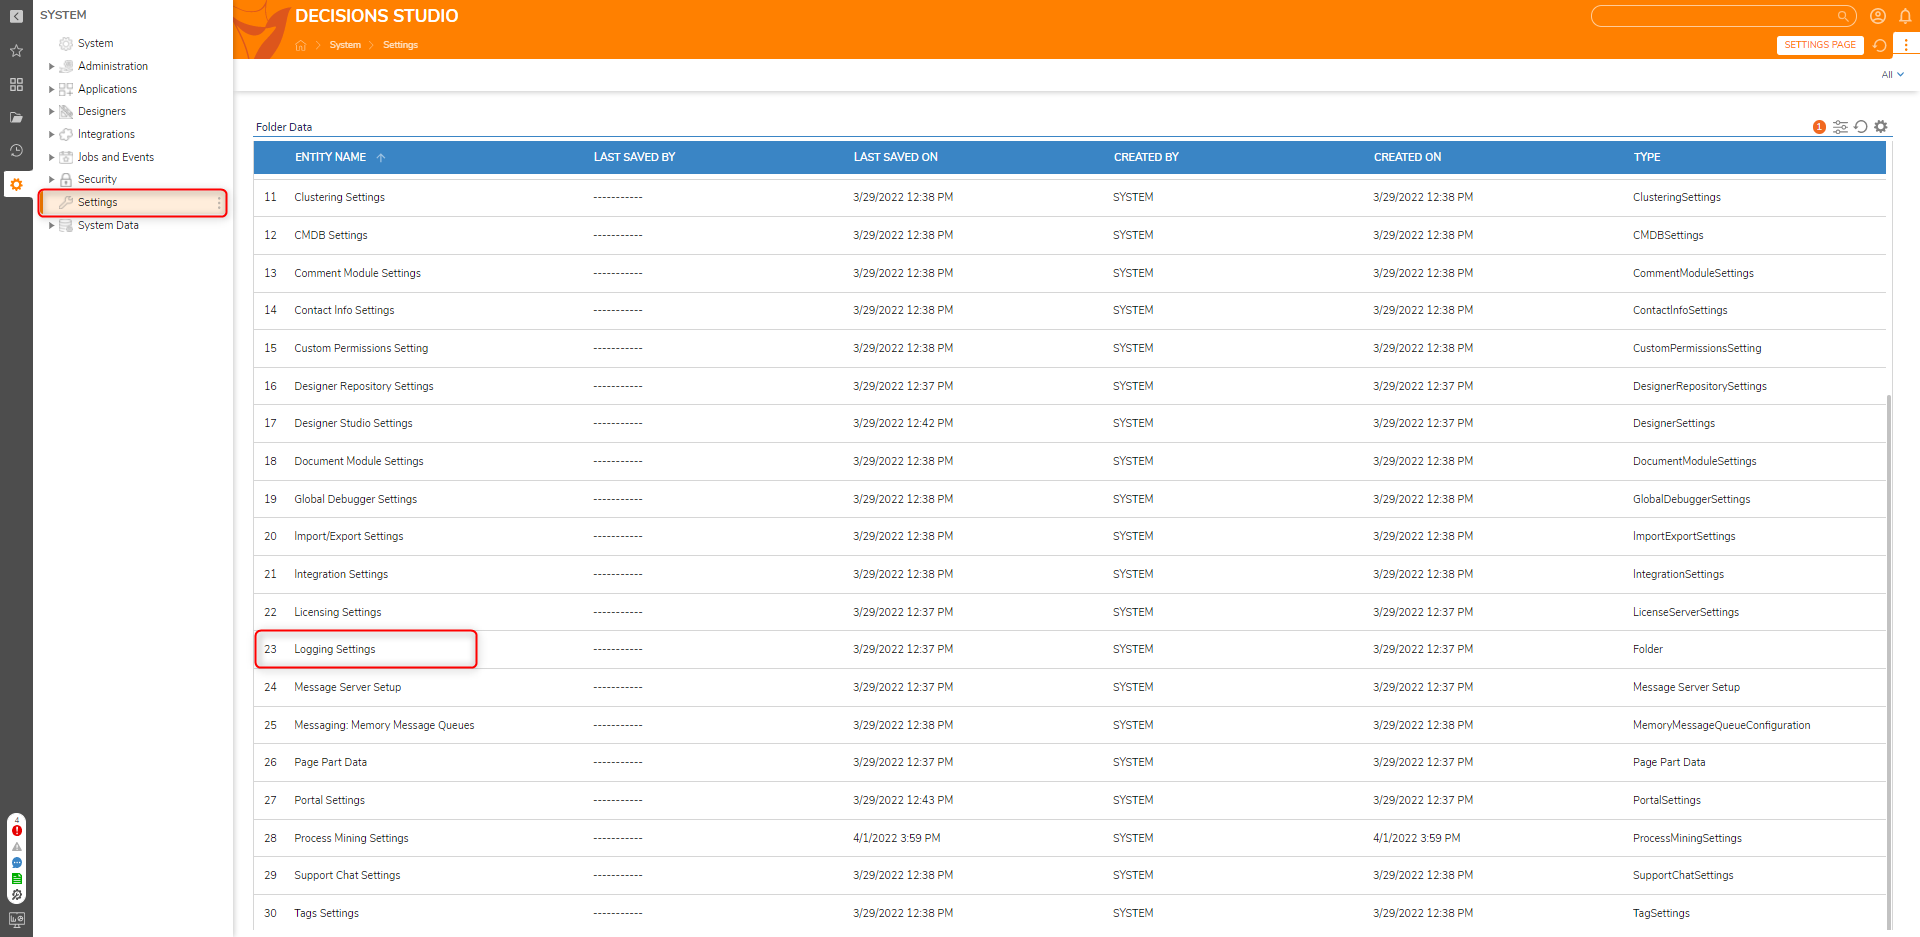
- From the Decisions Studio, navigate to System > Settings, and open Logging Settings.
- From the Logging Settings list, select File System. From the File System window, check the desired Levels. Then, under Log Categories, click ADD.
- From the Add Log Categories window, select the previously created Category from the Category Name dropdown. Check the desired Levels, then enable Log To Own File.Overlapping Category NamesIf the name of an already existing Log Category is used for the Log Step in a Flow and the Log To Own File Name settings is True, it will cause SHM to give an Error 1064 on restart attempt. If this error is received, the log category name already exists.
Then, click OK, and OK once more to exit the File System window.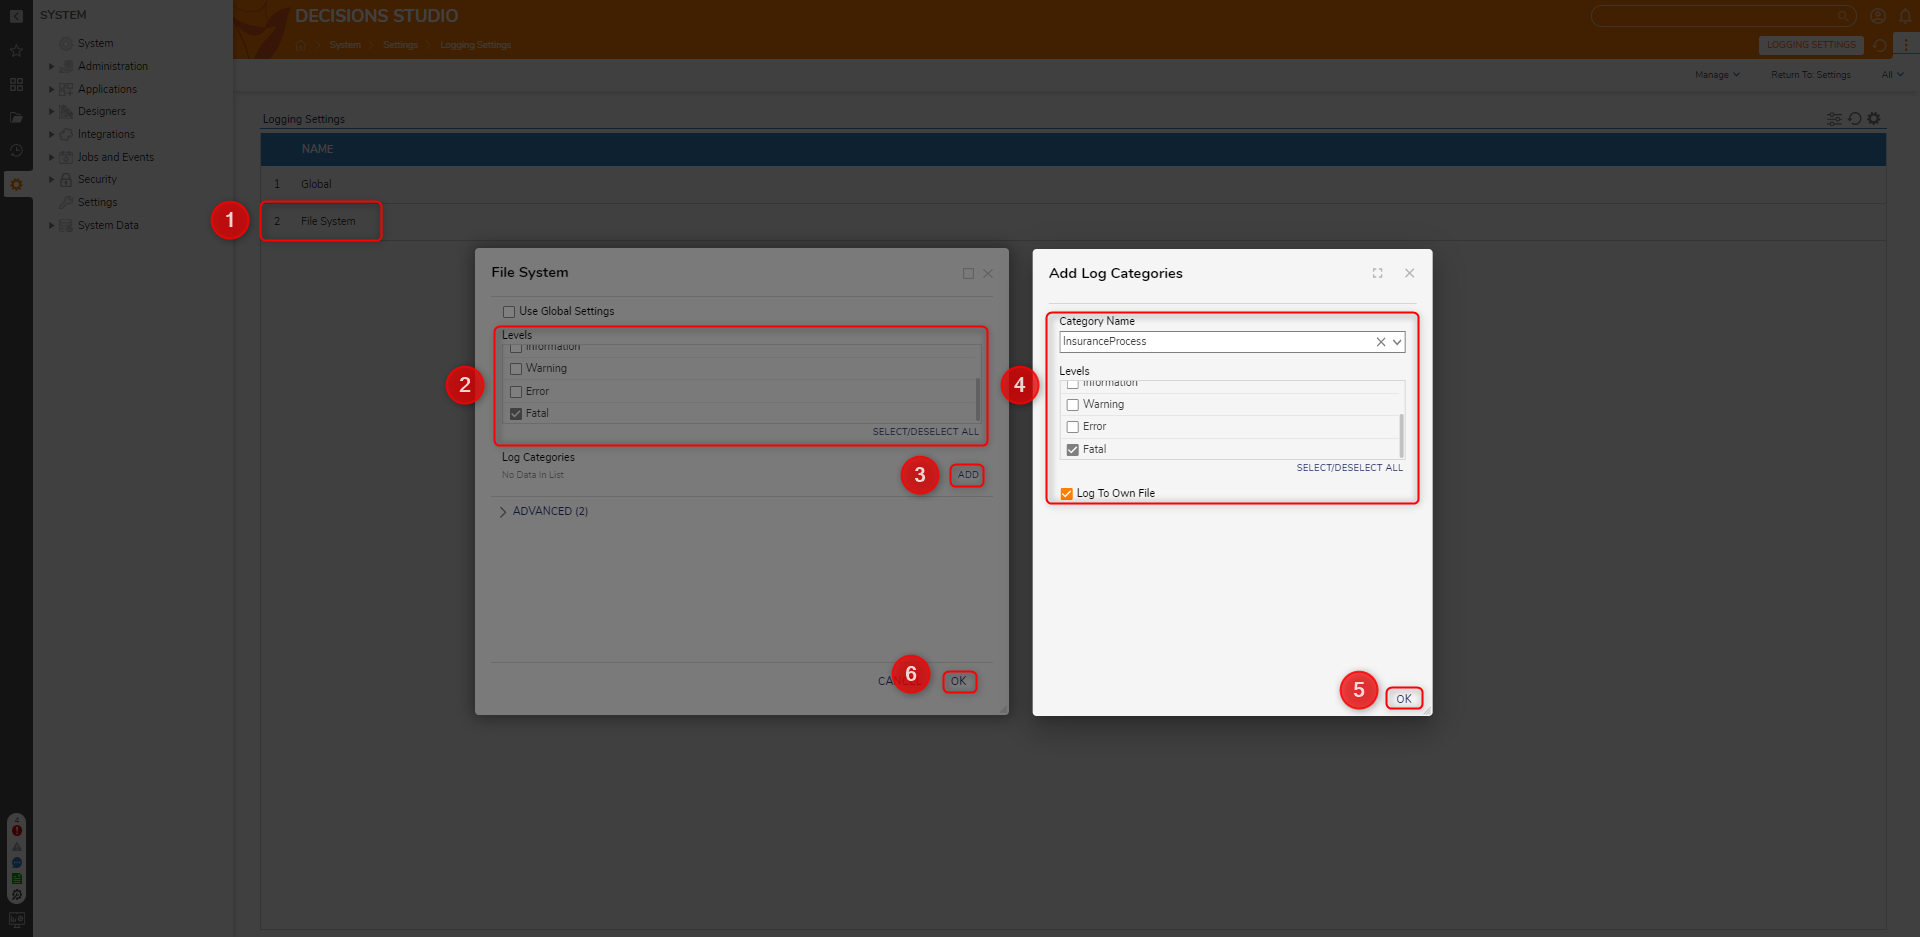
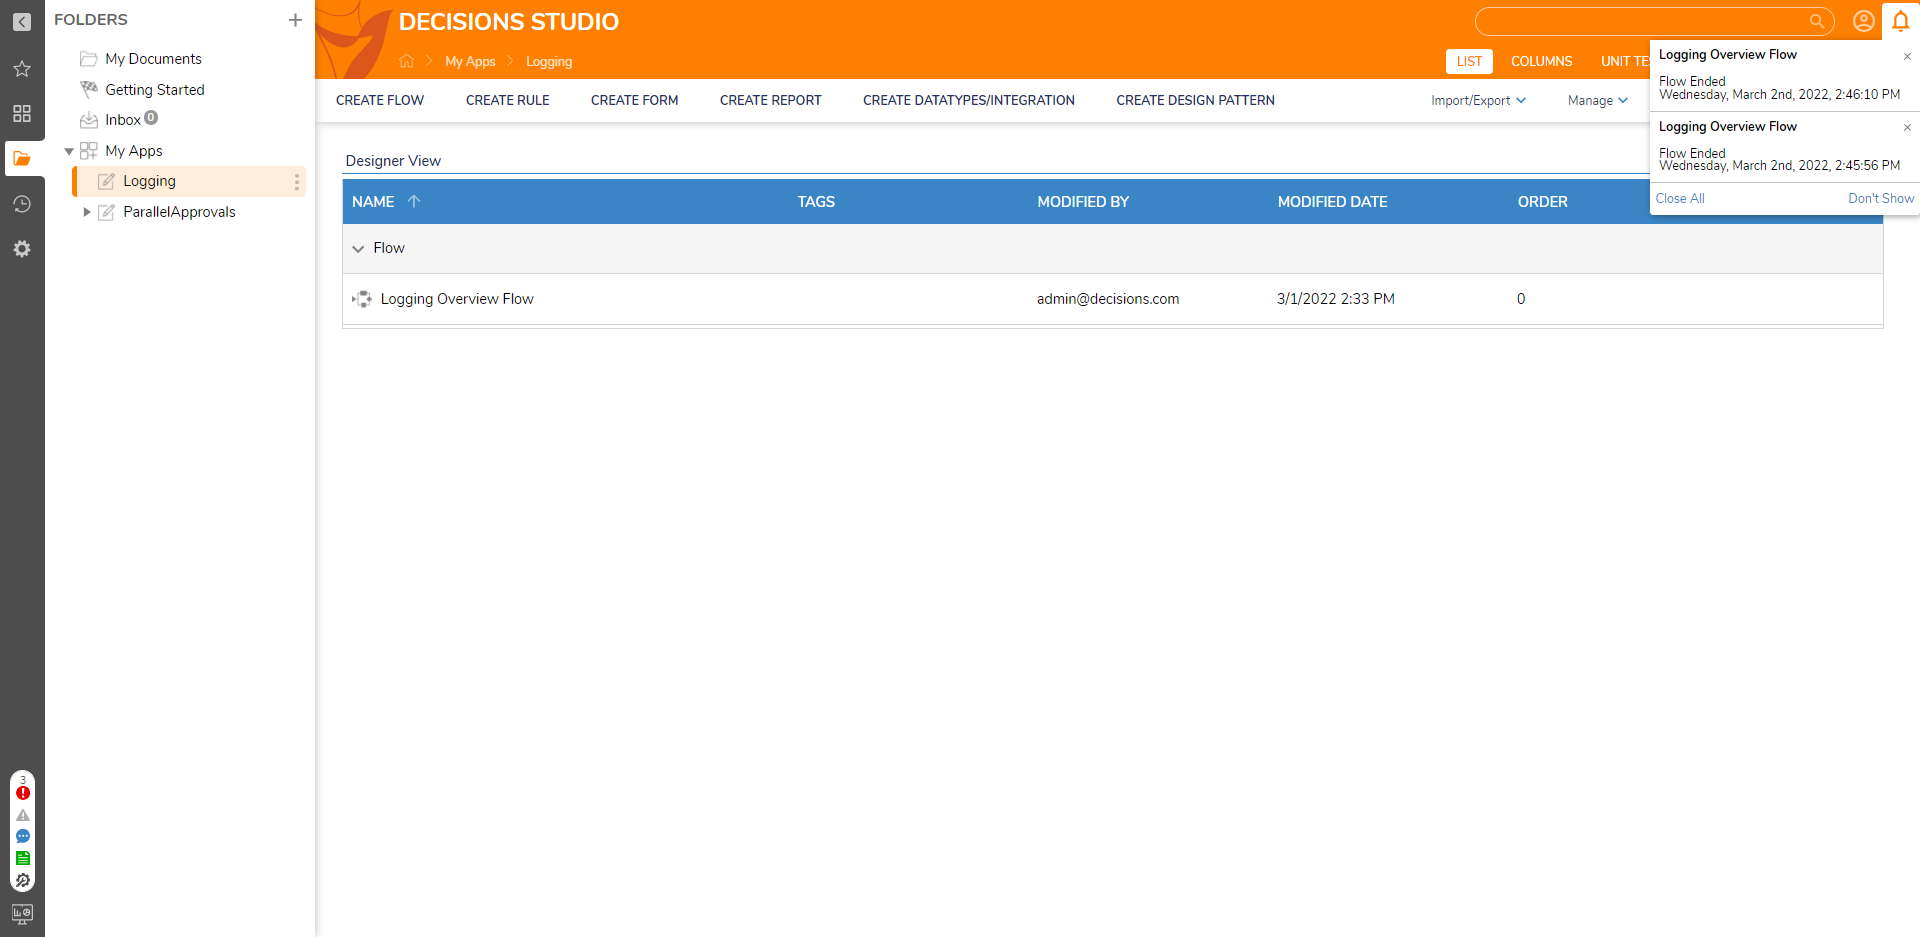
- Return to, and then Run, the previously create Logging Flow.
Custom Log File Location
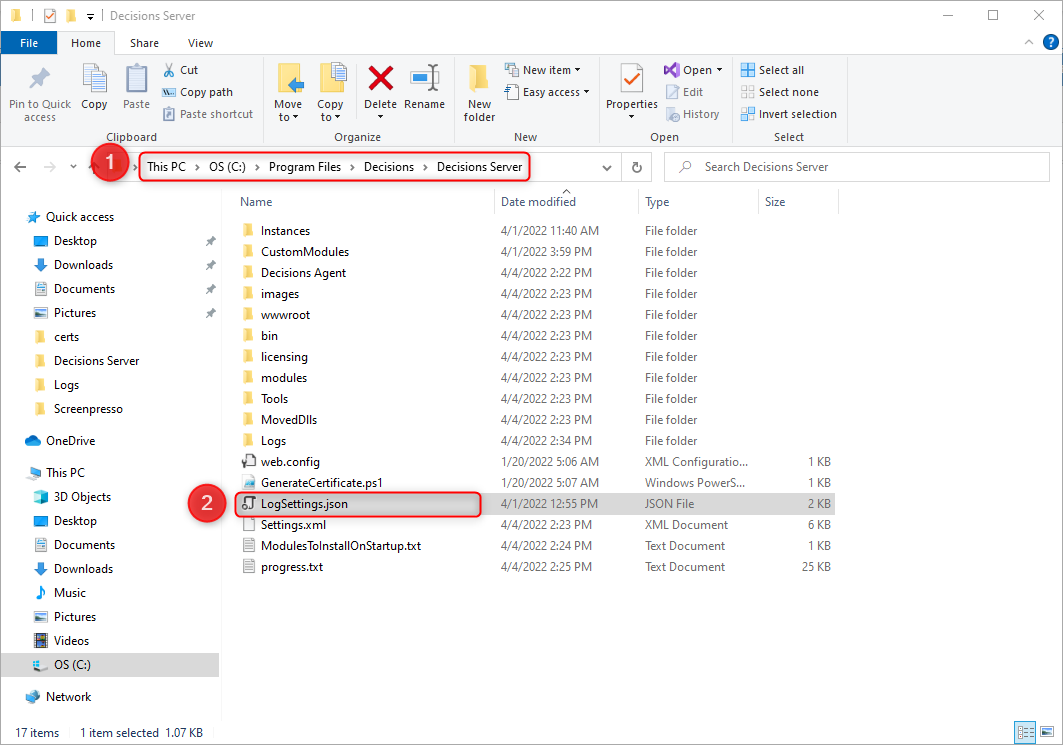
- After following the above steps, open the Decisions File System by navigating to C:\Program Files\Decisions\Decisions Server.
- Right-click on the LogSettings.json file and open it with a text editor such as Visual Studio or Notepad++.
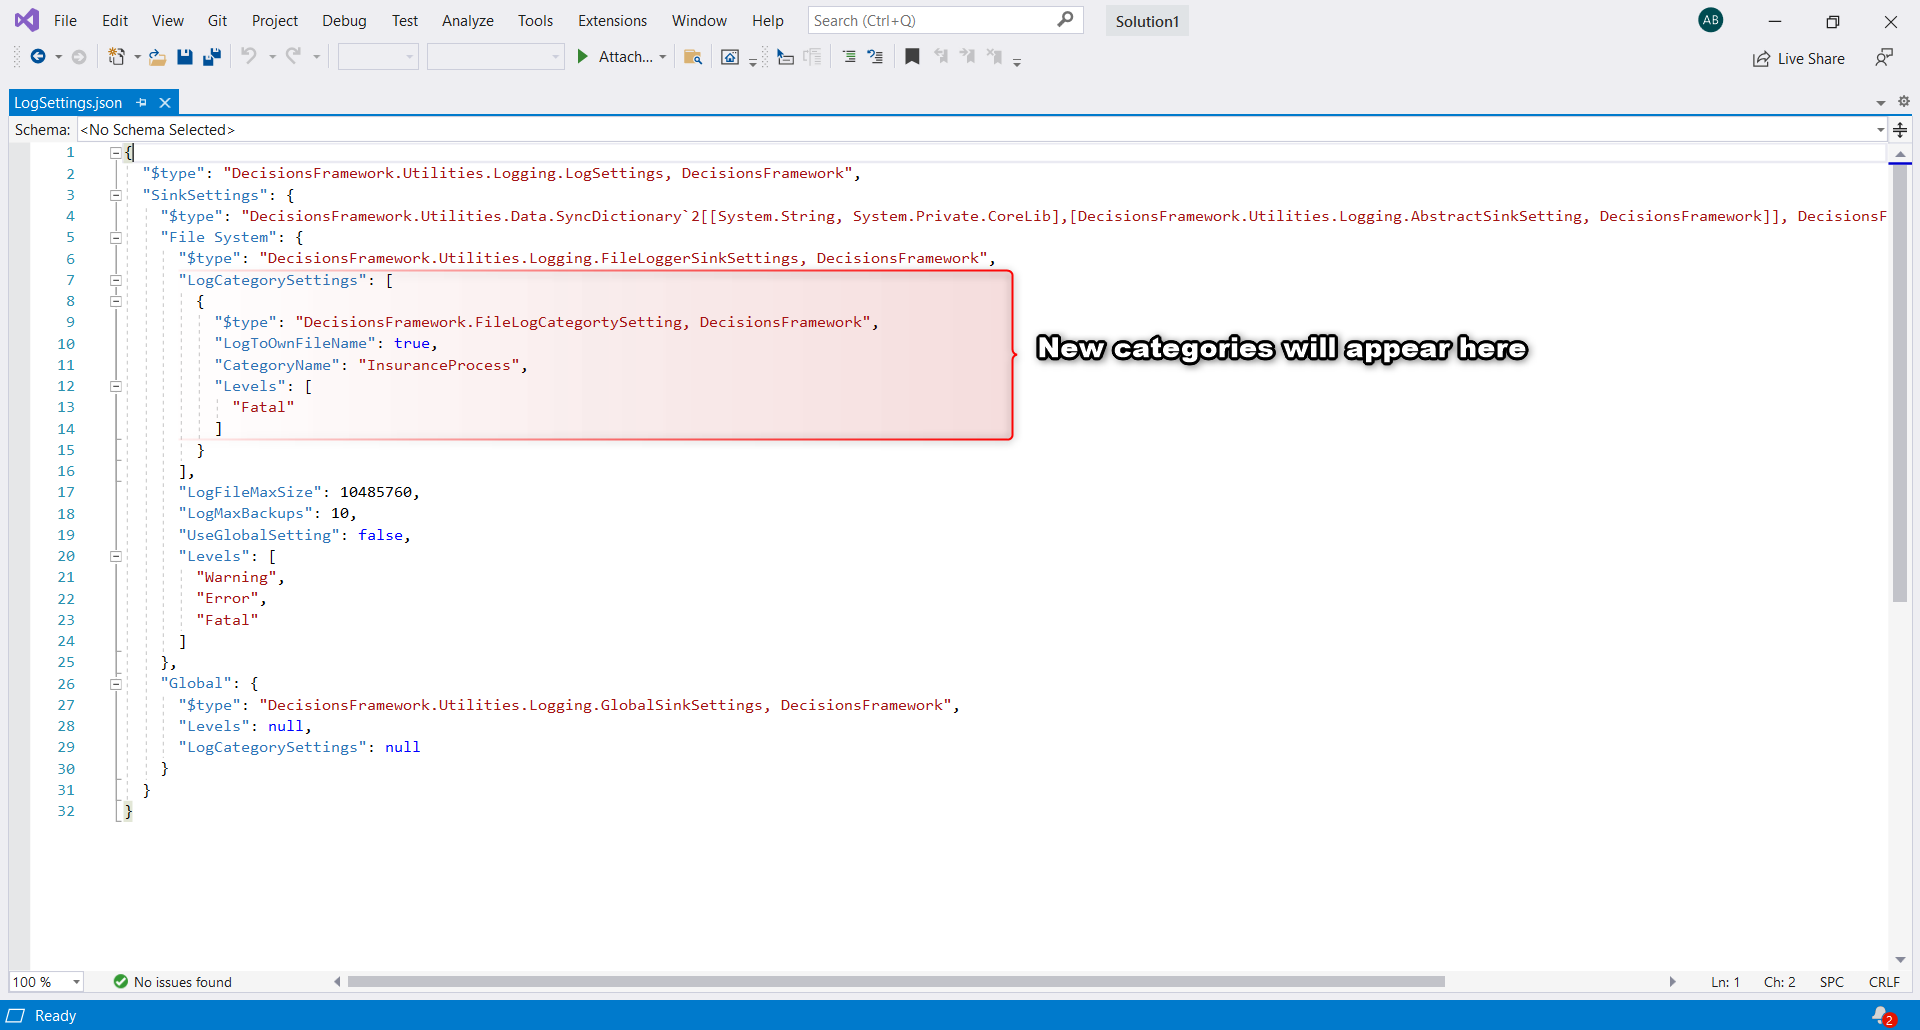
- This file displays multiple lines of LogCategorySettings for each available log category including new categories added by the Log step. Notice the new "InsuranceProcess" category under this setting. Exit the text editor.
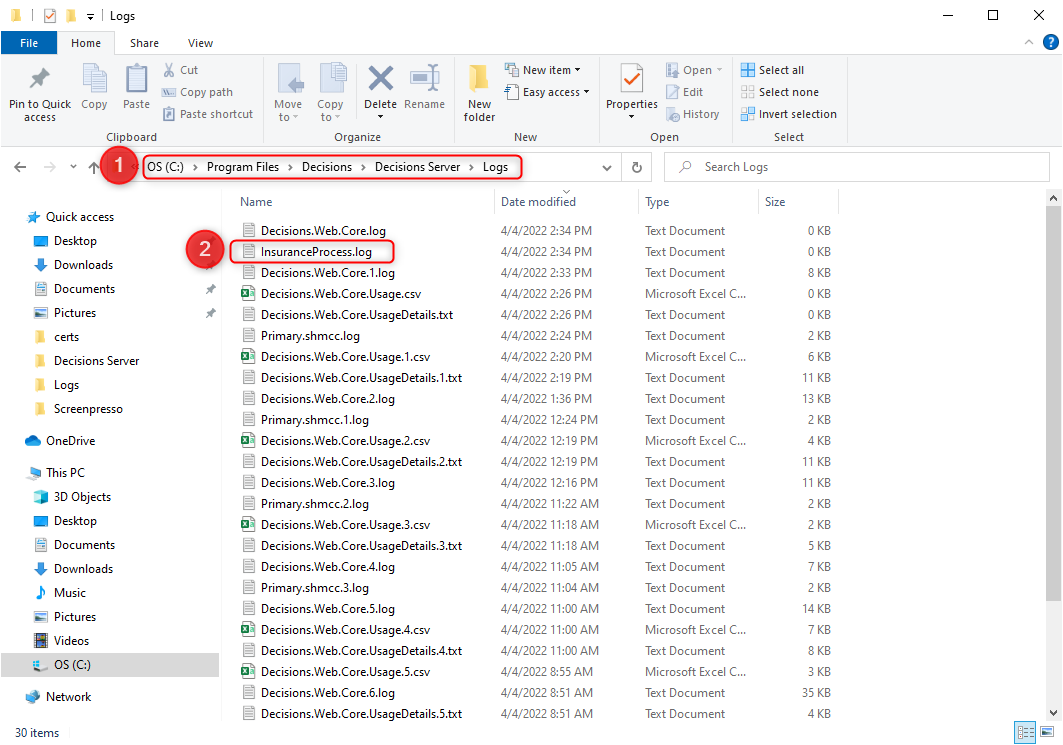
- Open the Logs folder back in the file directory. Notice the newly created custom log file named after the category.Note on Matching Category/LevelsNote that to create a unique Log based on a set Category the following must occur:
- LogToOwnFile must be set to True
- The Category Name must match the Category set on the Log step
- The Level must match the Type set on the Log step
Failure to match either of these values will result in the Log Message writing to the Decisions.Web.Core. file only.
When the newly added InsuranceProcess.log file is opened, it will show the recorded log of the error that was hit when the Flow executed along with the message that was configured in the Log Step of the Flow.
For further information on Settings, visit the Decisions Forum.