Overview
There are several features that use external database connections to perform various functions on tables and data stored in the target database. These examples are often shown in documentation referencing other pre-built database options for testing. This article will instruct the reader on how to create a database in MSSQL for testing without needing to compromise another database while exploring other features.
Before starting, a database connection is required to install Decisions. If the product has not yet been installed, please reference the Installation Guide. This article is assuming that a valid MSSQL server is connected and that the default database has already been created. This article has code blocks where the MSSQL query is written. Please replace the DatabaseName, TableName, ColumnName, and value with the appropriate parameters for sample data. When it comes to database-type creations, ALL Text datatypes (Text, String, Varchar, etc.) have a character limit of 255 to optimize performance.
Creating a Database
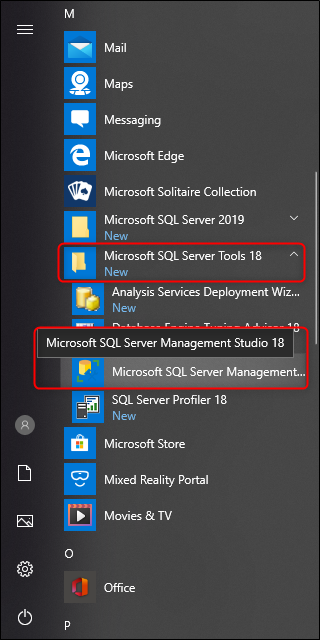
- Begin by navigating to the Start menu of the PC.
- Locate the Microsoft SQL Server Tools (v#) Folder and expand it.
- Open Microsoft SQL Server Management Studio(v#).
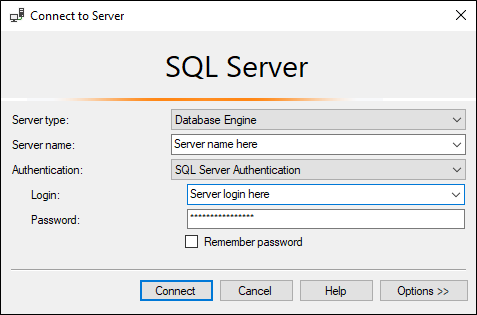
- In the Connect to Server window that appears, configure the appropriate credentials to connect with the server.
- The screenshot below references a Database Engine/SQL Server Authentication setup.
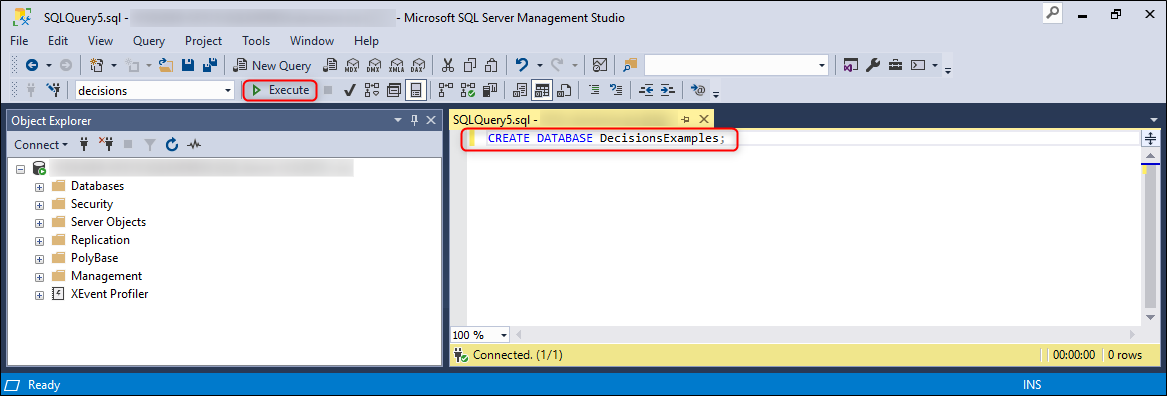
- After connecting to the server, navigate to File > New > Query with Current Connection.
- When the new query tab opens, type CREATE DATABASE databasename; and then click Execute from the top toolbar next to the current database drop down.
- Once the query has been executed, a message should appear on the bottom of the screen confirming that the action has been completed.
Adding a Table
- Now that the database itself has been created, a table needs to be added so that columns can be created and information can be stored. Refresh the Object Explorer list on the left until the new database appears under the Databases Folder.
- Right-click the name of the new database and select New Query from the menu.
- In the new query tab, enter the script as shown below to create a table.
- In this example, the table name is PersonInfo and the columns are Name [text], Age [int], State [text], and ID [int]. This can be modified to include different details in the column names.
- Select Execute from the top toolbar once the query is complete.
CREATE TABLE tablename (
	columnname1 datatype,
	columnname2 datatype,
	columnname3 datatype
);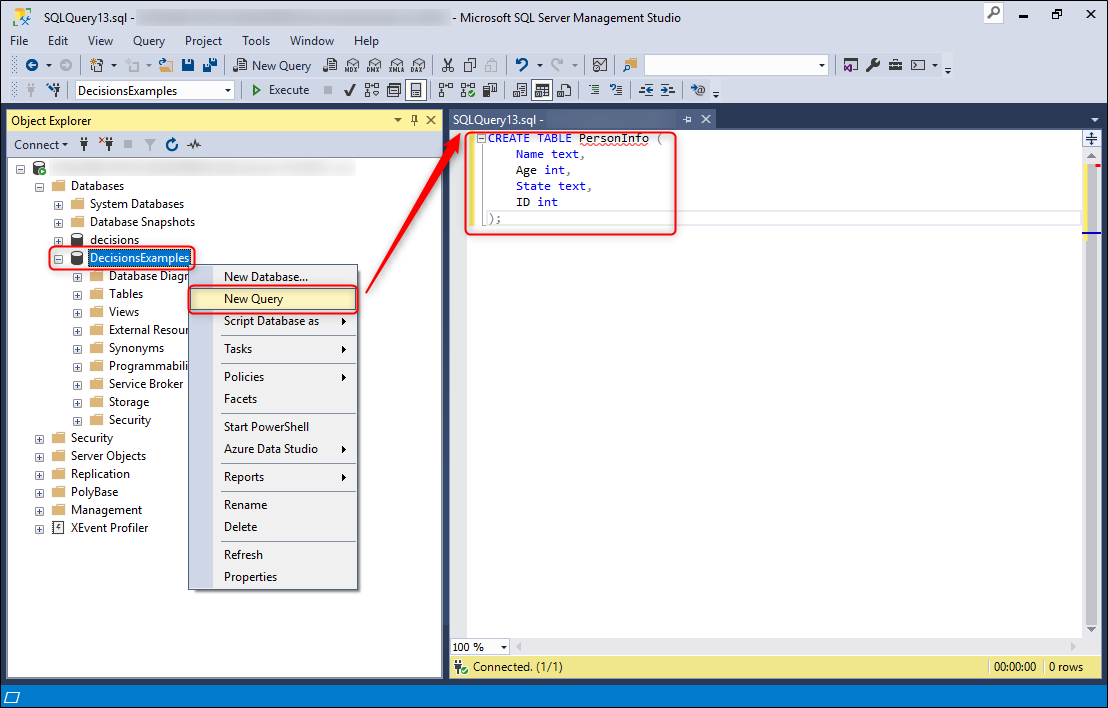
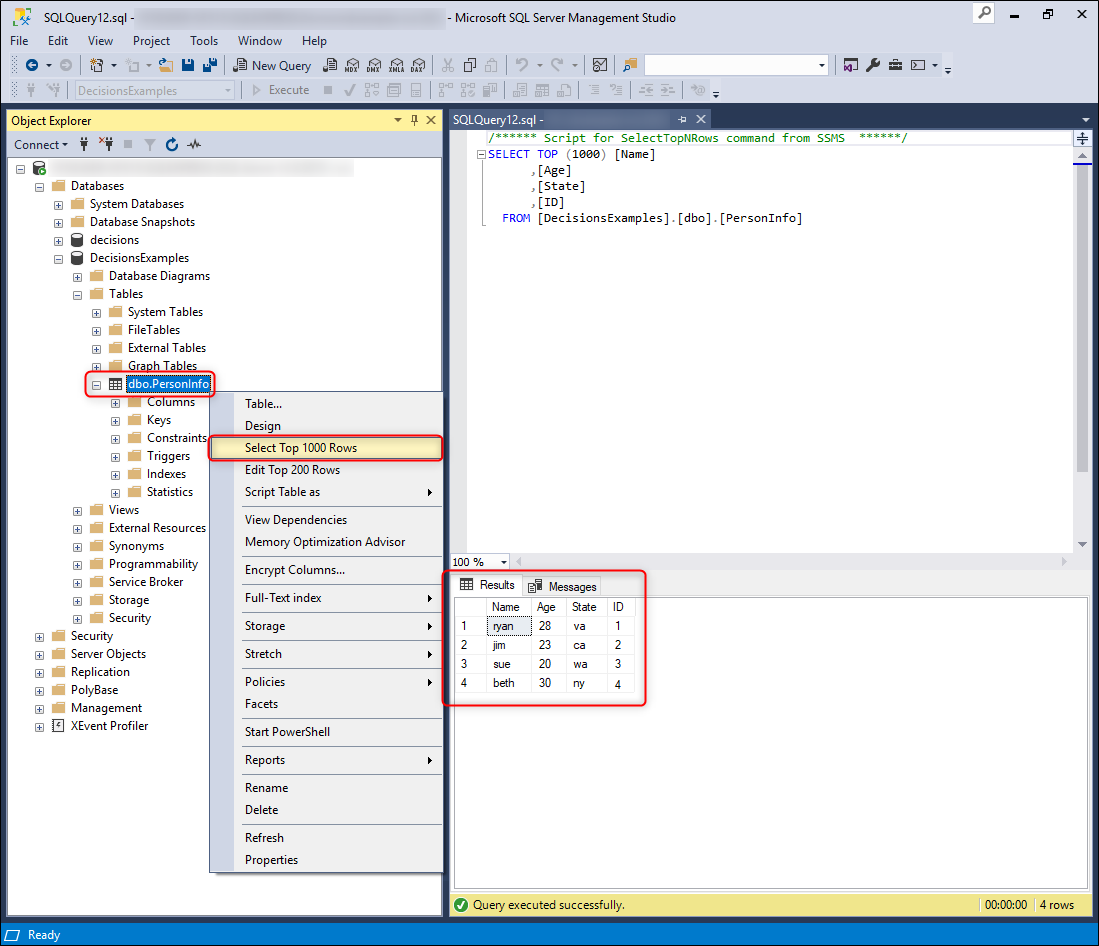
- Once the action has been completed, use the Object Explorer to expand Databases > [DatabaseName] > Tables and right-click dbo.[CustomTableName], then choose Select Top 1000 Rows from the menu.
- In the Results window, the previously defined table and respective columns will appear.

Adding Data to the Table
- The database has a table that is ready to receive data for the defined columns. Right-click the database name and select New Query from the menu.
- In the new query tab, enter the following script as shown below.
- Use the appropriate values for the column datatype. For example; Name is a [text] datatype so 'Ryan' will be accepted as a value of that type.
- Once the query is complete, select the Execute button from the top toolbar.
- Repeat the use of this query several times with different values to add some lines to the table.
INSERT INTO dbo.tablename (columnname1, columnname2, columnname3, columnname4)
VALUES ('value1', 'value2', 'value3', 'value4');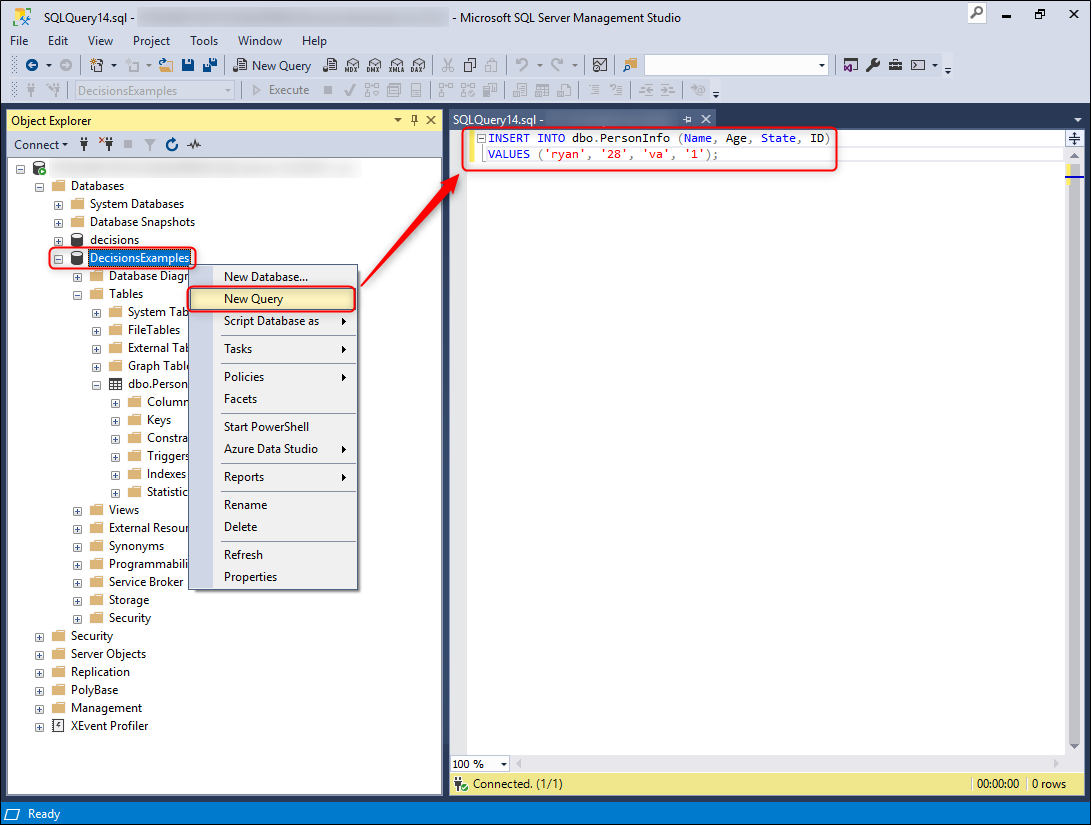
- In the Object Explorer, expand Databases > [DatabaseName] > Tables and right-click dbo.[CustomTableName], then choose Select Top 1000 Rows from the menu.
- In the Results window, the values entered to define the table data appear.
- This completes the sample database build. It can now be integrated with Decisions.
- To integrate this database into the Decisions environment, please visit the External Database Integrationarticle.