Change Report Using Tiles Flow Behavior
- 17 Oct 2022
- 3 Minutes to read
-
Print
-
DarkLight
Change Report Using Tiles Flow Behavior
- Updated on 17 Oct 2022
- 3 Minutes to read
-
Print
-
DarkLight
Article Summary
Share feedback
Thanks for sharing your feedback!
Overview
A Report has many dynamic qualities, one of which is the use of Tiles to add a flair of customization. This tutorial demonstrates how to change a Report in the Report Viewer component on a Page based on a Simple Tile component click. In Decisions, Simple Tile components can send data on click, and the Report Viewer component can listen to such events and refresh.
Example
For this example, two previously created Reports were used: Accounts Report and Folders Report.
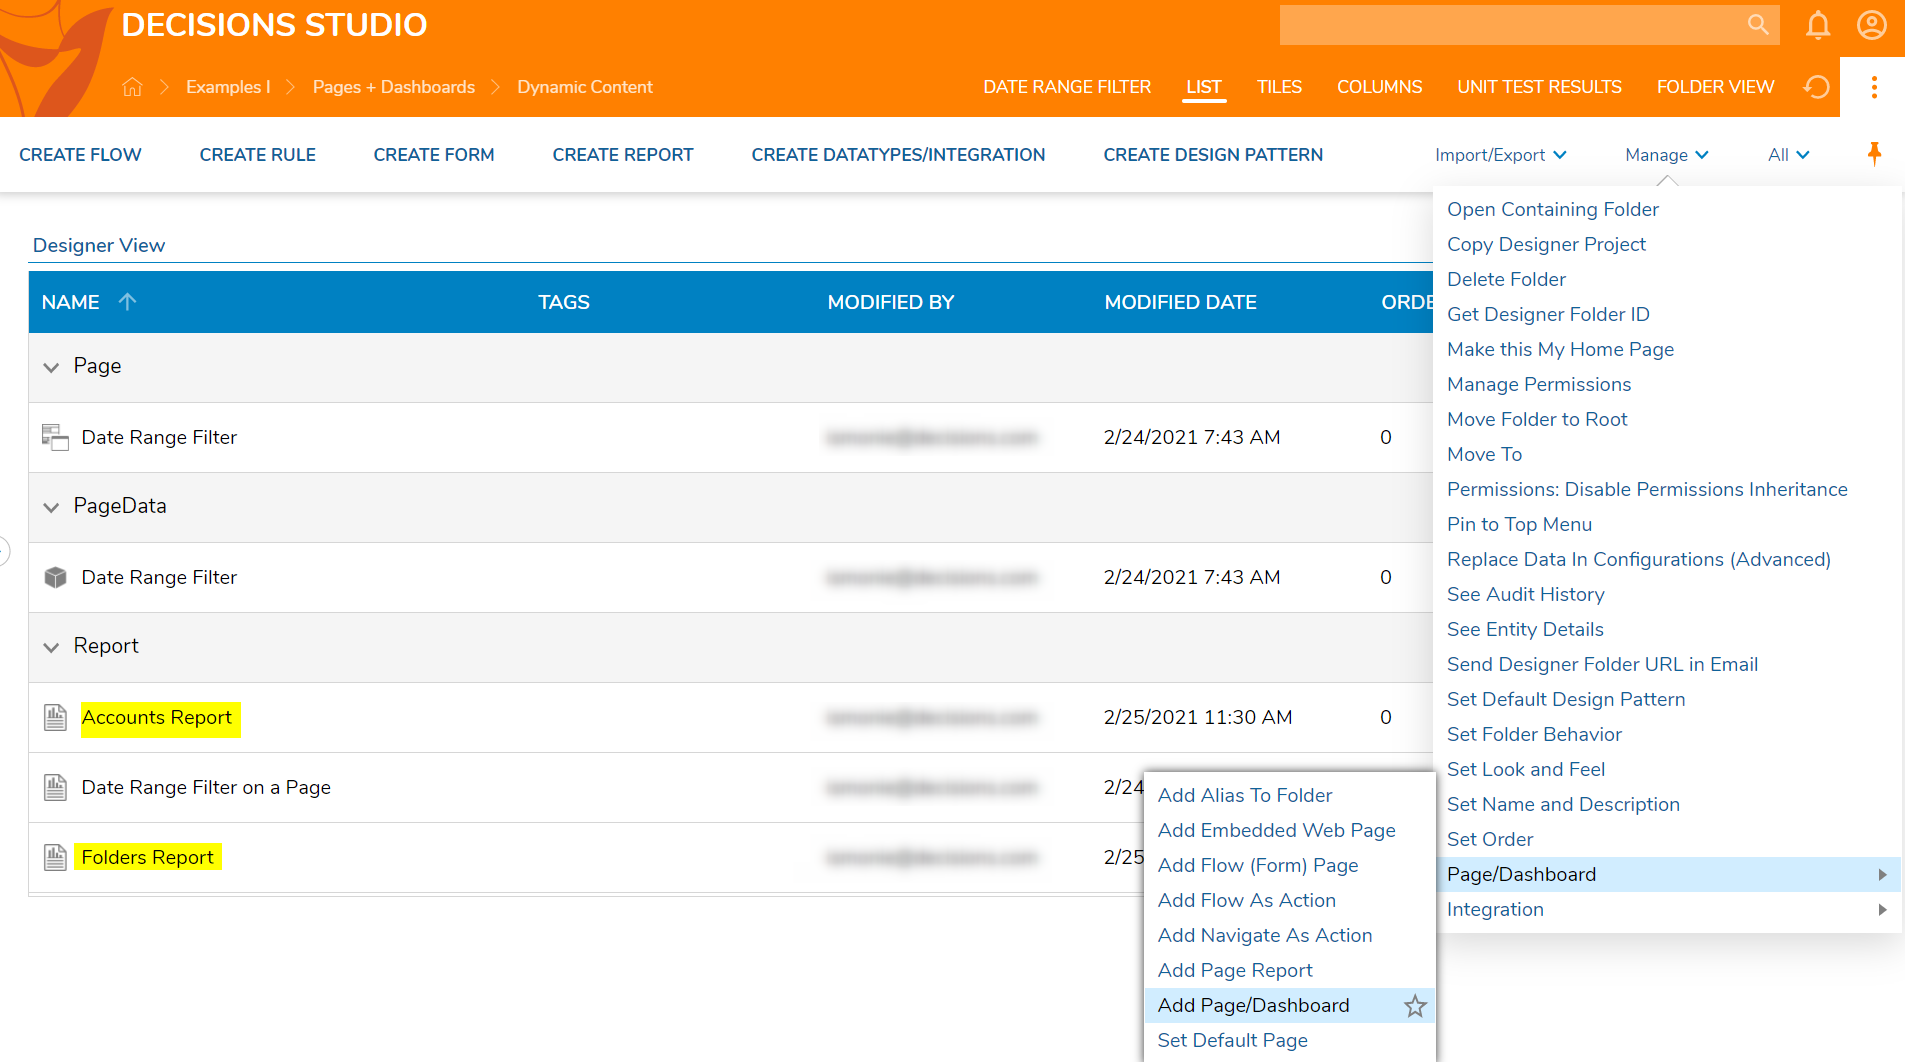
- In a Designer Folder, navigate to the Global Action Bar and click Manage > Page/Dashboard > Add Page/Dashboard on Folder Actions Panel.
- In the Add Page/Dashboard dialog, click PICK PAGE.
- Next, select CREATE in the resulting Create or Pick Page dialog.
- Click the default Page, name it and click CREATE to enter the Page Designer. In this example, the Page is named Tile Flow Behavior.
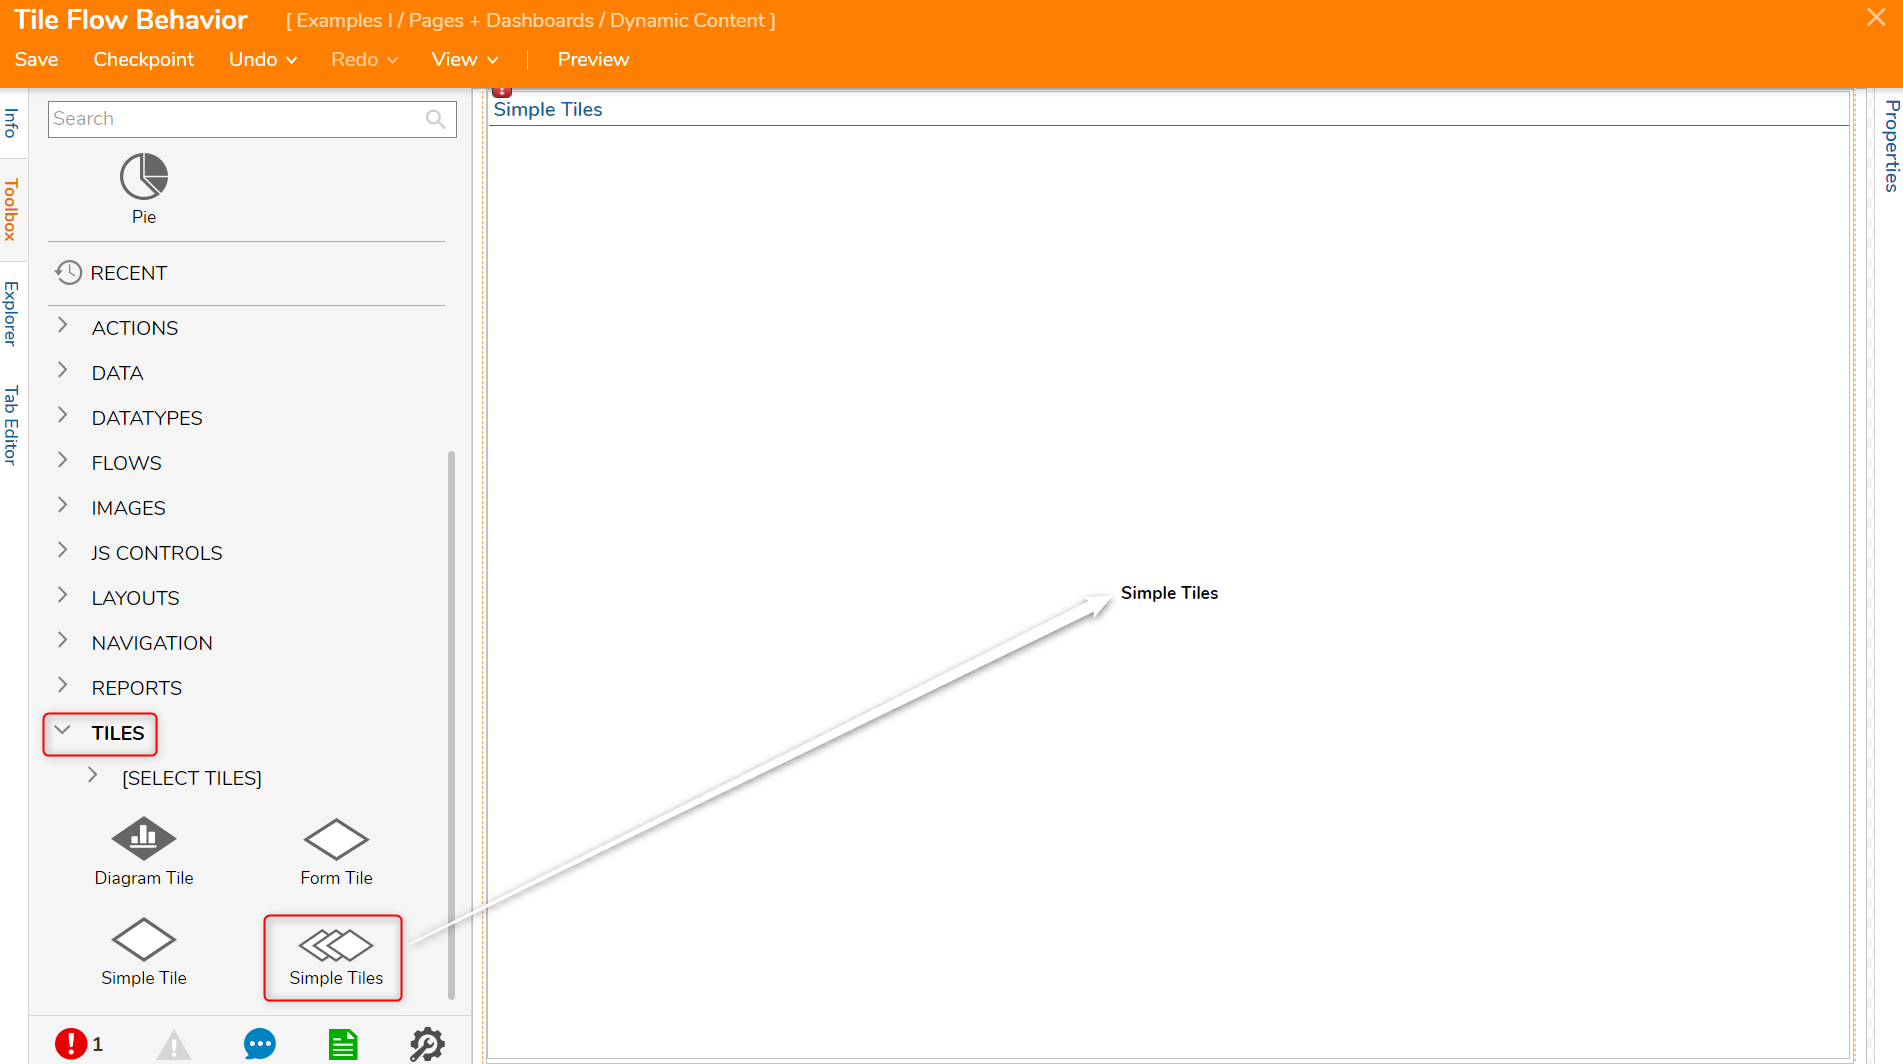
- In the Page Designer, add a Simple Tiles component from the Toolbox > TILES category to the workspace.
- Next, under the Properties panel > COMMON PROPERTIES select PICK FLOW.
- In the Create or Pick Flow dialog, click CREATE. Select the Tiles Source Flow, name it, and click CREATE. In this example, the Flow is named Reports Menu Flow.
- In the Flow Designer, from the Toolbox > DASHBOARDS > Advanced (1) add a Create Tile Data step.

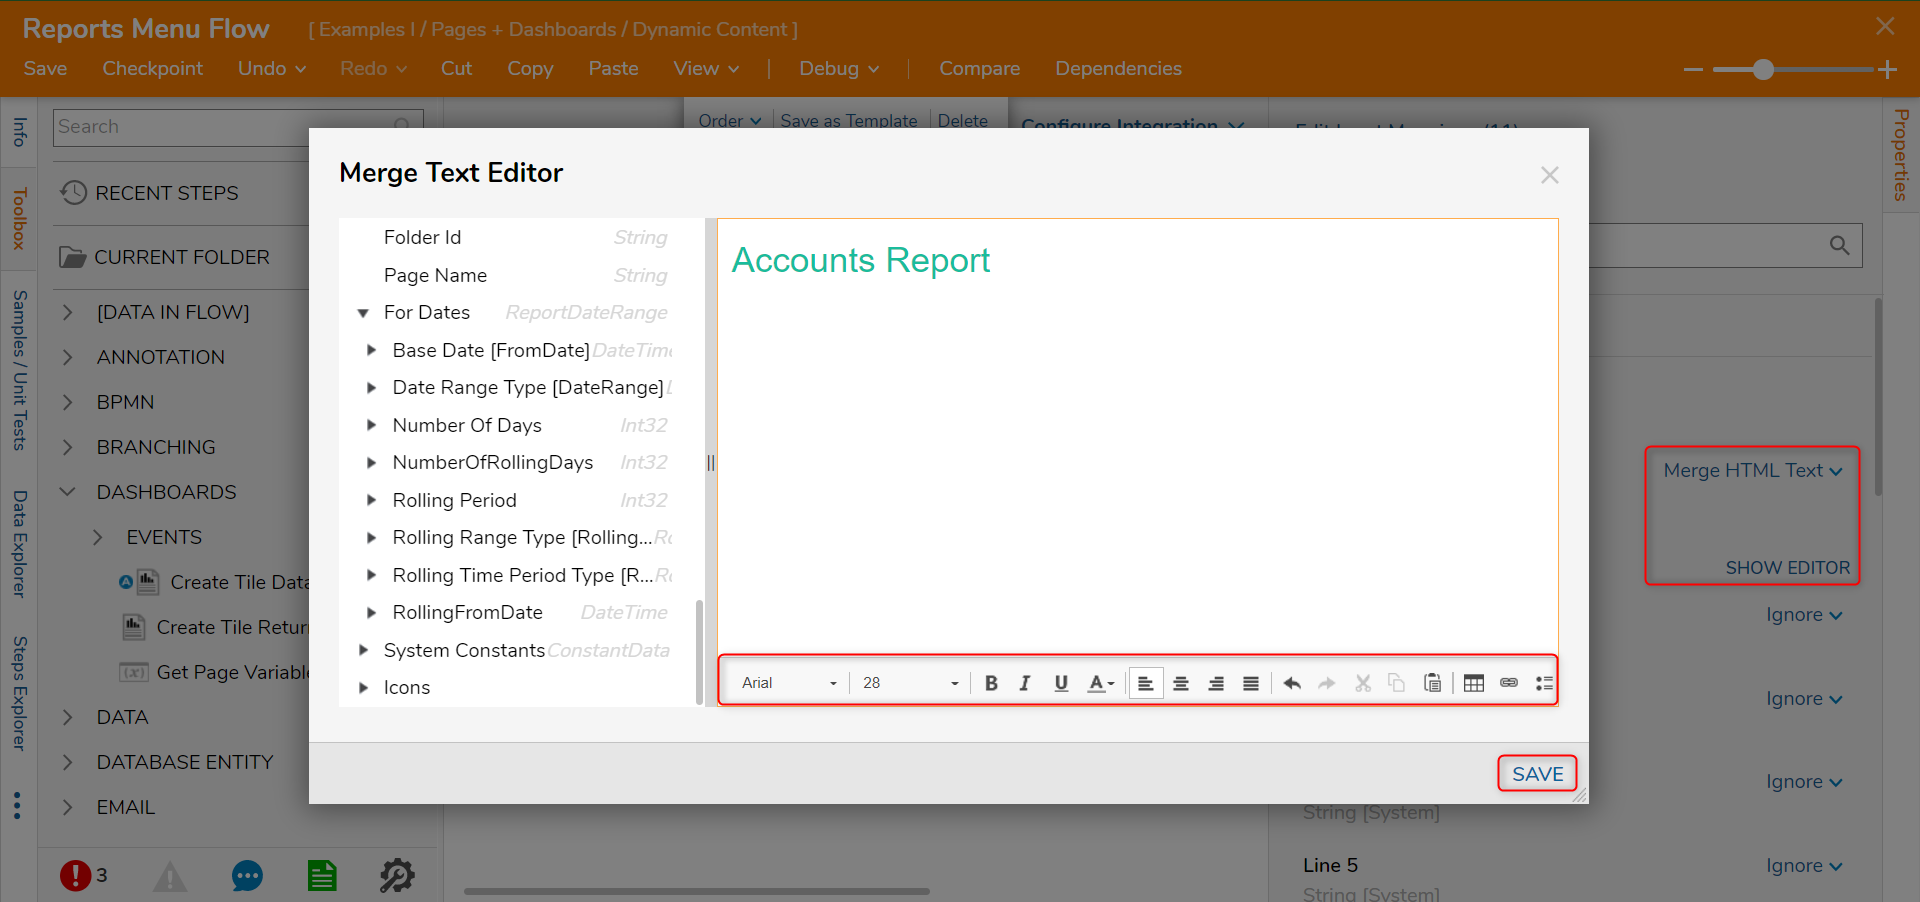
- In the Properties panel > TILE SETUP, change the input mapping of the Line 1 string from Ignore to Merge HTML Text from the mapping options.
- >Select Show Editor and in the resulting dialog, enter the text "Accounts Report". Edit the text as desired using the bottom menu; this text will appear on the Simple Tiles component placed on the Page [Tile Flow Behavior].
- Click SAVE to exit the Merge Text Editor.
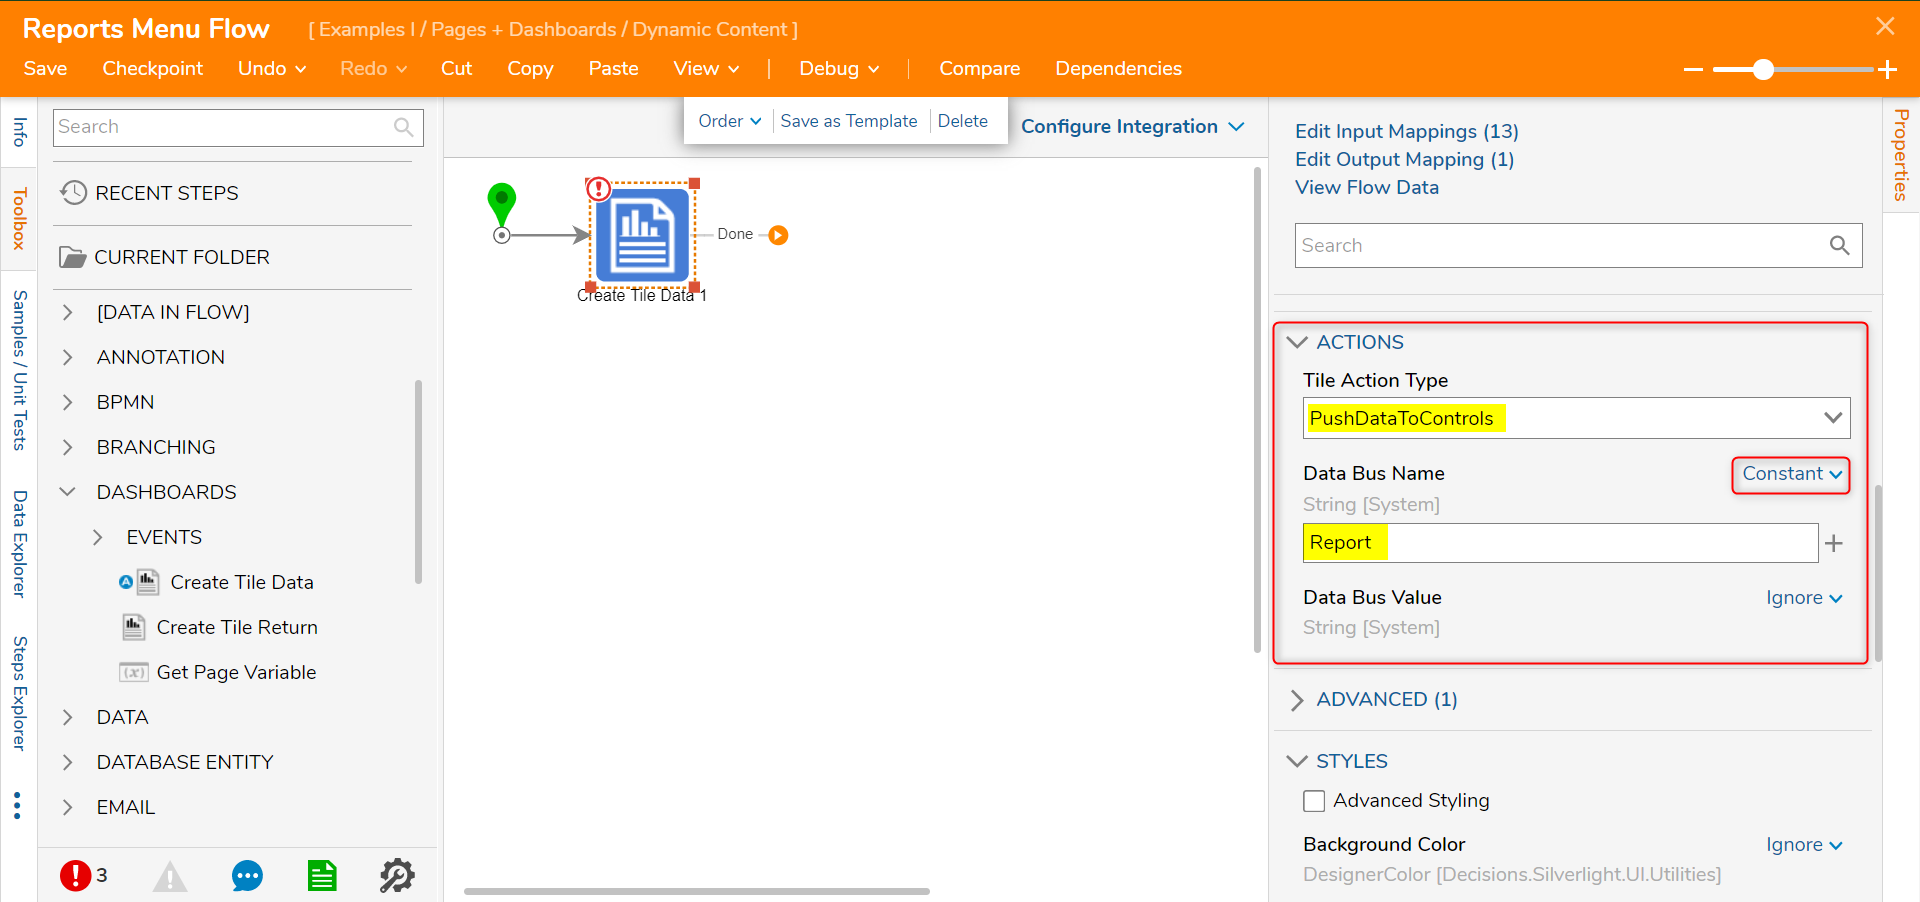
- In the Properties panel > ACTIONS > Tile Action Type drop down menu, choose PushDataToControls.

- Notice the appearance of Data Bus Name and Data Bus Value. ACTIONS > Data Bus Name has a Constant mapping. The user will input the string: Report.
- <> Close and Save the Flow to locate the Accounts Report and get its Id.
- Navigate to the Report, right-click and select Manage > Get Report ID. Copy Text and click DONE.
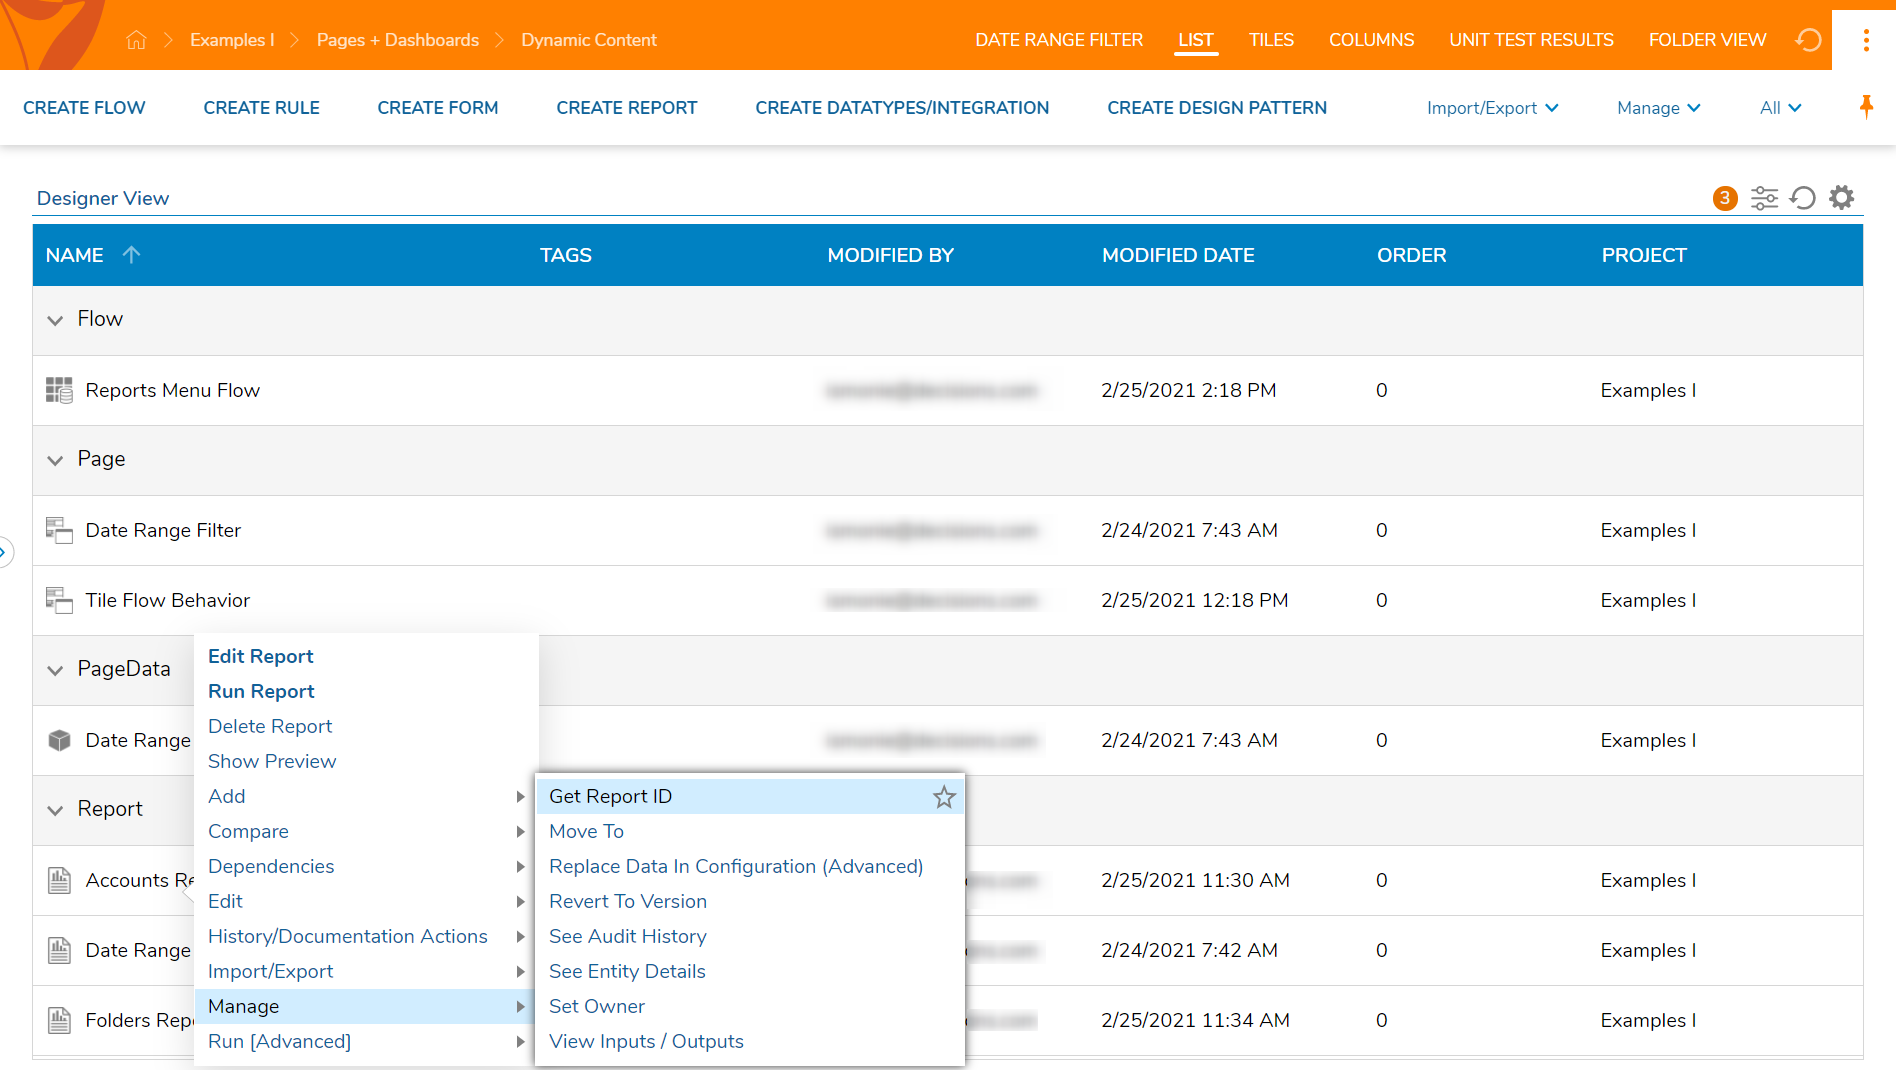
- In the ID dialog, Copy Text and click DONE.

- Moving back to the Flow [Reports Menu Flow] Designer, the newly copied Report Id will serve as the Constant mapping input under ACTIONS > Data Bus Value.

- In OUTPUTS > Done > Tile Data, rename Tile Data to correspond to the reporting tile. The first tile is renamed Accounts Report Data; this renaming is helpful when selecting INPUTS on the End step.

- Next, add another Create Tile Data step to Flow. This step will be configured similarly to the previous one.
- In the Properties panel > TILE SETUP, Line 1 will be set to a Merge HTML Text mapping. Click SHOW EDITOR to add the text "Folders Report". Edit as desired. SAVE.
- Further down in the Properties panel > ACTIONS > Tile Action Type is also PushDataToControls.
- As ACTIONS > Data Bus Name appears, it will be set to a Constant input mapping. The input will be Report.
- For ACTIONS > Data Bus Value, the Folders Report Id is the input for the Constant mapping.
- The OUTPUTS > Done > Tile Data will be renamed as Folders Report Data.
- Connect the outcome from the second Create Tile Data step to the End Step in the Flow.
- In the Properties panel > INPUTS > Tile Data for the End step will have a Build Array mapping.
- INPUTS > Tile Data > Item 0 has a Select From Flow mapping. In the resulting Pick Data for Input: Tile Data dialog, select the output from the first step: Accounts Report Data.
- ADD another item and configure it with the output from the second step: Folders Report Data.
- Save and Close the Flow.
- In the Page Designer, from the Toolbox > REPORTS add a Report Viewer to the workspace.
- With the Report Viewer component selected, under Properties > REPORT SETUP check the Get Report Id from Selection Bus boolean.
- REPORT SETUP > Selection Bus Name is defined as Report. The Selection Bus Name pushes Report Ids to the Tile Flow.

Was this article helpful?