Overview
Set up an Entity Action Flow with an End Form Session step. This example shows how the End Form Session step will navigate to a dashboard that displays information gathered from related information on a report.
Example
- First, create an Entity Data Type, a User Action from the Configuration Folder, and two separate Flows. This example assumes that the Report or Dashboard that the End Form Session step navigates to has already been created. Learn more about Creating Your First Report.
- To set up an Entity Action Flow, navigate to a Designer Folder.
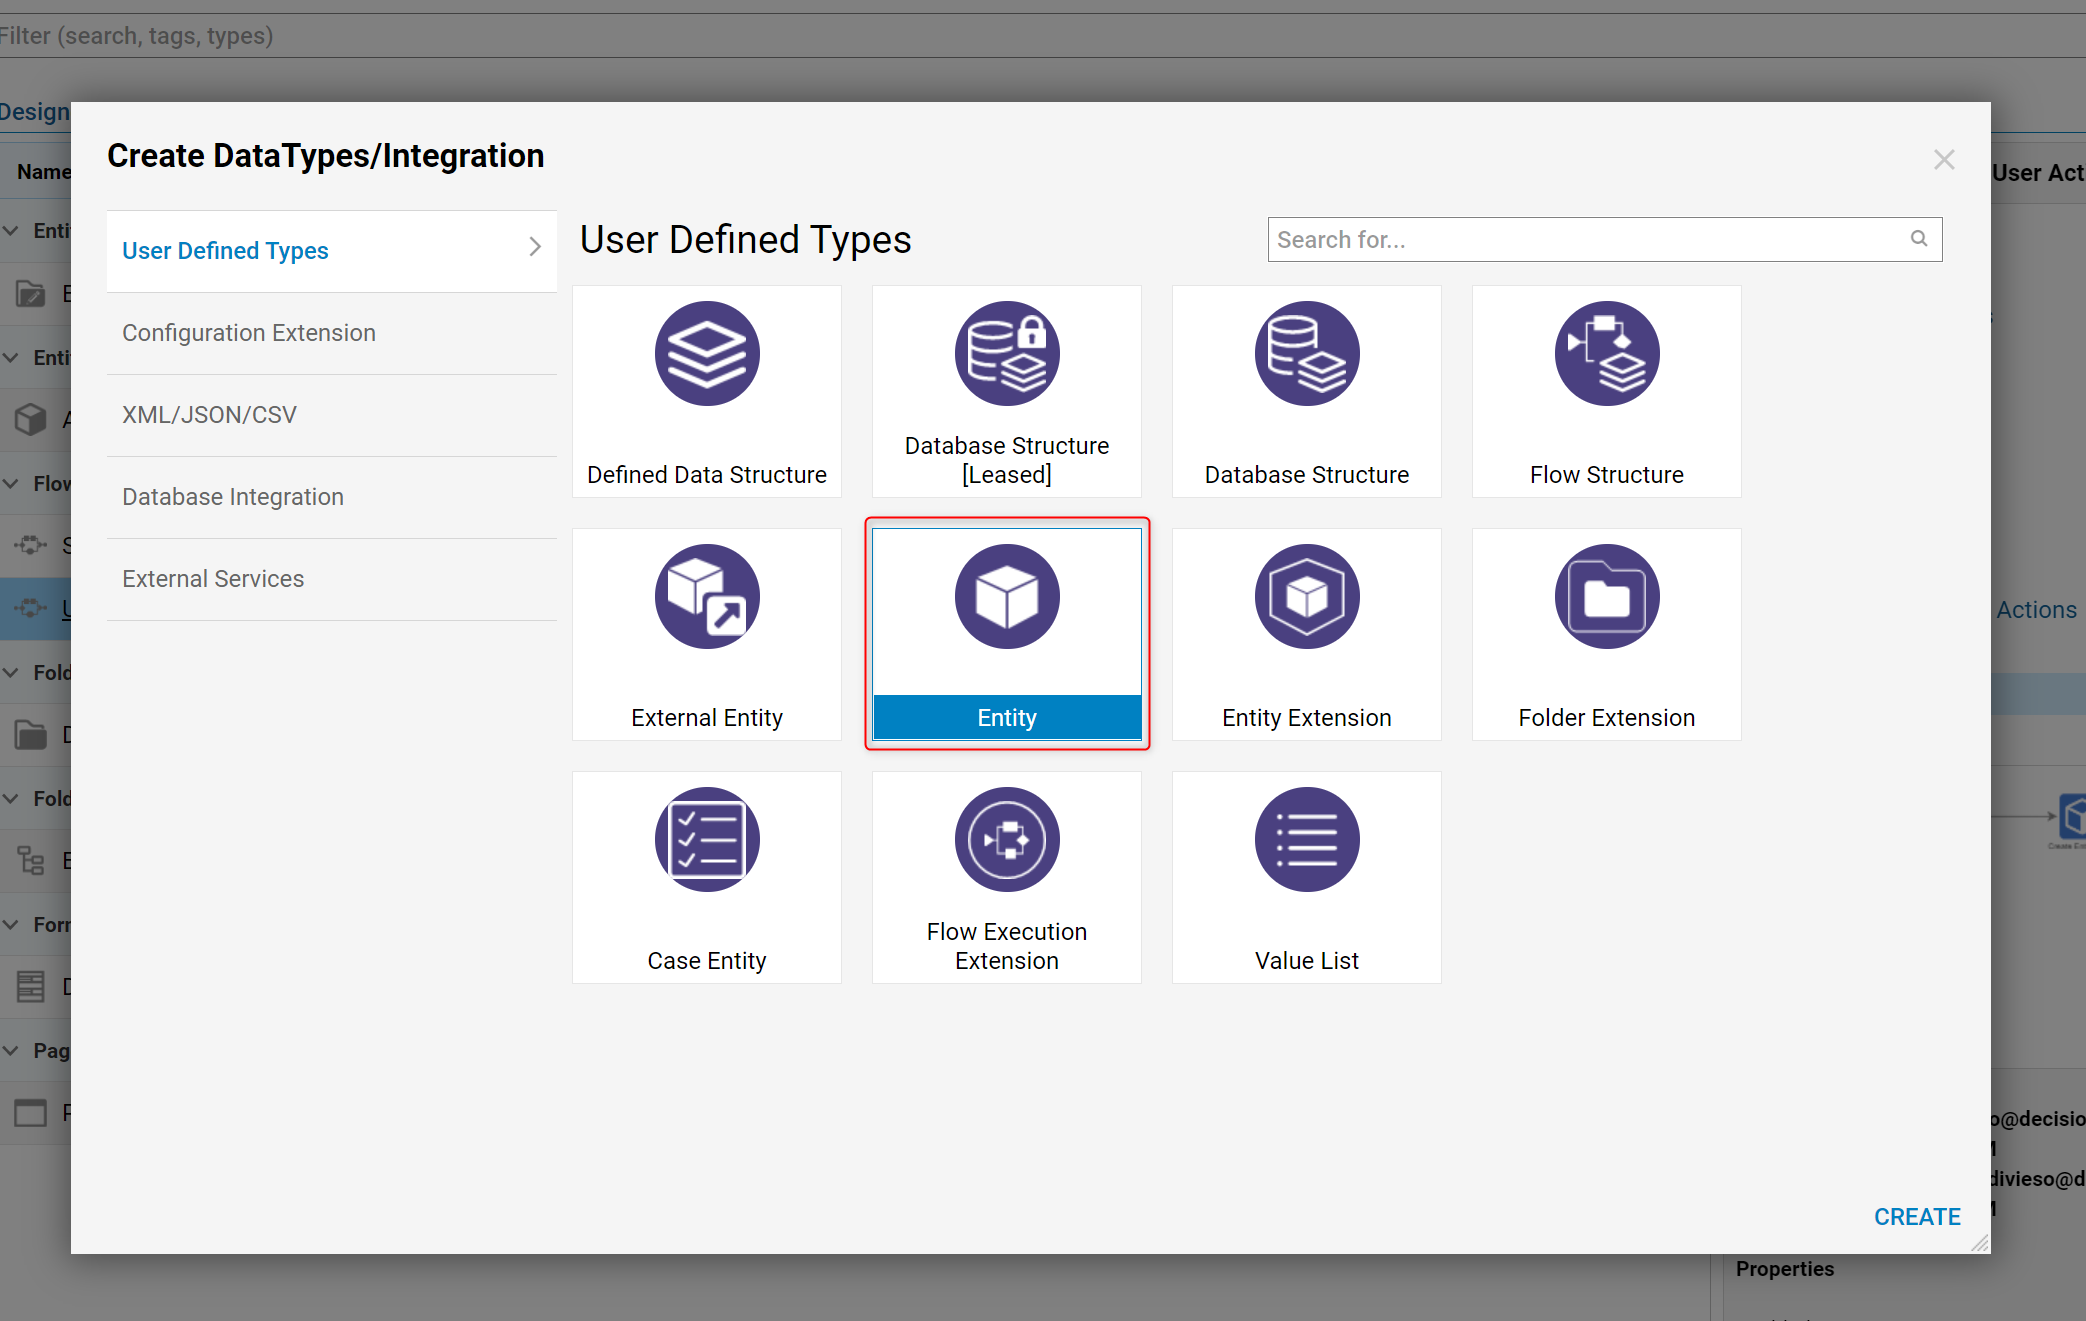
- Begin by selecting CREATE DATATYPES/INTEGRATION > User-Defined Types > Entity on the Actions Panel across the bottom of the Designer Studio.

- Select User Defined Types > Entity > Create.
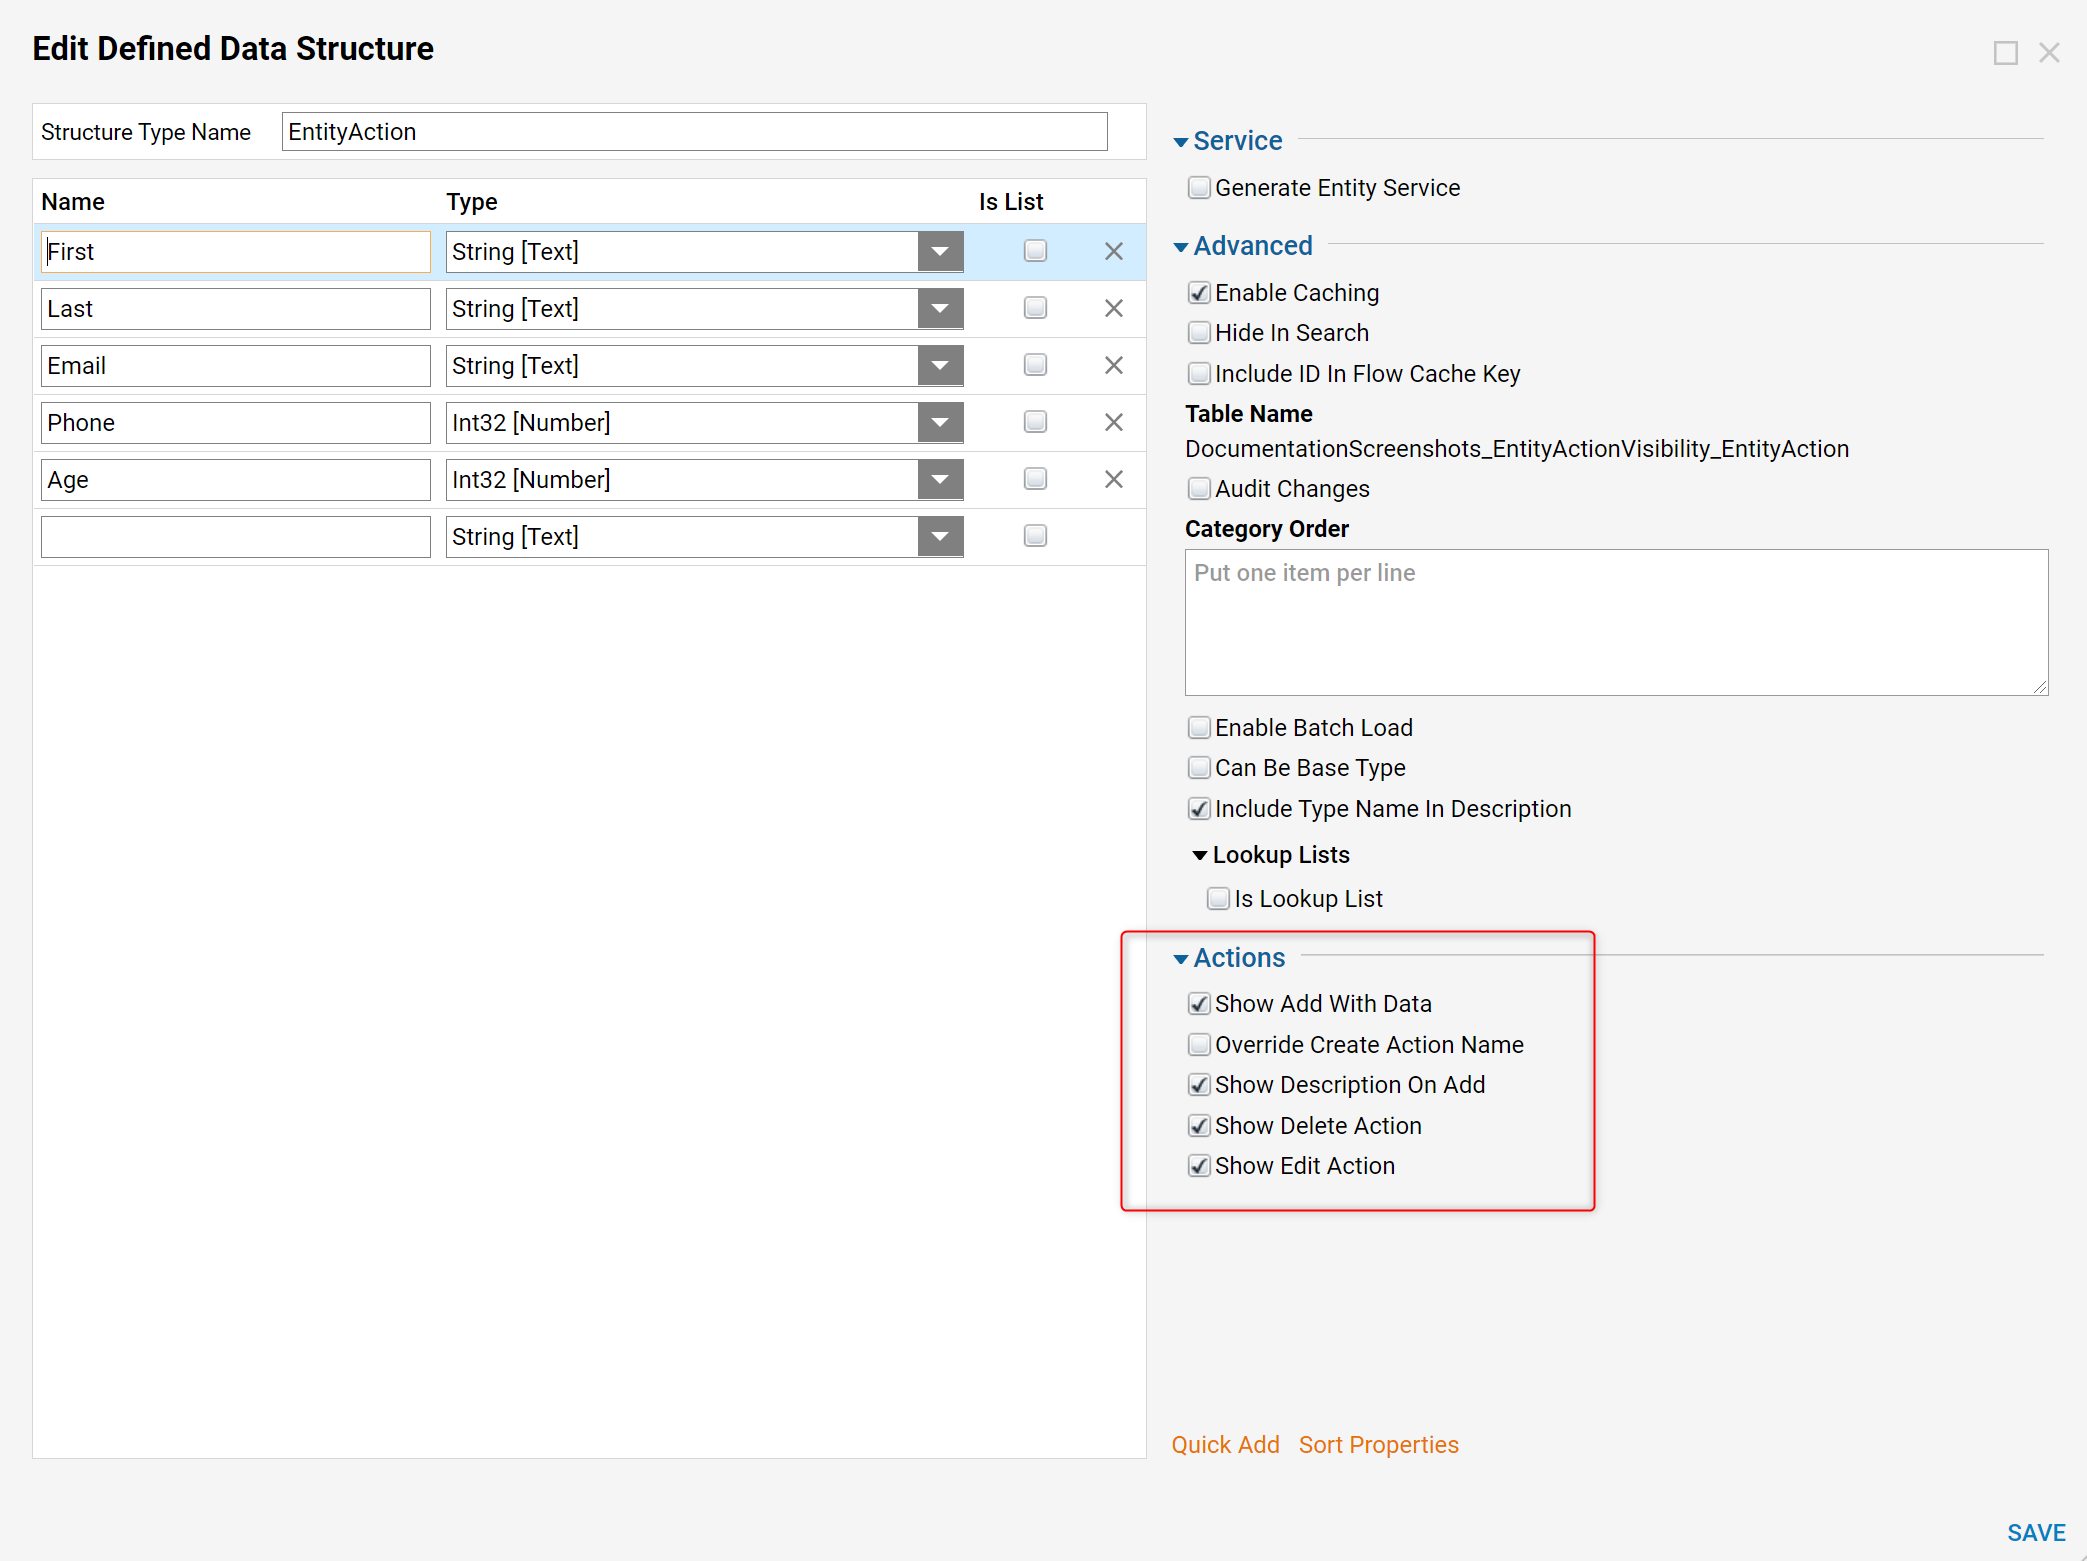
- Name the Entity structure and create the data names.
- On the right side of the display box under Actions, check show Add With Data, Show Description on Add, Show Delete Action, Show Edit Action, and select Save.
- After saving the Entity Data Type navigate to the Designer Folder.
- After saving the Entity Data Type the Entity and the Entity Configuration Folder can be seen in the Designer Folder.

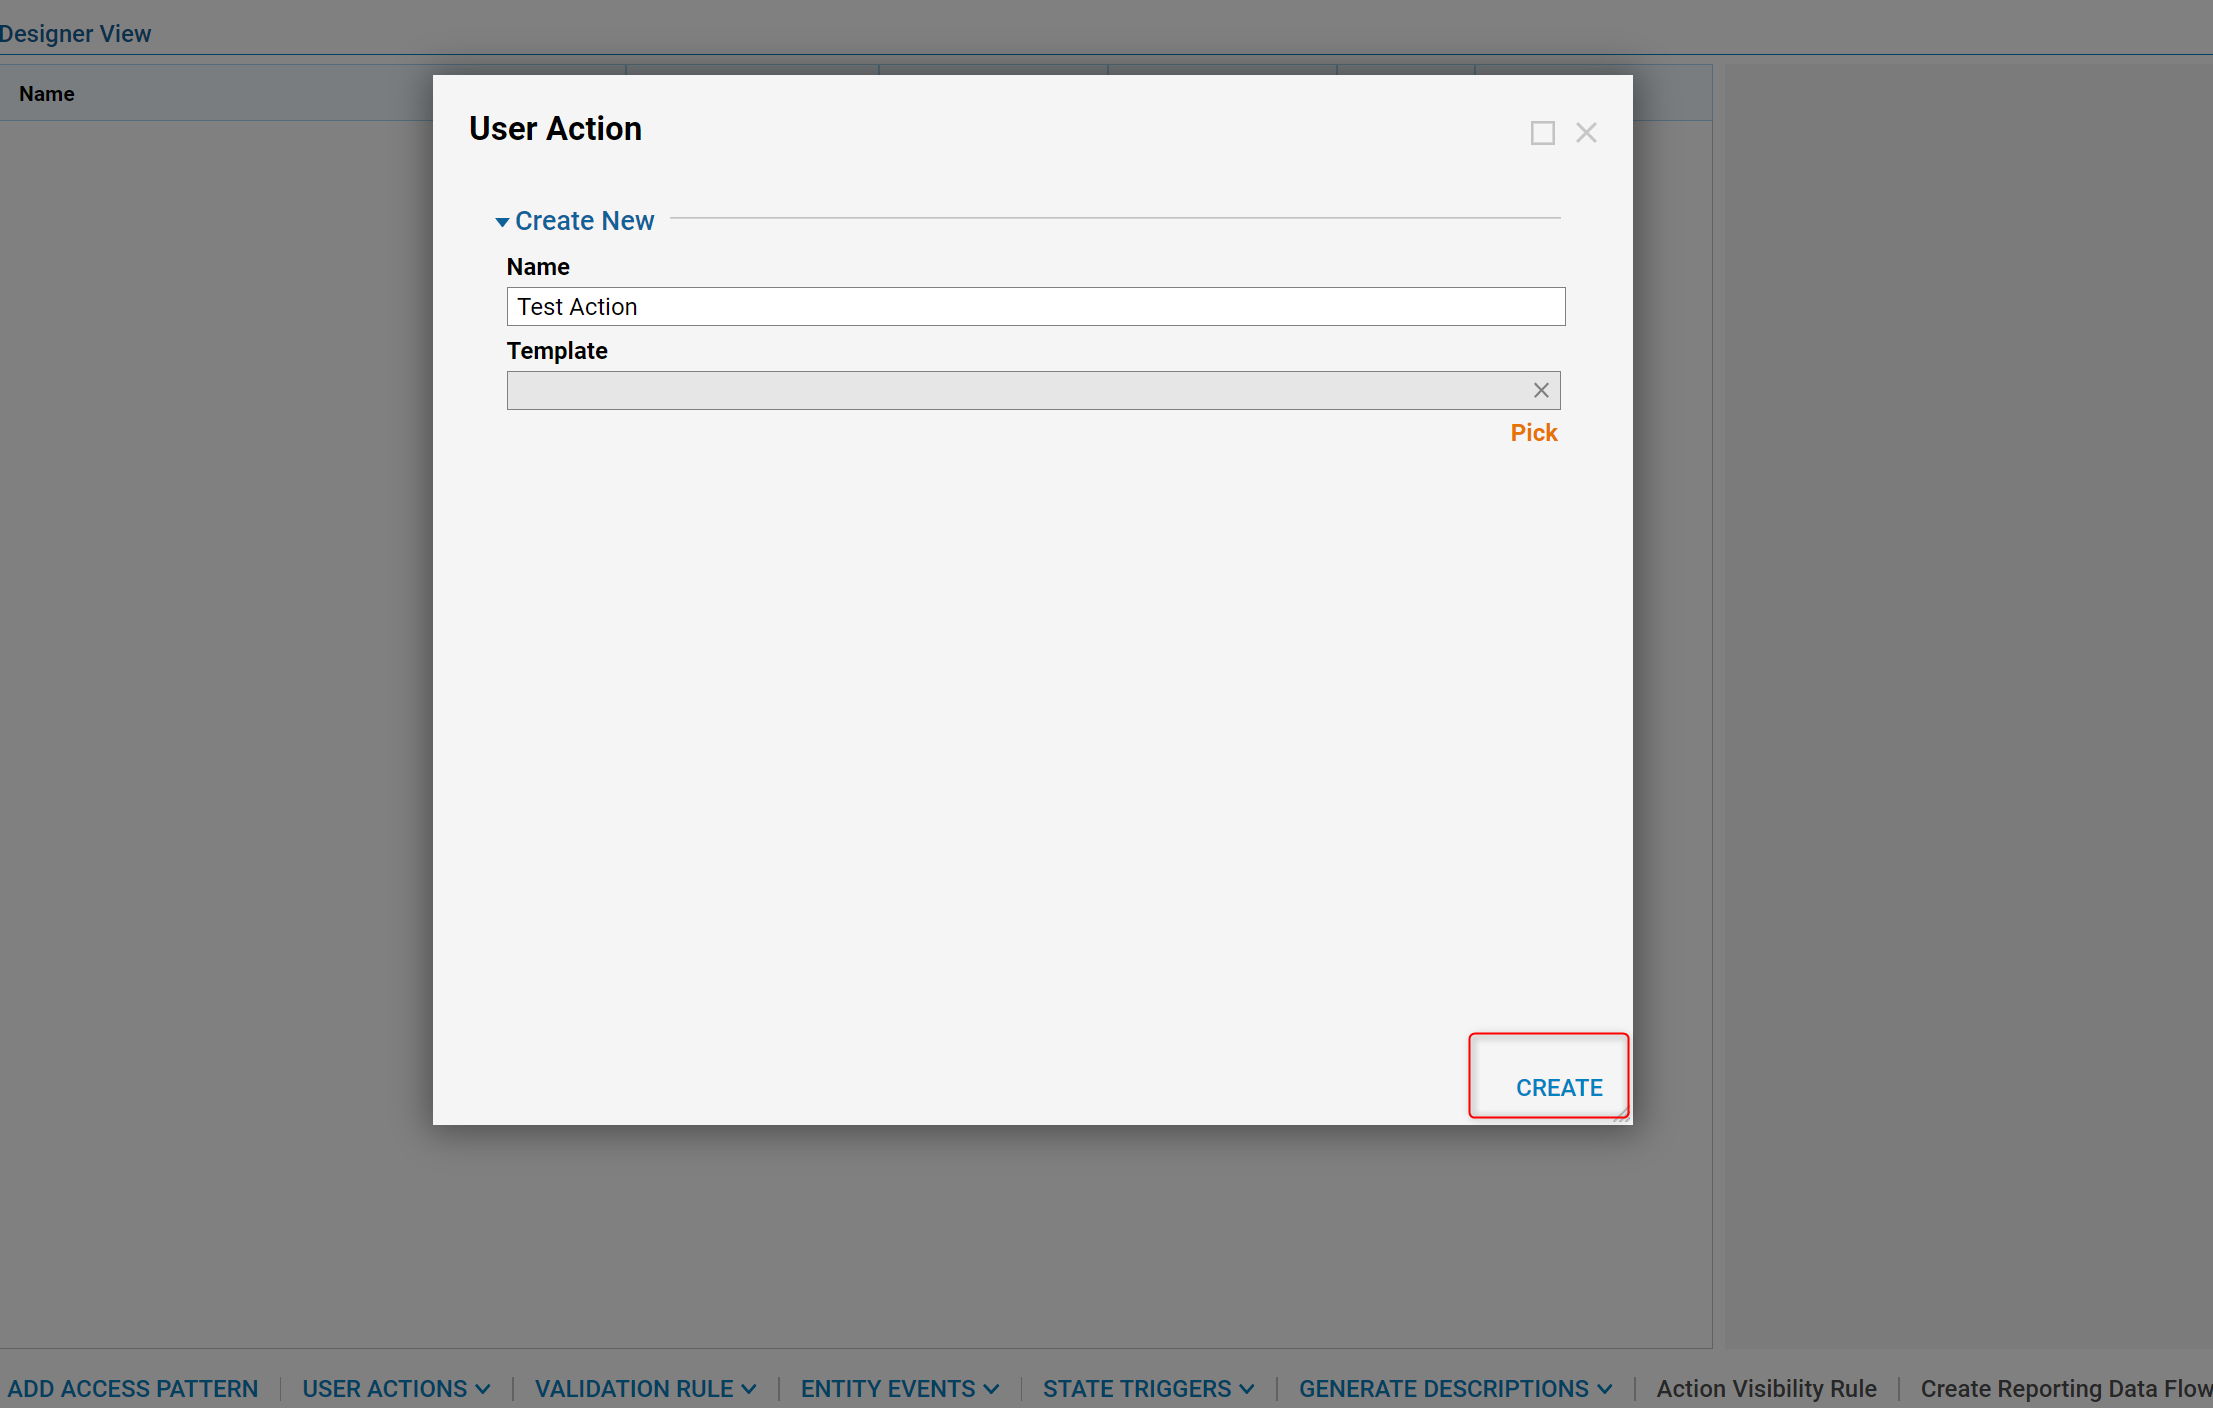
- After selecting the Entity Configuration Folder, Create User Actions for the Flow. Select User Actions in the Action Panel across the bottom of the Designer Studio.

- Name the User Action and select CREATE, this opens up a new Flow where the End Form Session step can be configured.
- Now create a new Flow in the Flow Designer.
- Locate the Step Tab on the right panel.
- Under Forms select the End Form Session step, drag and drop the step into the Designer Studio.
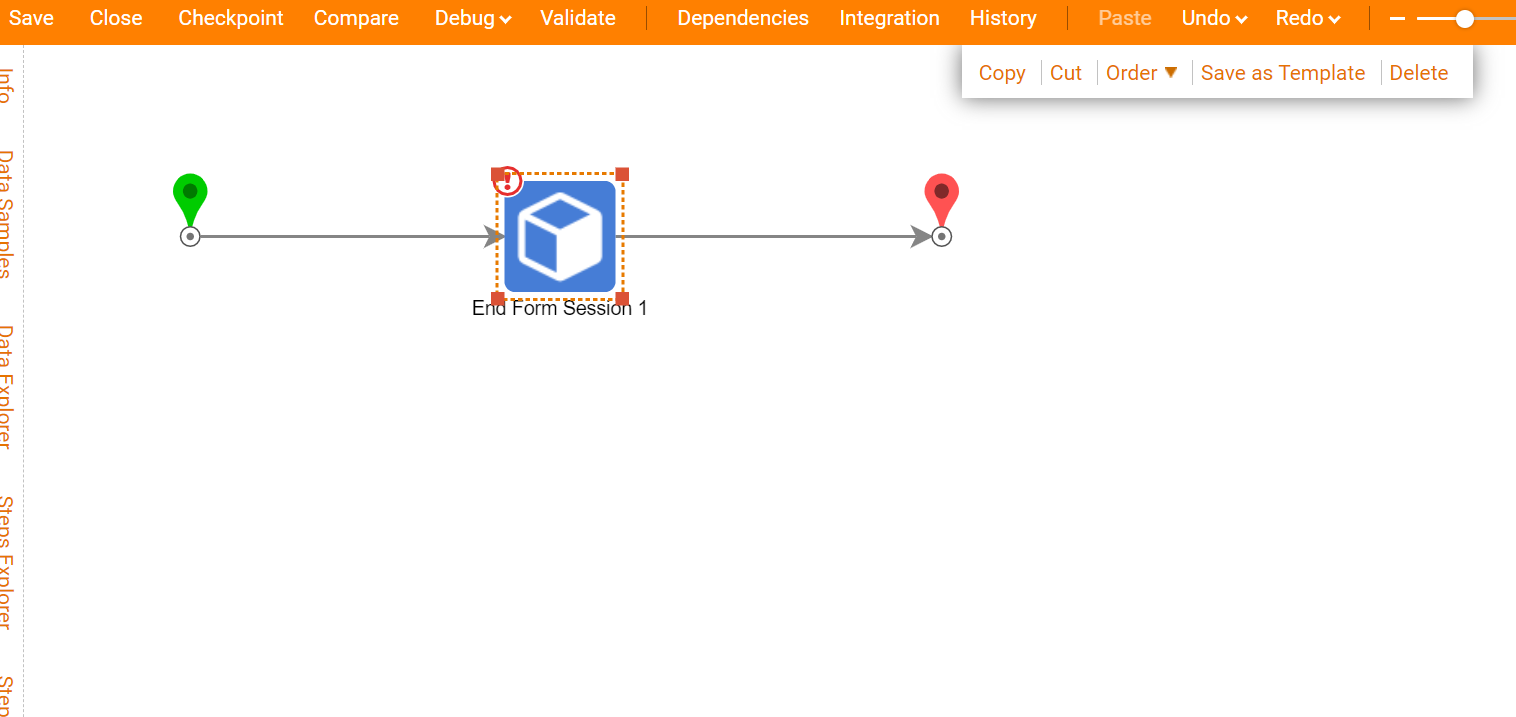
- Select End Form Session 1 to Edit the step.
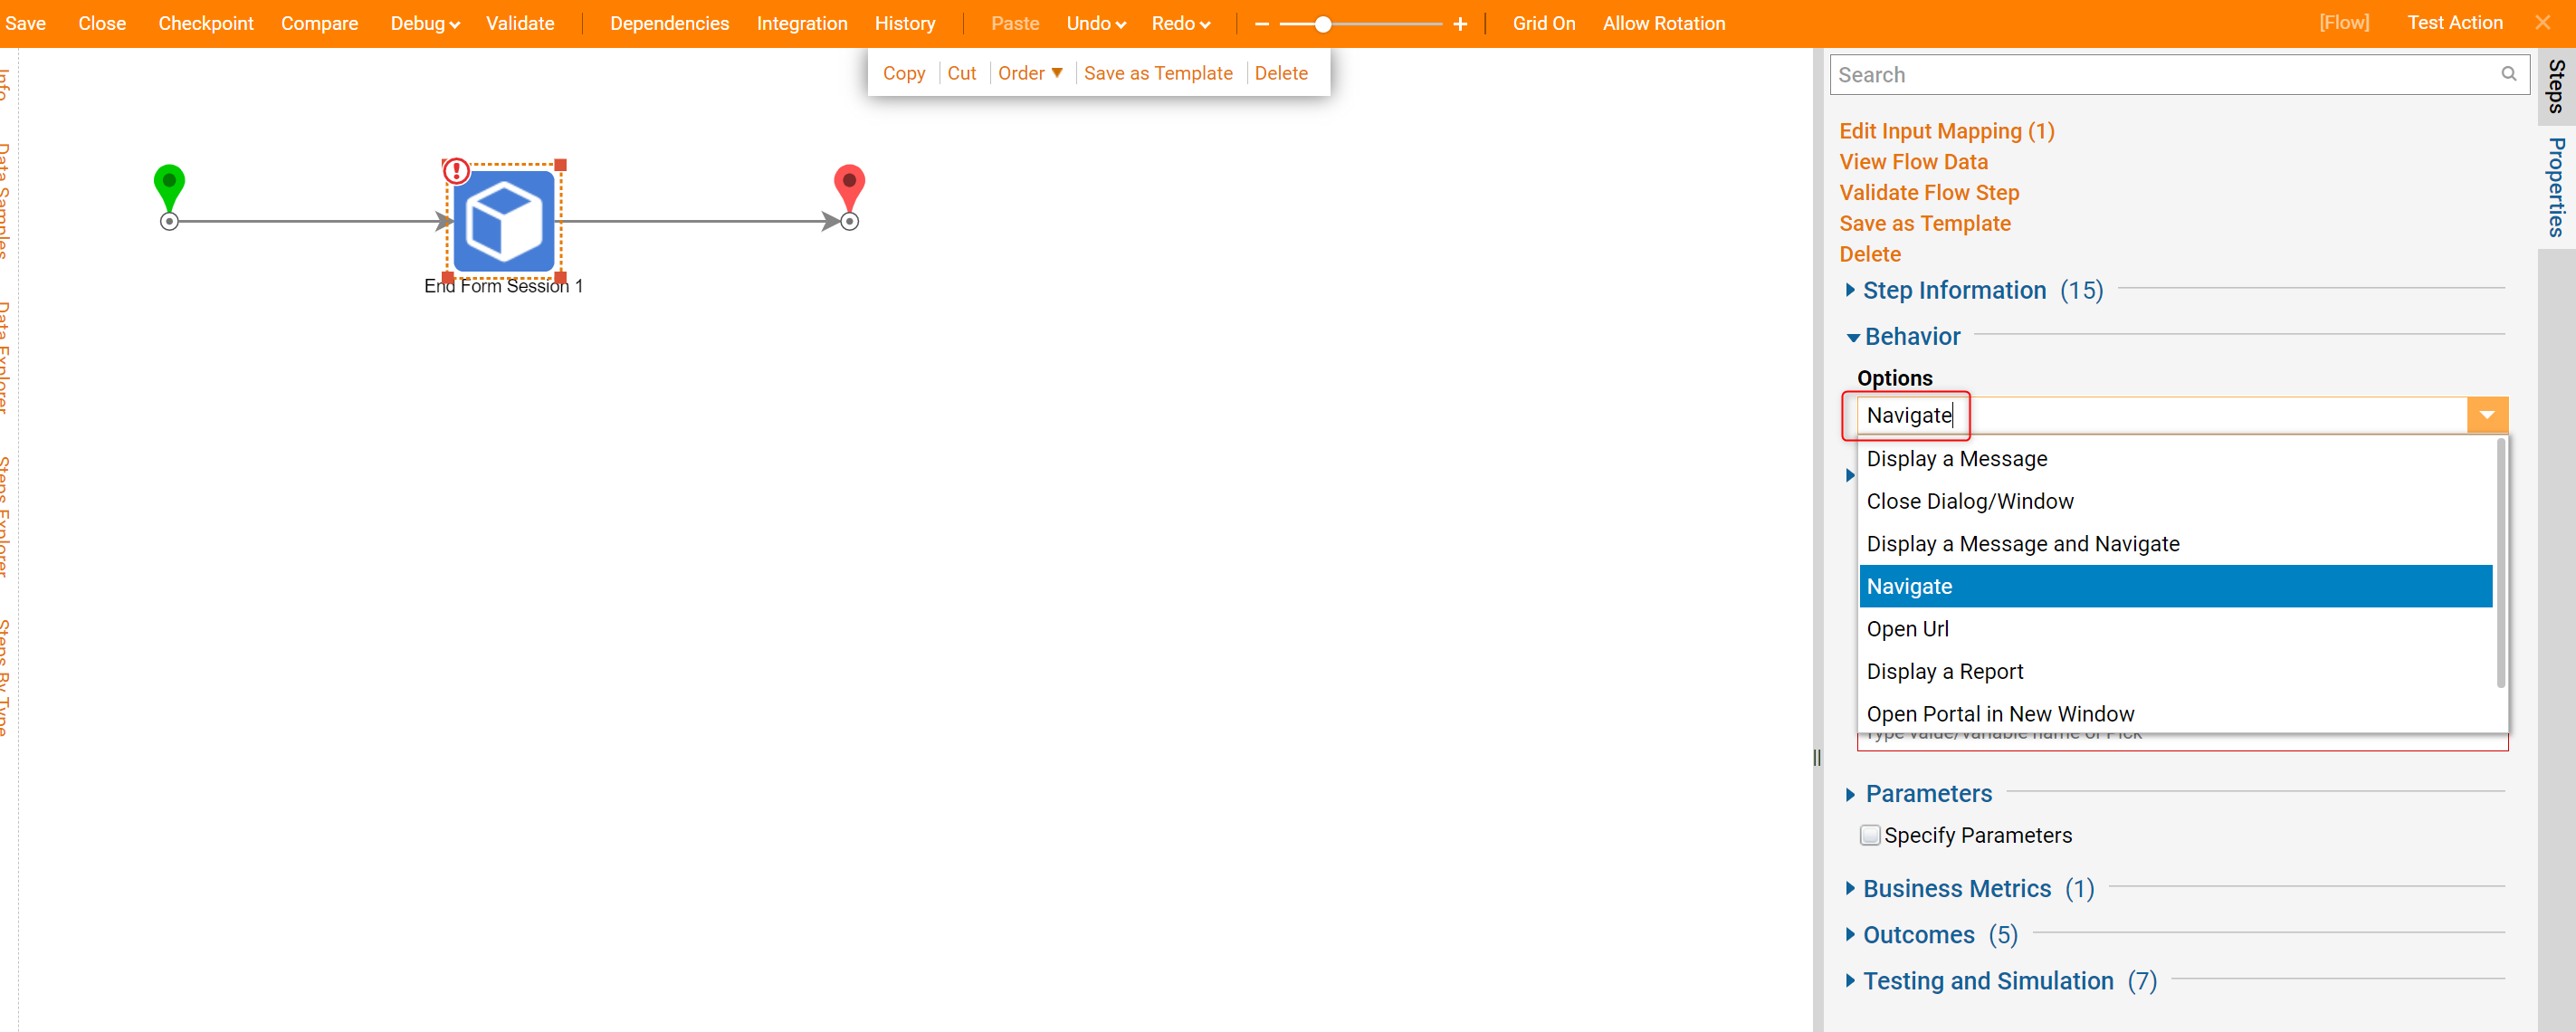
- In the Properties Panel on the right under Options, select the drop down menu and choose Navigate.
- Connect the pathways and exit the Flow Designer.
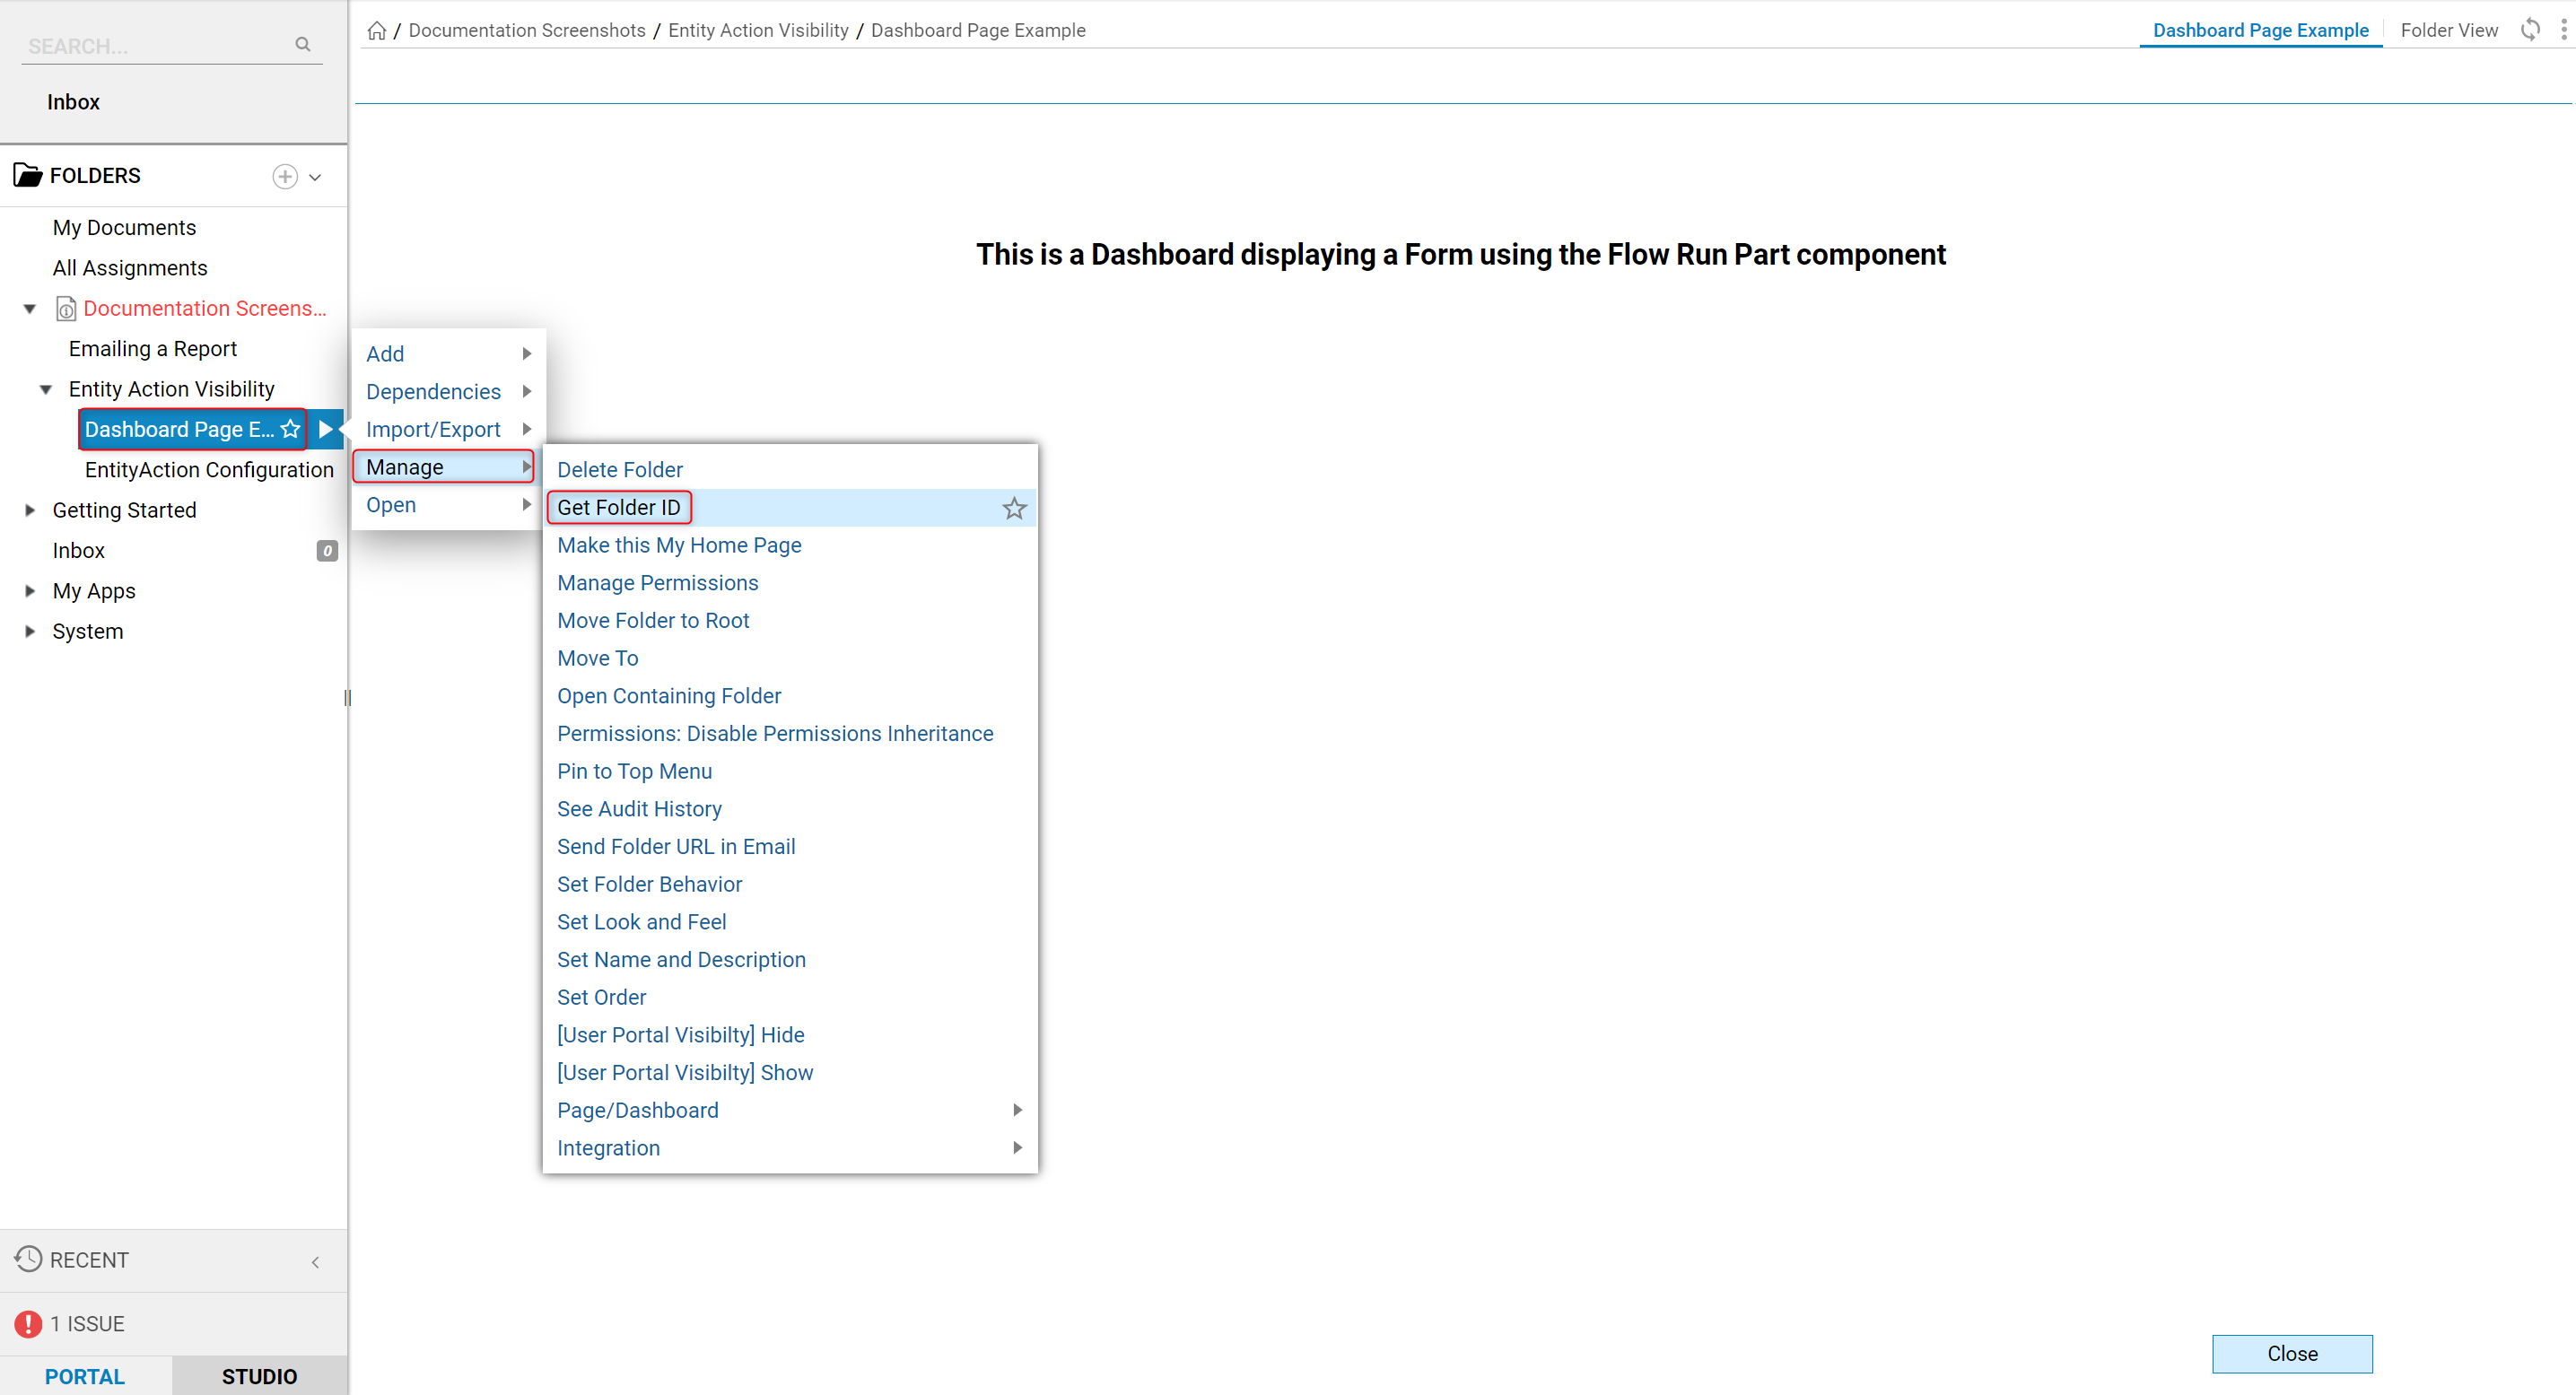
- Navigate to the desired Folder, URL, Page, or Dashboard that the End Session Form step will direct the User to.
- Right-click and select Folder > Manage > Folder ID > (Copy ID).
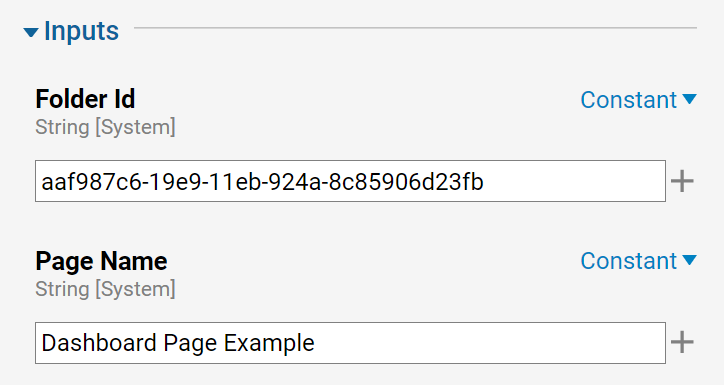
- Navigate back to the End Form Session step. Under Inputs, set the Folder Id to Constant and paste the Folder Id that was copied.
- Now set Page Name to constant and name the Folder.
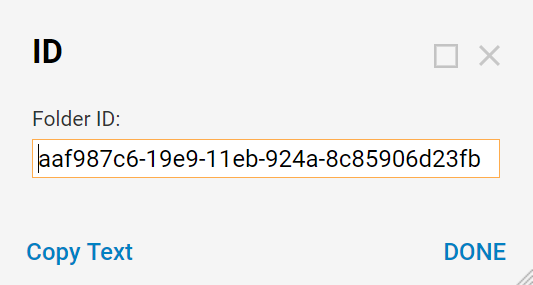
- Select the Folder Id and highlight and copy the Id number.
- Navigate back into the User Action Flow with the End Session step and set the Folder Id and Page Name to Constant and input the data.
- Now set up the User Action Flow.
- Navigate to the Designer Folder and Create a new Flow.
- Inside the Flow Designer in the Steps Tab of the Properties panel, select User Defined Types > Entities > (Select Entity Flow) > Create.
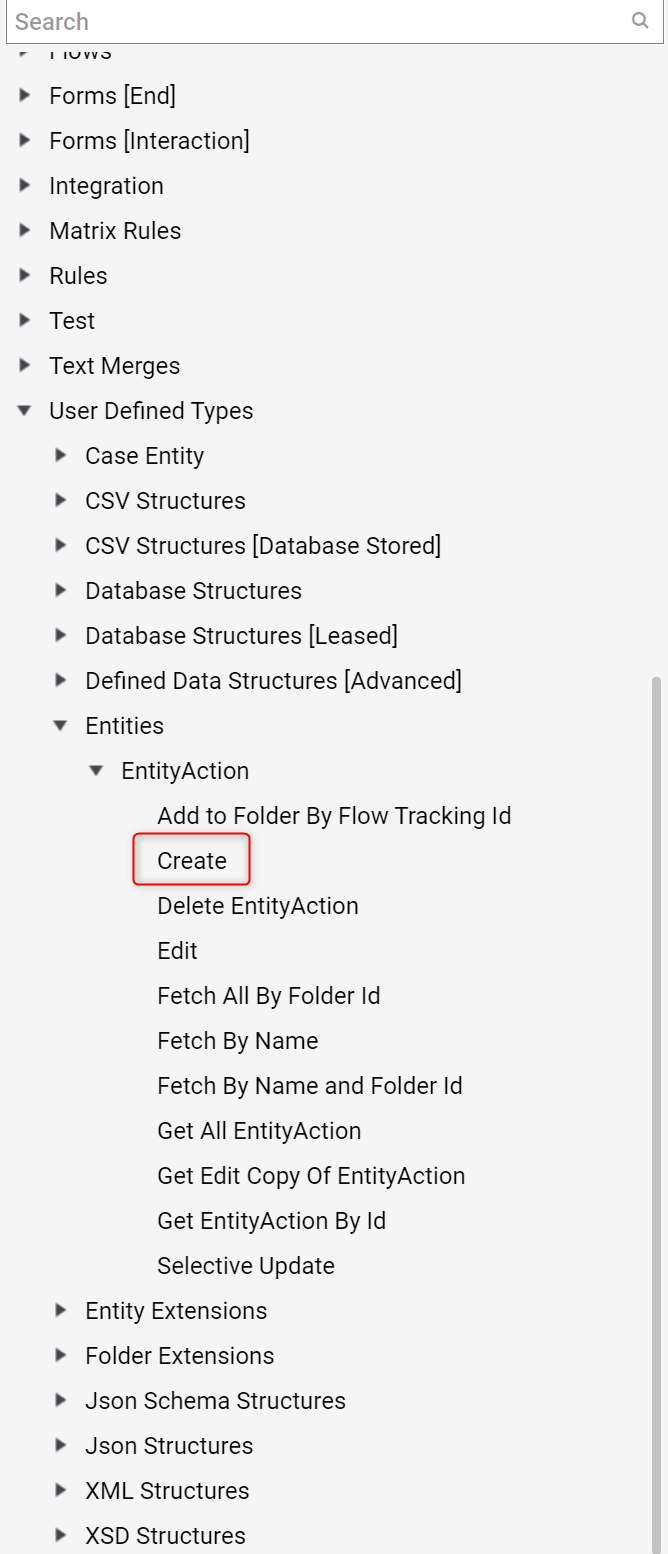
- Drag and drop the Create step in the workspace and connect the pathways.

- Select the Create step and configure the settings in the Properties panel on the right.
- Under Inputs and next to the Folder Id, change the value to Constant.
- Select Pick to locate the desired Folder.
- Next to Item to Create, choose Build Data.
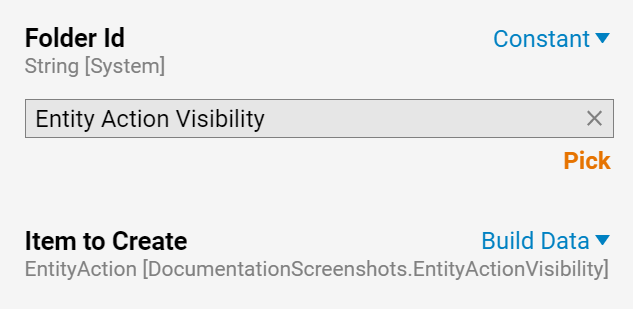
- Set name to Constant and name the Action.

Debugging
- Now that the Flow is complete, run the Flow.
- Do this either by selecting Debug in the Flow Designer, or close the Flow Designer, right-click on the Flow, and select Run Flow.
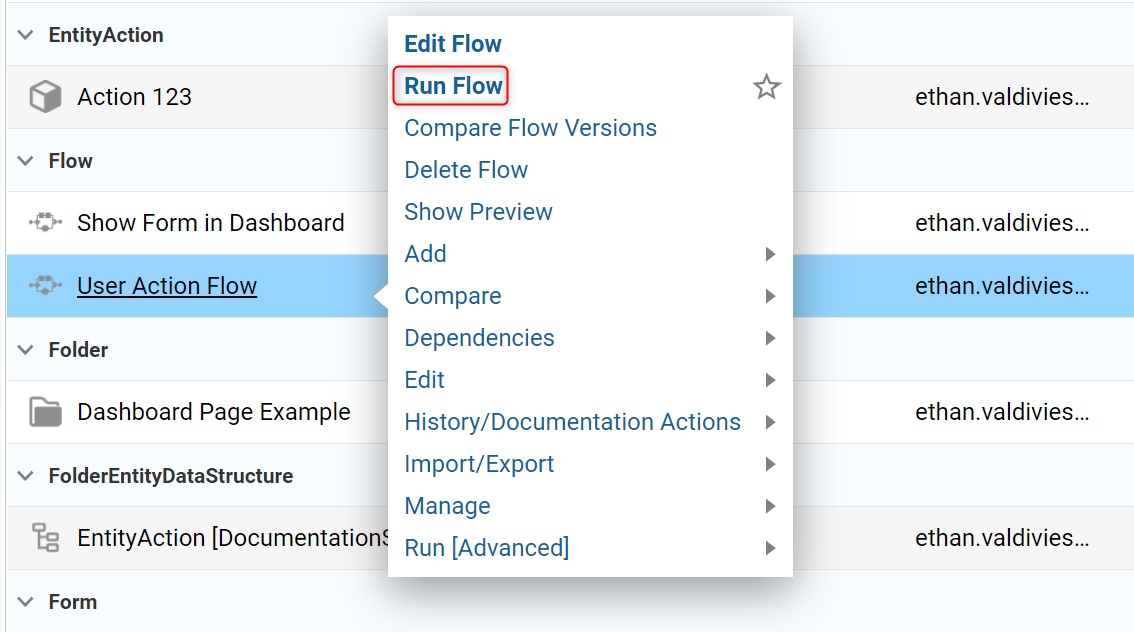
- After running the Action Flow, the User Action Entity will appear in the Designer Folder.