Overview
A Rule Engine Extension allows a user to create a Rule that can be embedded in another Rule.
An anchor input is required in the main Rule in order to use the Rule Engine Extension. This anchor input should be the same data type that the Extension Rule has as its Rule Input Data.
Example
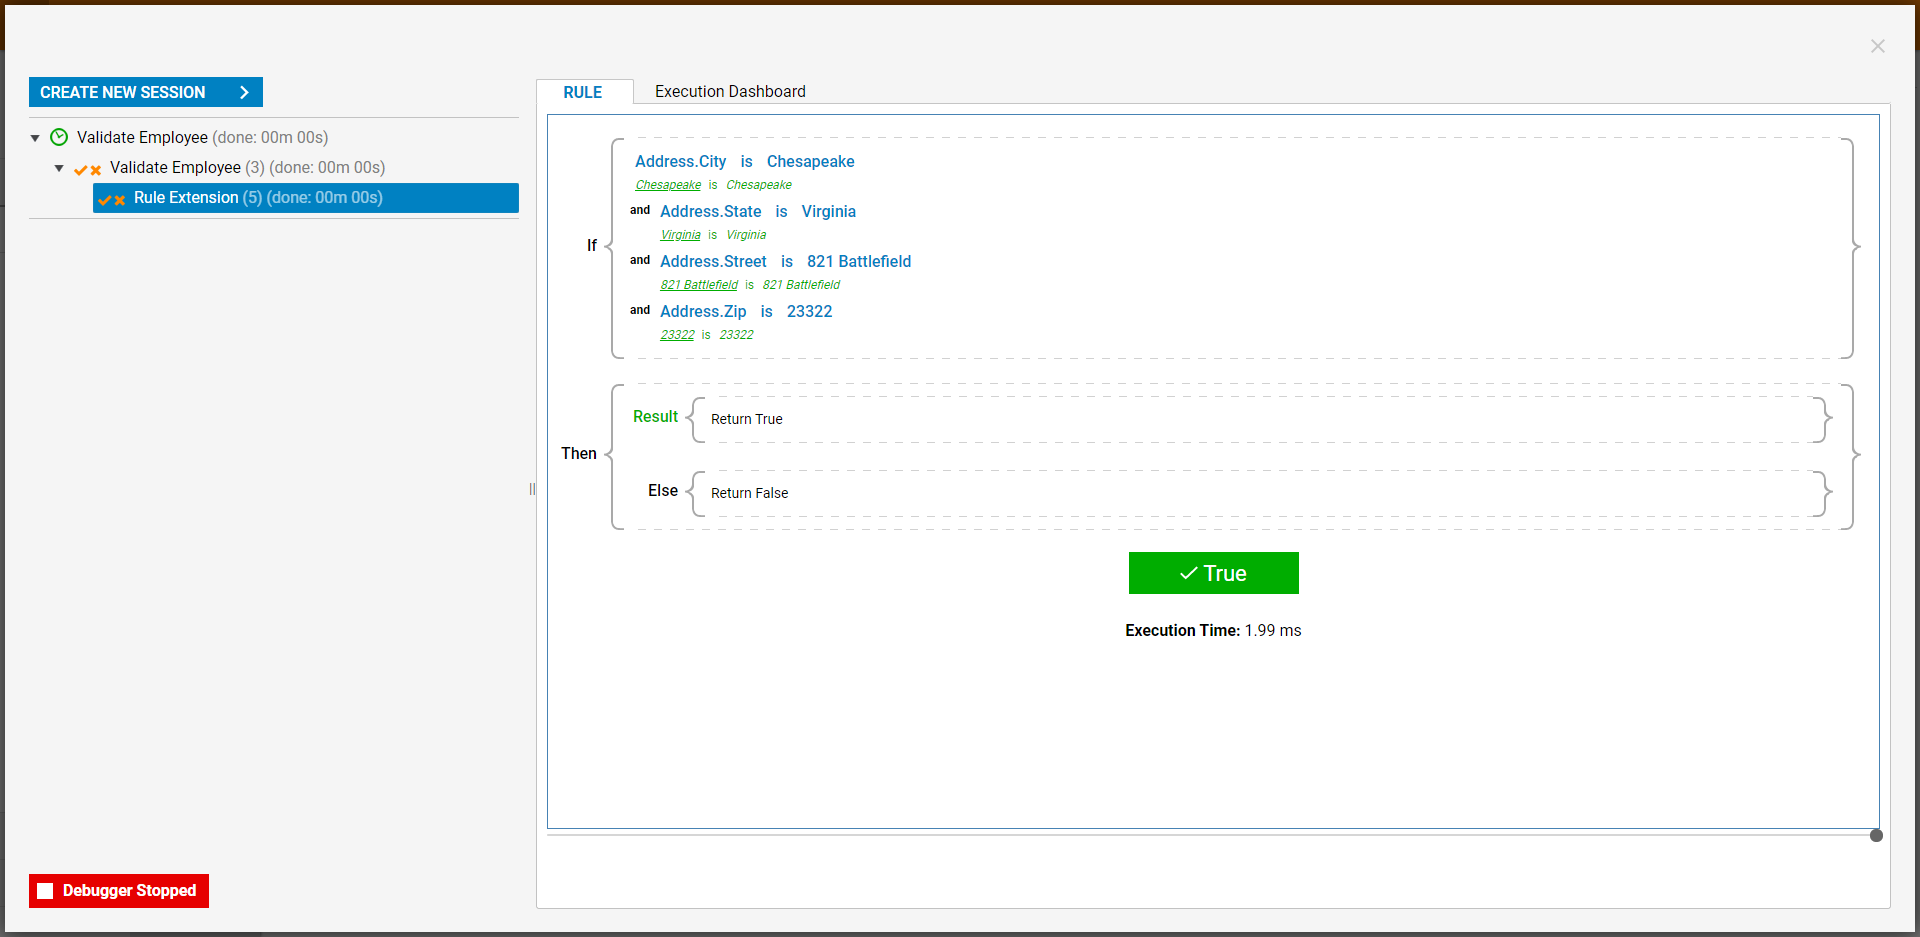
In this example, the main Rule will use the Rule Extension to check if the address provided (821 Battlefield, Chesapeake, Virginia 23322) matches exactly what the user inputs. For a downloadable example to import into Decisions, see Importing and Exporting Projects.
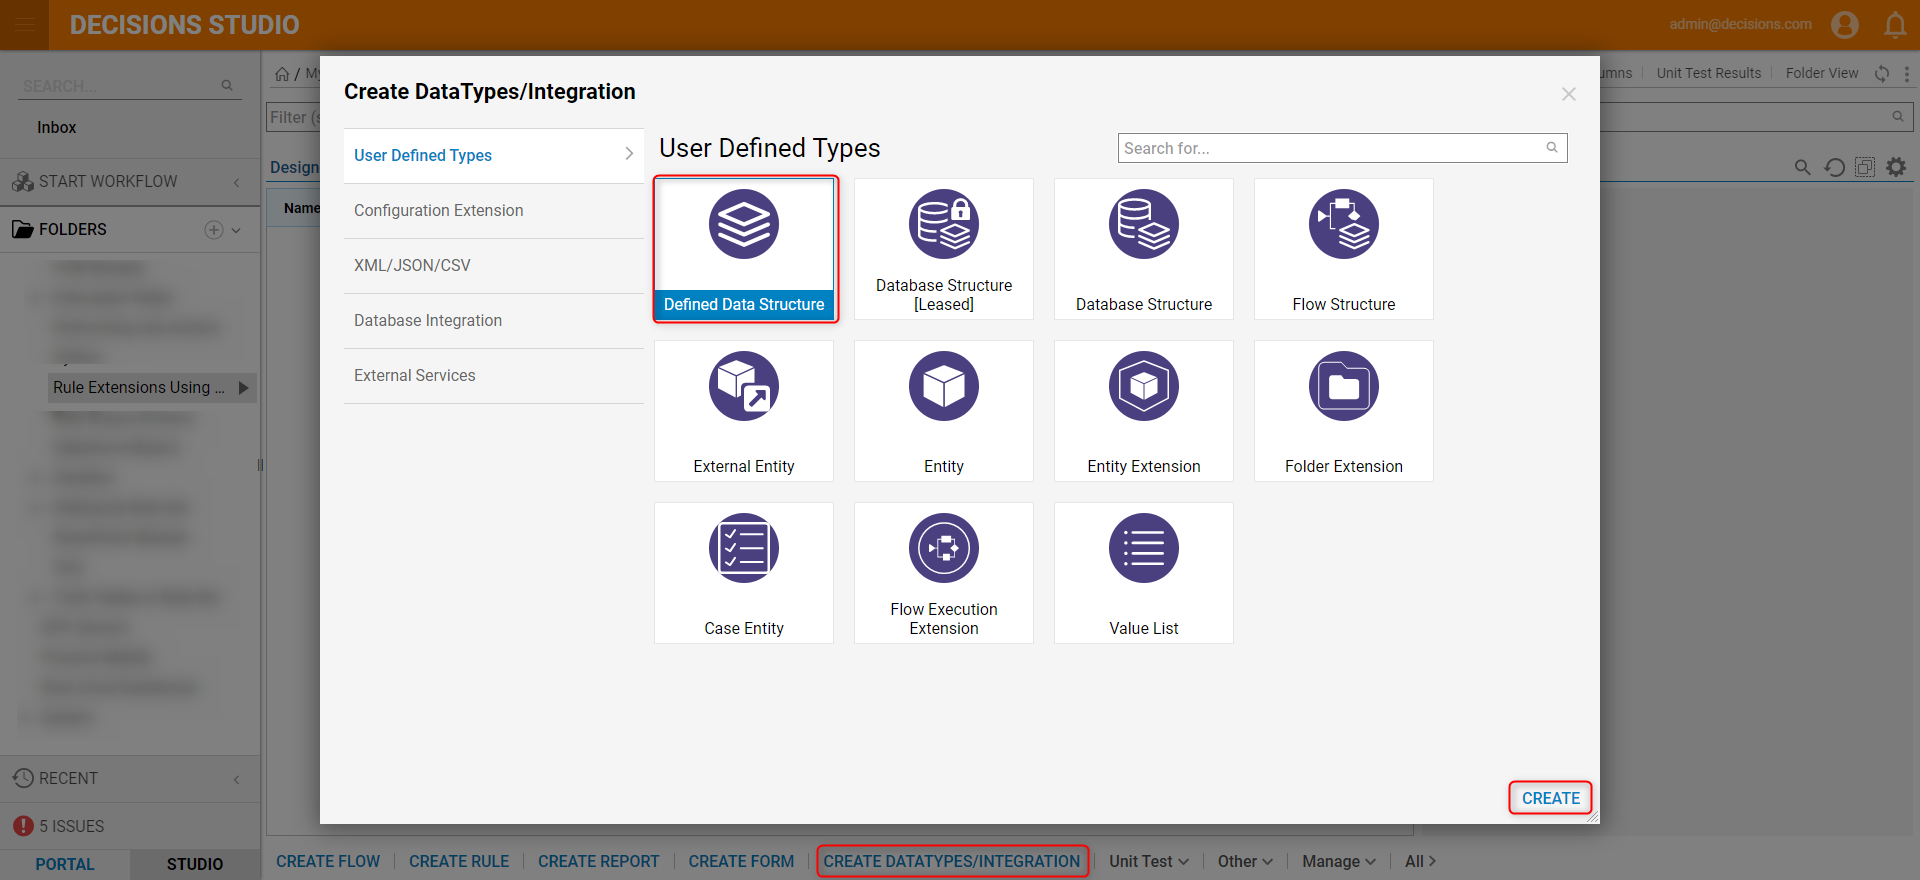
- On the action panel of a Designer Project, click CREATE DATATYPES/INTEGRATION. Select Defined Data Structure and click CREATE.
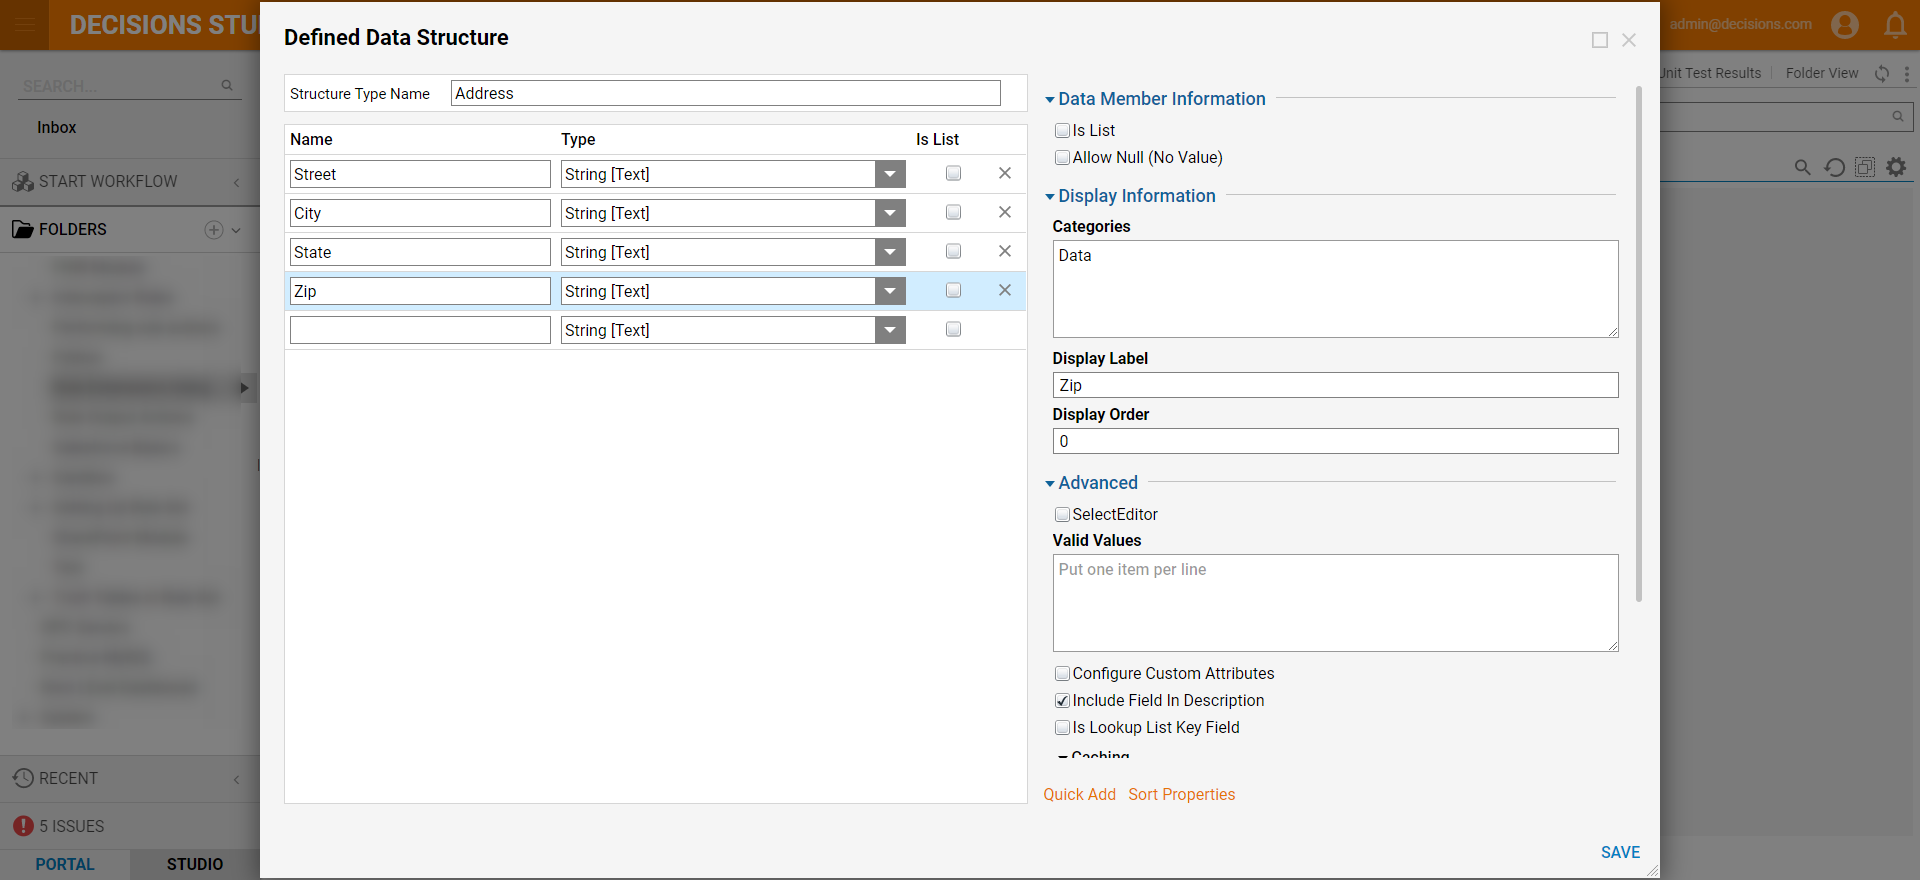
- When the Defined Data Structure window appears, enter "Address" in the Structure Type Name textbox. Next, enter four Data members in the Name field (Street, City, State, Zip) to use for the Structure Type and leave the default Type as String [Text] for all four. Next, click SAVE to close the window and return to the Designer Project.
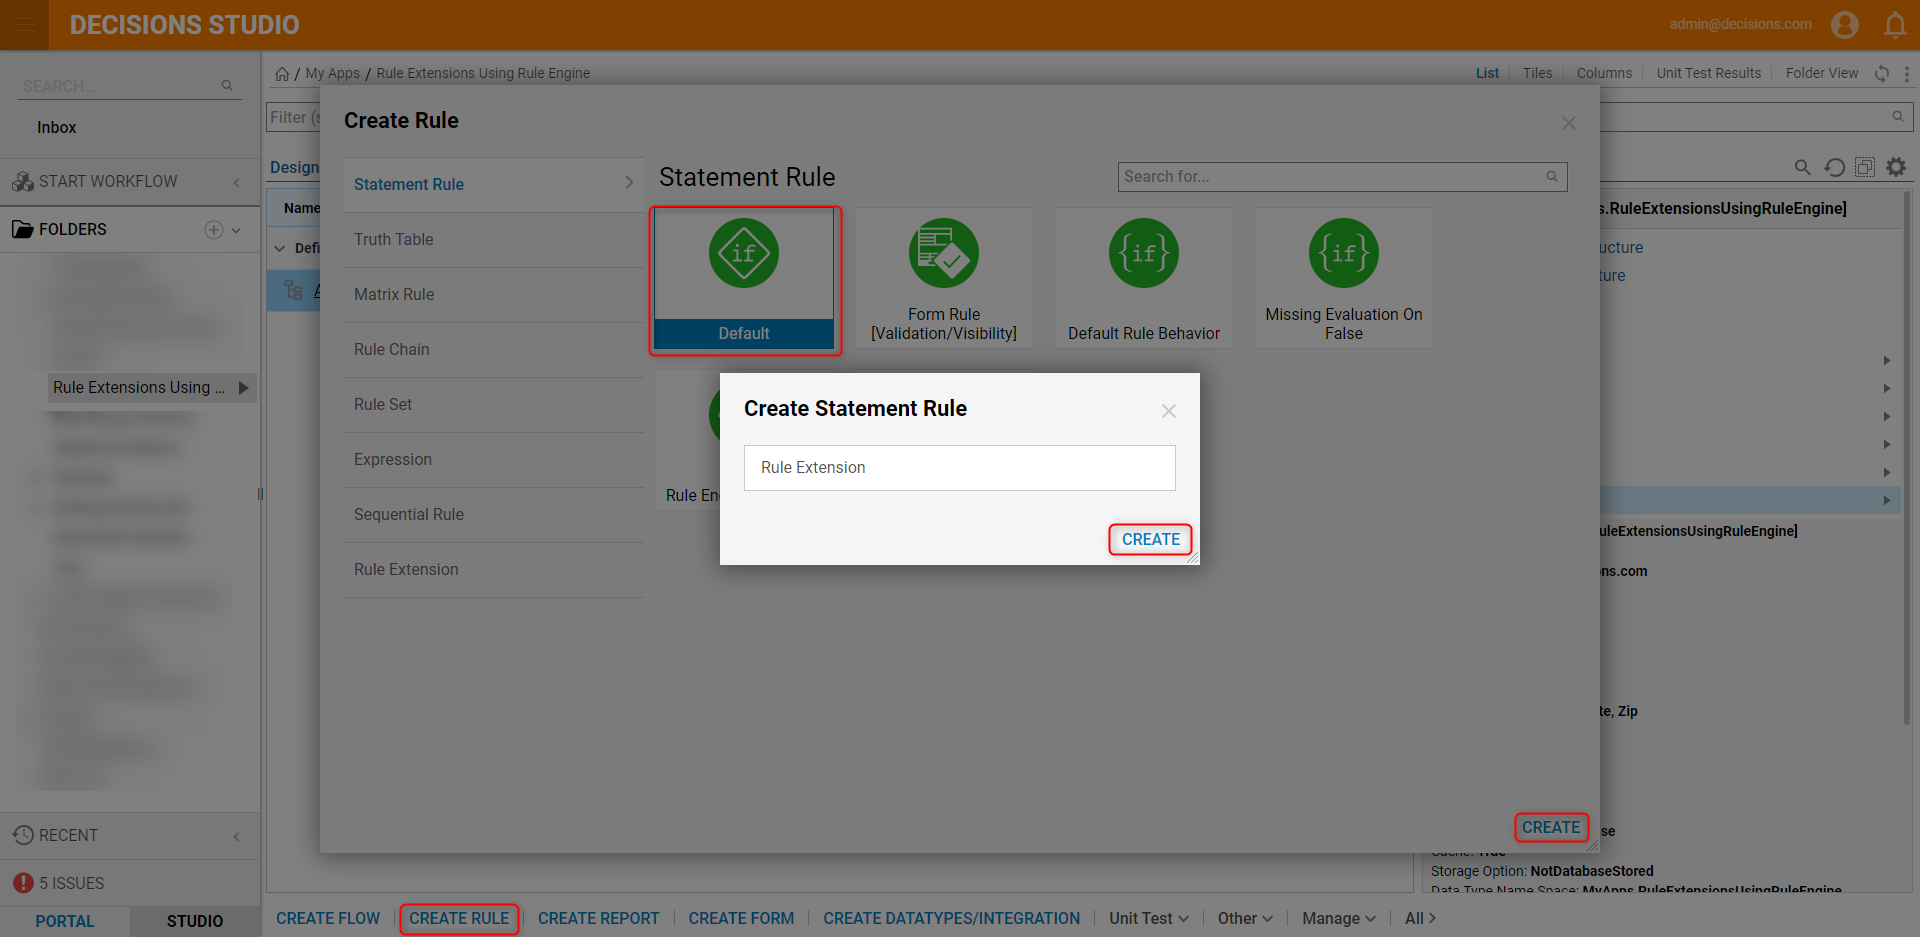
- On the action panel, click CREATE RULE, select Default under Statement Rule, and click CREATE. Enter a name for the Rule (Rule Extension) and click CREATE.
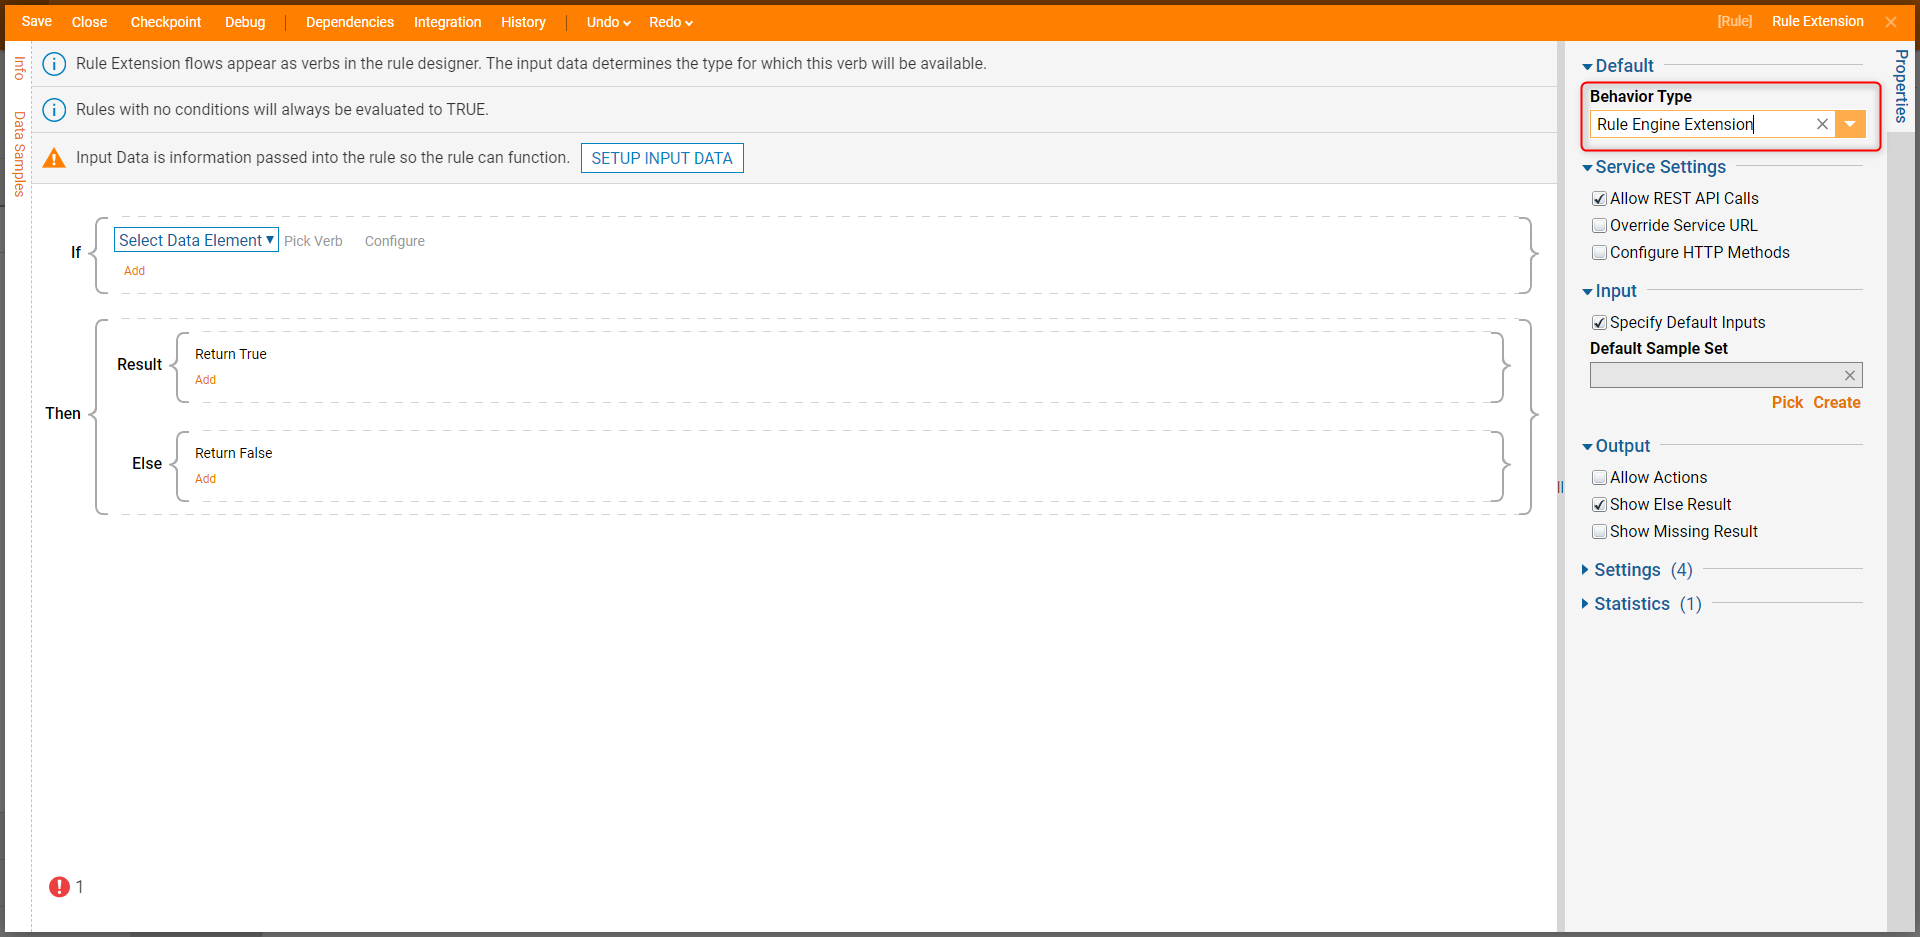
- On the Properties panel of the Rule Designer, click the dropdown list under Behavior Type and select Rule Engine Extension.
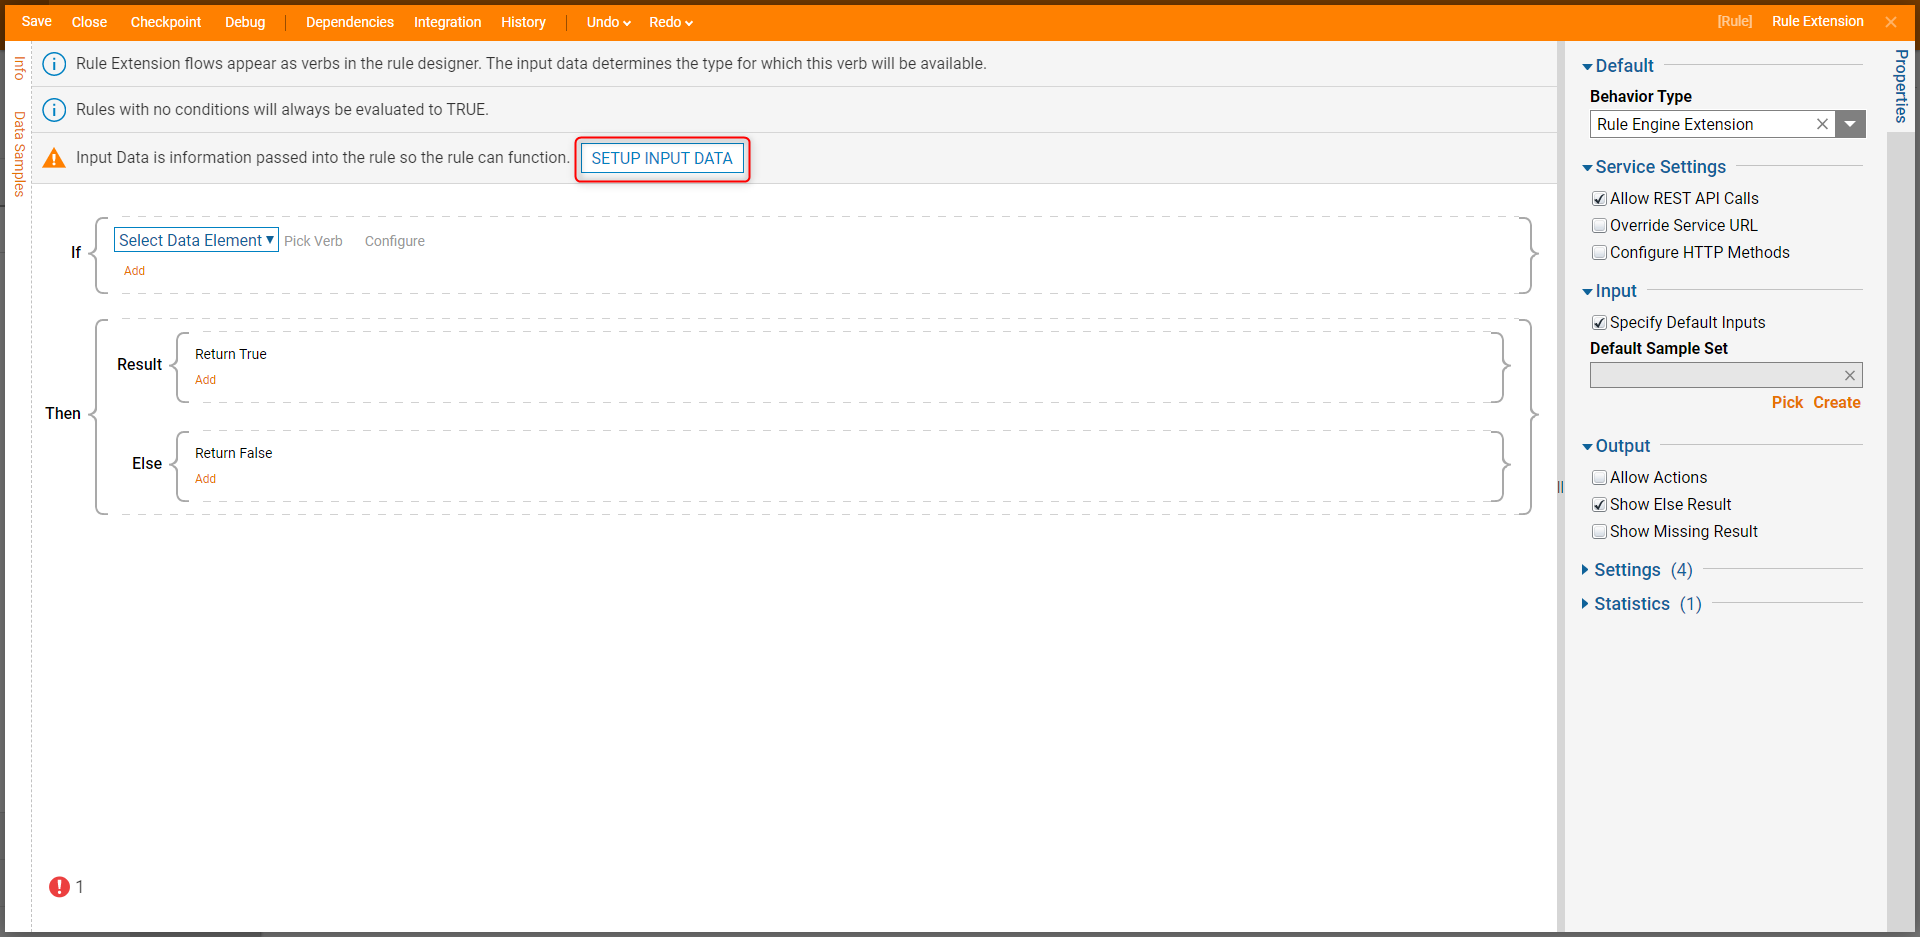
- Click SETUP INPUT DATA.
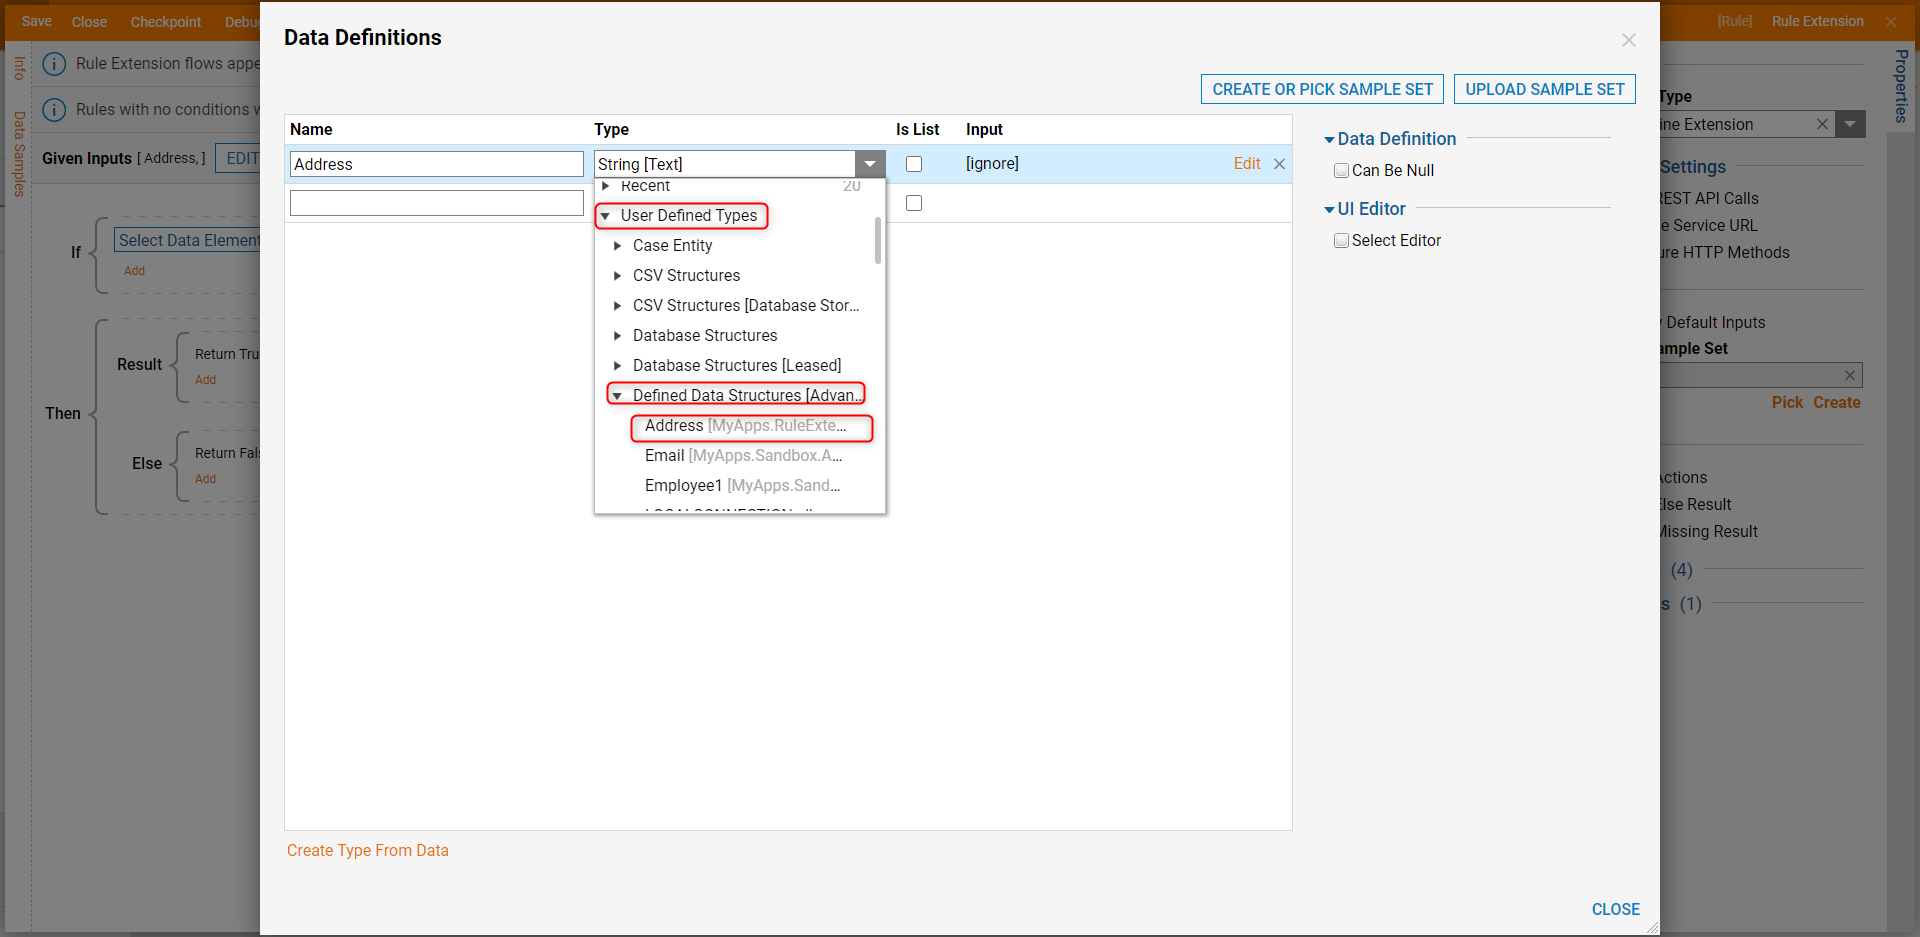
- On the Data Definitions dialog window, enter "Address" in the Name field. Select the dropdown button under the Type field and select Address in the Defined Data Structures subcategory under the User Defined Types category. Click CLOSE to close the window to return to the Rule Designer.
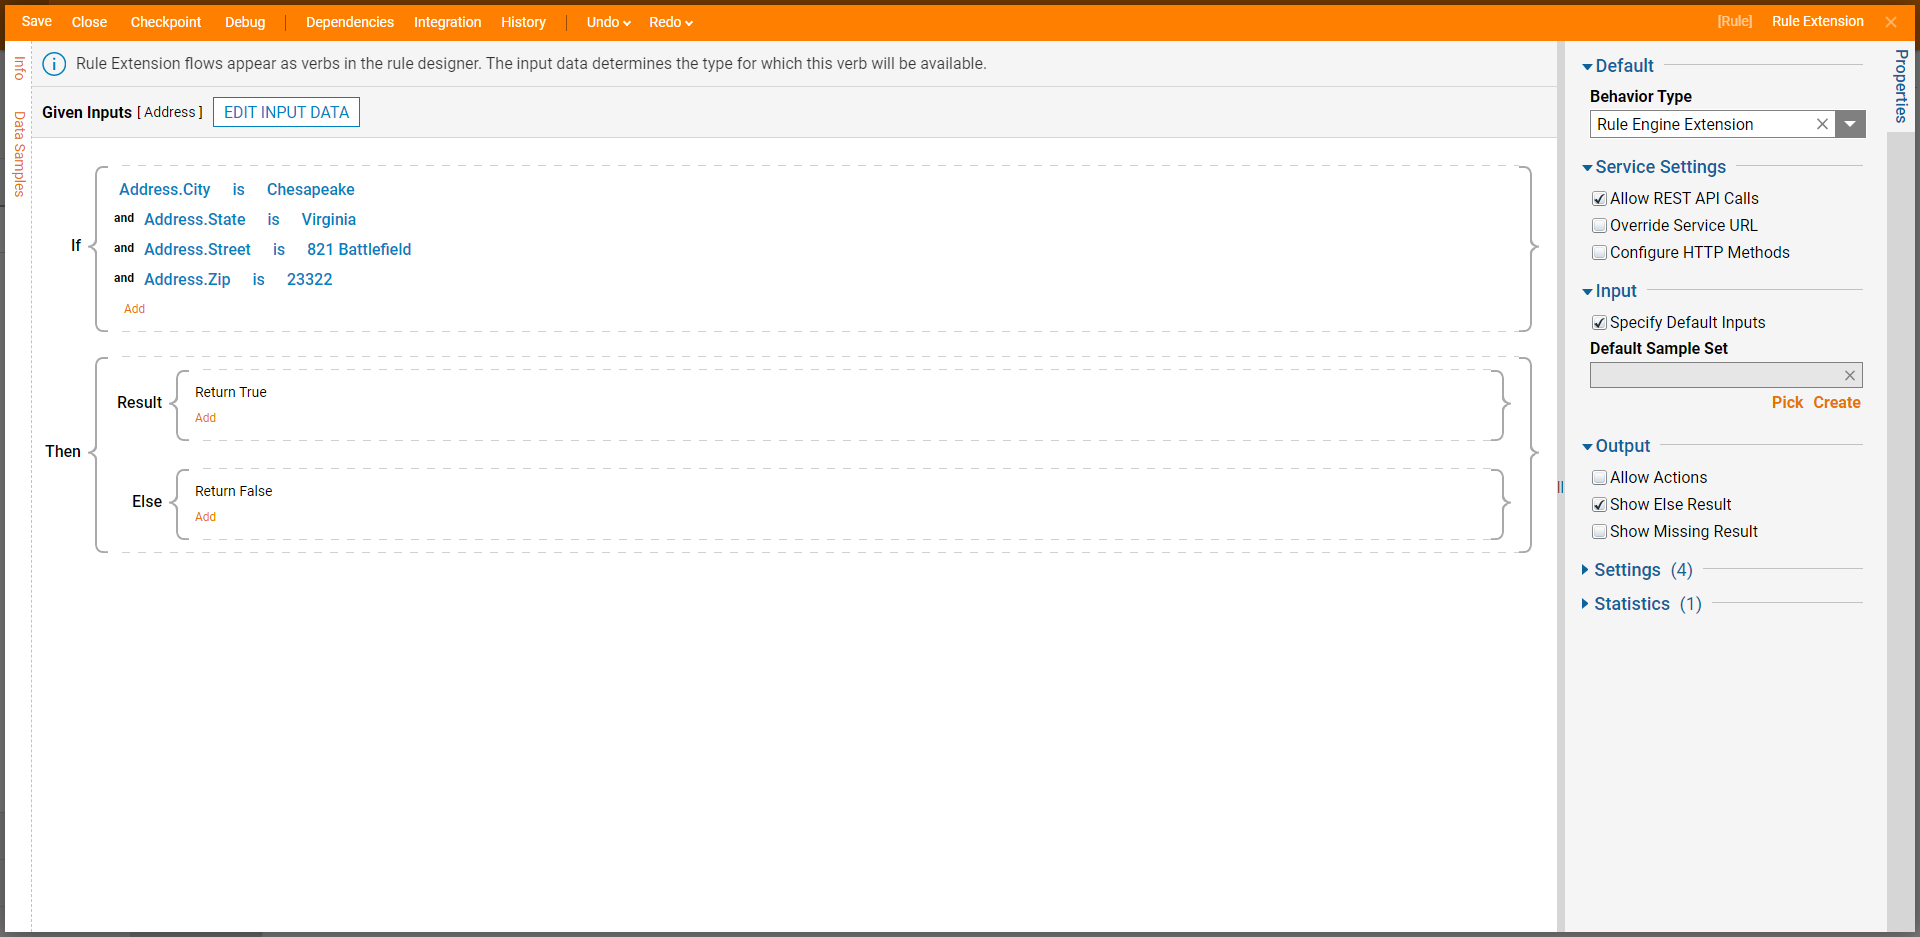
- In the If statement block, create a Rule statement that will evaluate if each Data Member of the Address Structure is in the address "821 Battlefield, Chesapeake, Virginia 23322". Click Save and then close the window to return to the Designer Project.To learn more about creating a rule navigate to Create a Rule.
- On the action panel, click CREATE RULE to create another Rule. This will be the main rule that will use the Extension Rule. Select Statement Rule, enter a name (Validate Employee) and click CREATE.
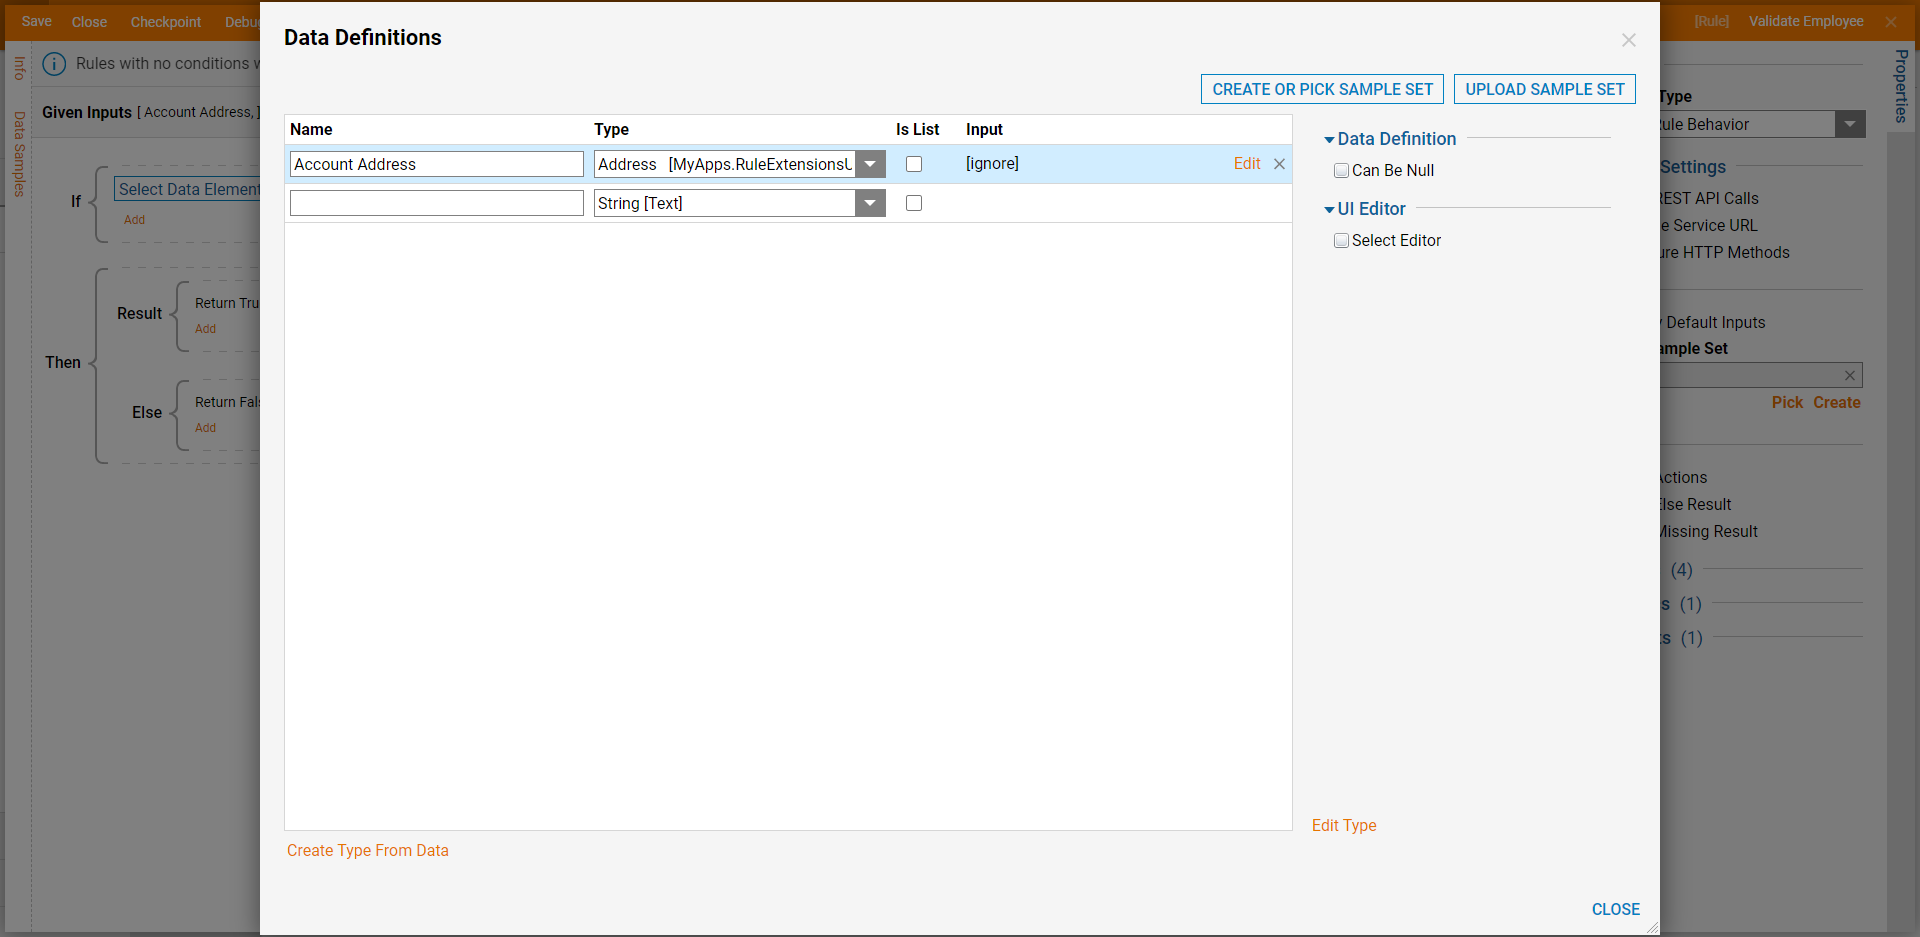
- On the Rule Designer, select SETUP INPUT DATA. When the Input Data dialog appears, enter "Account Address" in the Name field and change the Type to Address under Defined Data Structure in the User Defined Types category. Click CLOSE to return to the Rule Designer.
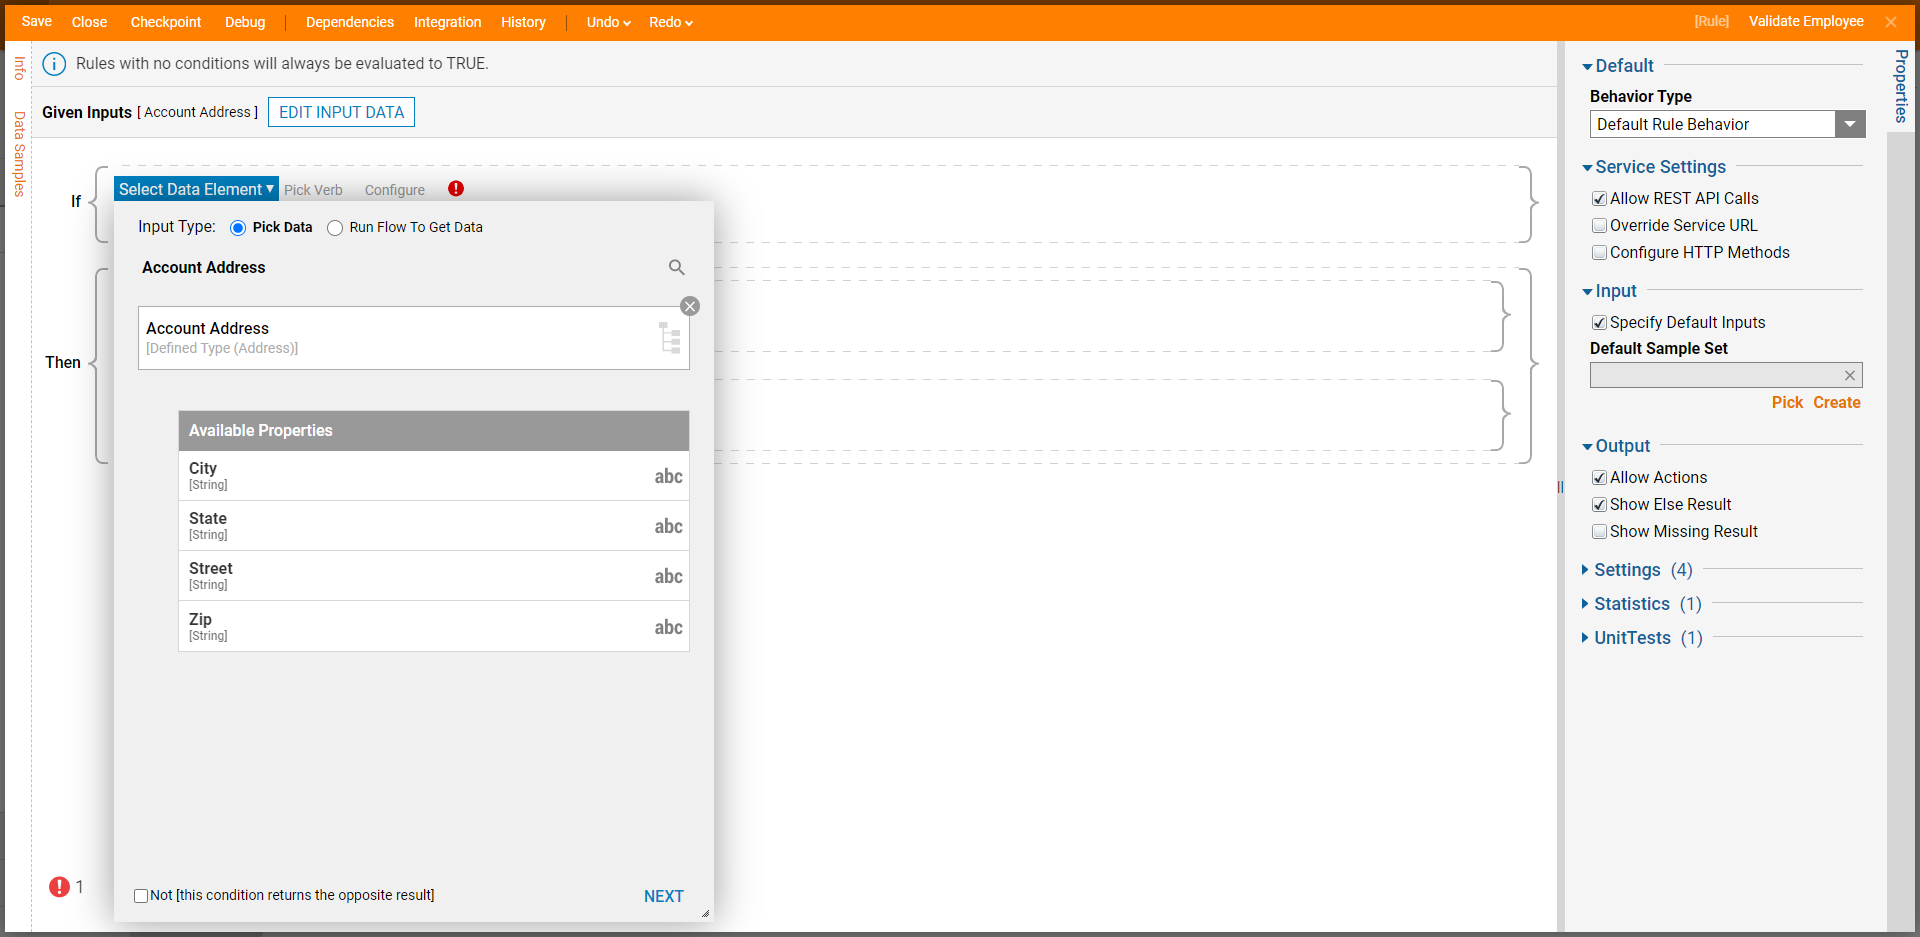
- In the If statement block, select Select Data Element. Select Account Address [Defined Type (Address)] and click NEXT.
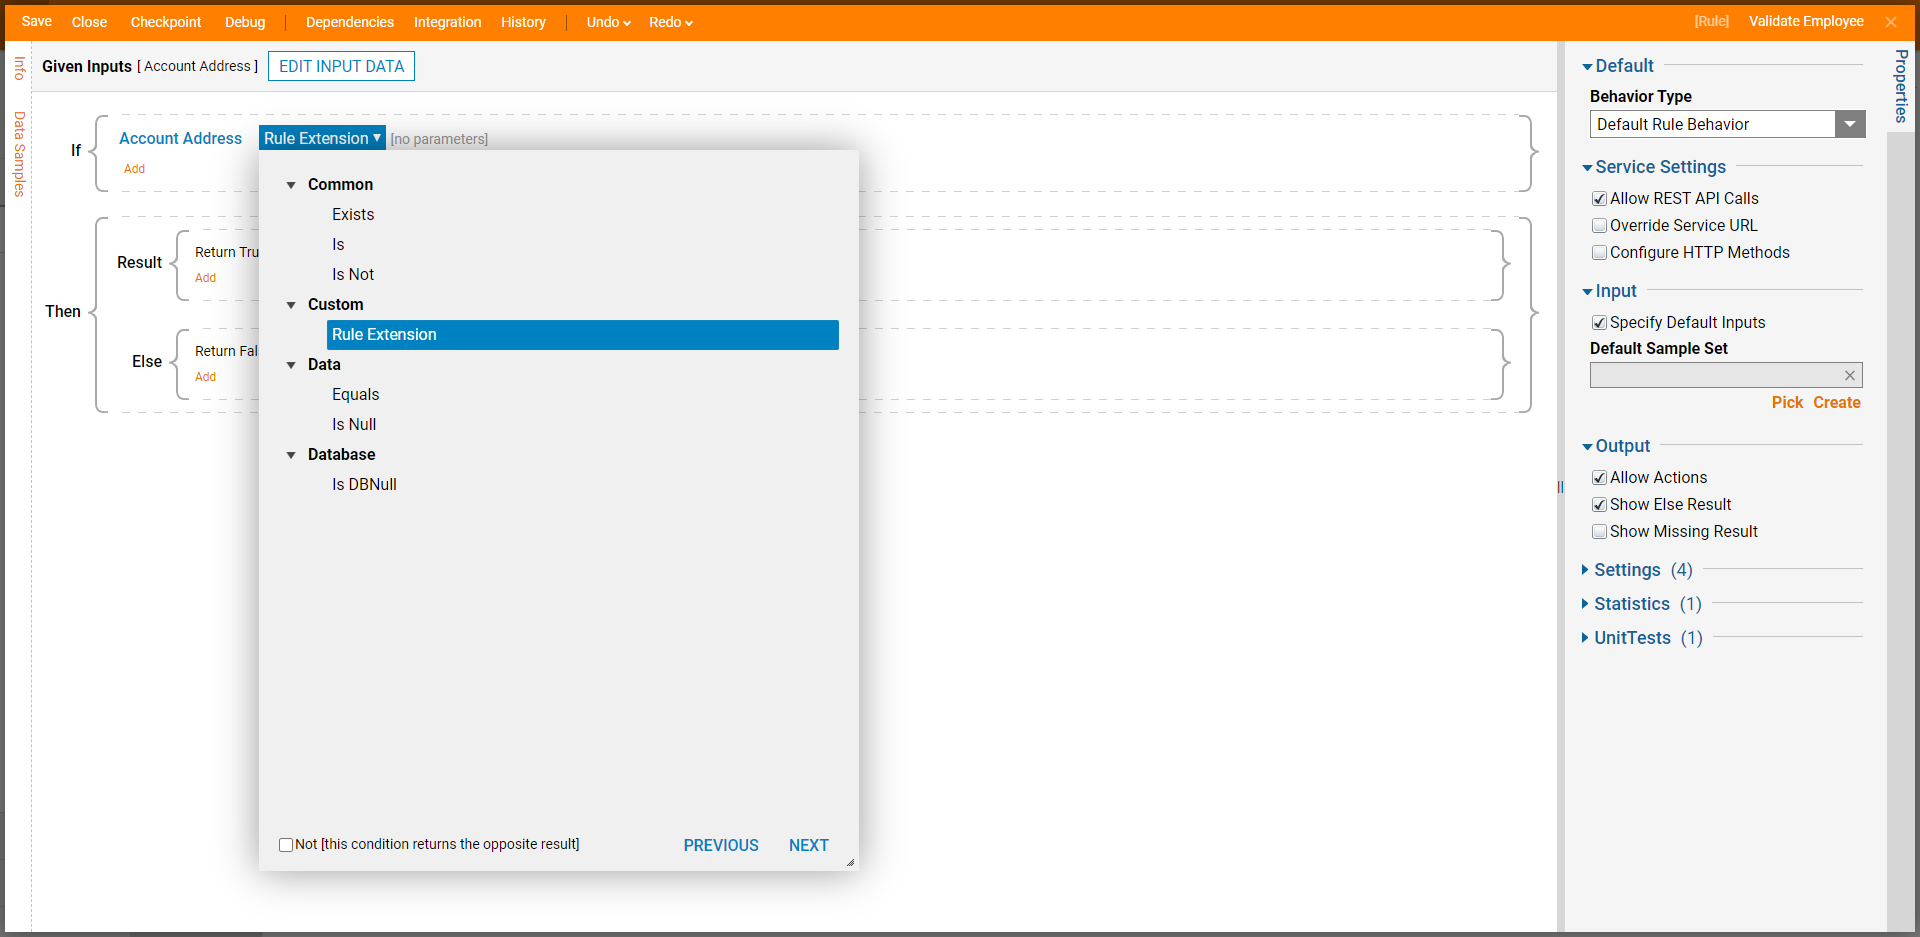
- Select Rule Extension under the Custom category and click NEXT.
- Since the Extension Rule does not take any additional input parameters, click DONE and then CLOSE to return to the Rule Designer. Click Save to save changes.
Debug
- To ensure the Rule Extension works with the main Rule, on the top action panel of the main Rule (Validate Employee) click Debug.
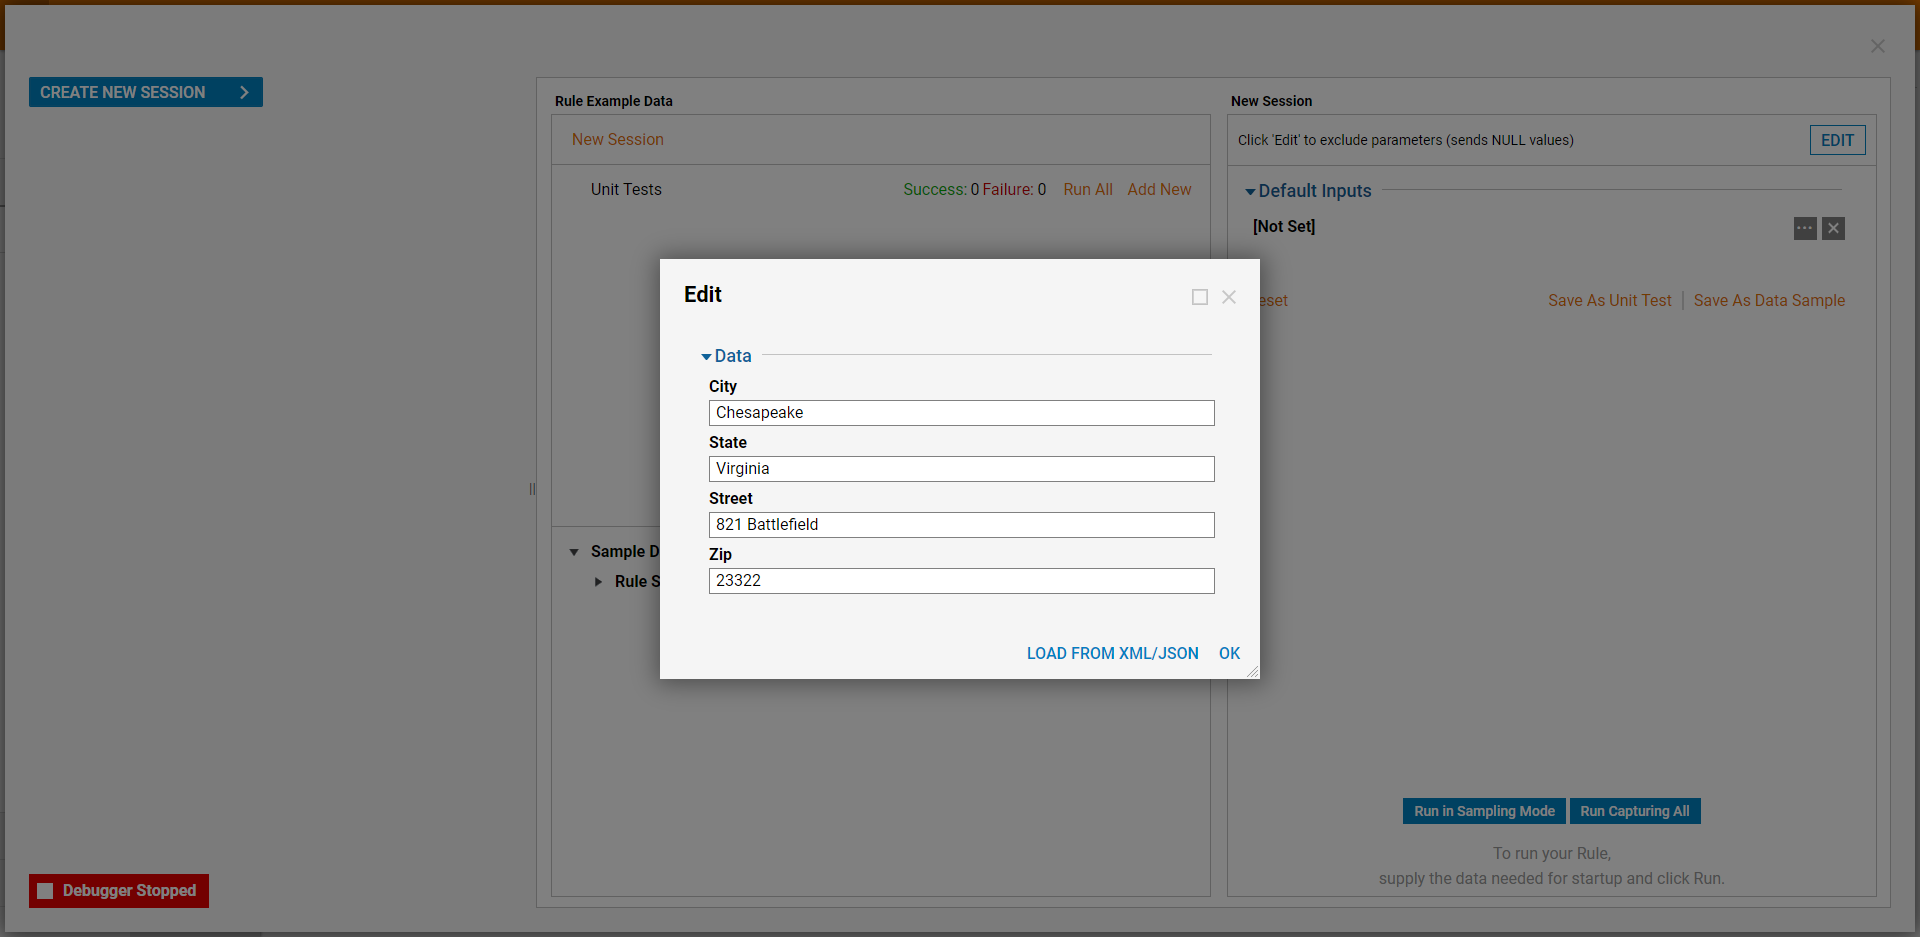
- Under Default Inputs, click the Edit icon.
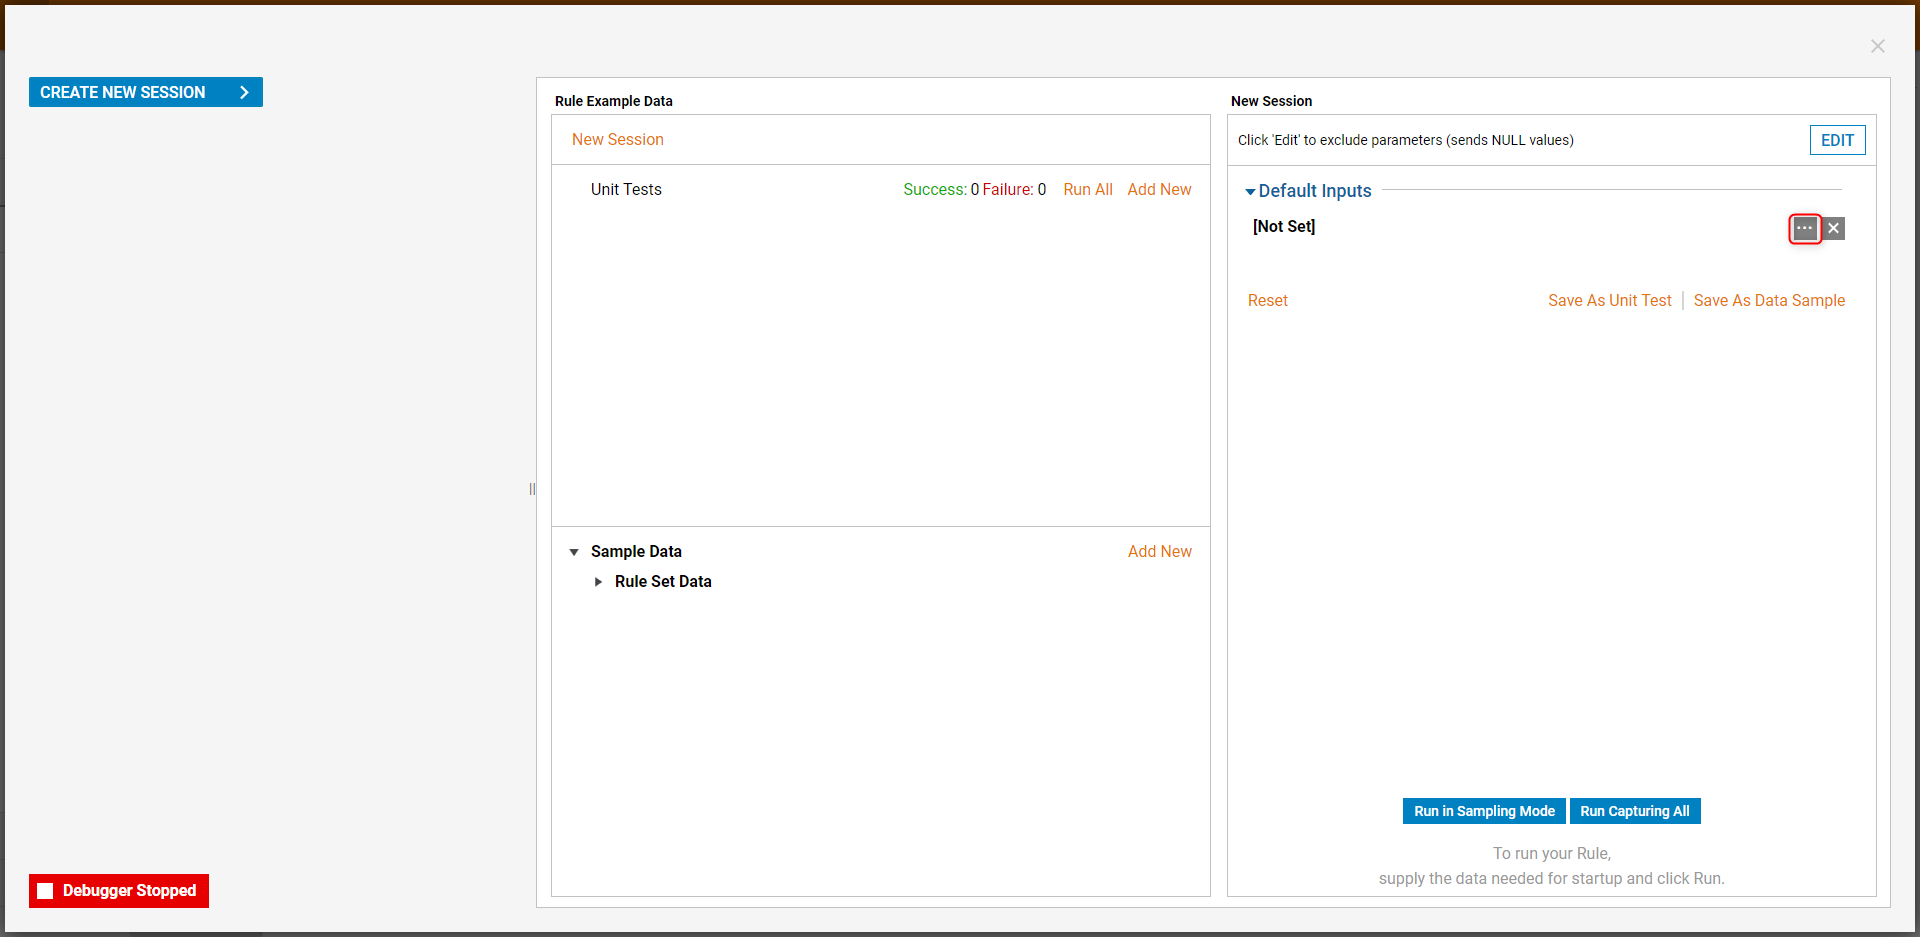
- In the textbox fields, enter "821 Battlefield" in Street, "Virginia" in State, "Chesapeake" in City, and "23322" in Zip and click OK. Then, click Run Capturing All.
 When the Rule Phrase is run or built into a Flow to run, the main Rule will use the Rule Extension as its parameters. If all the inputs match, it will evaluate as True. If one of the inputs does not match, it will evaluate as False.