Overview
This tutorial demonstrates how to reset Local Modules to remove or update custom DLLs using the Decisions.LocalModuleReset.exe tool.
To learn how to deploy custom DLLs, please navigate to the Getting Started in Visual Studio article.
This tool is important because design Decisions stores custom DLLs in the database so a Decisions High Availability Cluster can have these DLLs applied to all nodes within the cluster without having to apply DLLs manually to all servers within that cluster. On startup of Decisions any custom DLL in the C:\Program Files\Decisions\Decisions Services Manager\modules\Decisions.Local\ServicesDlls directory will be automatically added back into Decisions.
Therefore, it is important to use Decisions.LocalModuleReset.exe tool to avoid unexpected results while updating or deleting custom DLLs.
Example
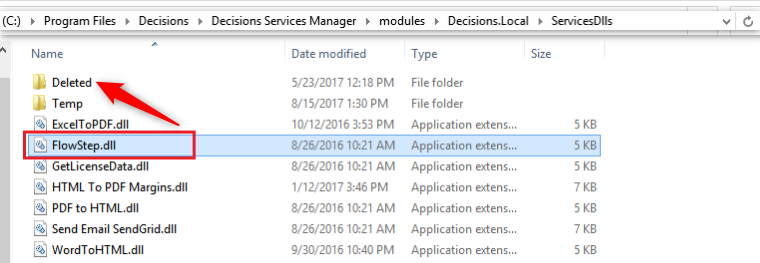
To remove a custom dll from Decisions, navigate to C:\Program Files\Decisions\Decisions Services Manager\modules\Decisions.Local\ServicesDlls directory.
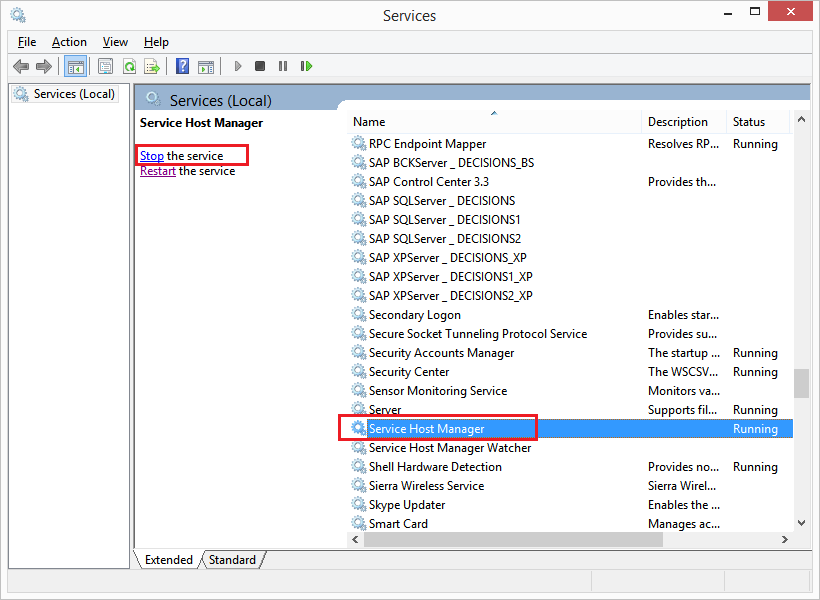
Before changing anything in the ServicesDlls folder, stop Service Host Manager located in Windows Local Services.

After Service Host Manager is stopped move the dll into the Deleted folder. What this directory does is it prevents Decisions from re-loading that dll when SHM starts.

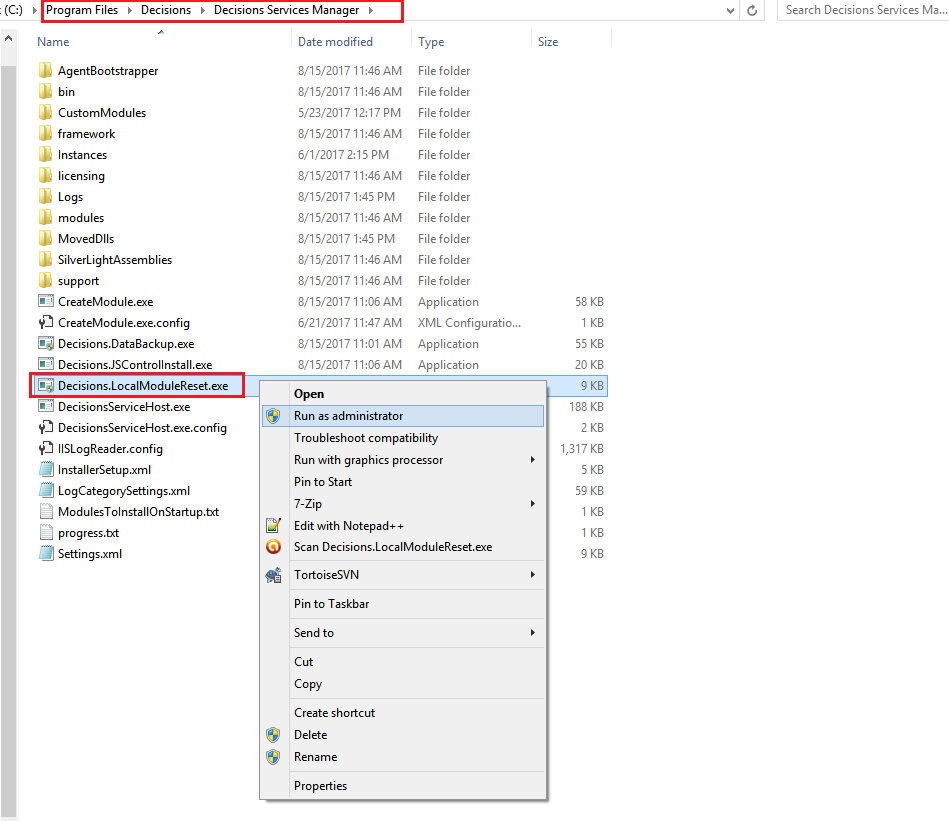
Next, run Decisions.LocalModuleReset.exe tool (as Administrator) located in C:\Program Files\Decisions\Decisions Services Manager (in the default installation).
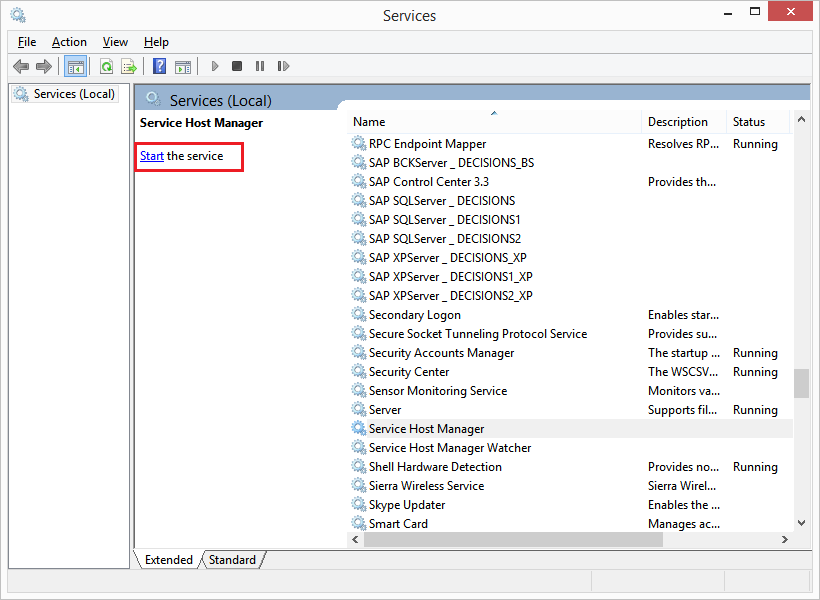
Finally, start the Decisions service and the custom dll should be removed from the Decisions instance.