Overview
To better grasp the SDK documentation, developers should be acquainted with Visual Studio or another integrated development environment (IDE). In the Decisions documentation Visual Studio 2019 will be utilized. This document will explain how to create a project in Visual Studio, how to add Decisions specific references, and how to insert a .dll into Decisions. Adding custom content via the SDK requires building Class Libraries in .NET.
Creating a Project
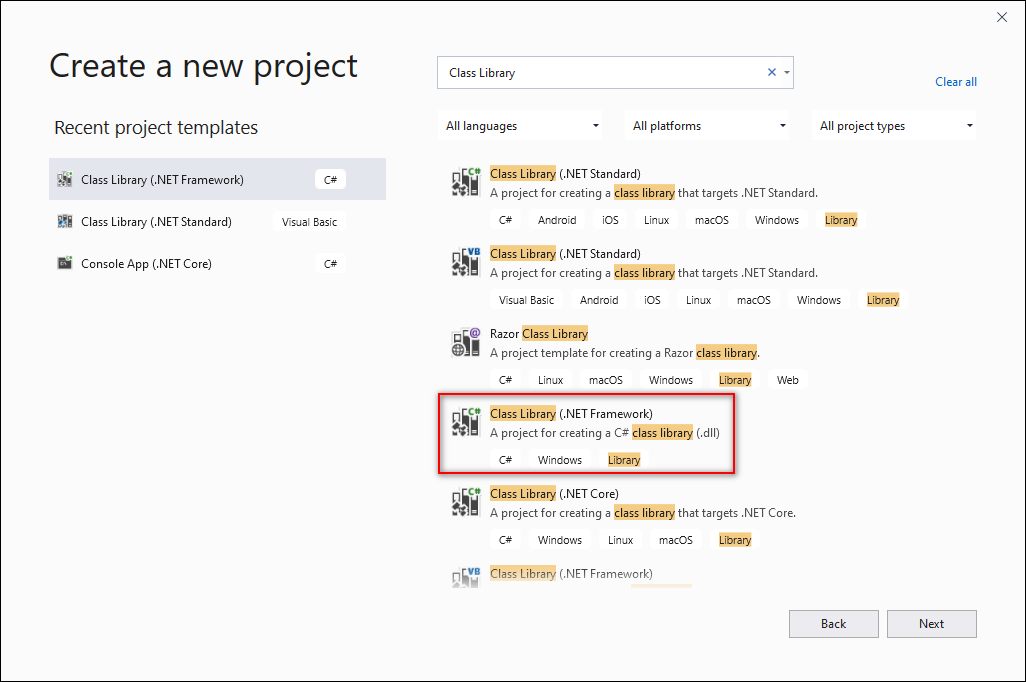
- In the Visual Studio start-up dialog, click Create a new project. Enter "class library" in the search box and select Class Library (.NET Framework). Click Next. Configure the Project name, Location, and Framework and click Create.
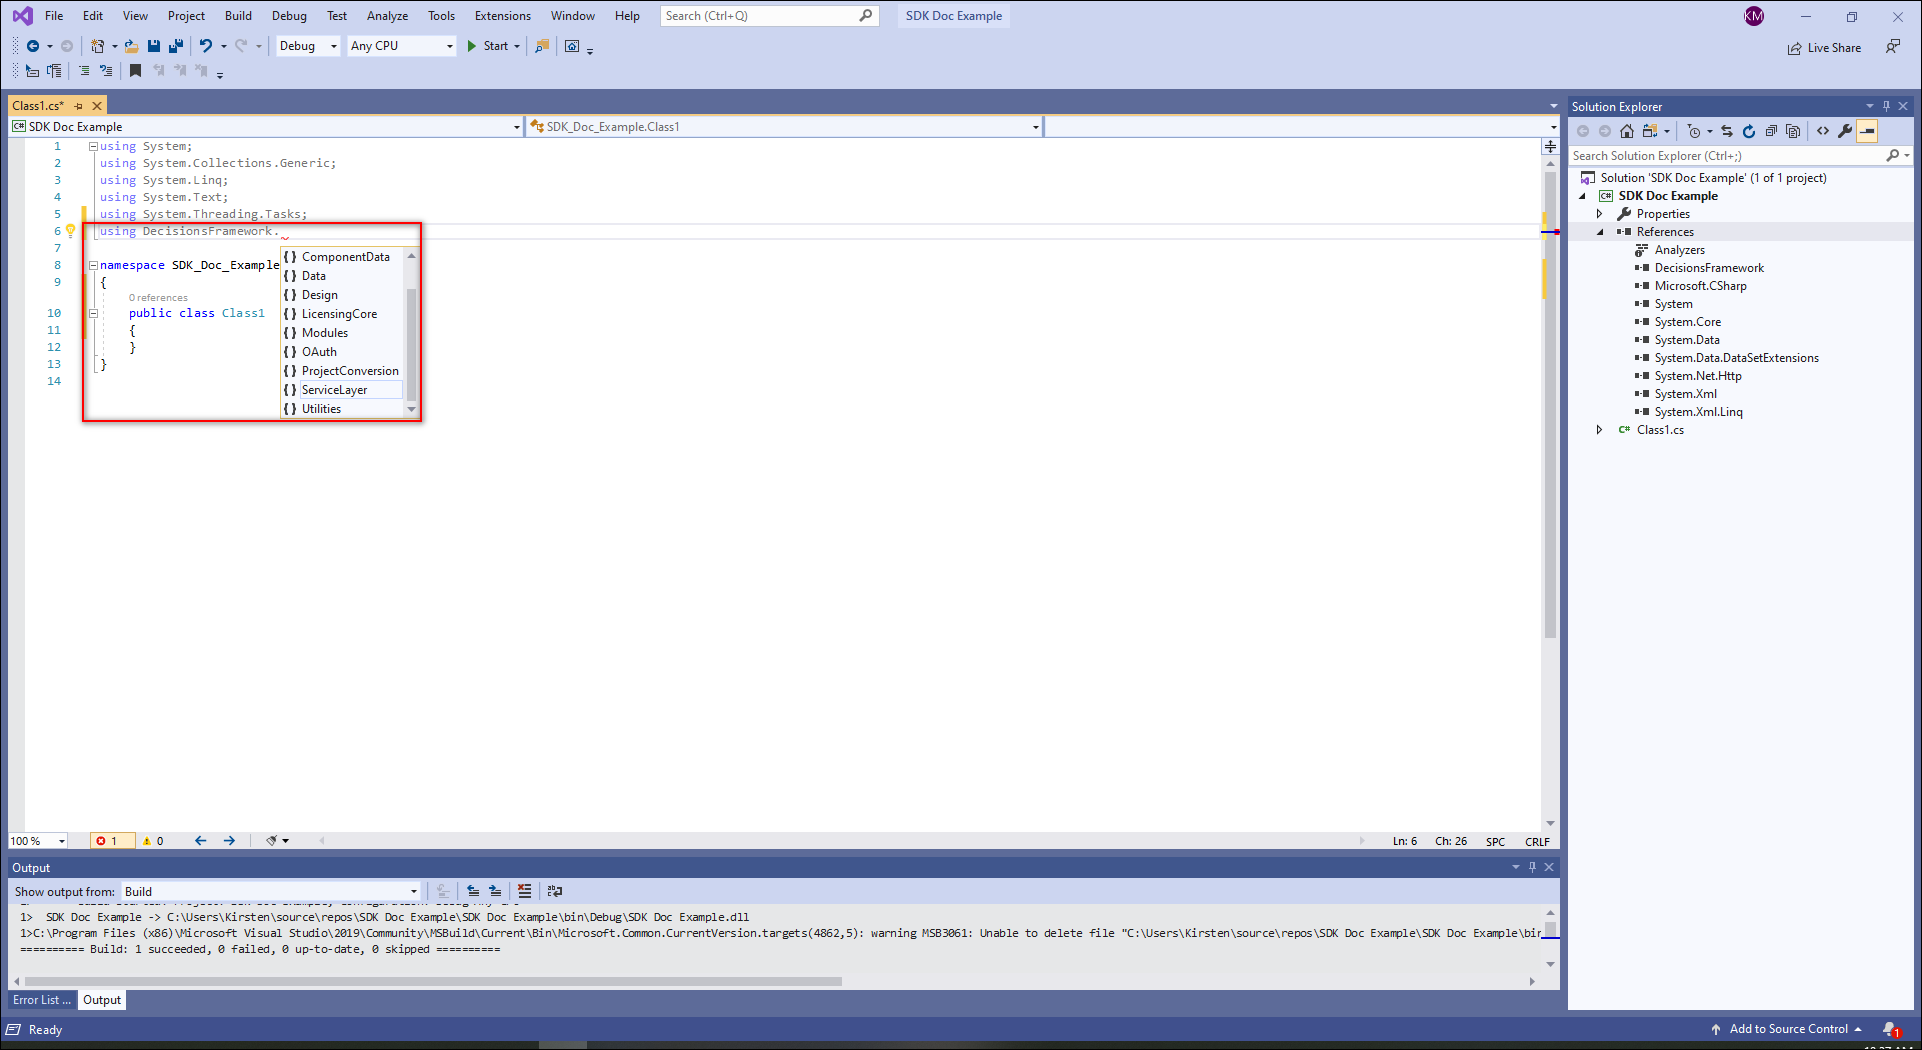
- To use the DecisionsFramework, a reference to DecisionsFramework.dll must be added. Navigate to the Solution Explorer. Right-click References and select Add Reference. Within the Reference Manager, browse for DecisionsFramework.dll by navigating to Decisions\Decisions Services Manager\bin. Click Add and then click OK. If the Solution Explorer is not readily available, navigate to View > Solution Explorer.
 Now that the DecisionsFramework reference is attached to this project, many DecisionsFramework namespaces are available to reference. For examples that include code, please refer to the other SDK documentation, starting with Simple Flow Steps.
Add .dll to Decisions
Once a developer has finished the code, a Dynamic Link Library (.dll) must be built. This .dll will contain coded instructions other programs can call upon to perform intended actions.
Manual Upload
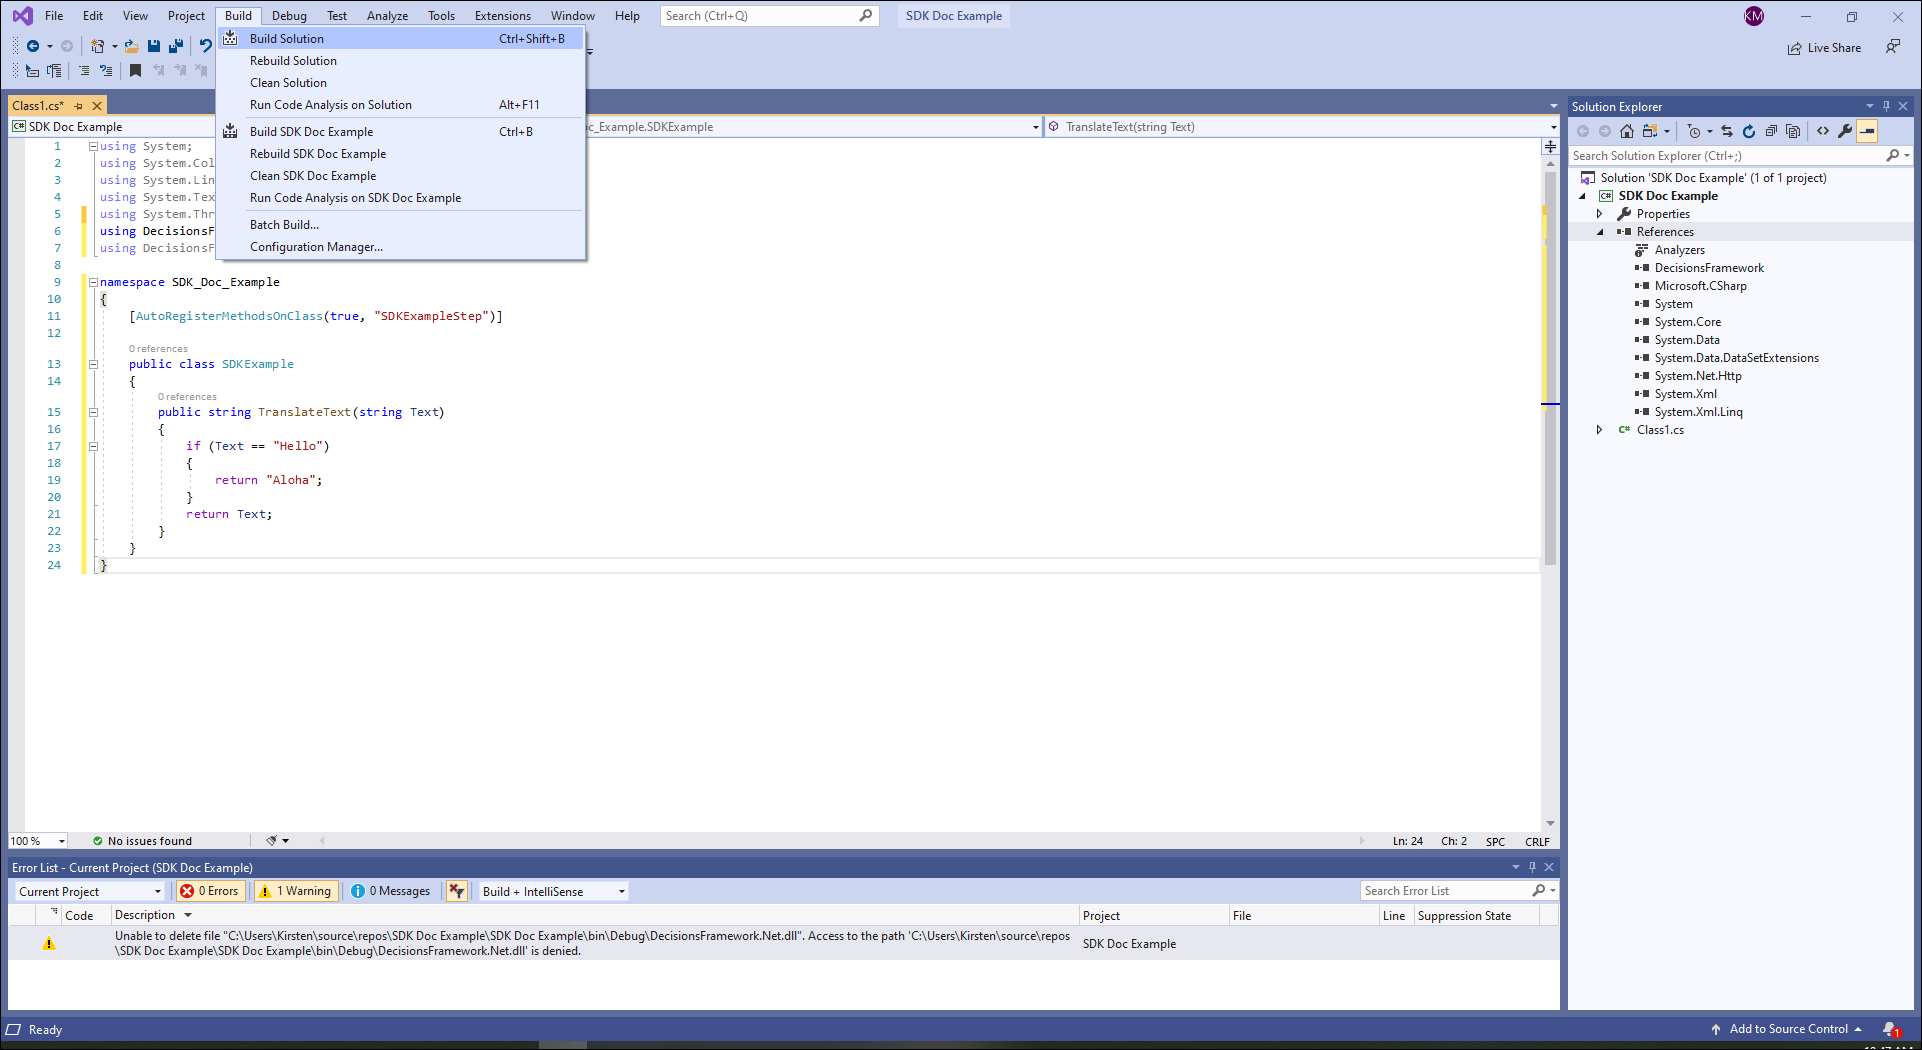
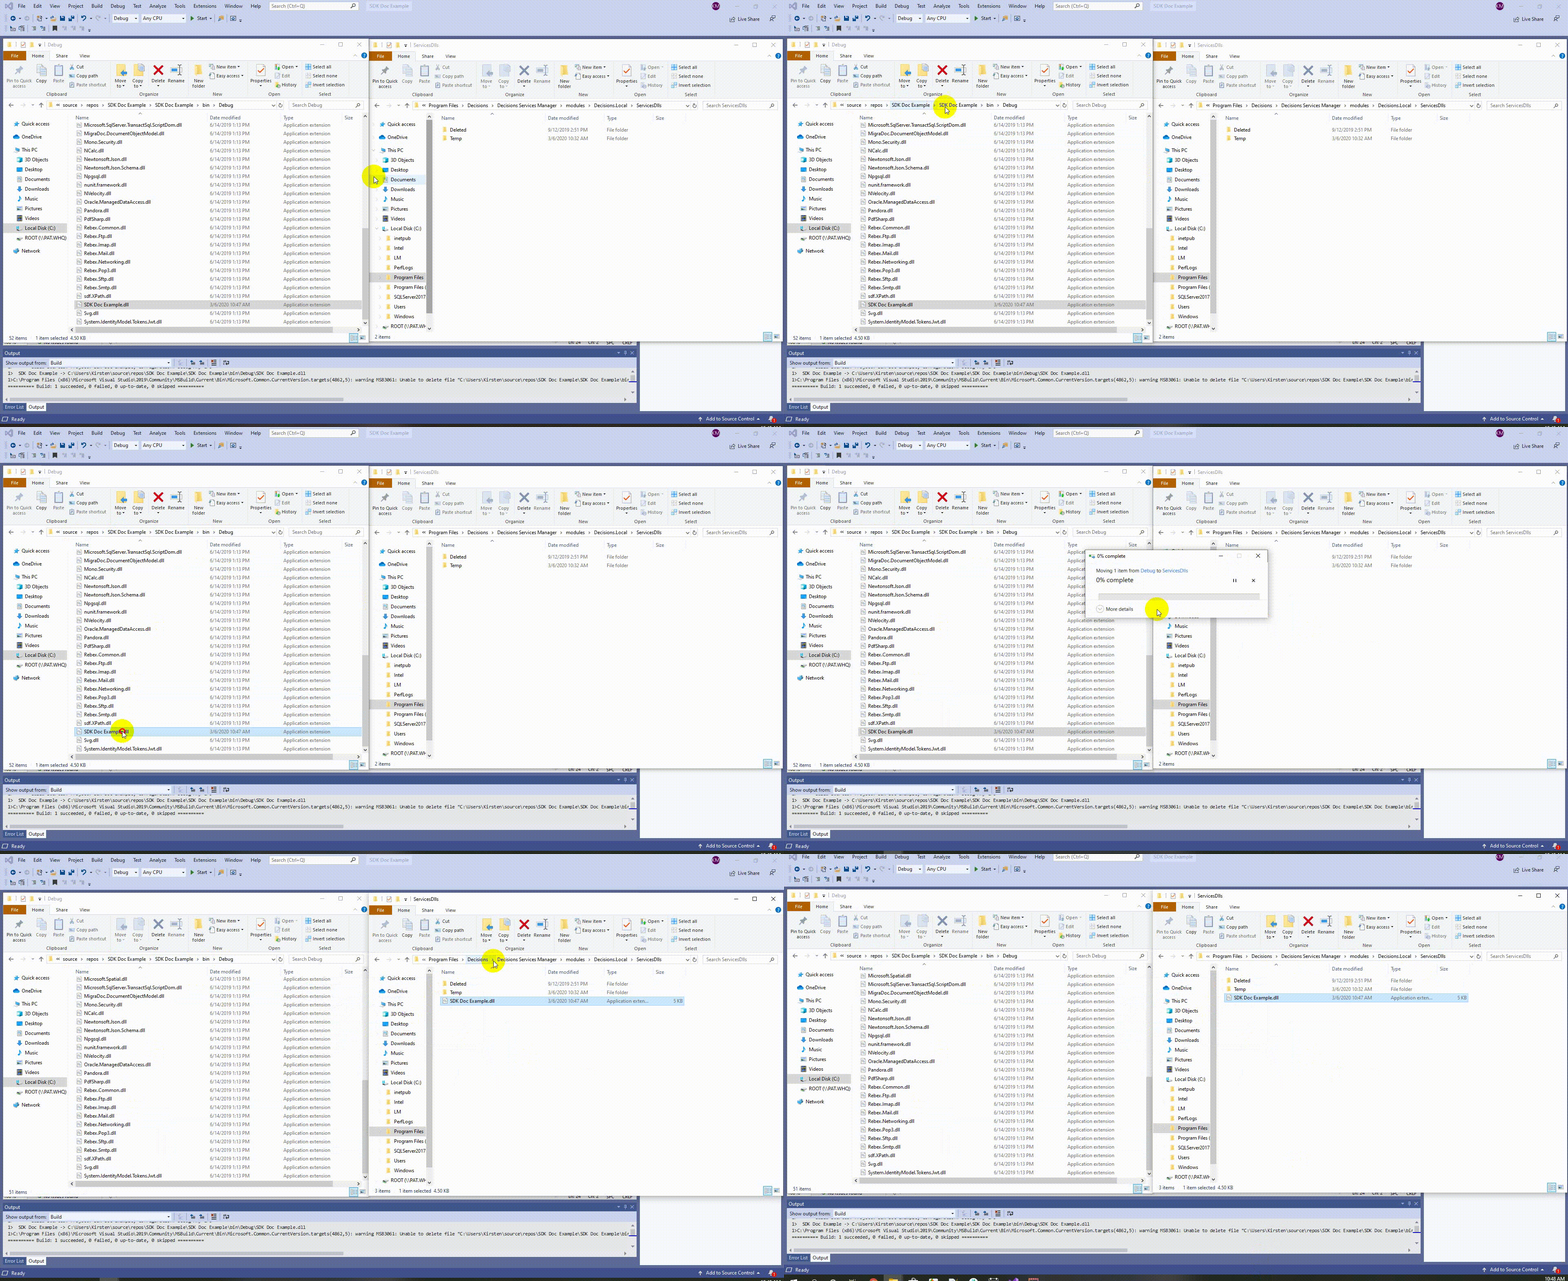
- Select Build > Build Solution. When the build is complete, Visual Studio will save the .dll by default at C:\Users\[User]\source\repos\[Project Name]\[Project Name]\bin\Debug\.
- Copy the .dll to C:\Program Files\Decisions\Decisions Services Manager\modules\Decisions.Local\ServicesDlls. The .dll will then be available in Decisions without needing to restart Service Host Manager.
Automatic Upload
A post-build event in Visual Studio will automatically update and save the build in the file location given.
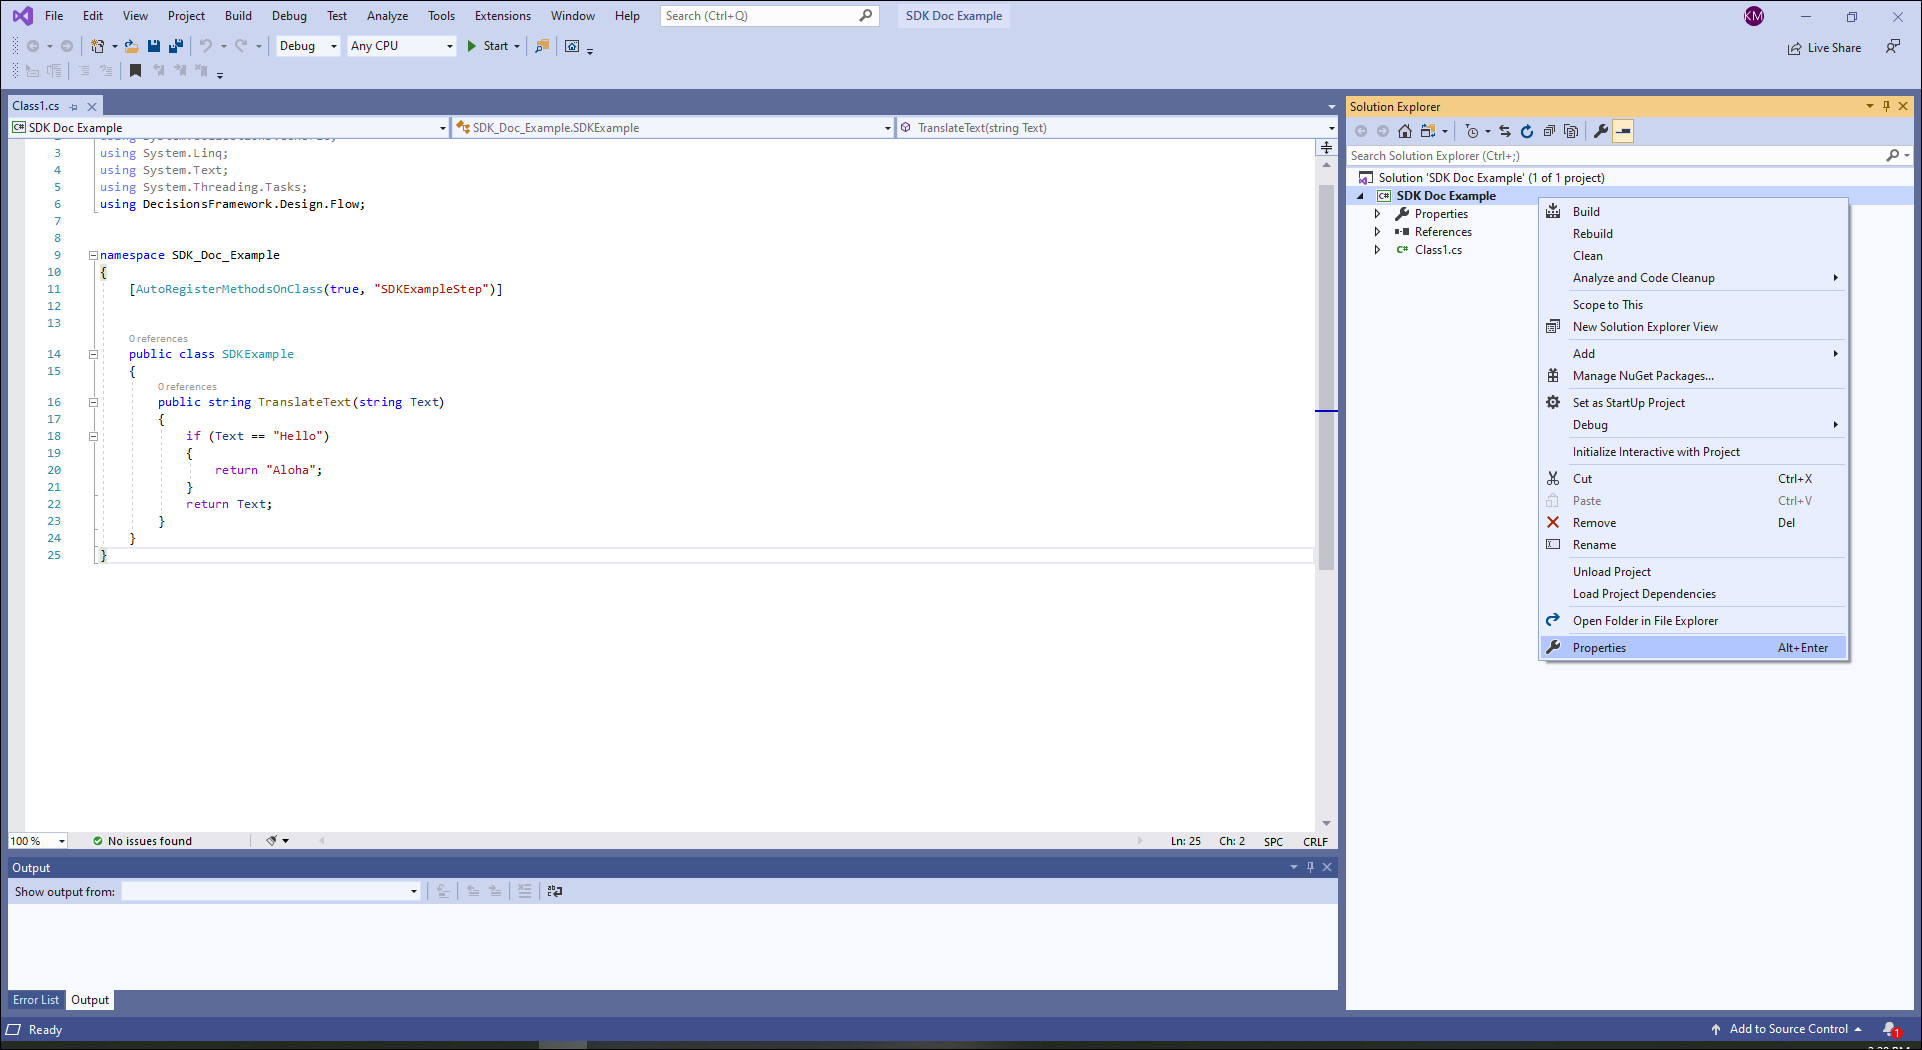
- To create a post-build event, right-click the Project Name in the Solution Explorer and select Properties.
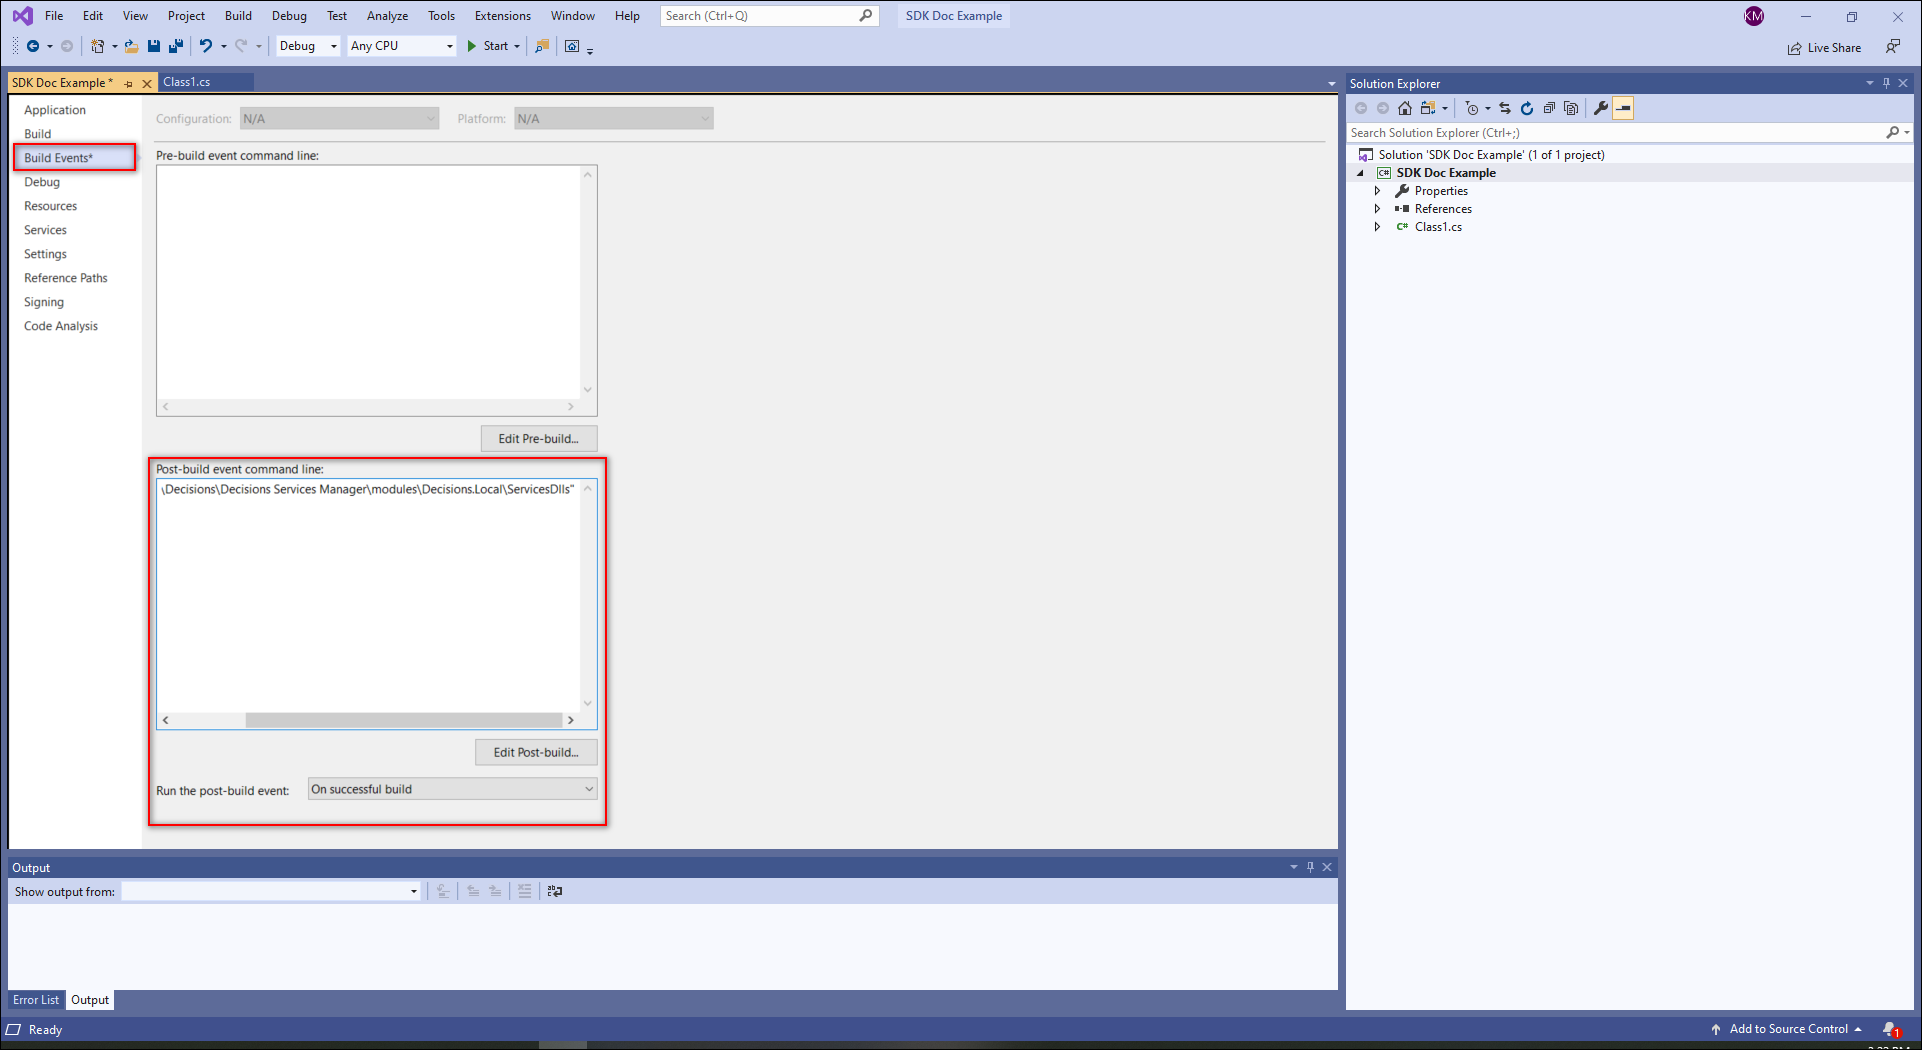
- In the left panel, select Build Events. In the Post-build event command line text box, type the file path (with quotation marks) where Decisions .dll's are copied: "C:\Program Files\Decisions\Decisions Services Manager\modules\Decisions.Local\ServicesDlls". For the Run the post-build event drop-down, leave On successful build selected. Select the save icon in the action panel. When successful builds happen, the file will save at the proper location and will automatically be available in Decisions.
Deleting and Updating a .dll
Please refer to the Resetting Local Modules To Remove Or Update Custom DLL documentation to learn how to properly delete and update a .dll.
Troubleshooting
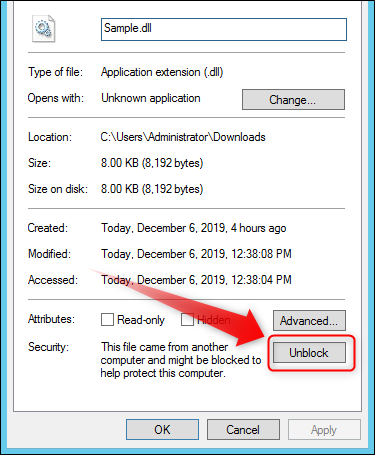
A .dll, built on one machine but sent to another, will likely be blocked when received. To unblock, download the .dll, right-click the file, select Properties, then click Unblock.
