Overview
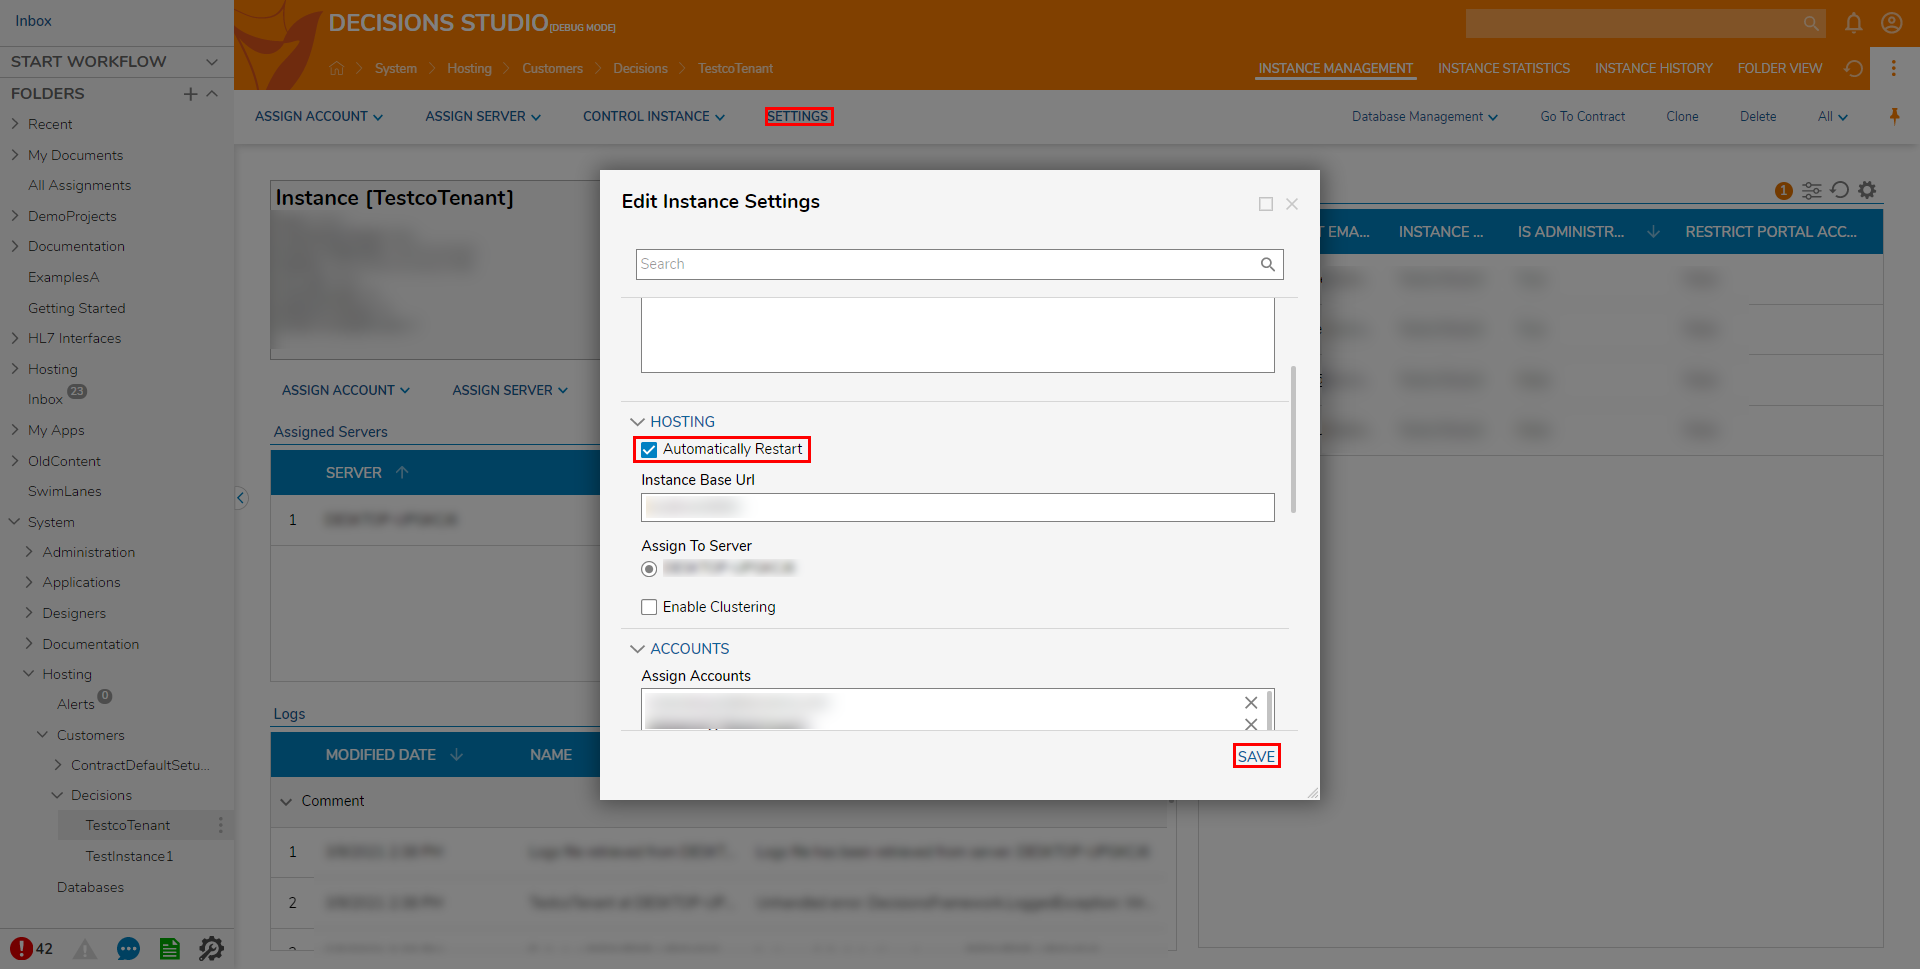
A Default Tenant Configuration is a configured Decisions environment that can be loaded as a default setup for a new Tenant. The InstanceDefaultSetupPrototype is the default template for the aforementioned configured Decisions environment. The following article demonstrates how to create a new Default Tenant Configuration using the Prototype Instance so that it can be applied when a new Tenant is added to a Registered Customer.
Example
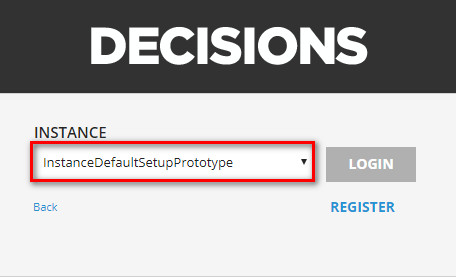
- Once a Customer is registered, navigate to the Decisions Login page and select the InstanceDefaultSetupPrototype option from the dropdown list, then select LOGIN.
- From the Decisions Studio, navigate to the My Apps Folder and click CREATE FLOW on the Global Action Bar.
- Select Flow, provide a Name, and click CREATE.
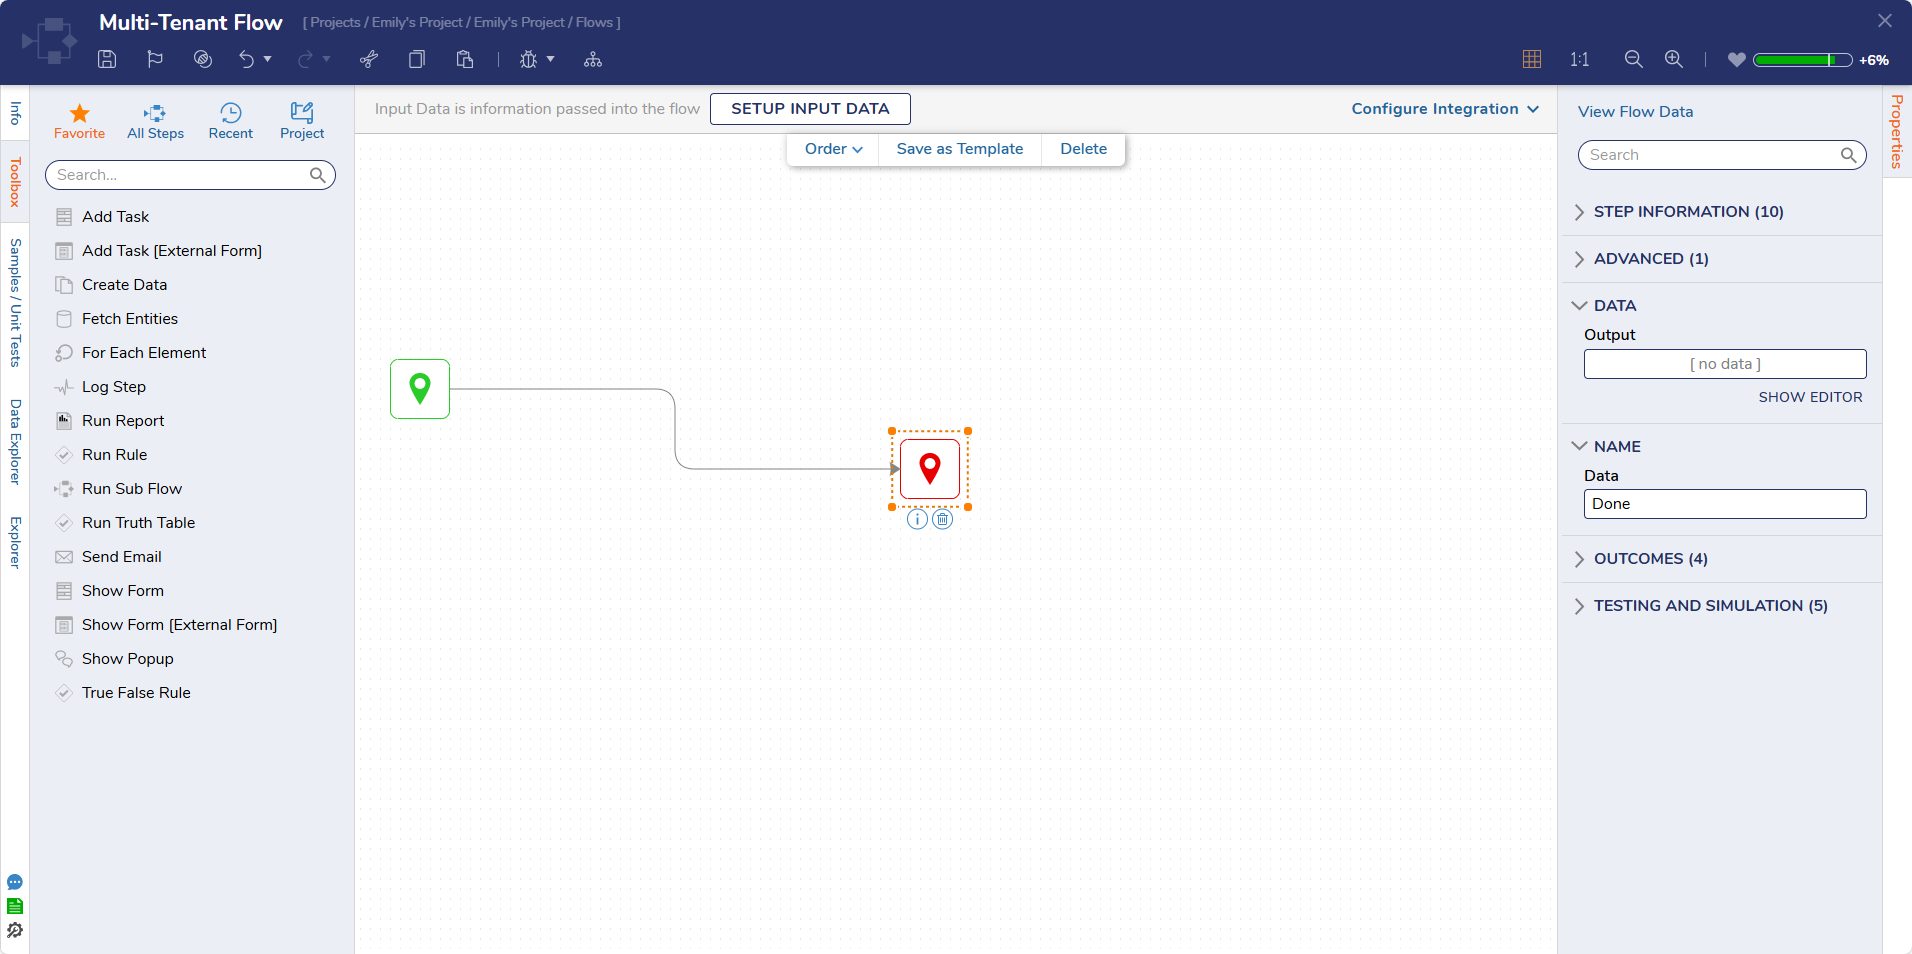
- From the Flow Designer, connect the Start step to the End step, then Save and close the Flow.This Flow is used to distinguish that the Prototype Instance loads the appropriate environment for a new Tenant.
Logout of InstanceDefaultSetupPrototype after making the Flow.
From the File System, navigate to C:\\Program Files\Microsoft SQL Server\[MSSQL Version where the backup resides]\MSSQL\Backup, then Delete original backup for the Instance Prototype.
Default Backup Recommended
As is recommended with replacing any file, backup and copy the Instance Prototype.bak file in another location to have in case of error.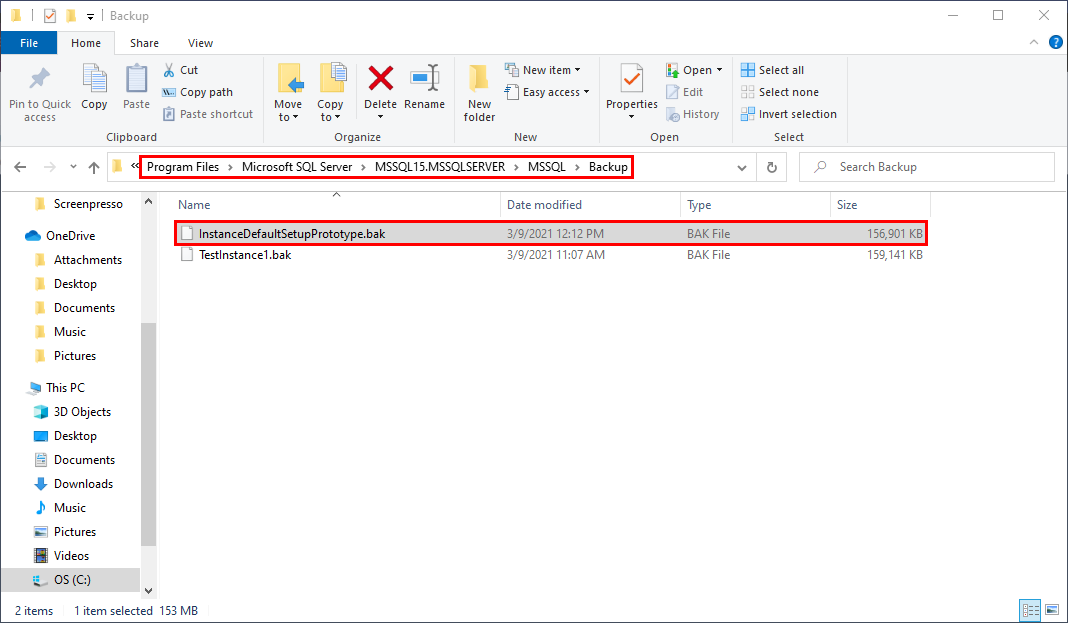
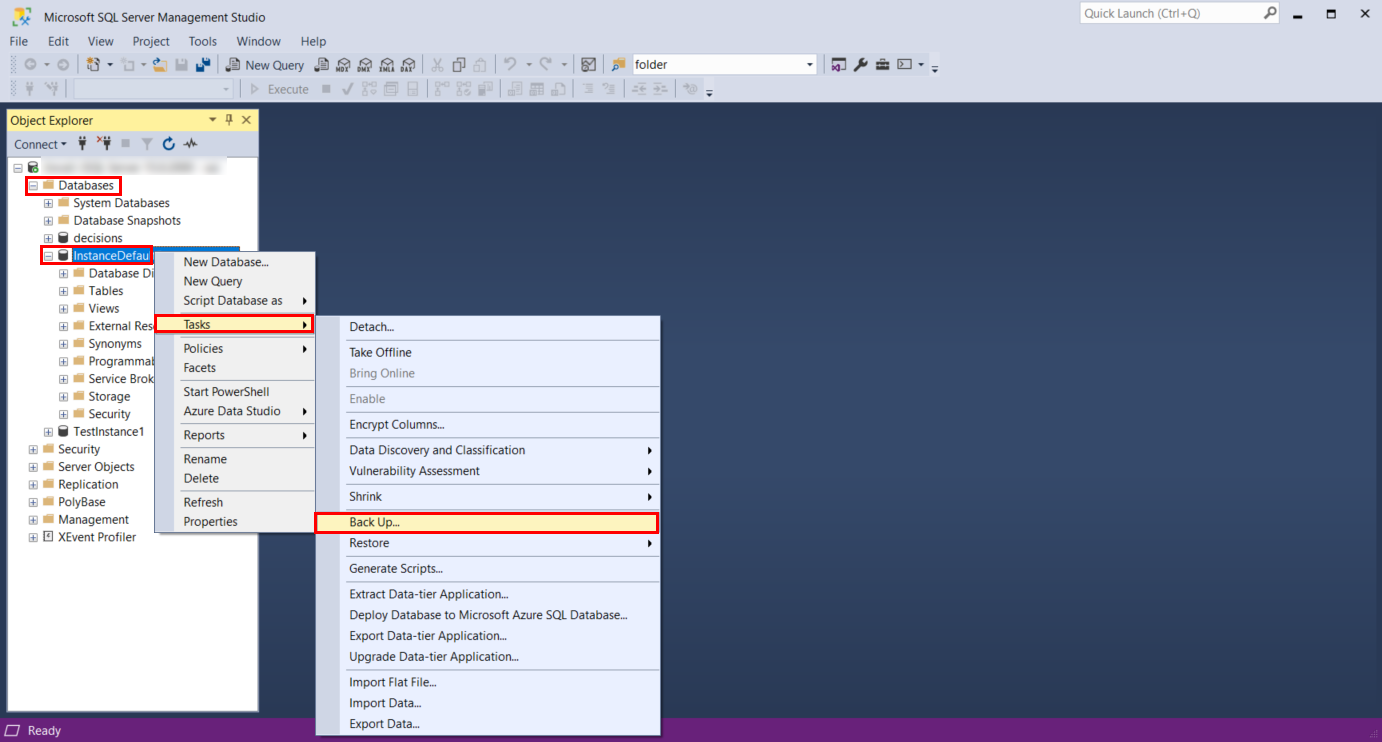
Open Microsoft SQL Server Management Studio, navigate to the DefaultInstancePrototype, right-click it, and select Tasks > Backup. Proceed with the backup to ensure that it is saved to the location of the original file.
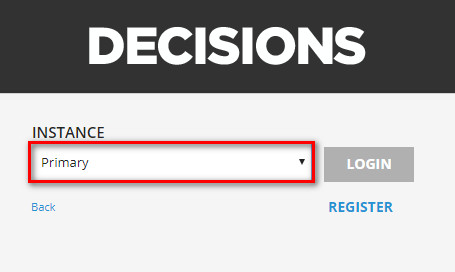
Close all sessions of Decisions or use a Private Browser to login to Decisions. Select Primary (point where Customers and Tenants are managed) from the INSTANCE dropdown menu, then click LOGIN.
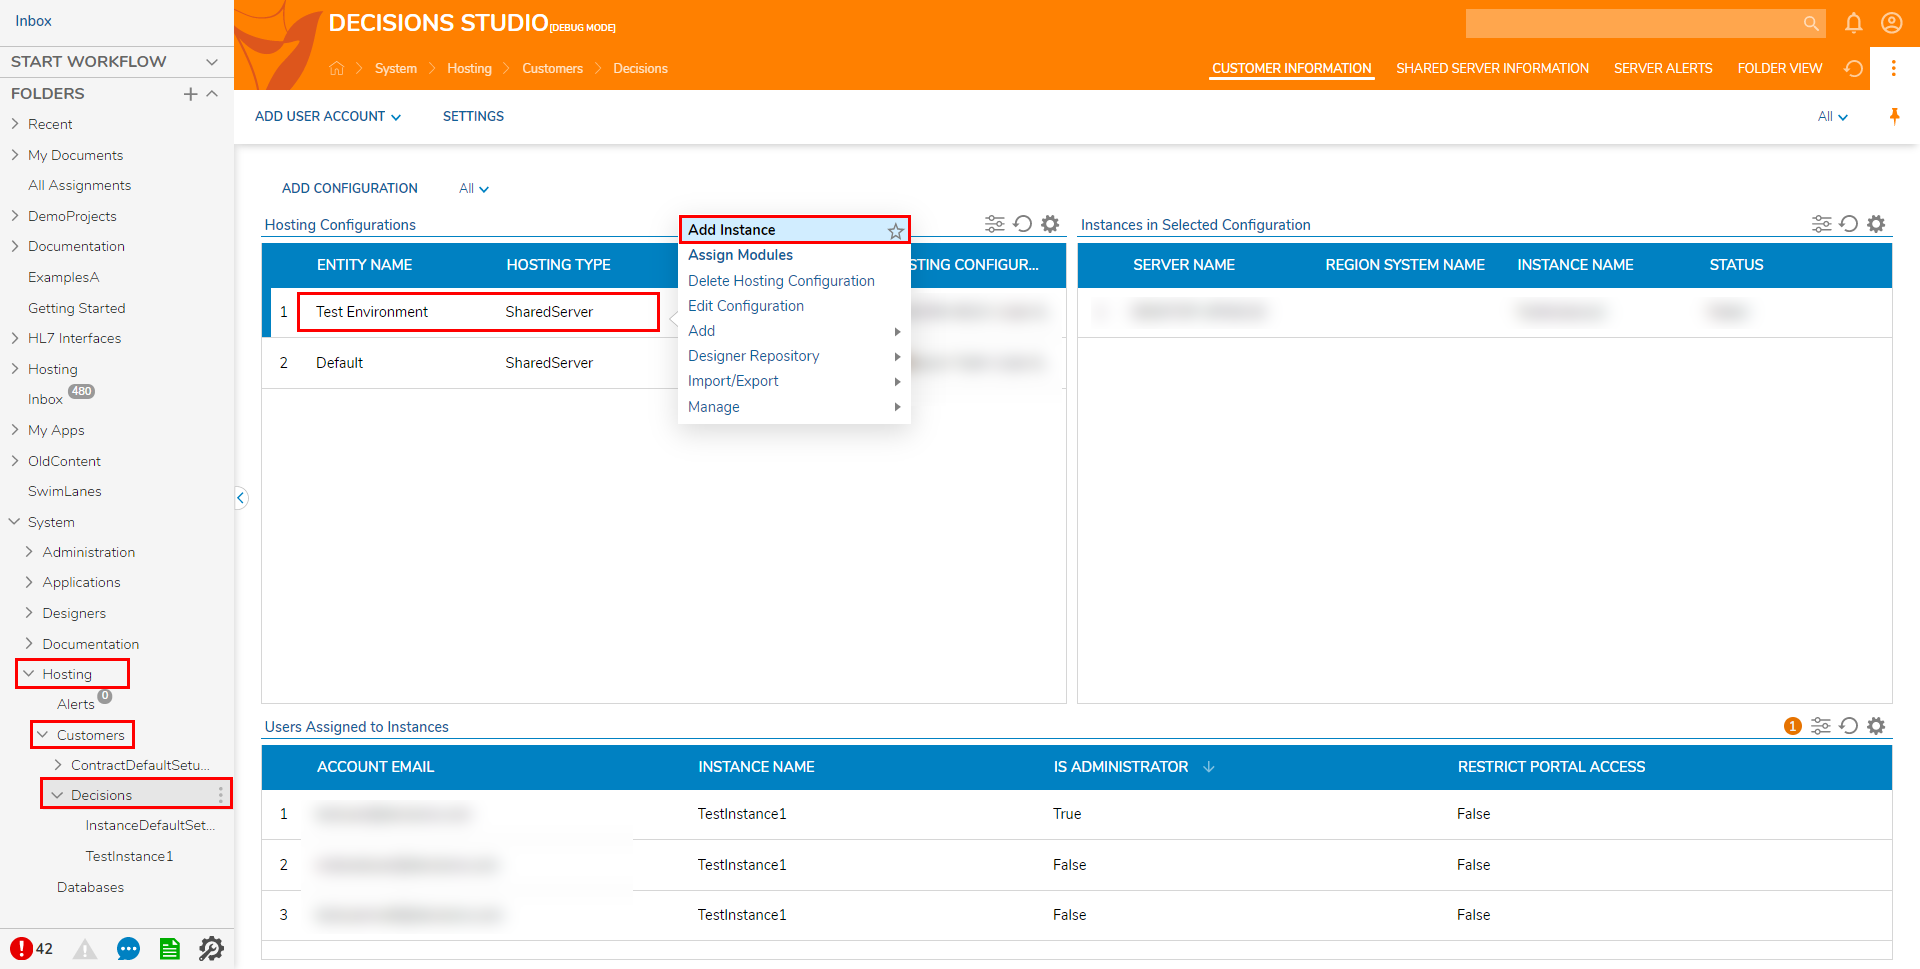
From the Primary environment navigate to the Customers' Folder, right-click a Registered Customer, then select Add Instance.
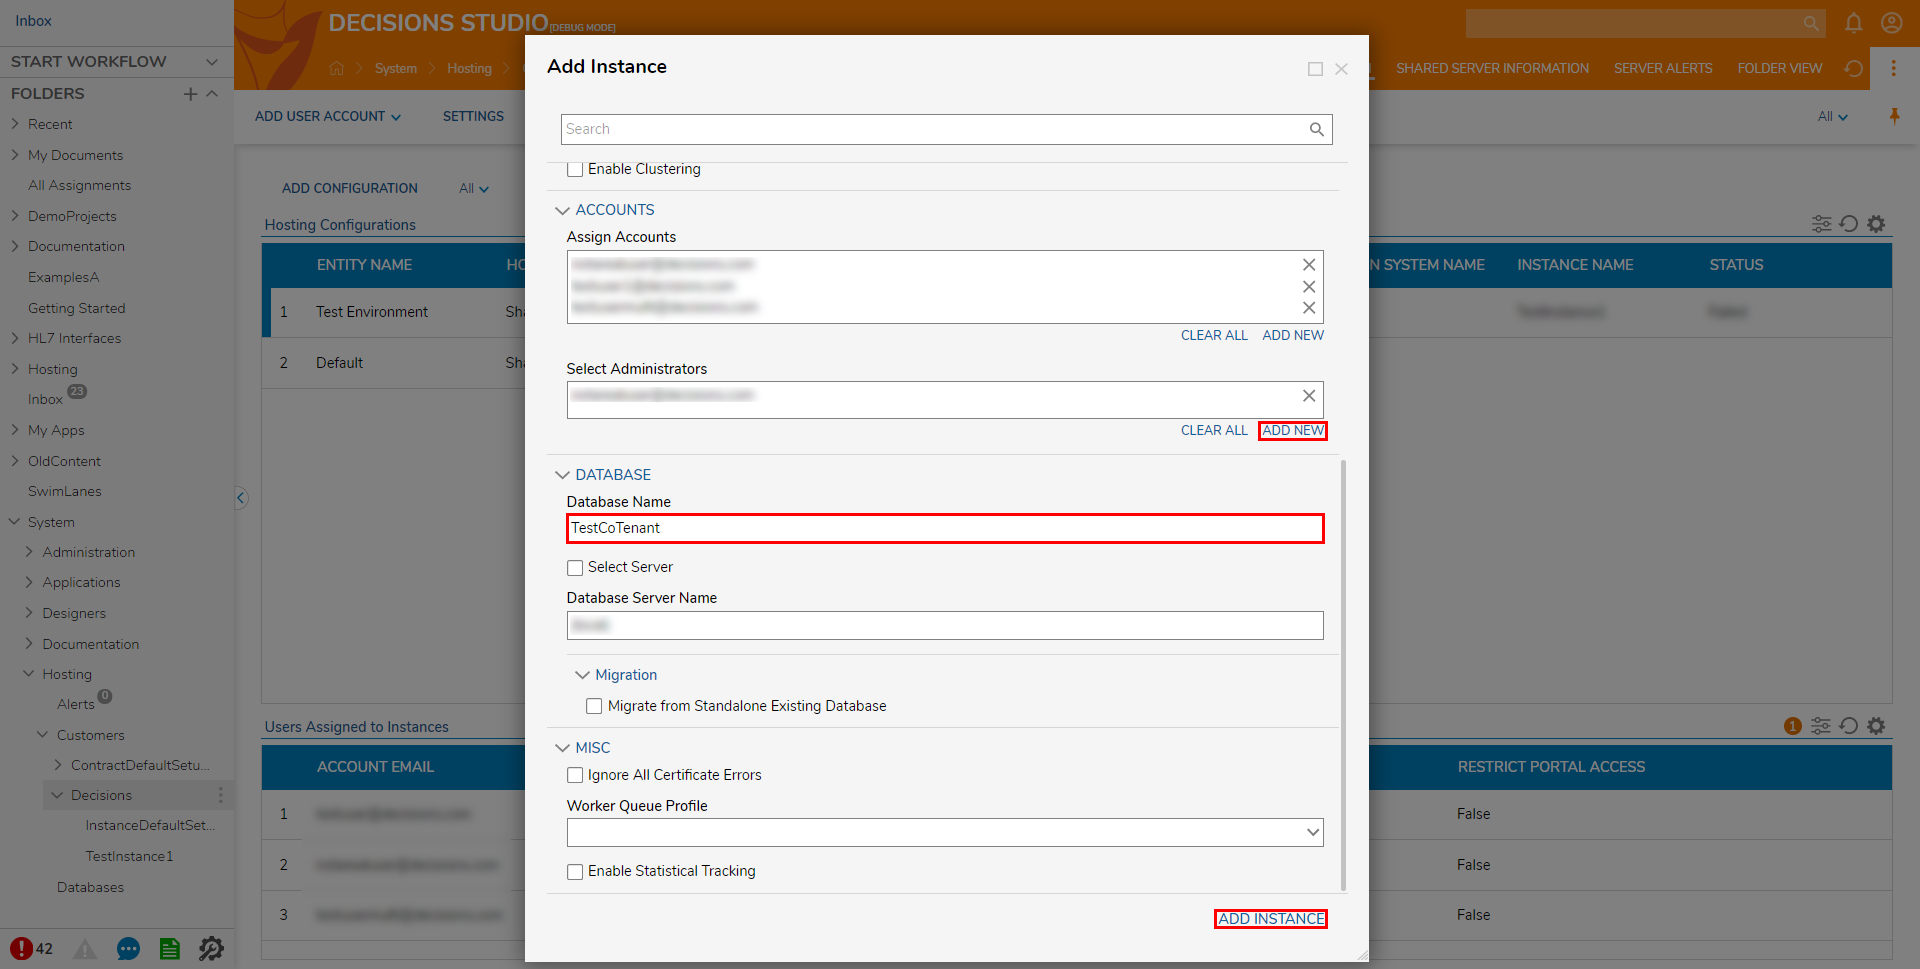
From the Add Instance window, provide an Instance name, select the appropriate option under Assign To Server, Assign Accounts to access the new Tenant environment. Then, provide an Account(s) under Select Administrators, then provide a Database Name, then click ADD INSTANCE.
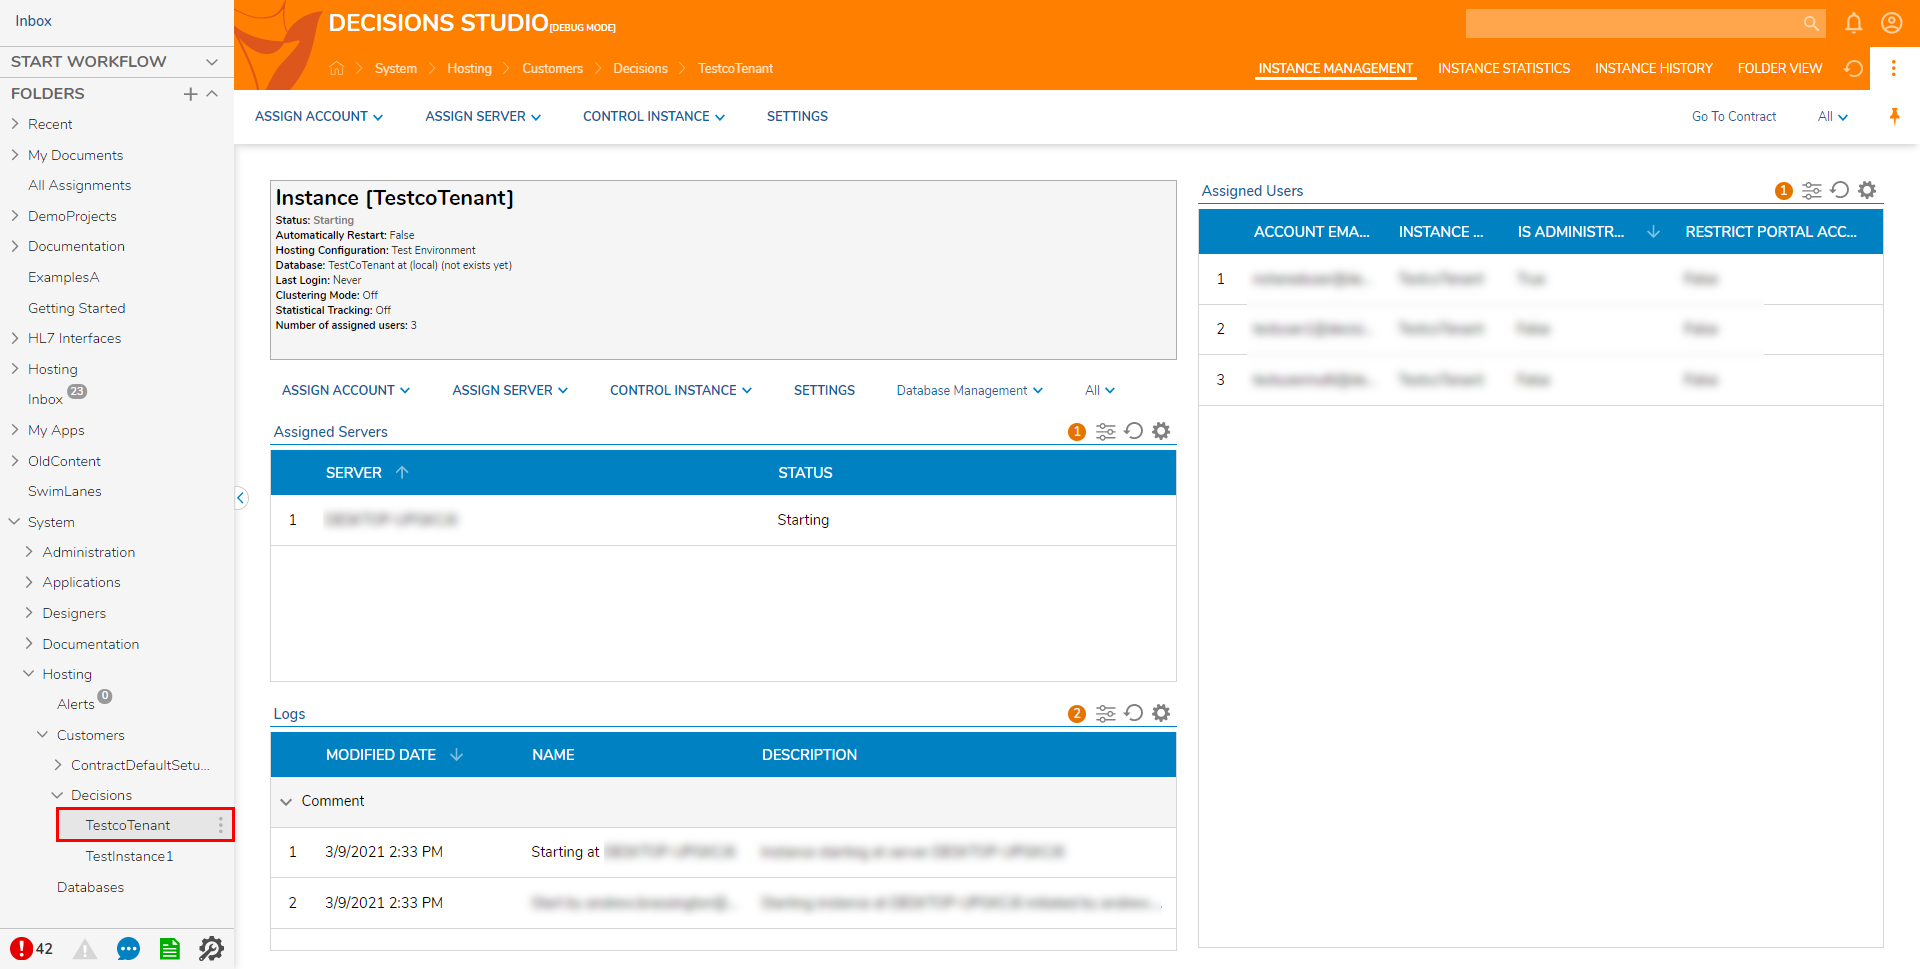
The new Instance (TestCoTenant) will now be visible under the respective Registered Customer Folder.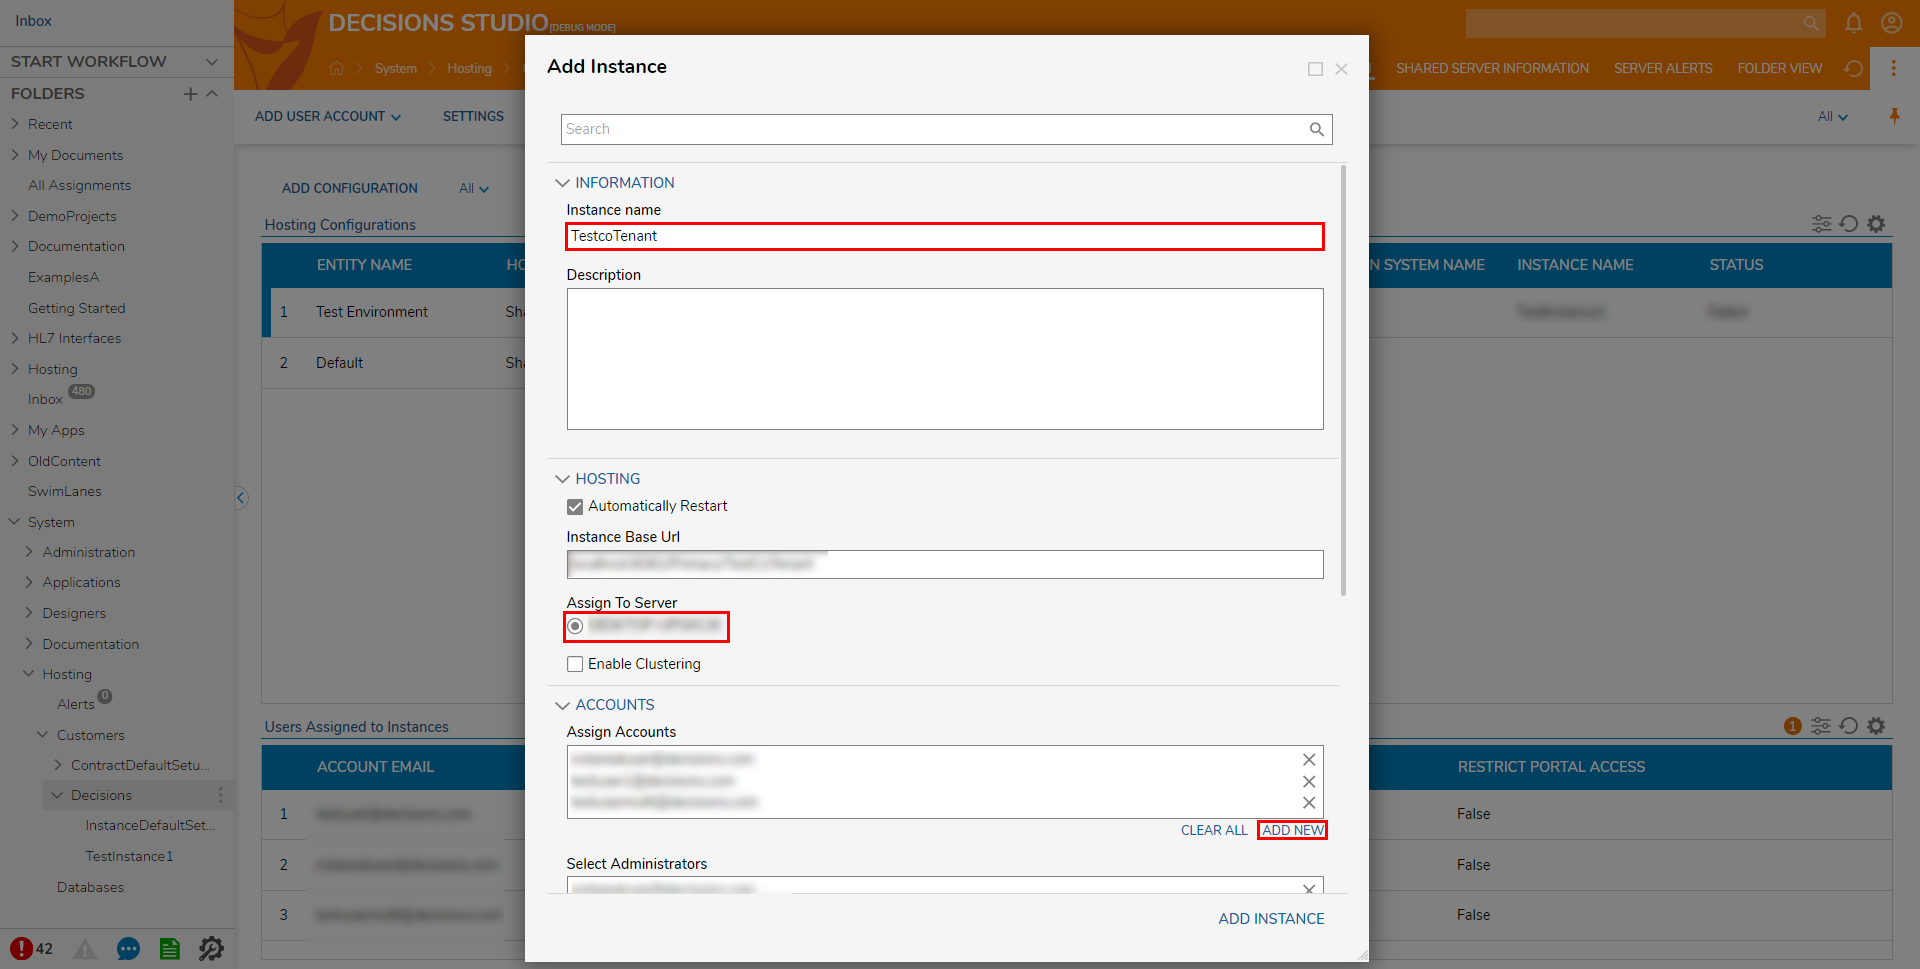
Changes to the Primary Instance
 Right-click the Registered Customer Folder that contains the new Tenant, then select Add User Account > Link Account.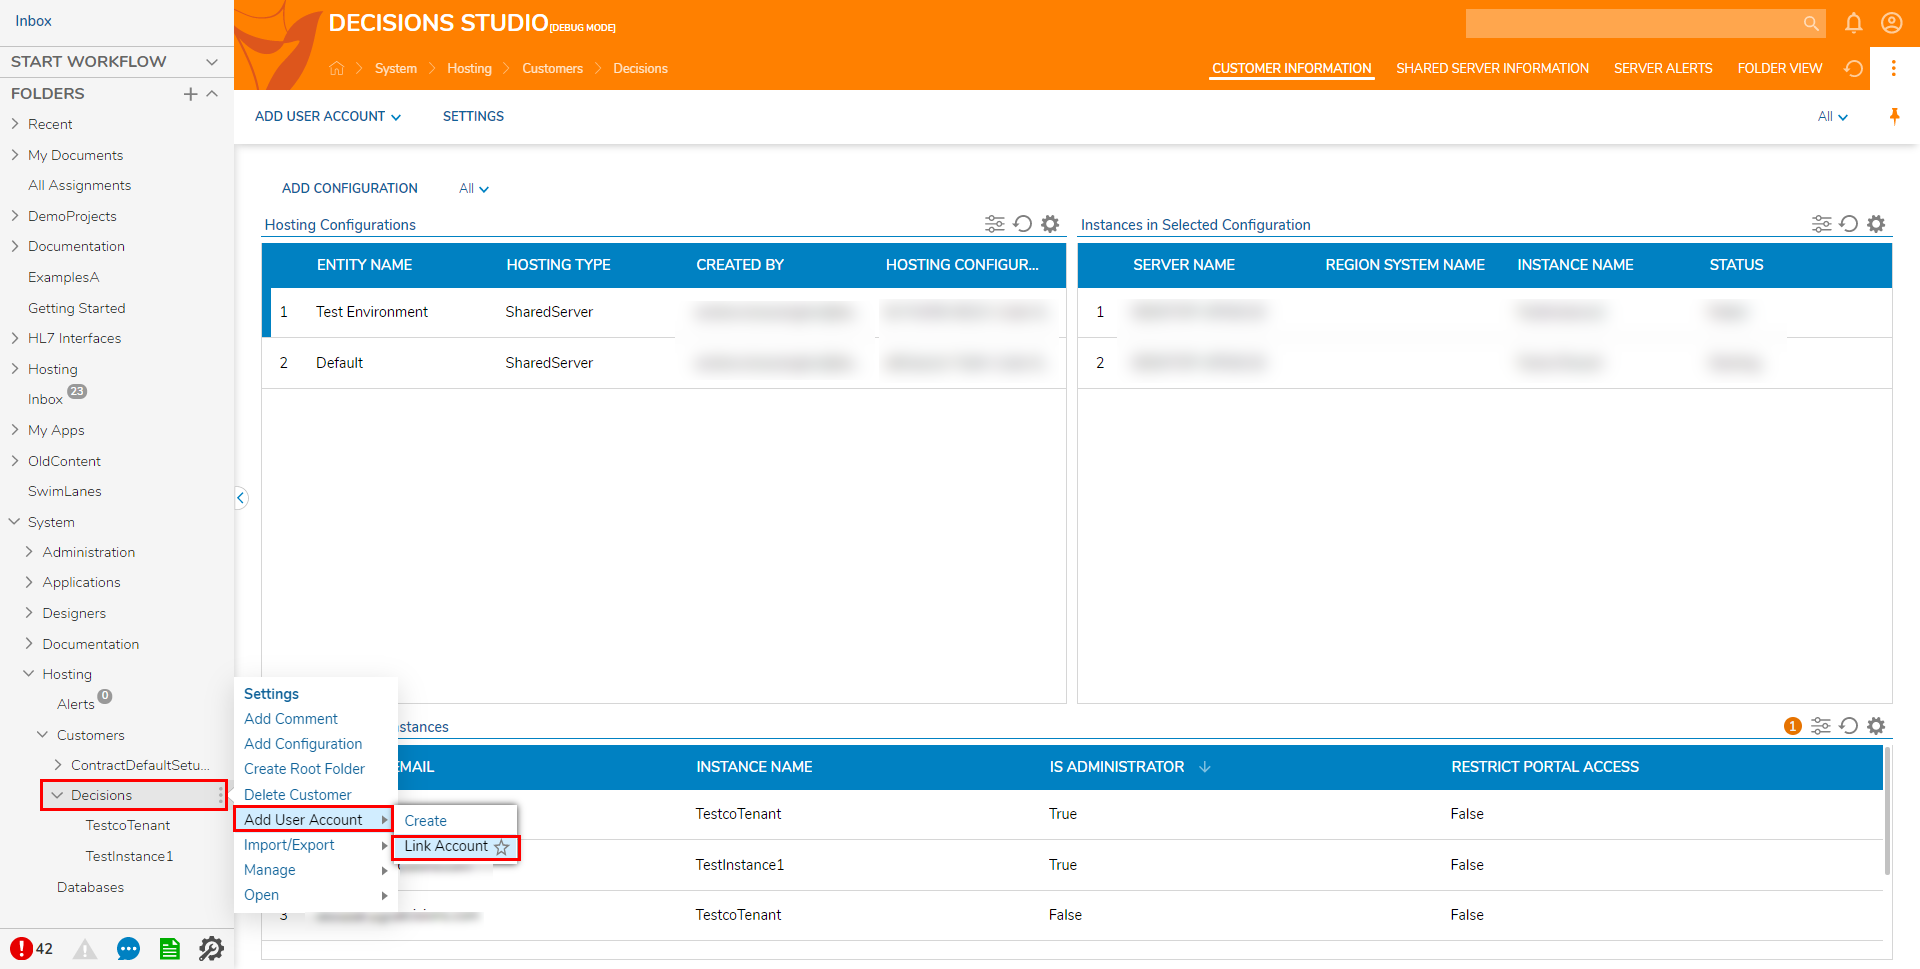
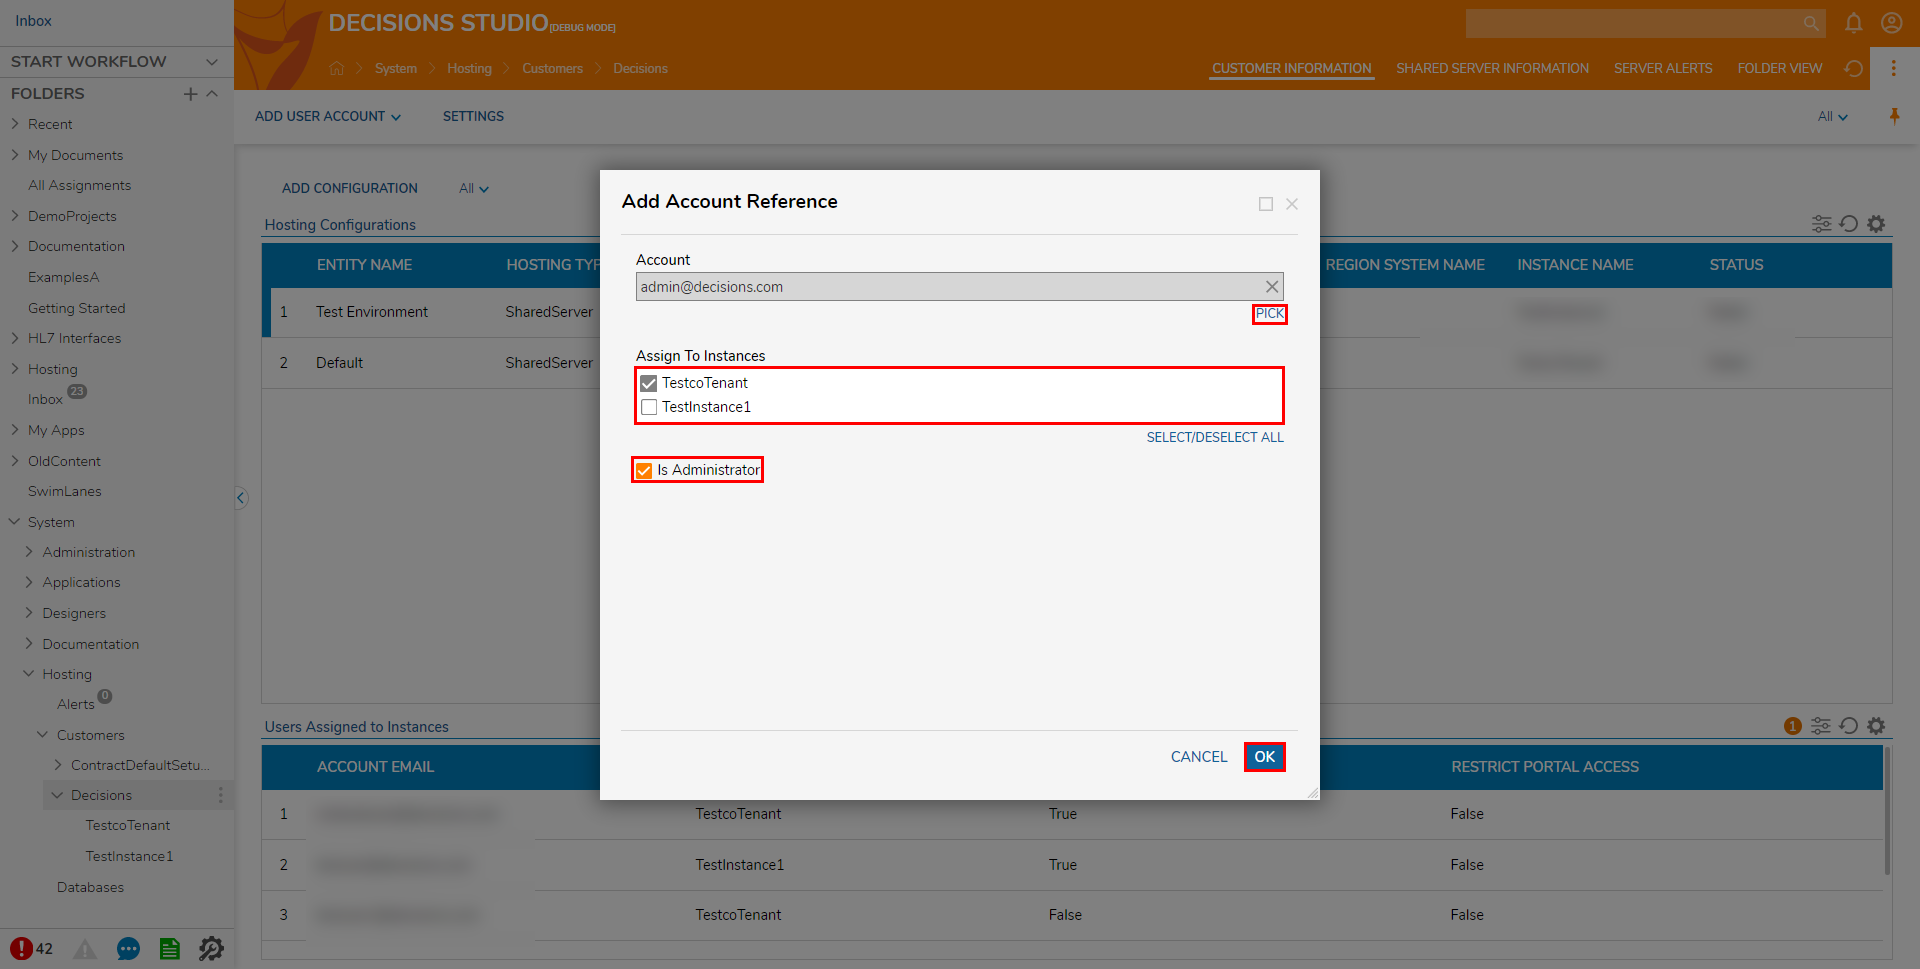
- From the Add Account Reference window, PICK the same Account that was configured when the Instance was added, select the appropriate option under Assign To Instances, check Is Administrator, then click OK.
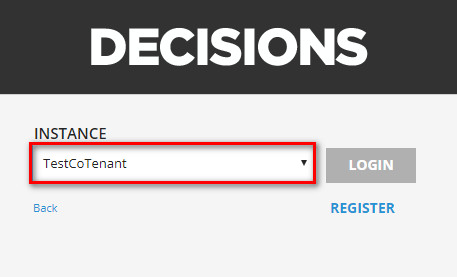
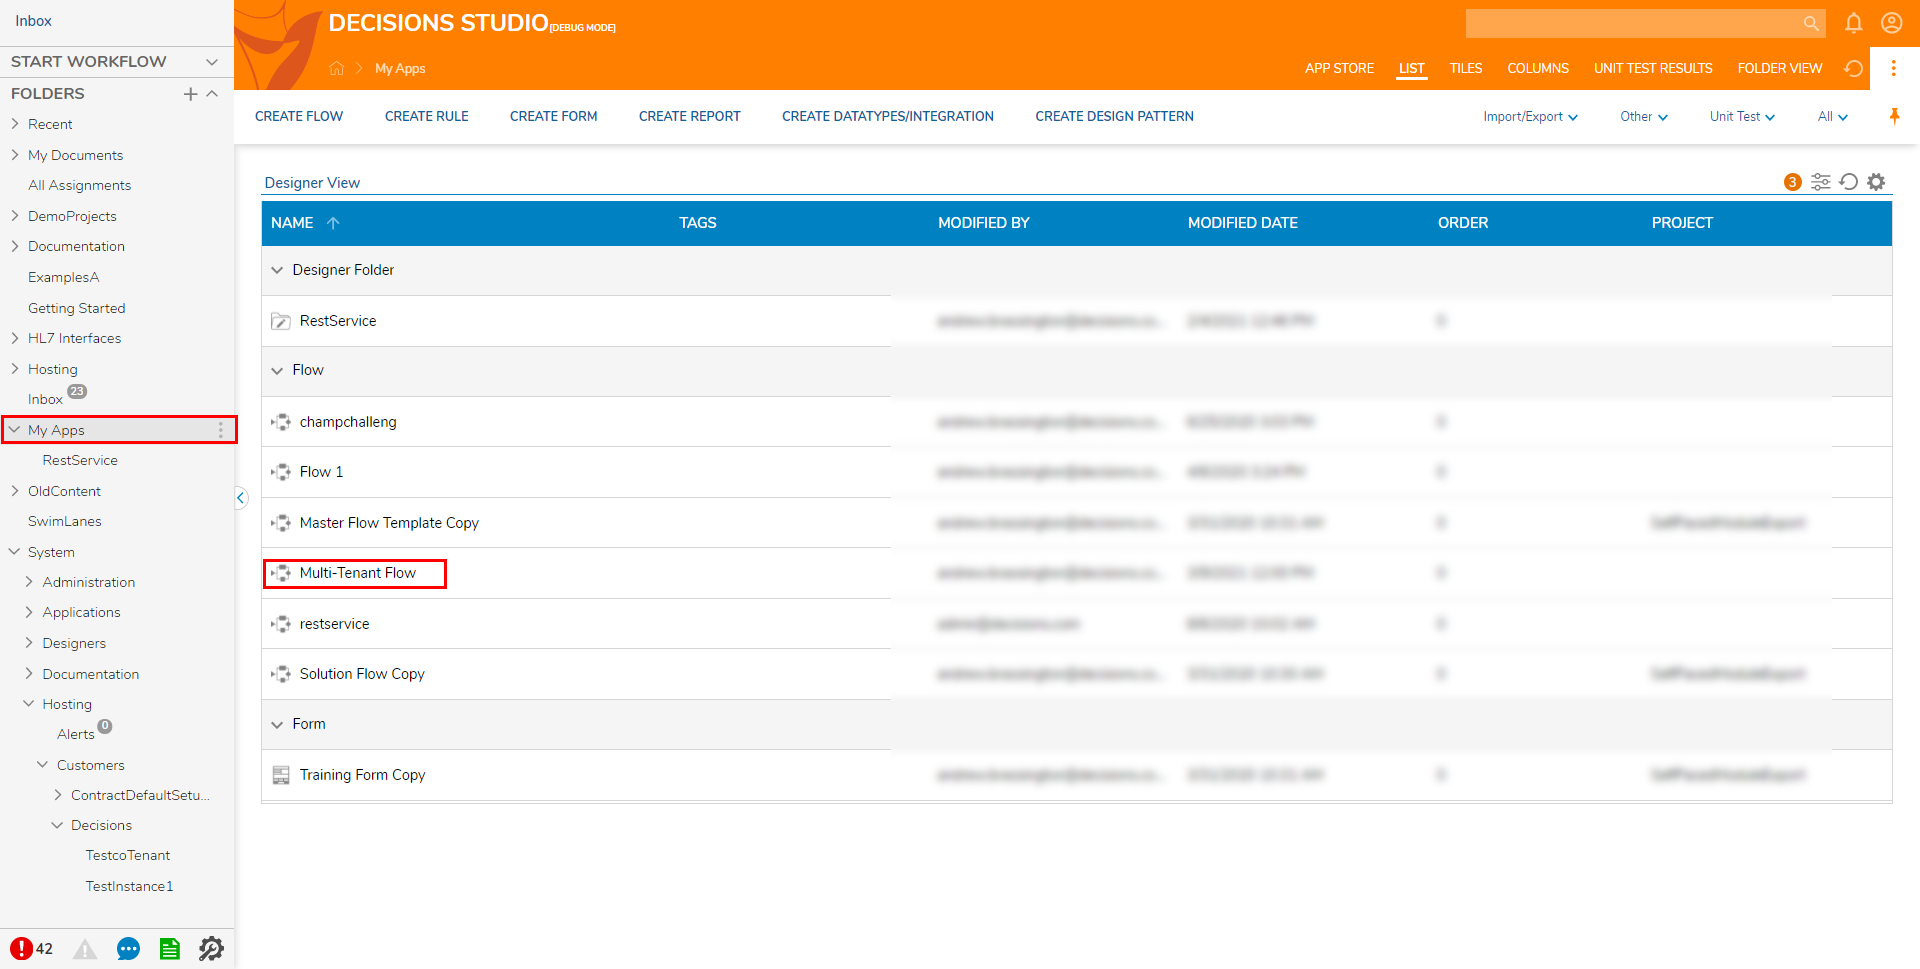
- Logout of the Primary environment, then in a new Session, login to Decisions with the credentials linked to the new Tenant. Select the new Tenant from the INSTANCE dropdown, then click LOGIN.Upon the first login, the Flow that was created in Default Tenant Configuration should appear in the environment.
Automatically Restart